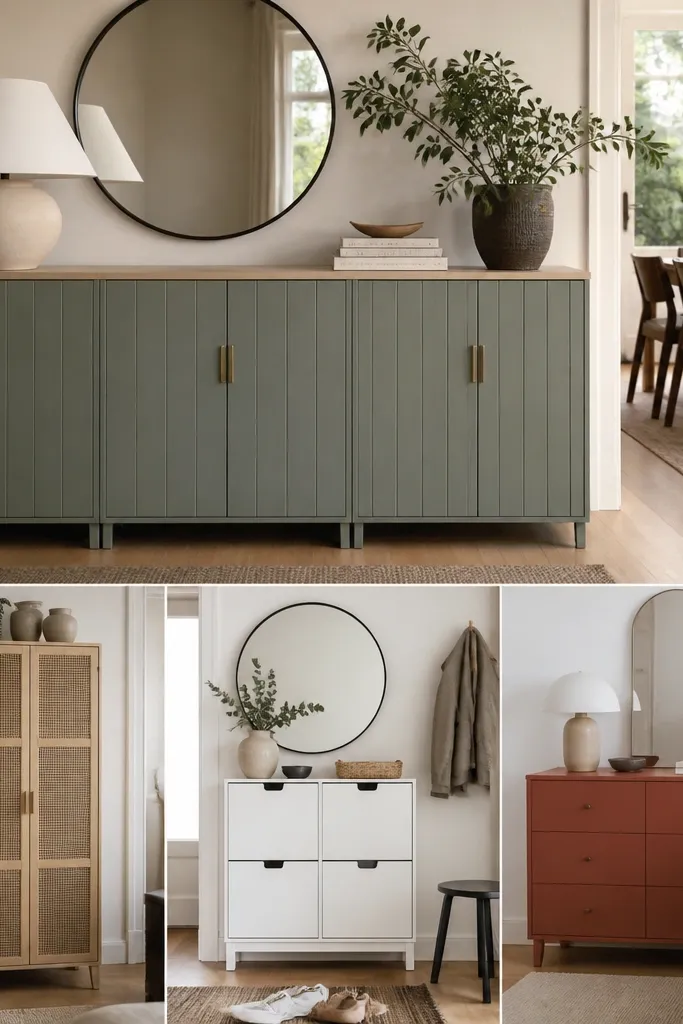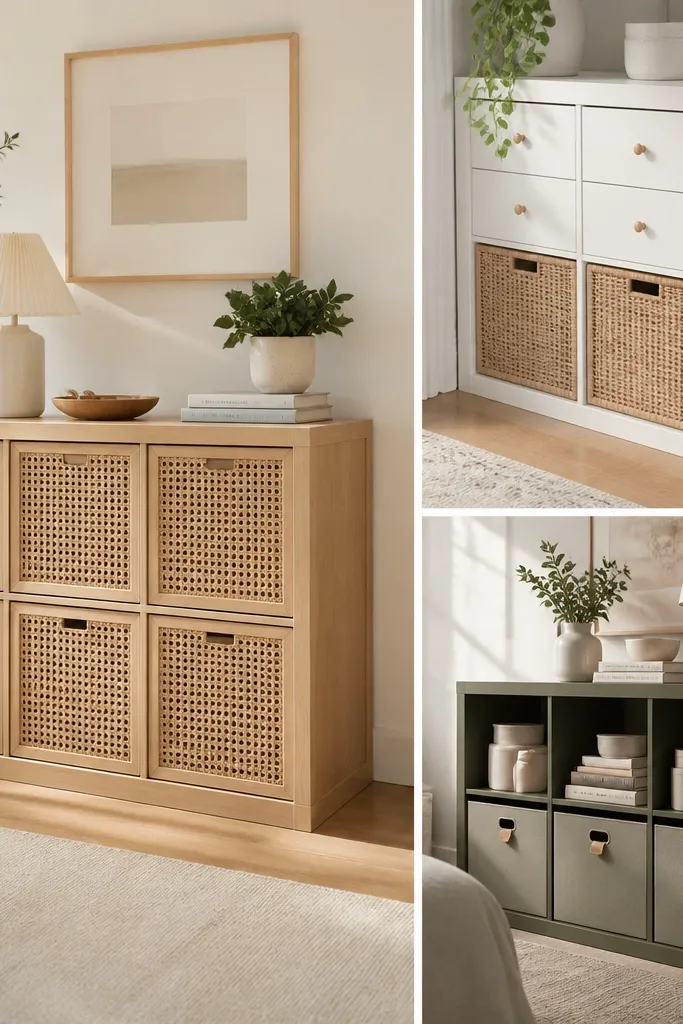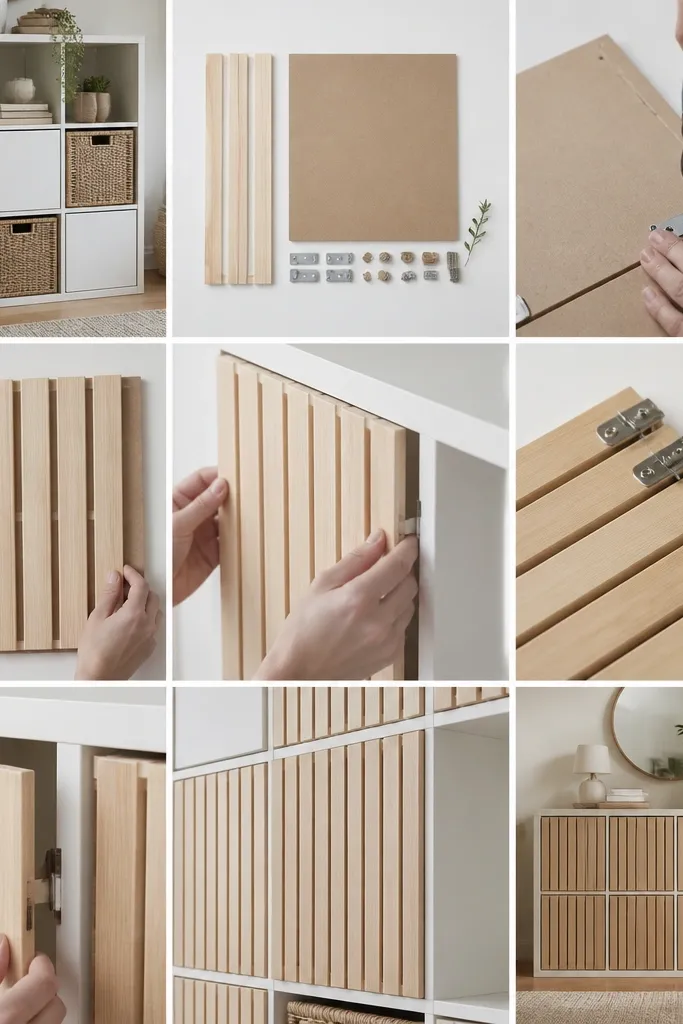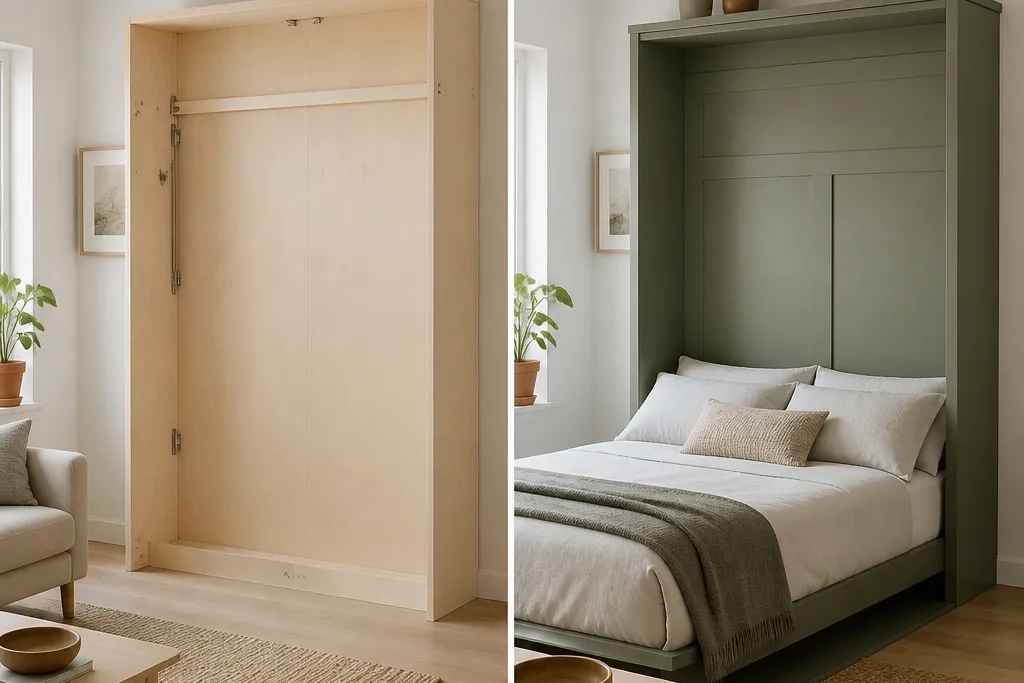
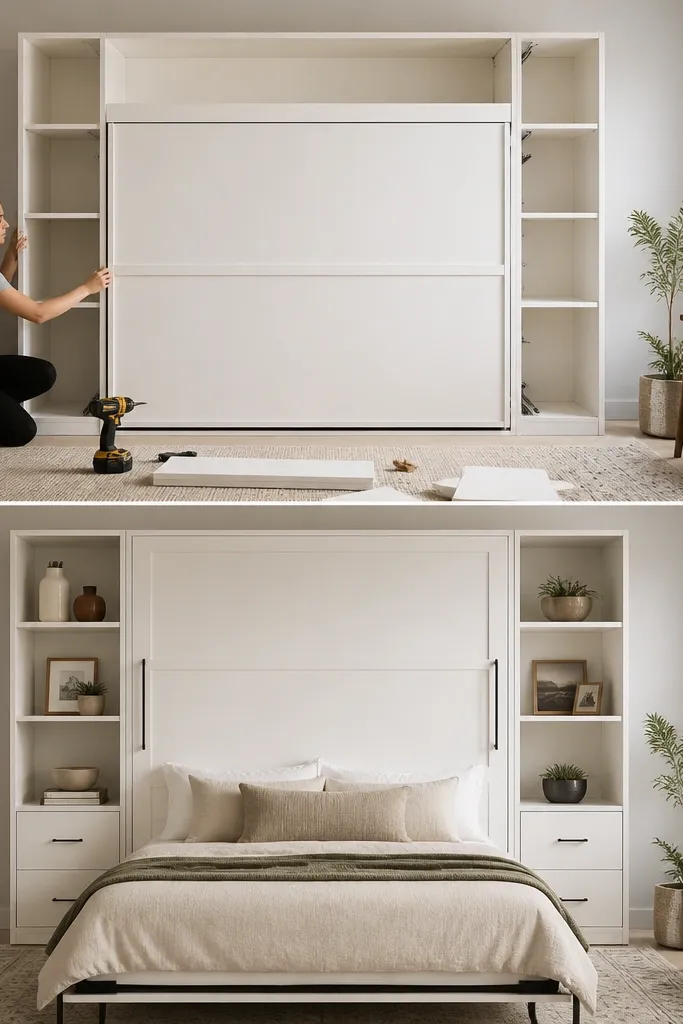
1. The "holiday front panel" cabinet look
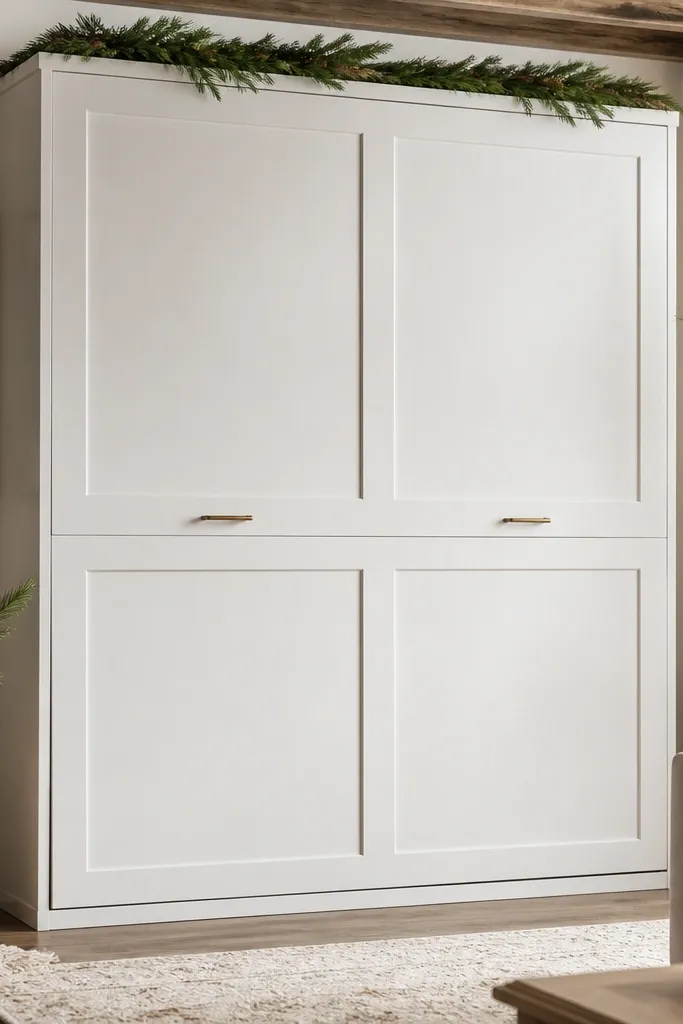
This look makes the closed bed read like furniture, not a sleeping machine. I built it by layering a flat overlay panel on the front and keeping everything in one color family — matte white on the cabinet with a warm off-white panel. For holiday mode, I add a removable garland rail that sits just under the top trim so it doesn’t sag when the bed is lifted. This works best if your room is light and you want a clean backdrop for seasonal decor like red plaid or gold stars. If you have darker walls, I’d switch the panel to a warm greige so it doesn’t look chalky against the wall.
Start by covering the IKEA cabinet face with a single plywood or MDF overlay panel cut to the exact outer dimensions. Sand edges, then prime and paint with a cabinet-grade finish so the panel looks built-in. Next, mount a small removable rail using two screws into the solid frame (not just the decorative skin) so it holds a garland without rubbing the bed mechanism. Finally, use a bedding set that matches the panel palette — I like a cream duvet with a red throw blanket folded into a tight rectangle inside a top storage bin. When you close the bed, add two small ornaments to the corners of the face for symmetry.
Quick tipMake the garland rail removable with two screws so you can swap winter decor in minutes without touching the cabinet finish.
One warningAvoid using thin foam board for the front overlay; it warps and makes the face look wavy.
2. Two-tone headboard with linen roll and warm wood trim
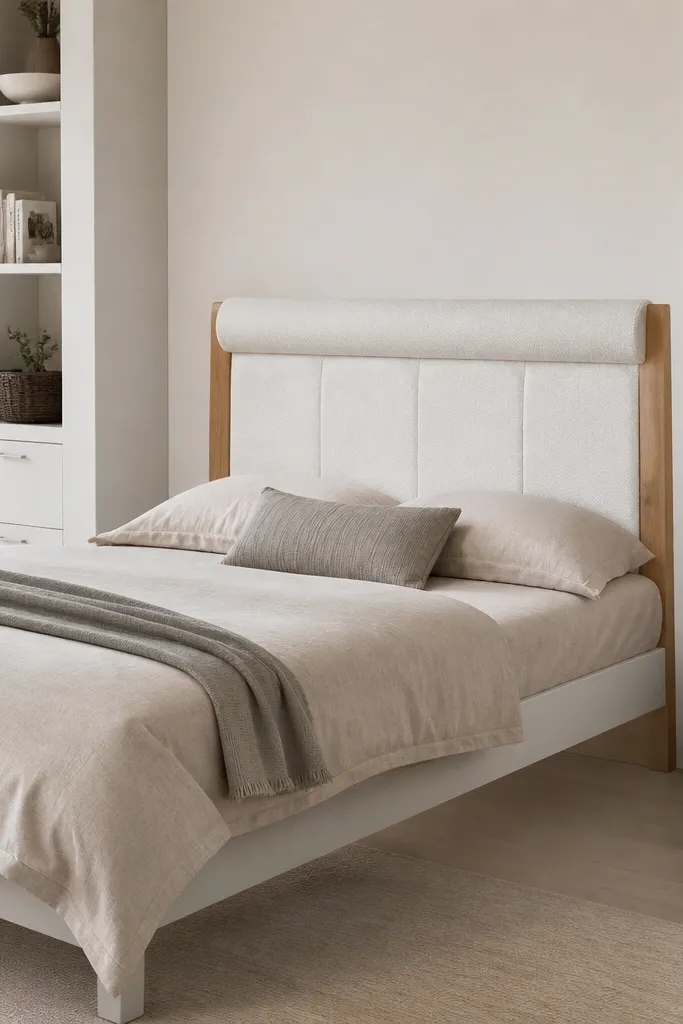
A two-tone headboard makes the whole bed feel like a real bedroom piece, especially when you’re closing it during the day. I like pairing warm wood trim with light linen because it looks good under both daylight and string lights. The linen roll along the top catches light softly, which hides minor seam lines from DIY upholstery. This look flatters rooms with neutral walls and people who like cozy textures — it makes the bed feel inviting without adding visual clutter. If your skin tone runs warm (gold undertones), the warm oak and cream linen make your bedding look extra flattering in photos.
Build the headboard panel first using a rigid backing like 3/4 in plywood cut to the bed width. Sand, then attach a thin foam layer (about 1/2 in) and wrap with linen fabric pulled tight and stapled on the back edge. Add the linen roll by sewing a simple fabric-covered cord and tucking it under the top seam so it sits evenly across the width. Finish with warm wood trim strips — I use 1x2 or 1x3 ripped strips painted or stained to match your room’s existing wood. When the bed is up, keep the storage front simple and let the headboard be the only “statement” surface.
Quick tipPre-stretch linen fabric by wetting and drying it once, then upholster — it stops the fabric from shrinking later.
One warningSkip shiny satin fabric for the headboard; it shows every staple and seam under overhead lights.
3. Nordic storage shelf with winter blanket staging
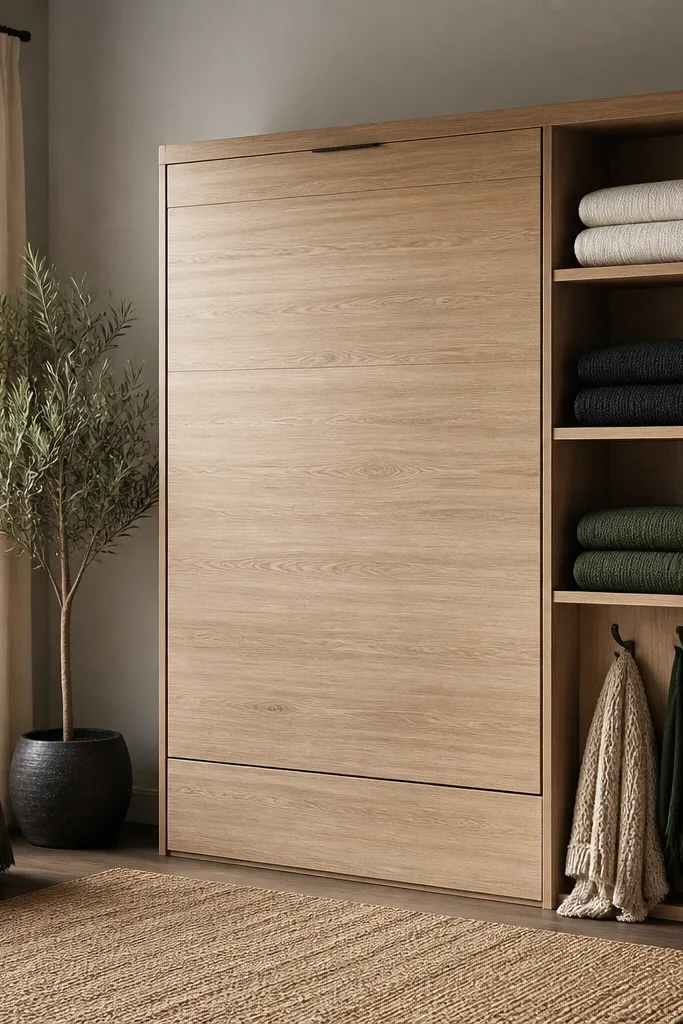
This one is all about how the room looks when guests aren’t sleeping there. I added open shelves on the cabinet face so blankets and throws become part of the decor instead of hiding in a closet. The color palette stays Nordic: white, charcoal, and deep green, with one warm accent throw in tan. It’s great for people who host holiday gatherings because you can stage “guest-ready” items without opening a closet door. If you have a small entry or hallway that shares the wall, this also prevents the bed area from visually swallowing the space.
Start by planning shelf heights so you can fit folded blankets without forcing them — I aim for about 12-14 in interior height per shelf. Use a fixed shelf board thickness around 3/4 in for stiffness, then paint or stain it to match your trim. Install the shelves using corner brackets screwed into the cabinet frame, then add a thin back strip to stop items from sliding down when someone bumps the bed. For the staging, fold blankets into the same size rectangle and label the back with a tiny piece of tape so you don’t mix textures during busy weeks. Put one knit throw on hooks at the side so it looks intentional even when you’re not “decorating.”
Quick tipUse fabric bins on the bottom shelf to keep holiday items dust-free while still letting the tops stay styled.
One warningDon’t leave shelves too deep without a lip; blankets slide forward and the stacks start looking messy fast.
4. Matte charcoal cabinet with brass knobs for a "dressed-up" holiday look
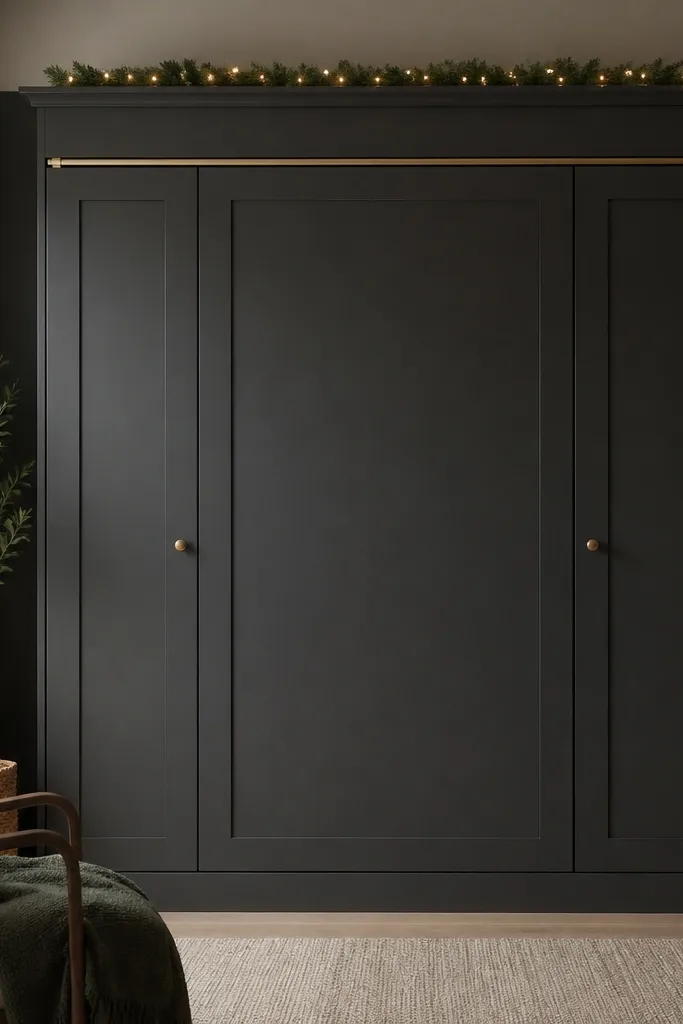
Charcoal plus brass makes the bed look like it belongs in a grown-up dining room, not a spare room. I’ve done this with a matte cabinet paint and real brass knobs because the tactile shine makes holiday decor look more expensive. The trick is keeping everything matte except the small brass details so the cabinet doesn’t reflect light and show fingerprints. This setup looks best in rooms with warm lighting or wood floors, because charcoal can feel heavy in cold, bright spaces. If your bedding is white or cream, it pops hard against the dark cabinet front, and you get that clean “hotel” vibe.
Sand the cabinet face lightly, prime with a bonding primer, then paint two coats of matte charcoal. After curing, install brass knobs at eye level for symmetry when the bed is closed. Add a thin brass picture rail line across the top using a straight level — I use a 1/2 in strip so it reads like trim, not hardware clutter. For holiday mode, use a small greenery line and tuck micro warm-white lights underneath it so the light glows upward when the bed is up. Keep the bedding simple and light — a cream duvet and one charcoal throw folded tight — so the bed doesn’t fight the dark cabinet face.
Quick tipWipe the cabinet with a tack cloth right before painting to avoid tiny dust specks that show up under matte paint.
One warningAvoid glossy paint on the cabinet face; it highlights every hand mark and misalignment.
5. White-on-white with textured paneling for a clean seasonal backdrop
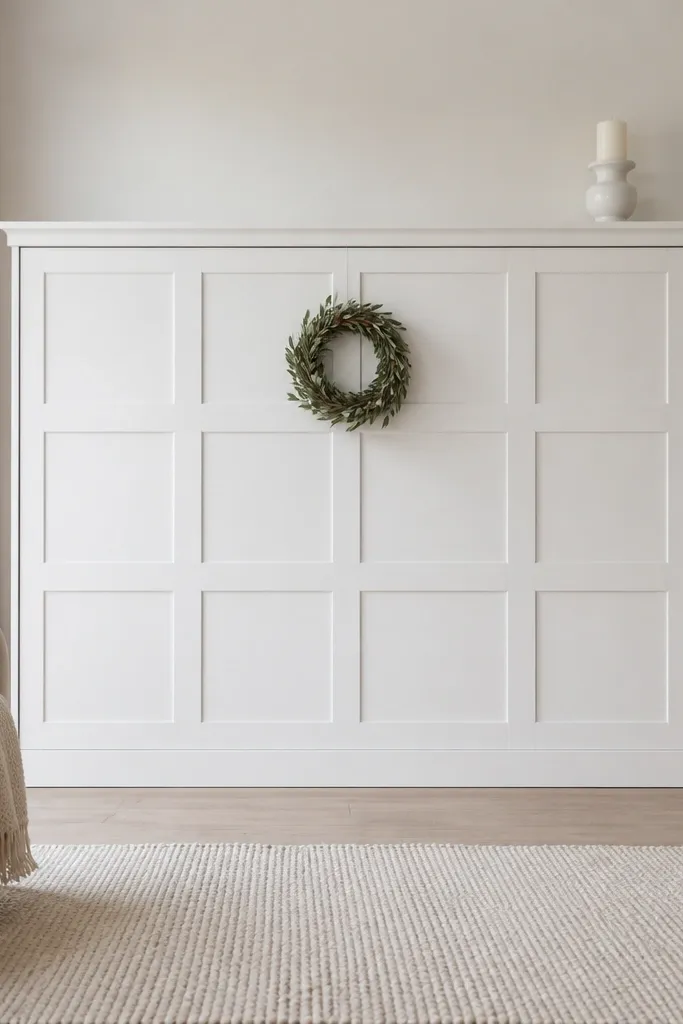
White-on-white works when you add texture, not when you just paint it all the same color. I used raised panel texture on the cabinet overlay so the surface catches light differently as the season changes. This style is easy for holiday because you can switch wreaths, garlands, and ornaments without changing the base look. It’s best in rooms with lots of daylight or white trim because the bed blends in and leaves your decor to do the talking. If your skin tone runs cool (pink undertones), this palette keeps the room from looking yellow.
Start with a textured panel overlay — thin MDF with a raised square pattern or a pre-textured board — cut to match the front face. Prime well, then paint the overlay and cabinet in the same white, using a satin finish for the cabinet hardware areas and matte on the textured face. Install a centered wreath hook that screws into the cabinet frame so it holds steady. For the bedding, keep it bright and soft — white duvet with a subtle gray stripe — and add one seasonal throw in the same color family as your wreath (sage for greenery, light gold for ornaments). When the bed is down, make sure the headboard fabric is similar in tone so the room stays calm.
Quick tipChoose one accent color for seasonal swaps and stick to it for the throw and small decor items.
One warningDon’t use flat paint with no texture; it makes the DIY overlay look like a sticker.
6. Kids holiday sleep station with removable toy bins
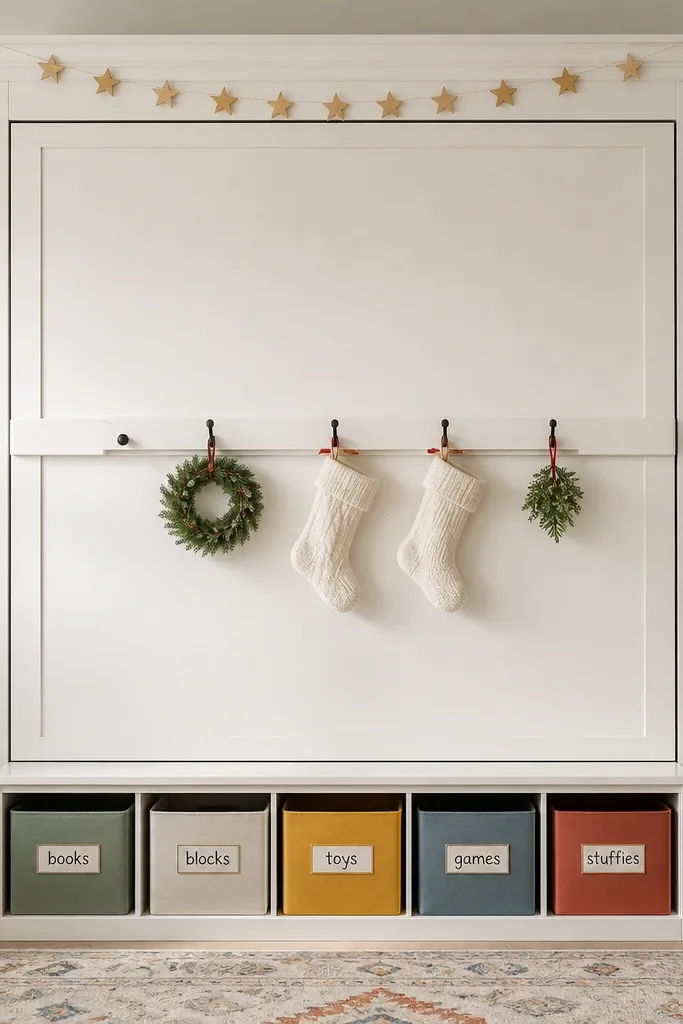
If the bed is for kids, you need storage that resets fast after holiday chaos. I built the face with removable bins on the lower part so you can pull them out in 20 seconds and sweep the area before guests arrive. The cabinet stays neutral (white) so the bins can change with the season — red plaid for winter, pastel for spring, simple solids for everyday. This looks good in playrooms because it keeps the visual noise contained. If you have a kid who hates “tidy time,” the labeled bins turn it into a game: stuff goes back to the same spot every time.
Start by adding a base shelf inside the cabinet face with enough clearance for plastic bins — I use bins that are about 12 in wide so they fit without snagging. Mount two small cleats under the shelf edge so bins sit securely and don’t slide when the bed is moved. Label the bin fronts with tape labels in two colors: one for “toys,” one for “holiday decor.” For the holiday rail, attach a thin strip under the top trim and hang only lightweight items like paper stars or felt garland. When the bed is up, keep one bin “open” for a toy the kid uses daily, and stash the rest for a calmer look.
Use bins with handles so you can lift them out without tipping the stack and spilling small pieces.
Avoid fabric baskets that collapse; they end up looking rumpled and messy by day two.
7. Small-room "open wall" look with shiplap-style side panels
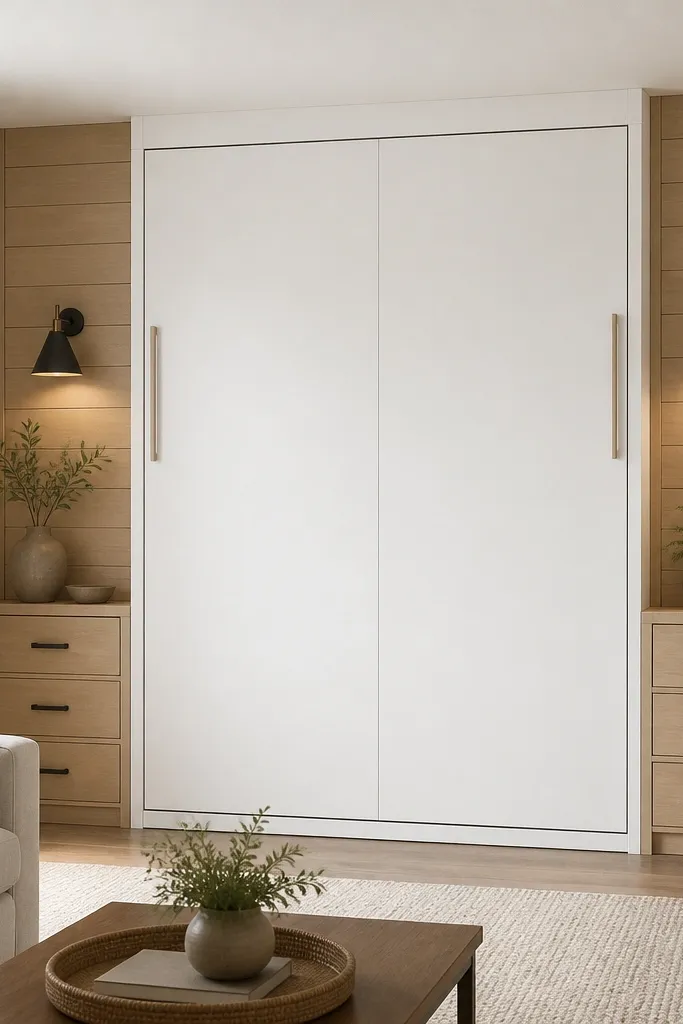
This is the look that makes the bed disappear into the wall. I framed the sides with shiplap-style panels so the cabinet doesn’t look like a big flat rectangle stuck on drywall. The natural wood tone warms up the whole setup and keeps holiday decor from looking pasted on. It’s great if your room has plain walls or if you rent and want an upgrade that still feels intentional. If your floor is medium oak or walnut, this reads as a matching wood feature even when the bed face is painted white.
Measure the side gaps around the cabinet and cut side panels so they overlap the cabinet edge by about 1/2 in for a clean frame. Use thin shiplap boards or a shiplap-look panel, then sand edges and stain or paint to match your room’s wood tone. Attach the side panels with screws into the cabinet frame where possible, then use wood filler on visible screw holes. Caulk the seams lightly so you don’t get a shadow line that screams DIY. For holiday styling, keep the front minimal — a small wreath and one garland strand — so the wood framing does most of the work.
Use painter’s tape to mask a straight caulk line before you run the bead along seams.
Don’t skip caulk; tiny gaps around the side panels make the install look unfinished.
8. Green velvet trim accents with a simple cream duvet
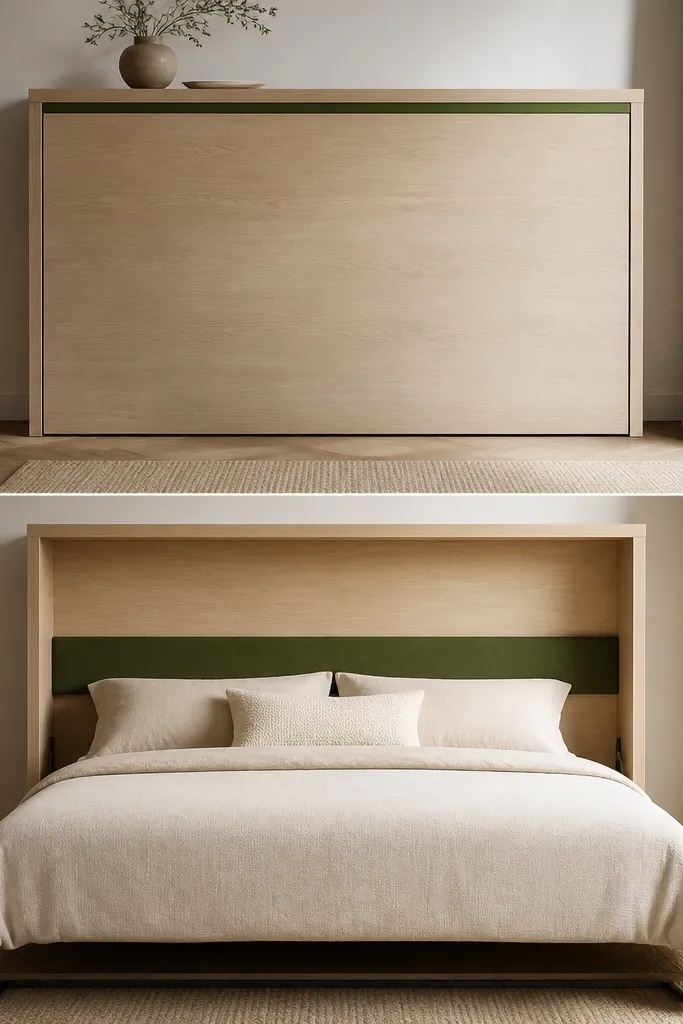
Velvet trim is the fastest way I know to make a DIY wall bed feel like a holiday room. I used a narrow green velvet band on the front and headboard, then kept the bedding cream so the velvet looks intentional instead of loud. The key is narrow width — about 1 in — so it reads like trim, not upholstery drama. This looks best in rooms with warm lighting and cream or beige walls, because green velvet can look flat under cool white LED. If you’re styling for winter photos, this combo hides wrinkles in the duvet better than shiny fabrics.
Start by cutting a narrow strip of fabric and backing it with fusible interfacing so it stays crisp when you attach it. Apply it along the top edge of the cabinet face with a strong fabric adhesive or staple it into a hidden groove, then trim the ends clean. For the headboard, add a velvet band across the top section only, keeping the rest of the headboard in a neutral fabric like linen or cotton. Use a cream duvet with subtle texture — waffle weave or lightly quilted — and one green throw folded on the side closest to your viewing angle. Finish with one brass or gold ornament on the cabinet face so the velvet doesn’t become the only accent.
Press velvet gently with low heat and a cloth barrier so you don’t crush the pile.
Avoid wide velvet bands; they hide DIY panel edges and make the unit look bulky when closed.