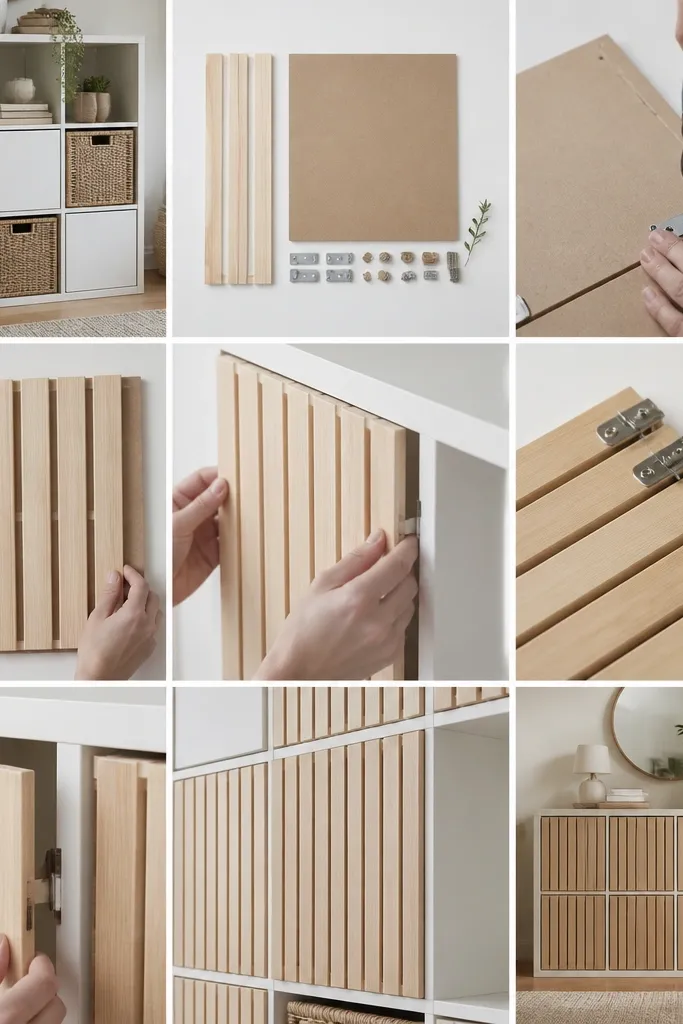
1. Flat shaker-style door panels for a clean modern face
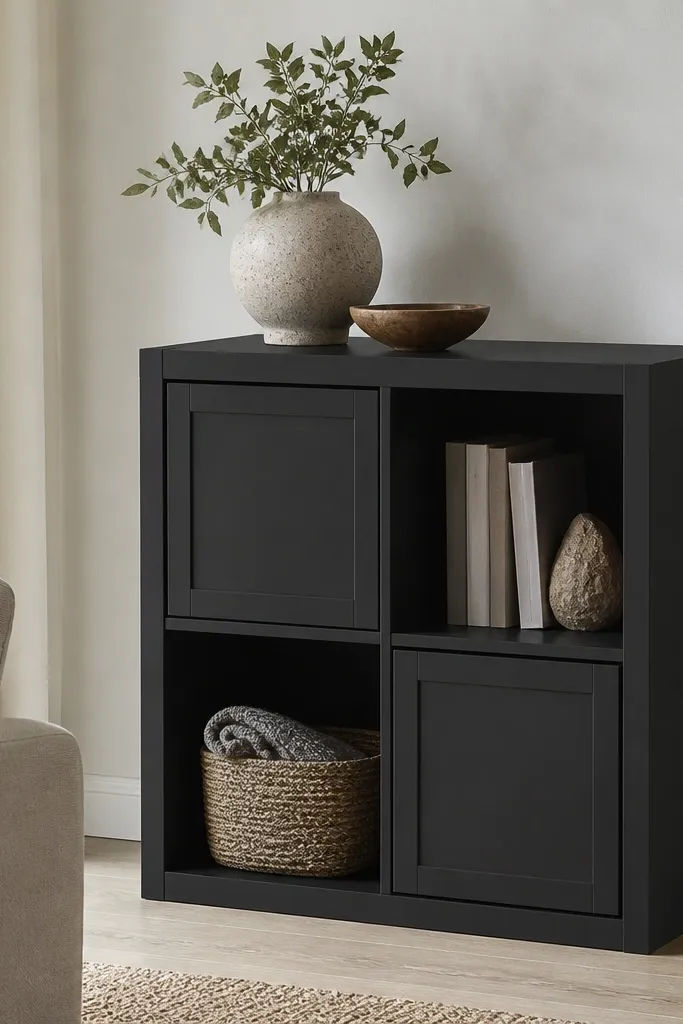
This look comes from keeping the door slab flat and adding simple rail lines so the door reads as a cabinet front. I like matte black or deep charcoal because it hides minor edge imperfections from cutting. The reveal stays consistent when you use a frame, so the seams look intentional instead of DIY-random. It also photographs well for seasonal styling because ornaments don’t compete with the door surface.
Quick tipPaint the door in two thin coats and sand lightly with 220 grit between coats so the rail edges look crisp instead of fuzzy.
Build the door slab from 1/4 in (6 mm) plywood or MDF, then cut two thin trim strips for the shaker rails. For a 2x2 cell, I use trim strips about 3/4 in wide for the outer rails and 1/4 in for the inner lines, centered so the spacing is even. Attach the slab to the frame with wood glue and small brad nails, then paint the whole door before mounting hinges.
One warningDon’t skip edge sanding — rough edges show through black paint fast.
2. Light wood panel doors with a white trim frame
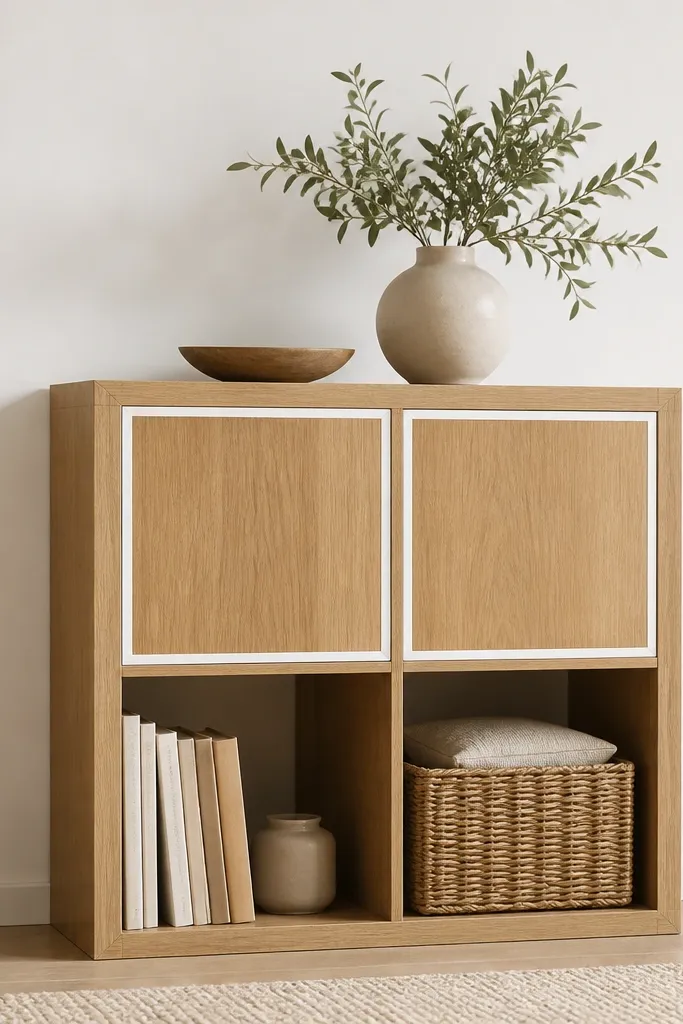
This is the easiest way to make Kallax look like custom furniture. The contrast between warm wood paneling and crisp white trim makes the door seam look like cabinetry. I’ve done this with pre-primed MDF doors stained or with oak veneer sheets — both look good if you seal the surface. Seasonal decor pops because the door face stays neutral and doesn’t fight color.
Use 1/4 in MDF for the door face, then apply a stain over a light sanding (120 grit) and finish with a satin water-based clear coat. Frame it with 1x2 trim ripped to the width you want for the reveal, usually around 1 in for a bold border. Mount hinges after the finish cures at least overnight so hardware doesn’t mar the paint.
Wipe stained wood with a barely damp cloth after staining to knock down blotchy spots before sealing.
Don’t use glossy clear coat — it shows every fingerprint when you open the doors during holidays.
3. Two-tone holiday doors using removable peel-and-stick vinyl
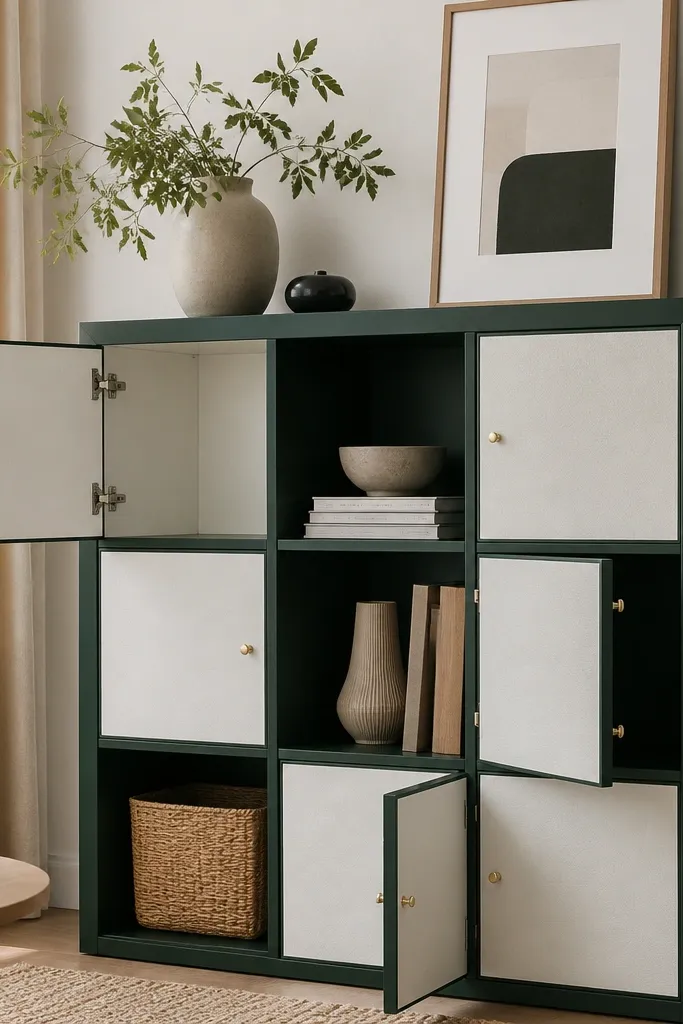
If you like switching holiday looks, vinyl lets you change the door face without rebuilding the whole door. I used removable peel-and-stick vinyl on the flat panel area and painted the trim frame separately. The door still looks finished because the vinyl stays tight to the edges and you seal over it with a light clear coat only on the vinyl area. It’s a practical trick when you want Christmas in December and spring in March.
Quick tipDo the vinyl application in a warm room (around 70°F / 21°C) so it lays flat and doesn’t fight the adhesive.
Make the door slab first, then paint and seal the frame. Cut vinyl to the panel area, leaving a 1/16 in margin so it doesn’t curl at the edge. Press with a plastic squeegee from center outward, and use painter’s tape to hold corners while you align it.
One warningDon’t stretch vinyl when applying — stretched corners lift later.
4. Reeded texture doors using routed grooves for a luxe look
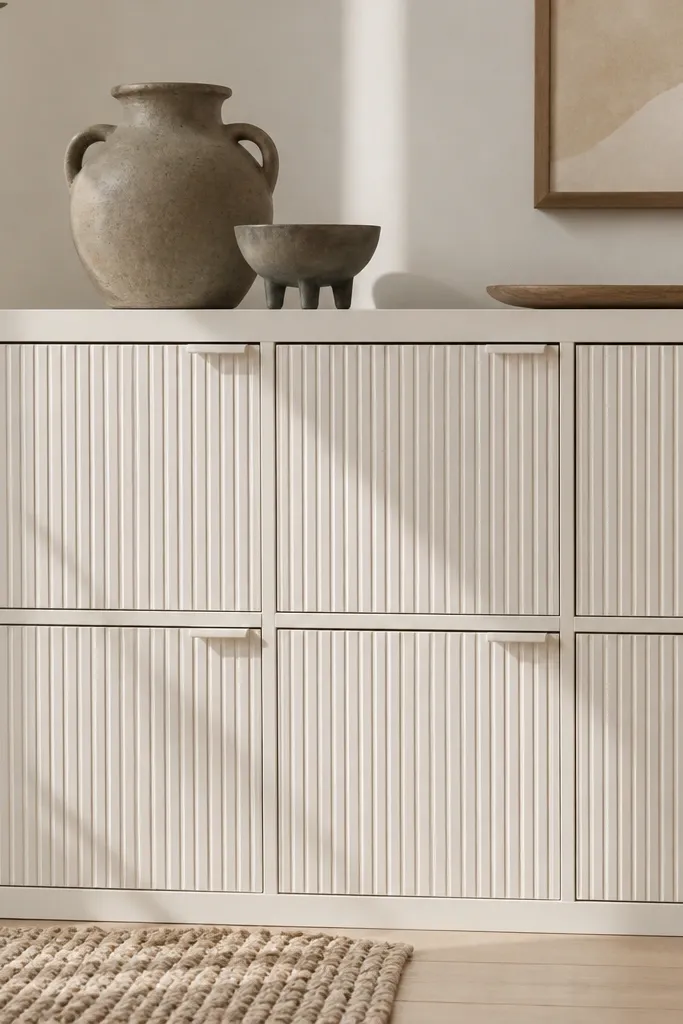
Vertical reeded lines make the door feel architectural even when the rest of the shelf stays simple. I like off-white or warm ivory here because the shadows look gentle, not harsh. This design also hides tiny dents and sanding marks because the texture breaks up the surface. For holiday seasons, you can keep decor colorful since the doors provide calm structure.
Quick tipTest the groove spacing on a scrap first — the wrong spacing looks cramped on small door panels.
Start with a 1/4 in MDF door face. Use a router with a small round-over bit or a straight bit with a jig to cut parallel grooves; spacing around 1/4 in between grooves looks right on Kallax scale. Paint the doors after routing, then seal with satin clear coat to stop moisture from affecting the MDF edges.
One warningDon’t rush paint into the grooves without wiping — excess paint turns reeding into a flat blob.
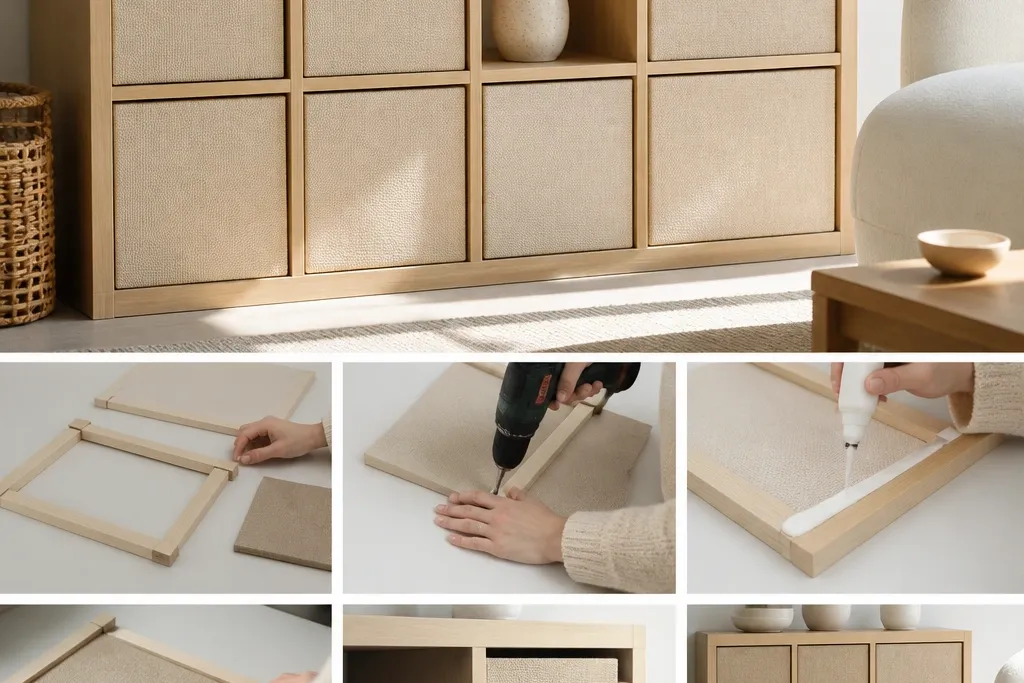
5. Fabric-covered door panels with a framed backing
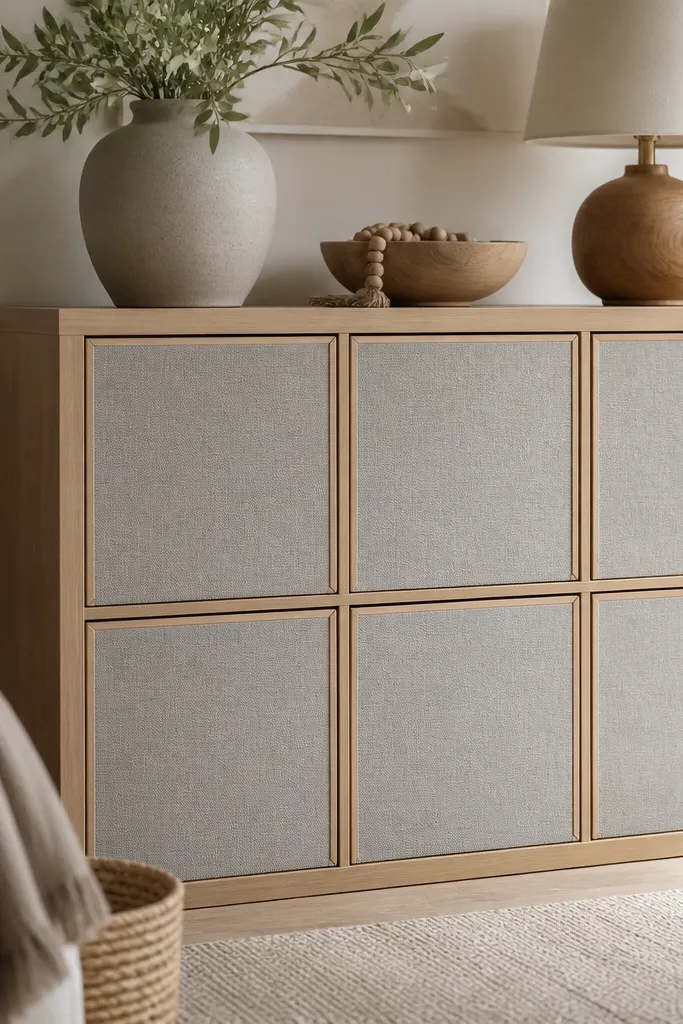
Fabric doors soften the whole Kallax and make it feel like bedroom furniture. I did this for a holiday storage corner where I wanted the doors to look cozy, not boxy. The trick is tension and a clean backing so the fabric stays flat when humidity changes. It also works well with seasonal patterns if you swap fabric later.
Quick tipSteam the fabric before stretching — it’s the difference between crisp and wrinkled doors.
Use a 1/4 in panel as the backing, then staple fabric to the back side around the perimeter. Build a thin frame so the fabric edge is hidden, and glue the frame on top of the panel edges. Keep the fabric weight medium (cotton-linen blend) so it doesn’t sag; stretch and staple in small pulls.
One warningDon’t use stretchy knit fabric — it relaxes and creates bubbles.
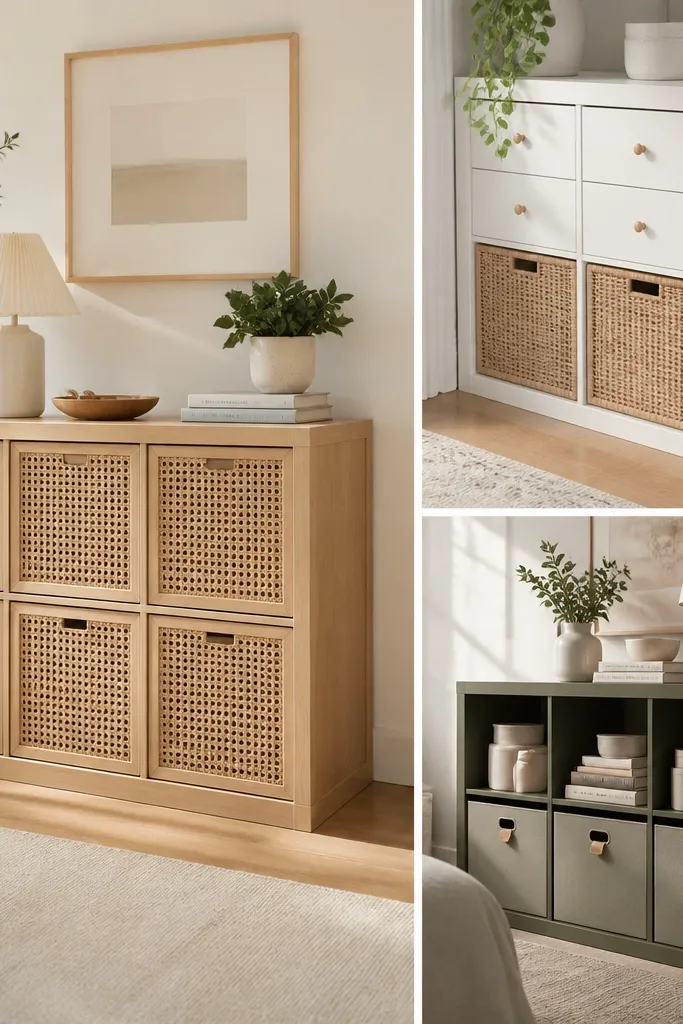
6. Cane webbing doors for a breezy spring-to-summer look
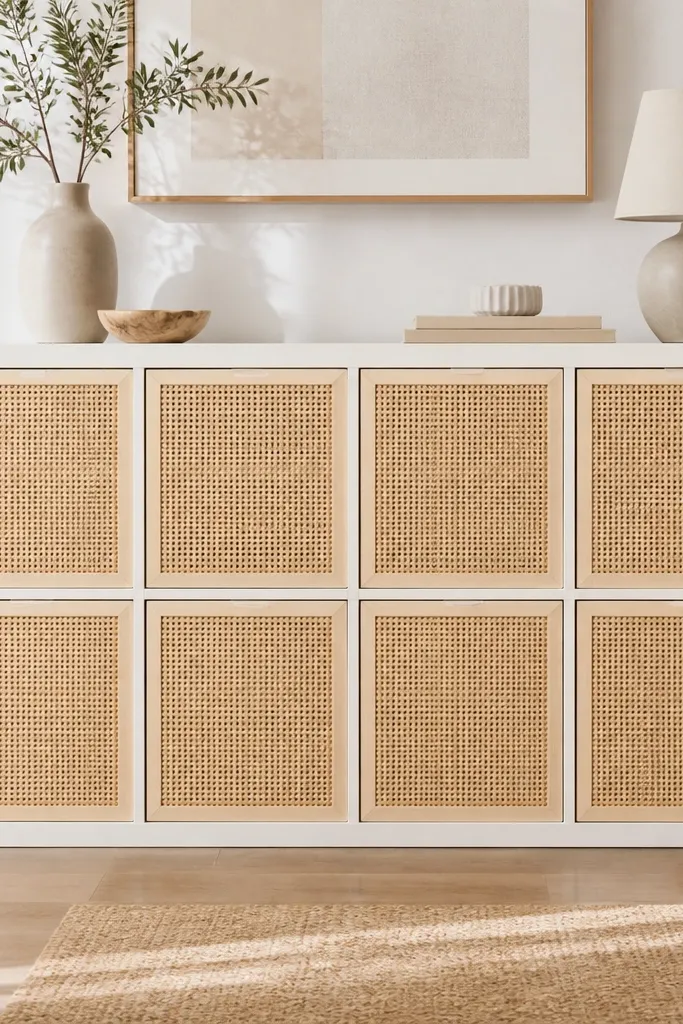
Cane webbing makes Kallax look expensive fast, and it’s great when you want the shelf to feel airy. I love using it for spring and summer storage because it keeps the room from feeling heavy. The webbing also hides small interior clutter because it breaks up the view. For holiday use, it still works with warm lights and gold ornaments.
Quick tipSpray the cane with a clear matte sealer after mounting so dust wipes off easily.
Build a frame from 1x2 trim, then cut cane webbing to size with a small allowance. Stretch the cane across the opening, tack it, then glue the edges so it stays tight. Paint or stain the frame first; install hinges only after the frame finish dries fully.
One warningDon’t over-tighten cane — it can warp the frame and make doors rub.
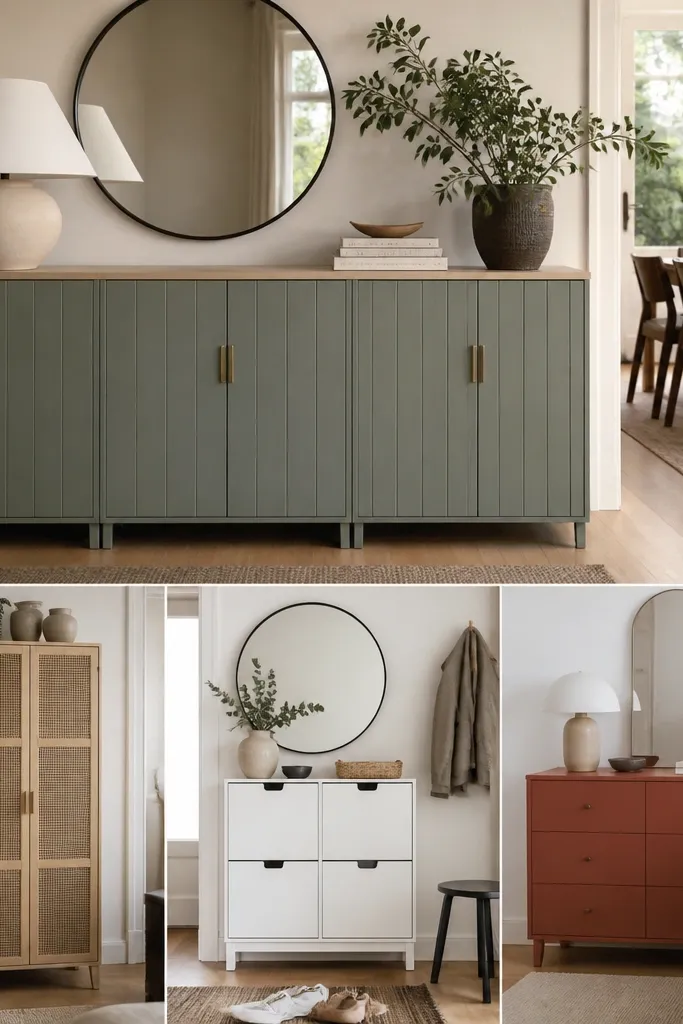
7. Matte painted panel doors with a thin gold edge band
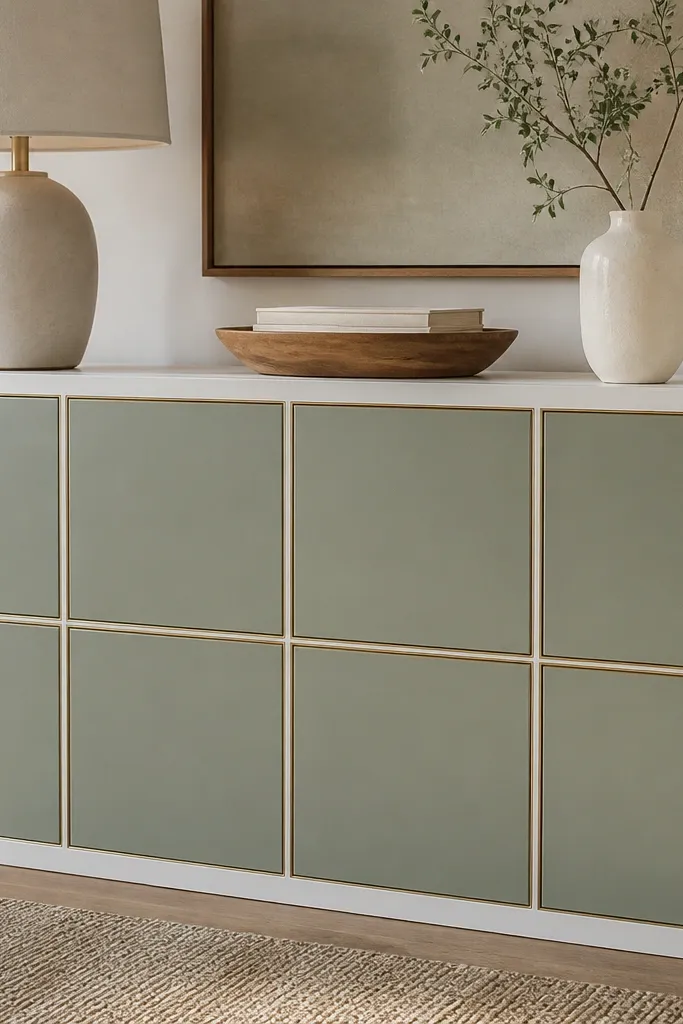
A thin gold edge band makes the door look like it came from a showroom. I’ve used sage green, dusty blue, and warm terracotta — gold makes all of them feel intentional. The band also covers small gaps from cutting and makes the door perimeter look crisp. It’s a great seasonal trick because you can swap interior decor without repainting the doors.
Paint door slabs matte with cabinet paint, then apply edge banding vinyl or thin metal trim around the perimeter. For the gold look, I prefer 1/2 in width edge banding so it reads as a line, not a frame. Attach hinges to the outer frame so the gold line stays clean and unbroken.
Use a plastic roller when applying edge banding so it seals flat at corners.
Don’t use thick chunky trim — it makes small Kallax doors look bulky.
8. Barn door style sliding panels for a space-saving upgrade
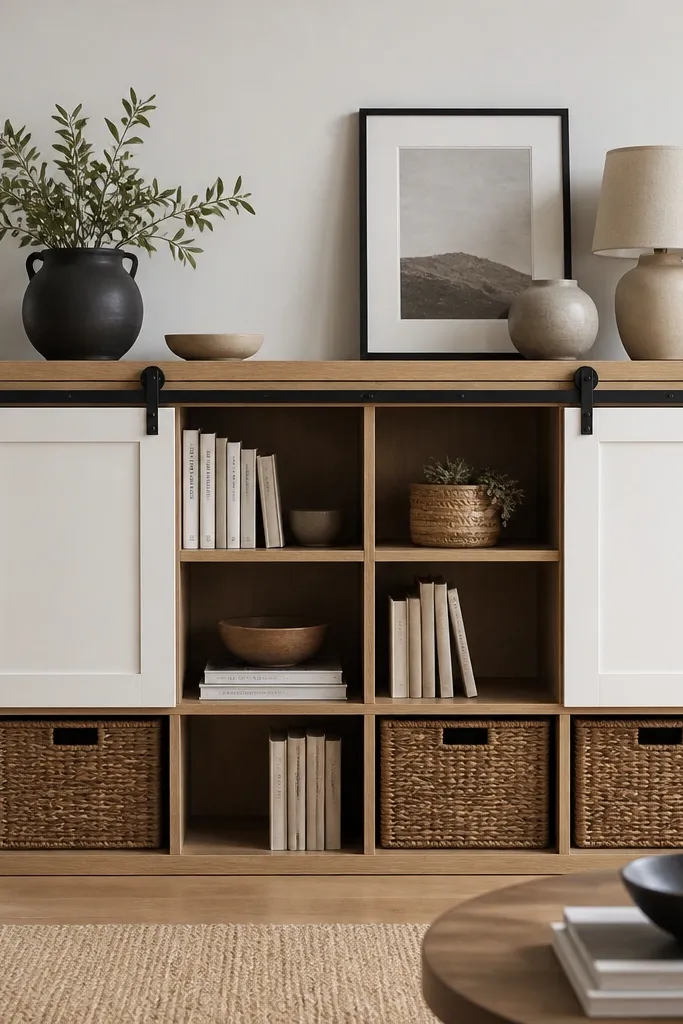
When you don’t want swing doors, sliding barn panels solve the problem instantly. I installed this for a tight hallway storage spot where hinged doors would hit furniture. The panels look like cabinet doors when you keep the panel faces flat and paint them the same as the trim. It also hides clutter while still letting you open the whole section without awkward clearance.
Quick tipLeave 1/4 in clearance between the panel and the shelf face so paint doesn’t rub on the rail hardware.
Use a single large sliding panel per opening, sized to overlap the opening by about 1/2 in on each side. Mount a barn door rail above the Kallax and install rollers to the top of the panel. Use a simple magnetic catch at the bottom so the panel stays aligned when you close it.
One warningDon’t mount the rail crooked — a slight tilt makes the panel drift and scrape.
9. Magnets and soft-close catches for a satisfying shut
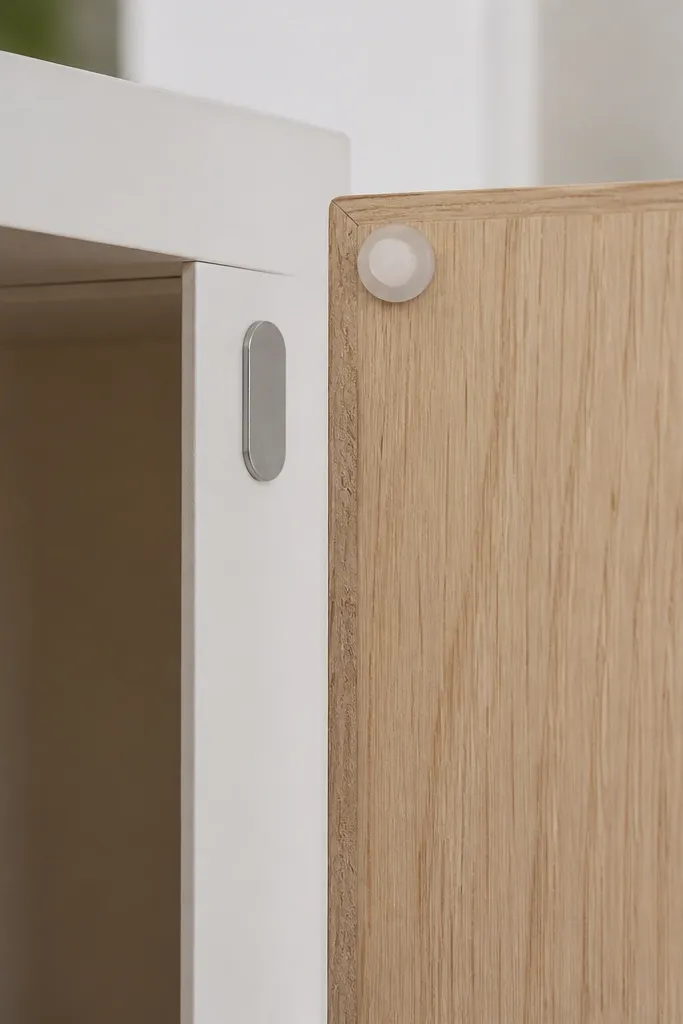
This is the part people notice without thinking about it. With magnets and a bumper, the doors close quietly and stay aligned even if you’re grabbing holiday items with one hand. I use small concealed magnets because they keep the front clean. Pairing that with a soft bumper stops the doors from slamming and chipping paint over time.
Install concealed cabinet magnets on the door frame side, then attach the matching plate to the door. Add felt or rubber bumpers on the corners where the door meets the trim frame. Adjust magnet placement so the door lands flush within 1/16 in of the reveal.
Test the closure with a stack of folded fabric inside — it shows if the door shifts when loaded.
Don’t rely on friction hinges alone — doors drift and the reveal gets uneven.
10. Hidden hinge look with overlay doors
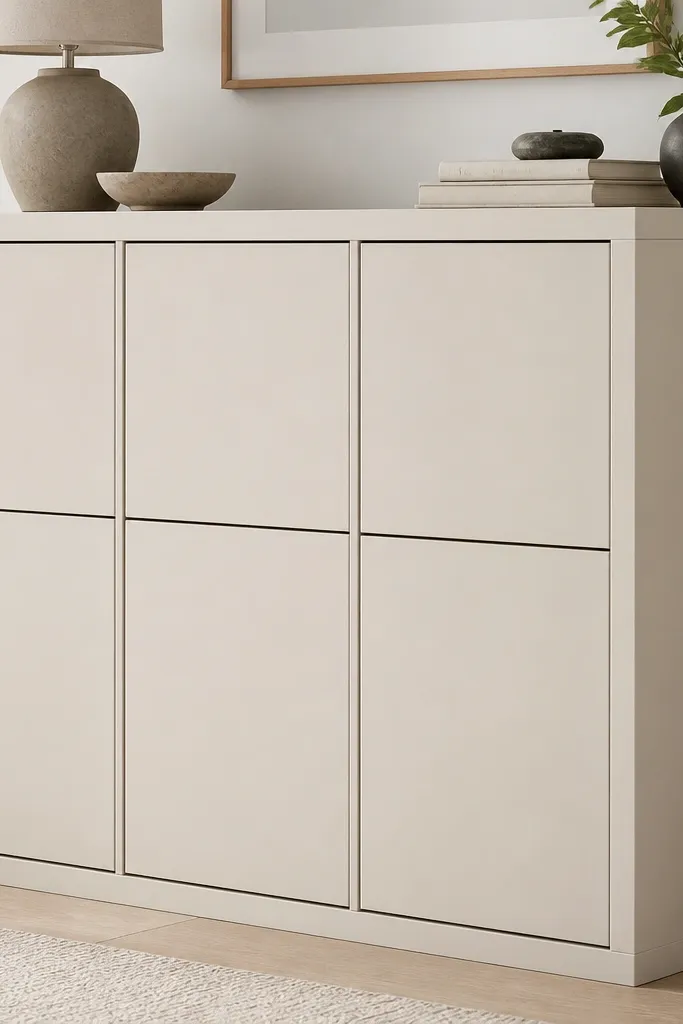
Hidden hinges make the upgrade look like a store-bought cabinet. I like overlay doors where the door covers the opening by a consistent reveal, because that seam reads clean. The hinge placement also controls how tight the door closes, which matters when you want the shelf to look finished year-round. For holiday storage, it keeps the front tidy even when you’re pulling out boxes quickly.
Quick tipMark hinge holes with painter’s tape templates so you don’t shift by even 1/8 in.
Use Euro-style hinges and mount hinge plates to the back of the door frame. Set the hinge cup depth to match your door thickness, and keep the hinge spacing consistent (I use 3 in from top and bottom edges on small doors). Dry fit the door and adjust the hinge screws until the reveal is even on all sides.
One warningDon’t overtighten hinge screws into MDF — it strips and the door sags.
11. Open-to-closed hybrid doors with frosted glass inserts
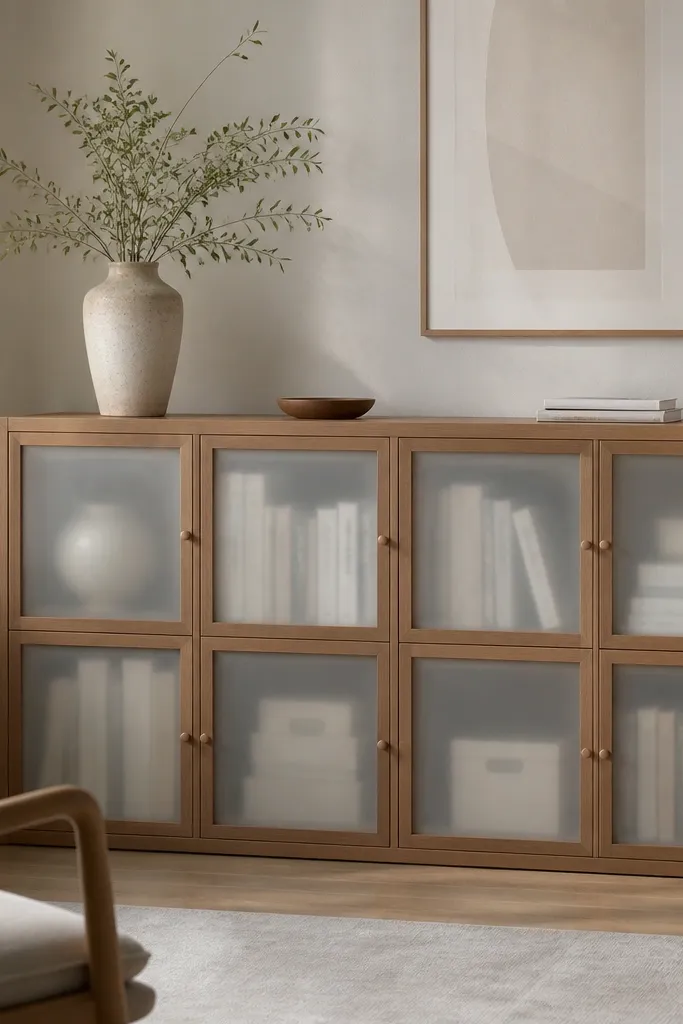
Frosted glass gives you the “contained” look while still letting you find things fast. I used this for holiday ornaments so I could spot colors without opening the doors. The frosted surface hides clutter and keeps the room from looking messy. It also adds a soft glow when you light the shelf area.
Cut a glass insert size for a frame opening and secure it with glazing strips or a thin rubber glass gasket. Use a frosted film or pre-frosted glass so you don’t need complicated glass cutting. Keep the door face thickness at 1/4 in around the frame so the hinges handle the weight without sagging.
If you use frosted film, apply it to the glass before installation so you get clean edges.
Don’t use heavy clear glass — it makes doors sag and stresses hinges.
12. Seasonal chalkboard panel doors for labels and holiday menus
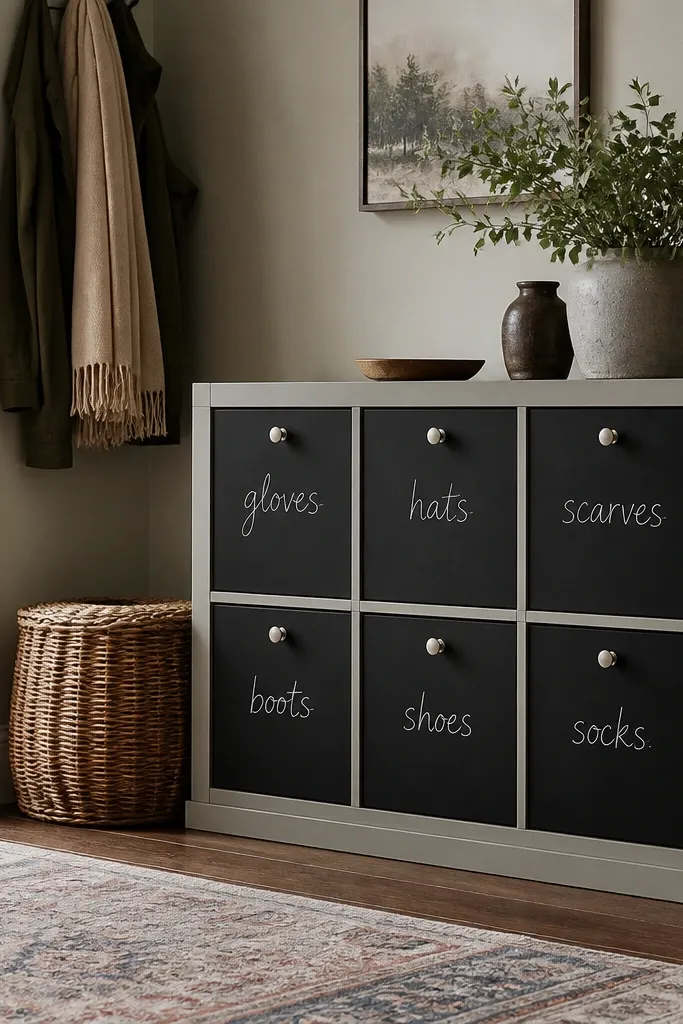
Chalkboard doors are practical when you store seasonal items and want quick labeling. I’ve used them to write “ornaments,” “tree skirt,” and “wrapping paper” so I’m not digging every time. The paint also hides small scratches that happen during busy weeks. It’s a functional aesthetic because the labels become part of the decor.
Quick tipAfter curing, rub chalk all over once and wipe off — it helps the first writing look even.
Paint door panels with chalkboard paint on a flat door face, then cure it for a full day before using chalk. Frame it with trim so the chalkboard area stays centered and doesn’t show rough edges. Finish the trim with satin paint so it wipes clean even when chalk dust transfers.
One warningDon’t use glossy paint on the chalkboard area — chalk smears.
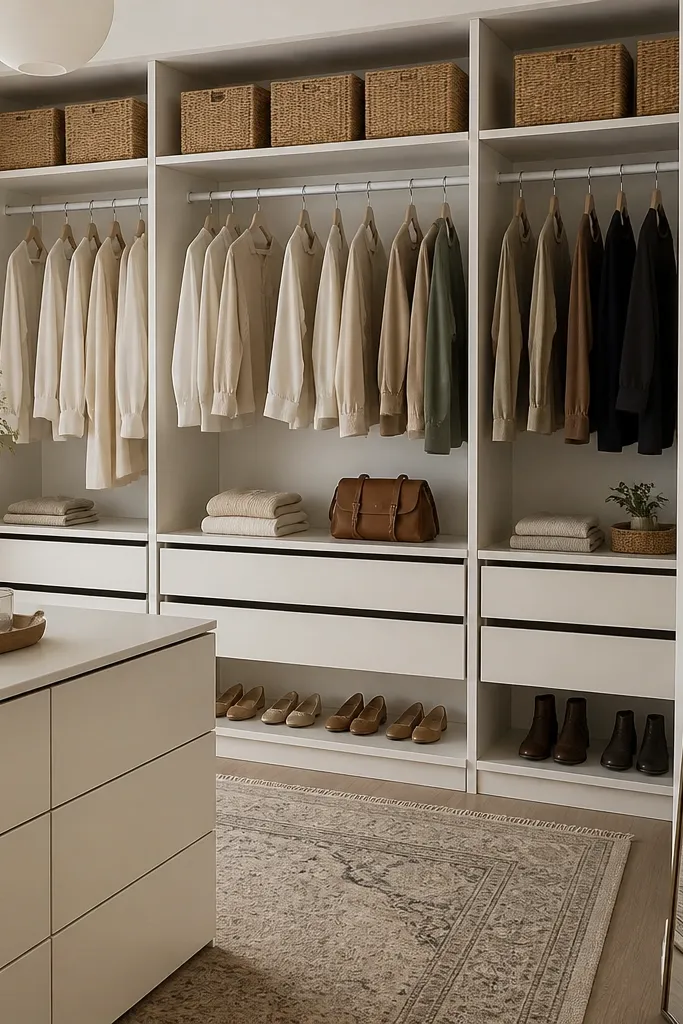
13. Woven basket inserts behind door fronts
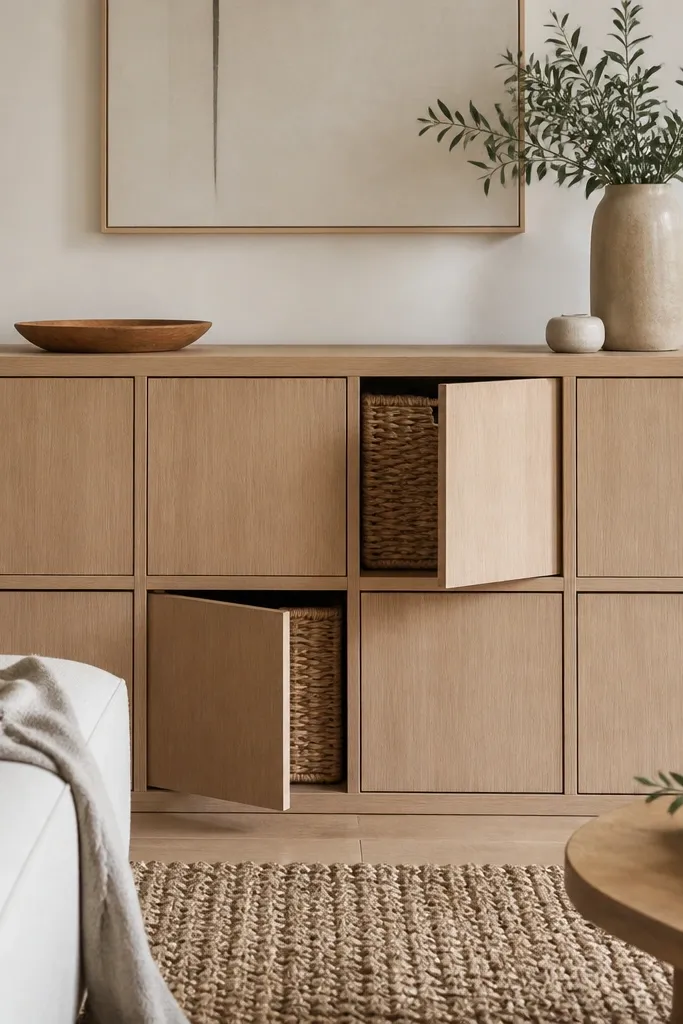
This is how you keep the inside organized without making the doors do all the work visually. I paired flat doors with openable fronts that still let me pull baskets out easily. The door hides the mess, while baskets keep items from shifting and getting dusty. It’s also a good setup for holiday storage because baskets stack neatly and you can lift them out to wrap gifts.
Quick tipUse baskets with the same height across compartments so the door reveals stay level when loaded.
Mount doors to cover the Kallax openings, then place matching woven baskets inside each cell. Leave a small clearance at the back so the basket handles don’t hit the door frame. If your doors swing, ensure the hinge side doesn’t block the basket removal path.
One warningDon’t use baskets that are too tall — they scrape the back edge when you close the door.
14. Holiday garland-ready door trim with hidden ledge
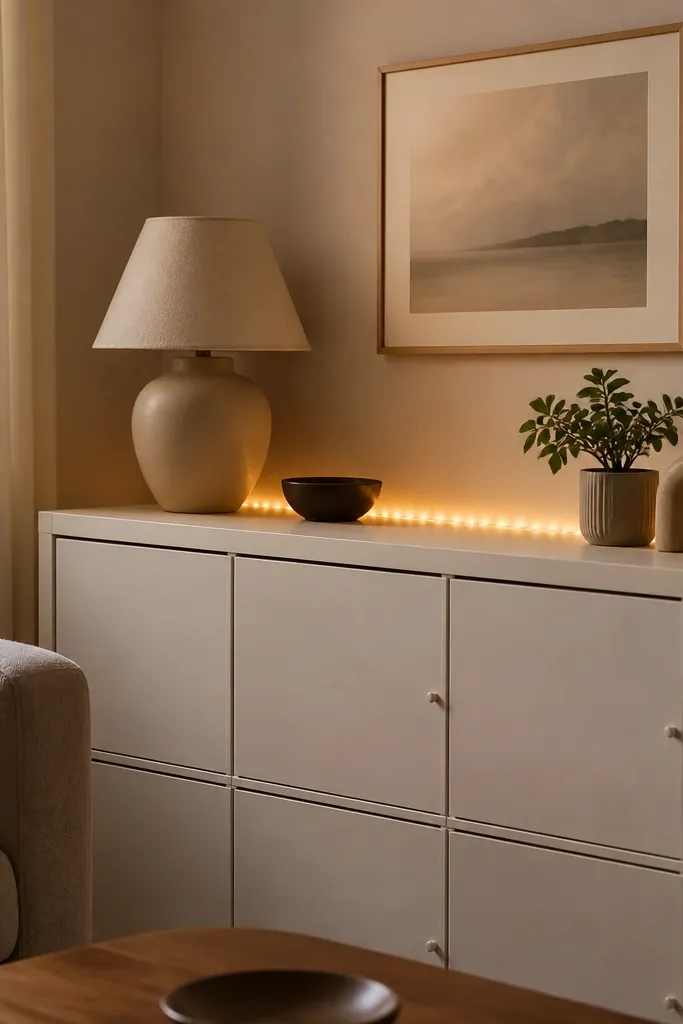
This is a door upgrade that helps you decorate without extra hooks. I built a shallow ledge along the top of each door frame so garlands and mini lights sit where they should — aligned, not tangled. The warm glow looks intentional even when the doors are closed. It’s perfect for holiday seasons when you want quick “set it and forget it” decor.
Quick tipTest the door closure with the lights installed before final paint — wires change thickness by a few millimeters.
Add a 1/2 in deep ledge strip to the top of the door frame, then paint it the same color as the trim. Route a small notch for wire routing so the string lights don’t pinch when the door closes. Use a translucent plastic diffuser strip if you want softer light instead of bright points.
One warningDon’t route wires where the hinge swings — it leads to pinched insulation after a few openings.
15. Cable-management backer so doors close flat with cords
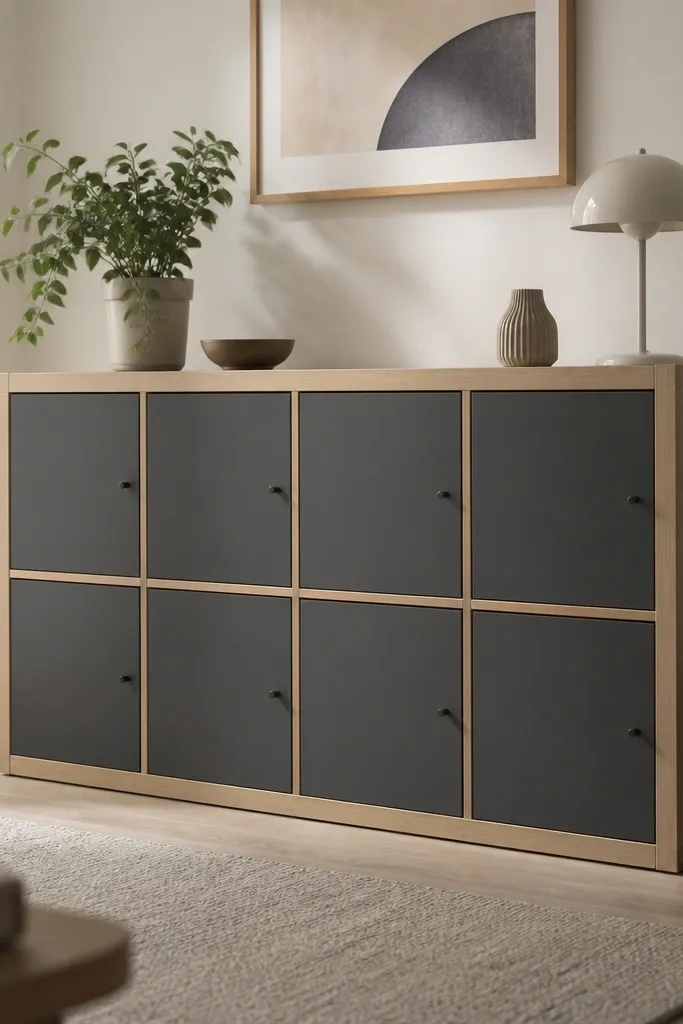
If your Kallax holds a lamp, light box, or holiday projector, cords ruin the clean look fast. A backer board behind the opening gives you a place to route power so the door closes without bulging. I’ve used this when I wired small seasonal lights in the compartments. The front stays smooth and the door seam stays consistent because nothing pushes into it.
Cut a backer board from 1/4 in plywood to fit behind the opening, then screw it to the inside frame at the perimeter. Route cords through a small notch and secure them with zip ties so they don’t flop. Before installing the door, close it while gently pushing the cord path down to confirm there’s clearance.
Use flat braided cord where possible — it saves space compared to round cords.
Don’t leave cords loose — they push the door out and the reveal gets uneven.