1. Pearl-Edge Mini Photo Frames on Place Cards
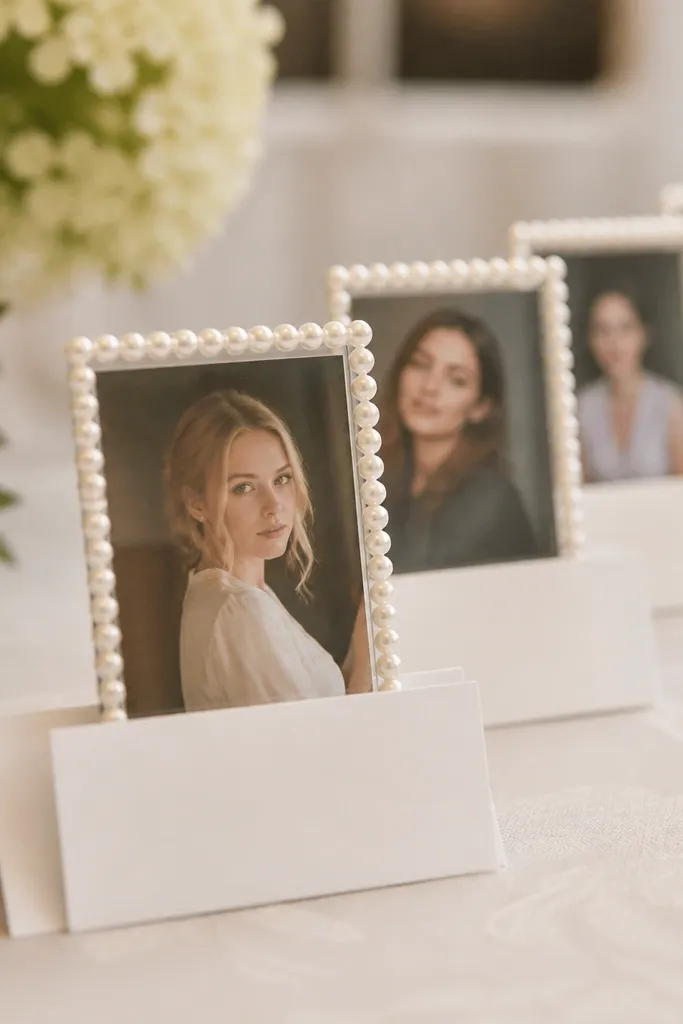
Buy pre-cut mini frames or make your own with a clear acrylic sheet cut to about 2.5 x 3.5 inches. Wrap a narrow strip of cardstock behind the acrylic in ivory, then glue pearls only on the top and side edges (skip the bottom for easier placement). Attach the frame to the place card with hot glue dots so it doesn’t slide.
This is one of my favorite beginner wedding crafts because the frame hides messy edges. Use a thin clear acrylic or plastic photo holder so the photo looks crisp, then glue faux pearls along only the outer border to add a soft glow. The pearl line makes the cards look intentionally styled, even if your handwriting or photo edges are slightly imperfect.
One warningAvoid covering the entire frame in pearls; it turns into a chunky craft look fast in photos.
Quick tipUse the same pearl size across all cards — I like 4mm for a clean, not-too-busy look.
2. Satin Ribbon Napkin Rings with Faux Pearl Clusters
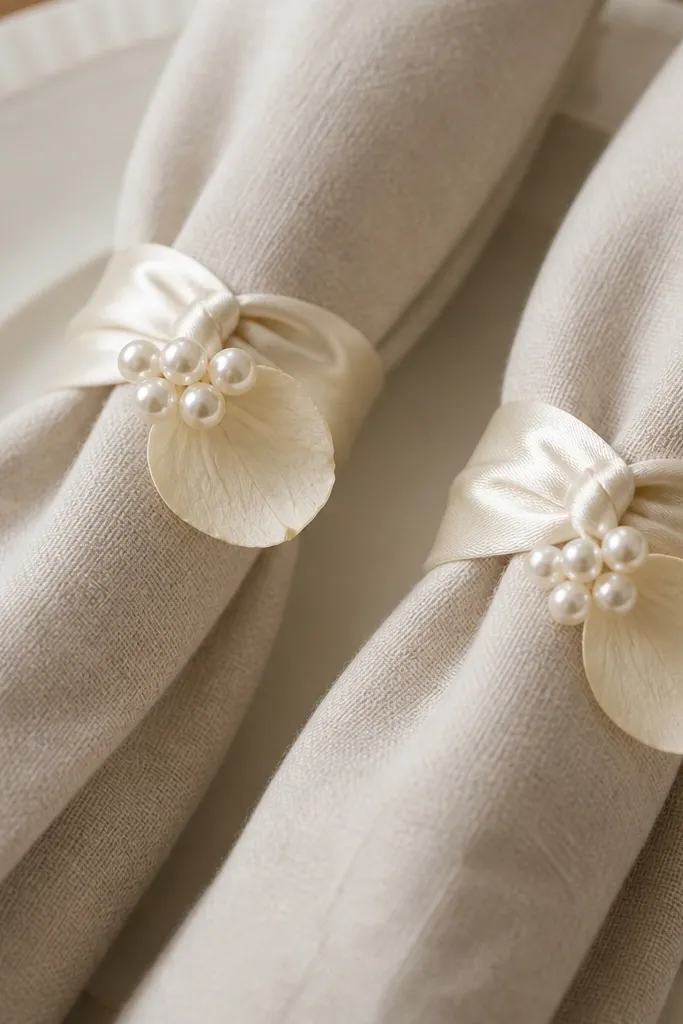
Napkin rings are an easy win because they dress up the table without needing perfect symmetry. Satin ribbon holds shape, and the faux pearl cluster adds a “jewelry” effect that reads fancy. Keep the cluster small and centered so it looks like a deliberate accent, not a craft pile.
Cut ribbon strips 10 inches long and 1 inch wide. Wrap around the napkin and tie a tight double knot, then glue a small felt circle (about 1 inch) under the pearl cluster to protect the napkin fabric. Use fabric glue for pearls so they don’t pop off during setup.
Test the knot once on a scrap napkin — satin slips if your knot is too loose.
Don’t use glitter glue on table items; it smears and looks rough under warm lighting.
3. Hanging Tulle Name Tags for the Bridal Party
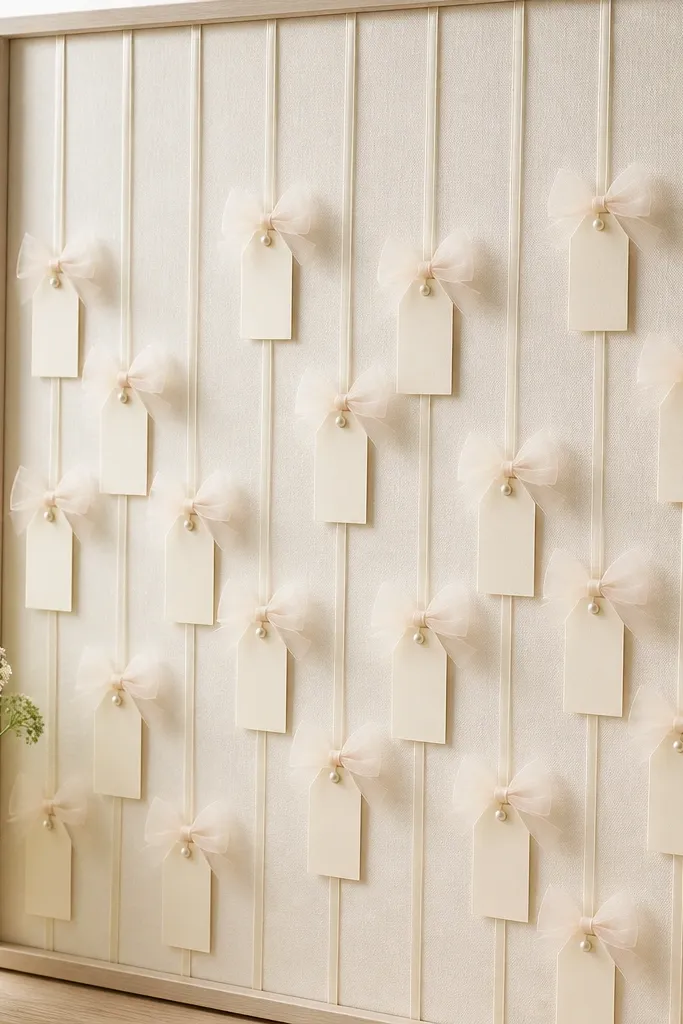
Cut 3-inch squares of tulle and gather them around the pearl cap using a small glue dot. Attach to a 6-8 inch piece of ribbon or twine, then tie the top to a clipboard, foam board, or a wooden dowel mounted on a stand. Print names on cream cardstock and punch a small hole for the string.
These tags look airy and romantic, and they don’t require calligraphy perfection. Tulle gives volume and hides uneven folds, while the pearl anchor makes the top attachment look intentional. The hanging layout also photographs well because it creates movement and soft texture.
One warningAvoid thin paper tags without reinforcement; they curl when touched.
Quick tipUse black or deep brown ink on cream — it reads sharp in photos without looking harsh.
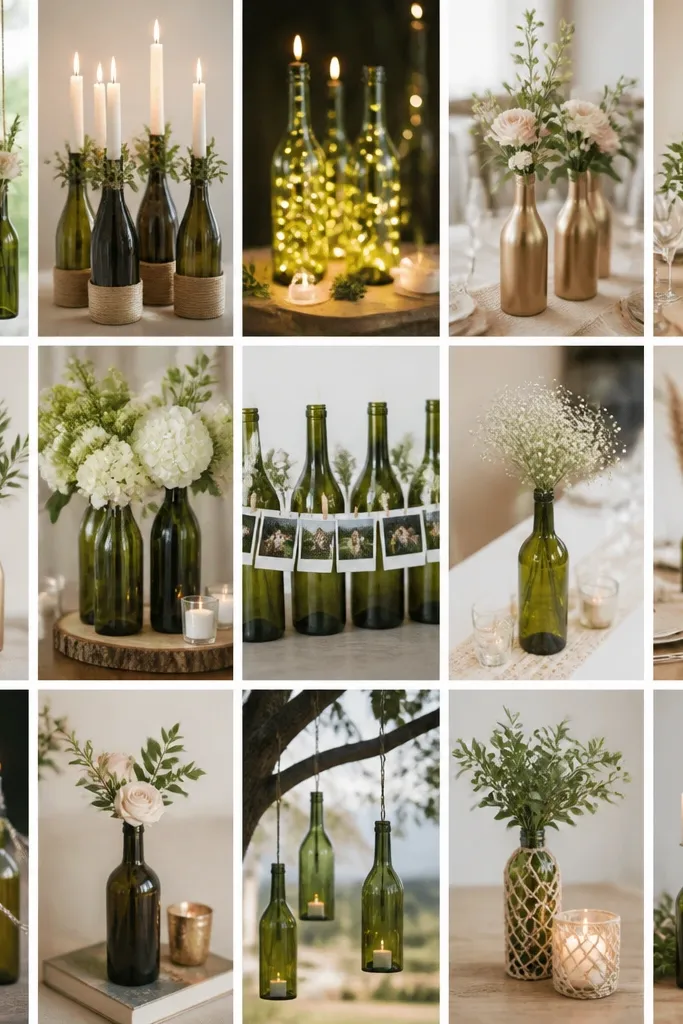
4. Gilded Twine Vases for Single-Stem Centerpieces
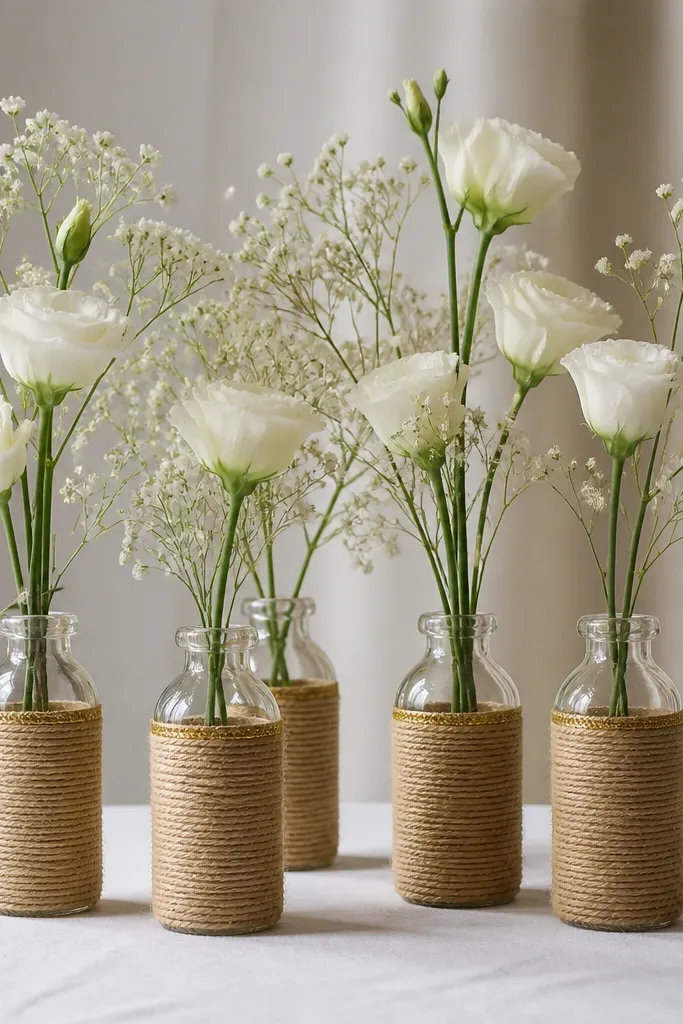
Start with clear glass bottles (about 4-6 inches tall). Wrap twine tightly from bottom to neck with hot glue every 1-2 inches, then paint a thin gold stripe using a small craft brush. Seal the paint with a clear matte sealer spray if you plan to handle them often.
This craft looks expensive because twine creates a textured surface that takes paint and light beautifully. A narrow gold line at the top makes the whole thing look styled, not homemade. Using single stems keeps it clean and modern, which also helps if you’re working with limited flowers.
One warningDon’t use heavy glitter paint; it flakes when flowers get misted.
Quick tipWrap twine while the bottle is dry and cool — glue stretches as it cools and can create lumps.
5. Butterfly Paper Confetti Cones for Aisle Toss
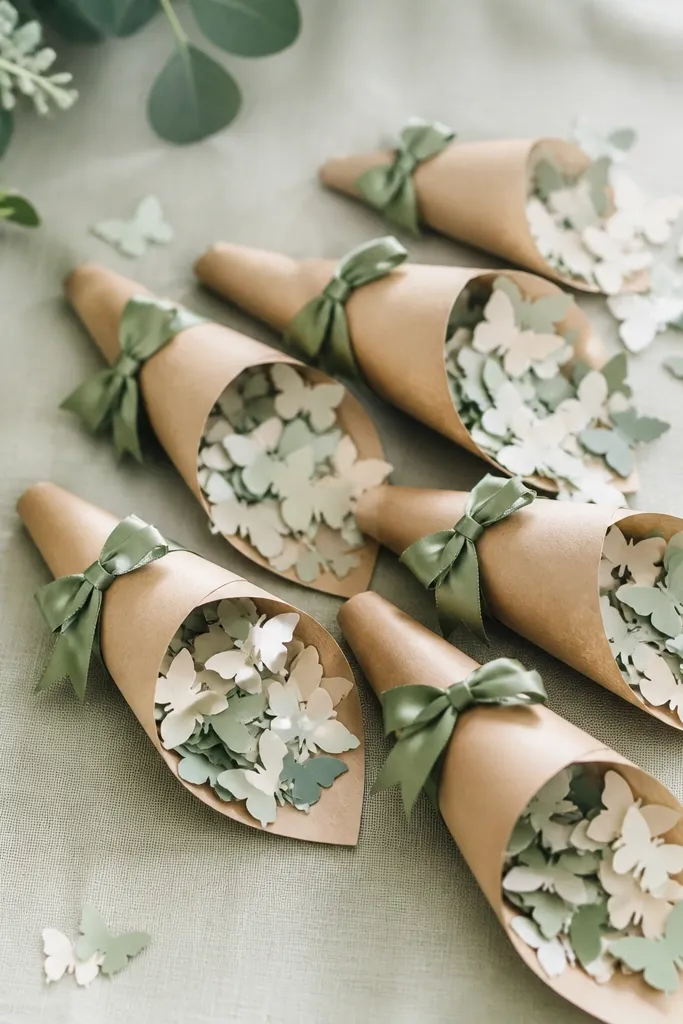
Use 3-4 inch kraft paper cones or make them from cardstock and tape the seam. Fill with butterfly confetti cut from 70-80 lb paper, then close with a twist tie. Tie a 2-inch ribbon bow on the front for a focal point.
Cones are safer and cleaner than loose confetti, and they look adorable in aisle photos. Butterfly cutouts add movement without needing real flowers. The kraft base keeps it earthy, while the ribbon color gives it a wedding palette feel.
One warningAvoid super-thin tissue confetti; it clumps and sticks together.
Quick tipPunch butterflies in two sizes so the toss looks fuller in motion.
6. Pressed Flower Wax Seal Tags for Gift Tables
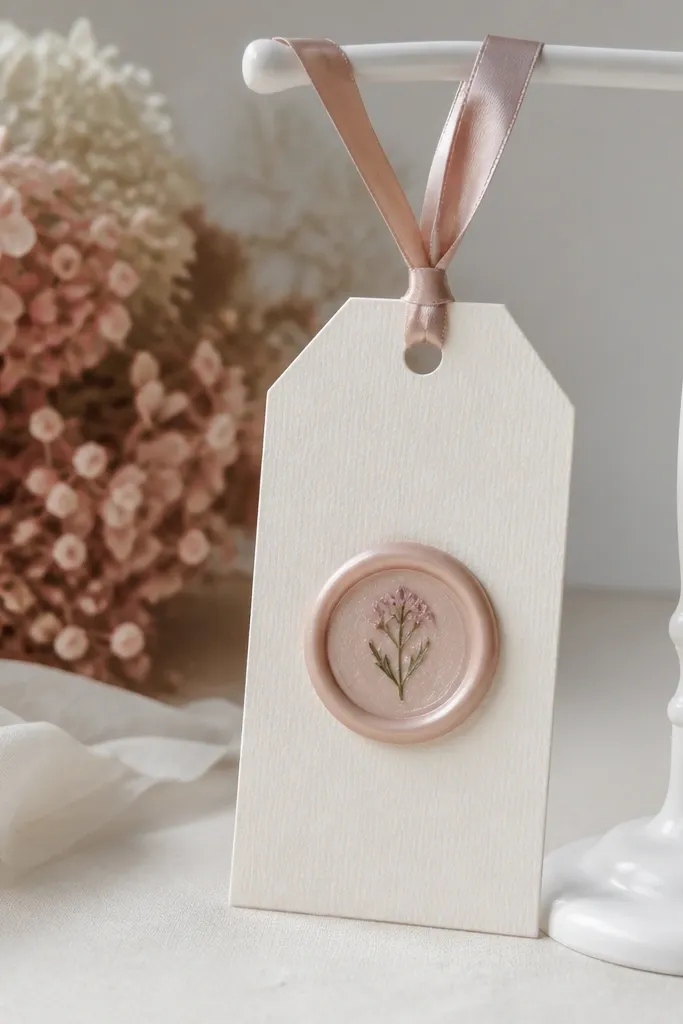
Use premade wax seal stamps or seal kits with a 1-inch seal head. Press small flowers between parchment under heavy books for 1-2 weeks. Place the flower in the seal area, melt wax over it, then attach the tag with satin ribbon.
Wax seals make even simple tags look formal, and pressed flowers add a personal touch. You get a controlled, repeatable shape — beginners love that. Keep the pressed flower small and centered so the seal looks like jewelry rather than a messy blob.
One warningDon’t use wet flowers; the seal will bubble and smear.
Quick tipChoose flowers with flat petals like pansies or tiny daisies — they press flatter.
7. Mini Macramé Candle Holders with Wooden Beads
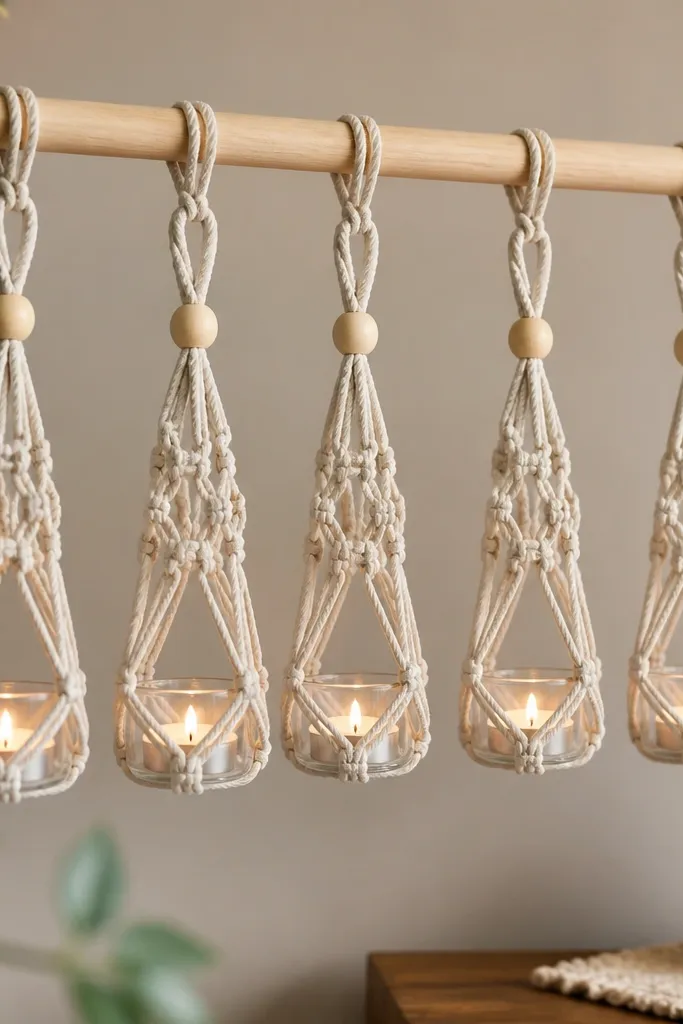
Macramé adds texture without complicated tools. Wooden beads warm up the look and keep it from feeling too boho-cold. Tea lights in glass holders keep the craft safe and consistent for a wedding setting.
Use cotton macramé cord (3mm) and a pre-sized candle holder glass (about 2.5-3 inches tall). Tie a simple loop knot at the top, add beads on two center cords, then braid or knot the sides to hold the candle glass steady. Hang from a dowel or a string line with sturdy hooks.
Mark your cord length with tape before tying — macramé looks uneven if one strand is longer.
Avoid knotting directly around the candle glass without a buffer; the glass can rattle and loosen knots.
8. Tulle and Pearl Balloon Tassel Table Decor
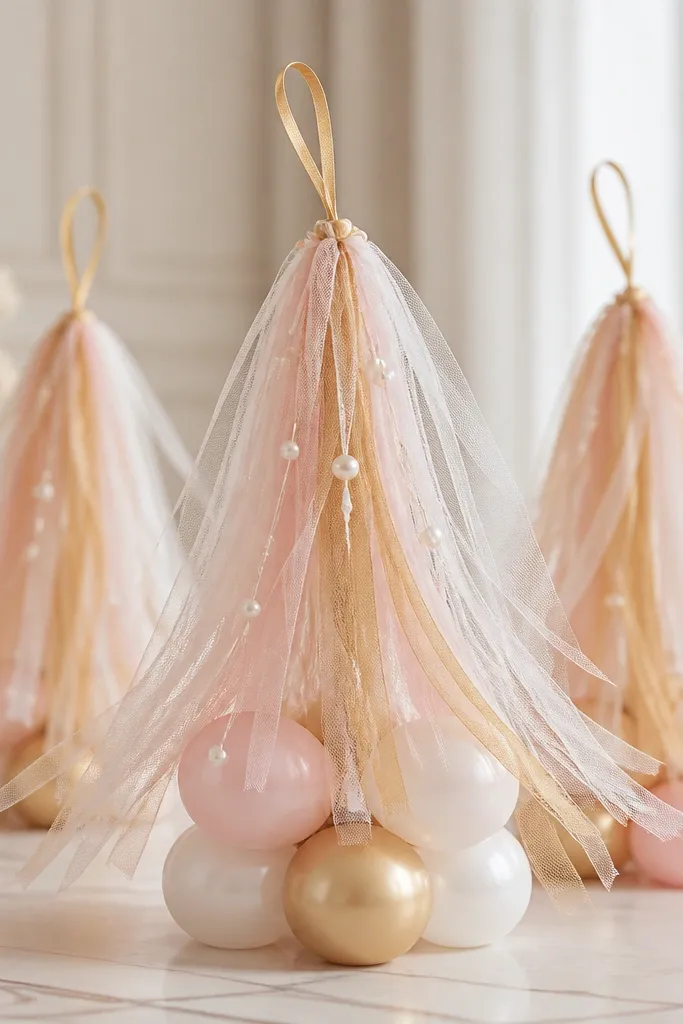
Balloon tassels are playful and still classy if you keep the palette tight. Tulle strands create a soft curtain effect, and pearl drops add that “wedding” signal instantly. This looks great on cocktail tables and dessert bars where guests walk past it.
Use mini balloons or balloon bases, then tie 10-14 tulle strips (about 6 inches long) around the base. Glue or wire a short pearl strand to the center. Finish with a thin gold ribbon loop so you can hang it or clip it to a stand.
Choose tulle that is slightly shiny (satin tulle) so it looks better under warm venue lights.
Don’t use too many colors in tulle; it turns into party decor fast.
9. Cream Lace Coasters with Heat-Transfer Vinyl Initials
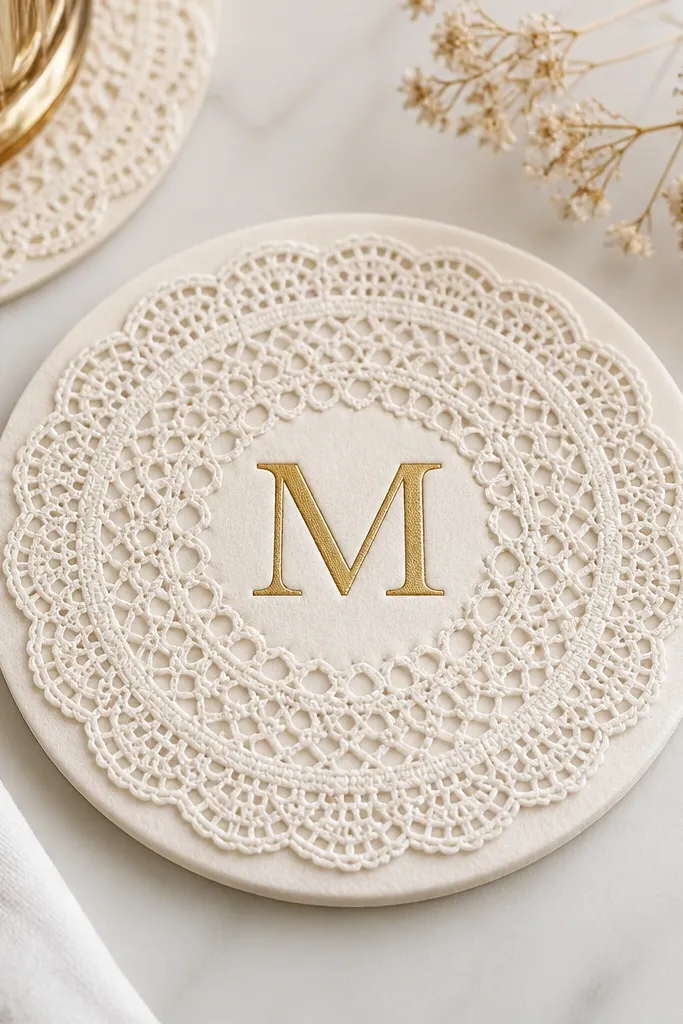
Cut circles of felt (about 4 inches) and layer lace on top. Use a hot iron or heat press to apply 1.5-inch vinyl monograms to the lace. Seal the edges with a thin line of fabric glue on the underside so it doesn’t fray.
This craft turns basic place settings into a personalized set. Lace feels romantic, and vinyl initials look crisp from a distance. Using a felt backing keeps the lace from curling and makes the coaster sturdy.
One warningAvoid leaving lace edges loose; frayed lace looks messy under close-up photos.
Quick tipWarm the felt first with the iron for 3-5 seconds before vinyl — it helps the vinyl grab cleanly.
10. Sequin Letter Banner with Pre-Cut Cardstock Backing
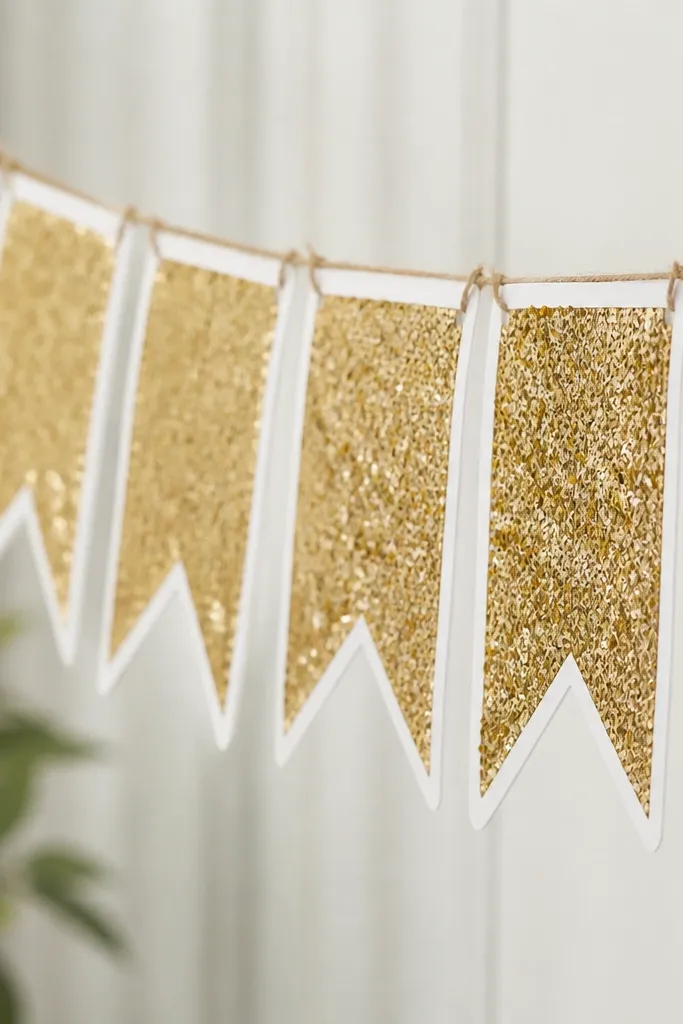
Letter banners look great in ceremony photos, and they’re way easier when you back the sequins with cardstock. The matte backing keeps the letters flat, so the sequins sit evenly. Pick one message like “MR & MRS” so you don’t end up with a giant complicated layout.
Use thick cardstock to cut letter shapes (6-8 inches tall). Apply sequin fabric or glue sequins in rows, then glue a second cardstock layer behind to reinforce. Punch holes at the top corners and string with twine.
Do sequins in rows, not random blobs — it keeps the edges neat.
Don’t hang a thin banner over uneven knots; it droops and looks handmade in a bad way.
11. Rose-Gold Acrylic RSVP Sign with Vinyl Letters
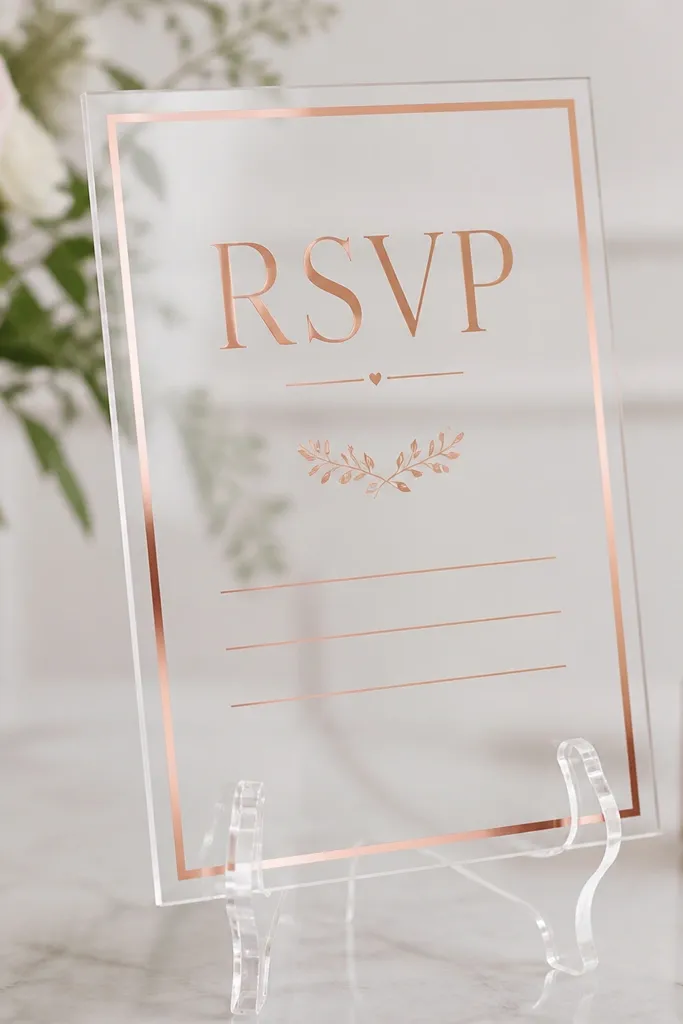
Use a clear acrylic sheet cut to about 8 x 10 inches with rounded edges if possible. Apply vinyl letters with transfer tape, then add a simple border line. Place on an acrylic easel or a weighted stand so it doesn’t tip in wind.
Acrylic signs look clean and modern, and vinyl lettering keeps everything sharp. Rose-gold vinyl adds warmth without going full metallic chaos. This is one of those beginner-friendly projects where the hardest part is choosing the font style.
One warningAvoid using cheap glossy ink prints; they smear in real venues under humidity.
Quick tipPress vinyl with a firm scraper and go slow — bubbles ruin the look fast.
12. Floating Candle Centerpieces in Glass Trays
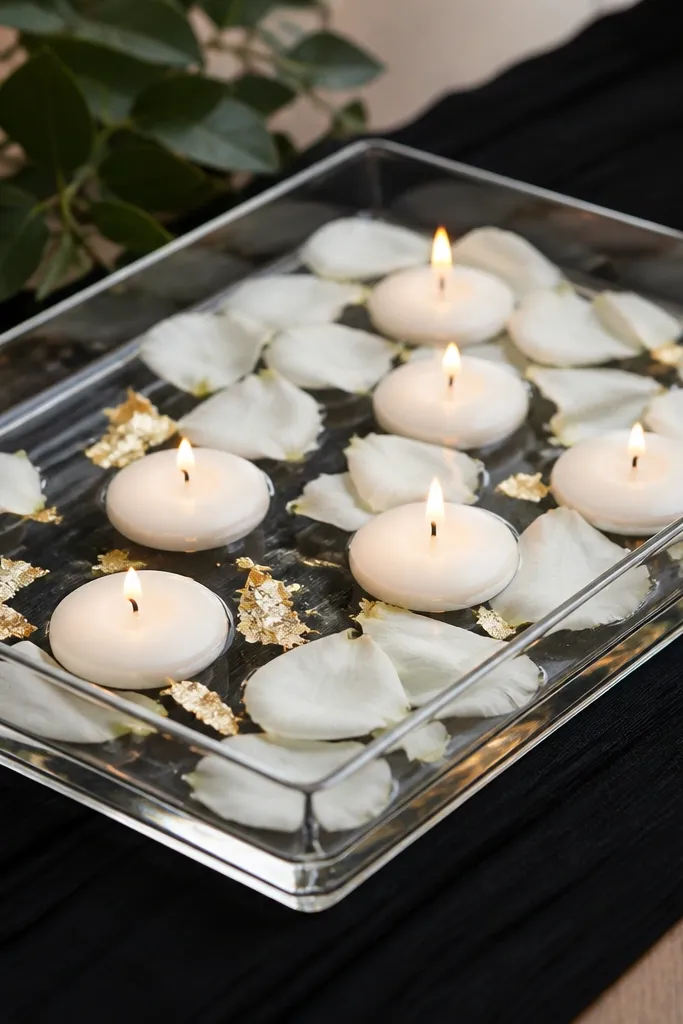
Use a clear glass tray (about 12 x 8 inches). Place floating candles or tealight cups designed for floating, then add water to just below the candle rim. Drop in 10-15 petals and 3-6 tiny gold leaf bits.
Floating candles are dramatic without being hard. The water surface gives you a soft shimmer, and a light scatter of petals looks romantic instead of cluttered. Gold leaf flakes add sparkle in a controlled way — just a few pieces per tray.
One warningDon’t overfill with petals; it turns into a drifting mess by the time people arrive.
Quick tipUse distilled water for fewer spots, especially if your venue has hard water.
13. Botanical Table Numbers with Watercolor-Style Print + Frame
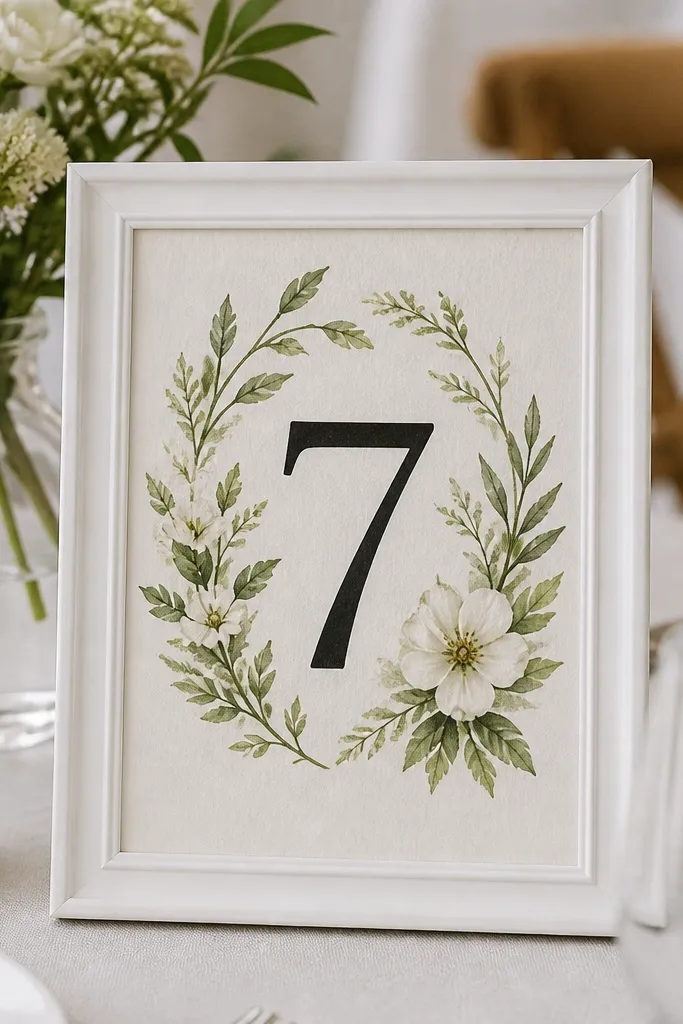
Print botanical cards on thick cream paper (80-100 lb). Use frames about 5 x 7 inches so the number sits large. Insert a white backing sheet and keep the number color dark (black or deep charcoal).
Table numbers should be readable from across the room, not just pretty up close. I like watercolor-style prints because they look soft and expensive while staying easy to assemble. Putting them in matching frames makes the set look coordinated even if you use different number designs.
One warningAvoid tiny table numbers; if guests need to lean in, they look cheap and stressful.
Quick tipChoose one font family for every number so it looks like a single designer set.
14. Tulle Wedding Arch Garland for Chairs
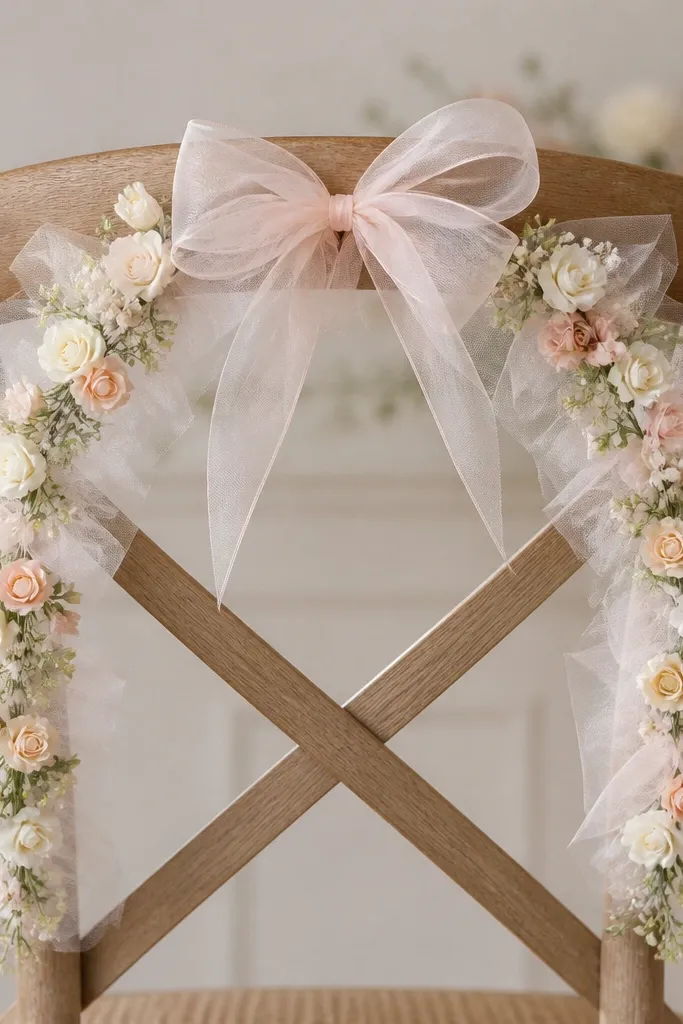
Attach a ribbon loop to the top of the chair back, then drape tulle in 12-18 inch strands on both sides. Add three small faux flower clusters spaced evenly along the curve, and secure with thin floral wire hidden behind the tulle. Finish with a wide satin bow across the top.
Instead of building a full arch, you can decorate chair backs and still get that ceremony-photo look. Tulle forms a soft, layered curve, and small faux blooms give a focal point. This looks great for intimate ceremonies and for any venue where you can’t mount heavy decor.
One warningAvoid flimsy organza-only decor; it collapses and looks flat in photos.
Quick tipUse tulle lengths that reach at least 2/3 of the chair height for a balanced curve.
15. Personalized Champagne Bottle Wraps with Faux Pearl Trim
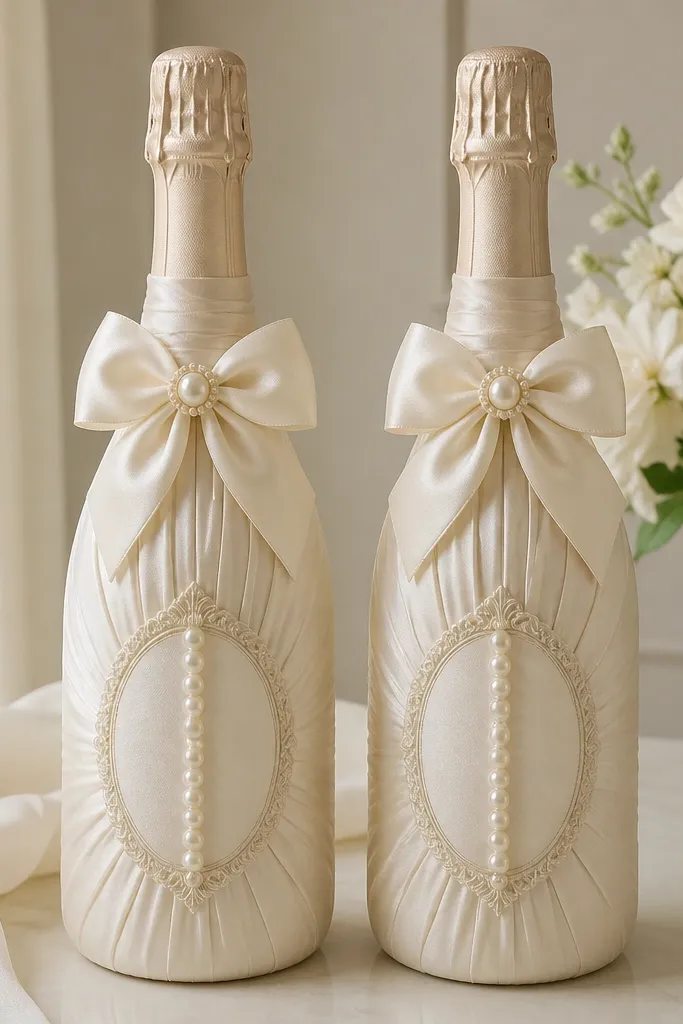
Bottle wraps instantly make the bar look styled, and they hide labels that don’t match your wedding colors. Satin fabric looks smooth and holds shape, while faux pearl trim gives a clean vertical line. This craft also works for anniversary events or “bride and groom” bottles.
Cut satin pieces to wrap around the bottle with a 1-inch overlap. Glue the seam on the underside with hot glue, then add a vertical strip of pearls on the front using fabric glue. Print a simple label block and secure it with a ribbon band.
Keep the pearl strip centered — use a ruler and tape to line it up before gluing.
Avoid thick ribbon bows that look crushed; steam and reshape before attaching.
16. Macaron-Style Mini Favor Boxes with Lace Bands
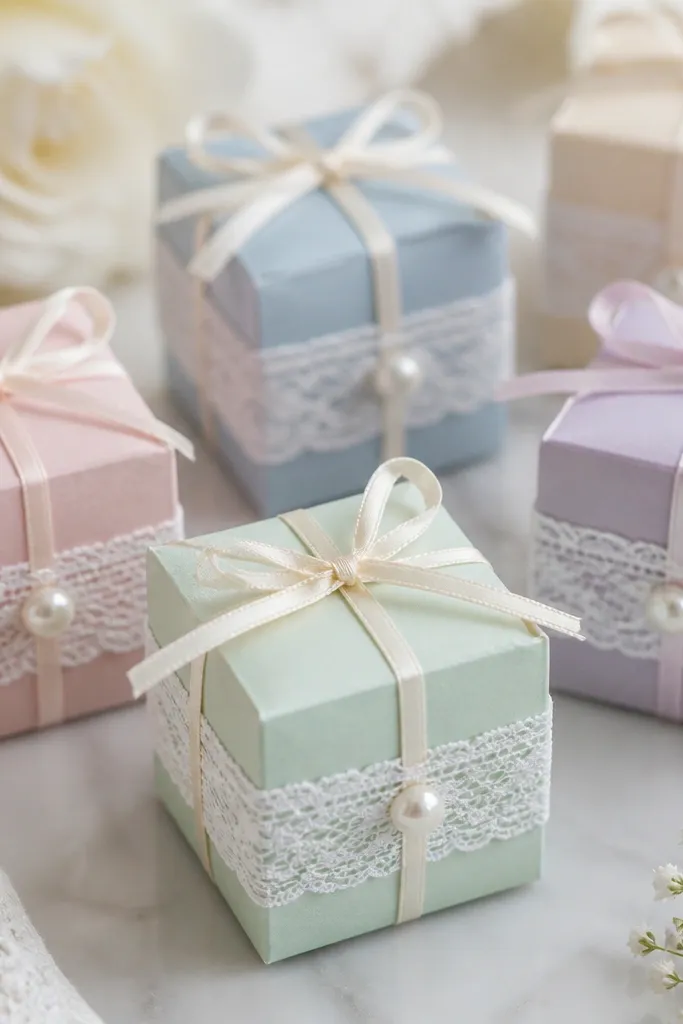
Use pre-cut or assembled square boxes (about 3 x 3 inches). Wrap a 1-inch wide lace strip around the center and glue the ends underneath. Tie a thin satin ribbon around the lace, then add one pearl drop at the join.
Favor boxes look cute when they look consistent. The lace band gives a wedding feel, and pastel boxes make it feel playful without being childish. The pearl at the band overlap looks like a clasp, which makes the whole thing read as designed.
One warningAvoid mixing lace patterns across boxes; one pattern repeated looks more expensive.
Quick tipMatch lace color to your neutral base, like ivory lace on cream boxes.
17. Crepe Paper Floral Napkin Flowers
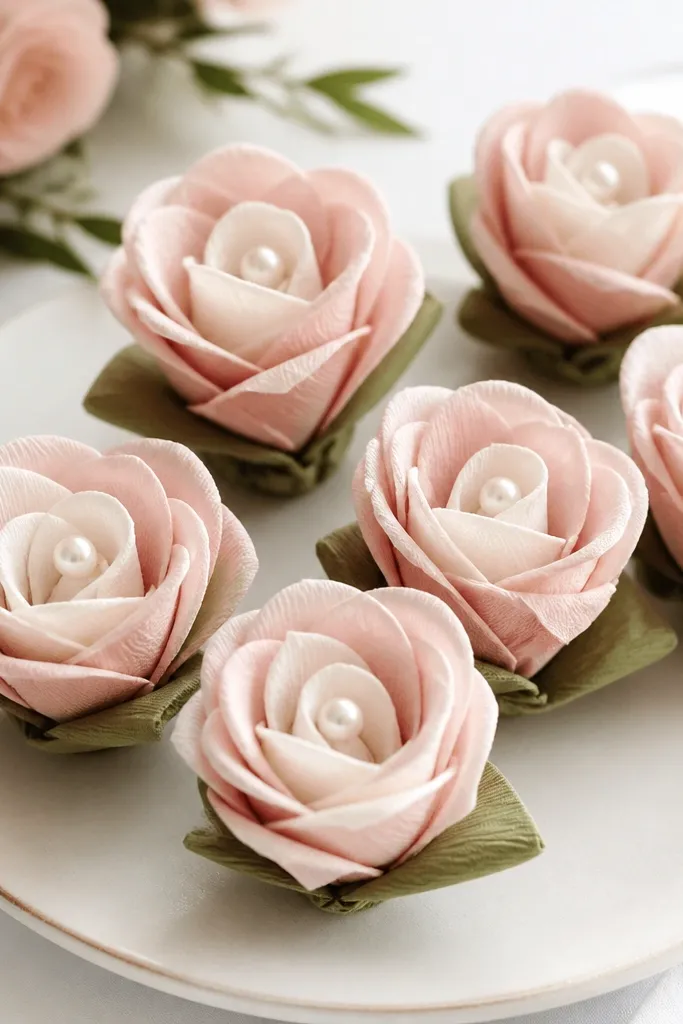
Cut crepe paper strips and shape petals by gently stretching the paper lengthwise. Roll the center strip around itself to make a bud, then glue petals around it in a spiral. Insert the final bud into a napkin folded into a cone or roll so the flower sits upright.
These napkin flowers look like real blooms but are much easier than you’d think. Crepe paper petals have natural texture, so you don’t need perfect edges. When you add a pearl center, the whole thing reads as floral decor instead of craft paper.
One warningAvoid thick cardstock petals; they don’t drape and look papery.
Quick tipMake three petal sizes: small, medium, and one larger outer layer.
18. Mirror-Polished Table Confetti in Mini Glass Jars
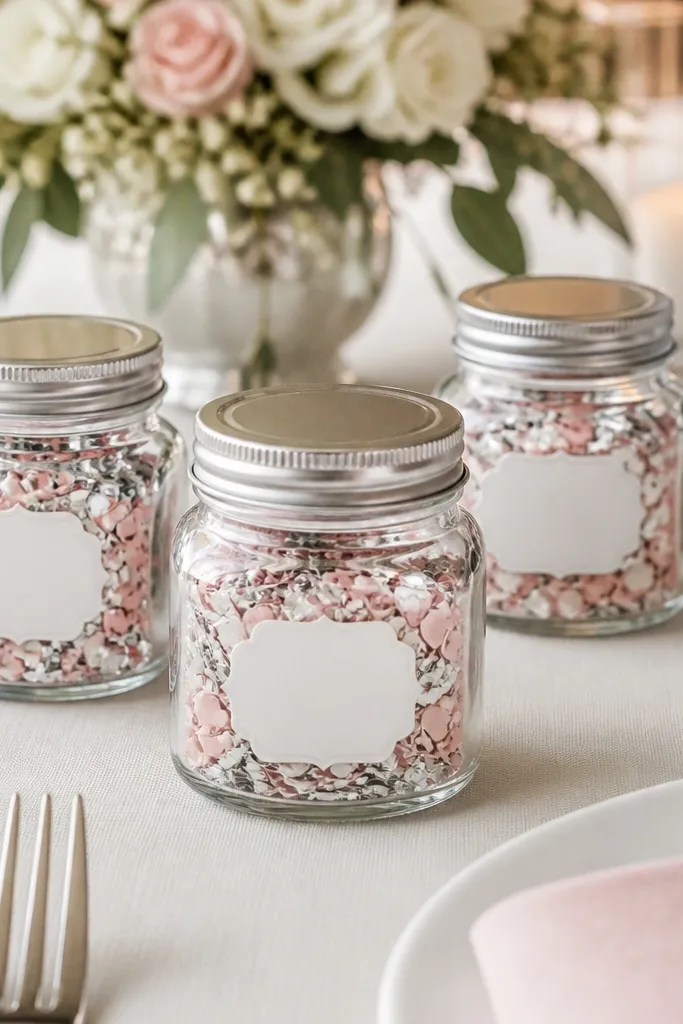
Use mini glass jars (2-3 inches tall). Fill with metallic confetti, then attach a label on a white sticker sheet. Add a ribbon around the lid if your jar style looks too plain.
Confetti jars turn a flat table into a photo scene. The mirror-like pieces catch light when guests pass by, and the jar keeps everything tidy. Labels make it look intentional, not like you spilled craft supplies.
One warningAvoid plastic jars; they scratch and look dull in daylight.
Quick tipUse less confetti than you think — about a tablespoon per jar — so it looks sparkly, not messy.
19. Cherry Blossom Tissue Paper Pom Backdrop
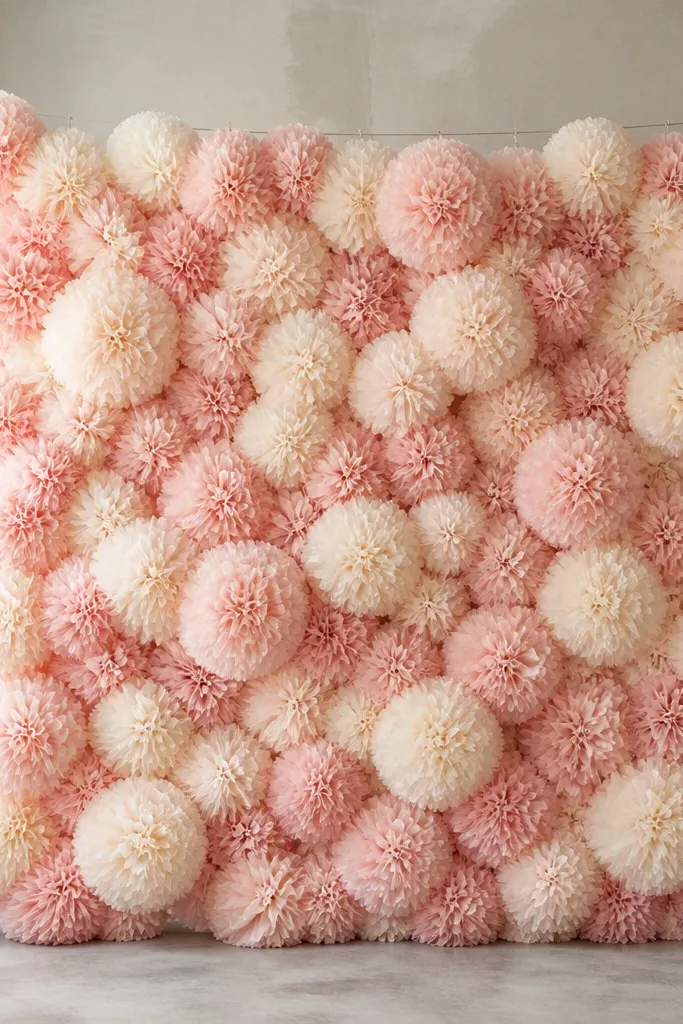
Tissue paper poms make a ceremony backdrop that looks full without hiring anyone. Layered colors give depth, and the fluffy texture makes it forgiving if your folding isn’t perfect. This is also easy to dismantle and move to a photo corner.
Use 15-20 tissue paper sheets per pom, alternating blush and cream. Fold accordion-style, tie the center with string, then fan out the layers and trim uneven edges. Hang on a wire or fishing line with zip ties so each pom stays evenly spaced.
Make your poms at two sizes — 10 inches and 14 inches — for a more natural look.
Avoid single-color poms; they look flat against a wall unless you add size variation.
20. Glitter Glue Unity Candle Dip Labels
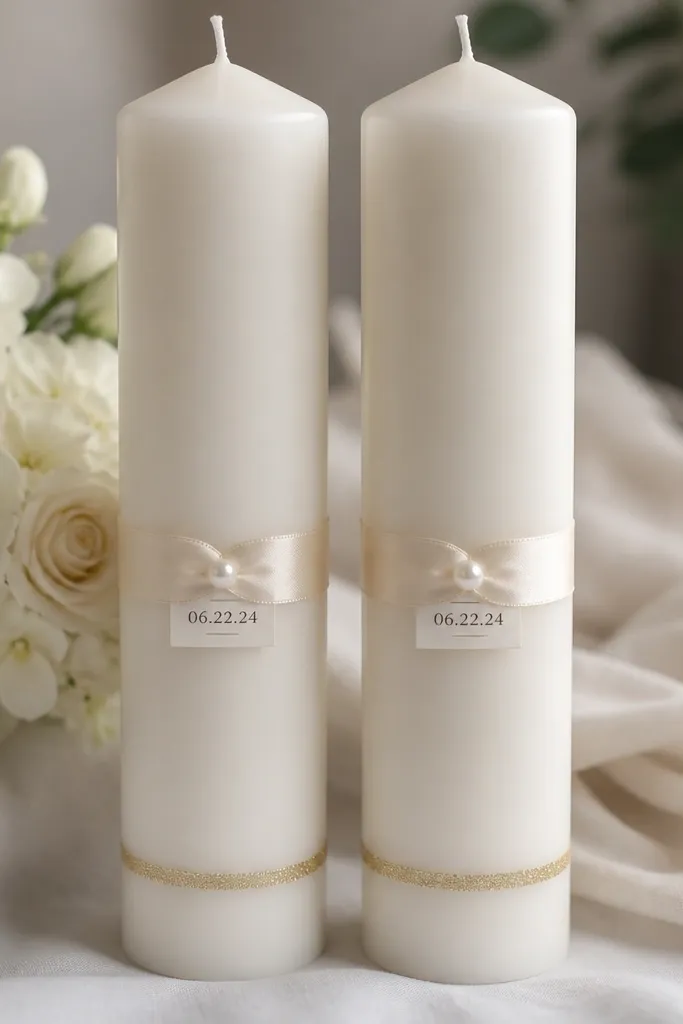
Use tall taper candles with a clean surface. Tape a straight line where the glitter should stop, then paint glitter glue in a smooth vertical motion. After it dries, wrap a cream ribbon band and add a pearl pin at the overlap.
Unity candles get photographed close, so the finish matters. A controlled glitter dip looks elegant because it’s limited to one section, and the ribbon label keeps it readable. This craft is beginner-friendly because you don’t need to write anything fancy.
One warningAvoid dripping glitter glue down the sides; it looks sloppy under flash.
Quick tipPractice the glitter dip on a scrap candle or a candle sleeve first.
21. Faux Florals in a Wrapped Foam Ring Wreath
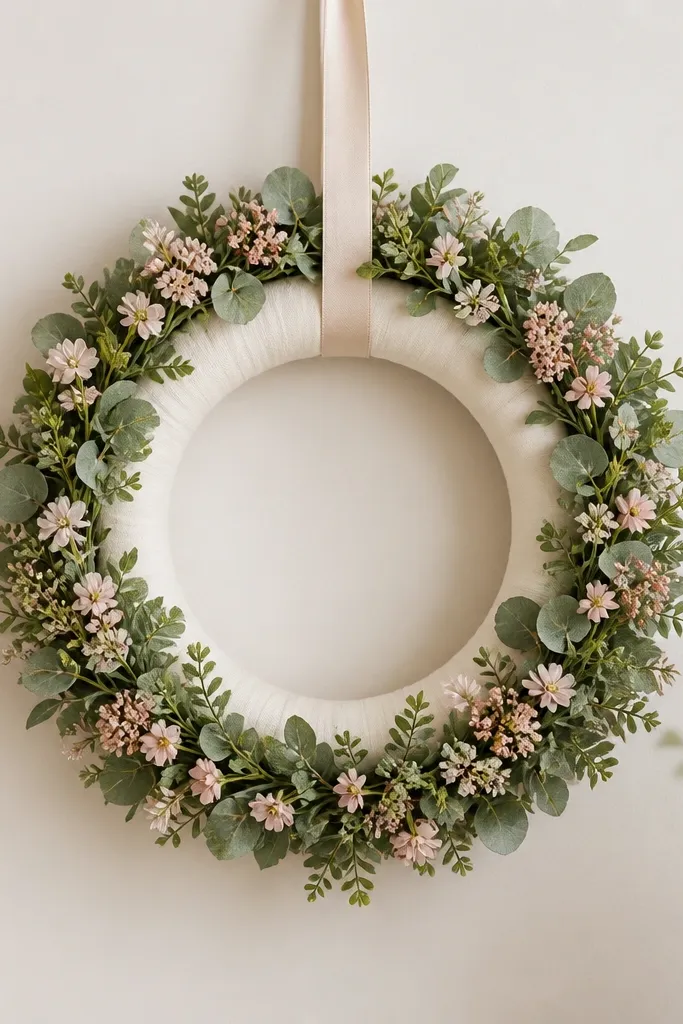
A foam ring wreath is one of the easiest ways to get that full floral look without arranging dozens of real stems. Wrapping the foam in fabric stops the foam from showing through, and faux greenery gives the base texture. Blush flowers scattered in clusters make it look intentional.
Wrap a 12-inch foam ring with cream fabric using hot glue, then add faux greenery using floral wire or hot glue at the base of each stem. Place flowers in groups of 3-5 so it doesn’t look random. Hang with a wide satin ribbon loop that matches your palette.
Step back every 2 minutes and rotate — wreaths look uneven only because you see them from one angle too long.
Avoid leaving large gaps in the outer edge; that’s where the wreath looks cheap.
22. Ribbon-Wrapped Cardboard Ceremony Program Holder
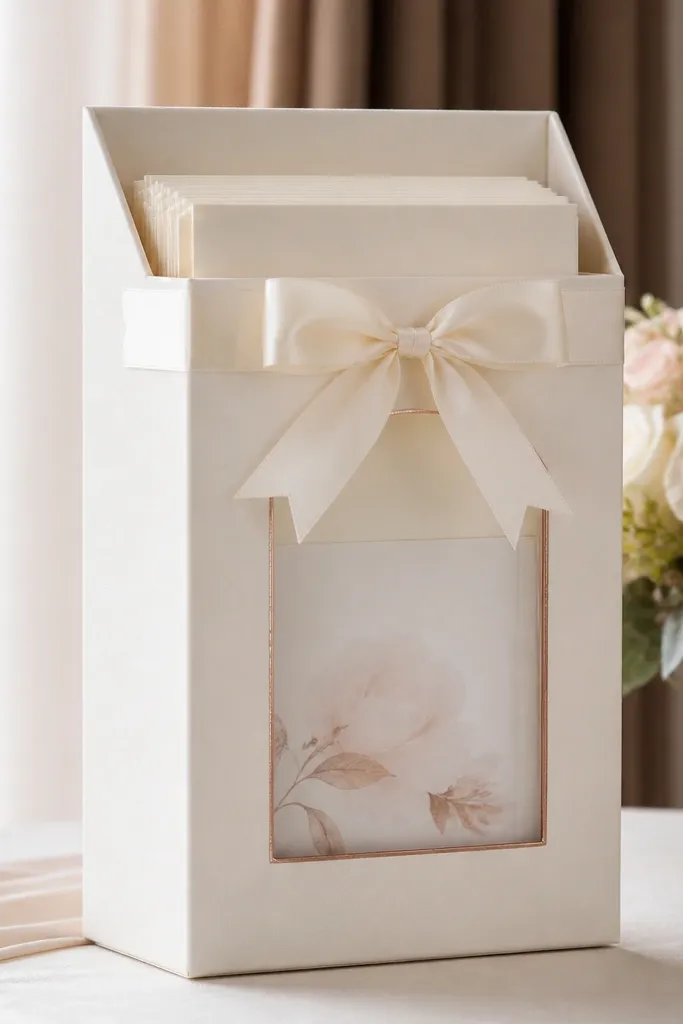
Build a simple box from sturdy cardboard, sized to fit programs folded in thirds. Wrap in ivory satin, then glue corners under the back seam. Add an acrylic window (or clear plastic sheet) on the front, and apply vinyl lettering on the outside.
Program holders are practical, but they also show up in guest photos. If you wrap cardboard in satin, it instantly looks like a custom piece. Adding a clear front panel keeps programs visible while hiding messy edges from cutting.
One warningAvoid visible cardboard edges; they scream “craft store” in close shots.
Quick tipUse double-sided tape for the satin wrap before gluing — it prevents shifting while you press it down.
23. Mini Heart Balloon Arch Accent with Paper Flowers
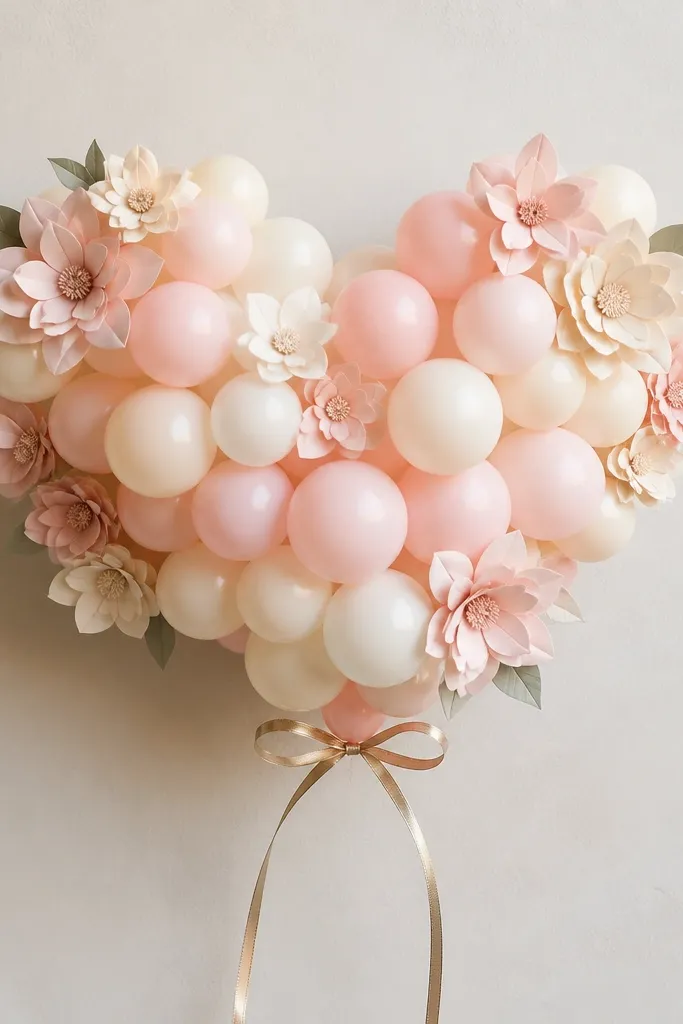
You don’t need a full balloon arch to get the wow factor. A heart accent with paper flowers looks sweet and romantic, and it’s easier to assemble than a large frame. The paper flowers add structure so the balloon cluster doesn’t look flat.
Create a small heart using a balloon arch kit or shape frame. Add balloons in two tones, then attach paper flowers using thin floral wire tucked behind balloons. Finish with a gold ribbon bow on the bottom center.
Keep paper flowers flat and firm by using 110 lb cardstock for the base layer.
Avoid mixing too many balloon sizes; it looks random instead of designed.