1. Photo-Window Keychain from a Vintage Photo Strip
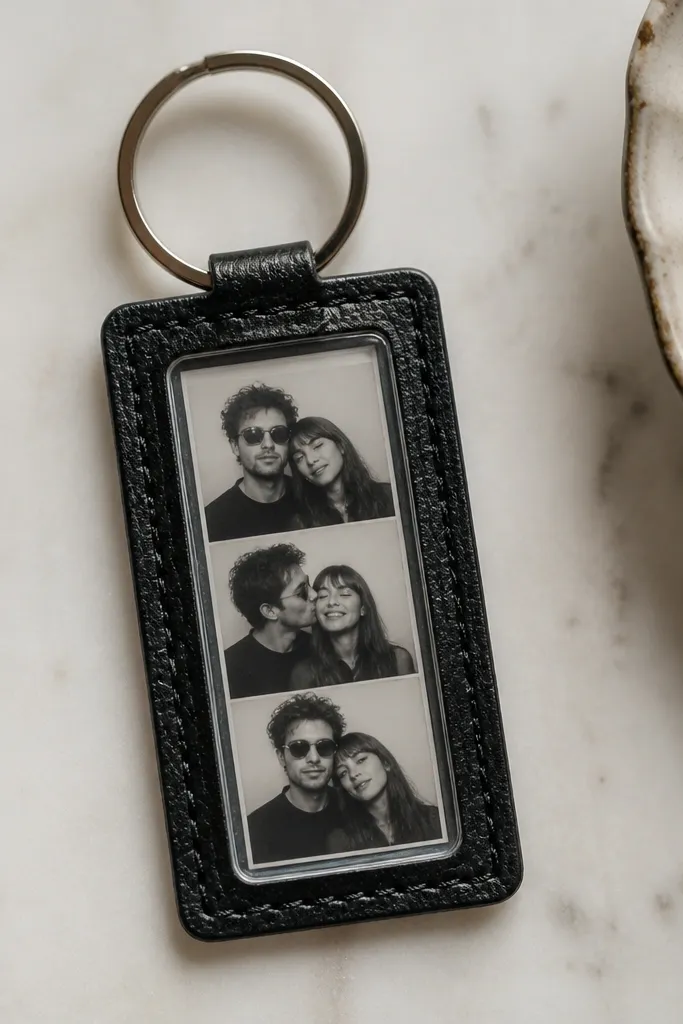
This is the easiest way to make a photo feel like a real accessory. The clear window shows the picture cleanly, and the dark backing makes skin tones and colors pop. I like using a narrow photo strip (like 35mm-style crops) because it looks intentional even when the photo isn’t perfect.
Quick tipPrint the photo at higher contrast and matte it with a thin layer of mod podge, then seal the whole window with a clear acrylic top coat.
Cut two matching rectangles from leatherette or faux leather, about 2.25 x 1.25 inches each. Center your photo strip behind a clear acrylic or polycarbonate window (about 2 x 1 inch). Glue the edges with strong craft glue, then punch a hole for the split ring and stitch a tiny border if you want extra neatness.
One warningAvoid glossy, unsealed paper — it scuffs and curls fast around keys.
2. Upcycled Shirt Cuff Coasters with His Initials
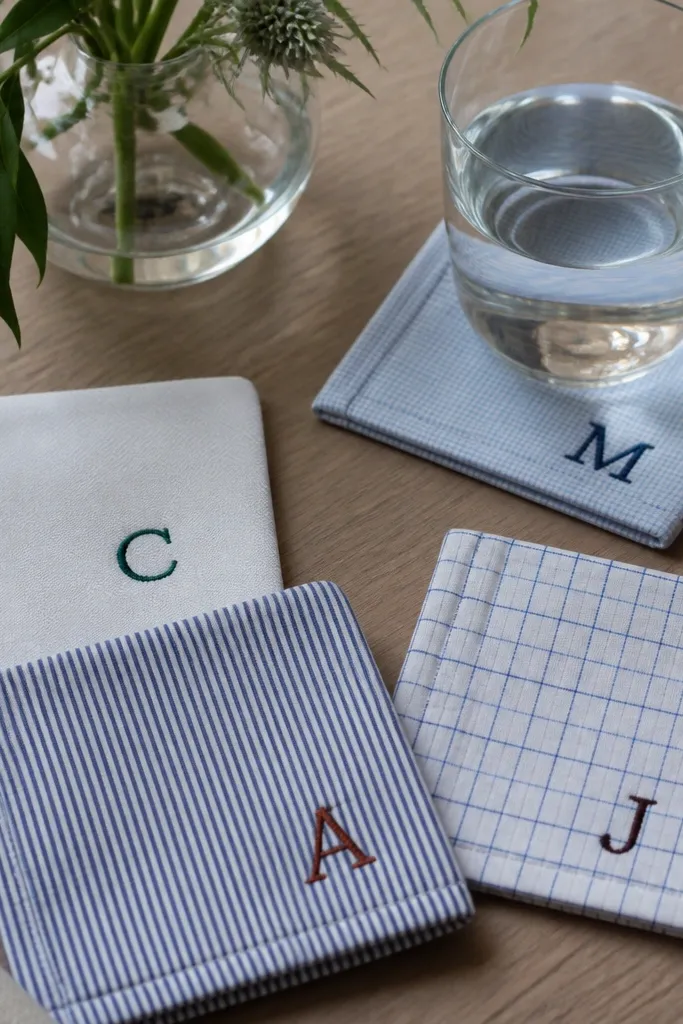
Shirt fabric has texture you can’t buy new in a craft store, and it instantly reads personal. Using the cuff band gives you structure, so the coaster doesn’t flop. Embroidering one initial makes it feel like “his” without turning it into a cartoon.
Quick tipUse a fabric pen to lightly mark the initial, then stitch over the line with 3 strands of embroidery floss for a crisp look.
Cut four circles from shirt cuffs using a 4-inch bowl as a template. Fold the raw edge under by 1/4 inch and stitch around with a simple backstitch. Add a thin layer of felt or foam between the fabric and the underside so it absorbs heat and doesn’t scratch surfaces.
One warningDon’t skip the felt layer — bare cotton gets stained and looks worn after a few weeks.
3. Scrap Wood Ring Dish from an Old Pallet Slat
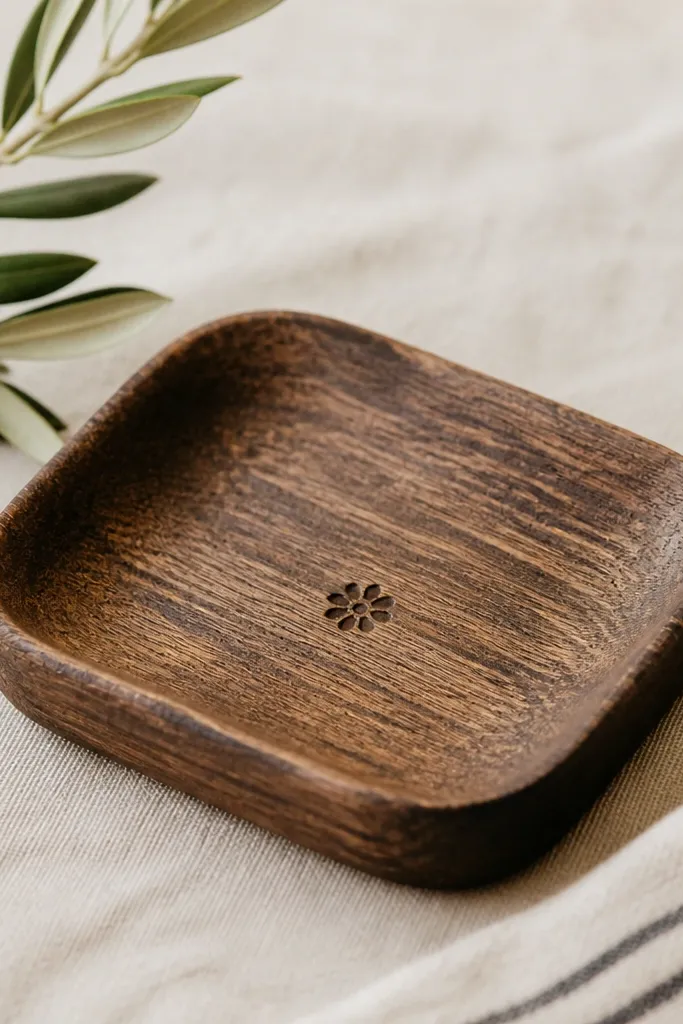
A ring dish is small, practical, and it shows up in photos because it’s right on the nightstand. Pallet wood has natural grain and tiny marks that look like character, not damage. Stamping a date or a short coordinate makes it personal without adding clutter.
Quick tipStamp lightly after sealing the first coat, then seal again so the ink doesn’t smear.
Cut a slat piece about 3.5 inches long and 2.5 inches wide. Sand it down to 220 grit, then carve a shallow bowl using a Dremel or a wood chisel — aim for 1/8 inch depth. Stain it with a dark walnut tone, then seal with two thin coats of matte or satin polyurethane.
One warningAvoid thick stain layers — they pool in the grain and look muddy.
4. Caffeine-Themed Coffee Sleeve Key Fob
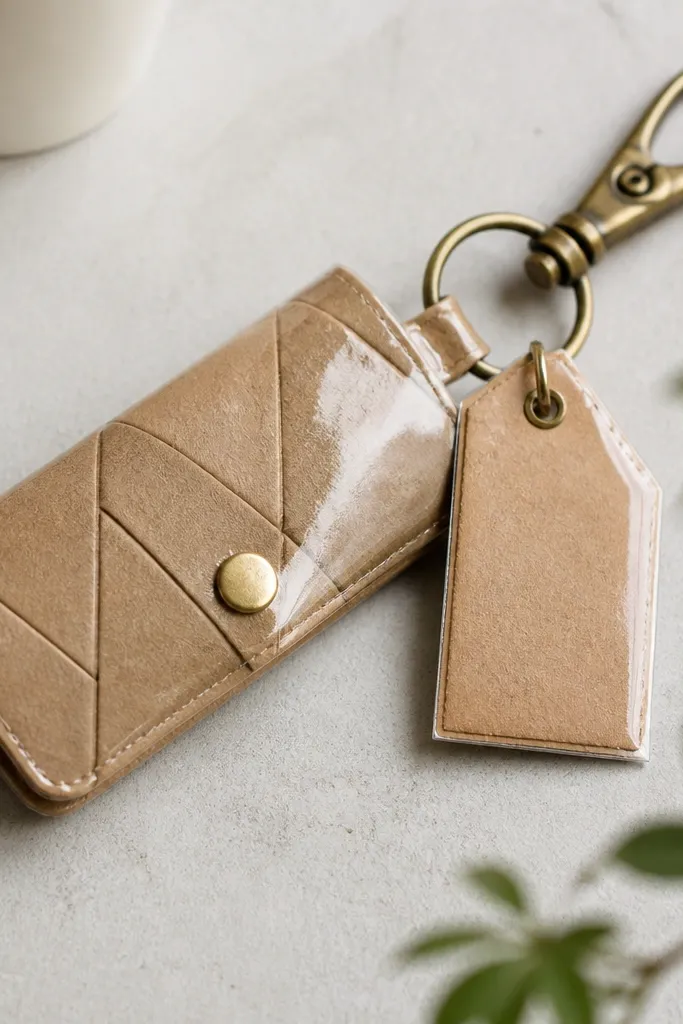
If he always grabs coffee, this gift fits his routine. The coffee sleeve graphic already has bold color, and wrapping it in clear vinyl keeps it from turning soft or tearing. You get a personal touch by adding a tiny tag with the shop name or your inside joke.
Quick tipUse a clear vinyl sheet and press it with a ruler — no bubbles.
Cut a rectangle from a used coffee sleeve, about 6 x 3 inches. Wrap it around a 1.25-inch wide key fob base made from vinyl or thin leather, then trim the ends. Seal the wrap with clear vinyl tape or edge-coat glue, then attach a metal clasp with a small rivet or jump ring.
One warningSkip leaving the sleeve uncoated — it gets soggy in bags and pockets.
5. Upcycled Tin Can Pen Holder with a Map Strip
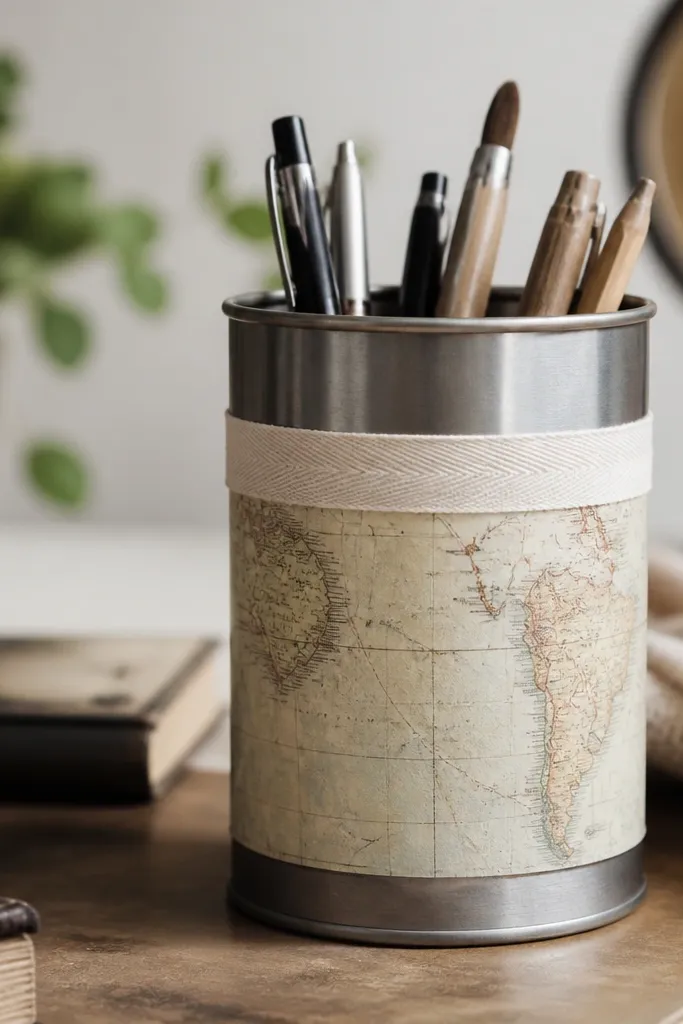
A pen holder makes his desk look finished, and the map strip makes it feel like a memory. I like using a section of a real map from a book or printout because the lines look “designed” even with DIY edges. The tin can gives you a sturdy base so it doesn’t collapse like foam crafts.
Quick tipSeal with two coats of clear acrylic spray for a smooth, wipeable surface.
Clean a small tin can and sand lightly so glue sticks. Wrap it with a map strip cut to the height of the can, then coat with mod podge and let it dry fully. Finish the rim with a thin ribbon band or a strip of fabric glued under the top edge.
One warningDon’t use too much paper — more than 1 layer wrinkles and looks thick.
6. Fabric Photo Bookmark for His Paperback
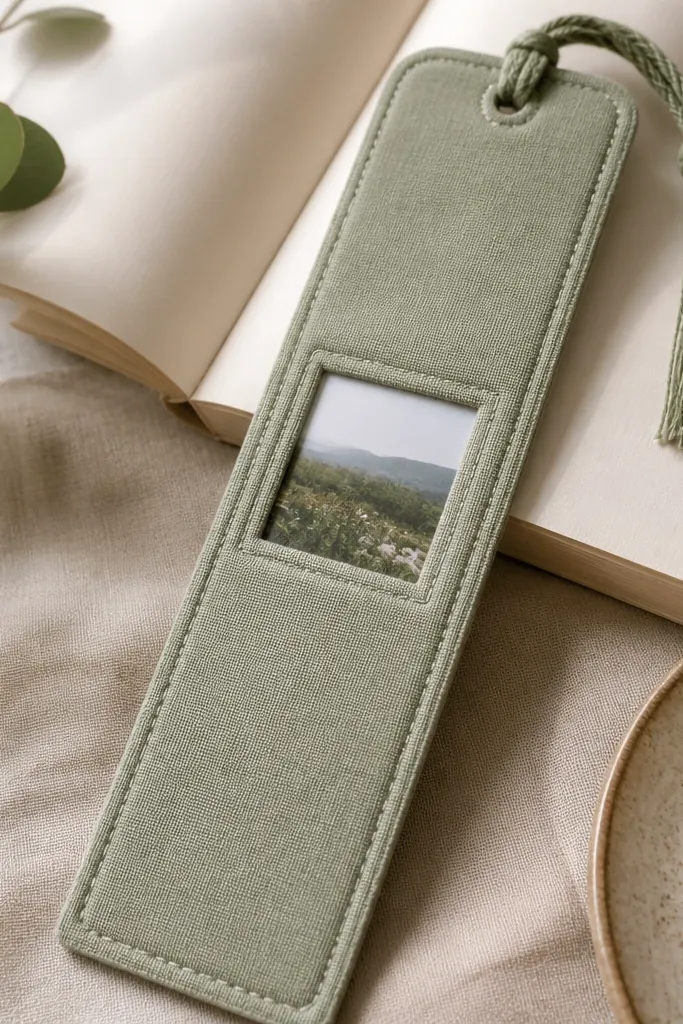
This is the kind of gift he actually uses while reading, and it’s personal without being loud. A small photo window keeps the bookmark flat, and stitched fabric edges make it look store-bought. I’ve made these with old T-shirts because the knit holds shape better than cheap felt.
Cut a strip of fabric 2.5 inches wide by 9 inches long. Add a clear plastic window (or laminate a printed photo) to the center, then stitch around the edges. Fold the bottom corner into a small triangle and sew a tassel using thread or embroidery floss.
Use a wash-away fabric stabilizer behind the photo area so stitching doesn’t pucker.
Avoid bulky layers — thick bookmarks slide out and look sloppy.
7. Tin Foil + Paint Faux-Letter Keychain Tag
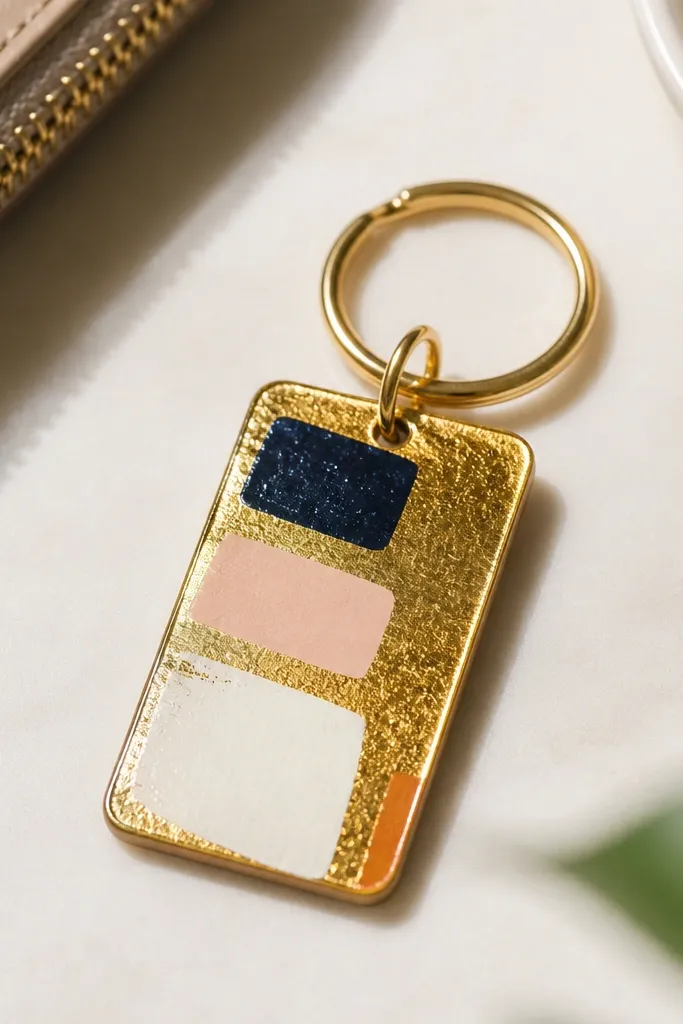
If he likes clean, graphic stuff, this one nails that look. Foil gives you instant shine without needing metallic paint coverage. Painting block letters over the foil makes the tag feel sharp and modern.
Quick tipUse painter’s tape to mask letter edges — it makes your lines look crisp.
Cut a tag shape from thin cardstock or craft plastic, about 2.5 x 1.5 inches. Press gold foil onto it with foil adhesive, then paint bold block letters in black or deep navy. Seal with clear coat and punch a hole for a keyring.
One warningSkip cheap foil — it flakes and ruins the finish.
8. Monogram Candle Jar from an Old Spice Container
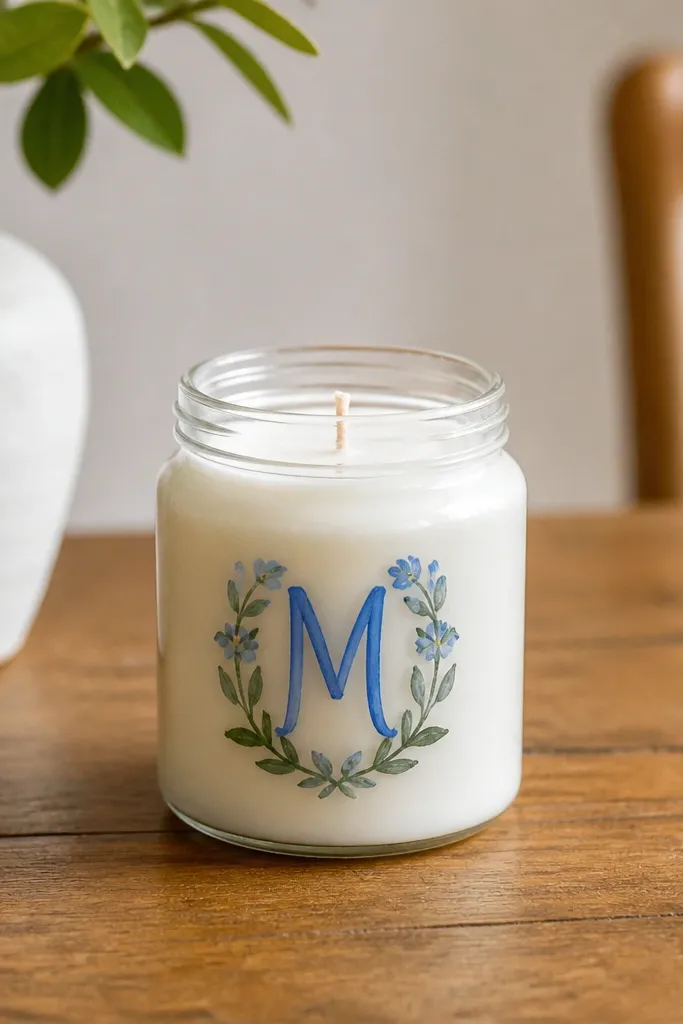
This is a gift that smells like “home” and looks good on his shelf. Spice jars are the perfect size for a small candle you can actually light without making a mess. The monogram turns it personal fast.
Quick tipBurn-test it once for 30 minutes to set the melt pool — it prevents tunneling.
Reuse a clean spice jar. Melt soy wax with a lead-free wick and pour to about 1/2 inch depth. Let it cure, then paint a monogram on the jar with glass paint and seal with clear acrylic.
One warningDon’t pour too close to the rim; wax shrink leaves a messy crater.
9. Upcycled Leather Belt Wallet for Cards
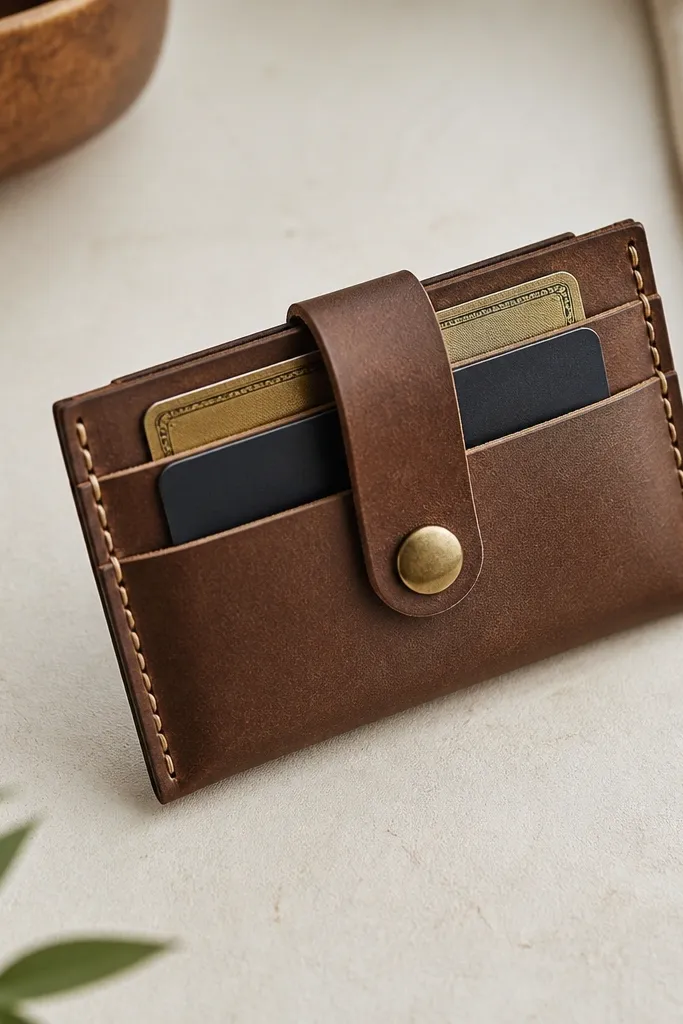
A slim wallet upgrade feels personal because it’s built from something durable you already owned. Belt leather ages beautifully, and it holds structure for card pockets. Add a snap or a simple stitch tie and it looks intentional.
Quick tipMark stitch holes using an awl and spacing of about 3/16 inch for consistent rows.
Cut two rectangles from the belt: one for the front pocket and one for the back. Stitch the sides leaving an opening for cards, then attach a small snap using a snap kit and hammer. Edge-stain the cut sides with leather edge dye for a finished look.
One warningDon’t use thin belt ends — they collapse and make the pockets sag.
10. Desk Cable Clip from a Broken Sunglasses Case
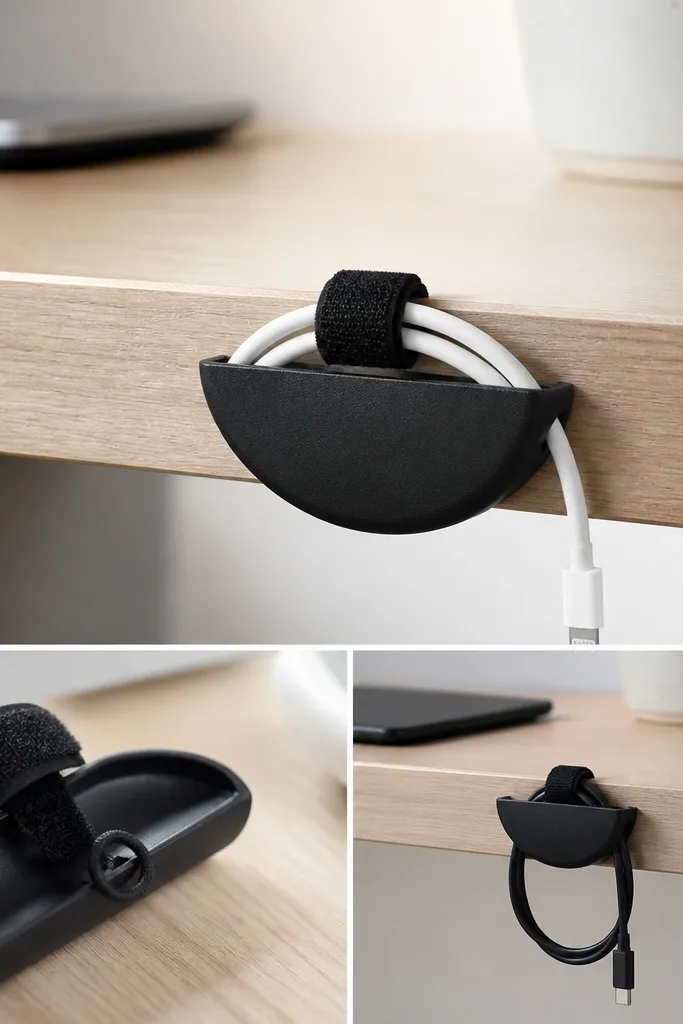
This one fixes a real annoyance: cables that fall behind the desk. The hard plastic from a sunglasses case grips without flexing, so it holds its shape. A Velcro strap keeps the cable tidy and easy for him to undo.
Quick tipLine the contact points with felt so the cable jacket doesn’t get scratched.
Clean and cut the sunglasses case to a rectangle about 3 x 2 inches. Drill two small holes or use heat to create a slot for a Velcro strap. Wrap the strap around the cable and loop it through the clip so it stays in place.
One warningAvoid hot glue directly on the cable — it can melt the insulation.
11. Matchbox Photo Mini Story Gift
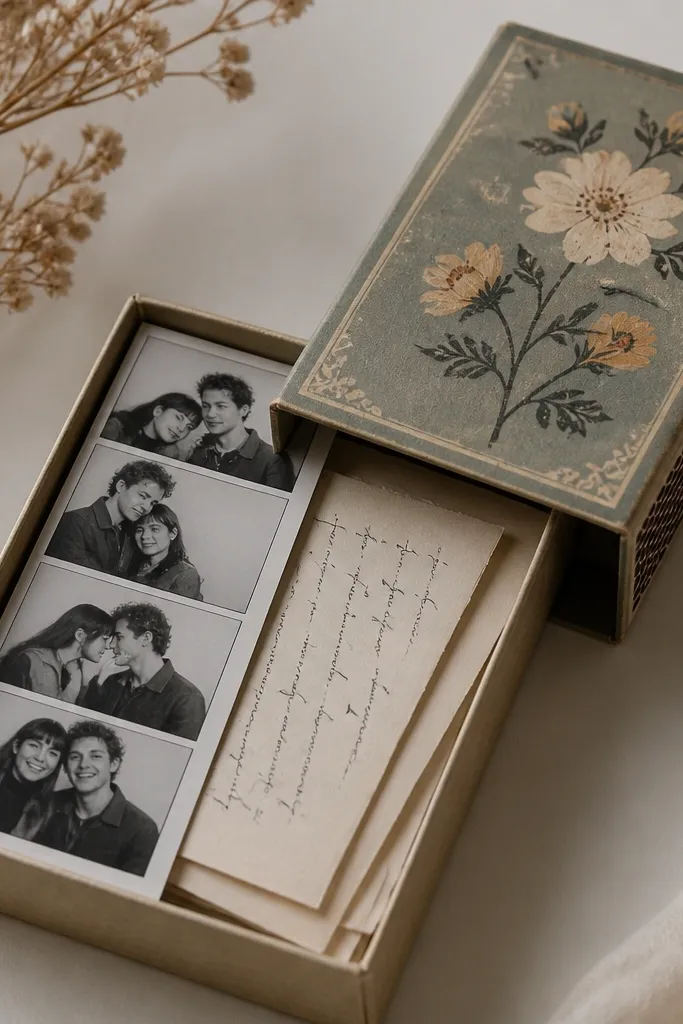
This feels personal because it’s literally a mini memory set. The matchbox format is small enough to keep on a desk or shelf, and it opens like a little surprise. I use 3 photo cards so it reads like a quick story, not a scrapbook dump.
Quick tipPrint captions in a consistent font size — even handwritten notes look cleaner when they’re aligned.
Cut three small rectangles of cardstock to fit inside the matchbox. Add a photo to each one using photo corners or a thin adhesive, then write a single line caption on the bottom. Decorate the outside with a strip of patterned paper and a tiny date label.
One warningDon’t overfill — if the cards scrape the lid, it looks rushed.
12. Repurposed Jigsaw Puzzle Coaster Set
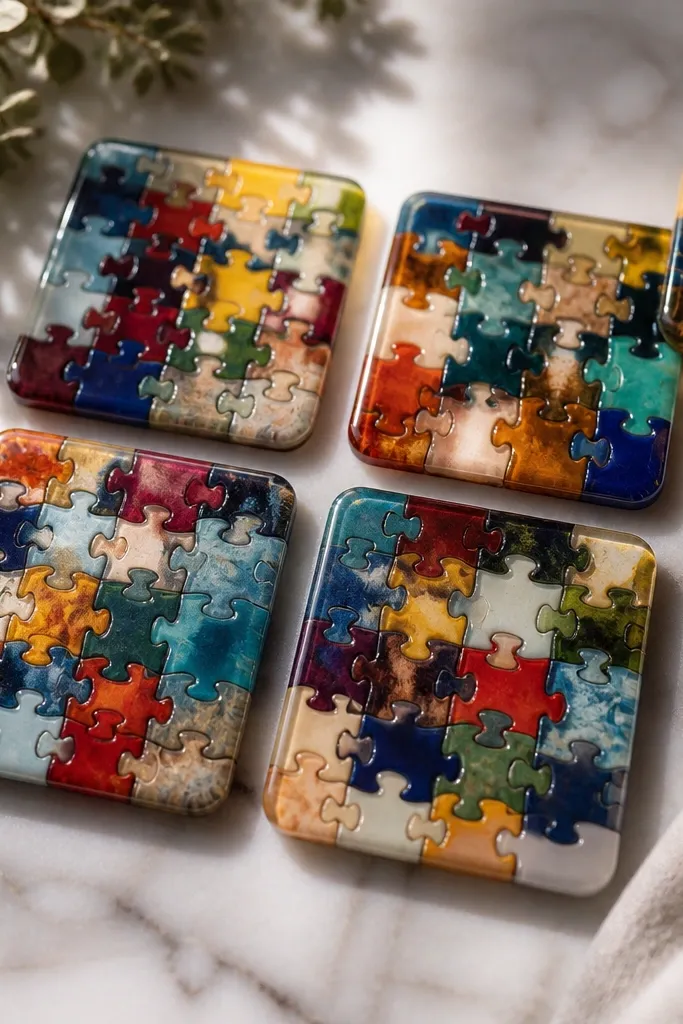
Puzzle pieces give you a built-in pattern, and sealed resin makes them feel like a premium set. This gift works when you have a handful of old puzzle pieces or a damaged board. The mixed colors look intentional once you arrange them into a tight square.
Quick tipUse a black base under the pieces so any gaps disappear and colors look deeper.
Pick 16 to 20 puzzle pieces per coaster. Arrange them with minimal gaps, glue them to a coaster base (wood or thick cardboard), and seal with resin or a thick clear epoxy layer. Let cure fully, then sand the top lightly if resin peaks.
One warningAvoid thin resin coats — they leave a gritty texture.
13. Canvas Tote Patch Map from His Favorite Place
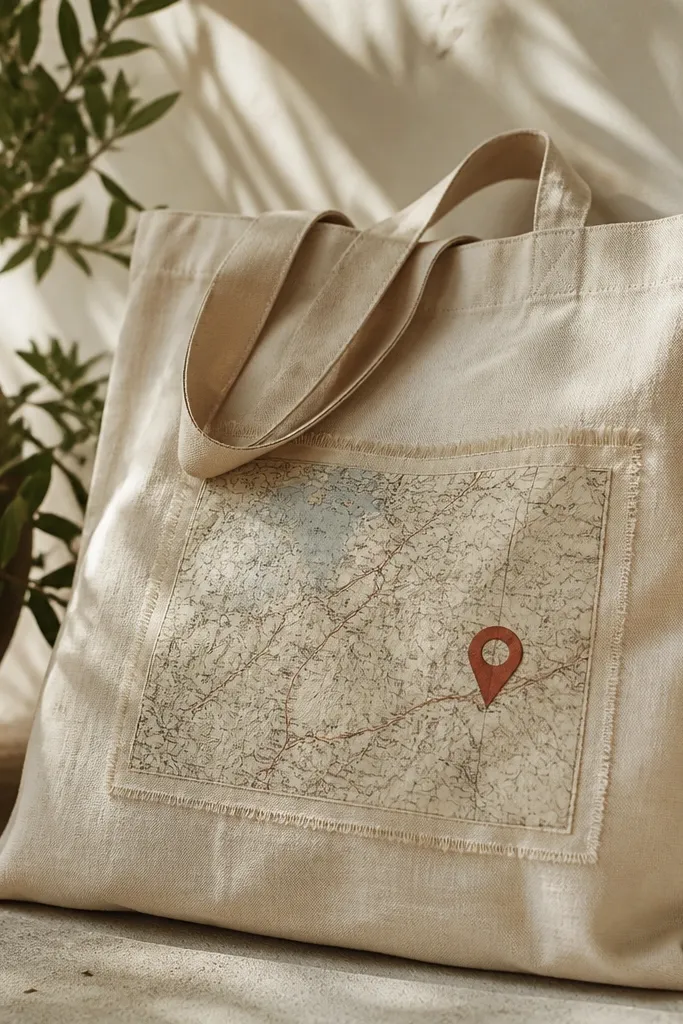
If he carries bags, this becomes his daily one. The map print gives a clear “where” even if you skip a big photo. Stitching the patch instead of gluing it makes it hold up to real use.
Quick tipUse a fabric marker to trace a simple pin shape so your stitch lines stay clean.
Cut a patch panel from printed map paper backed by fusible web or thin fabric. Iron it onto a fabric rectangle, then stitch a border with thick thread (like 6-strand embroidery floss). Place the patch on the tote front and add a small stitched location pin using red thread.
One warningDon’t rely on paper-only patches — they tear at the first wash.
14. Sporty Keychain Bottle Opener from a Metal Tag
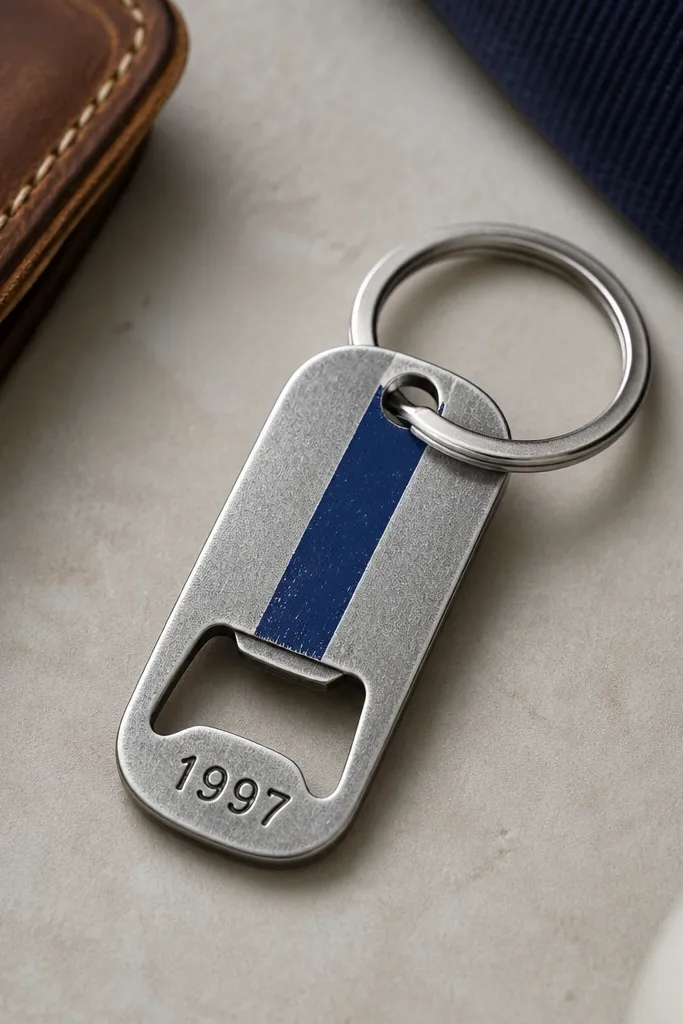
It’s personal because you can match his team colors or a hobby logo, and it’s useful the same day he opens it. Metal tags hold their shape and feel solid in your hand. The painted stripe makes it look like a real accessory, not a craft experiment.
Use a pre-made metal tag blank or upcycle a sturdy metal piece from an old key fob. Sand edges, paint a stripe in his color (red or navy), and stamp a year or initials with an engraving set. Attach to a keyring with a jump ring and clear coat the paint.
Clear coat twice — paint on metal chips faster without it.
Avoid thin, bendy metal — it cracks at the opener edge.
15. Upcycled Magazine Page Wall Art in a Simple Frame
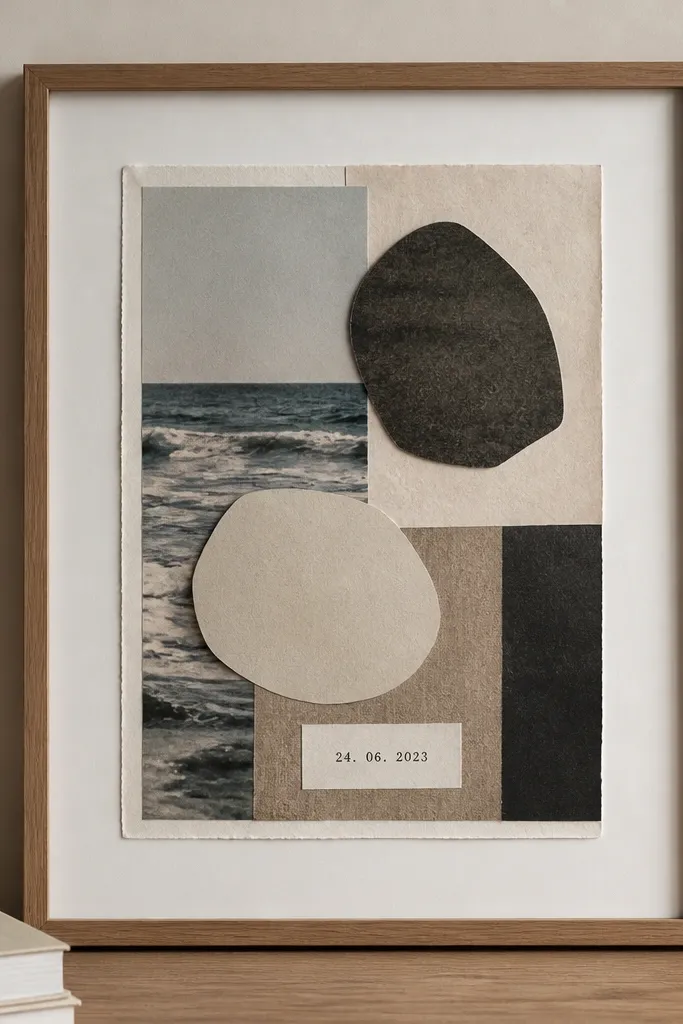
This looks like graphic design if you keep it tight. Magazine pages have real typography and color blocks that read “designed,” so you don’t need to illustrate anything. Put one date and one photo cutout on top and it becomes personal without clutter.
Pick a frame with a mat insert if possible. Cut a magazine page to fit the mat window and glue it flat. Add one small photo or a ticket cutout, then finish with a clear top sheet (like acrylic) or a glass cover.
Choose one dominant color in the magazine and build everything around it so the frame looks intentional.
Avoid double-sided tape bulges — they show through the glass.
16. Knit Scarf Scrap Wrist Wrap for Cold Mornings
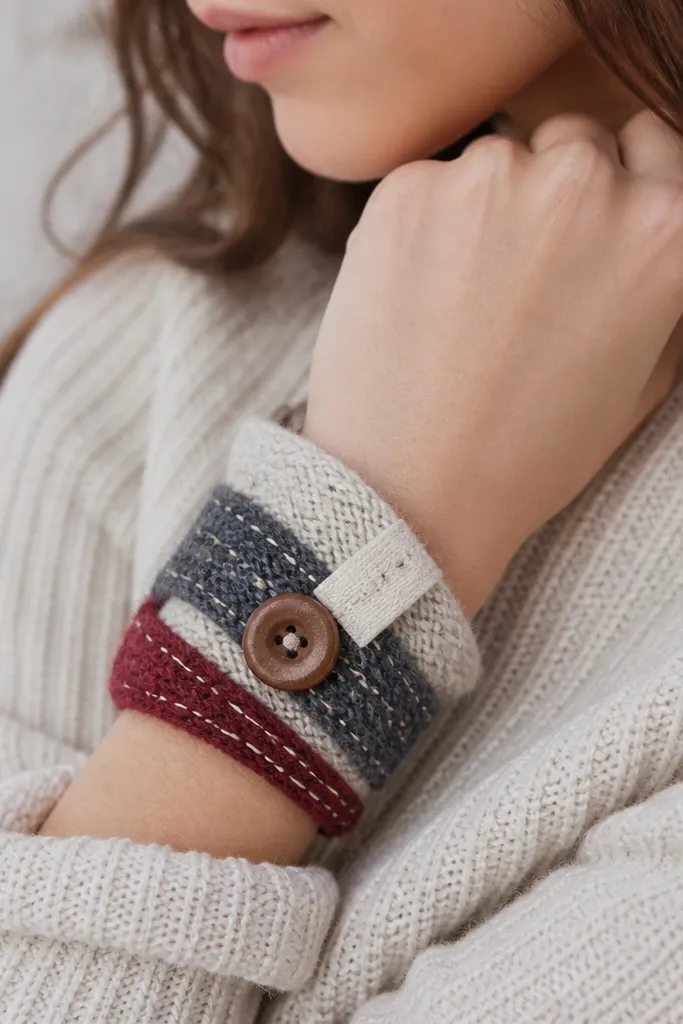
This is the kind of gift he actually wears when he’s running out the door. Knit scraps already have softness, and a simple button closure makes it stay put. Add a tiny fabric tag with your handwriting and it feels like you made it for his exact hands.
Cut a rectangle from knit scarf fabric, about 9 inches long and 3 inches wide. Fold into a loop, stitch the ends, then attach a small button and elastic loop or snap. Add a fabric tag on one side using a short seam so it doesn’t scratch.
Use a zigzag stitch so the knit doesn’t unravel when it stretches.
Skip stiff interfacing — it makes knit wraps look bulky and uncomfortable.
17. Necklace-Style Lanyard for His Camera Strap
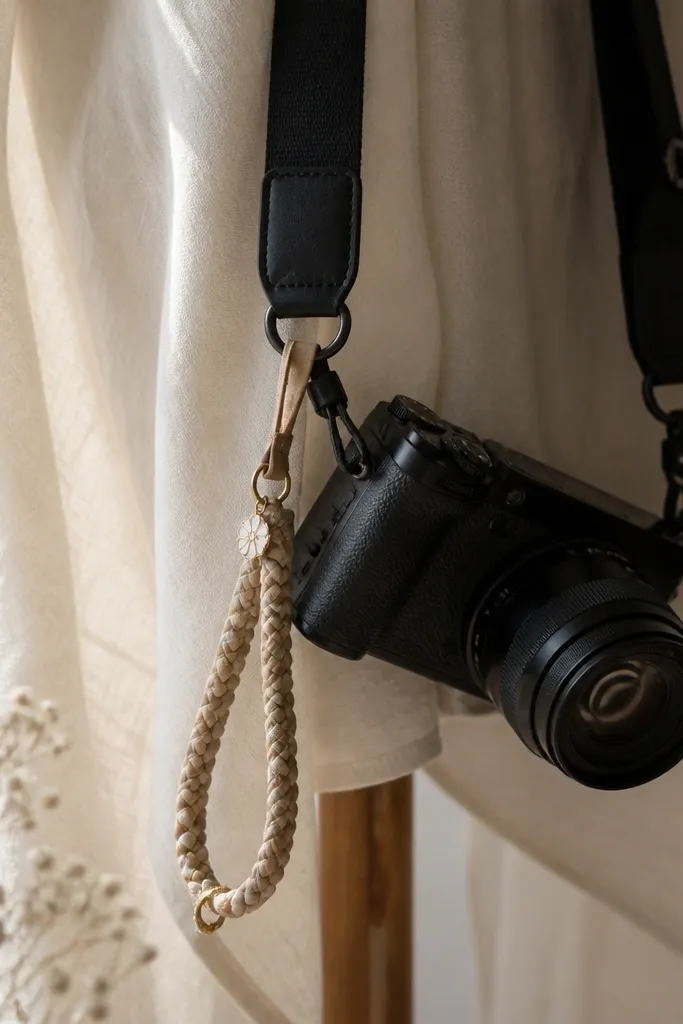
If he has a camera, this turns a basic strap into something personal. Braided fabric looks clean, and you can add one charm that means something to you both. The lanyard also keeps the camera easy to grab without twisting the strap.
Braided cords are easiest: cut 3 strands of fabric strips about 1/4 inch wide and braid tightly, then tie off. Attach the ends using small metal rings or sew into the camera strap seam with strong thread. Add a single charm on a jump ring near the center.
Keep the braid length 2 inches longer than you think; it looks better when it hangs right.
Don’t use stretchy thread for the attachment — it loosens after a few outings.
18. Vinyl Record Coaster from a Broken Disc
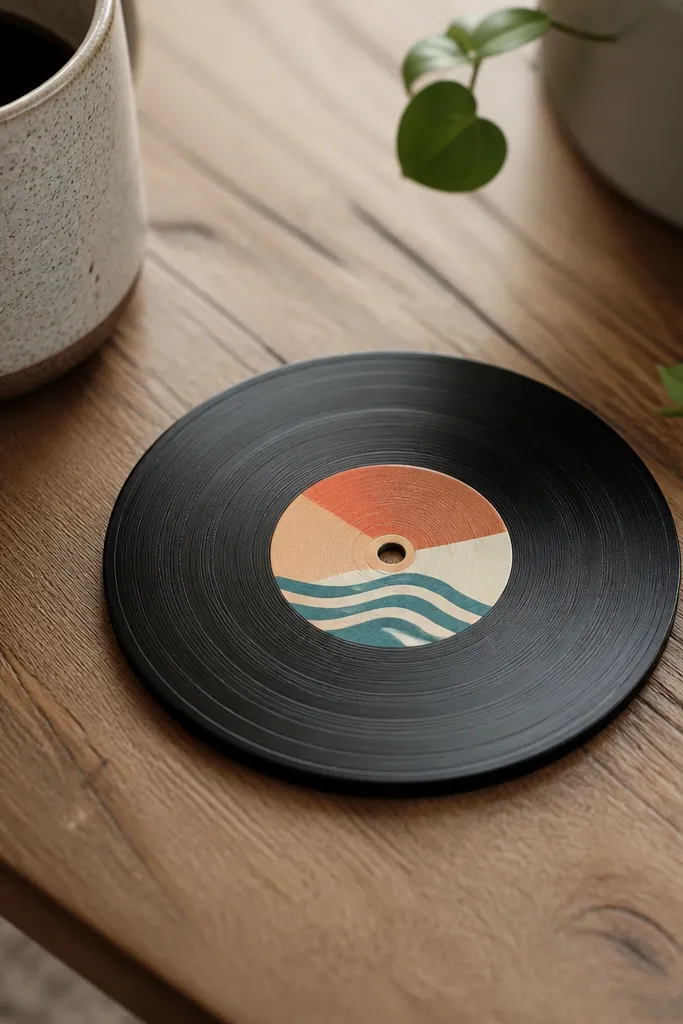
Vinyl has a texture and shine you can’t fake with paper. Using the center label makes it instantly personal, especially if it’s a record he loves or one you two played together. A clear matte top coat keeps it from looking like a raw craft item.
Clean the record and sand the rough edge lightly. Print or cut a small label insert and glue it to the center label area if needed. Seal the full top with 2-3 thin coats of clear matte acrylic, then let it cure for 24 hours before use.
If it’s warping, flatten it under books for a day before sealing.
Avoid thick gloss — it looks like plastic and shows dust.
19. Collage Bottle Cap Magnets for His Fridge
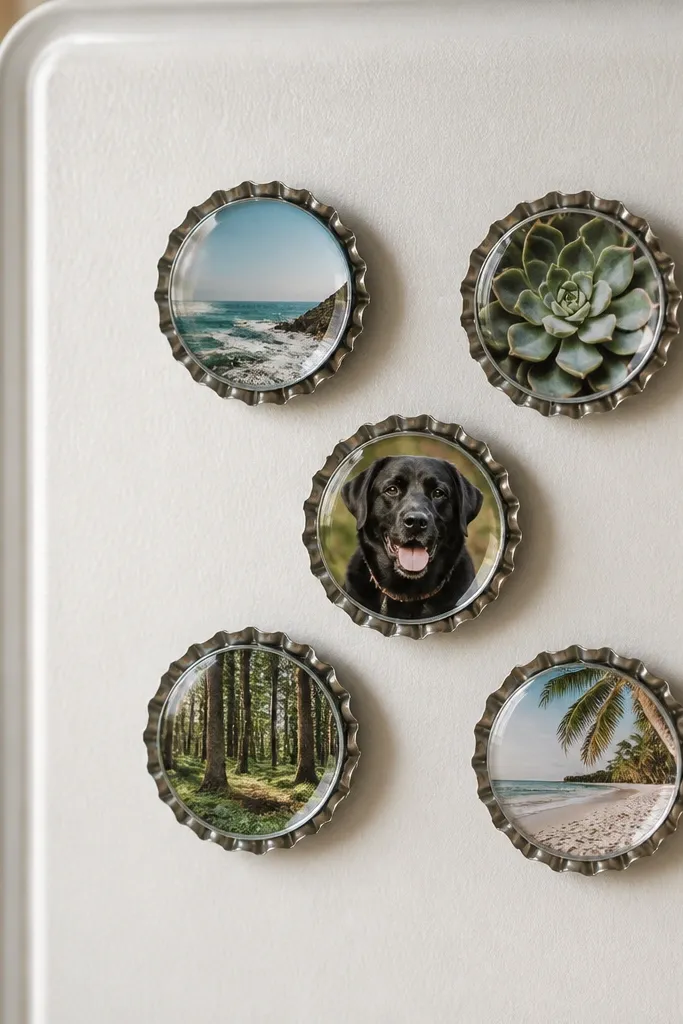
Bottle caps are small, cheap, and they look fun without being childish. The clear top over a mini photo makes each magnet look like a tiny collectible. I keep these to a set of 5 so it feels like a gift bundle, not random crafts.
Quick tipTrim your photo circle with a paper punch so the edges sit flush under the clear layer.
Pop open bottle caps and clean them. Glue a printed mini photo circle inside, then pour or top with clear resin or a doming craft gel. Attach a fridge magnet backing to the underside and let fully cure before sticking.
One warningDon’t skip sealing on top — unsealed paper fades and turns cloudy.
20. Drawer Organizer from a Cookie Tin and Foam
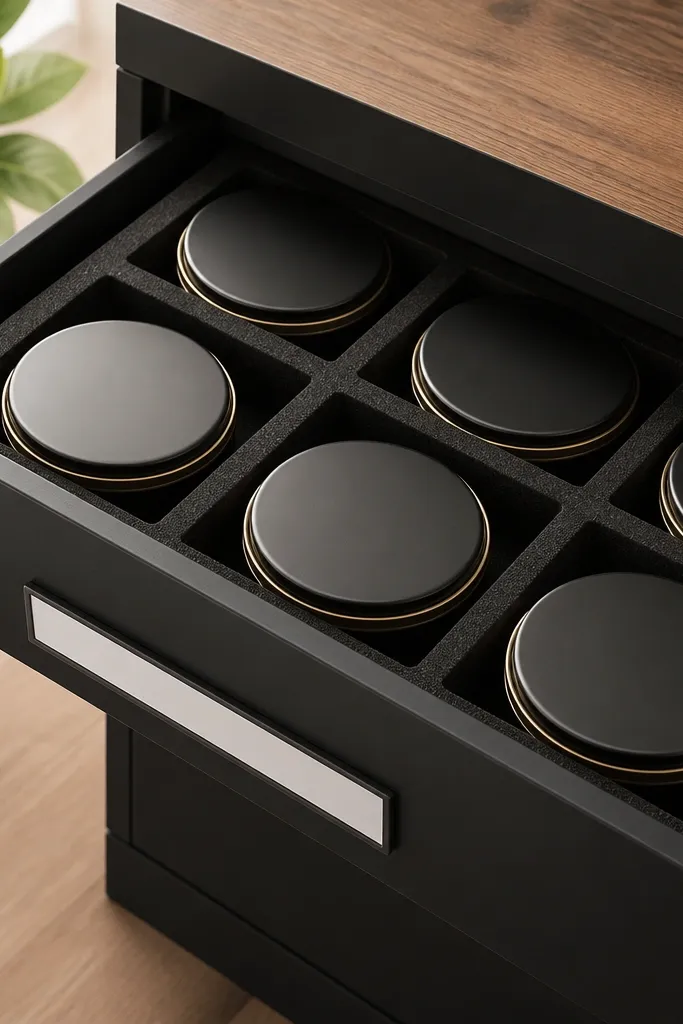
This is a practical gift that makes his space feel calmer. Cookie tins are the right size for screws, chargers, and small tools, and foam dividers stop stuff from rattling. A label strip with your handwriting makes it feel personal.
Quick tipUse a single font style for labels so the organizer looks designed, not DIY-chaotic.
Cut foam sheets to fit inside tin compartments. Paint the tins matte black or a dark gray so everything looks uniform. Glue foam dividers in place and add a label strip with thick cardstock sealed under clear tape.
One warningAvoid shiny paint — it shows smudges fast in drawers.
21. Personalized Stadium Seat Ticket Coaster
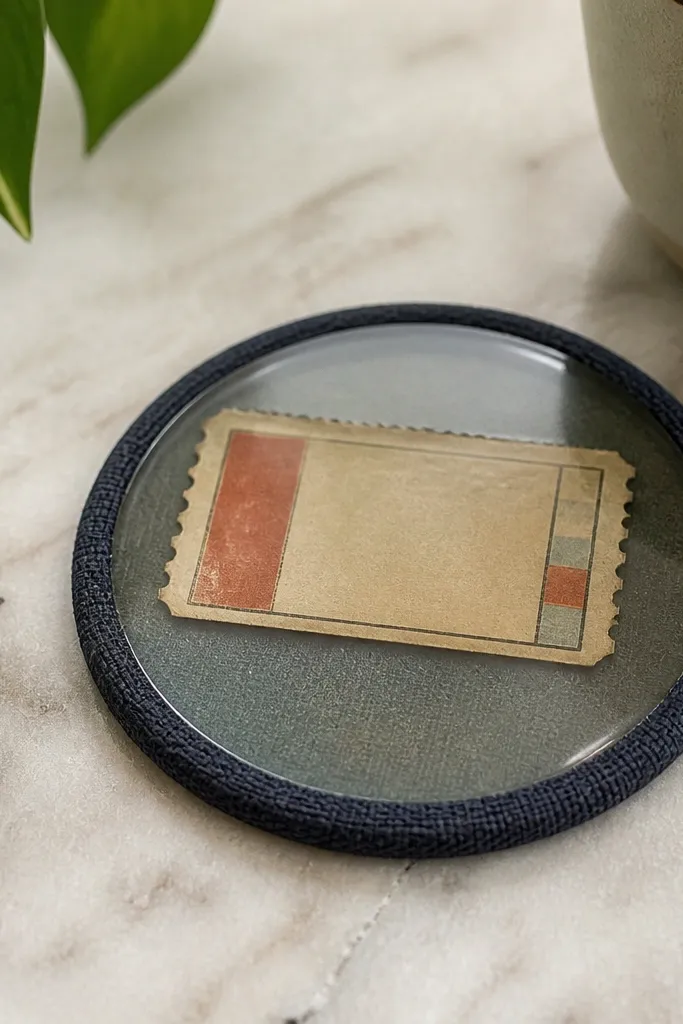
If you have a real ticket, this turns it into something he’ll use. Clear sealing keeps the paper flat and readable, and a fabric edge makes it look finished. It’s also a great option when you don’t have photos — the ticket does the work.
Quick tipUse a dark coaster base so any paper edges disappear.
Cut a circle from a ticket stub or printout to fit a 4-inch coaster base. Glue it down with mod podge, then apply a thick clear epoxy or multiple layers of clear top coat. Wrap the edge with a narrow fabric strip glued around the bottom.
One warningDon’t rush the cure time — touching early causes bubbles and lifting.
22. Painted Jar Spice-Label Nightstand Organizer
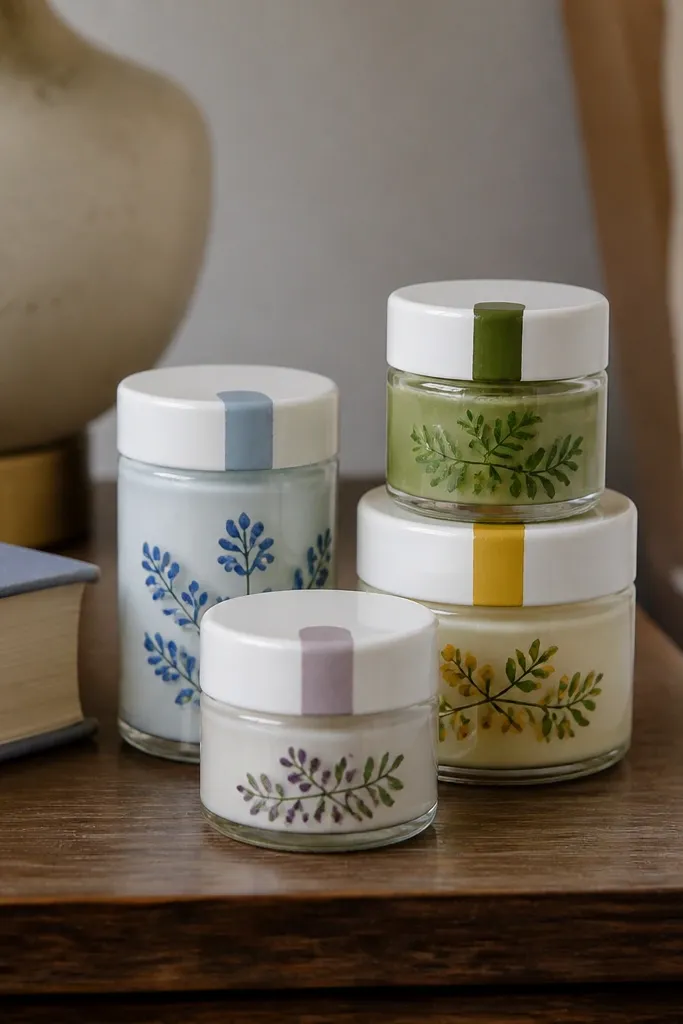
This is how you give him a place for tiny stuff he always loses: keys, chargers, or pens. Spice jars look neat in a set, and painted labels let you use real dates, inside jokes, or short words. It’s personal because it’s built around what he misplaces.
Clean jars and remove labels. Paint a straight color stripe around the jar with painter’s tape, then write a label in white acrylic paint. Seal the label with clear coat and group jars by size so the set looks intentional.
Measure the stripe height with a ruler and keep it consistent across jars.
Avoid label paper stuck directly on glass — it peels when you wipe the jar.
23. Upcycled Denim Pocket Tool Pouch
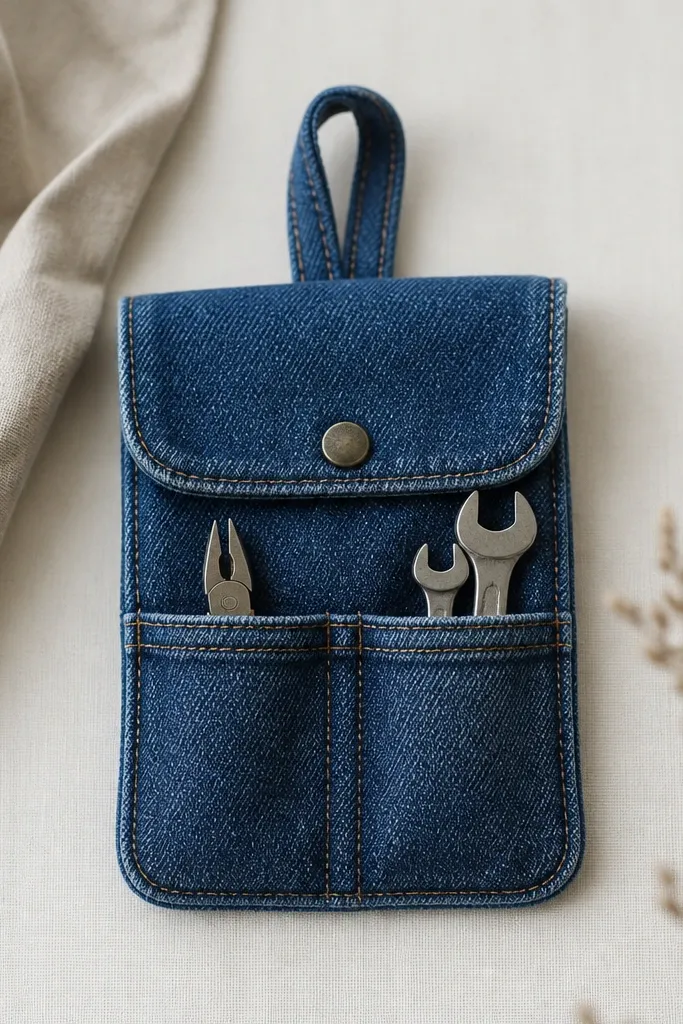
This is a boyfriend gift for the guy who fixes things. Denim holds shape, and pockets let him separate small tools or cables. Adding a snapped flap keeps items from spilling in the car.
Cut a denim rectangle from an old pair of jeans, about 10 x 7 inches. Stitch pockets on the front using existing denim seams, then add a flap at the top with a snap. Reinforce corners with extra stitching so it survives use.
Use heavy-duty thread and a shorter stitch length for a stronger seam.
Skip frayed raw edges — it looks messy after a few days.
24. Beer Cap Coaster with Cork Backing
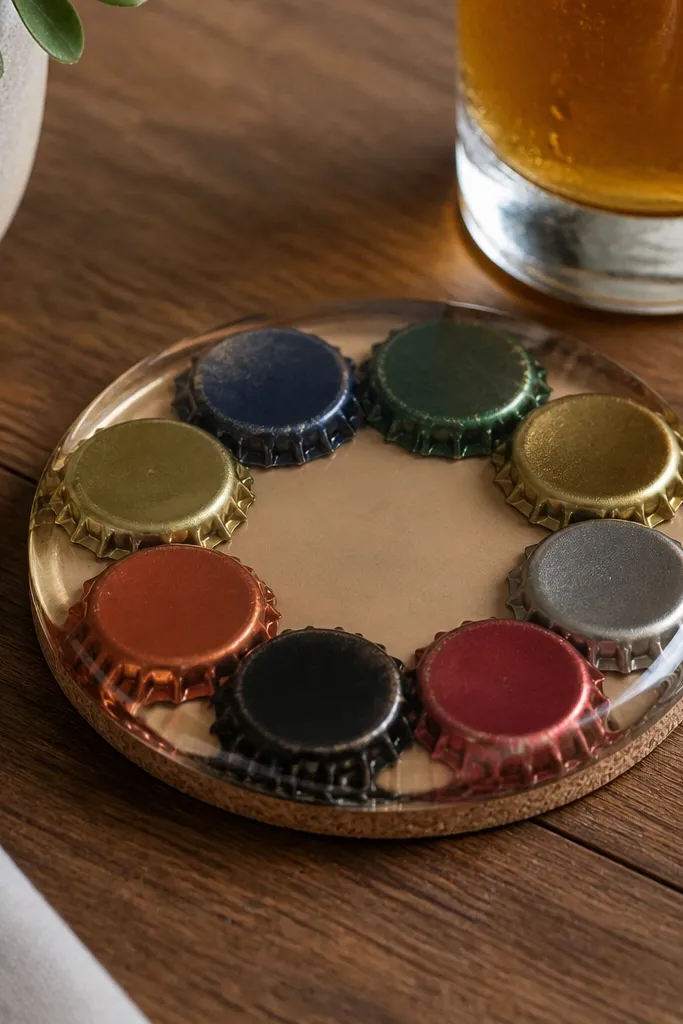
Beer caps make a gift feel like an inside joke without needing a big photo. The cork backing keeps it from scratching and gives it a softer feel. When you seal it, it stays clean and doesn’t trap grime.
Quick tipMix cap colors (gold and dark) for a pattern that looks deliberate.
Arrange bottle caps in a circle, glue them to a cork round, and fill gaps with resin. Use a clear top layer thick enough to level the surface. After cure, sand lightly if you see raised edges.
One warningDon’t use unsealed gaps — they catch spills and look stained.
25. Lego Brick Photo Frame from a Small Base Plate
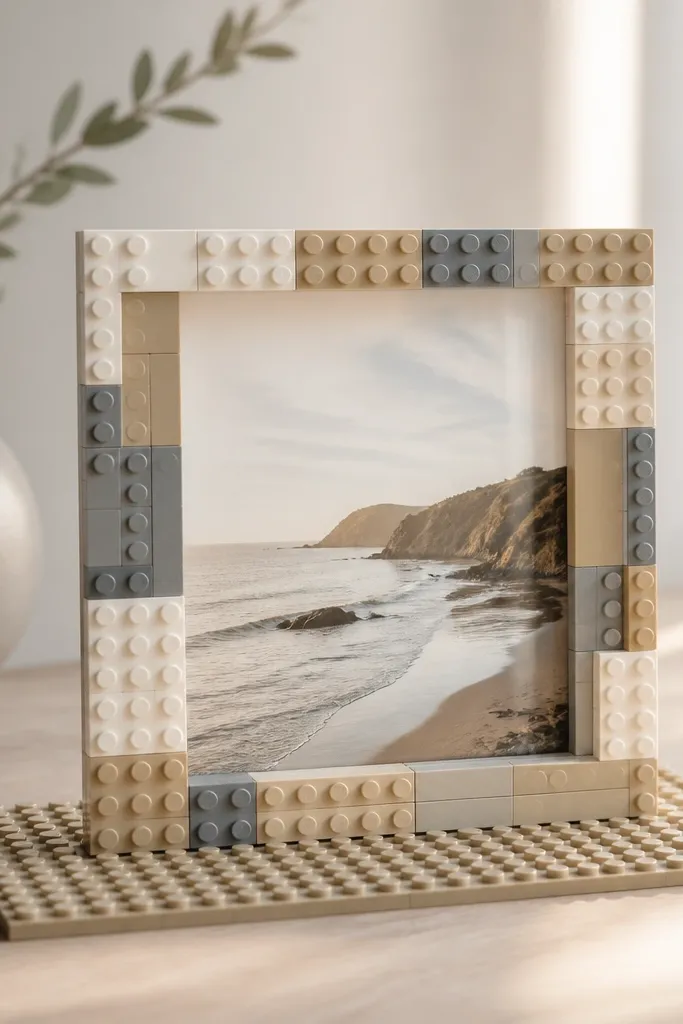
If he likes building, this hits the nerve instantly. Lego frames look playful, but they still hold a real photo clearly. Keeping the brick border in neutral colors makes the photo stand out instead of fighting the frame.
Use a small base plate and build a border around a centered clear photo window (clear plastic or a laminated print). Glue the photo window into the center, then add bricks around it. Let it sit overnight so it’s solid before gifting.
Use a photo crop that fills the frame — no tiny faces in the corner.
Avoid transparent glue smears — they fog the plastic window.