1. Fabric Wall Paneling Look With Painter's Tape Lines
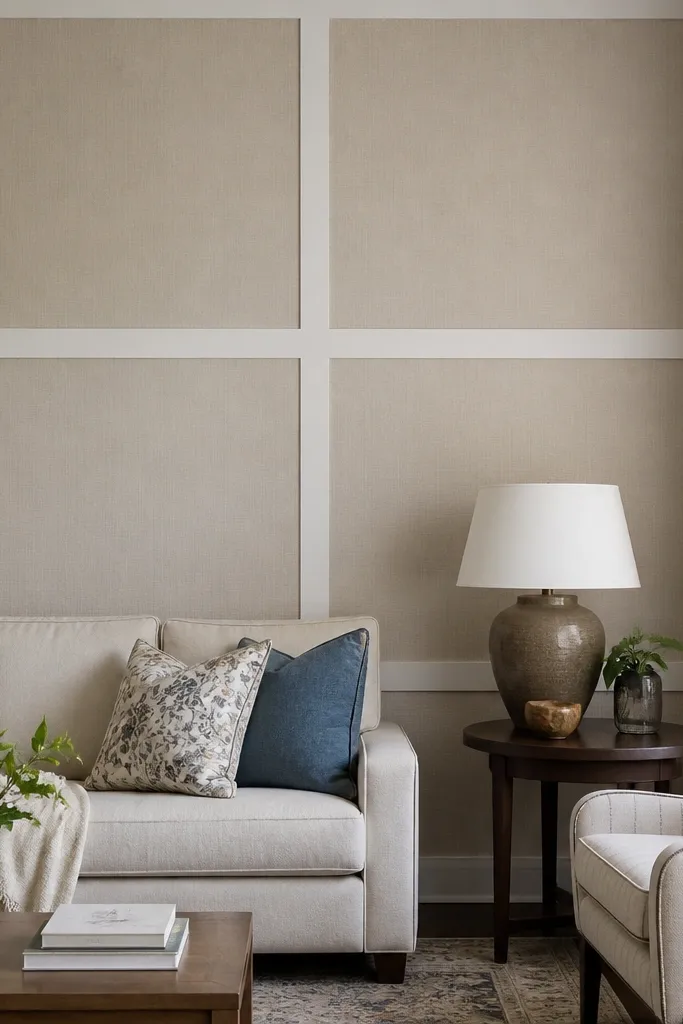
This gives you the expensive paneled-wall look without building anything. The trick is using painter’s tape to create straight borders, then filling the sections with fabric in a similar tone to your wall. I like light linen-look fabric in off-white because it absorbs light and makes the grid feel soft instead of harsh. Add one darker fabric strip on a single section to create depth.
Tape a grid that matches your wall size: 24-30 inches wide rectangles look best in most rooms. Cut fabric panels slightly larger than each taped section, then press edges into the tape line. Use a removable spray adhesive on the back edges only, so you can remove it later. Finish by trimming any fabric fuzz with sharp scissors.
Press the tape down with a credit card so the fabric doesn’t creep under the edges.
Avoid thick, uneven tape lines — they show up from across the room.
2. No-Drill Gallery Wall Using Command Strips and One Frame Size
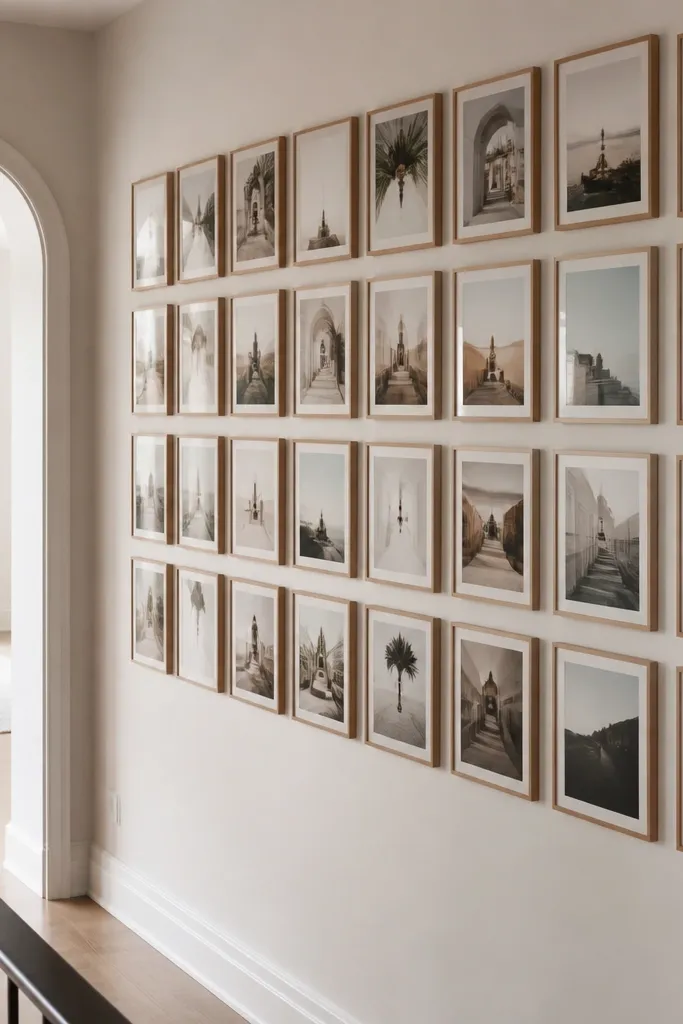
A gallery wall looks stylish when the frames are the same size and the spacing is consistent. I’ve done this with all frames in a brushed black finish and it instantly modernizes a plain wall. Print photos or art on 8.5x11 paper and mount them so you don’t waste money on fancy prints. The uniformity makes the wall look intentional.
Pick one frame size (6x8 or 8x10 works well) and stick to it. Lay everything on the floor first, then transfer the layout using light pencil dots. Use adhesive hooks rated for the frame weight — if you’re using a thick frame, don’t guess. Leave about 2-3 inches between frames so it stays readable.
Use a level app on your phone and measure from the floor to the center of the top frame before hanging.
Avoid mixing frame sizes — it turns into a “random collage” fast.
3. Over-the-Sofa Fabric Tension Rod Curtain Hack
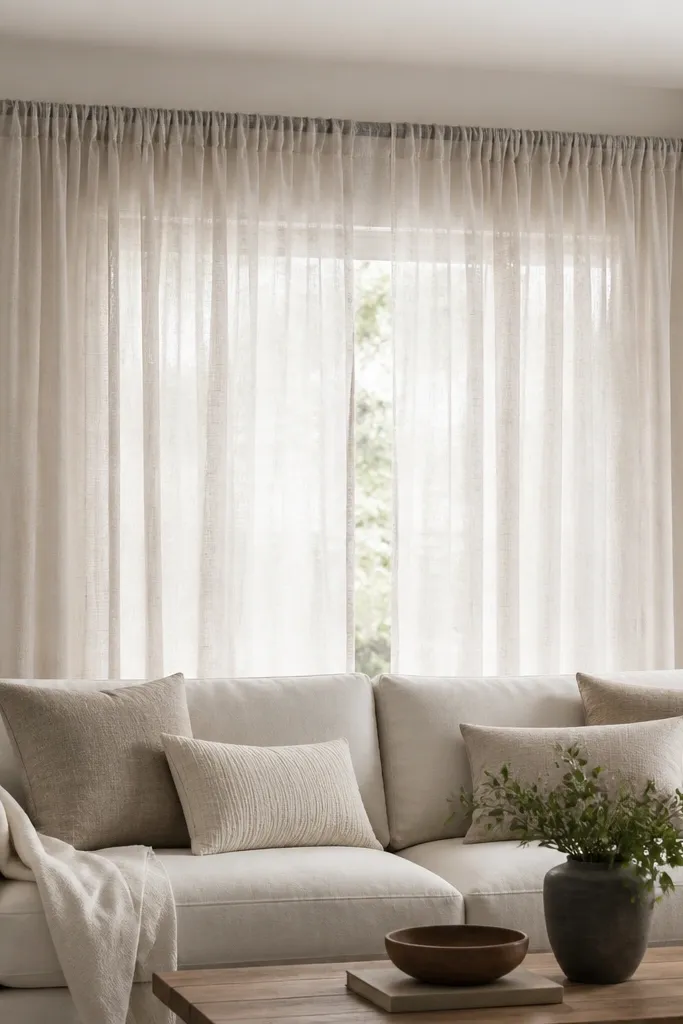
This makes a room feel taller and softer with almost no effort. A curtain panel above the sofa creates a “window” effect even when you don’t have one. I like using a semi-sheer white with a subtle texture so it catches light but still feels cozy. The folds hide imperfections in wall paint and make the whole area look styled.
Choose a tension rod width that spans the sofa back plus 4-6 inches. Hang the curtain so the bottom edge lands about 2-4 inches above the top of the couch cushions. If you can’t mount into studs, use the rod with bracket supports or a temporary mounting method. Steam the fabric before hanging so the folds look intentional.
Use binder clips to shape the fabric folds before you let it hang for 30 minutes.
Avoid curtain panels that are too short — they look like a tablecloth, not room decor.
4. Scrap Wood Floating Shelf With Hidden L-Brackets
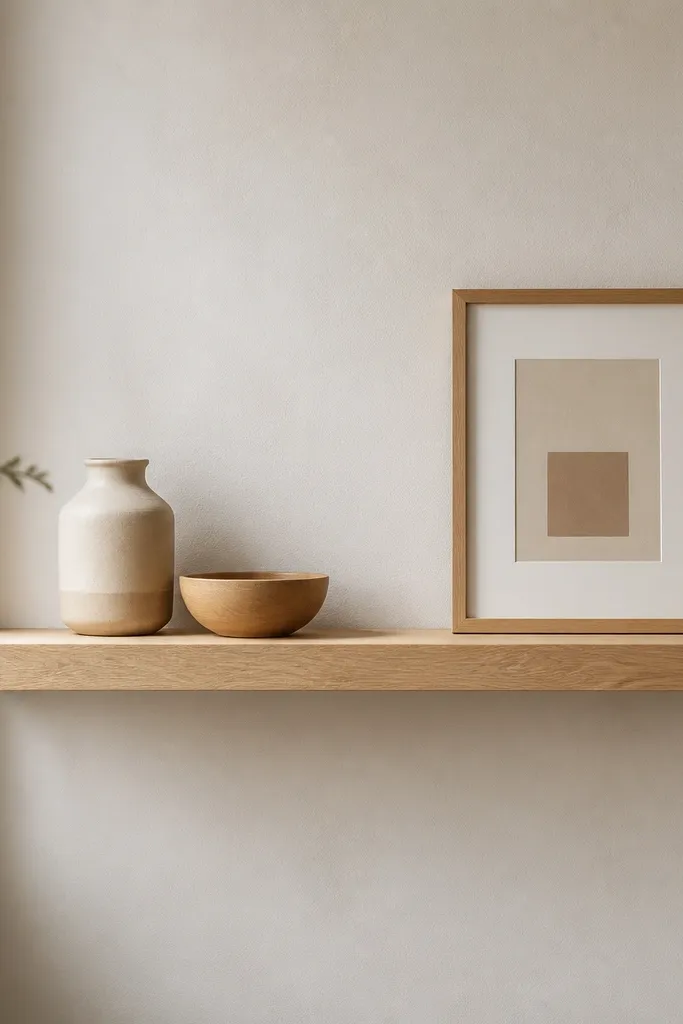
A floating shelf instantly adds storage and height. I’ve built these with 1x6 boards cut down, then stained them in a warm tone to match wood furniture. Hidden L-brackets keep the front clean, so the shelf looks custom instead of DIY. Style it with one tall item and two flat items so it doesn’t look cluttered.
Use a board thickness around 3/4 inch for a sturdy look. Stain or paint the shelf first, then attach the brackets to the wall studs. Position the shelf height so the top lands around eye level when seated. Leave 8-10 inches of spacing between objects on the shelf.
Sand the front edge until it feels smooth with your fingertips — that one step makes it look store-bought.
Avoid placing brackets too far apart — the shelf will sag and ruin the clean line.
5. Picture Frame Tray for Keys, Mail, and Small Stuff
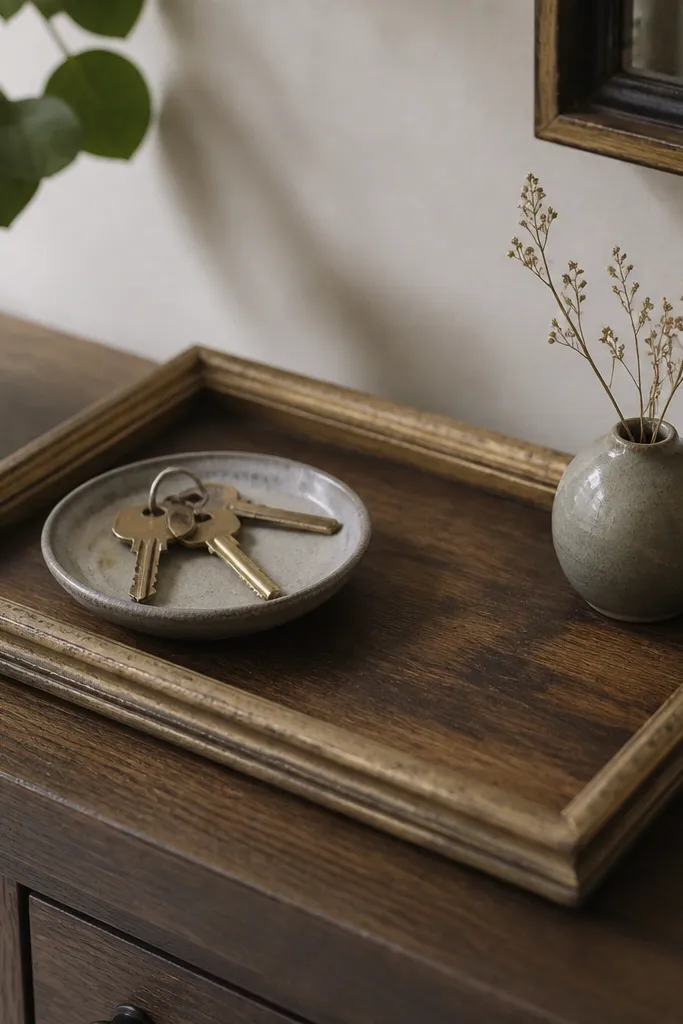
This solves the “stuff pile” problem and makes the entryway look curated. I’ve used old frames and turned them into shallow trays by adding a backing piece and a thin lip. A stained wood base looks warm, and it hides small messes instantly. It’s also one of the easiest decor upgrades because you’re adding function and style at once.
Remove the glass and backing. Cut a thin panel (plywood or MDF) to fit inside the frame, then glue it in place. Add a 1/4 inch strip along the inner edge to create a lip. Finish with stain or acrylic paint, then seal with a matte topcoat.
Use felt pads on the bottom so it doesn’t scratch your table.
Avoid skipping a topcoat — bare wood scuffs and stains from everyday use.
6. Vintage Sheet to Cushion Cover With Hidden Zipper
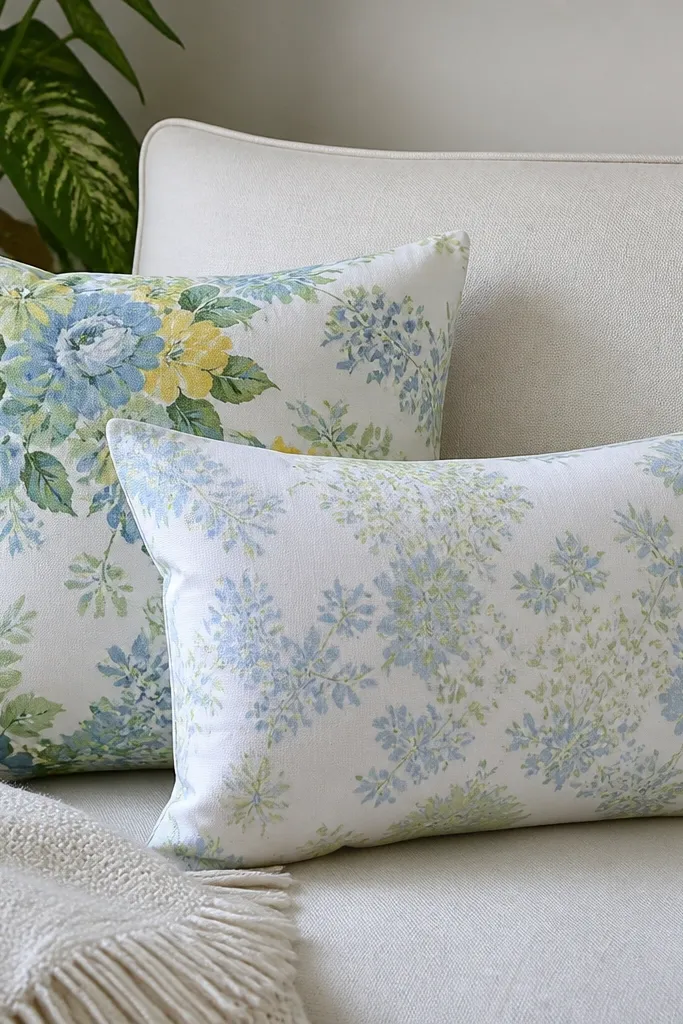
Wash and dry the sheet first so it doesn’t shrink later. Cut fabric to match your pillow insert size plus 1 inch for seam allowance. Sew the invisible zipper into the side seam, then finish seams with a zigzag stitch or overlock. Steam the cover flat before stuffing.
This is my favorite way to get “designer” fabric without paying designer prices. Vintage sheets already have interesting prints and a soft hand, and they drape nicely on pillows. An invisible zipper keeps the look sharp from every angle. Choose one bold print and keep the rest of the room calm so the pillows do the talking.
One warningAvoid stretchy knit sheets — they warp the zipper and look messy after a few weeks.
Quick tipMatch the pattern across the seam on the front corners for a cleaner look.
7. Tassel Garland From Old T-Shirts for a Soft Boho Corner
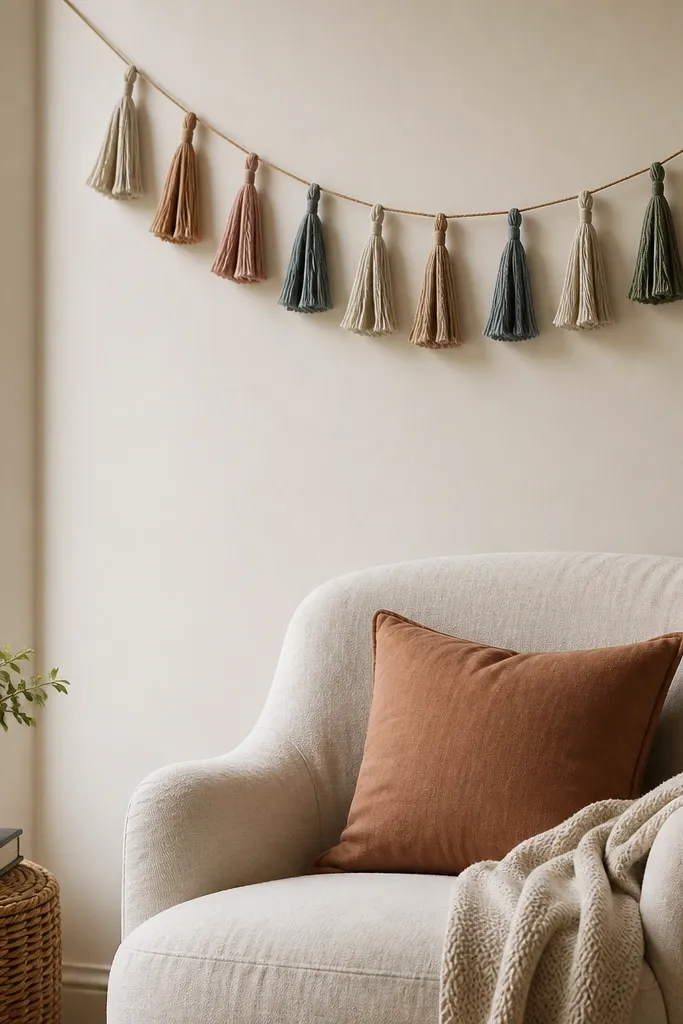
If you want cozy color without buying new fabric, use worn tees. The jersey stretches a bit, so tassels look fuller and softer than stiff cotton fringe. I like muted colors like dusty rose, oatmeal, and charcoal because they blend with real rooms. Hang it behind a chair or along a shelf edge to create a warm focal point.
Cut strips 1 inch wide and 6-8 inches long, then fringe one end by cutting stops every 1/4 inch. Tie tassels in small clusters to a twine line, then trim all tassels to the same length. Secure the line with two small nails or command hooks. Space tassels about 2 inches apart so it doesn’t look sparse.
Shake the tassels after hanging and trim only the ones that stick out.
Avoid super-bright neon tees — they pull focus and cheapen the vibe.
8. Painted Terracotta Planters in Two-Color Blocks
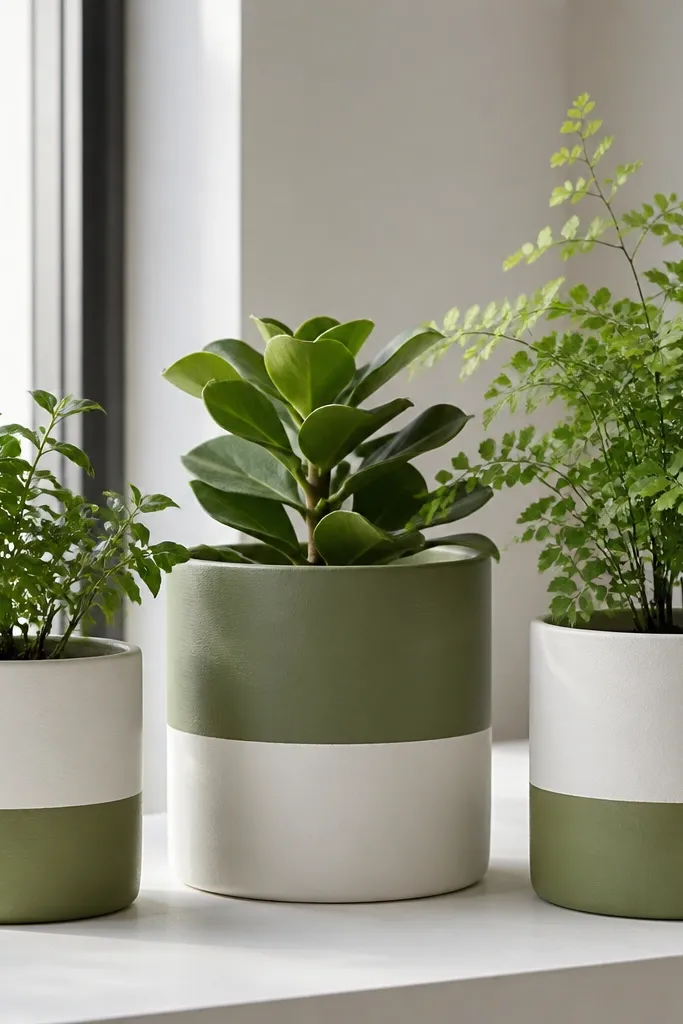
Clean pots with soap and dry fully. Tape off straight sections with painter’s tape and paint with acrylic craft paint. Seal after the paint cures with a clear matte sealer that’s safe for indoor use. Let each coat dry 20-30 minutes before adding the next layer so edges stay crisp.
Two-color block painting makes planters look modern and intentional. Terracotta grips paint well, and matte finishes hide brush marks. I like white plus olive or sand plus black because it matches most furniture. When the planter color matches a second decor item (like a frame or vase), the room looks styled, not random.
One warningAvoid painting over dusty terracotta — paint peels in sheets after watering.
Quick tipUse a foam brush for the block areas to avoid visible streaks.
9. Paper Lanterns Turned Into a Linen-Style Pendant Shade
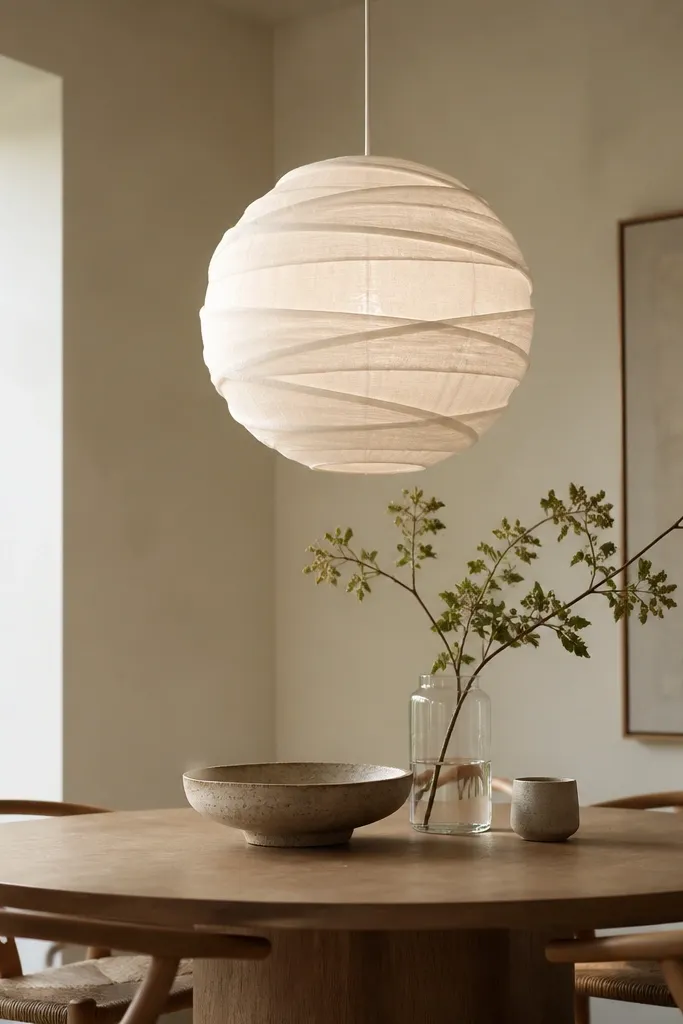
Use a wire-frame paper lantern or similar collapsible lantern. Wrap thin strips of fabric around it starting at the top, overlapping slightly, and tack with hot glue at the seam. Keep the fabric overlap consistent so the shade doesn’t look patchy. Add a small cord or hook to hang from your light fixture or a ceiling hook.
This gives you a soft, diffused light without buying a new fixture. The paper lantern holds shape, and the fabric wrap makes the light warmer and less harsh. I used light cream fabric strips and it made the room feel calmer at night. It also looks expensive because the texture shows up in photos and in person.
One warningAvoid thick fabric too close to the bulb — heat can warp the shade.
Quick tipDo a quick test with a low-watt bulb first — you want the fabric to glow, not darken.
10. Wallpaper Remnant Accent Wall Behind a Shelf
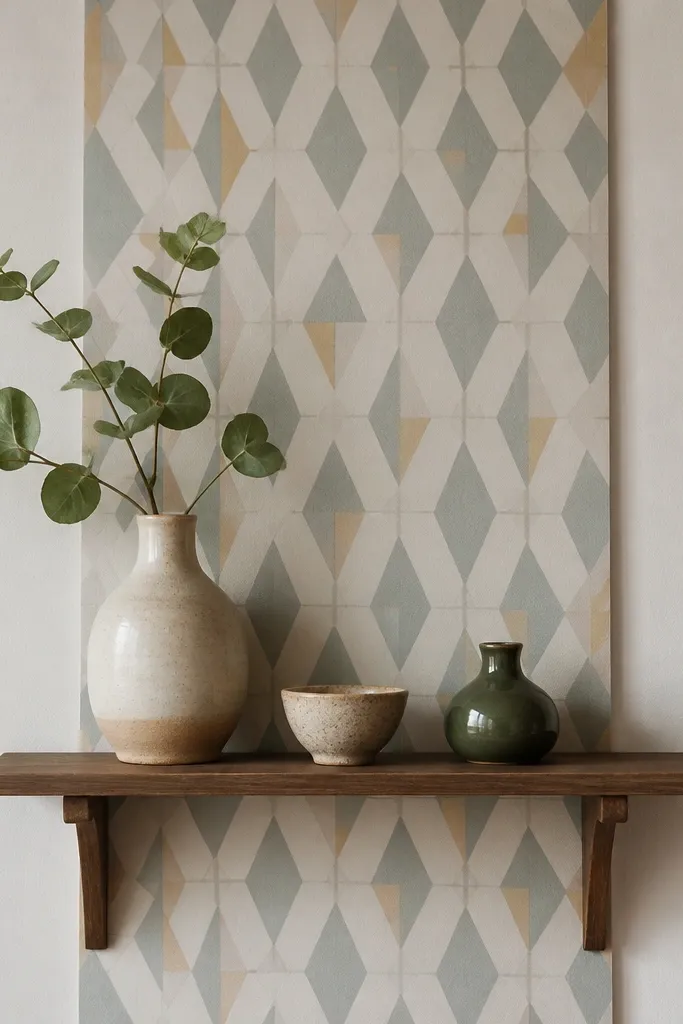
You don’t need a whole wall of wallpaper to get the effect. Putting wallpaper behind a shelf or cabinet creates a “feature panel” that frames your decor. I’ve used small remnant pieces and it looks intentional because the shelf hides uneven edges. Choose patterns with one dominant color so it doesn’t fight your room’s paint.
Cut the wallpaper panel to fit behind the shelf area with 1/2 inch extra on all sides. Use a straight edge and a craft knife for clean cuts. Paste or peel-and-stick works depending on the wallpaper — press carefully around the corners. Style the shelf with neutral items so the pattern stays readable.
Use a foam brush to smooth bubbles if you’re using paste wallpaper.
Avoid high-contrast patterns if your room already has bold art — it becomes visually loud.
11. Framed Fabric Map Look Using Embroidery Hoop
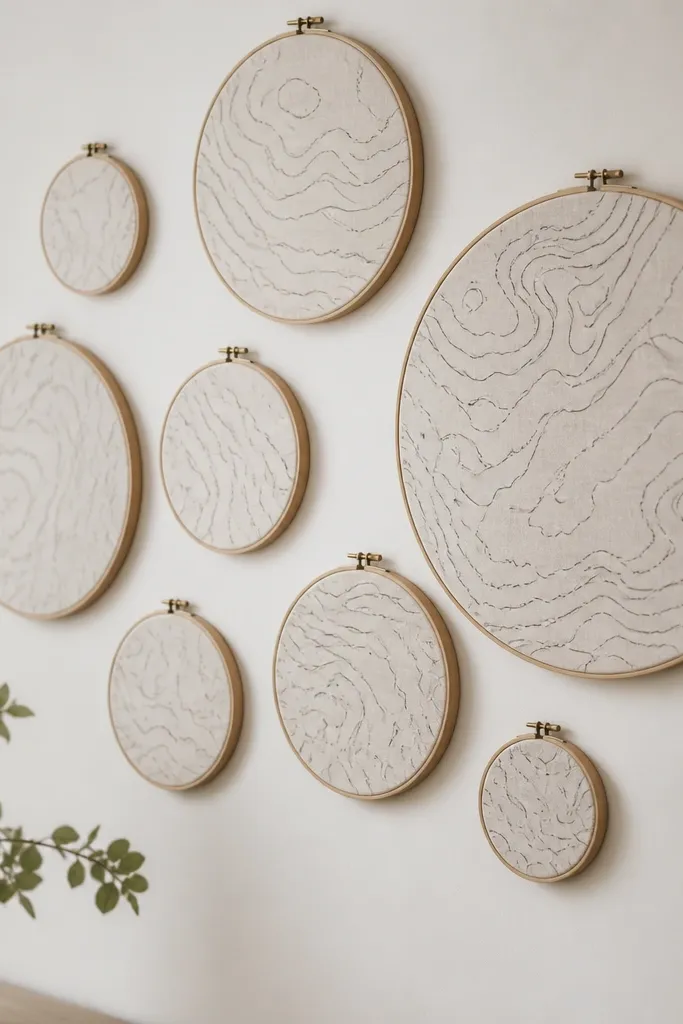
This is a fun way to get wall art without printing anything. Embroidery hoops create a natural frame, and fabric gives you texture. I’ve drawn simple contour-like lines with a fabric marker on cotton canvas and it looks like a map at a distance. Hang three hoops in a diagonal line for movement.
Stretch fabric over an embroidery hoop and tighten until it feels drum-tight. Draw line patterns with a washable fabric marker, then let it dry fully. Mount hoops using small picture hooks so they sit flat. Keep line thickness consistent — use the same marker pressure throughout.
If you want a cleaner look, sketch the lines lightly with pencil first.
Avoid marker that bleeds — test on scrap fabric before you commit.
12. Salt Dough Drawer Pull Labels for a Handmade Desk
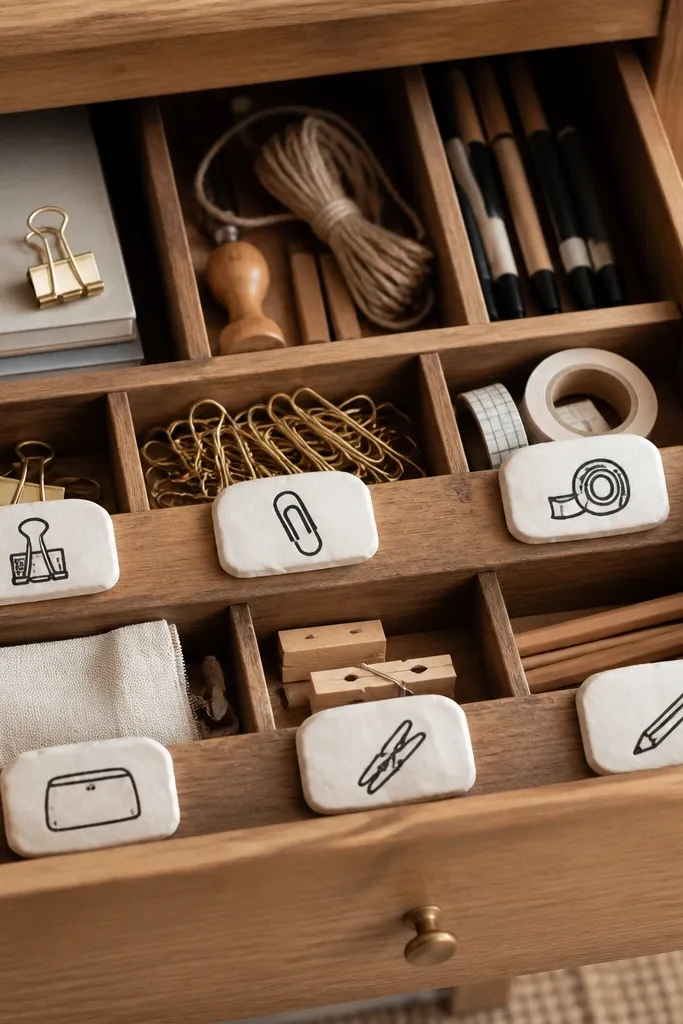
Mix salt dough (salt, flour, water) until it forms a firm clay. Roll it 1/4 inch thick, cut shapes, and bake until hard. Paint with acrylic and seal with matte varnish. Attach with a small adhesive magnet or screw-in mini hardware depending on your drawer.
These labels make a desk feel human and organized. Salt dough is cheap, and you can stamp or cut shapes like circles and rounded rectangles. I like white labels with black text because they read clearly and match most decor. When you label drawers, you stop digging for things, and the room looks calmer.
One warningAvoid skipping the bake time — soft dough labels crumble when touched.
Quick tipUse a fine-tip paint marker for the text so it stays crisp.
13. Rope Coasters and a Matching Tray From Thick Twine
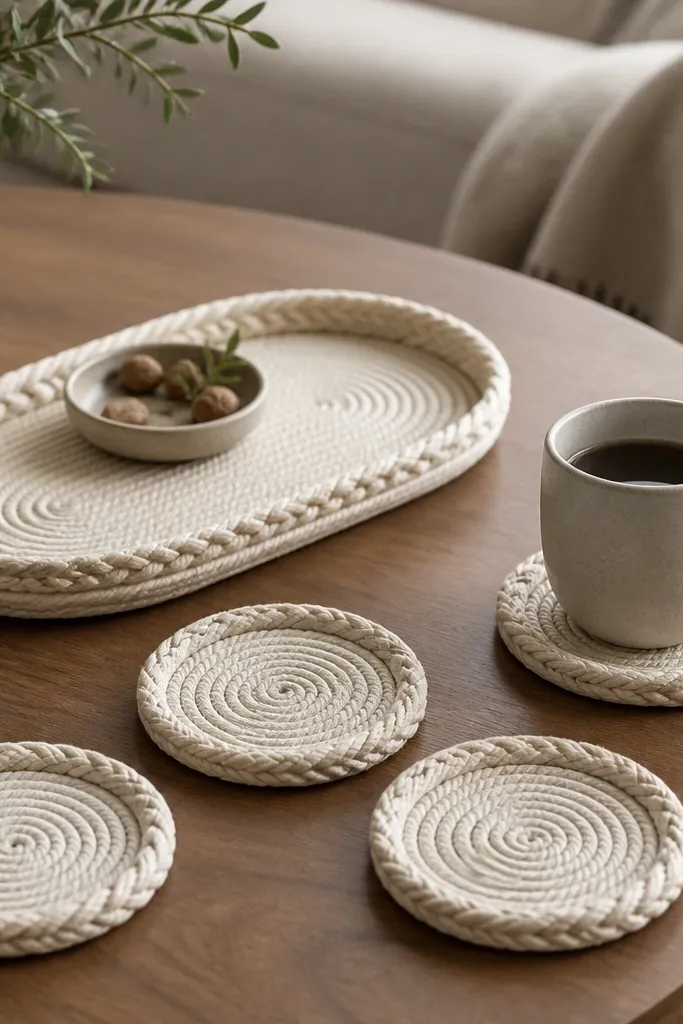
Coil jute twine into circles using hot glue at the back edge. Keep the coils snug and press down each ring so gaps don’t show. For the tray, build an oval shape by starting with a circle and elongating with two straight-ish sides. Seal with a light matte clear coat if you want it more wipeable.
Rope decor adds texture without clutter. When you coil twine tightly and glue in layers, the coaster looks like a handmade artisan piece. I prefer thick natural jute because it looks warm and hides glue lines. Pair with a simple tray so your tabletop looks styled even when you’re not hosting.
One warningAvoid thin twine — it leaves gaps and looks cheap.
Quick tipTrim the first and last coil ends so they tuck neatly under the center.
14. Painted Cable Covers to Hide Ugly Power Runs
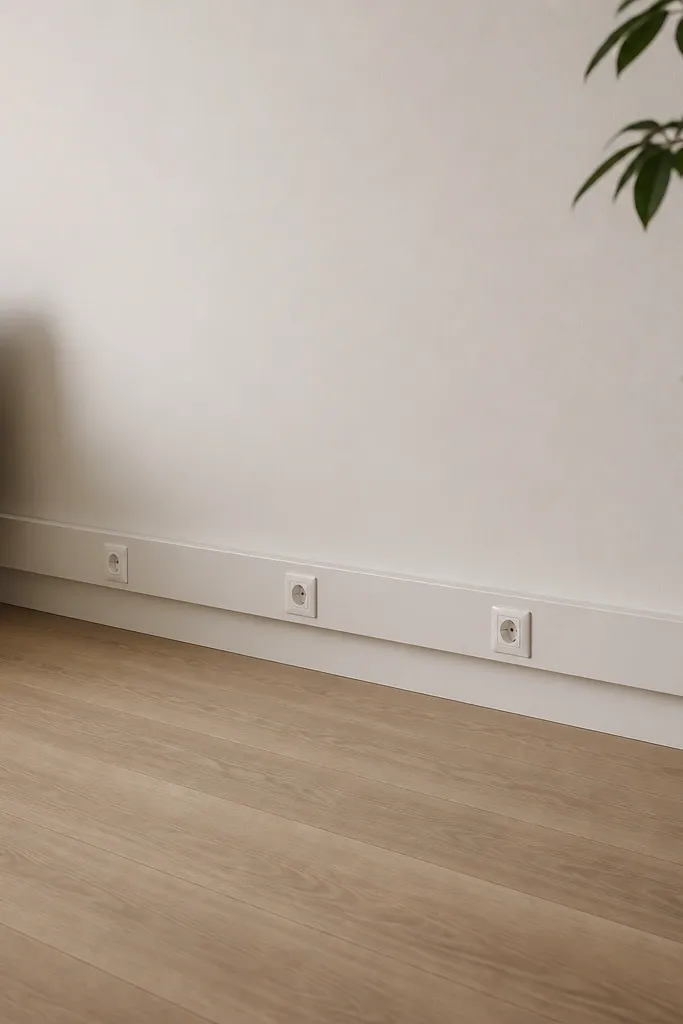
This is one of the fastest ways to make a room look finished. Ugly cords make everything look messy, even if the decor is good. Cable covers are cheap, and painting them to match your wall makes them disappear. I’ve done this in bedrooms where the outlet wall was visible from the bed.
Measure the cord run length and buy a cover that matches your cord thickness. Cut to size with a utility knife and attach with the provided adhesive strips. Paint after installation if the cover is scuffable, using a small foam roller for an even finish. Let the paint cure fully before plugging things in tightly.
Bundle the cords with Velcro ties before you snap the cover on.
Avoid painting over dust or oily fingerprints — the paint scratches off quickly.
15. Tiered Spice Rack Shelf for Bathroom Counter Styling
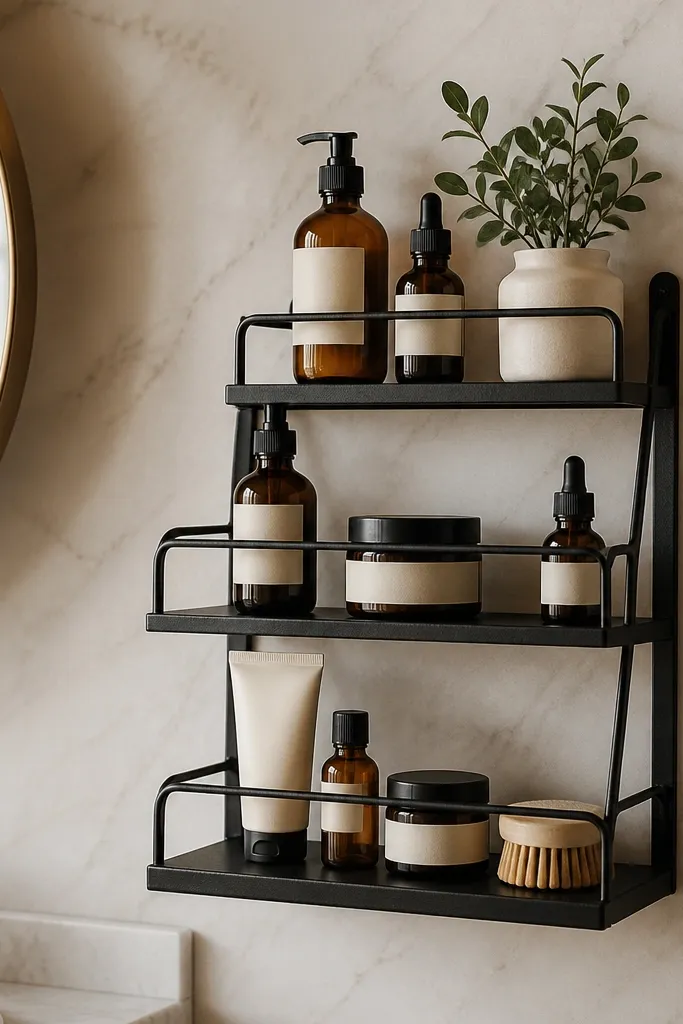
Mount the rack at a height where you can grab items without leaning. Use small jars (3-4 inch wide) for cotton rounds and a pump bottle for soap. If you’re painting, lightly sand first and use spray paint with a primer. Keep the bottom tier for the heaviest items so it stays balanced.
A small tiered rack makes bathroom counters look curated without taking over the whole room. I’ve used metal spice racks and painted them satin black so they match towel bars and hardware. The tiers create natural height differences, so items look intentional instead of stacked. Choose containers with matching caps or labels so the top tier looks clean.
One warningAvoid mixed bottle shapes without a color rule — it looks chaotic fast.
Quick tipWipe the shelf with rubbing alcohol before painting for better adhesion.
16. Linen-Look Wall Hanging With Dowel and Threaded String
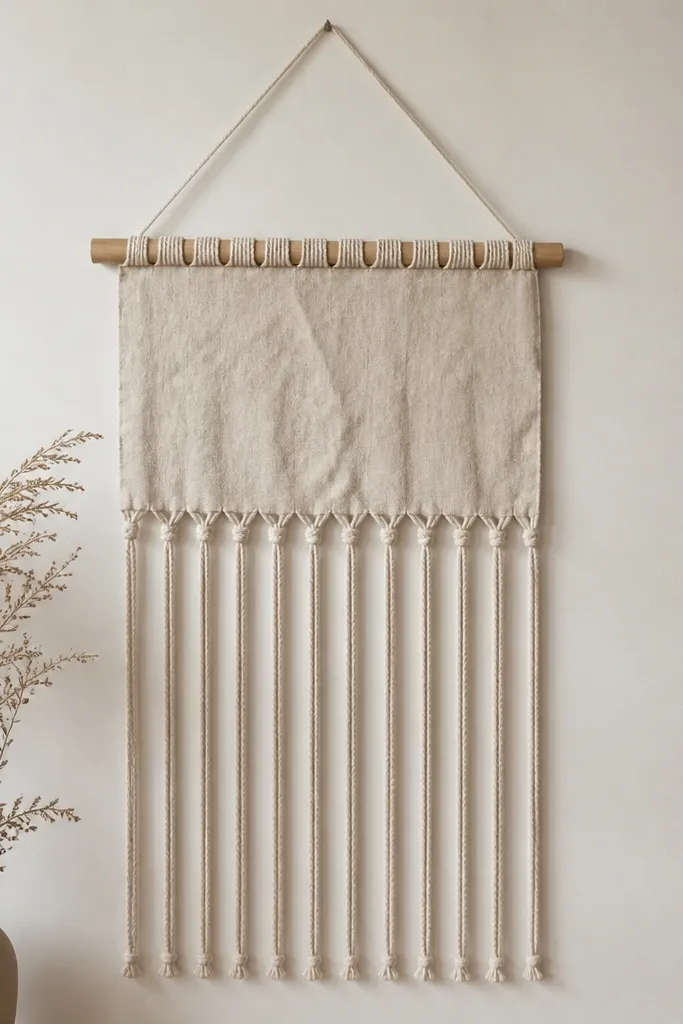
Cut fabric strips 6-10 inches long depending on how dramatic you want it. Tie each strip to a string line with knots spaced 1 inch apart. Wrap the string line around the dowel and secure with a few tight wraps. Hang with two small hooks so the dowel stays level.
This looks like a store-bought wall hanging because the top anchor is clean. The dowel gives you that straight, intentional line, and the threaded strings add movement. I like using wide linen strips in cream with thin natural jute strings so it reads warm and calm. It also works great behind a bed or in a reading nook.
One warningAvoid shiny synthetic fabric — it catches light and looks plasticky.
Quick tipUse a ruler for the strip lengths — uneven lengths look accidental, not artsy.
17. Gallery Shelf Styling With One Color Group and One Texture
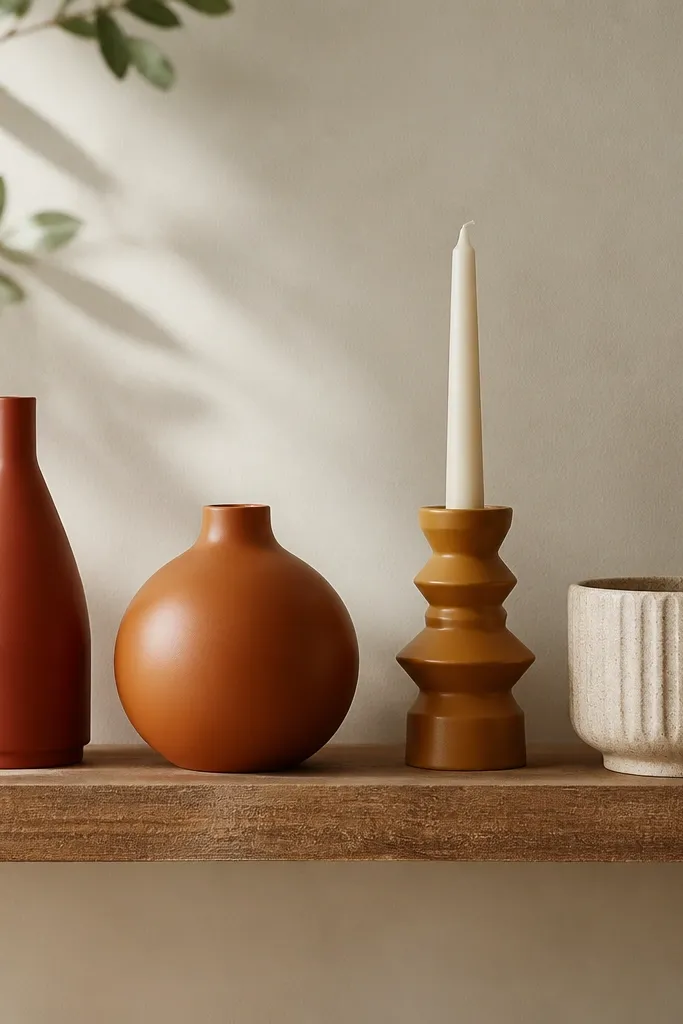
Start with a base color group: pick three items that are the same tone family (like sand, cream, and warm beige). Add one “texture” item in a different finish, like a woven rattan vase or matte clay sculpture. Space items 8-10 inches apart and keep the tallest item near one end. Leave negative space in the middle so the shelf has breathing room.
This isn’t a single object trick; it’s the styling method that makes DIY decor look high-end. When you group items by one color family, your shelf stops fighting your wall color. Add one textured piece like a matte ceramic or woven basket so it doesn’t look flat. I do this on narrow shelves in bedrooms because it makes the shelf feel calm instead of crowded.
One warningAvoid filling every inch of shelf — it turns into visual clutter.
Quick tipTake a photo from standing height and adjust one item at a time until it looks balanced.
18. Painted Wood Block Coasters With Felt Bottoms
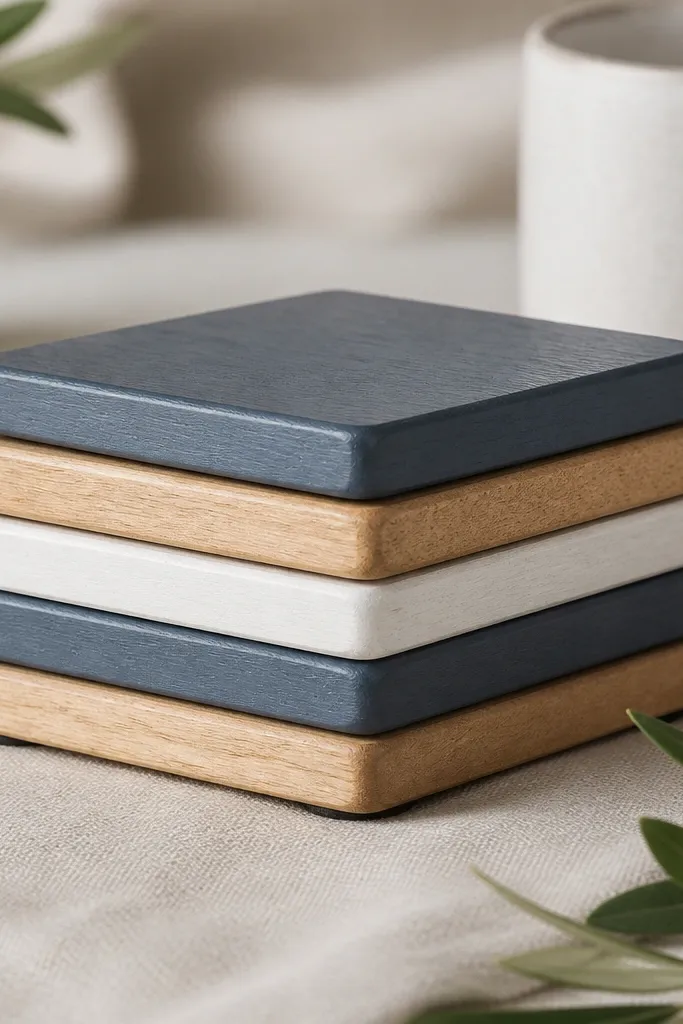
These coasters are a small decor move that makes a table look cared for. Painting wood blocks in two or three colors looks clean when the edges are crisp. I like using matte paint and a simple pattern like thin stripes or a single color corner. Add felt bottoms so they don’t slide and your table stays scratch-free.
Sand wood blocks smooth and wipe with a damp cloth, then dry fully. Tape off corners for clean stripes and paint with acrylic craft paint. Seal with a matte clear coat after the paint dries. Glue felt circles to the bottom using fabric glue.
Use painter’s tape edges at least 1/8 inch wide so paint doesn’t creep under.
Avoid glossy clear coat — it reflects light and looks like cheap craft varnish.
19. Upcycled Frame Mirror With Peel-and-Stick Trim Border
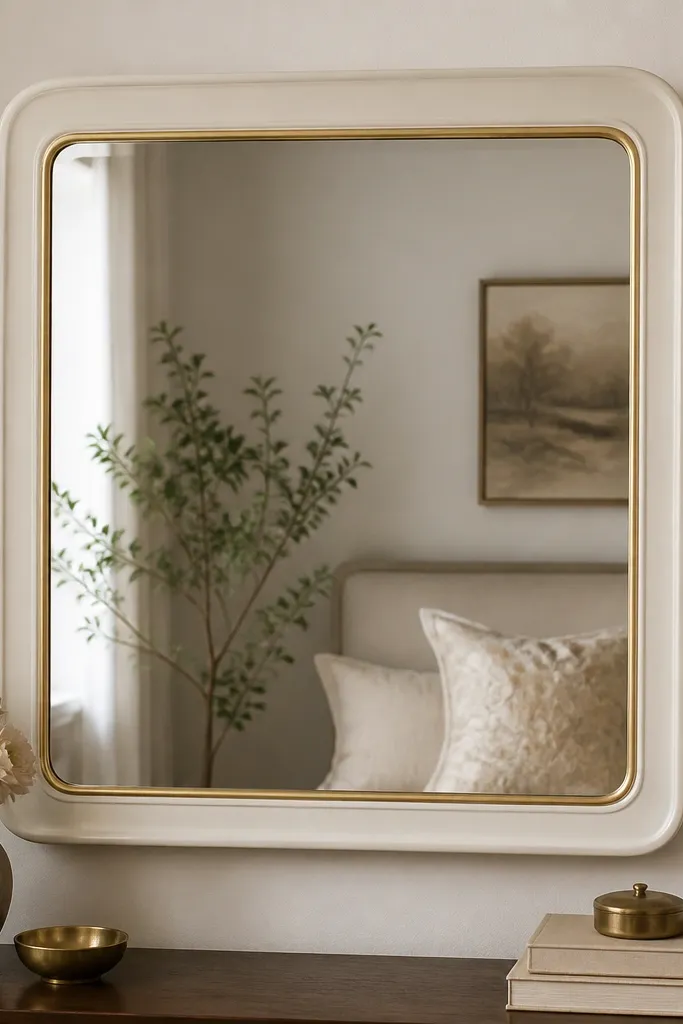
This is the easiest way I know to make an old mirror look intentional. You paint the frame, then add a trim border for a designer edge. I’ve used peel-and-stick trim in brushed gold or black and it instantly sharpens the look. The mirror reflects light, so the border shows up even when the room is dim.
Sand the frame lightly, then paint with a satin or matte finish. Cut trim pieces to fit each edge and press firmly with a smooth tool. Use a hair dryer on low heat to help corners lay flat. Let everything set for a few hours before hanging.
Cut trim with a sharp blade and test-fit each corner twice before pressing down.
Avoid trim that’s too thick — it makes the frame look bulky and cheap.
20. Hanging Plant Wall With Simple PVC Pipe Planter Rails
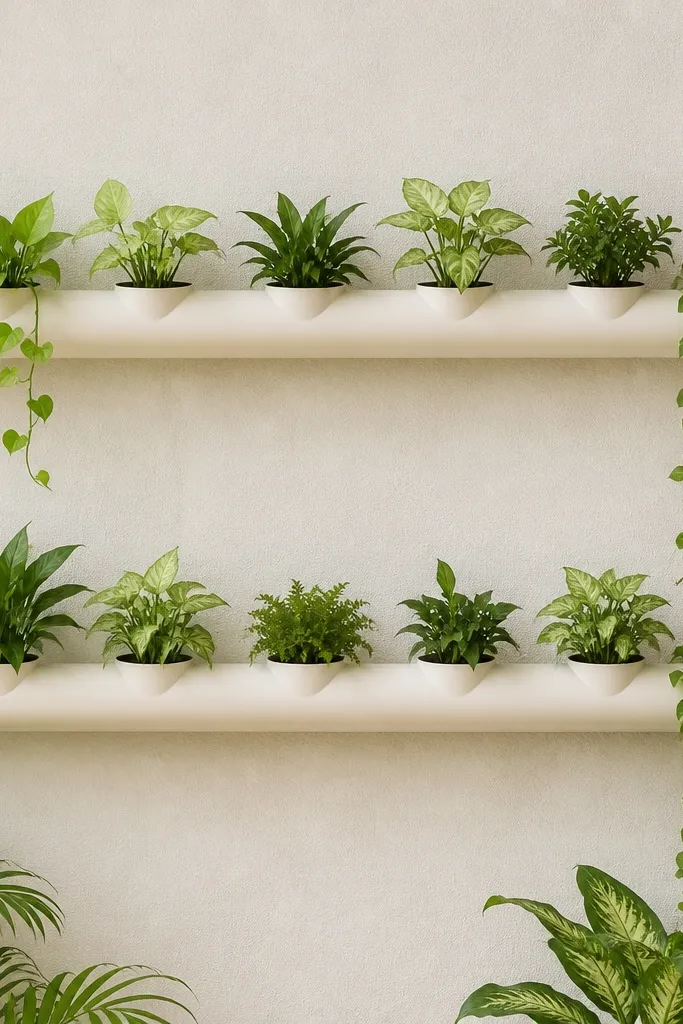
Cut PVC pipe to length and cap ends with glue-on caps. Drill evenly spaced holes for planter inserts or use small brackets to hold pots. Paint PVC to match your wall or leave it as a clean white. Mount rails with anchors into studs if possible, then hang planters with tray liners to catch drips.
If you want a plant wall that doesn’t look like a random vine jungle, use rails. PVC pipe rails keep planters in a straight line, and the uniform spacing looks tidy. I’ve mounted two rails with matching planters and it made a corner feel like a greenhouse without messy pots on the floor. Choose one plant type for consistency, like pothos or small spider plants.
One warningAvoid uneven hole spacing — the whole wall looks off immediately.
Quick tipPlace a small saucer under each pot and check weekly for water pooling.
21. Paper Flower Ombre Backdrop for a Reading Nook Corner
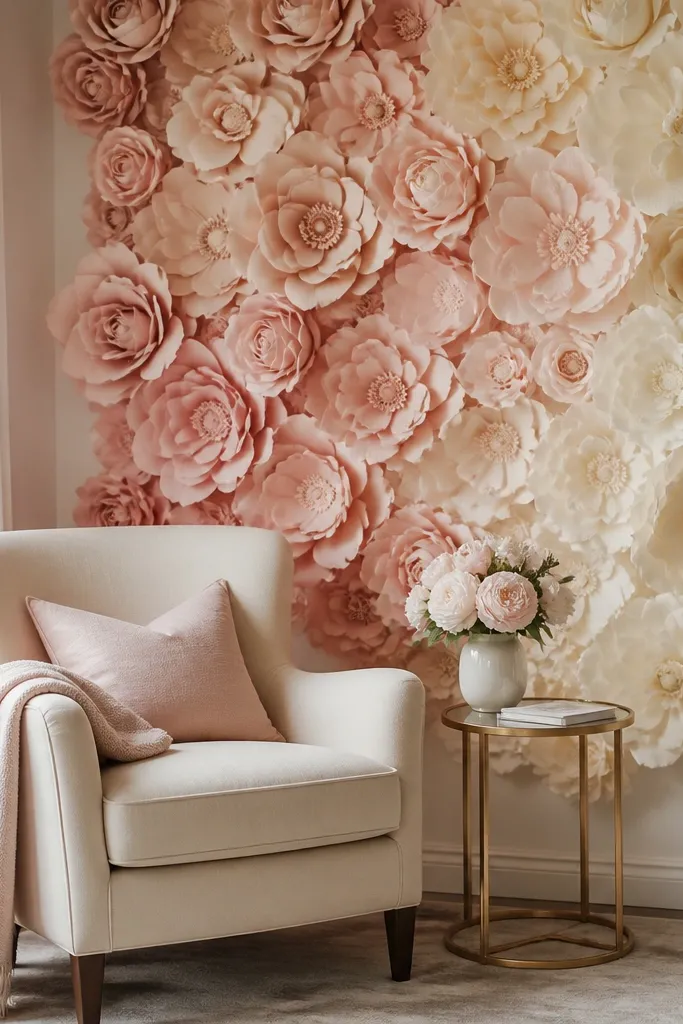
Paper flowers look surprisingly good from a few feet away, especially when you use an ombre color range. I’ve made backdrops with three sizes of flowers and the corner instantly feels special. The key is choosing soft colors that match your existing textiles, like blush, dusty rose, and warm cream. This works great behind a chair where you want a focal point without heavy furniture changes.
Pick an ombre palette and cut paper flowers in three sizes (small, medium, large). Mount them on a foam board or directly on a wall using craft adhesive dots. Start with larger flowers at the bottom and fade to smaller ones toward the top. Leave gaps so the background doesn’t look like one flat blob.
Press the flower petals with a spoon for gentle curves before assembling.
Avoid bright primary colors — they look like a school project in a home.
22. Sew-On Pom-Pom Trim on Plain Throw Blanket Edges
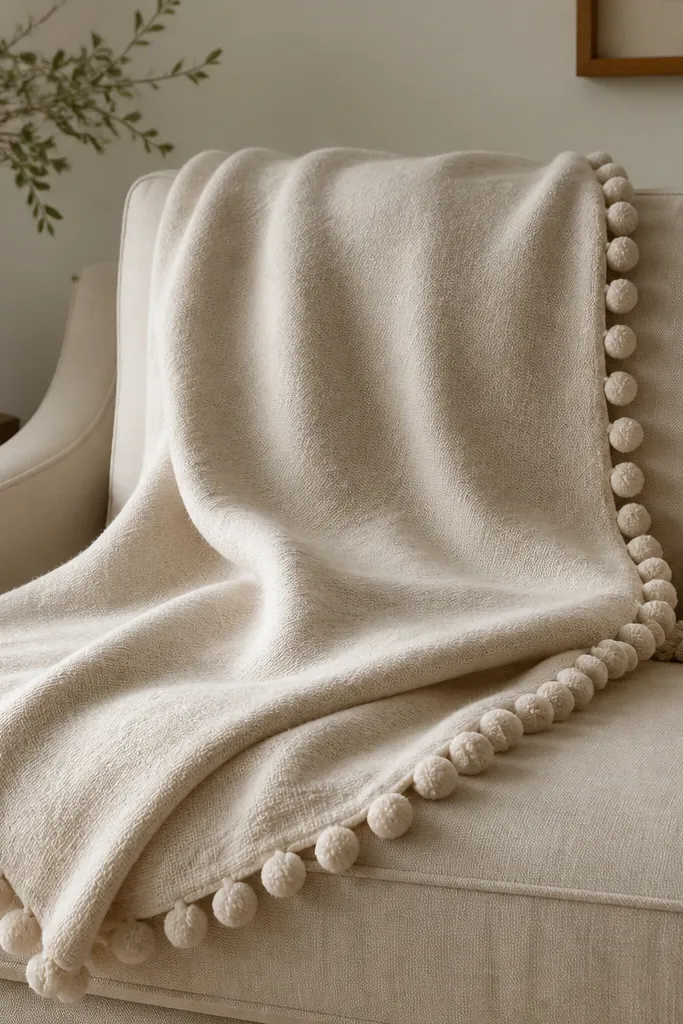
Trim is the fastest “I bought this” upgrade for basic blankets. Pom-poms add softness and a playful edge without needing a full reupholster. I like using a cream blanket with a light caramel trim so it reads warm, not childish. It also looks good on couches because the trim catches light and makes the throw feel thicker.
Choose a trim width around 1/2 to 3/4 inch so it shows but doesn’t overpower. Sew trim onto the blanket edge by hand with backstitch or on a machine with a zipper foot. Keep the trim centered along the blanket edge and pin every 2 inches. Wash the blanket once after sewing if the trim allows, then dry flat.
Match the blanket’s weave direction so the trim sits straight and doesn’t twist.
Avoid trimming that’s too wide — it makes the blanket look lumpy and uneven.