1. Plywood + foam + linen panel headboard with hidden wall cleat
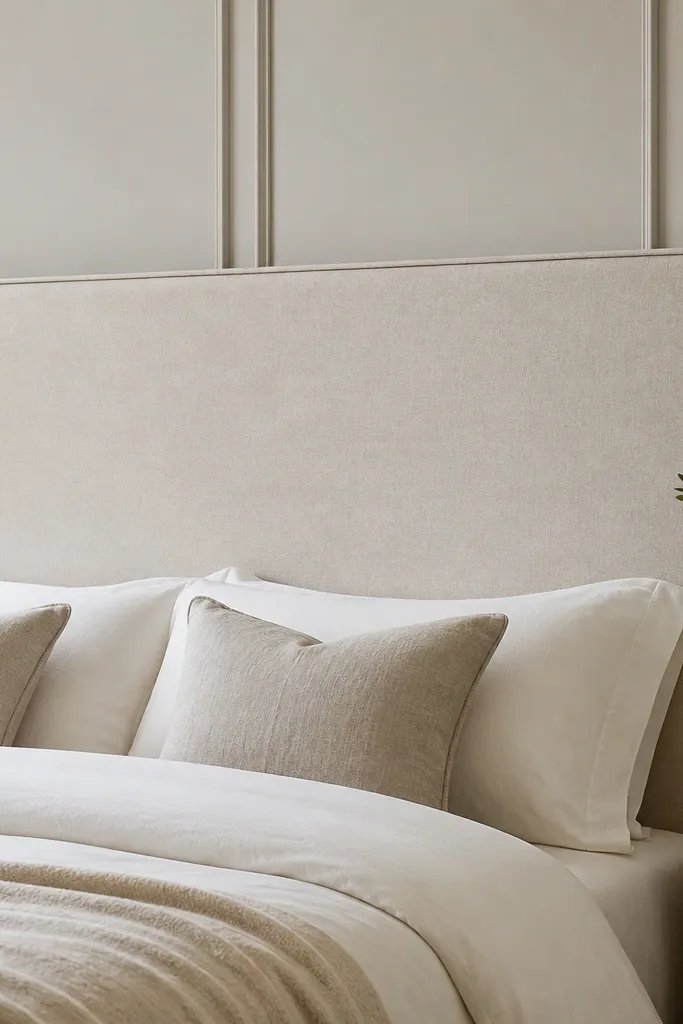
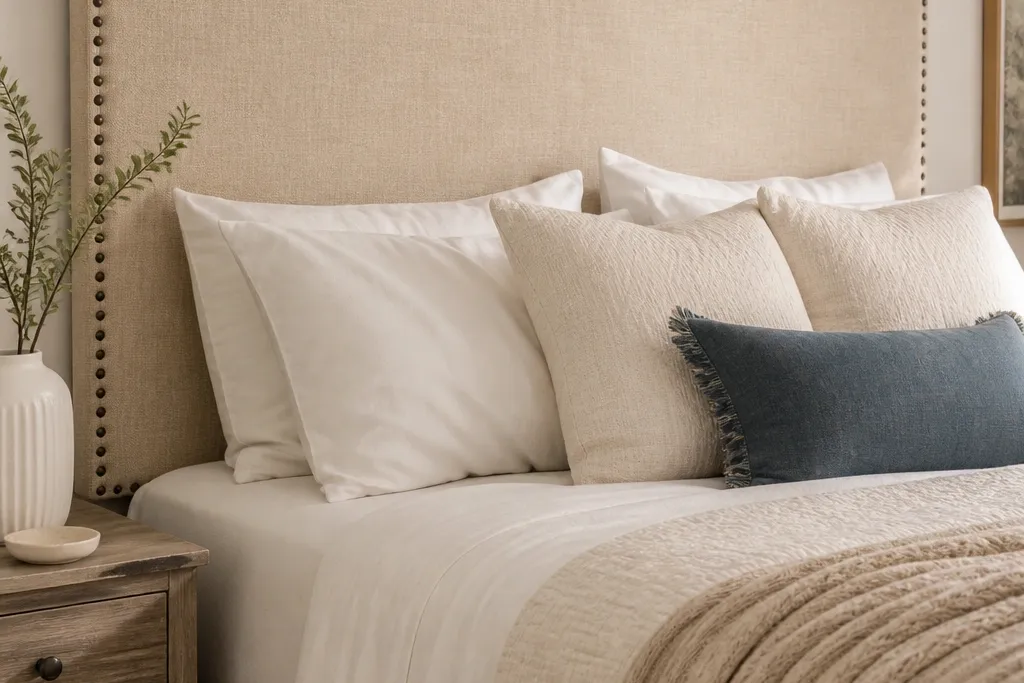
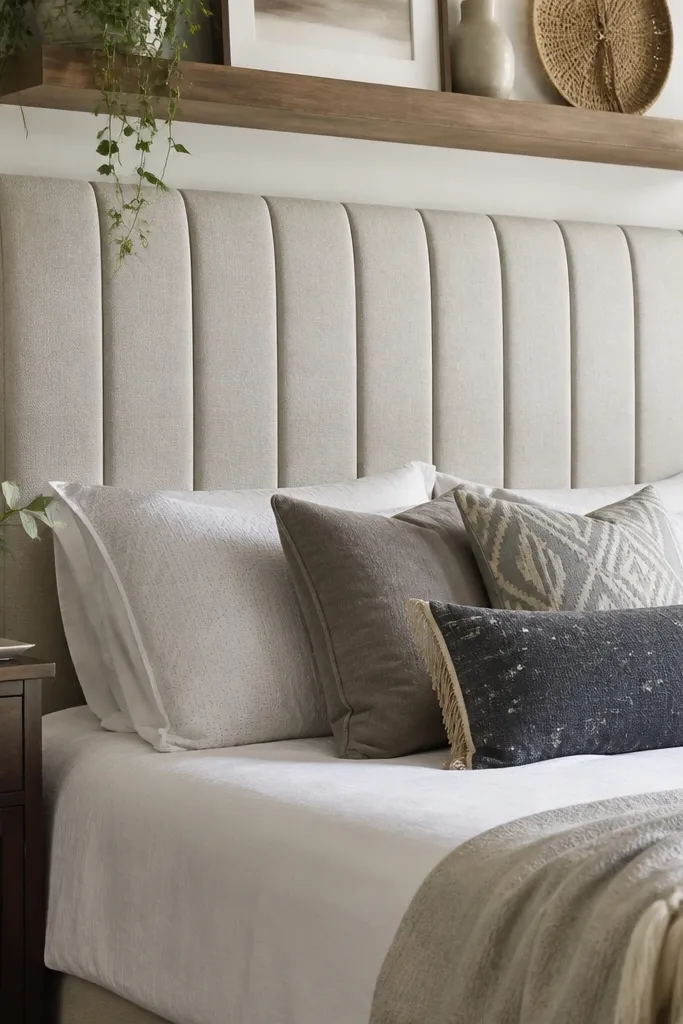
This is the version I keep recommending because it hides almost every beginner mistake. Plywood stays flat, 1 in foam gives you that soft look without turning the face wavy, and linen reads expensive in daylight. The perimeter piping makes the edges look crisp even if your fabric cutting is slightly off. A hidden French cleat on the back keeps the front looking uninterrupted.
Cut plywood to your bed width minus 1-2 in for an airy look. Add 1/2 in high-density foam for the first layer, then a second 1/2 in layer if you want extra plush. Wrap with linen, pull tight starting from the center of each side, and staple about every 1-1.5 in along the back. Mount using a cleat screwed into studs at the height that matches the bed mattress top gap.
Mark your cleat height on the wall with painter’s tape so the first hang is level. I use a 2 ft level and check left and right before I commit the screws.
Don’t staple the fabric loosely — slack fabric creates ripples that you can’t iron out later.
2. No-foam fabric headboard with quilt batting and corner tabs
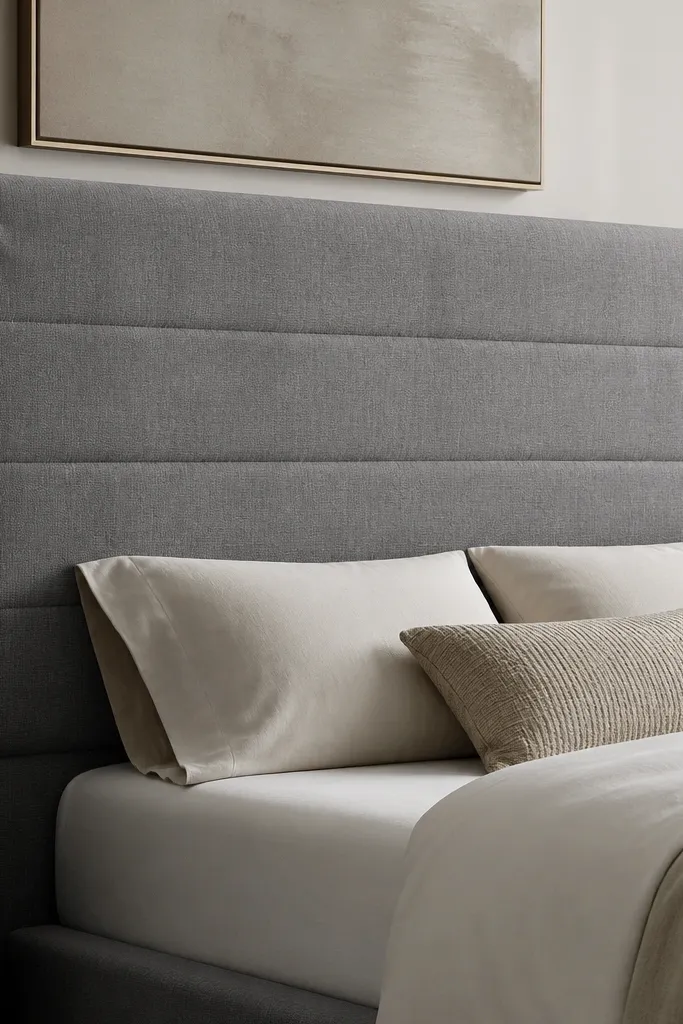
If you hate foam dust and want a forgiving build, this one works because quilt batting gives the softness. You get a smooth front with gentle structure, and the corner tabs keep the fabric from creeping when you pull it tight. The subtle quilting lines make it look intentional without needing buttons. It’s also fast because you’re not stacking foam layers.
Use MDF or thin plywood as the backing. Lay batting 1-2 in thick on top, then stretch the outer fabric over it and staple the back edges. Add corner tabs by folding extra fabric at each corner and stitching or stapling them in place so the tension stays centered. For the quilting lines, sew long basting stitches across the face and then pull them tight before trimming.
Quick tipPre-wash and dry your fabric to prevent shrink surprises after you mount it. I’ve had linen tighten by 1-2% and pull the seams when I skipped this step.
One warningDon’t skip batting thickness — thin batting makes the headboard look flat and cheap.
3. Upholstered channel headboard made from foam strips and straight piping
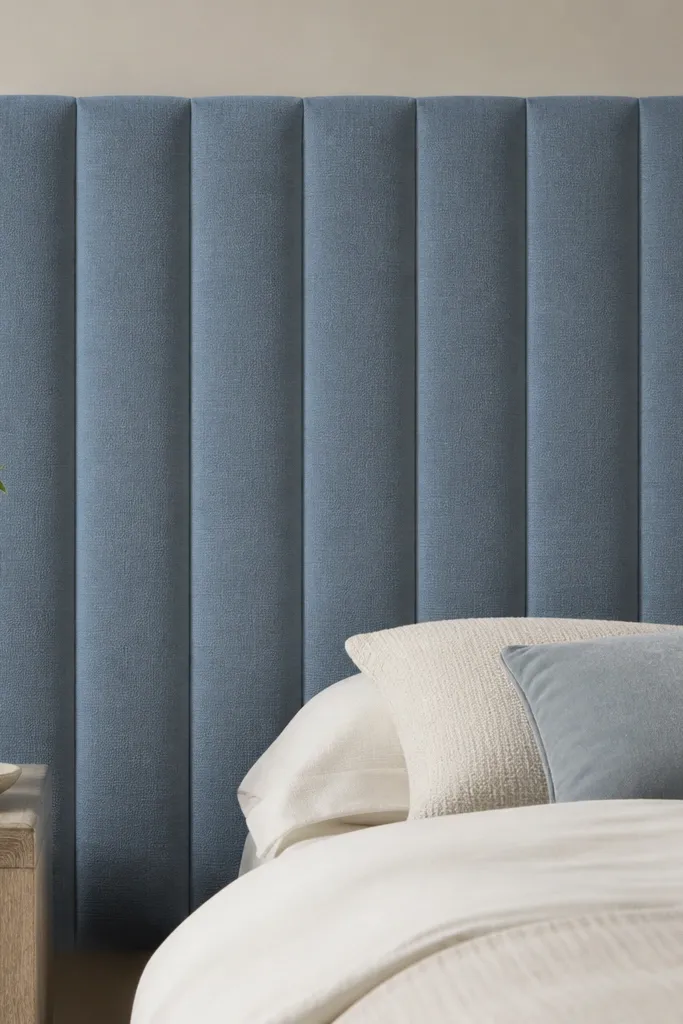
Channels look hard, but you can build them with foam strips and straight seams if you keep your spacing consistent. The piping creates clean borders where the channels meet, so minor alignment issues don’t show as messy folds. Dusty blue fabric hides small wrinkles better than bright white, which helped me on my first run. This design is all about disciplined measuring and straight stitching.
Cut a plywood panel and attach 1/2 in foam strips in a grid using spray adhesive. Cover the whole face with an outer layer of batting, then sew or hand-tack the fabric so the channels sit evenly. Add straight piping along the channel edges, then staple the back. Space channels 6-8 in apart depending on your headboard width; mark with chalk lines before you sew.
Do a dry run by pinning fabric onto the channels before you staple. I pin along each channel line for 10 minutes and adjust before committing.
Don’t eyeball the channel spacing — uneven channels make the whole headboard look crooked.
4. Stained wood slat headboard with 2-inch spacing and satin finish
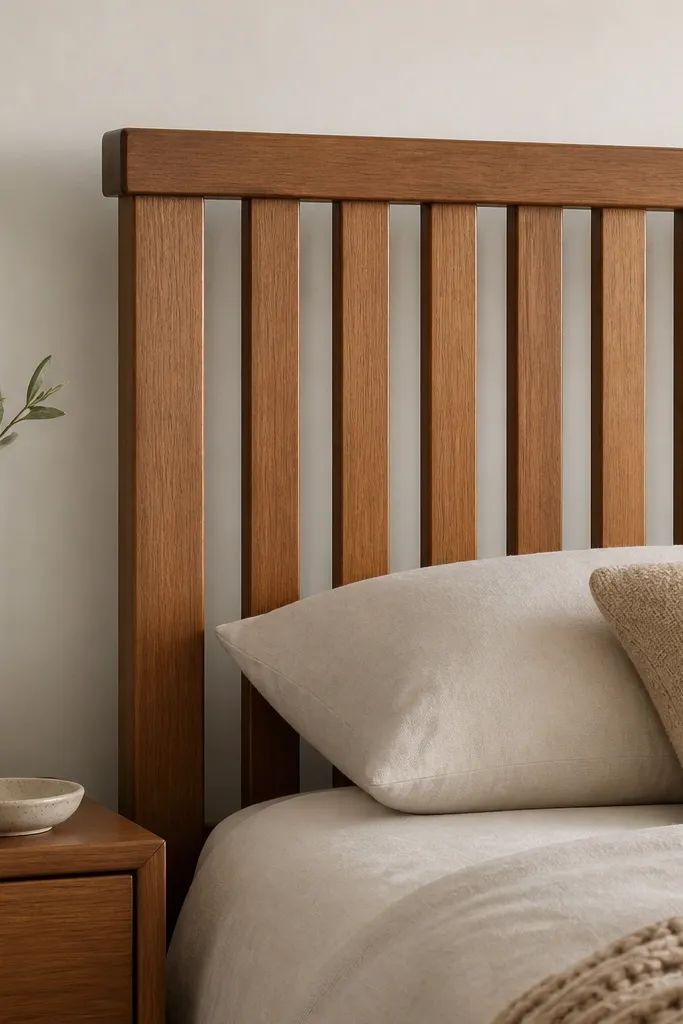
Wood slats are forgiving because small gaps and knots feel natural. The trick is spacing and finish: 2-inch spacing gives a clean rhythm, and satin poly keeps the color even instead of patchy. I like using a top and bottom frame so the slats don’t twist. When you stain before assembly, you get consistent color across every piece.
Build a rectangular frame from 1x3 or 1x4 lumber. Cut slats to equal width, then pre-stain each slat and the frame. Assemble with screws from the back of the frame so screws don’t show. After staining, apply two thin coats of satin polyurethane, sanding lightly between coats with 220 grit.
Quick tipUse 3/8 in spacers during assembly so every gap stays the same. I’ve used scrap plywood strips as spacers and it looks much more deliberate than “by eye.”
One warningDon’t stain after assembly — you’ll miss spots and the finish line marks every joint.
5. Modern geometric headboard using plywood triangles and paint
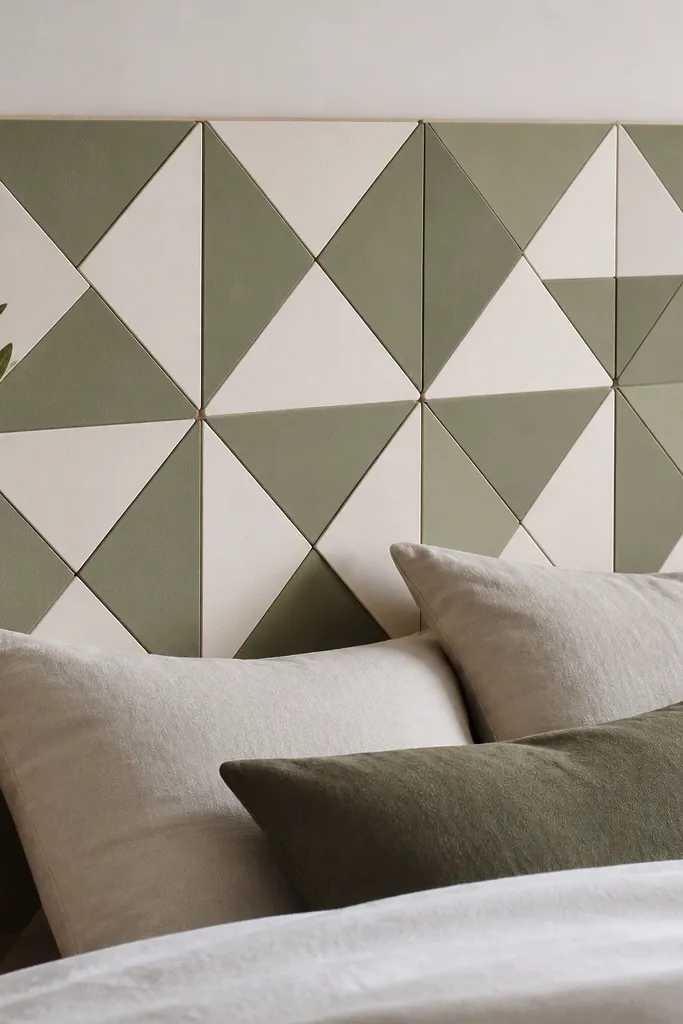
Geometric patterns hide minor backing imperfections because the shapes pull the eye forward. Plywood triangles are strong and don’t sag like fabric panels, and paint gives you a clean, graphic look. I like sage plus off-white because the colors stay calm in most bedrooms. The crisp edges come from careful sanding and consistent triangle spacing.
Cut triangles from 1/2 in plywood, then sand edges until they feel smooth to the touch. Paint each color separately, let cure fully, and then glue the triangles to a painted backing panel. Use a grid template so the pattern repeats evenly across the width. Mount with a back cleat or French cleat so the front stays flat and hardware-free.
Quick tipTape a paper grid on the backing and label rows so you don’t misplace one triangle and then have to redo half the face.
One warningDon’t use glossy paint — it highlights tiny gaps between triangles and looks messy in side light.
6. No-sew fabric headboard with Velcro tension straps
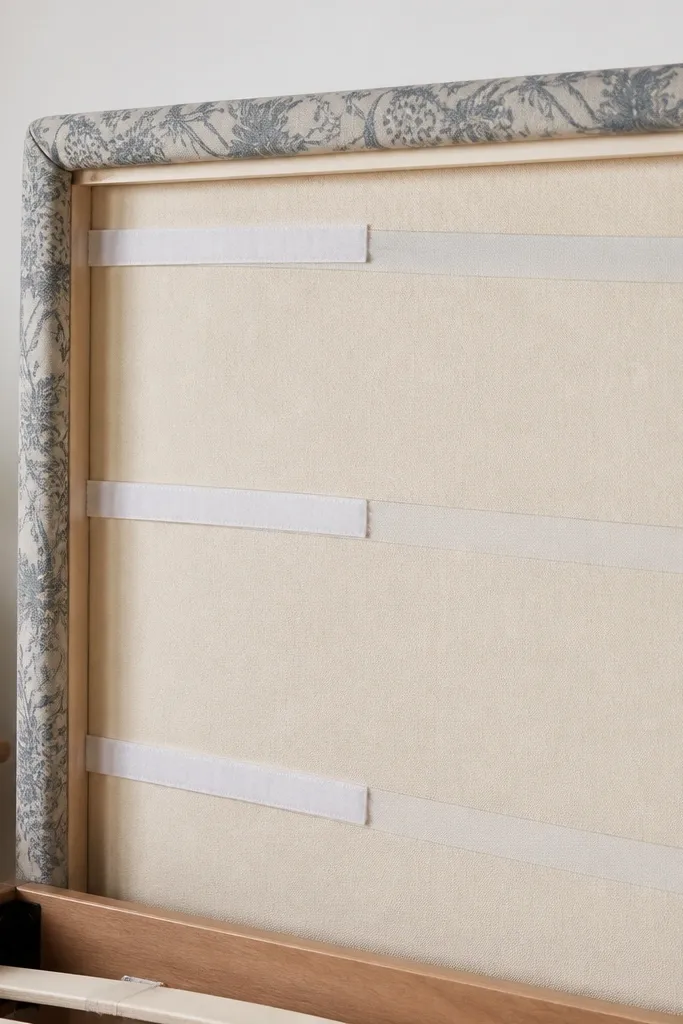
This is for people who don’t want to staple or sew. The backing board keeps the shape, and Velcro straps create tension so the fabric stays smooth. I’ve used this in rentals where I needed to remove the headboard without leaving a trail of holes. Patterned cotton works best because it hides tiny misalignments.
Attach a plywood backing, then add hook-and-loop Velcro strips around the perimeter and in a few vertical lines. Stretch fabric across the front and press the fabric onto the loop side. Add tension straps across the width so the fabric doesn’t sag in the middle. For a cleaner look, cover the edges with a separate fabric trim strip that’s glued or Velcro-mounted.
Quick tipPull the fabric from both sides at the same time. If you do one side first, the pattern drifts and you’ll see it at the center.
One warningDon’t choose thin fabric — it shows wrinkles and the Velcro texture can print through.
7. Shiplap look headboard made from thin boards and a backer
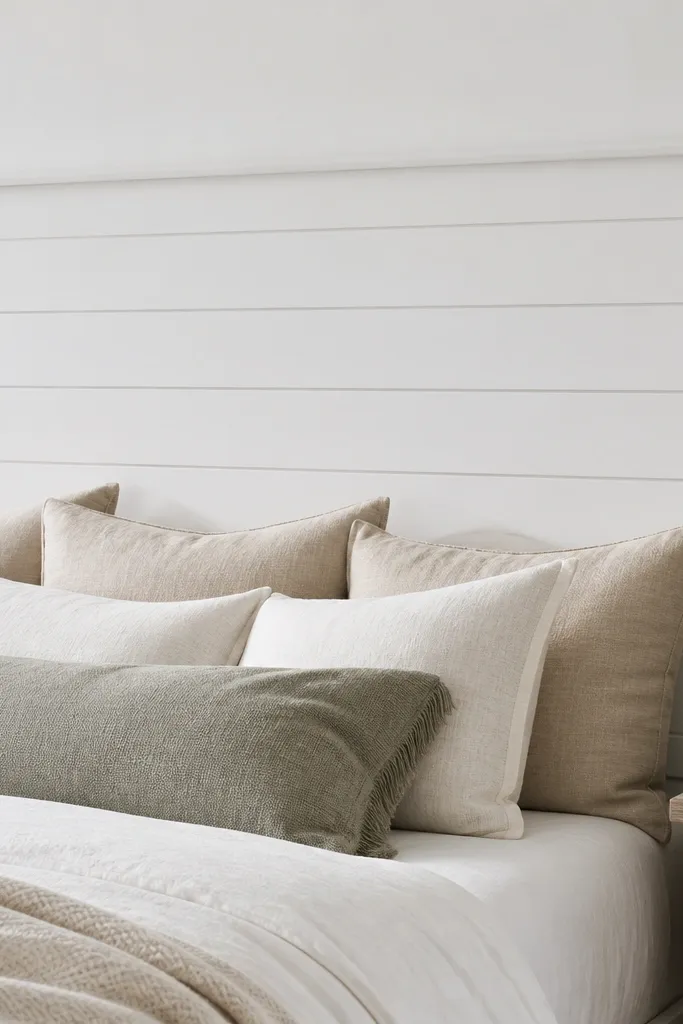
You get the shiplap vibe without the heavy construction. Thin boards give you that shadow gap, and a backer panel keeps everything flat. I used a soft white with a satin finish so the shadow lines stay visible but not glaring. This style looks great in farmhouse, modern farmhouse, and even minimal rooms if you keep the trim simple.
Use a backing sheet like 1/4 in plywood. Add thin horizontal strips (about 1/4-1/2 in thick) with small spacers so the shadow gap is consistent. Paint everything before mounting, then seal with satin clear coat. Attach to studs with a French cleat, or use brackets if you can’t hit studs.
Quick tipMark plank spacing with a spacer cut to the exact thickness you want for the shadow gap. The consistency is what makes it look real.
One warningDon’t skip spacers — uneven gaps make it look like a rushed craft project.
8. Button-tufted look headboard using foam squares and upholstery pins
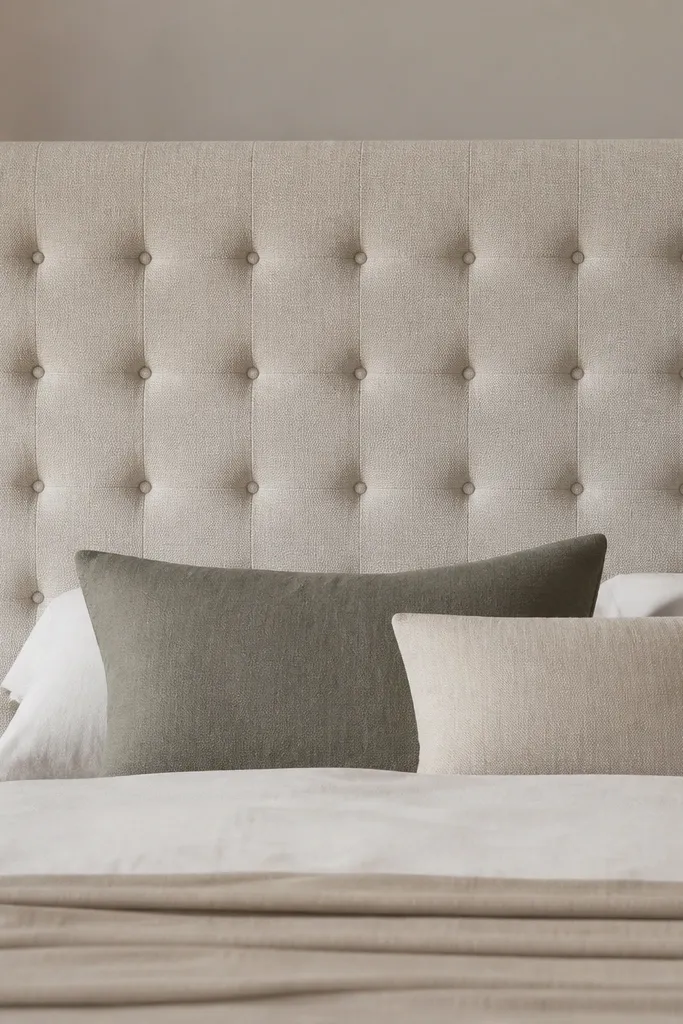
You can get a tufted look without building a full button-tufted structure. Foam squares underneath give the dimples structure, and upholstery pins pull the fabric down evenly. A textured fabric hides tiny stitch imperfections, and it makes the tufted points look softer. This is the design for people who want “upholstered” without the full workshop.
Cut a plywood backing and add a layer of foam batting. Mark a grid for tufts using chalk, then place small foam squares or thicker foam circles under each mark. Pull fabric down at each point and secure with upholstery pins or hand tacks on the back. Cover each tuft with a fabric-covered button if you want the full look, then anchor the button shank behind.
Quick tipPractice one tuft on scrap first and check fabric tension. If the fabric looks puckered around the tuft, reduce the foam height or pull less aggressively.
One warningDon’t use slippery satin fabric — it shows puckers and the tuft grid looks chaotic.
9. Fabric ribbon trim headboard with a simple frame and corner bows
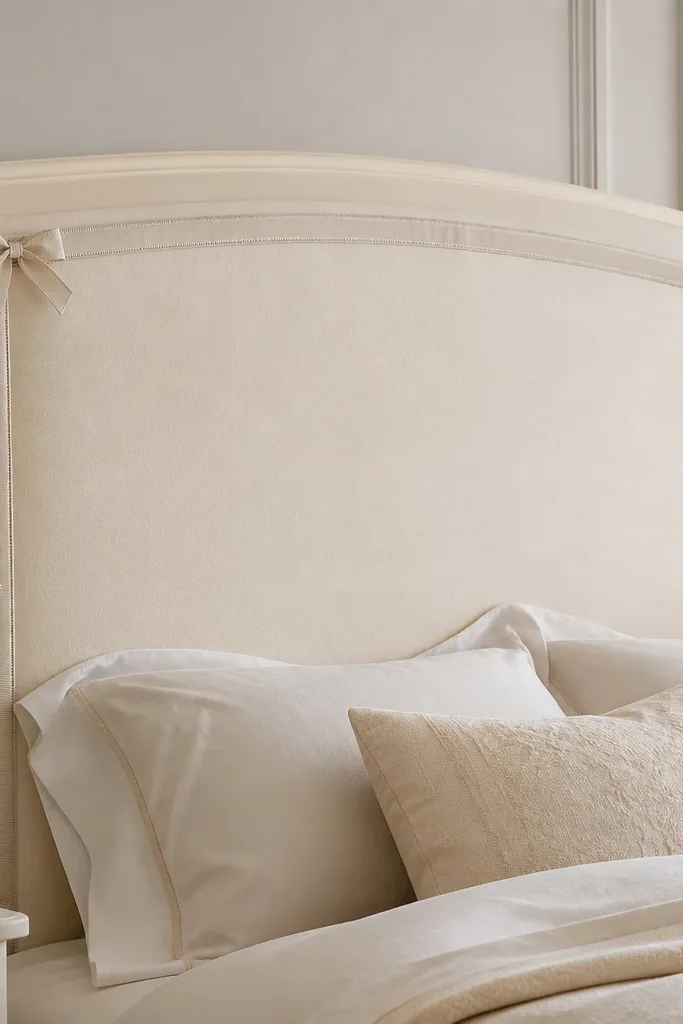
Ribbon trim makes a basic panel feel finished fast, and corner bows hide the messy fold lines at the back. I love this for guest rooms because it looks sweet without turning into a frilly mess. Use sturdy cotton or canvas for the backing panel so the fabric doesn’t sag. The ribbon should be firm enough to hold its shape when wrapped around the edge.
Build a simple wood frame, stretch fabric across the center panel, then wrap the frame edges with ribbon using spray adhesive on the back side. Add corner bows by folding fabric or ribbon into a small loop and securing with a hidden tack on the back. Keep the ribbon width around 1-2 in so it reads as trim, not a costume.
Cut ribbon ends at a slight angle and seal them with fabric glue so they don’t fray after a few weeks.
Don’t use thin ribbon — it collapses and makes the border look uneven.