1. Matte black pull swap with a hinge alignment reset
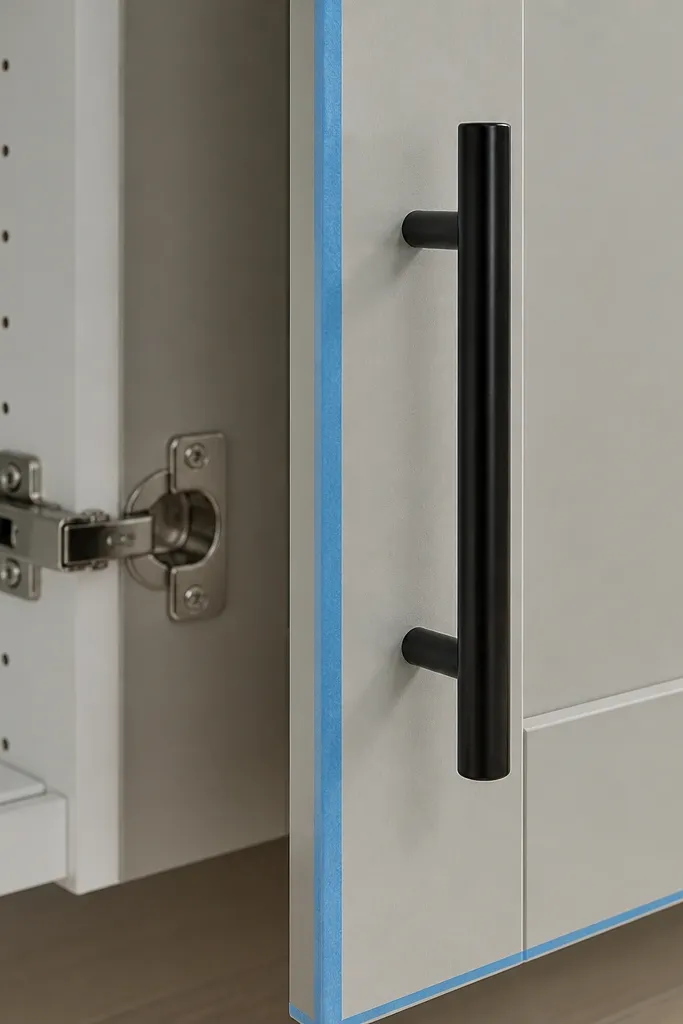
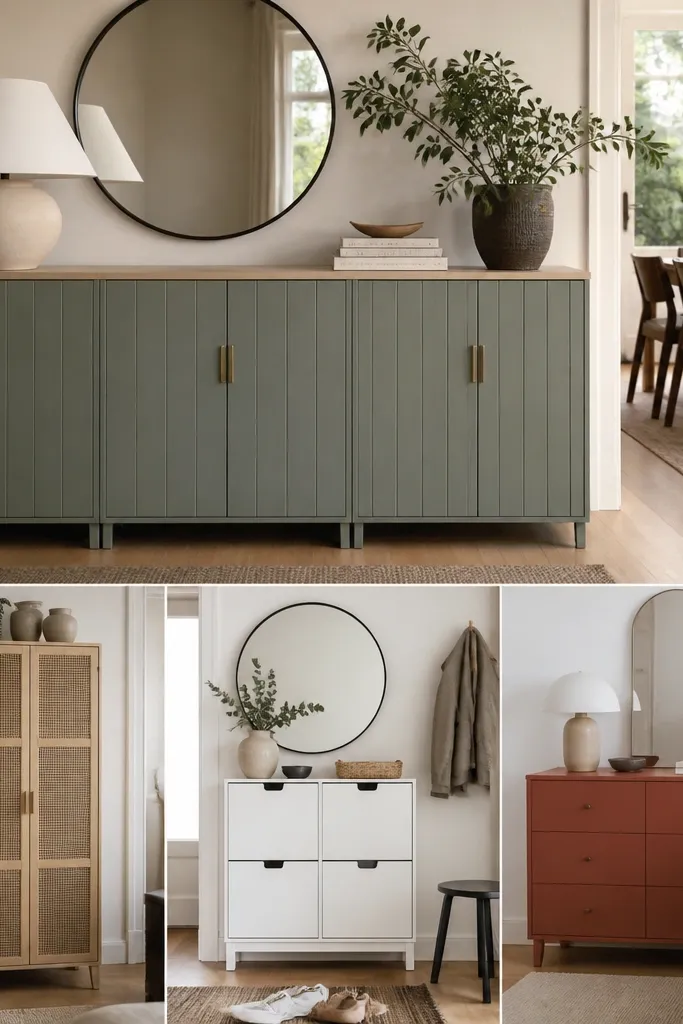
I like matte black pulls because they hide tiny fingerprints and look sharp against most IKEA finishes. If your cabinet faces are white or light oak, matte black creates a high-contrast grid that reads “designed,” not “assembled.” I also reset hinge alignment before drilling anything, because even a 1/16-inch shift makes the pull line look crooked. This works on kitchens with busy backsplashes too, since the hardware becomes the steady visual anchor. For people who feel like their hardware looks “dated,” black pulls are the fastest fix without changing doors.
Start by removing one door and laying it flat on a drop cloth. Measure from the center of the existing hole to the edge, then test-fit the new pull template so it lands in the same spot if possible. If you need new holes, mark with a sharp pencil, then drill at a slow speed and back the door with scrap wood to prevent chipping. Rehang the door and adjust the hinges using the screws until the reveal looks even top to bottom. Finally, install all pulls, then wipe the door faces with a damp microfiber cloth before the final dry.
Use a small bubble level across two adjacent doors while you adjust hinges; it catches crooked reveals fast.
Don’t drill new holes without clamping a scrap board behind the door — tear-out at the edge makes the pull look cheap.
2. Stick-on cabinet trim frames with 1/4-inch shadow lines
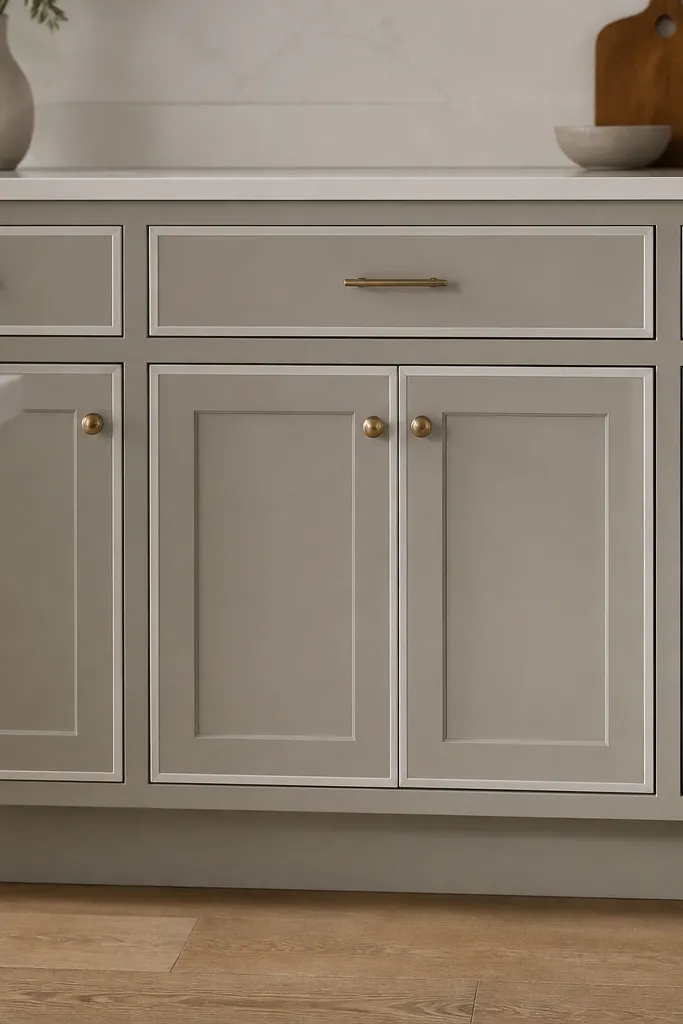
This is the look that makes IKEA doors feel like custom shaker fronts. I use 1/4-inch trim strips to create a shadow line around the panel, which adds depth without changing the whole door. White trim on white cabinet doors still works because the trim has a different sheen than the flat door surface. It flatters small kitchens because the vertical lines make the cabinetry read taller. If your counters are darker, the lighter trim keeps the room from feeling heavy.
Start by cleaning the door faces with a degreasing wipe, then dry fully. Measure each door panel and cut trim strips to fit the inside rectangle, leaving a consistent gap of about 1/8-inch for the shadow line. Dry-fit everything first, then peel and press in sections, using painter’s tape to hold corners while the adhesive sets. Repeat for all doors, and keep the trim orientation consistent across the kitchen. Finish by reattaching hardware and wiping away any adhesive residue along the edges.
Press for 30 seconds per section with your palm — the adhesive grabs harder than you think.
Don’t rush the corners; misaligned miters show immediately in daylight.
3. Two-tone cabinet paint: upper cabinets warm white, lower cabinets greige
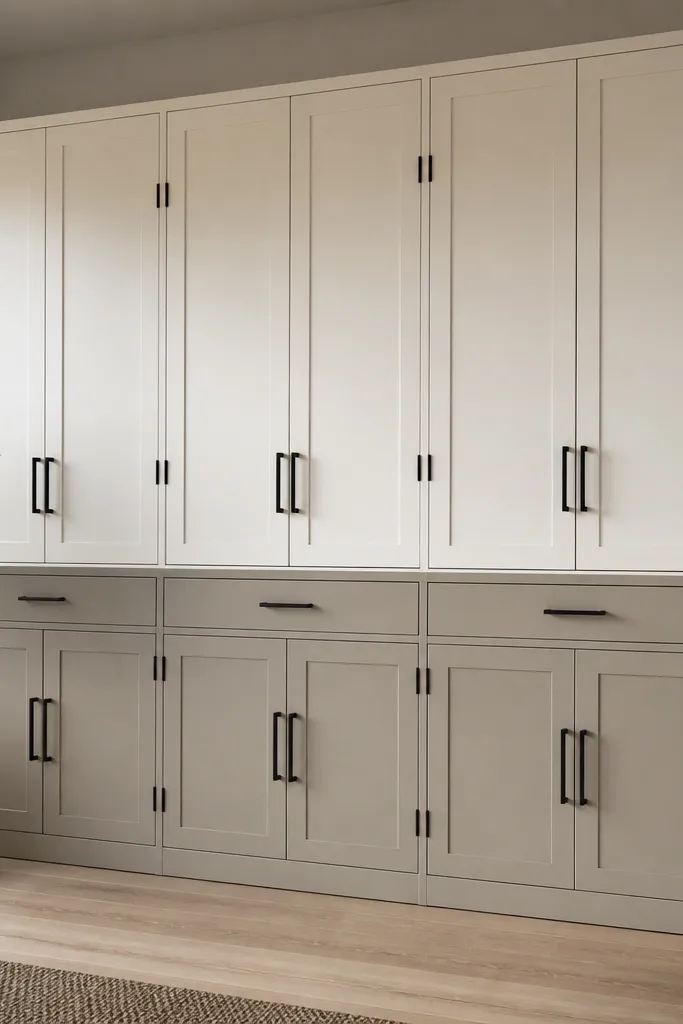
Two-tone cabinets give you a built-in look without buying new doors. I paint uppers a warm white (think creamy, not icy) so they reflect light, and I paint lowers a greige so the kitchen feels grounded. This combination looks great in kitchens with oak floors because it doesn’t fight the wood tone. It also flatters most spaces because the eye lifts to the lighter uppers. If you have a darker backsplash, the greige lowers keep the room from turning into a single block of color.
Start by removing doors and hardware, then sand all surfaces with 180-grit until the shine is gone. Wipe with a tack cloth and prime using a bonding primer made for laminate or previously finished surfaces. Let the primer cure, then paint uppers with two thin coats, using a foam roller for flat areas and a angled brush for edges. Paint lowers with the greige in the same method, keeping a consistent dry time between coats. Reinstall doors after the paint cures fully, usually 48 hours for touch-safe handling.
Use a wet edge technique on the flat panels so you don’t get roller lines that show in the morning sun.
Don’t skip primer — IKEA laminate fights adhesion and the paint chips at the corners.
4. Cabinet door panel stain with a matte topcoat
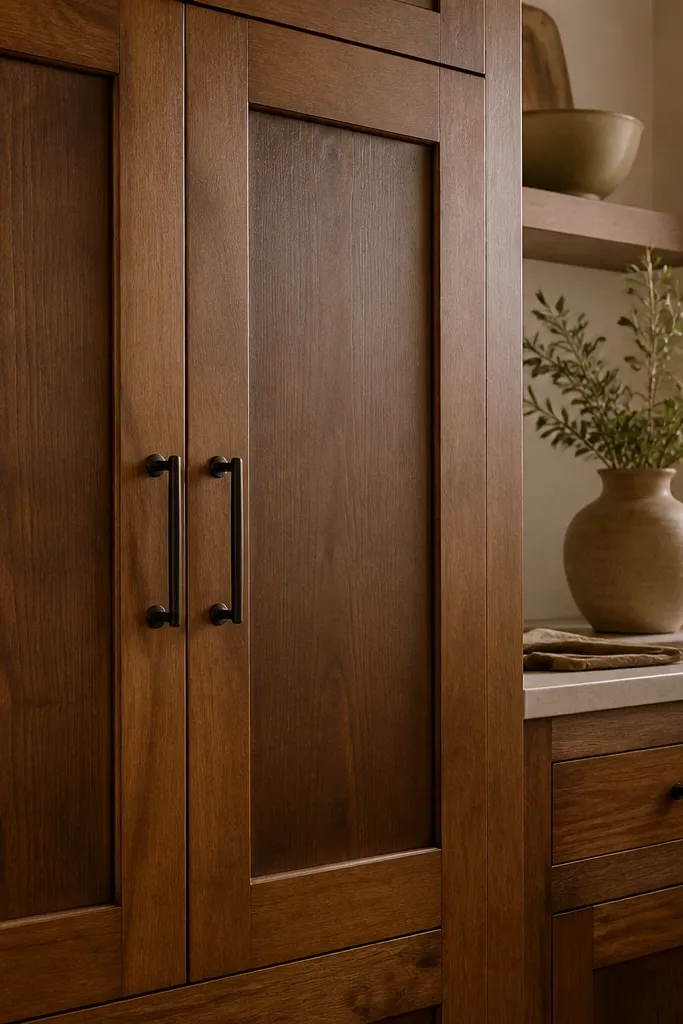
Staining works when you want warmth without the “painted plastic” look. I do this on IKEA doors that are veneer or solid wood — you get real grain depth instead of covering everything. A matte topcoat is my pick because it doesn’t show glare near the stove. This looks great in kitchens with brass or warm metals, and it flatters people who want a cozy vibe without going dark everywhere. If your room has beige walls or natural wood flooring, stain ties it together.
Start by sanding the doors with 120-grit to remove roughness, then 180-grit to smooth. Wipe off dust, then apply a pre-stain conditioner if the wood is blotchy. Brush or wipe stain in the direction of the grain, and work one door at a time so the color doesn’t flash-dry unevenly. After the stain dries, apply a thin matte topcoat in two coats, lightly scuff-sanding between coats with 220-grit. Let everything cure before rehanging so you don’t imprint the finish.
Test stain on one scrap door panel first — IKEA woods vary a lot even in the same product line.
Don’t apply thick topcoat coats; drips and orange peel show fast in raking light.
5. Under-cabinet LED strip lighting with a hidden power cord route
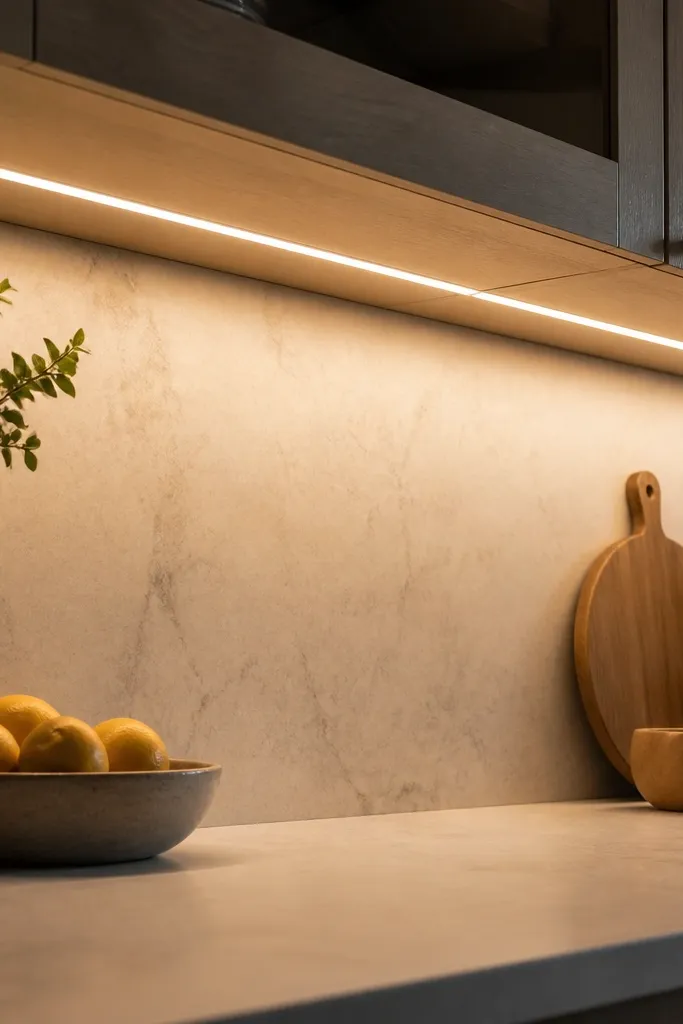
Lighting changes everything because it makes cabinet faces look clean and counters look more expensive. I use warm white LED strips around 2700K to avoid that harsh blue look that makes kitchens feel colder. The hidden power cord route keeps the underside looking tidy — no visible adapters hanging off the cabinet frame. This is flattering in every kitchen because it reduces shadows under doors and improves how backsplash tiles reflect light. If you cook at night, you’ll feel the difference the first time you slice vegetables under even lighting.
Start by measuring the underside length of each run and cutting the LED strip to the marked cut points only. Clean the mounting surface with alcohol, then stick the LED channel or directly apply the strip if the kit supports it. Route the power cable through a cabinet interior gap so it doesn’t cross the face of the cabinet. Install a switch or tap-dimmer where you can reach it without opening the cabinet doors every time. Plug in and test before you close up everything.
Use aluminum LED channels when you can; they help the strip stay straight and hide the LED dots.
Don’t mount directly over a greasy surface — the adhesive fails in weeks.
6. Glass-front inserts for a single cabinet bay
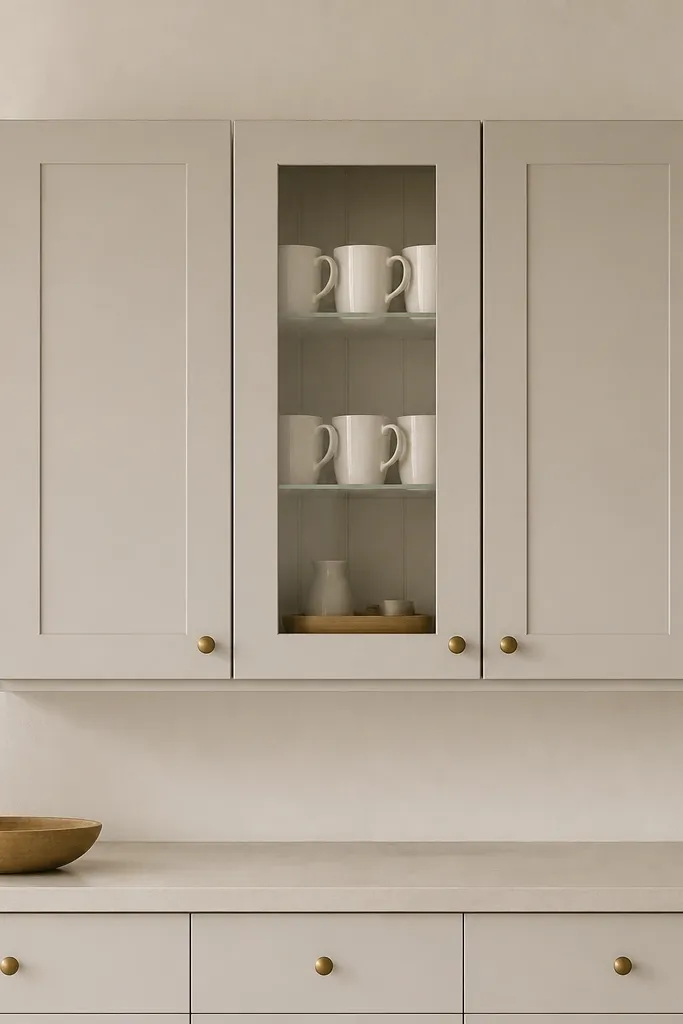
One glass-front cabinet door is enough to make the whole kitchen feel lighter. I choose glass inserts when the rest of the doors are solid, because you get contrast without committing to a full glass kitchen. Frosted or clear glass depends on what you store; clear shows your organization, frosted hides clutter. This looks great for small kitchens where you want visual breathing room. It also flatters kitchens with darker uppers because the glass reflects light.
Start by picking a single cabinet door size so the look stays intentional. Remove the door and remove the panel insert, then measure the opening for the glass insert frame. Dry-fit the glass insert and check for even gaps around the edges. Install using the manufacturer’s clips or gasket tape so the glass doesn’t rattle. Finally, style the inside with matching items — for me it’s white mugs and a small tray — so the glass reads clean instead of messy.
Use a shelf liner inside the glass cabinet so the bottom doesn’t look bare through the glass.
Don’t fill the glass cabinet with mismatched items; it reads cluttered fast.
7. Peel-and-stick backsplash panel swap behind the stove and sink
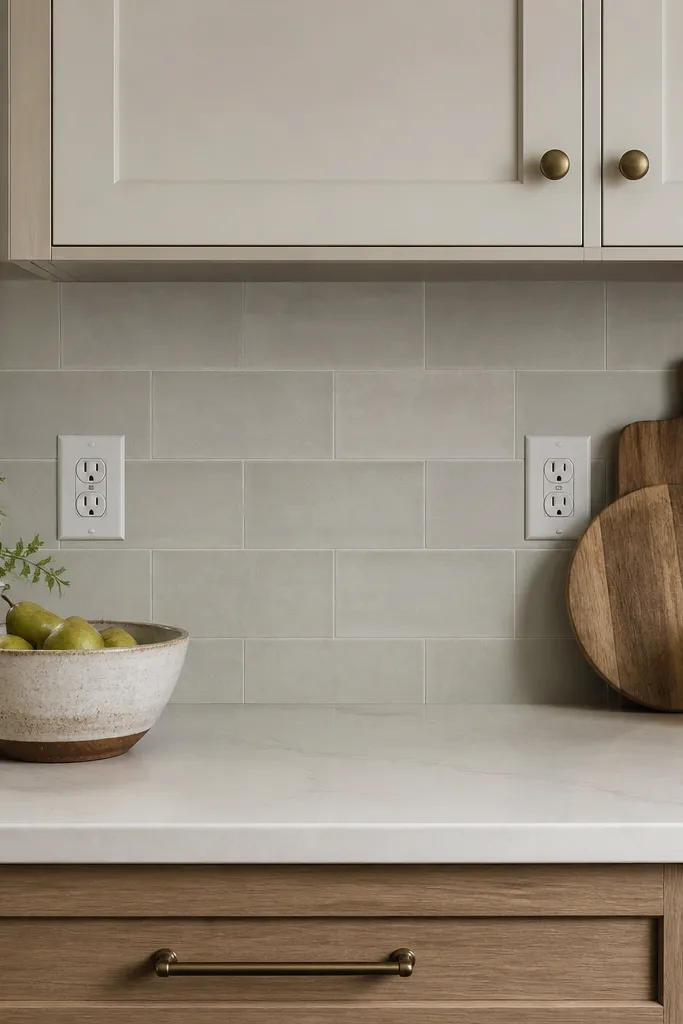
I use peel-and-stick backsplash panels when I want a big look change without demo. The key is choosing a finish that matches your cabinet sheen; matte backsplash with matte cabinets looks expensive, glossy backsplash with glossy cabinets looks like a showroom. For budget-friendly seasonal updates, this lets you change the vibe every year without spending on grout. It also helps kitchens that feel “unfinished” because the wall behind the sink is usually the first place people look. If your countertop is busy, a simple tile-look panel calms the whole kitchen.
Start by cleaning the wall until it squeaks with a degreaser, then dry completely. Remove outlet covers and measure the panel layout, marking cut lines for outlets with a pencil. Apply panels starting at the corner or a straight reference line, pressing from the center outward to avoid bubbles. Use a craft knife for edges and a small file to smooth outlet cutouts. Seal the top edge where it meets the cabinet line with painter’s caulk if the panels allow it.
Do a dry layout on the counter first and mark which seams land where you don’t want them.
Don’t install over glossy paint or grease; panels lift and you’ll see a shadow line.
8. Countertop change with a removable laminate overlay
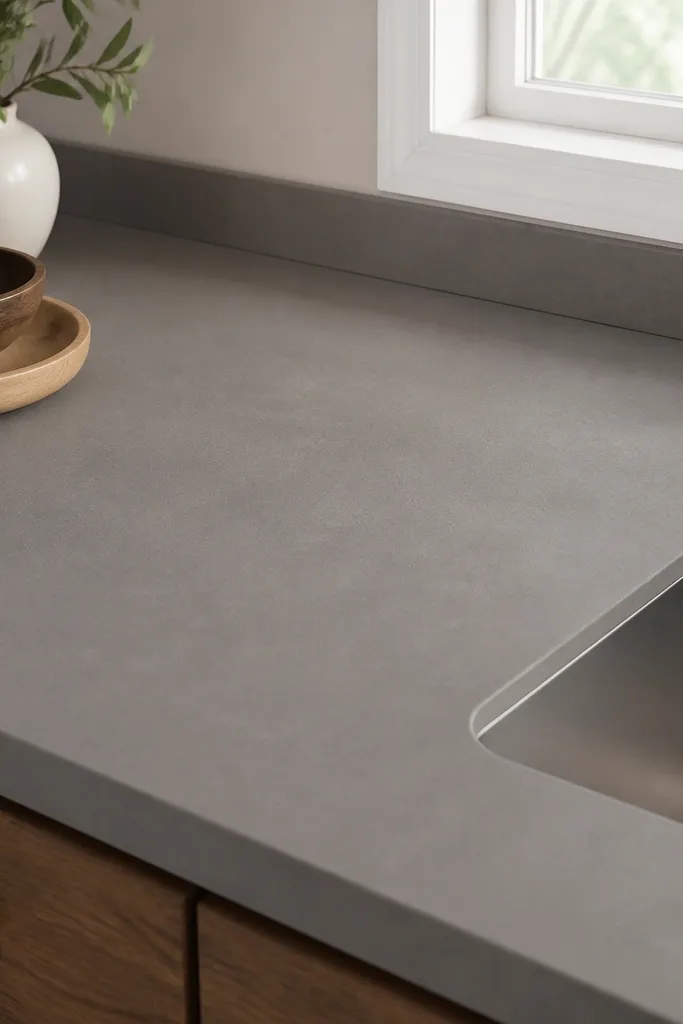
A countertop overlay is the fastest way I’ve found to make a kitchen feel updated when the cabinets are staying put. I pick overlays with a realistic texture, not flat print, because the light catches the pattern. Matte overlays look more forgiving than high-gloss, especially around the sink where water spots happen. This approach flatters busy households because it’s repairable in sections. It also makes seasonal styling look better because the base surface stops fighting your decor.
Start by removing anything from the counter and cleaning with isopropyl alcohol. Measure the countertop length and depth, then cut the overlay to size with a sharp blade, leaving room for the sink cutout. Apply using a gradual peel method, smoothing as you go so you don’t trap air. Trim around the sink with a careful cut, then seal the edges with a clear countertop-safe sealant. Let it cure overnight before using the sink like normal.
Mark the seam location on the back edge with painter’s tape; it’s the least noticeable place for a join.
Don’t stretch the overlay — tension causes bubbles at corners.
9. Drawer front refresh with new liners and matching pulls
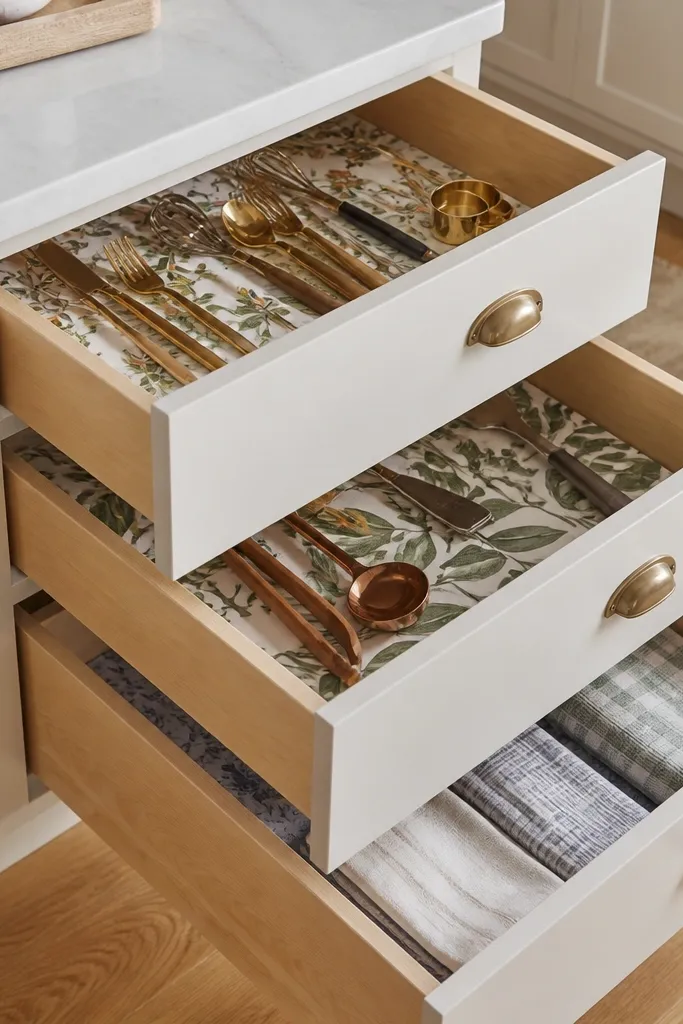
Start by pulling everything out and vacuuming drawer tracks and corners. Measure the drawer base and cut liner pieces with a sharp utility knife, leaving a tiny border so it doesn’t curl at edges. Install the liner and smooth out wrinkles with your palm, then wipe the drawer faces. Replace pulls by measuring center-to-center spacing and drilling straight down with a backing board. Re-check drawer alignment and adjust slides if gaps look uneven between drawers.
If your kitchen looks “off” but cabinets are okay, it’s often the drawers. New liners and matching pulls make the whole storage system feel intentional. I like liners in thick vinyl or textured fabric because they resist water splashes near the sink. This is flattering in any kitchen because it’s a hidden upgrade you still see every day. For seasonal updates, you can swap liners and keep the hardware year-round.
One warningDon’t reuse old liners that have curled corners; they telegraph “wear” immediately.
Quick tipUse a strip of double-sided tape under the liner at the front edge so it stays flat when you load heavy items.
10. Seasonal runner and heat-safe tray styling plan
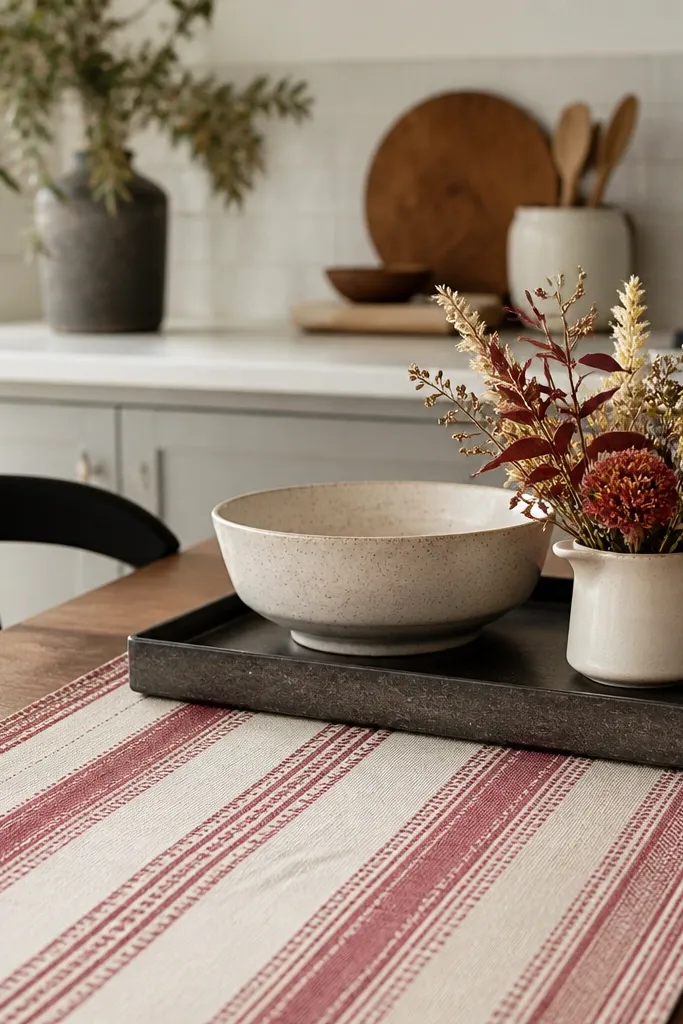
Textiles are where the seasonal update happens, and you can do it without touching cabinetry. I use a cotton or linen runner with a simple border so it looks tailored, not like a craft store find. For fall and winter, I go with muted reds, oatmeal, and small black accents; for spring, I switch to sage and warm white. This looks flattering because it gives the counter a defined “frame,” which makes your decor look like it belongs. If your kitchen has busy tile or patterned backsplash, keep the runner pattern small and the colors limited.
Start by measuring your counter landing spot — the area next to the stove or under the window — and choose a runner that covers about 2/3 of that length. Fold or roll the runner once so the ends don’t bunch, then place a heat-safe tray on top for daily mess control. Add a ceramic bowl or cutting board on the tray, then layer one small seasonal item like a faux eucalyptus stem or a single pumpkin. Keep the tray height under 2 inches so it doesn’t block sightlines to the backsplash. Swap decor by swapping the tray contents, not the whole runner.
Use felt pads under the tray so it doesn’t scratch overlay countertops.
Don’t pile tall decor on a runner; it blocks cabinet hardware visibility and makes the counter look crowded.
11. Wreath-style cabinet top decor using a magnetic bar
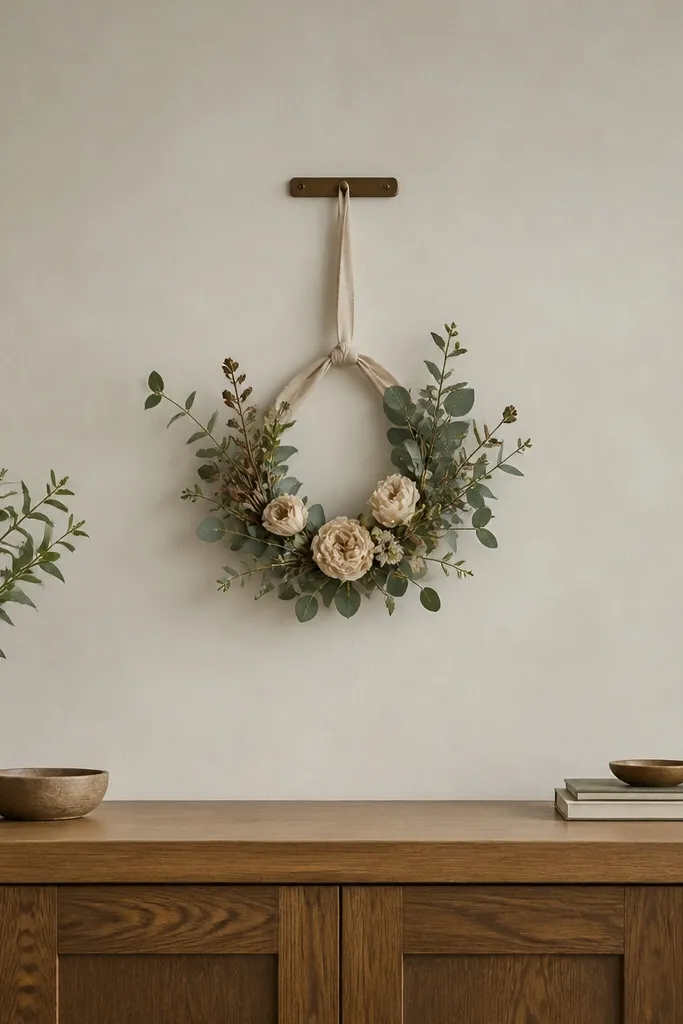
Start by cleaning the cabinet top and checking for a flat metal surface where the magnet can grip. Place the magnetic bar centered over the cabinet run, then test stability by gently pulling down. Attach a wreath form or looped garland to the bar using zip ties or the kit’s hooks. Add a small ribbon or thin craft wire to keep the shape even and prevent droop. Style around it with one small tray or candle holder, and keep the total decor height under 6 inches.
This is my favorite seasonal trick because it changes the kitchen without making new holes. I hang a wreath-style arrangement from a magnetic bar placed under the cabinet top line, so it looks like it’s floating straight on the cabinetry. The arrangement looks best when it’s low and wide, about 12 to 16 inches across, so it doesn’t overpower the room. This works in kitchens where the upper cabinet faces are simple because the decor becomes the focal point. It also flatters narrow kitchens because the horizontal shape keeps the eye moving left to right.
One warningDon’t hang anything heavy; magnets are great for light decor only.
Quick tipUse a small level app on your phone to set the bar; a crooked wreath reads wrong instantly in photos.
12. IKEA cabinet side panels with peel-and-stick wood veneer for a built-in look
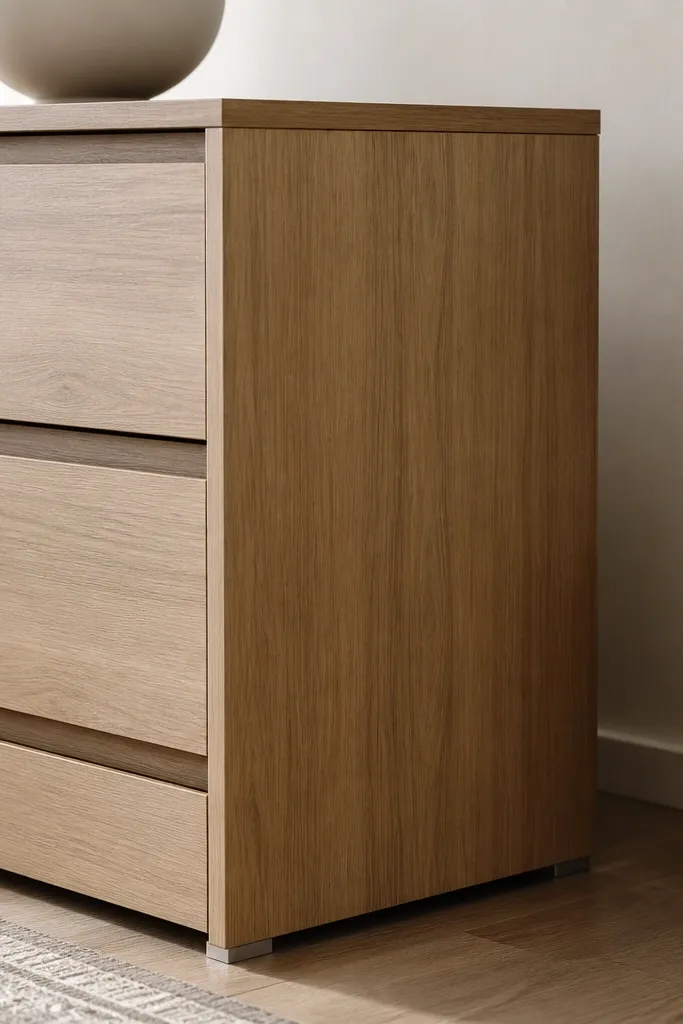
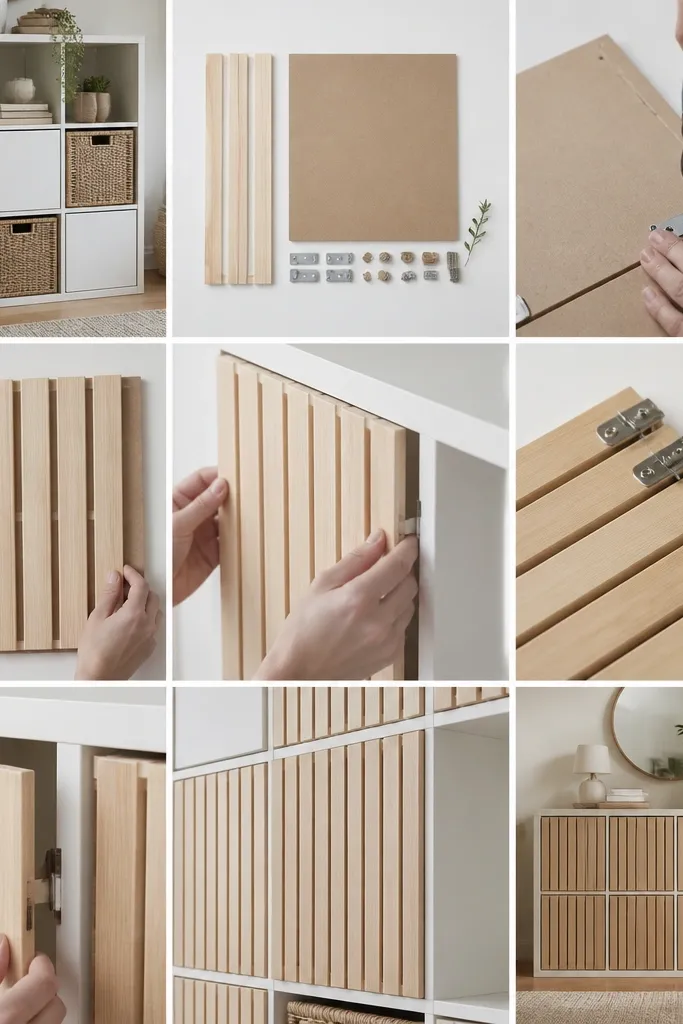
Start by wiping the cabinet sides clean and sanding lightly if the surface is glossy. Cut veneer strips to the exact height of the side panel, then dry-fit so you know where the seams will fall. Peel the backing gradually, pressing with a plastic smoothing tool from the center outward. Trim edges with a sharp blade and use a thin edge trim strip if your corners are rough. Seal the cut edges lightly with clear contact paper or a craft sealant if the veneer allows it, then let it sit for a full day before touching.
The side panels are usually the first place you notice that a kitchen is “rental” or “budget.” Covering the sides with peel-and-stick wood veneer makes the whole run look like it was installed as one piece. I match the veneer grain direction to the door visual flow so the kitchen reads calmer. This works especially well if your cabinets are light and your floor is wood, because the side panels bring that warmth to the edges. It flatters small kitchens because it removes the visual break between cabinets and walls. If you’re doing a seasonal update, this also gives you a stable base that doesn’t look out of place year-round.
One warningDon’t overlap veneer pieces; the seam line shows and the edge lifts.
Quick tipPlan seams for corners or near appliances so you never see them straight-on.
13. Open shelving over IKEA cabinets with a simple floating bracket set
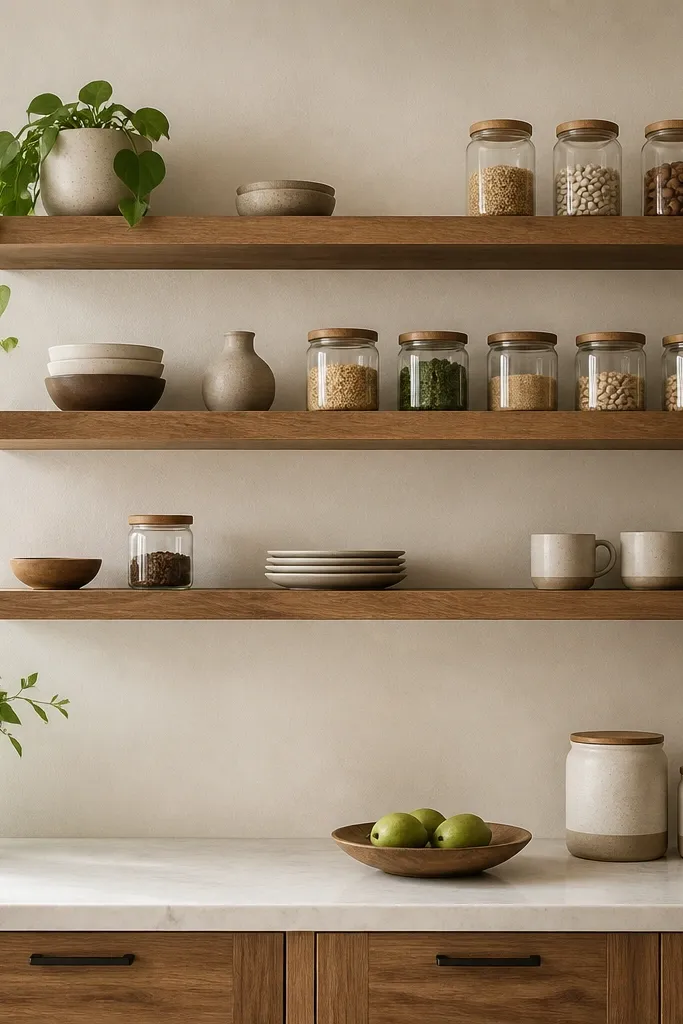
Start by finding wall studs and marking your bracket positions with a pencil. Install a ledger line level across the wall so the shelf brackets stay aligned. Cut or buy shelves that are sturdy enough not to sag; I like 3/4-inch thickness for this look. Mount brackets, then attach shelves, checking level again at each end. Style with a tight color plan — for me it’s white jars, one olive-green plant, and a black tray — then add decor in odd numbers so it doesn’t look like a store display.
Open shelves make a kitchen feel more personal, and they also let you rotate seasonal styling without changing cabinetry. I prefer this when you already have a clean backsplash and you want the upper wall to feel lighter. Floating shelves in light wood look good with both white and greige cabinets, and they soften the visual weight of upper cabinetry. This flatters kitchens with limited natural light because open shelves reflect more light than closed doors. It also works for people who cook a lot, because you can keep everyday items at eye level.
One warningDon’t overload the first shelf — one empty space looks more intentional than clutter.
Quick tipUse two shelves only if the kitchen is small; three shelves makes it feel busy fast.
14. Under-sink organization with label-ready bins and a drip tray
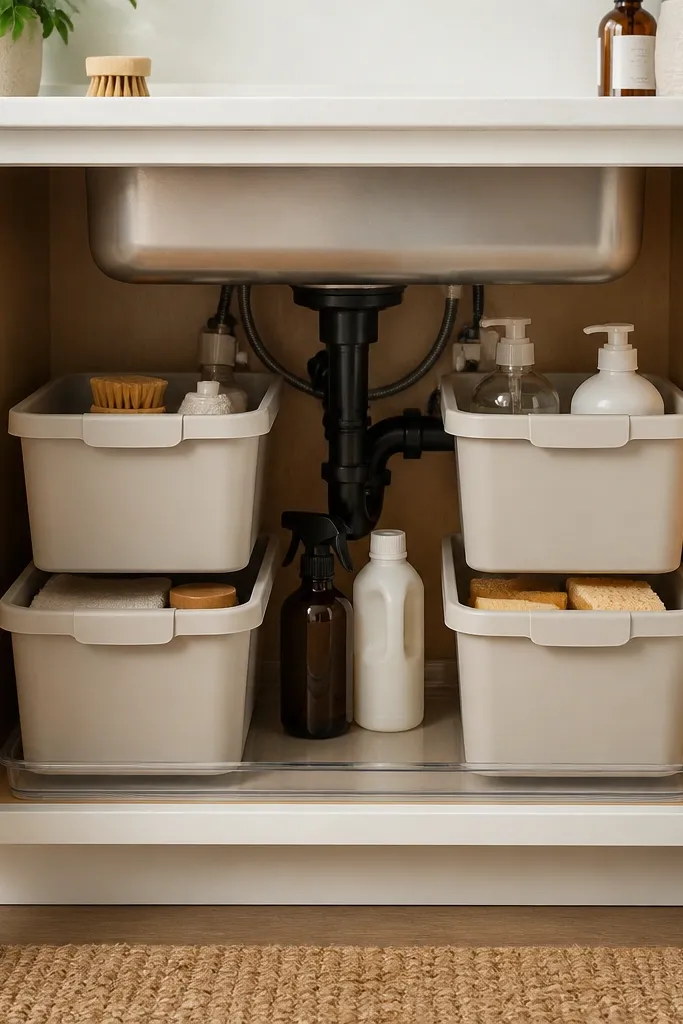
Under-sink cabinets make or break the kitchen’s day-to-day look. When it’s messy, your brain assumes the whole kitchen is messy even if the cabinets look freshly painted. I use label-ready bins because I hate guessing where things go, and labels make the space look tidy in seconds. Add a drip tray under everything so small leaks don’t become stains on the cabinet base. This is flattering because it keeps your sink area visually calm, especially if your backsplash is bright. It also helps seasonal updates because you can swap cleaning tools for seasonal ones without chaos.
Start by removing everything and drying the cabinet base completely. Place a clear drip tray at the bottom, then group items by category: cleaning sprays, sponges, and trash bags. Choose bins that fit the cabinet width with a small gap so you can pull them out without scraping. Add labels with a label maker or waterproof tape, then stick them on the bin fronts. Refill in layers, with the most-used items at the front so you don’t dig every time.
Keep a small microfiber cloth in one bin; you’ll wipe drips before they spread.
Don’t store spray bottles on the cabinet floor directly; they leave residue and stains.
15. Seasonal hardware color switch with two pull sets
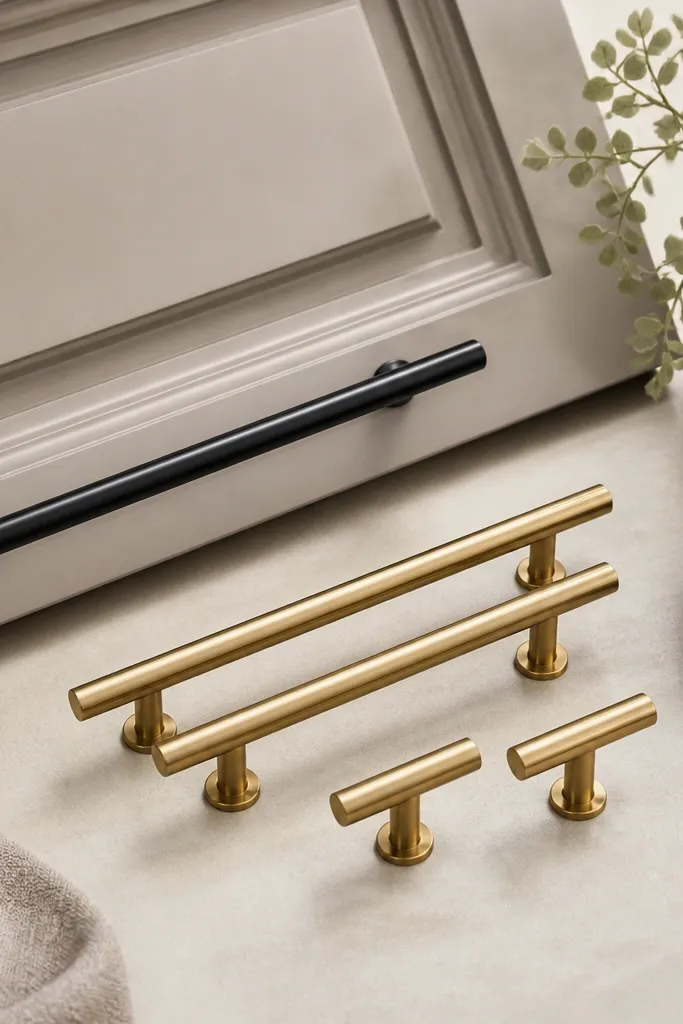
Start by taking photos of your current pull placement and measuring center-to-center spacing. Buy a second set of pulls that matches the same spacing so you don’t drill new holes. Keep screws in a labeled container so you don’t mix lengths. Remove pulls one door at a time so you don’t lose orientation, then install the alternate color set. Wipe the cabinet faces after the swap so the new hardware looks crisp, not dusty.
This is for the person who likes changing the kitchen look without painting. I keep two hardware sets — matte black for winter and brushed brass for spring and summer — and I swap them in about an hour. The color change is small, but it changes the whole kitchen’s mood because pulls are one of the most touched and most photographed parts of the room. This flatters warm-toned countertops and brass fixtures, and it also gives cool-toned kitchens a warmer feel in the seasons that need it. If you love a seasonal aesthetic, this is cheaper than changing doors every year.
One warningDon’t mix pull colors across the kitchen; uneven hardware reads accidental.
Quick tipStore the spare pulls in a small zip pouch with the screw lengths written on the outside.