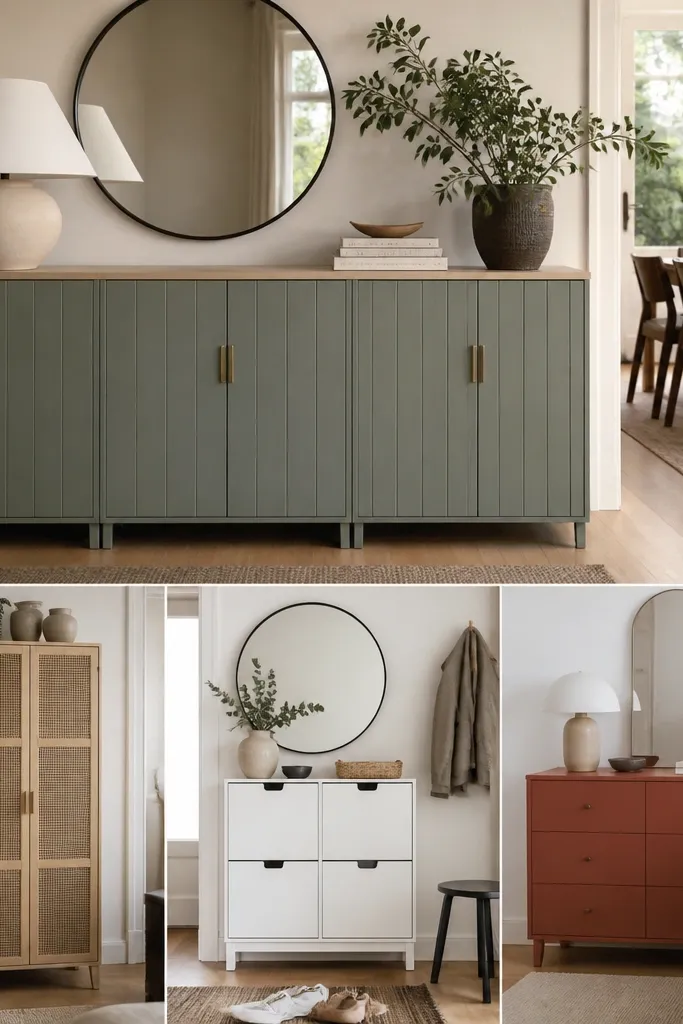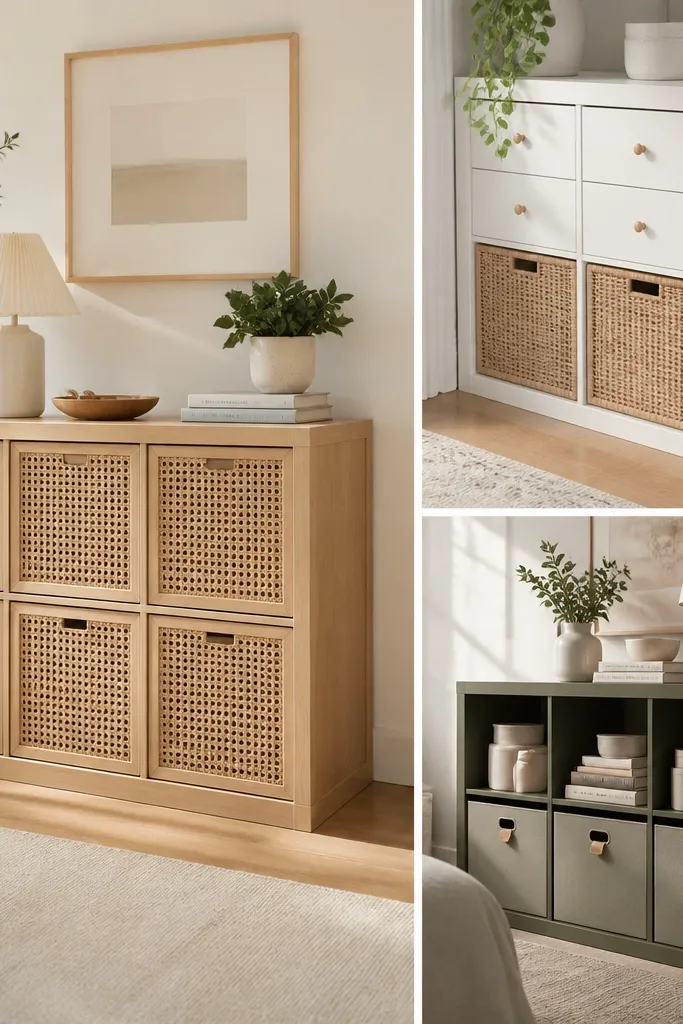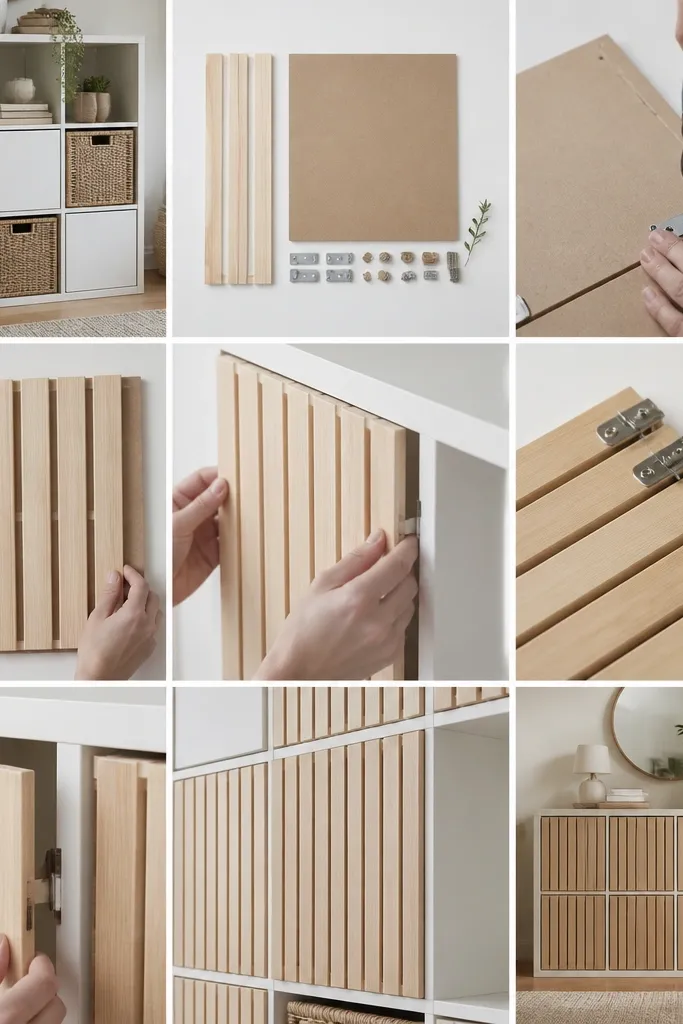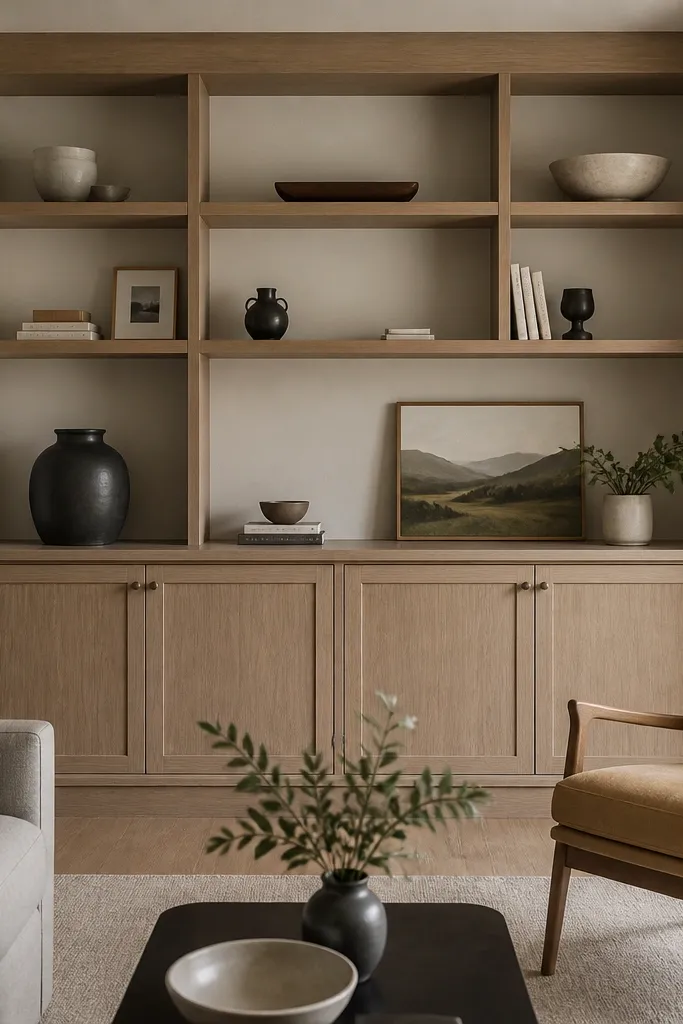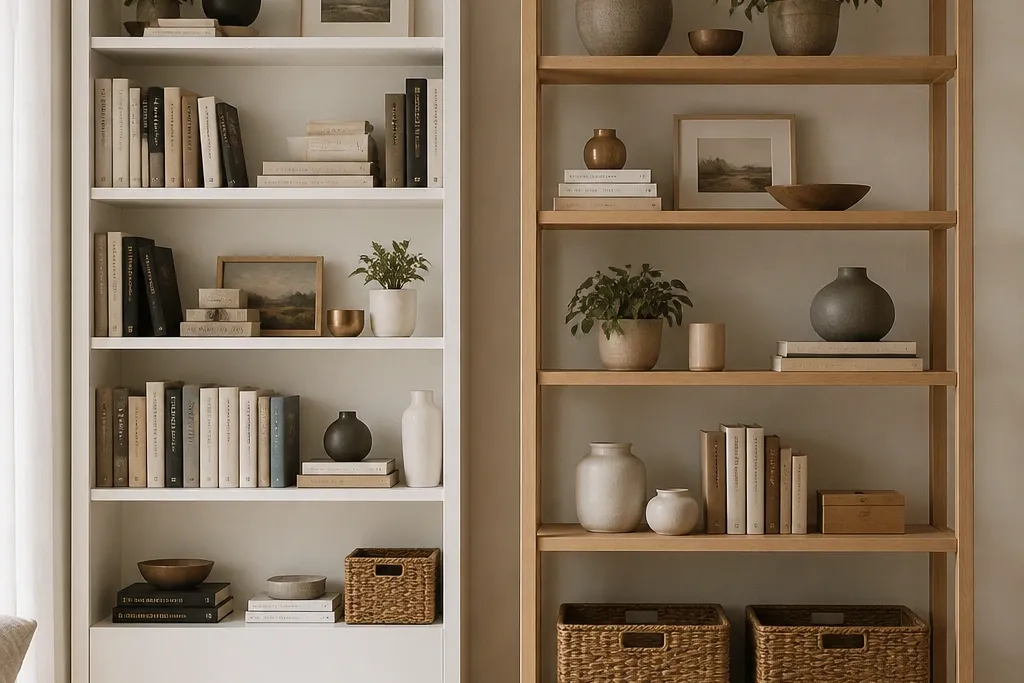
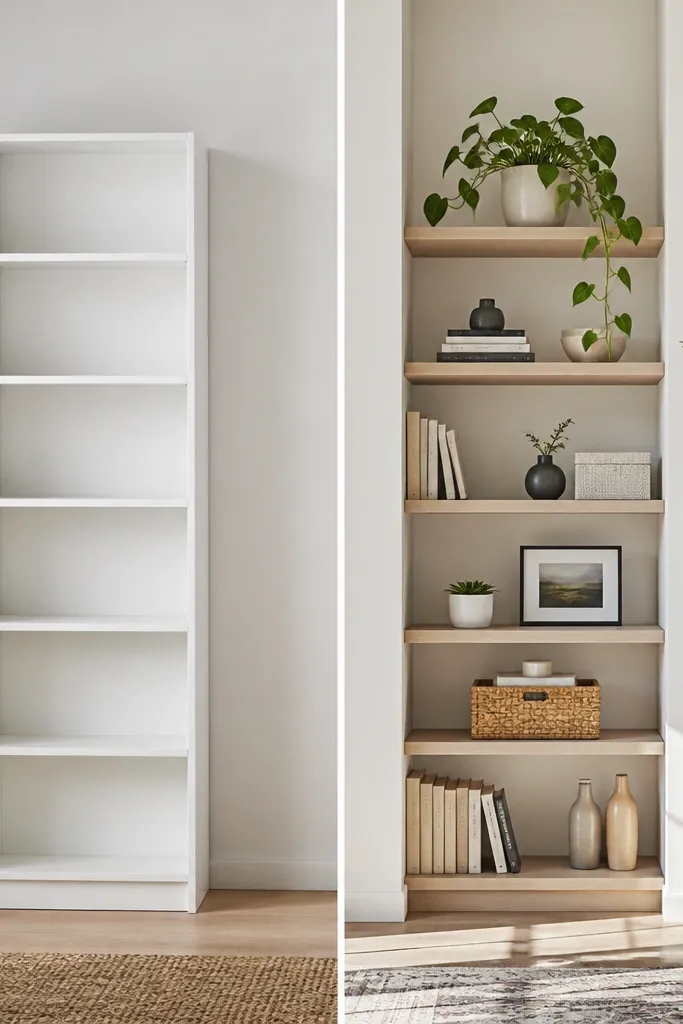
1. Built-in Billy with 1x4 top cap and painted back wall
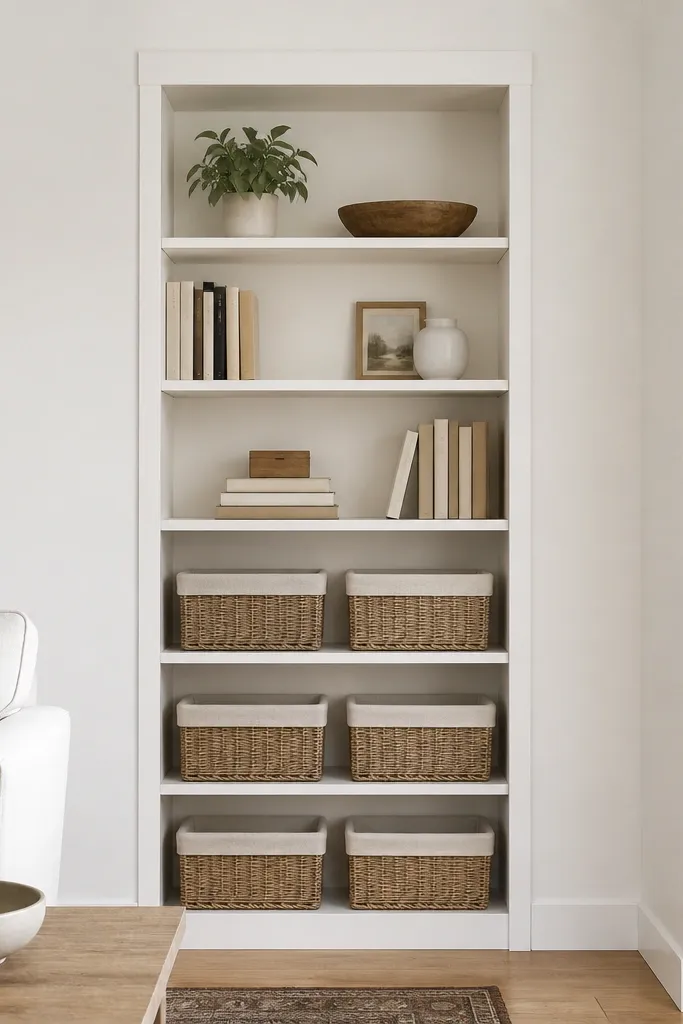
This is the Billy DIY trick that made my wall stop looking like furniture. I used a simple 1x4 pine board for the top cap, then sanded it and painted it the same color as my trim — a soft satin white (not flat). Inside, I replaced the original back with a thin plywood sheet and painted it wall-matched, which kills the “box interior” look. The result reads taller and cleaner, and it works best in rooms with white trim or light oak floors because the lines stay crisp. For styling, it flatters small spaces because the back is visually quiet, so your decor looks intentional instead of floating in a grid.
Quick tipUse satin on trim and inside backs — flat paint shows every brush mark when light hits from the side.
Measure the Billy width and cut the top cap board to fit, then dry-fit it before you paint. Attach the cap with wood glue plus screws from underneath so you don’t see hardware. Pull the original back panel, cut a piece of 1/4-inch plywood to the same dimensions, and paint it with the same primer and topcoat you used on the wall. Install the back panel, then add a thin bead of caulk where the unit meets the wall so the seam disappears. Finish by painting the edges of any filler spots and lightly sanding the final coat for a smooth, built-in look.
One warningDon’t leave the inside back raw or a different white — it shows up instantly in photos.
2. Billy framed with side trim so the seams vanish
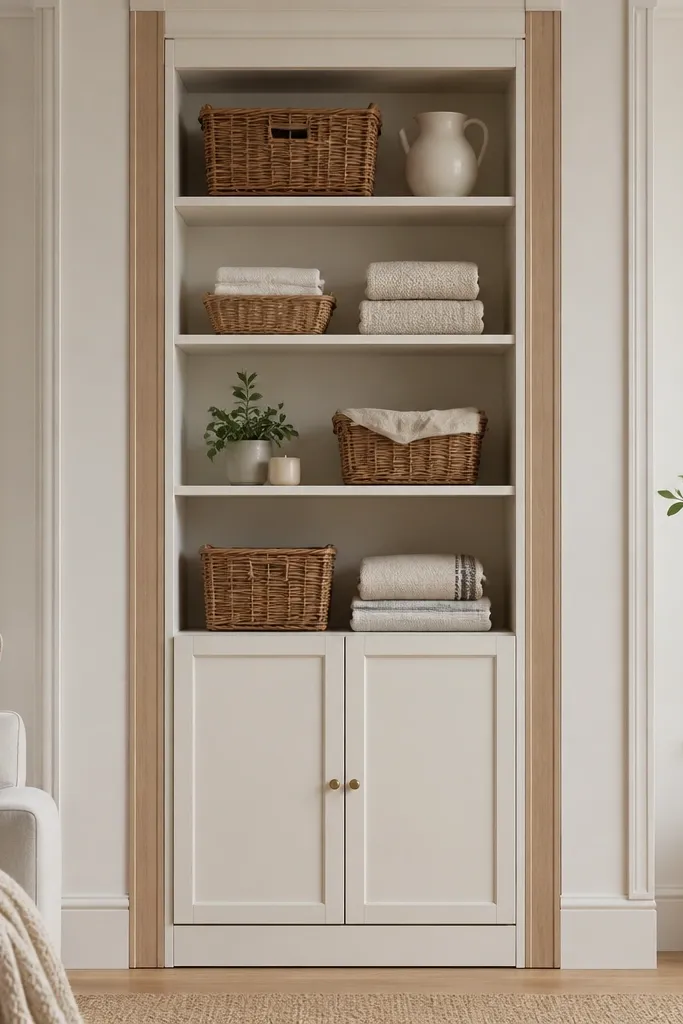
If your Billy looks like it’s “sitting on the wall” instead of becoming part of it, side trim is the fix. I framed mine with narrow trim strips (about 3/4-inch wide) that match the room’s existing wood tone, then painted the Billy in a warm off-white so the trim and cabinet read as one. This approach is great for hallways and dining rooms where you see the unit from multiple angles. It makes the cabinet look custom because the eye reads continuous vertical lines. It also gives you a clean place to hide small gaps — the seam becomes a deliberate border instead of an accident.
Start by spacing the Billy off the wall only as much as needed to clear baseboards and any molding — I used thin shims behind the corners to get it perfectly level. Cut side trim strips to the full height of the cabinet plus the top cap overlap, then test-fit them with the Billy in place. Glue and nail the trim to the wall, not to the cabinet, so the cabinet can still be removed later if you need it. Fill any tiny gaps between trim and cabinet with paintable wood filler, then sand smooth. Paint the whole assembly in one go so the sheen and tone match across the edges.
Shim with folded cardboard or plastic shims, then tap until the cabinet doors sit evenly without rubbing.
Don’t rely on caulk alone for big gaps — it shrinks and leaves a thin shadow line.
3. Holiday Billy: removable risers and a backer for instant scenes
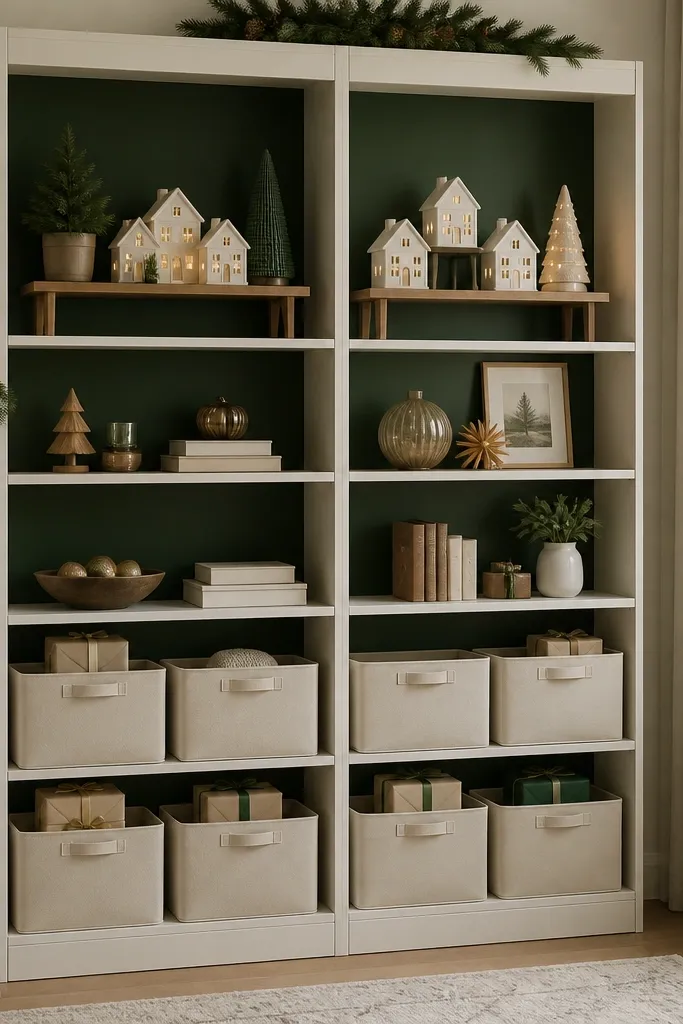
This is the setup I use when I change decor every season without wanting to rebuild the whole unit. I painted a plywood backer deep green (almost forest, not teal) because it makes gold ornaments and white ceramic pieces look crisp. Then I added removable risers — simple wood blocks or thin plywood platforms — so I could rearrange heights without cutting new shelves. The best part is that the scene stays tidy even when you swap items, because the backer and risers keep the composition controlled. This look flatters smaller ornaments and themed sets because they sit at intentional angles and don’t sink into shelf depth.
Quick tipLabel bins in pencil on masking tape so switching seasons takes minutes, not an hour of rummaging.
Cut a backer from 1/4-inch plywood to fit the inside and paint it with a durable interior paint; let it dry 24 hours before installing. Build risers from 3/4-inch plywood strips cut to shelf width minus a small clearance (about 1/8-inch each side). Place risers on the shelf boards so they don’t wobble, then secure them with two small L-brackets underneath if you want zero movement. Style in layers: tall ornaments on the back, medium items in the middle, and flat boxes or trays on the front edge. For holidays, use matching baskets for wrap paper and put them on the bottom shelves with doors or a matching bin system.
One warningDon’t stack tall decor directly on shelf edges without risers — it looks accidental and tips the eye downward.
4. Billy DIY with cabinet doors on the bottom for clutter control
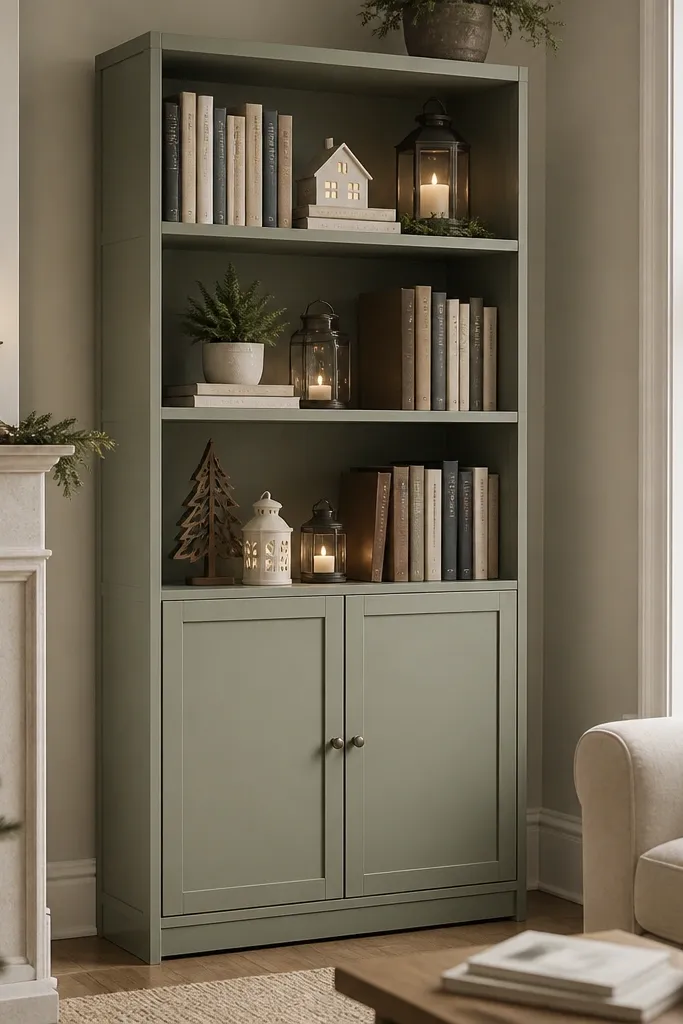
This is the “company’s coming” configuration. Bottom doors hide the stuff that always looks messy in December — tape, spare lights, extra gift bags, and batteries. I used door fronts that match the Billy finish and painted everything in a satin finish so it doesn’t look chalky under warm bulbs. The open top keeps your display accessible, which matters when you’re swapping ornaments or adding seasonal books. This setup flatters anyone who wants a clean look without strict minimalism. It also works well for people who store bulky holiday items because doors reduce visual noise immediately.
Choose a Billy model that supports door mounting or plan for hinge hardware and alignment. Install hinges carefully: I set the doors, then adjusted them by eye and used a scrap spacer to keep the gap consistent across both sides. Add a painted back panel if you want the interior to look finished. Style the open shelves with one strong color family — for example, cream and brass on top, then a small stack of books in the same tone. Put bins inside the doors and leave a small gap at the top so you can grab items without wrestling the contents.
Use a short level and check door alignment at the top and bottom — hinge screws shift if you only measure once.
Don’t leave the door gaps uneven — small misalignment reads cheap faster than paint color.
5. Custom shelving look: Billy with hidden bracket "illusion"
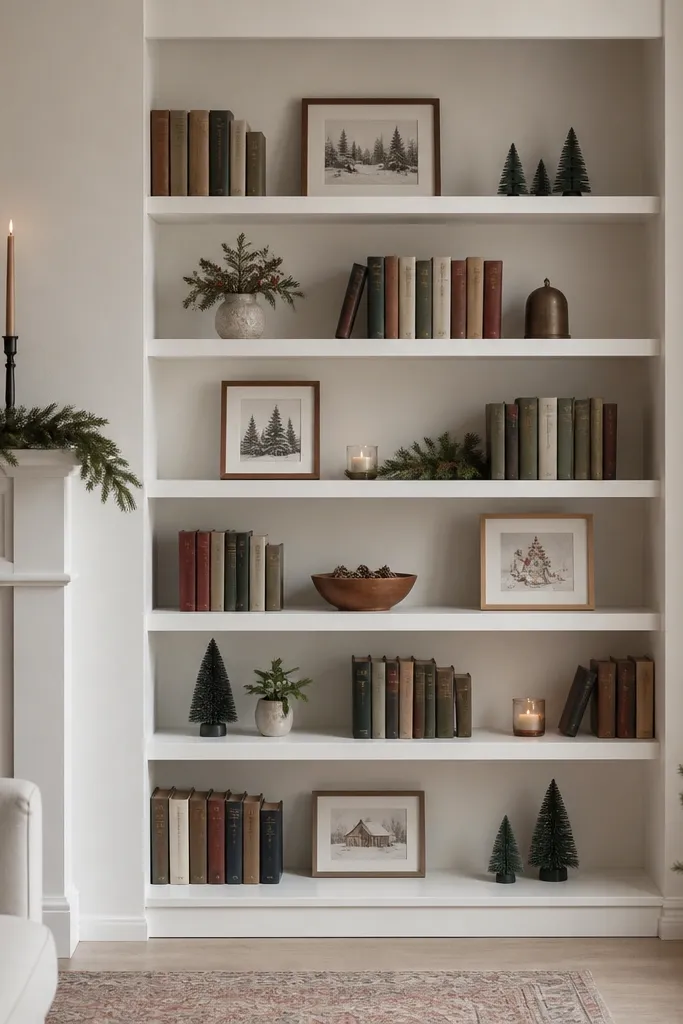
If you want Billy to mimic custom shelving, hide the supports so the shelves feel like architecture. I did this by adding a thin strip along the shelf line and using hidden L-brackets underneath, then painting everything the same color as the interior. The visual result is that the shelves look like they’re suspended, not stored. This works best with darker interiors or matte paint, because shadows between shelf and back look intentional. For styling, keep items aligned to the shelf edges and use a consistent color palette — framed prints, book spines, and small holiday figurines. It flatters rooms that already have built-in lines, like a fireplace wall or a media niche.
Mark shelf locations on the inside backer first — I used a pencil line and a level so every shelf sits at the same height. Install hidden L-brackets at each shelf position, then set the shelf board on top and screw from underneath or through the bracket. Fill any screw holes with wood filler and sand smooth, then prime and paint the interior so the brackets disappear. Add a back panel that’s the same finish as the shelves for a clean shadow line. Arrange items in straight rows, starting with heavier books at the bottom and lighter decor up top so the composition stays balanced.
Paint the brackets before assembly if you can reach them — fewer missed spots show up later.
Don’t eyeball shelf heights — the “floating” effect collapses if spacing varies.
6. IKEA Billy turned into a holiday mantel shelf wall
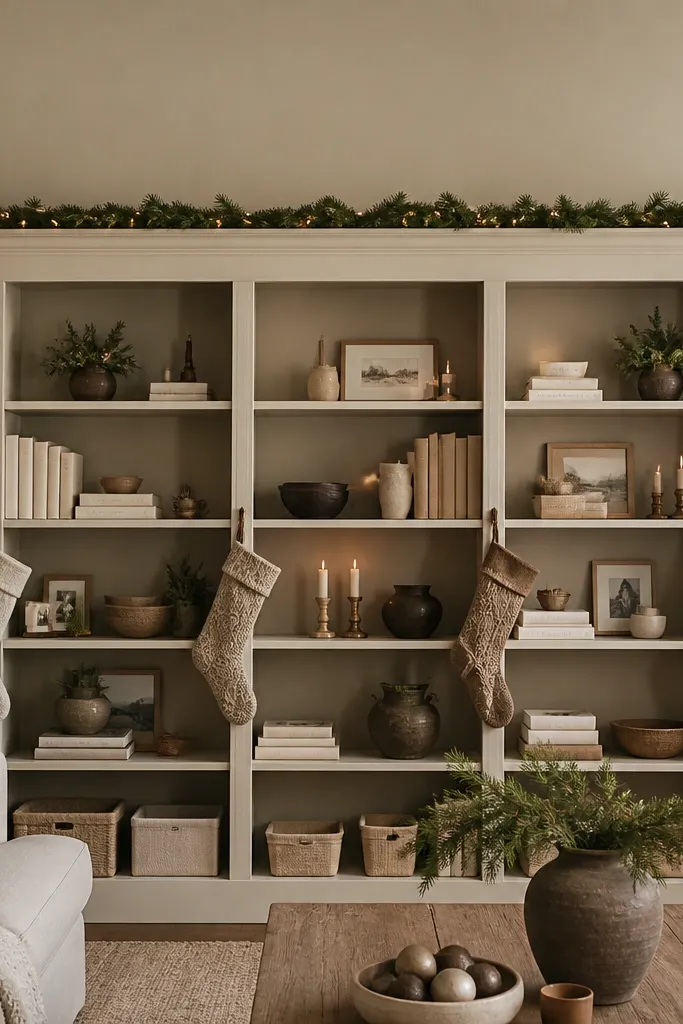
When you line up multiple Billy units, you can fake a mantel wall without paying for custom millwork. I used a long top ledge made from two boards joined under the center so the seam stays hidden, then added trim to create one continuous band. The interior back is a warm neutral so garlands and stockings don’t fight a dark backdrop. This look flatters spaces with high foot traffic because the lines are clean and the decor has a defined “stage.” It’s also practical: each Billy section holds a different category — ornaments, table decor, wrapping supplies — and you can keep the holiday theme consistent across zones.
Dry-fit the units side by side with shims until the tops line up perfectly, then clamp them together so you can measure the continuous ledge. Cut a top ledge that spans the full run, and add a seam under a trim piece if the boards don’t come in one length. Install the ledge, then add matching vertical trim at the seams between cabinets so the wall reads as one piece. Paint everything in the same finish and add a backer panel inside each unit if you want the interiors to match. Style in columns: keep ornaments clustered in one section, use a separate section for greenery, and put gift-ready items in bins so the display stays “resettable.”
Use painter’s tape as a temporary “straight edge” for garland placement so the line stays even.
Don’t skip shimming — a slightly uneven top makes the whole mantel line look crooked.
7. Custom shelving alternative: Billy with adjustable shelf spacing for book seasons
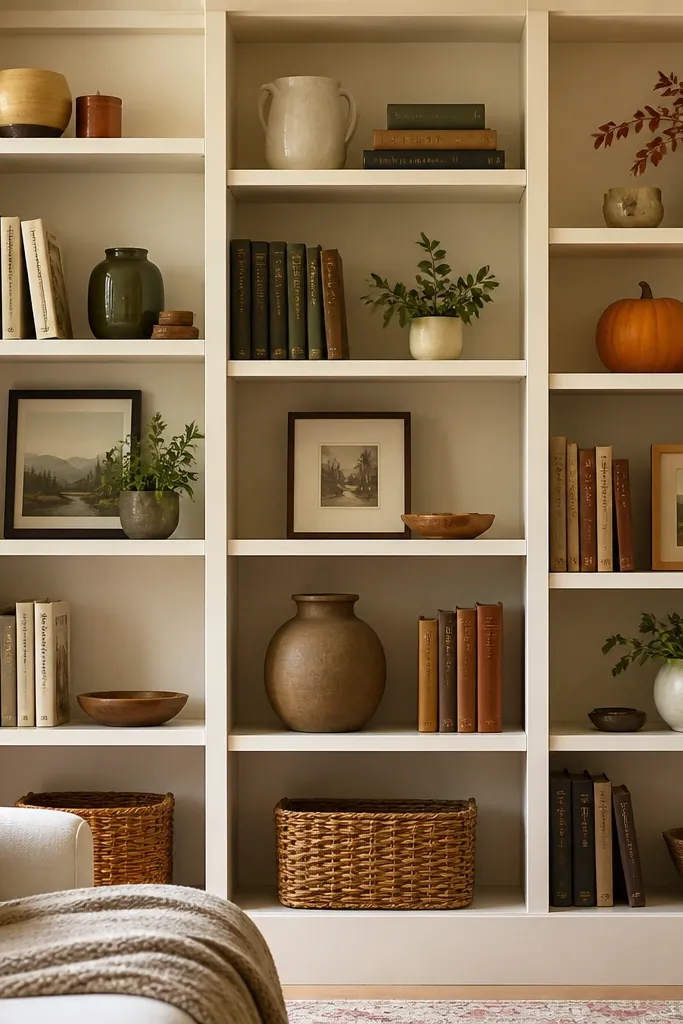
This is where Billy DIY quietly wins: adjustable shelves let you change spacing for seasonal books, recipe collections, and holiday activity guides. I set the shelf heights before I ever decorated, based on the tallest item I planned to store — a stack of large-format cookbooks plus a small holiday display box. Then I left one “flex shelf” with enough room for taller holiday candles or a small tabletop tree. Custom shelving can match this, but it usually means ordering boards for a set layout, and you feel stuck once it’s built. Billy’s adjustable system keeps the display feeling current because you can re-space in minutes.
Quick tipWrite shelf heights on masking tape and stick it inside the cabinet so you can recreate the layout later.
Pick your tallest item and measure its height, then add 1 inch for clearance. Set shelves using the manufacturer’s adjustable holes so everything stays level and secure. Paint the interior back panel so the shelves look intentional even when the spacing changes. When you style, keep your tallest items toward the back and use shallow trays for small decor so it doesn’t spill into the front edge. For holidays, dedicate one shelf to “activity stuff” — coloring books, puzzles, and cocoa mugs — and label the bins so you can swap fast next year.
One warningDon’t leave random shelf gaps — uneven spacing makes the whole unit look like it was rearranged in a hurry.
8. When custom shelving wins: hidden bracket depth for heavy holiday storage
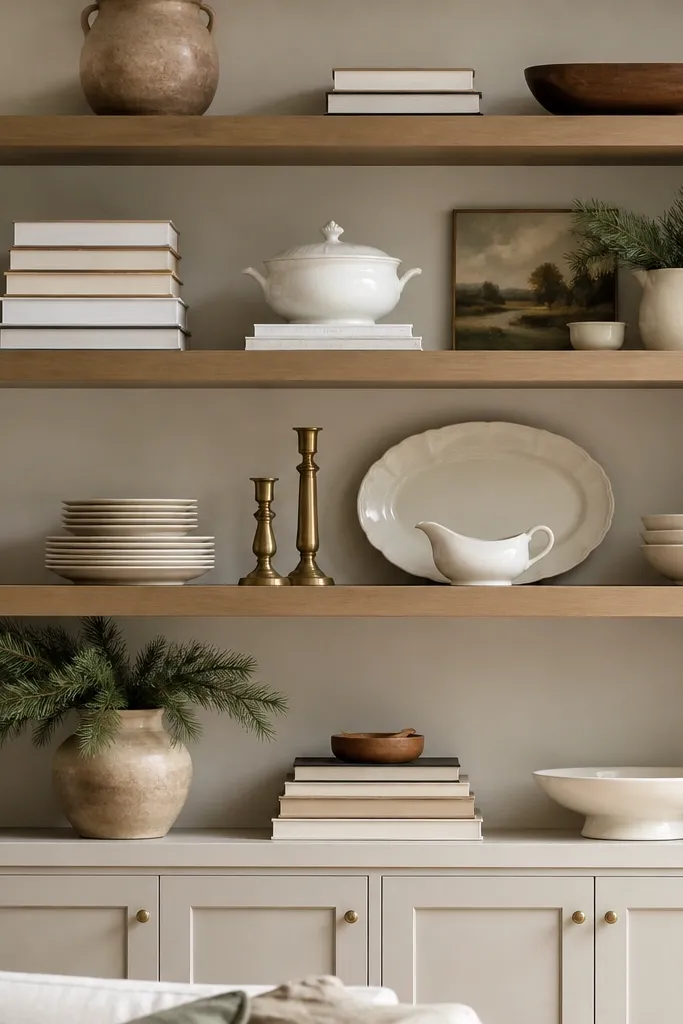
Custom shelving wins when you want to load the wall hard without thinking about it. I built a shelving run for heavy books and holiday serving platters, and the difference was obvious after the first winter: no bowing, no “sagging shelf” worry, and the spacing stayed square. The hidden brackets make the underside look flat and finished, which matters for photos and for the way your eye reads the room. This look also flatters darker rooms because the shelves can be finished to match trim and stay consistent in sheen. If you store dense items — large cookbooks, board games, or stacks of dishes — custom shelving is the calmer option.
Quick tipAsk for a slightly wider shelf depth than Billy if you use bulky holiday serveware — you want the items to sit fully without overhang strain.
Order boards cut to your measured depths and pick a finish that matches your trim — I used a stain + clear coat on the boards and a matching paint on the wall. Mark studs and install a continuous ledger level, then mount hidden brackets at regular intervals so the shelf boards sit evenly. Set the shelf boards on the brackets and secure from underneath so no hardware shows. Add a back panel if you want a finished look behind the display — thin plywood painted the wall color works. Load test it gradually: put the heaviest items first, then add the rest after you confirm the shelves stay flat.
One warningDon’t mount brackets into drywall only — the failure point shows up later when shelves sag.
9. Billy DIY with linen-look baskets and a color-coded holiday system
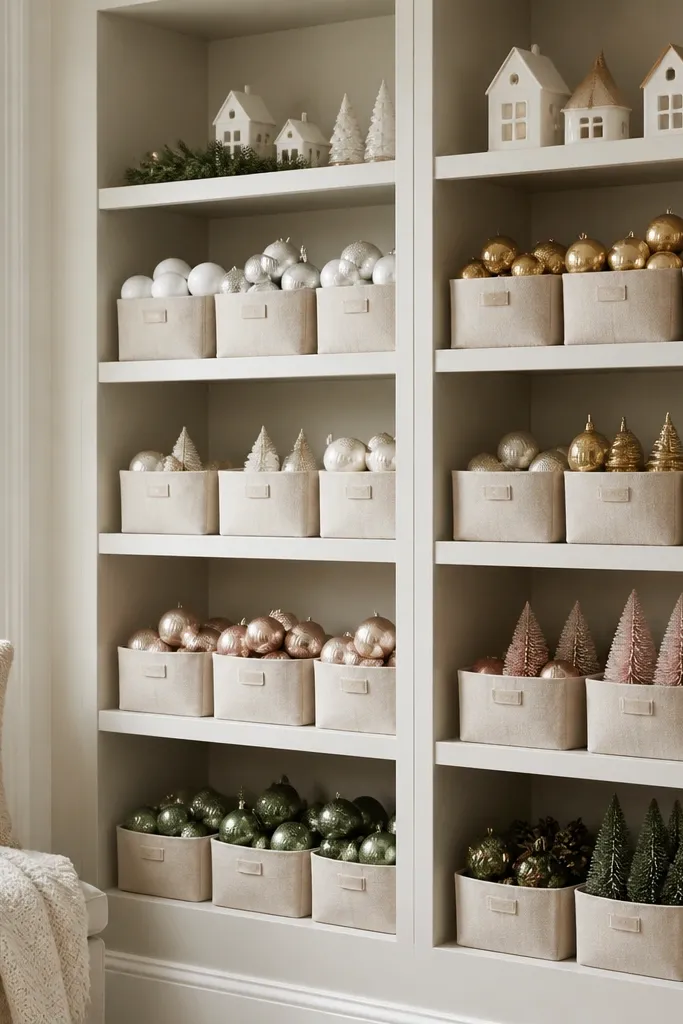
This one is about making the unit look expensive even when you’re storing real stuff. I used linen-look baskets in two sizes — tall ones for wrapping paper rolls and shorter ones for ornaments — and kept everything in a tight neutral palette: cream, warm gray, and brass accents. I painted the interior back a soft warm white so the baskets don’t clash with a gray factory panel. The styling principle is separation by category, not by “random cute items.” It flatters people who like a calm look but still need storage, especially during holiday weeks when everything multiplies at once.
Choose baskets that fit the shelf width and leave about 1/2 inch clearance so they slide in without scraping paint. Paint the inside back panel and shelf edges for a consistent tone, then let it cure fully before styling. Place the largest baskets on the bottom shelves and keep the front edge clear for decor placement. For holiday pieces, group by color: keep gold and cream together, then separate red accents into a different shelf zone. Add a tray on the middle shelf for small items like gift tags and ribbon so they don’t scatter across the unit.
Use thin card stock labels tucked into a clear tape tab so you can swap them each season.
Don’t mix basket colors — two shades off instantly makes the whole shelf look thrifted.