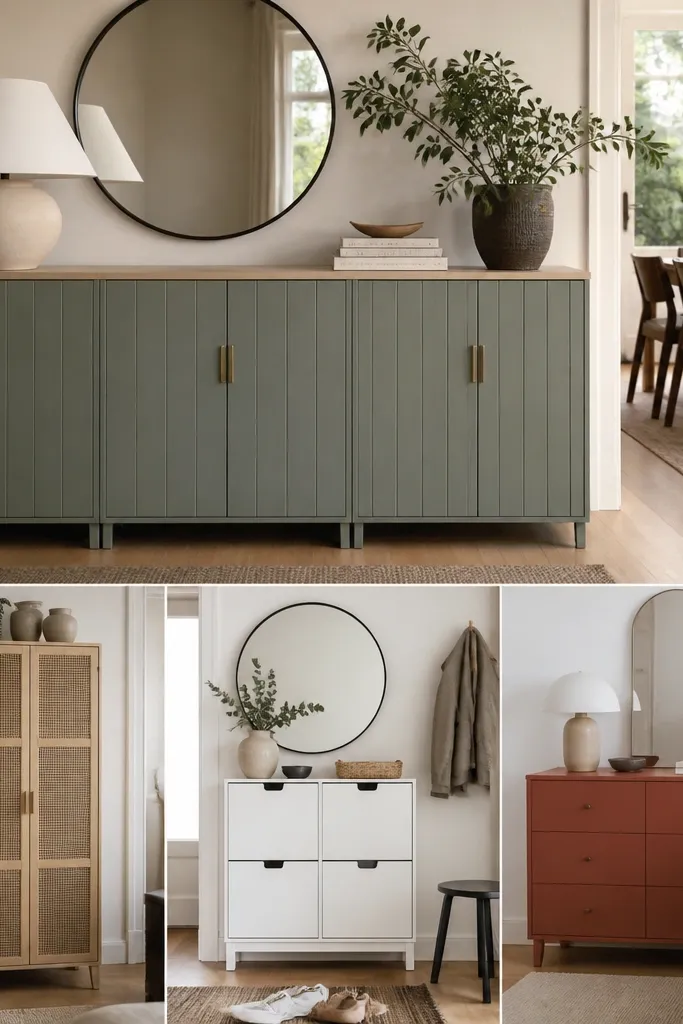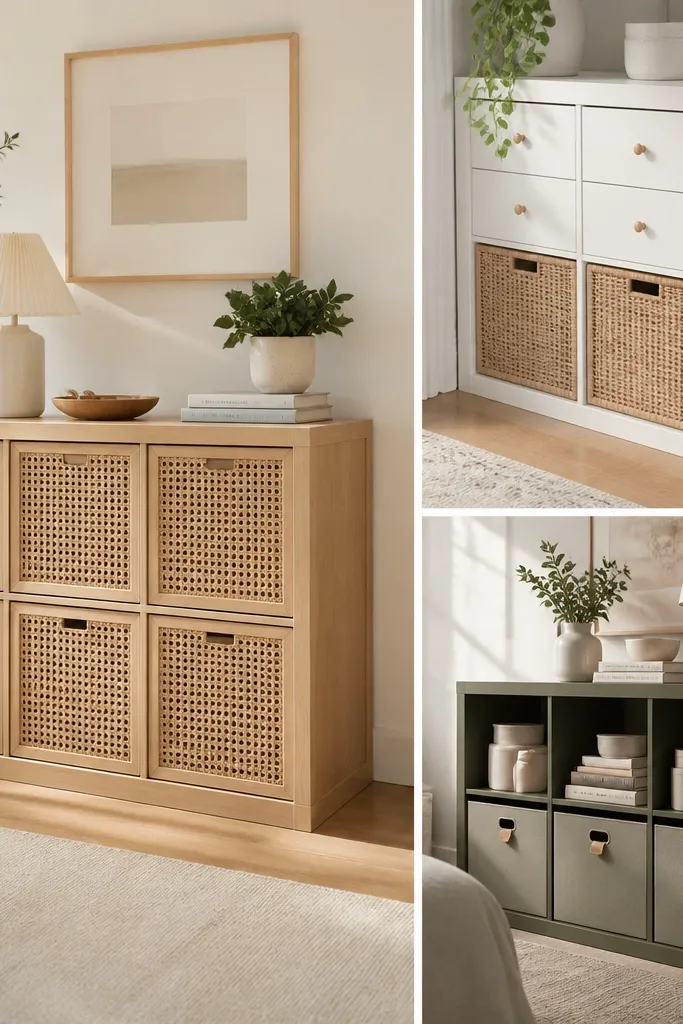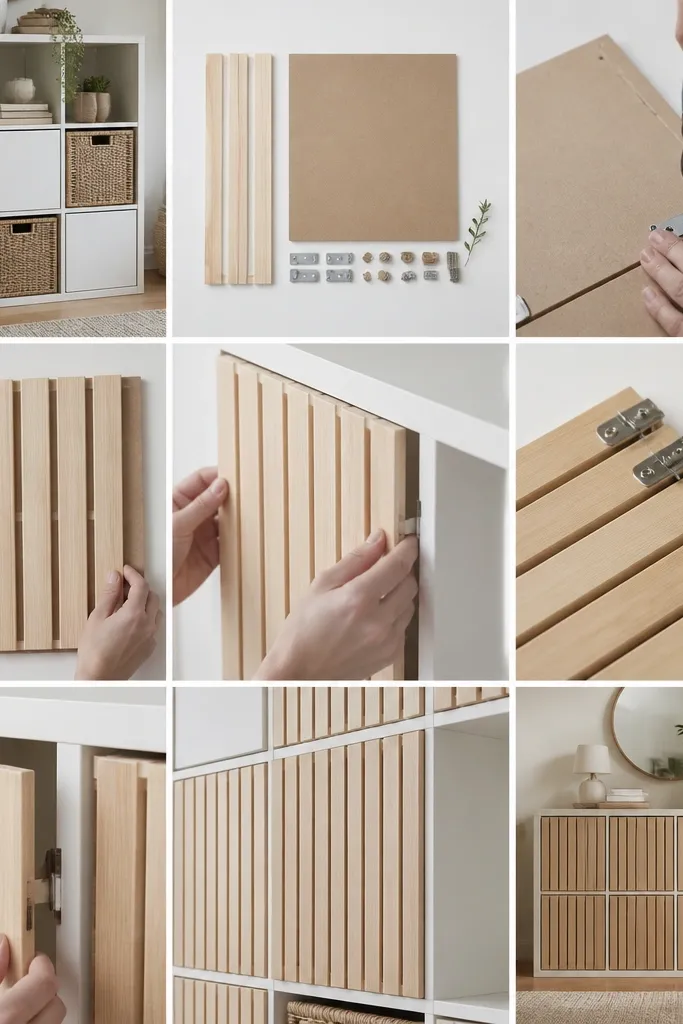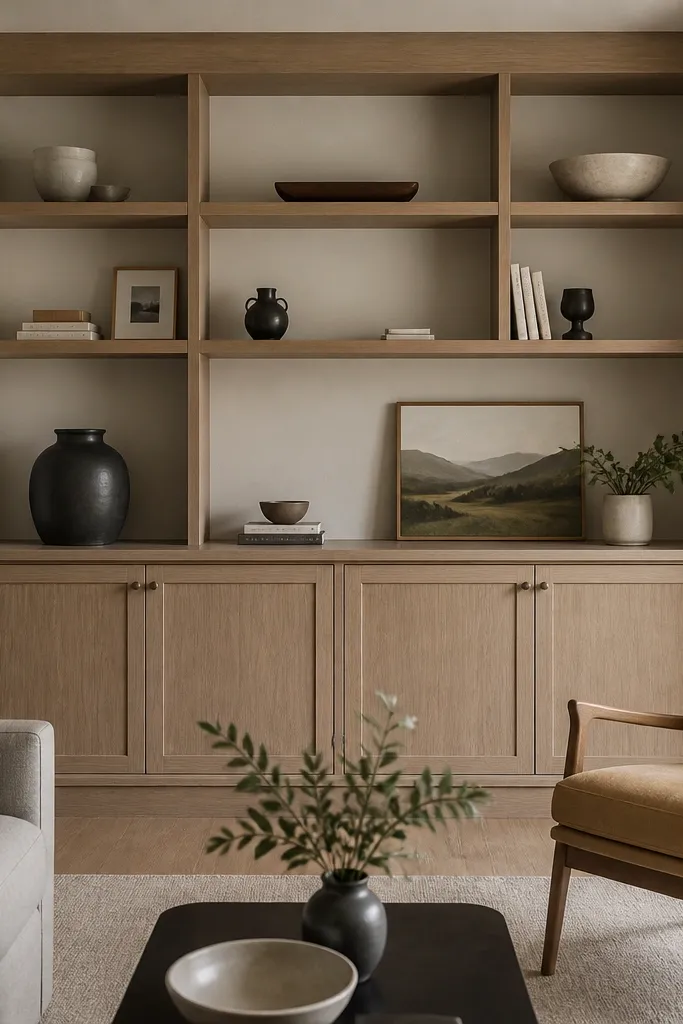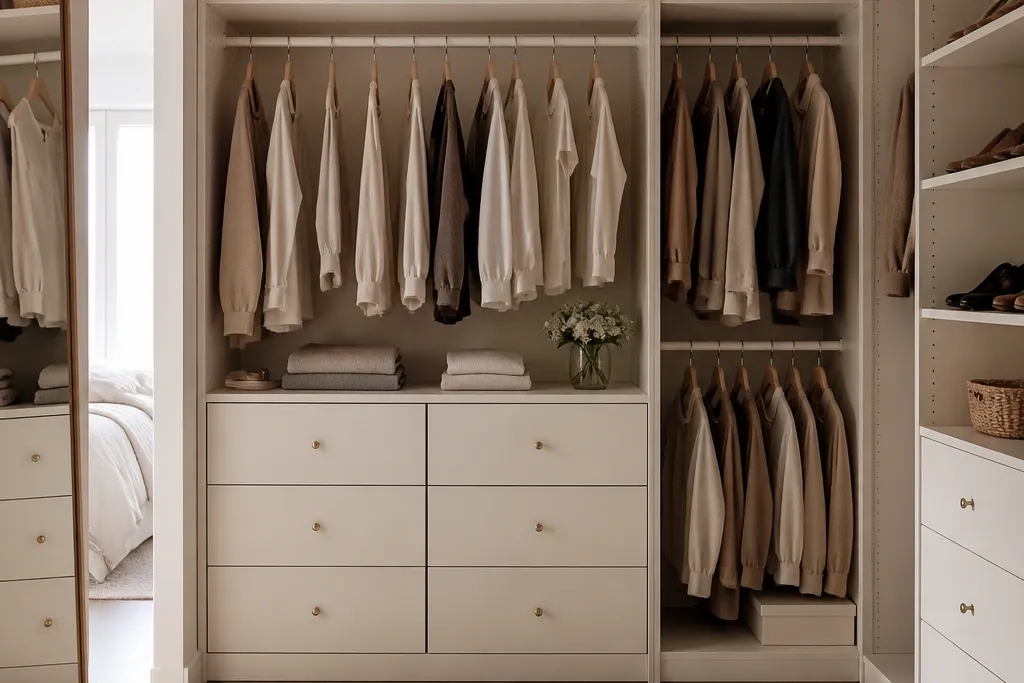
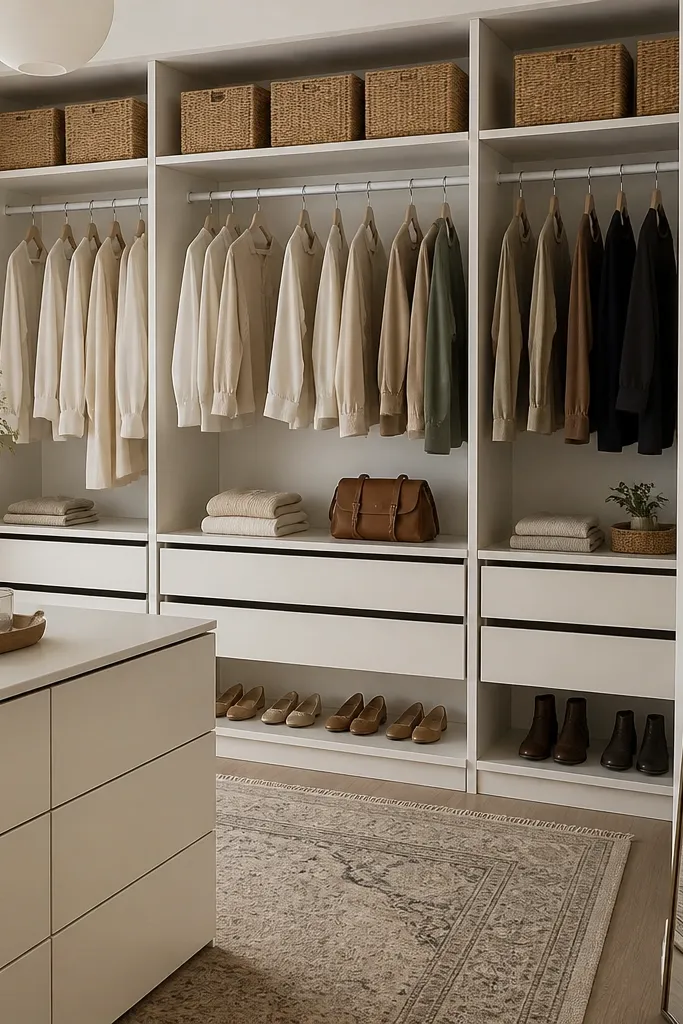
1. PAX paneled wardrobe with matching linen doors
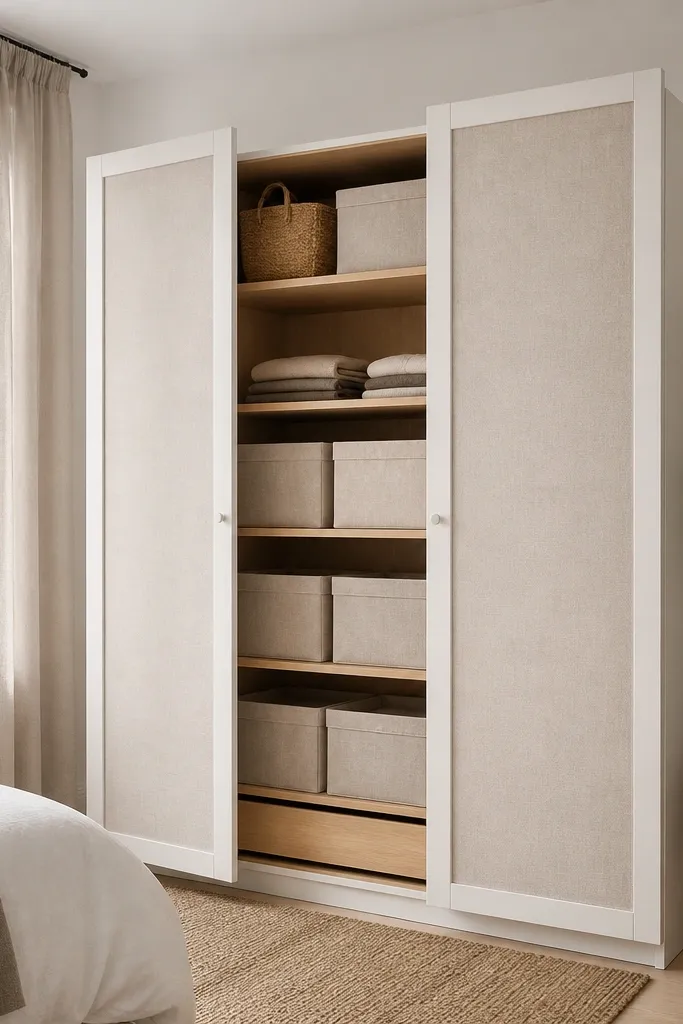
Build your PAX frame first, then mount the door inserts using the IKEA door hardware your kit supports. Use a consistent panel width so the seams line up in the center. Inside, set the top shelf 10-12 inches below the ceiling area so the light catches without glare.
This look works because the door texture adds softness and hides the inside mess. I used off-white linen-look panels that flex slightly, so the closet doesn’t feel boxy. Keep the interior in warm light — add a top shelf LED strip and use light wood or white shelving so the linen reads clean, not dusty.
One warningDon’t mix door materials (like wood on one side and fabric on the other) unless you repeat the pattern on every door.
Quick tipHang the doors, then step back 6 feet and check alignment before you add bins — the small seam shift shows up fast in photos.
2. BRIMNES closet makeover with under-shelf LED strip
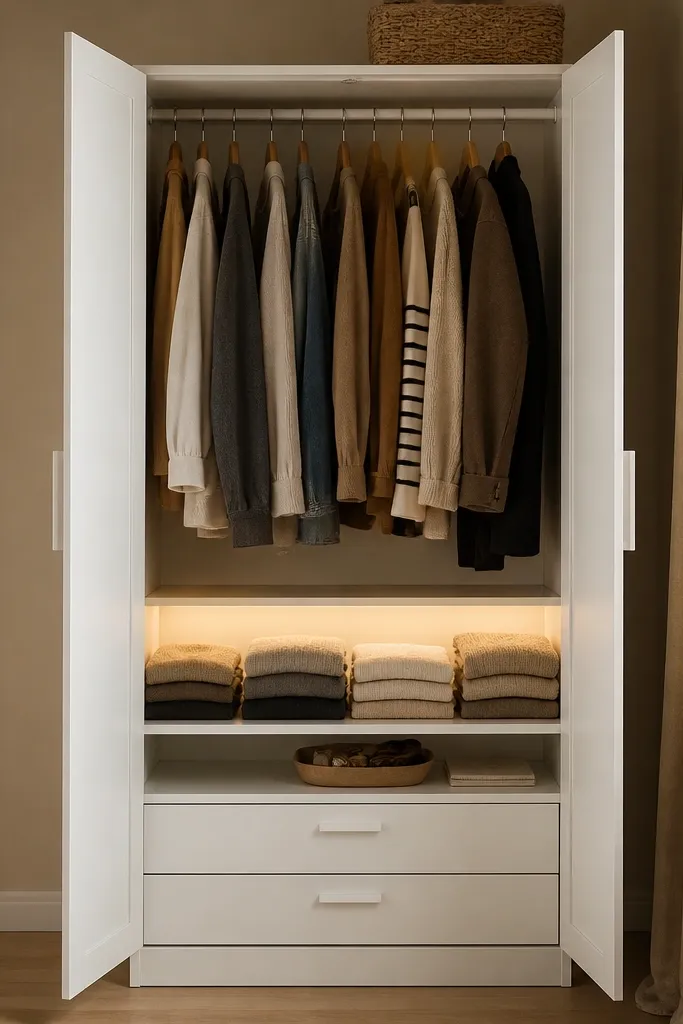
Install the LED strip along the front edge of the top shelf with the wire routed to the back corner. Use cable clips or the included adhesive mounts so the strip sits flush. For storage, add two slim fabric drawers at the bottom and keep the middle open for baskets.
Lighting changes the entire vibe because it makes the interior look curated, even with simple storage. I like warm-white LEDs (around 2700K) inside closets because cool LEDs make fabric look gray. Pair the glow with a “landing shelf” at eye level — a flat surface with a single tray — so you have a place to drop things without visual clutter.
One warningAvoid placing the LED too far back — if it shines into the door hinges, you’ll get glare spots.
Quick tipSet the LED brightness low enough that it doesn’t reflect off glossy shelves; matte shelf liners help a lot.
3. Pegboard rail wall with IKEA hooks and dowel shelf
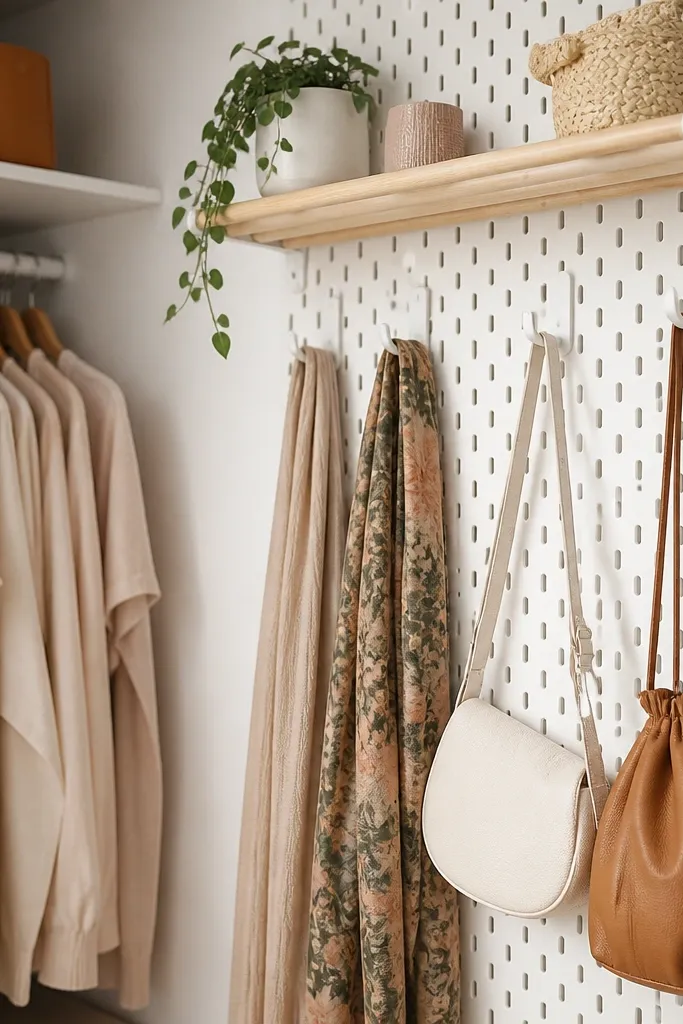
Mount pegboard to a closet wall using spacers so the panel doesn’t bow. Add IKEA hooks in a repeating pattern: hooks every 3-4 inches for belts, and fewer hooks for bulkier scarves. Put a 1.5-inch diameter dowel shelf above for folded items like beanies or gloves.
Pegboard is the fastest way to make hanging storage look intentional. You get a grid you can keep adjusting as seasons change. I use it for scarves, belts, and small accessories because you can see everything and grab it without digging.
One warningSkip cheap pegboard paint jobs — if the board looks patchy, the whole closet looks DIY in a bad way.
Quick tipColor-code hook placement: keep belt hooks on one vertical line and scarf hooks on the next so you can put things away without thinking.
4. Hanging shoe organizer turned into a display shelf wall
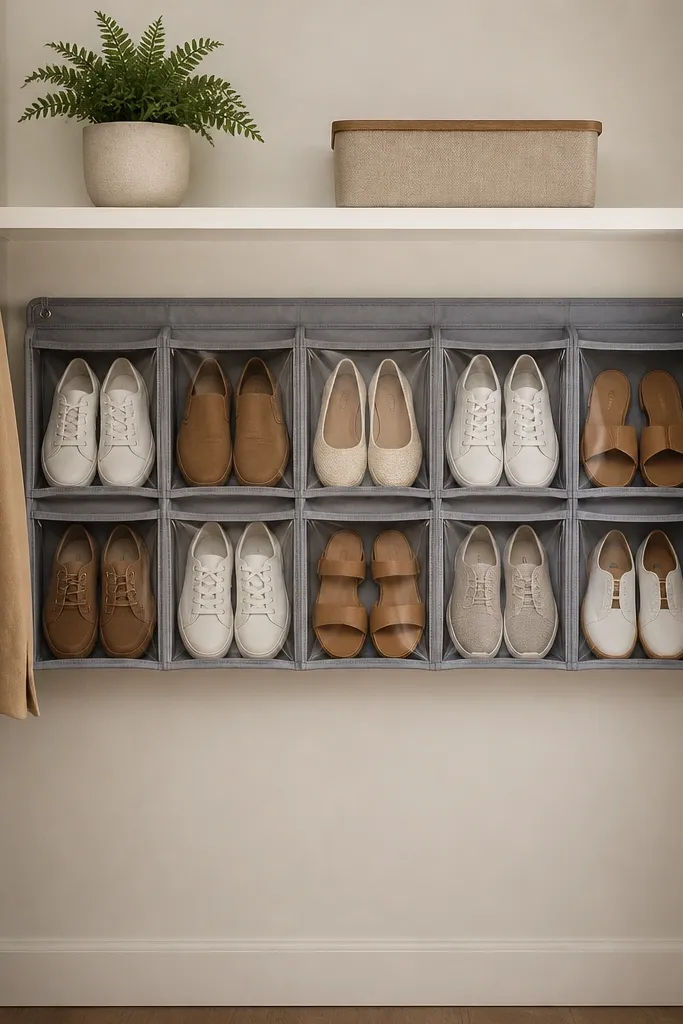
That “shoe organizer” idea looks plain until you make it a visual grid. Use clear-front pockets so you can see pairs quickly, and keep the shoes in matching height rows. The result reads like a boutique shoe wall, especially if your closet backdrop is white or light beige.
Mount the organizer using sturdy screws into the closet studs or into an internal frame so it doesn’t sag. Start at about 12 inches from the closet floor for your first row so tall boots don’t collide. Add a narrow closed bin above for shoe care items.
Use shoe trees or rolled tissue to keep toes from collapsing inside the pockets.
Don’t overload the pockets — if the organizer looks stretched, it looks messy instantly.
5. IKEA KALLAX closet divider with fabric bin cubes
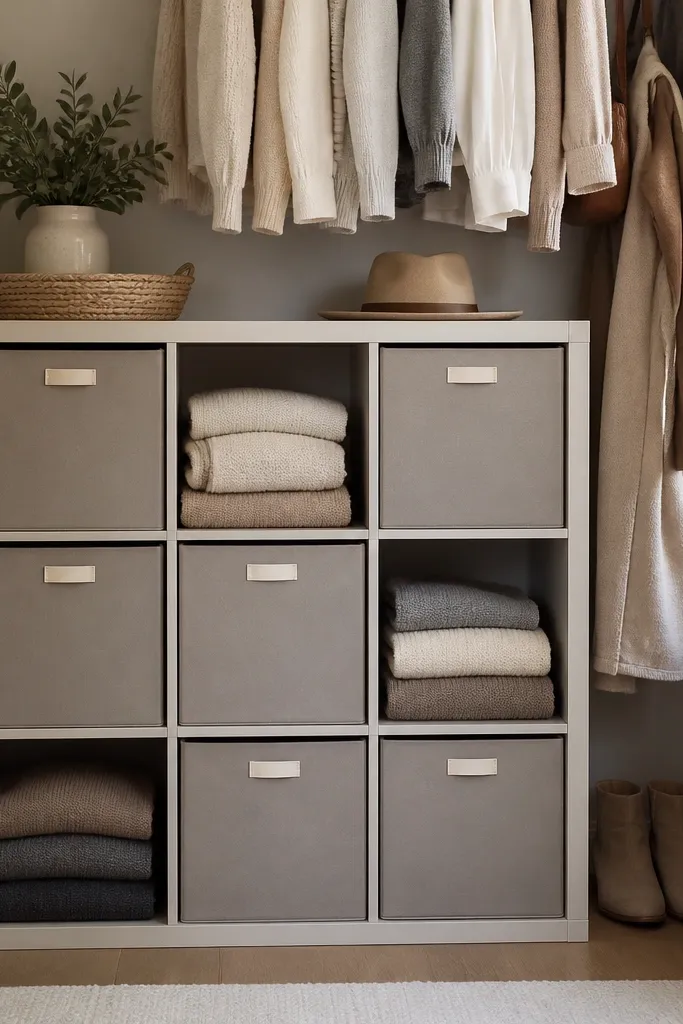
KALLAX looks like built-in storage when you treat it as a divider, not a standalone shelf. Fabric bins hide the “season mix” problem where half your closet is out-of-season. I keep the open cubes for folded knits and the bin cubes for items that wrinkle.
Place the KALLAX so the top edge hits a consistent height with your existing closet shelf (I aim for 84 inches total for many apartments). Use bins that match the cube size exactly and add a label on the front center. If your closet is narrow, leave one column open for hanging items using two ceiling hooks.
Put the heaviest bins on the bottom row — the unit stays square and doesn’t rack.
Avoid mixing bin colors randomly; it looks like storage, not design.
6. Sliding curtain closet door with IKEA track and blackout fabric
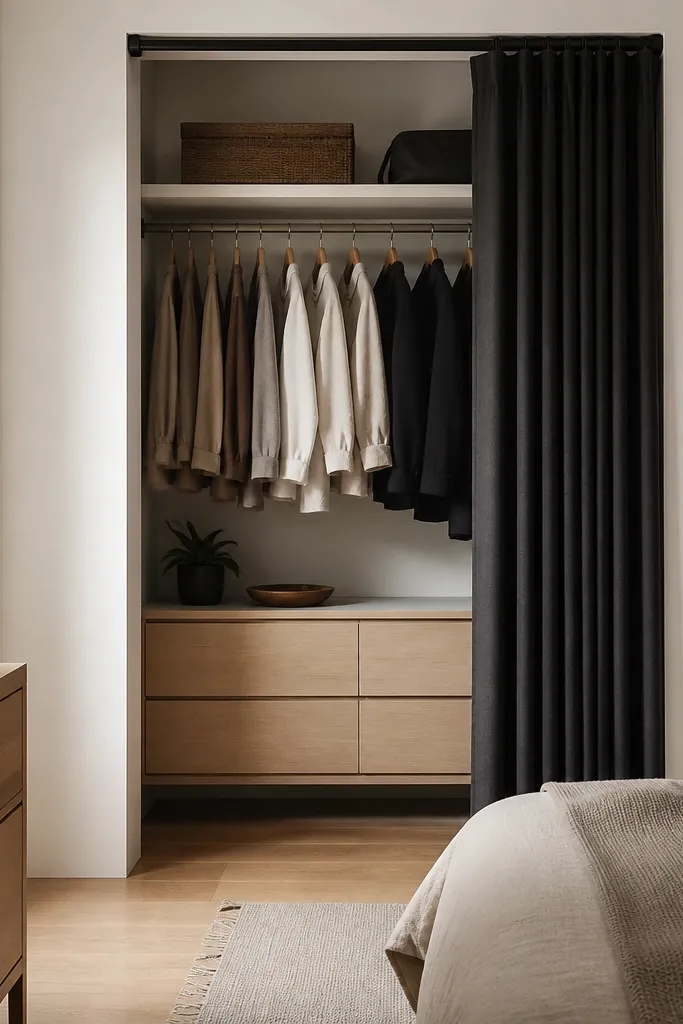
Install an IKEA curtain track above the closet opening and mount it so the curtain overlaps the sides by at least 3 inches. Use blackout fabric panels wide enough to gather slightly (aim for 1.5x the closet opening width). Inside, keep one section closed with bins so you don’t see random items through the curtain gap.
Curtains beat open shelves when you want the closet to disappear visually. I use blackout fabric because it blocks light and keeps the closet from looking washed out. The dark curtain also makes your interior organization pop — especially if you use light bins and white shelves.
One warningDon’t use a sheer curtain unless you like seeing everything all the time.
Quick tipAdd a weighted hem if your fabric is light — the bottom should hang straight, not flutter.
7. IKEA TROFAST drawer stack for seasonal sweaters
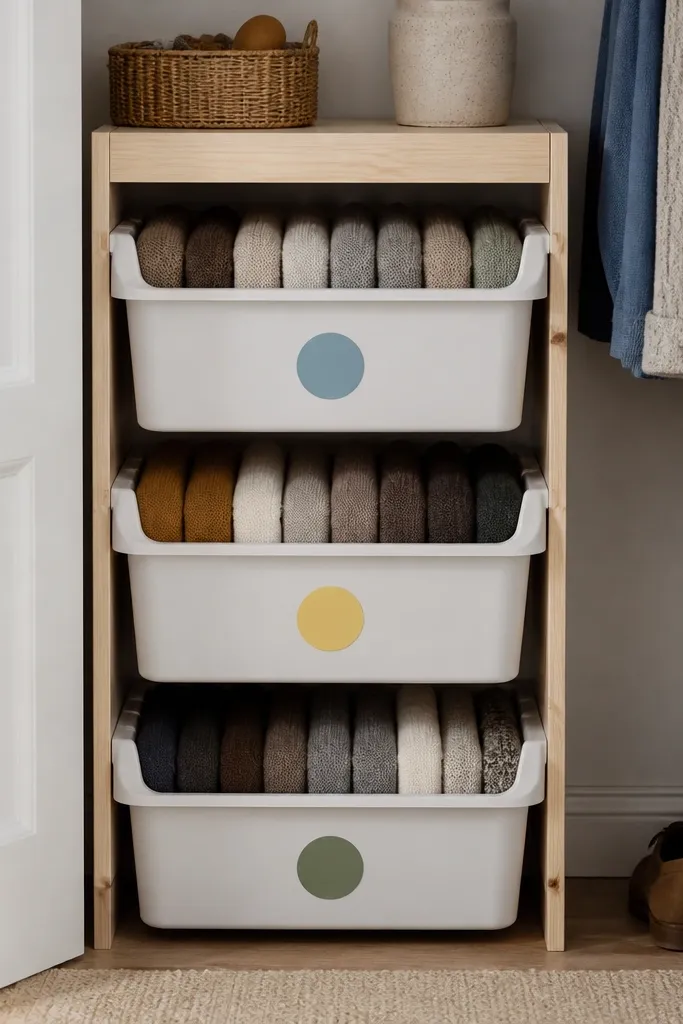
Choose drawer inserts that fit snugly so sweaters don’t slide. Fold sweaters using a vertical roll or a tight rectangle so they stand in place. Leave the top shelf for items you grab daily, and keep the TROFAST drawers for sweaters, scarves, and pajamas.
This is the closet hack for people who hate “out of season” piles. TROFAST drawers keep knits from getting crushed, and the front grid makes the unit easy to build without guesswork. I set it near the front of the closet so you can rotate seasonal drawers without moving everything.
One warningAvoid leaving drawers half-full; the folds collapse and everything looks wrinkled.
Quick tipLabel by season and by color family so you can put the drawer back in the right place in 10 seconds.
8. IKEA SEKTION wall closet with glass-front cabinet section
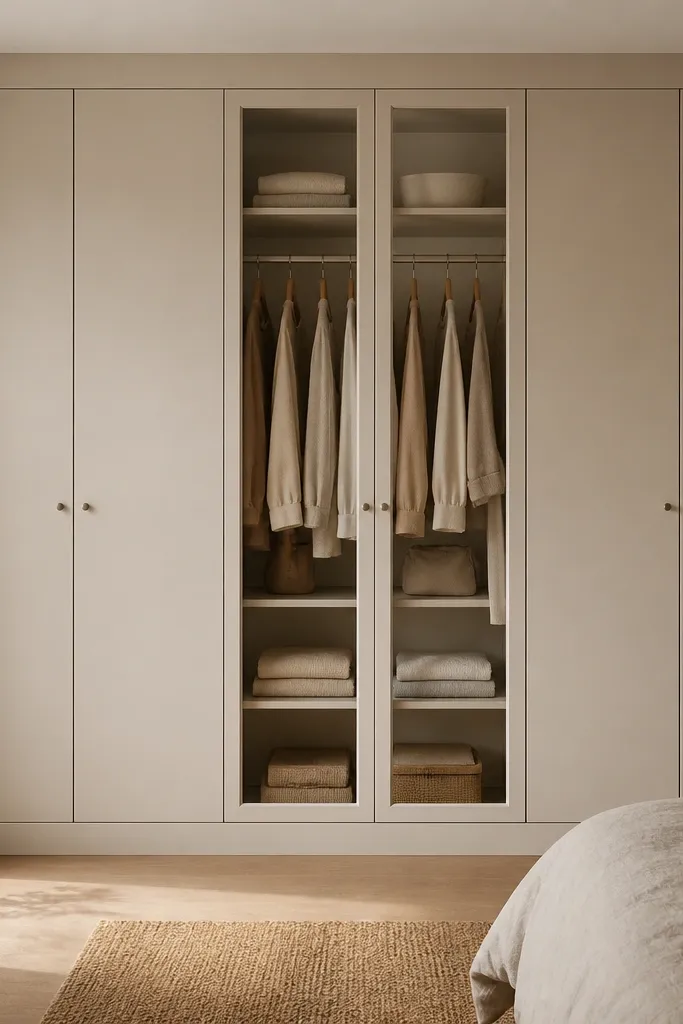
Build the SEKTION frames to your closet width, then install glass-front doors only for the middle section so it looks intentional. Put hangers on one side and folded items on the shelves so the glass doesn’t show empty-looking space. Add a thin fabric liner inside the glass shelves to smooth out the visual texture.
Glass-front storage makes the closet feel designed because it adds controlled visibility. I use it for items I actually want to see: dress shirts, a few handbags, and folded sets in matching tones. The solid doors around the glass keep the rest hidden, so you don’t get the “everything visible” clutter.
One warningDon’t put random clutter behind glass — it reads like a messy display.
Quick tipUse the same hanger color across every visible rail — it matters more than you think.
9. IKEA wardrobe with mirrored backing and gold-toned hooks
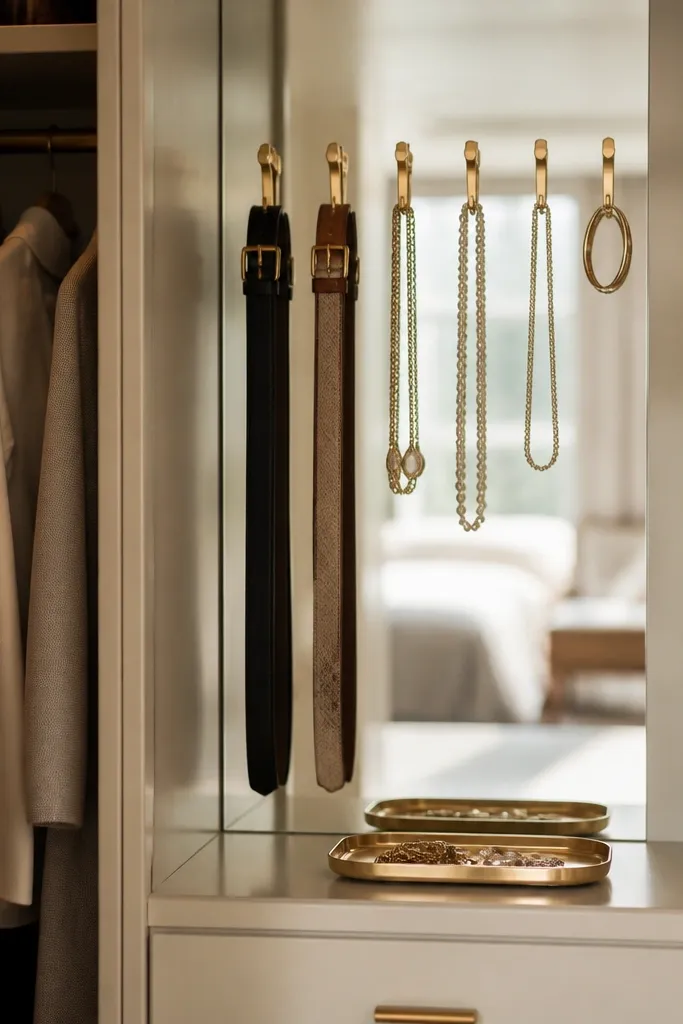
Cut mirror backing to size and mount it with mirror-safe adhesive or screws through the frame where you can. Use hooks aligned in two vertical lines so the reflection looks symmetrical. Add a tray at the bottom shelf edge for earrings or rings so small items don’t scatter.
Mirrored backing makes the closet look bigger and cleaner because it reflects your organized zones. I pair it with gold-toned hooks so the reflection doesn’t feel icy. Use it mostly for accessory sections — belts, jewelry trays, and small bags — because it’s easy to overdo.
One warningSkip silver hooks with warm lighting; the combo looks off in person.
Quick tipWipe the mirror once after assembly — fingerprints show up under closet lighting fast.
10. LACK floating shelf + fabric drawers for a minimalist closet corner
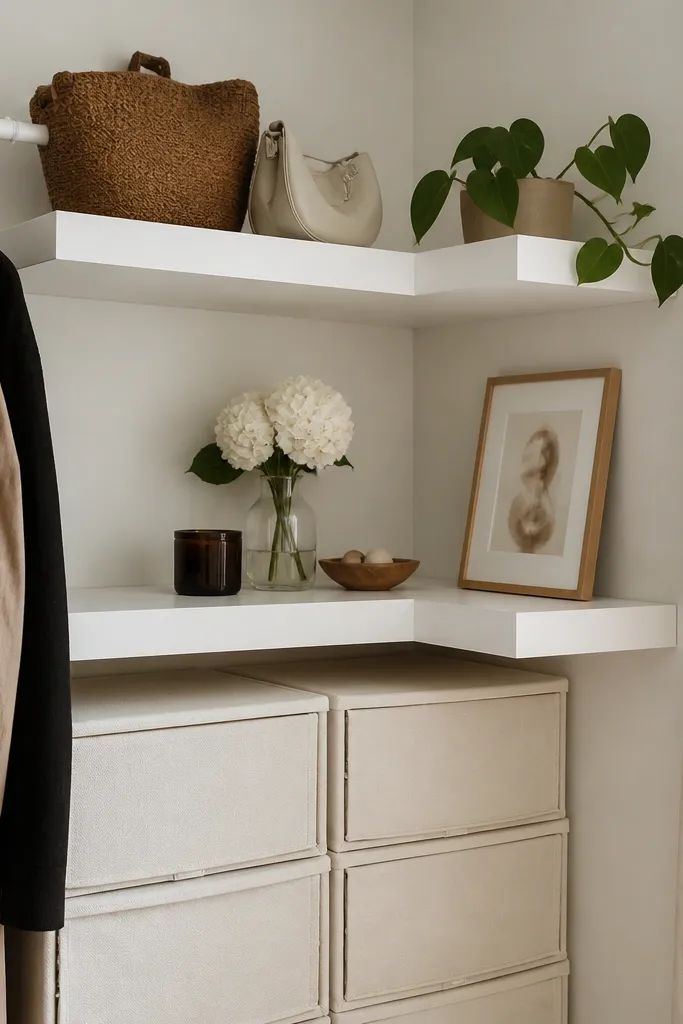
Mount LACK shelves level and use wall anchors rated for the shelf weight. Install fabric drawers on the floor or on a shallow base so the drawer tops sit flush under the bottom shelf. Keep the shelf styling to one tray plus one stack of folded items.
Floating shelves look clean when you keep the drawer fronts consistent. I build this corner for everyday items: tees, leggings, and socks. The trick is spacing — if shelves are too close, everything looks crowded; too far, it looks empty. With two shelves and drawers, you get a neat, calm corner without bulky units.
One warningDon’t use three different drawer styles; mismatched fronts kill the minimalist look.
Quick tipUse the same fold method every time so the stacks look uniform from the doorway.
11. IKEA KOMPLEMENT-style pull-out baskets with linen liners
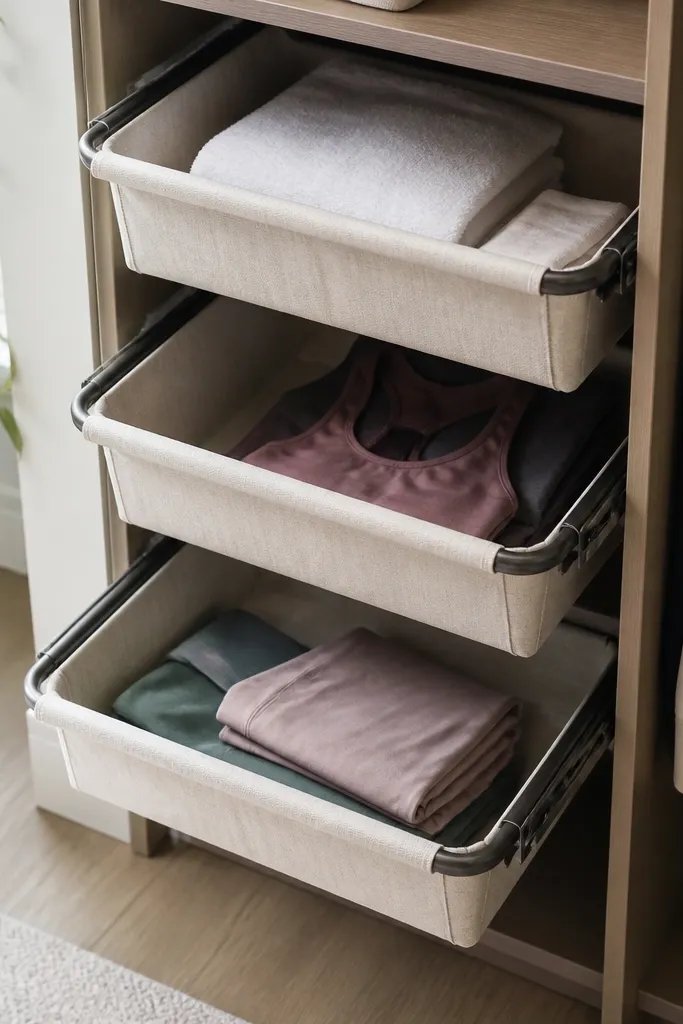
Install the basket rails according to your closet frame, then measure basket depth before cutting liners. Cut liners to basket height minus about 1 inch so they tuck under. Add two small label tags on the basket front corners for quick sorting.
Pull-out baskets make the closet feel smooth because you can reach without crawling. Linen liners soften the metal look and reduce the “hardware clutter” vibe. I use this for bulky items like gym clothes and towels because the liner keeps fabric from snagging.
One warningAvoid skipping liners — unlined baskets look industrial and less cozy.
Quick tipUse a fabric adhesive or hem tape on liner edges so fraying doesn’t show when the basket slides out.
12. IKEA RAST dresser hack turned into a closet bar cabinet
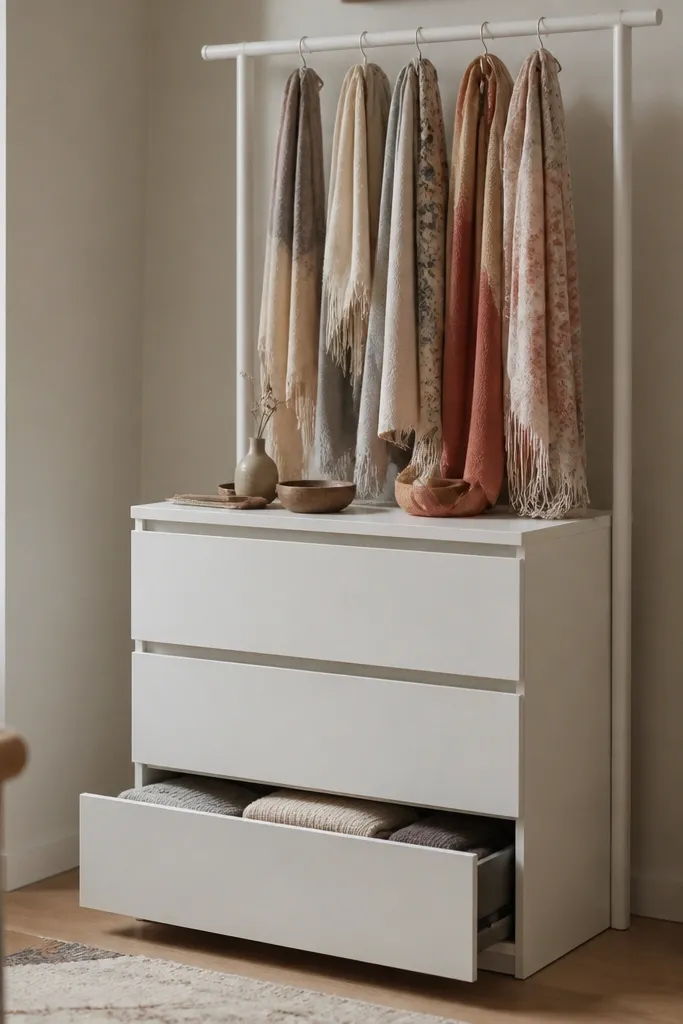
Sand the RAST lightly, wipe with tack cloth, then paint in warm white with a satin finish. Mount a single closet bar centered on top using brackets fixed into the wood. Keep drawer pulls small and consistent so the hardware doesn’t look bulky.
A dresser hack gives you a “furniture piece” feel inside a closet. I like it for tiny apartments where you want one stylish storage block instead of a full system. The top closet bar makes scarves and light layers easy to grab, while the drawers hide everything you don’t want seen.
One warningDon’t skip a clear coat if you use satin paint; drawers show scuffs fast.
Quick tipMount the bar 42-44 inches from the floor for comfortable scarf access without reaching.
13. Seasonal wreath and hooks behind closet door
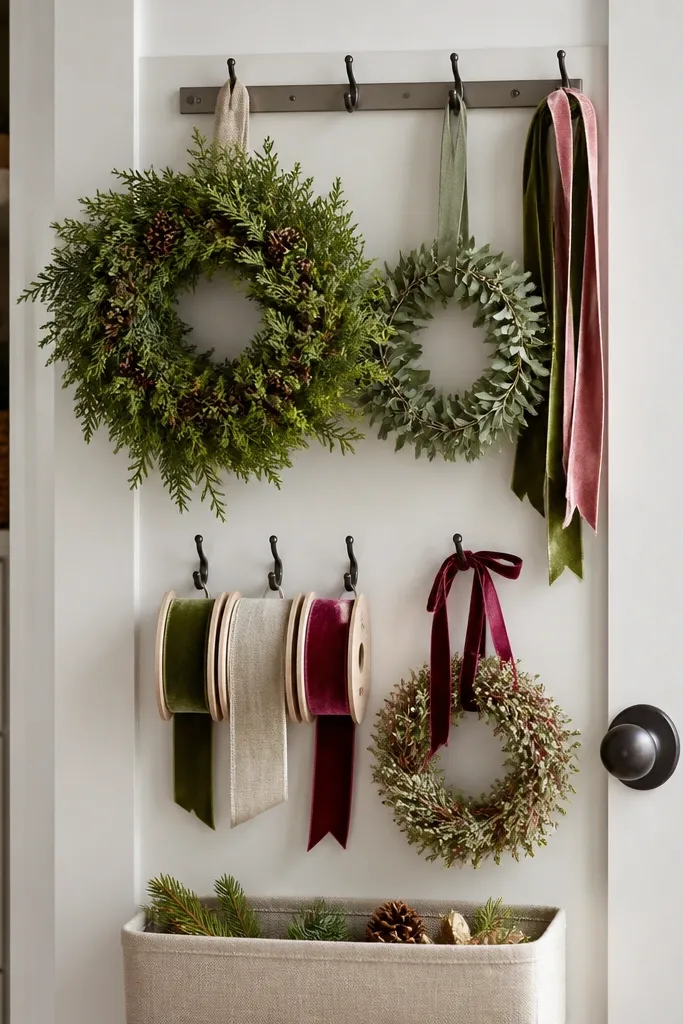
Screw small hooks into a backing board mounted to the door, then hang wreaths by their wire loop. Use a narrow bin at the bottom for ribbon ends and clips. For a neat look, keep ribbon rolls the same diameter by winding them around cardboard sleeves.
This is one of my favorite holiday closet ideas because it keeps seasonal decor from taking over the main closet. Put hooks on the back of the door for wreaths, garland loops, and ribbon rolls so they don’t tangle. The closet stays functional, and the seasonal items look “ready” instead of buried.
One warningAvoid installing hooks too low; wreaths scrape the floor and get dust in the center.
Quick tipAdd two small zip-tie straps to each garland so it hangs in a consistent loop shape.
14. Hanging organizer turned into a holiday wrapping station
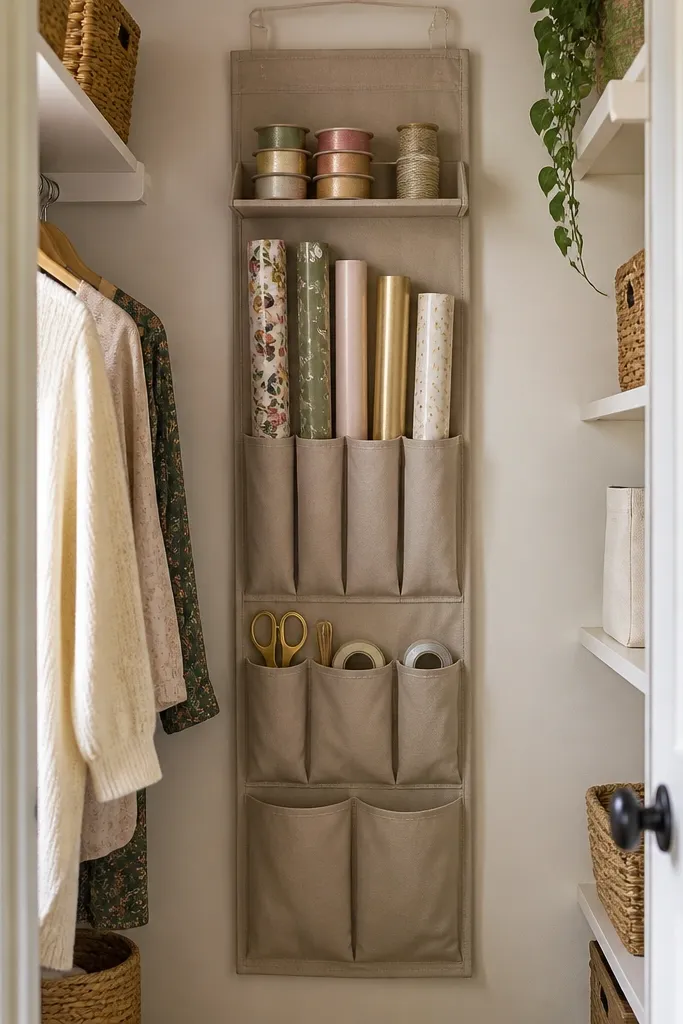
Wrapping supplies are the worst closet guests. This setup keeps paper rolls from unrolling and keeps tape from disappearing. I use a hanging organizer because it mounts vertically and keeps the supplies visible without taking floor space.
Mount the organizer to the inside closet wall with screws into studs or a frame. Store wrapping paper rolls in the deeper pockets and place tape and scissors in the smaller pockets. Add a top shelf for ribbon and tissue — keep it all in one color family so it looks tidy when you open the door.
Wrap the tape around a piece of cardboard so it peels cleanly and doesn’t stick to other items.
Don’t cram rolls into shallow pockets — the paper creases immediately.
15. IKEA wardrobe shelf liners in peel-and-stick marble look
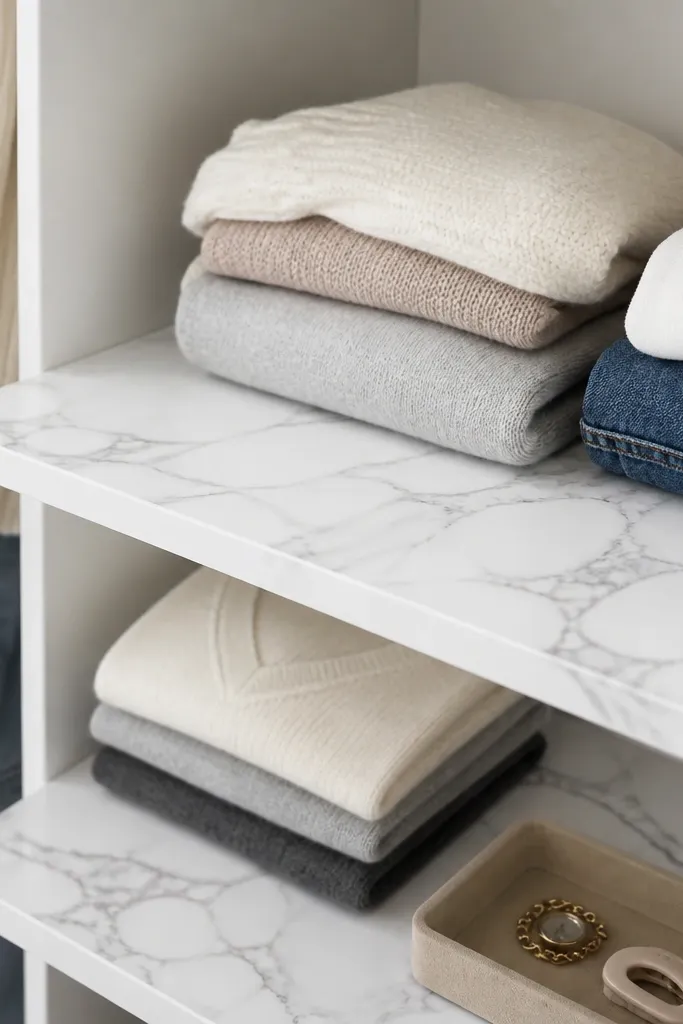
Measure shelf dimensions and cut liners with a sharp craft knife on a cutting mat. Smooth from center outward so you don’t trap bubbles. Use a thin felt pad under heavier trays to prevent scratching and noise when you slide items.
Shelf liners are the quickest way to make a closet feel finished. The marble look adds visual texture without adding clutter, and it hides minor scuffs on particleboard shelves. I pair this with simple white bins so the liner pattern shows through cleanly.
One warningAvoid heavy glossy liners if your closet has strong overhead lighting; glare looks cheap.
Quick tipCut the liner so it stops 1/4 inch before the shelf edges for a cleaner boundary.
16. IKEA closet rod with retractable ties for ties and belts
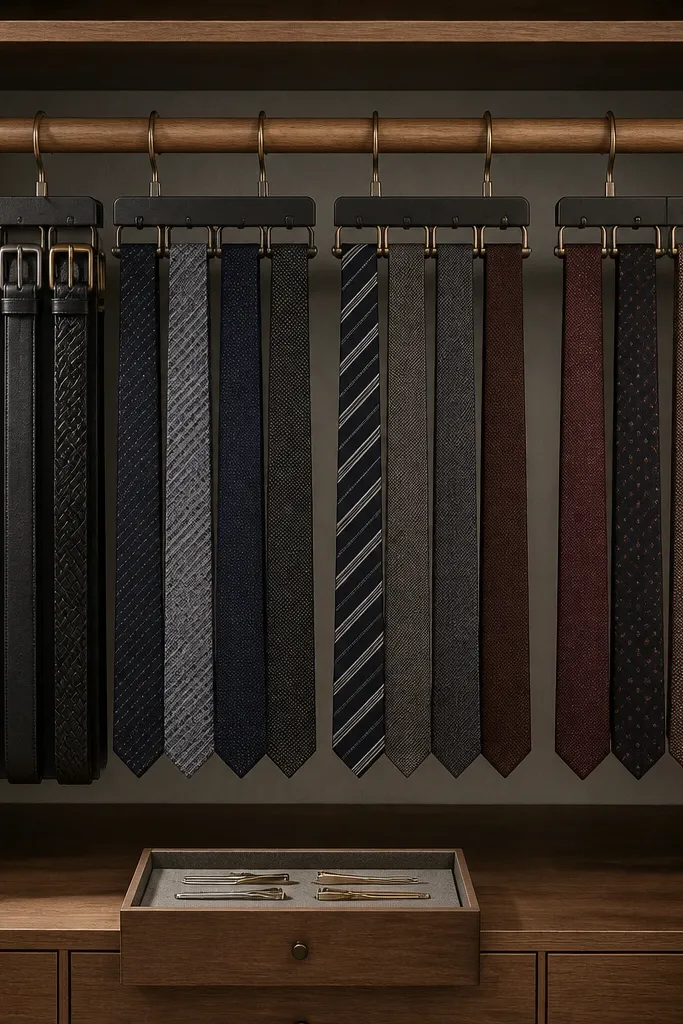
Mount the rod at about 40-42 inches high. Hang holders so there’s 1-2 inches between each item for airflow. Store tie clips in a slim drawer insert directly below so you never hunt for them.
If your ties and belts constantly tangle, this fixes the problem with a simple spacing system. I use a rod with hanging holders so each item has a dedicated spot. The closet looks organized because everything is aligned and visible from the doorway.
One warningAvoid overcrowding holders; when everything touches, it looks chaotic again.
Quick tipFold belts in half and hang by the buckle loop — it keeps them flat and prevents curling.
17. KALLAX + fabric door cover for a hidden laundry-to-closet swap
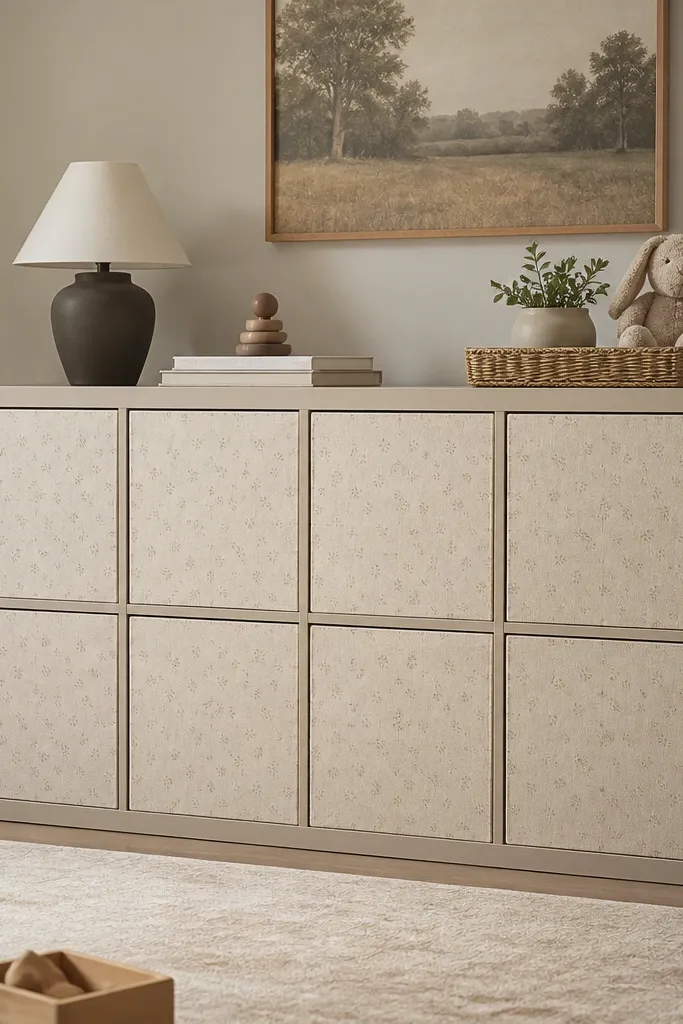
Add fabric panels sized to cover each cube front. Use Velcro strips along the frame edges so the panels remove easily for washing. Inside, use matching bins and keep the hamper bin in the bottom left cube so you always spot it.
This is how you hide laundry clutter inside a closet without losing storage capacity. Fabric front panels soften the square shelf look and keep the closet from looking like a garage. I use it for hamper overflow, towels, and “laundry day” staging items.
One warningAvoid stretchy knit fabric that sags; it makes the whole unit look worn.
Quick tipUse light gray fabric — it hides stains better than white but still looks clean.
18. IKEA sliding drawer organizers for jewelry and small holiday accessories
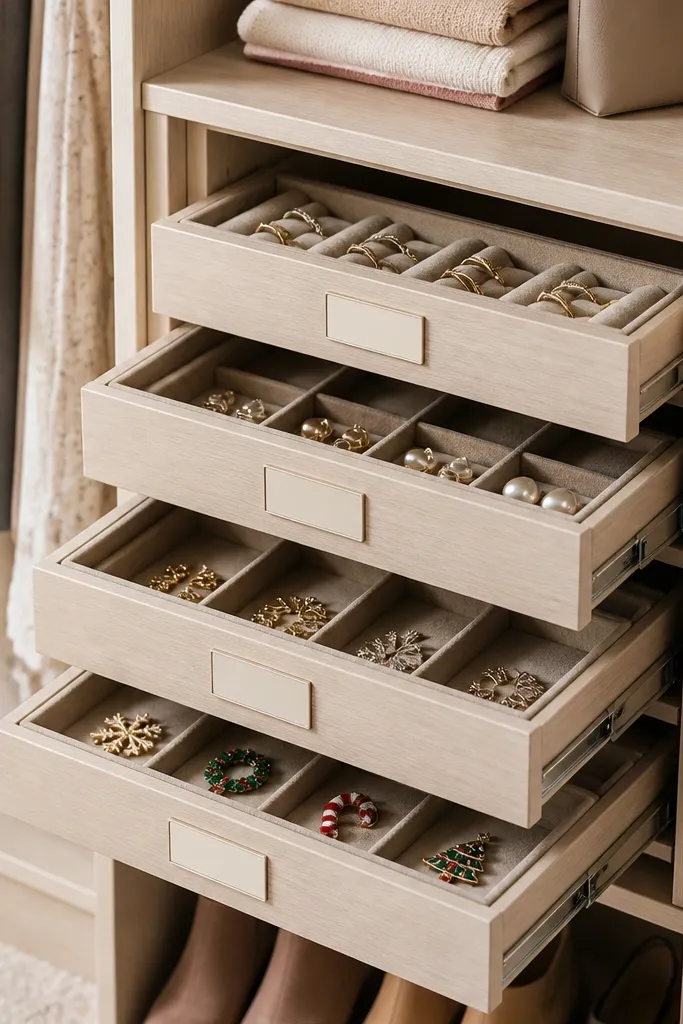
Add a shallow drawer unit inside the closet at waist height. Use small compartment inserts so pieces don’t migrate. Label with a consistent system: one color for jewelry, one for holiday accessories.
Small items make closets look messy fast. Sliding organizers let you keep jewelry, hair clips, and holiday brooches in separate sections so you don’t dump a pile into one bin. I like the drawer look because it reads neat even when you’re in a hurry.
One warningSkip open jars for jewelry in a closet — they collect dust and look messy quickly.
Quick tipPut the holiday items in the same drawer from year to year so you don’t rebuild the system annually.
19. IKEA mirrored tray shelf for perfume and holiday candles
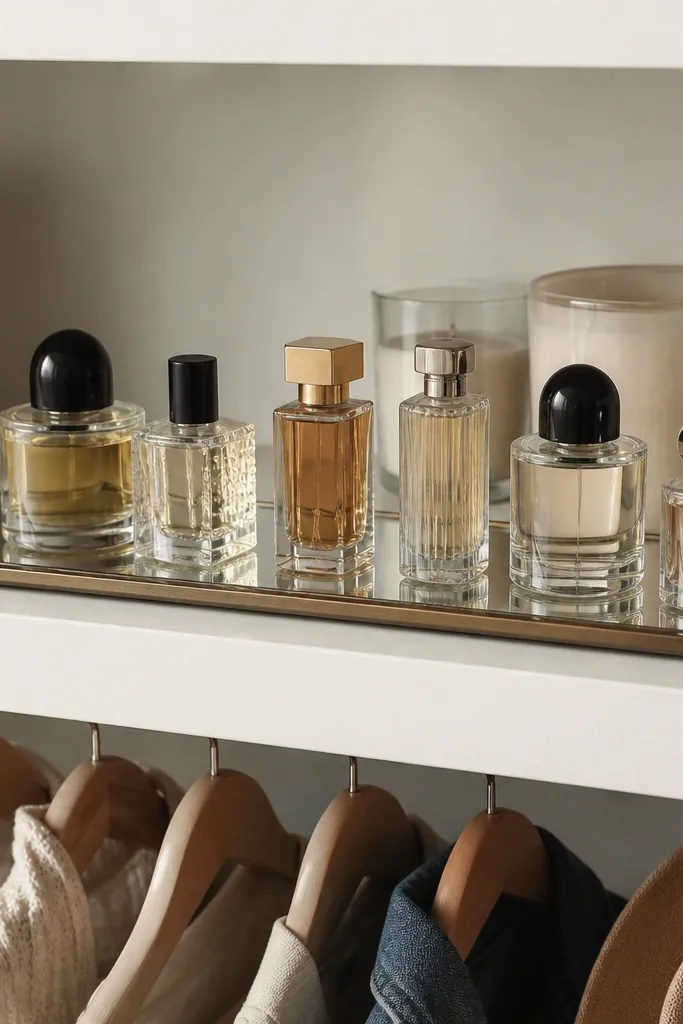
Mount a slim shelf or use a narrow LACK on the side wall. Place a mirrored tray on top and keep items aligned along the back edge. Add a small fabric runner under the tray so the mirrored surface doesn’t scratch and so the shelf looks softer.
This setup makes a closet feel like a dressing area. The mirrored tray reflects light from the closet LEDs, so the items look sharper and more intentional. I keep it to a few bottles and two candles so it stays airy instead of crowded.
One warningDon’t spread items across the whole shelf; the empty space makes the arrangement look accidental.
Quick tipGroup items by height: tallest in the back, shortest in front, so it reads clean from the doorway.
20. IKEA wardrobe with color-coded bin labels for holiday sets
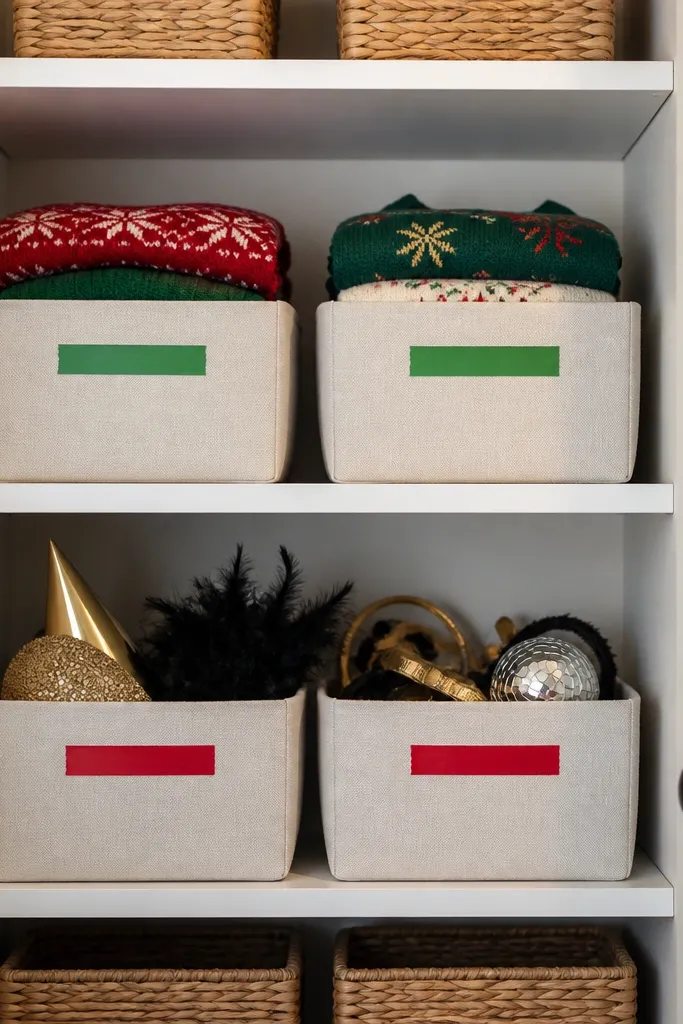
Use the same label font style and place labels at the front center of every bin. Keep the bin placement consistent: holiday items always in the same two shelves. If you use clear bins, choose fabric liners so the label area stays clean.
Labels are the aesthetic when you repeat the system. I use colored tape labels so the bins look coordinated even when the contents change. This is especially good for seasonal outfits: you open the closet and you instantly see what goes together.
One warningAvoid handwriting that changes size every line; it looks like a last-minute fix.
Quick tipWrite labels in the same order every time: item type first, then color or event, like “Holiday — Black” so you can scan quickly.