1. Gold-Edged Photo Table Number Frames
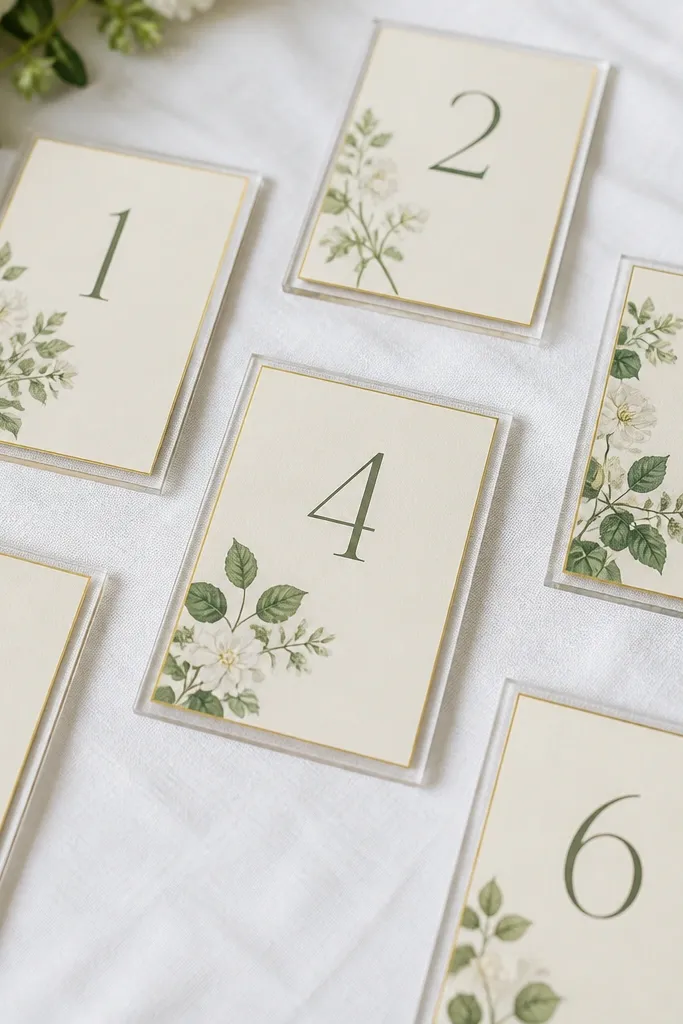
This is the quickest way to make table numbers look styled instead of taped-on. You print or write numbers on ivory cardstock, then add a precise gold border with a paint pen so the light catches it in photos. The acrylic edge gives a “frame” look without buying real frames.
Cut cardstock to 5 x 7 inches. Write numbers in thick black (posca paint pen or a gel pen) and leave a 1/2 inch margin. Spray the final gold border lightly with clear acrylic sealer so it doesn’t smear when guests brush past.
Use a metal ruler and tape to guide the gold line. Pull the tape off right after painting so the border stays crisp.
Don’t freehand the gold border — wobbly edges scream cheap.
2. Thrifted Glass Bud Vase Cluster With Paper Labels
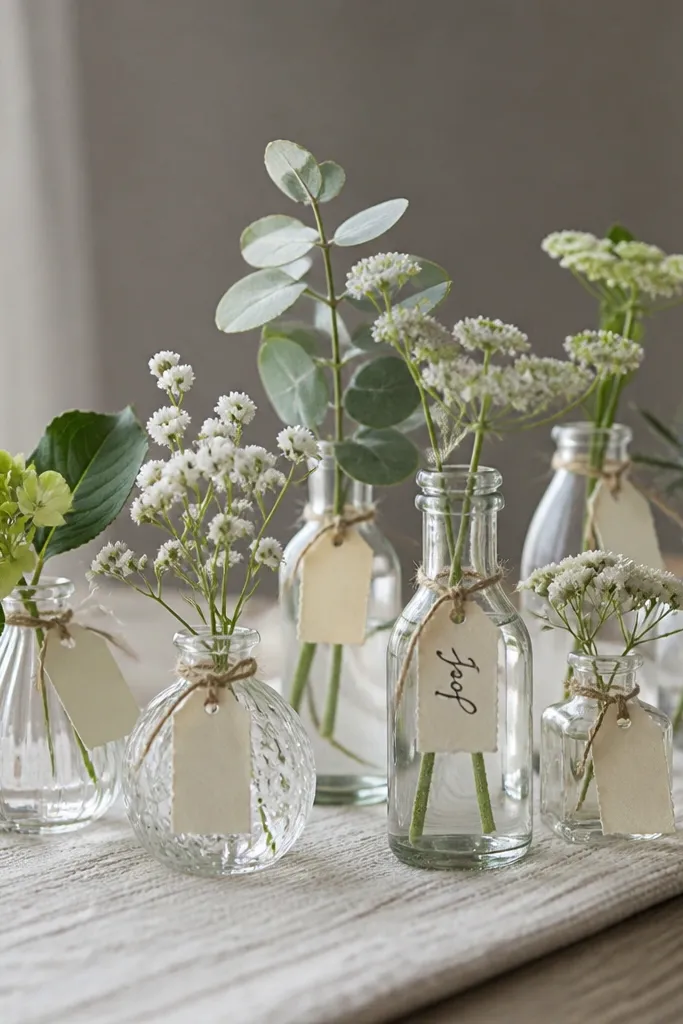
Mismatched vases look intentional when you repeat one element: the label style. I use small paper labels tied to the neck so the cluster looks curated. Add a couple sprigs of eucalyptus or baby’s breath for a soft, photo-friendly texture.
Collect 6-10 mini vases from thrift stores. Tie labels with 8-10 inches of twine each, placing the knot under the lip. Use 1.5 x 3 inch labels so they read clearly without looking chunky.
Use the same font style for every label, even if you write by hand. Consistency matters more than fancy lettering.
Don’t choose labels in random sizes — uneven labels make the cluster look messy.
3. Ribbon-Loop Napkin Rings From Scrap Satin
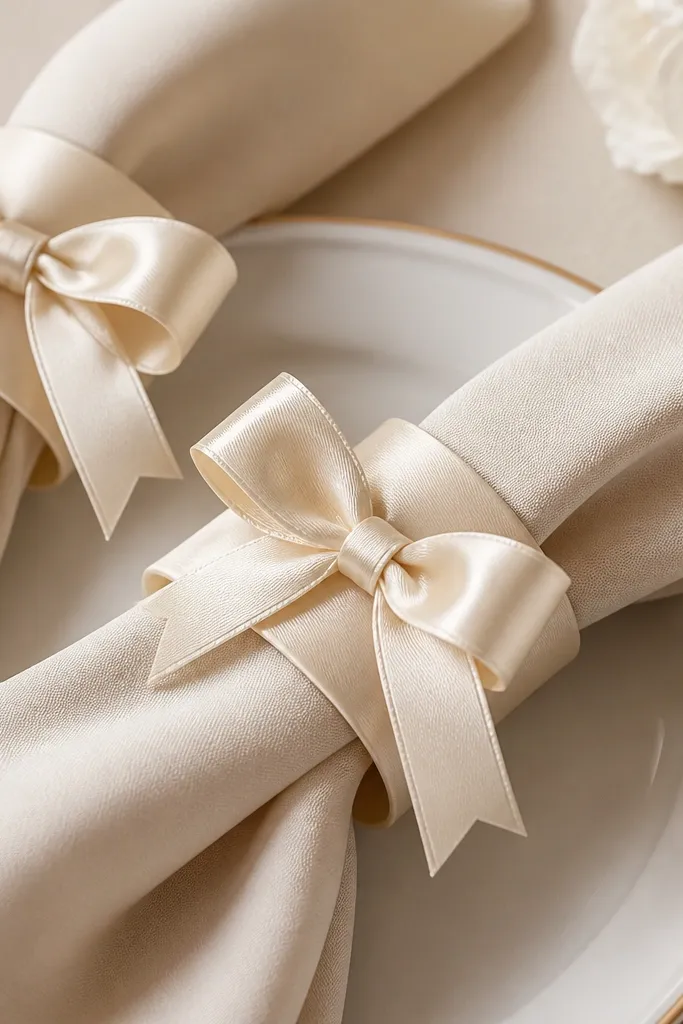
Cut ribbon strips 2.5 inches wide by 10 inches long (or adjust for your napkin thickness). Loop and overlap the ends by 1 inch, then tack with a dot of hot glue on the inside. Seal edges by briefly passing the end over a flame so it melts clean.
Napkin rings are one of those details people notice because they touch them. Scrap satin looks luxe when the bow is tight and the ends are sealed so they don’t fray. Keep them uniform and your tables look coordinated fast.
One warningDon’t skip melting the ribbon ends — frayed edges look unfinished.
Quick tipMake a simple jig out of cardboard to wrap the ribbon at the same tightness every time.
4. Pressed Flower Place Cards in Clear Envelopes
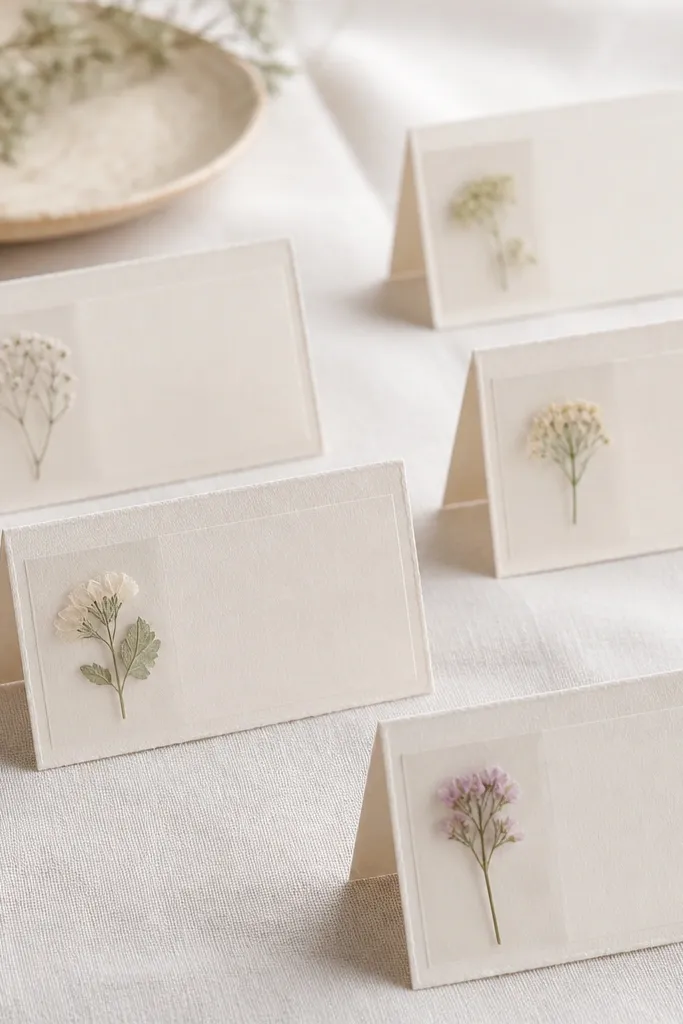
This one reads “thoughtful” without costing much. Pressed flowers give texture and a delicate look that stands out against matte cardstock. Clear pockets protect the flowers from spills and makes the cards feel sturdy.
Press flowers for 5-10 days between paper. Cut place cards to 3.5 x 5 inches. Glue a clear plastic sleeve pocket behind the name card using double-sided tape along the edges.
Write names after you assemble the pocket so you can keep the ink from bleeding near the flower.
Don’t use wet flowers or you’ll get browning spots and weak adhesion.
5. Mini Fabric Banner Pennants for Cake Table
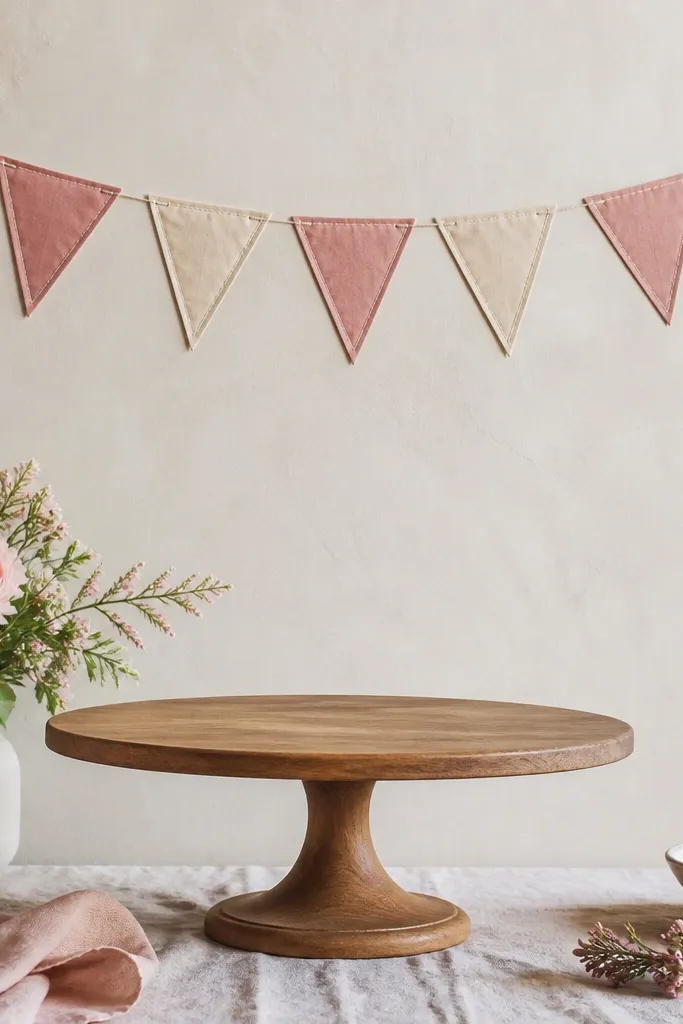
Cut triangles 5.5 x 7.5 inches, then fold and stitch or glue-fold the edges. Use a cotton twill tape or thin ribbon as the string. Space triangles 2 inches apart so the banner doesn’t bunch.
Fabric pennants look soft in photos, and you can make them from pillowcases or scrap yardage. The stitched edge is the difference between “craft” and “wedding.” Hang them above the cake or dessert table so guests see the handmade detail.
One warningDon’t hang it too low — pennants that hit table clutter look accidental.
Quick tipIron your triangles first. Crisp folds make the whole banner look cleaner than any fancy embellishment.
6. Paper Fan Backdrop for the Photo Corner
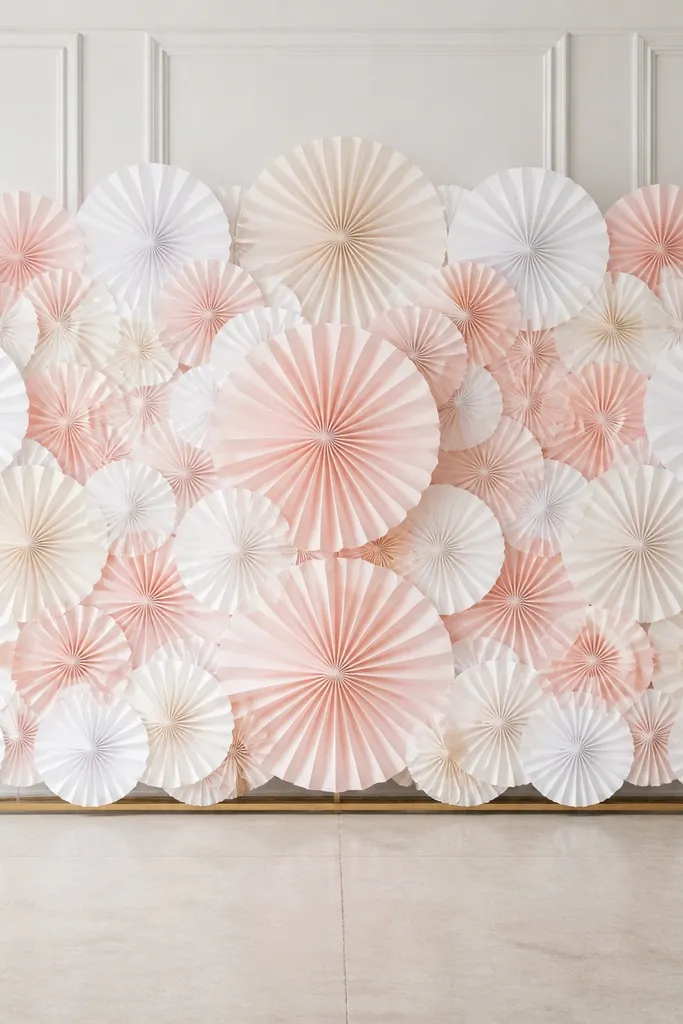
Use fan sheets 12 x 12 inches and accordion-fold them to 1/2 inch pleats. Glue the fan base to a backing strip of foam board or poster board. Mount from the center outward, starting with larger fans at eye level.
Paper fans create instant depth in photos, and you can scale them to your space. I like white plus blush because it reads bright and romantic without looking like a party store. The key is that fans overlap and form a gradient, so the backdrop doesn’t look flat.
One warningDon’t use flimsy paper — it collapses and the fan shape disappears.
Quick tipAdd two strips of double-sided mounting tape on the back of each fan base so they don’t sag after setup.
7. Seasonal Fruit Garland in a Square Hoop
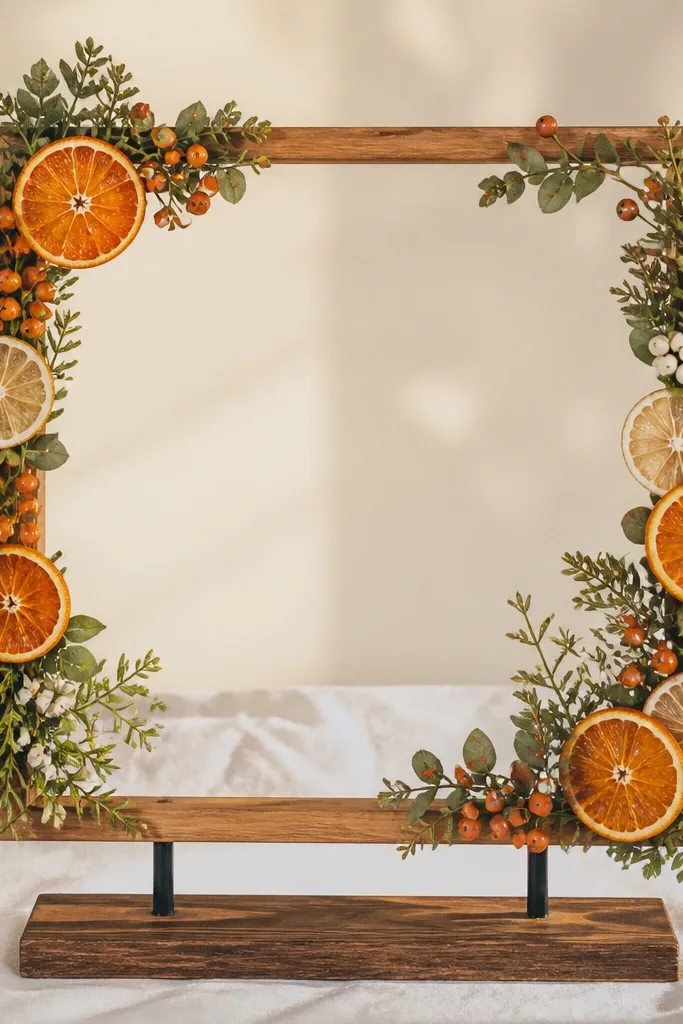
Wrap the hoop with florist tape, then tuck faux greenery behind it. Hot glue faux citrus slices and berries in clusters, not evenly spaced. Add a small bow at the bottom corner to anchor the composition.
A fruit-and-greenery look reads like “seasonal” even when you’re DIYing. I make it with faux citrus and berry picks so it lasts all day. The hoop shape keeps it centered and photo-friendly.
One warningDon’t pack everything flat — leave small gaps so the fruit texture shows.
Quick tipKeep the densest cluster at the top third so the arrangement looks balanced from standing height.
8. Painted Mason Jar Candle Holders With Lace Tape
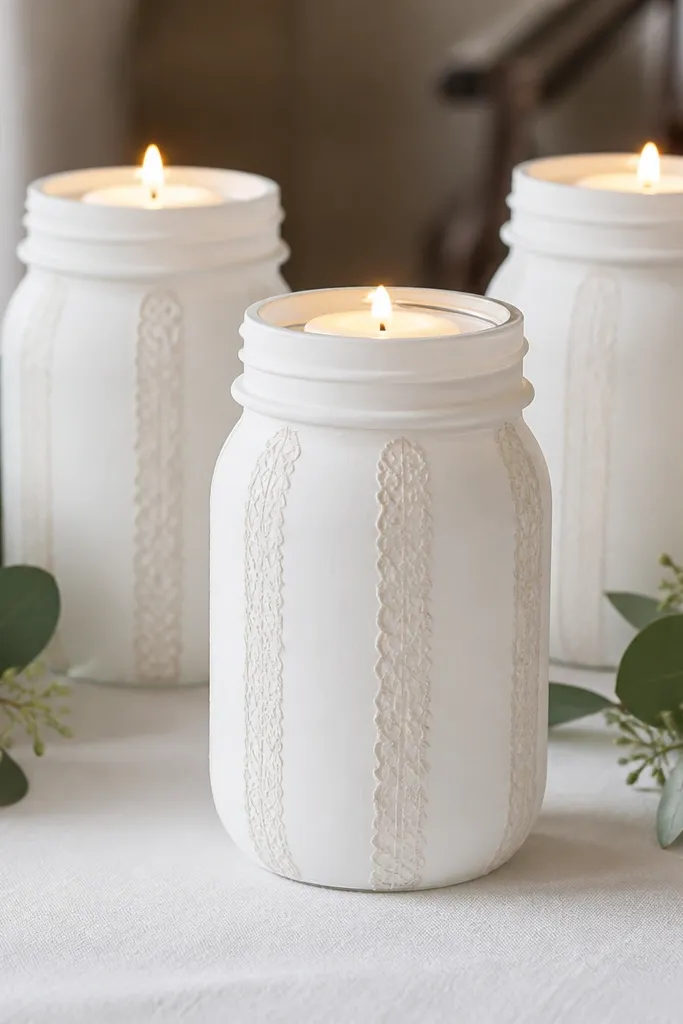
Clean jars, then apply matte white spray paint in two light coats. Add lace tape strips vertically using craft glue, then press firmly. Use LED candles if you want zero fire risk; the glow still looks right through the matte paint.
These jars look cozy and expensive because the pattern is controlled. Matte white paint hides fingerprints, and lace tape gives a clean “trim” effect without hand sewing. Place them on the aisle edge or head table for warm candlelight in photos.
One warningDon’t use glossy paint — it reflects harsh light and makes the jars look plasticky.
Quick tipLet paint cure for 2-3 hours before handling so it doesn’t scuff.
9. Coffee Filter Confetti Escort Cards
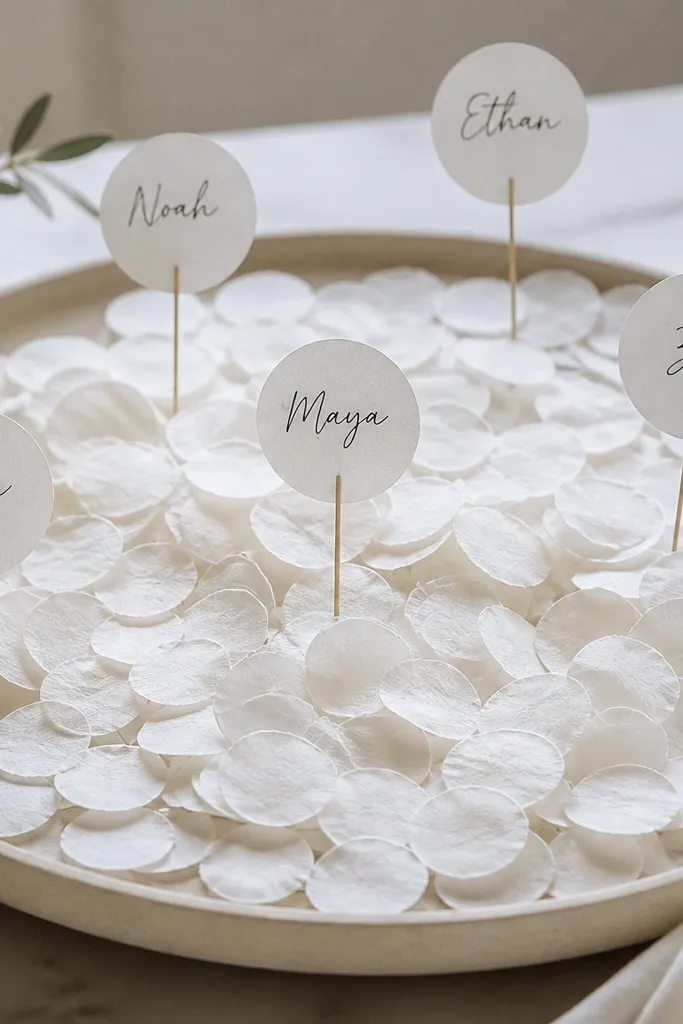
Coffee filters make lightweight escort cards that feel whimsical without being flimsy. You can write names on the filter and attach them to a thin wood stick, then place them in a simple grid or vase. The soft texture makes the set look intentional in outdoor light.
Cut coffee filters into circles about 3 inches wide. Write names with a fine-tip black marker. Attach circles to 6-inch wooden skewers with a small dot of hot glue, then arrange in a tall box filled with floral foam or stones.
Use a matte marker, not a gel pen, so the ink doesn’t smear on the filter.
Don’t stack them wet — damp filters crumple and ruin the clean look.
10. Upcycled Book Page Table Runner
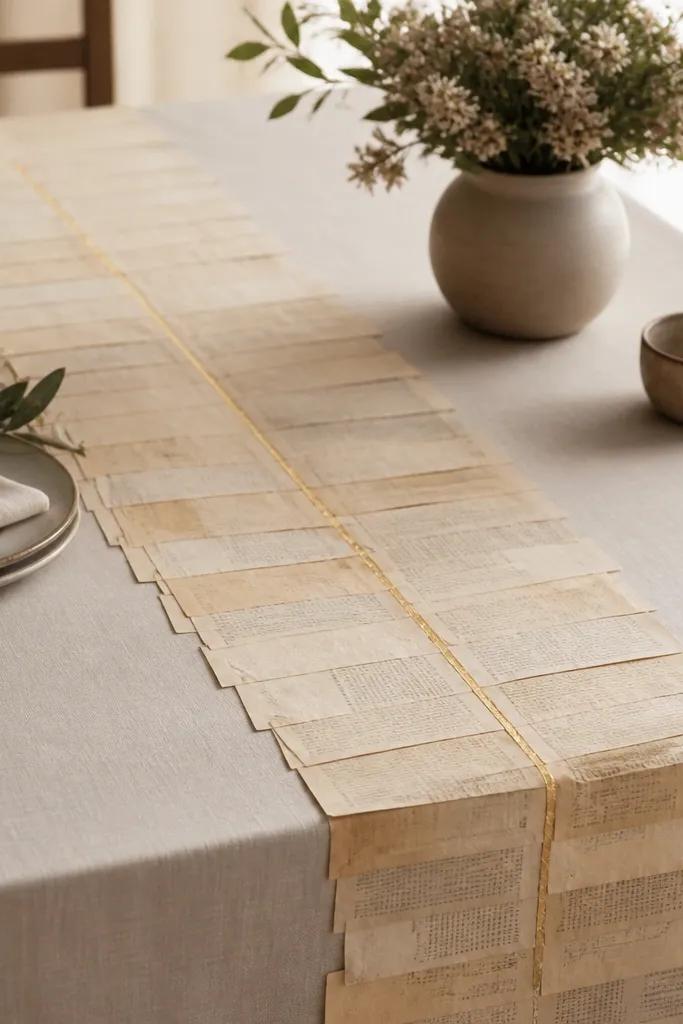
If you want a vintage vibe without buying fabric, book pages do the job. The trick is sealing them so they don’t tear when people lean on the table. Add one simple gold line to tie it to your other gold accents.
Tear book pages into 12-15 inch strips. Overlap strips by 1 inch and glue lightly to a backing sheet of thin craft paper. Seal with a matte Mod Podge layer brushed over the top; it dries without looking shiny.
Trim the runner edges after sealing so any warped paper gets corrected.
Don’t leave edges raw — they fray and look cheap fast.
11. No-Sew Tulle Arch Chair Sashes
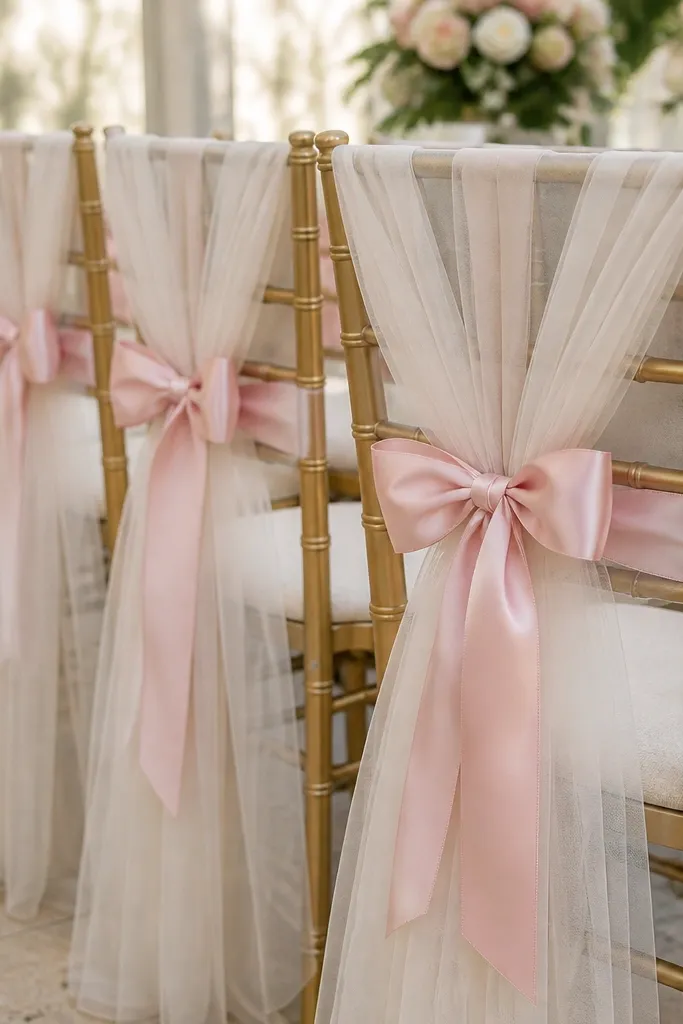
Cut tulle strips 18 x 3 inches for each sash. Tie 6-8 strips onto the chair back with a ribbon wrap around the center. Finish with a satin bow on top and trim ends at an angle for a neat look.
Chair sashes are visible from the aisle, so even a simple setup looks like effort. Tulle is forgiving and hides uneven tying. The satin ribbon bow gives structure so it doesn’t look like random tulle scraps.
One warningDon’t use too much tulle — if it’s longer than the chair back, it drags and looks sloppy.
Quick tipMake one sash, measure the knot position on the chair, then copy it for every chair.
12. Laser-Cut Look Wedding Monogram on Cardboard
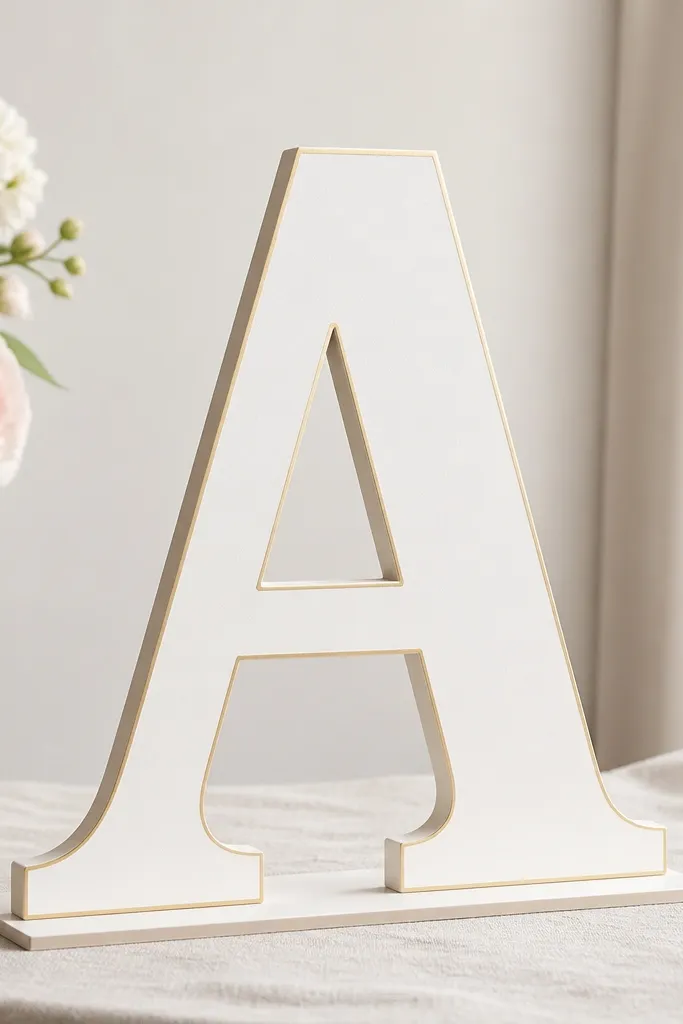
Trace a monogram onto 1/2 inch foam board or thick cardboard. Cut with a sharp craft knife and replace the blade often. Paint matte white, then use a gold paint pen to outline the inner and outer edges.
You can get the “laser-cut” look without a machine by using a stencil and careful cutting. Thick cardboard holds shape, and matte paint keeps it from looking glossy and cheap. Add a gold outline for definition from across the room.
One warningDon’t rush blade replacements — dull blades leave ragged edges.
Quick tipSand the edges once with fine-grit sandpaper so the cut line looks smooth in photos.
13. Budget Acrylic Welcome Sign With Print-Then-Glue Method
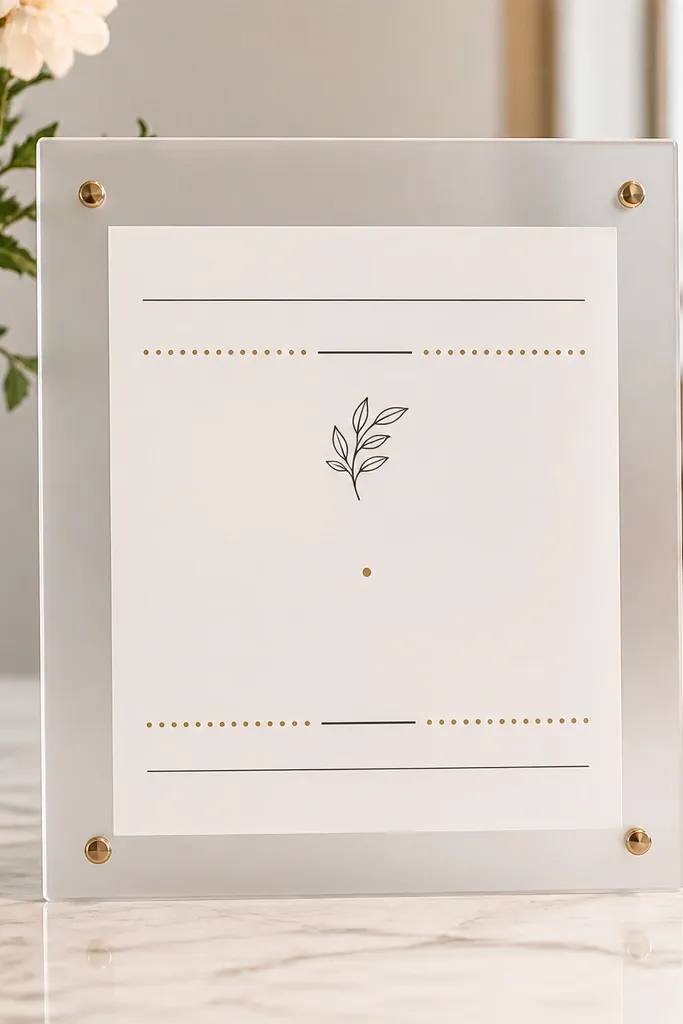
Use a clear acrylic sheet (or a clear plastic panel) and cut to 8 x 12 inches. Print your message on white paper, then glue it to the back with small dots of clear adhesive. Add gold dot accents using a paint pen around the bottom border.
You get the clean acrylic sign look without paying for custom acrylic printing. The trick is using white paper behind the acrylic so the text reads bright. Add a simple gold dot line to keep it from looking flat.
One warningDon’t use thin paper behind clear acrylic — it shows wrinkles and looks messy.
Quick tipUse a backing paper that’s slightly larger than the acrylic so edges don’t show.
14. Fabric Scrap Ribbon Coasters for Centerpieces
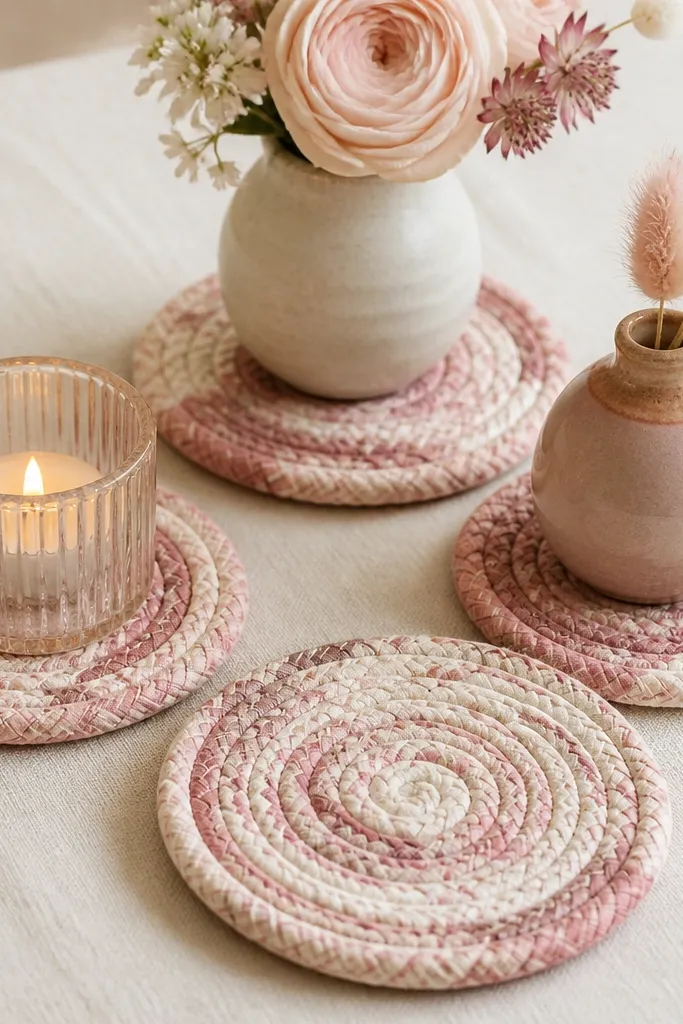
Coasters sound boring until you put candles and vases down. These stop water rings and make the table surface look intentional. The spiral top looks handmade but still organized if you keep the fabric colors within a narrow palette.
Cut fabric circles 5-6 inches wide and stack 6-10 layers. Stitch or glue the center, then fold pleats around the center using fabric glue. Finish with a felt backing circle so it sits flat on linen.
Iron each fabric strip flat before folding. Wrinkled fabric shows in close-up photos.
Don’t mix bright neon scraps — they fight the wedding color scheme.
15. Hand-Painted Tablecloth Runner Using Stencil Dots
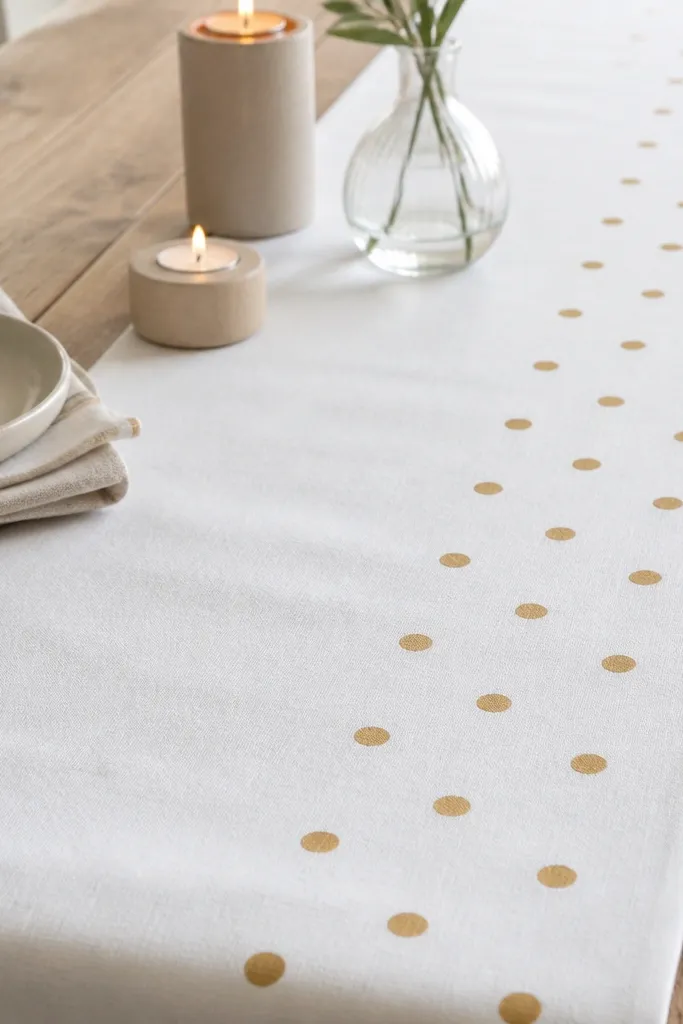
Instead of buying a printed runner, paint one yourself. Stencil dots look modern and clean, and gold matches a lot of budgets because you only need a tiny amount of paint. It also hides minor stains compared to a perfectly white cloth.
Use a washable cotton table runner or plain cotton fabric cut to 14 x 72 inches. Tape a stencil strip along the edge and dab gold craft paint with a foam brush. Let dry, then heat set if your fabric care allows it.
Test the dot size on scrap fabric so your spacing and paint thickness match the runner.
Don’t brush over the stencil — it smears and blurs the dot edges.
16. Thrift-Store Frame With Fabric Photo Clips
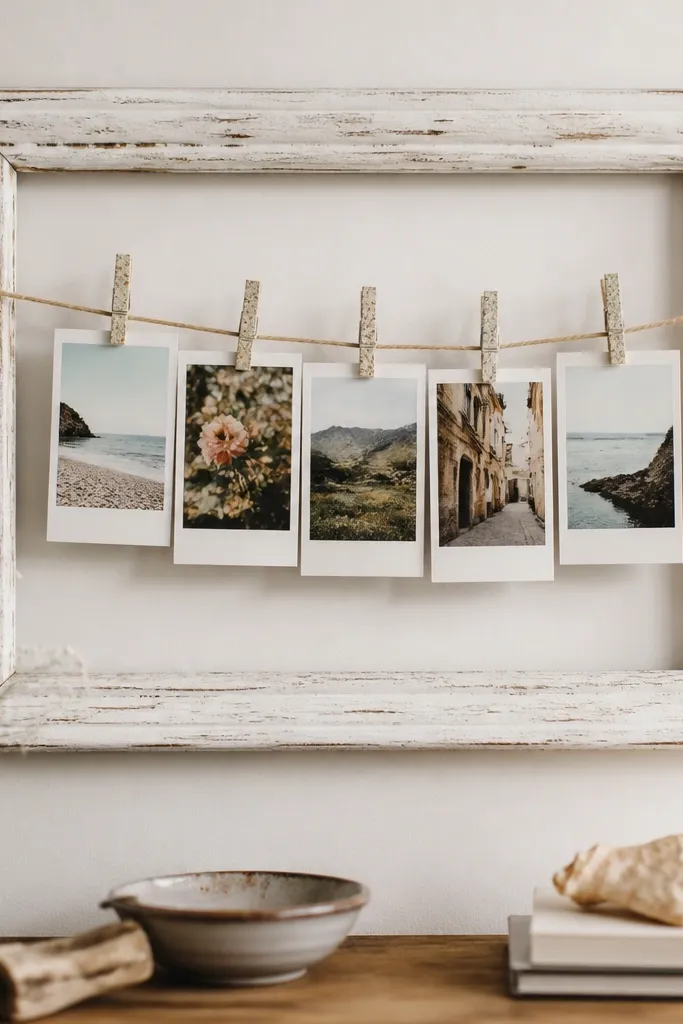
Paint the thrift frame matte white or soft cream. Attach twine across the inside with small hooks or staples. Add 10-20 clothespins in matching color, then clip photos in a neat grid.
This is a guest-friendly photo display that doesn’t require expensive supplies. The frame gives structure, and clothespins add that casual, warm feel. Use a fabric background so it looks soft instead of cluttered.
One warningDon’t hang photos too close together — overlapping creates a busy look.
Quick tipUse binder clips temporarily while you set spacing; remove once everything looks even.
17. Macramé-Style Twine Rings for Napkins and Glasses
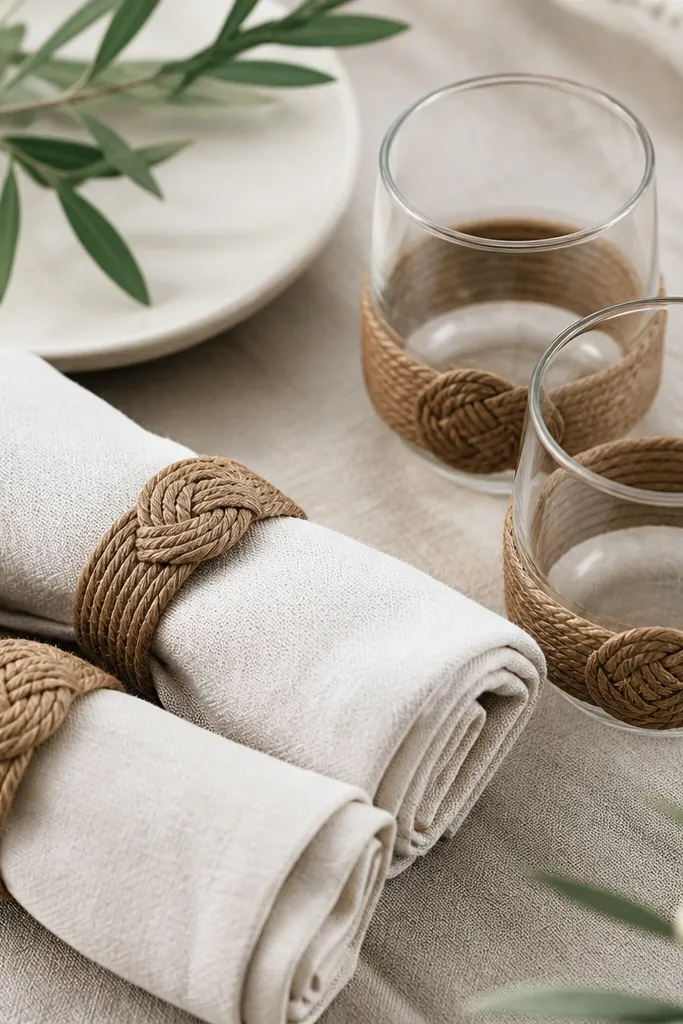
Cut 12 strands of twine about 18 inches long and fold in half. Tie a simple gathering knot at the center, then braid or knot to form a ring thickness of about 1 inch. Finish by trimming ends and sealing with a tiny dot of glue.
You can fake macramé texture with basic twine and a repeatable knot. The warm tan color looks great with kraft paper invitations and neutral florals. Use them as napkin ties or wrap the ring around glass stems for a rustic photo detail.
One warningDon’t use thick, fuzzy twine — it looks uneven and hard to knot.
Quick tipMake one ring and use it as a size template for every other ring so they match.
18. Custom Favor Tags From Brown Kraft and Heat-Emboss Look
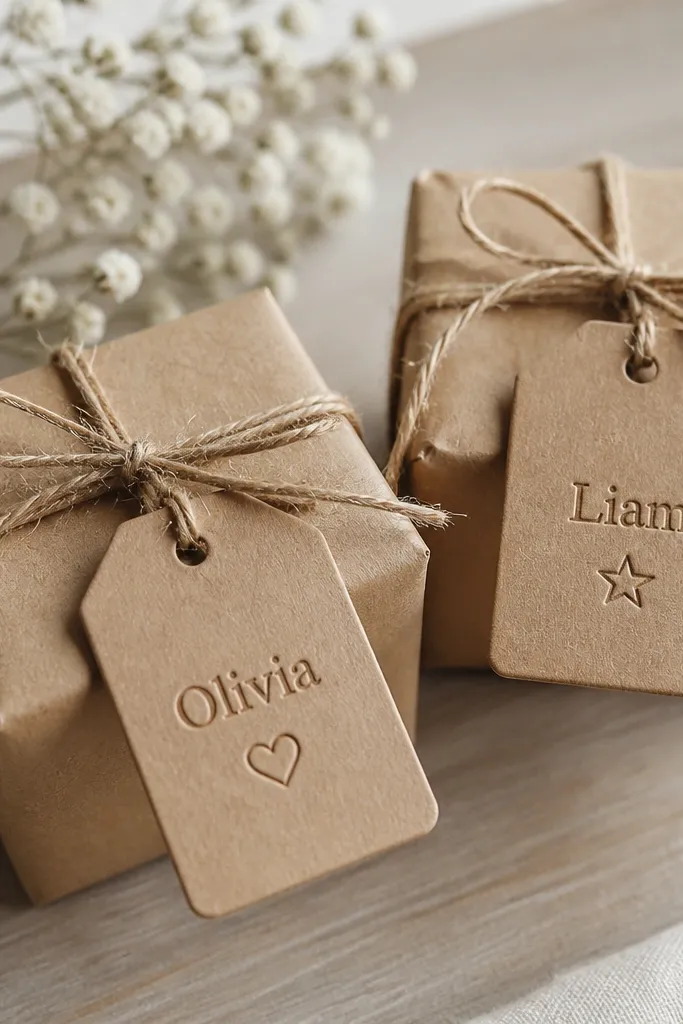
Cut tags 2 x 3.5 inches. Use a stencil and a brown ink pad slightly darker than the paper so it looks dimensional. Tie tags with 6 inches of twine through a punched hole on the top.
Kraft tags look high-end when the text looks “pressed.” You can get a heat-emboss look with a toner-style embossing technique or a darker ink and a stencil. The best part: tags cost pennies and tie the whole favor area together.
One warningDon’t use black ink on kraft — it looks harsh and less bridal.
Quick tipPunch holes before you do any ink so the fibers don’t tear during stamping.
19. Mini Floating Candle Centerpieces in Clear Trays
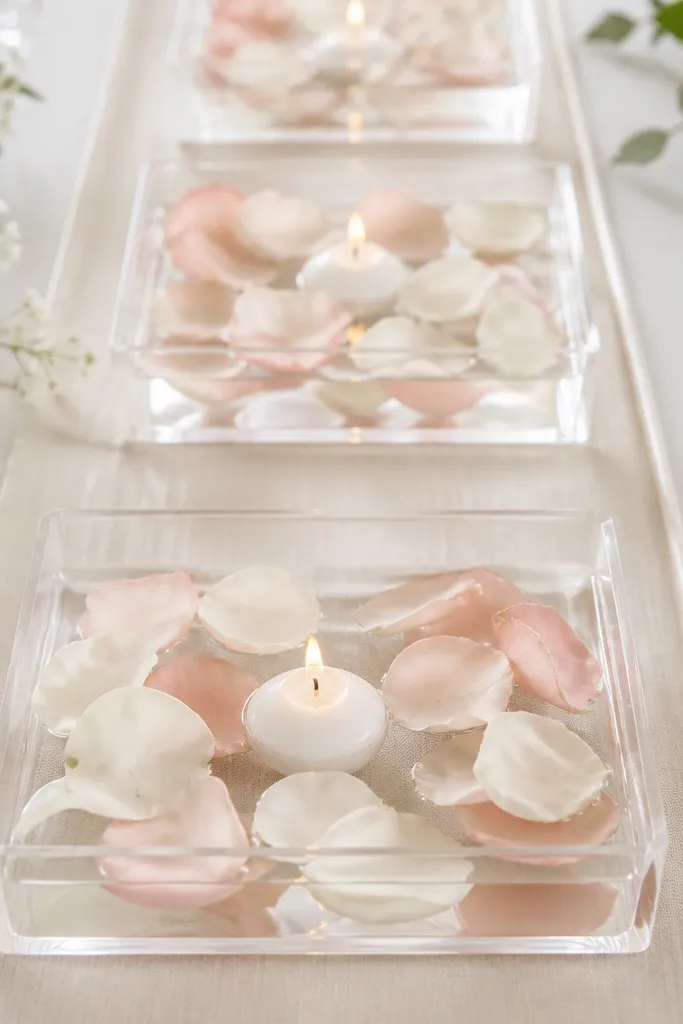
Use shallow clear trays about 10-12 inches wide. Fill with a thin layer of water, place LED candles, then scatter petals around the edges leaving a clear center. If you’re using real petals, dry them fully first.
Floating candles look magical and they’re cheap when you use LED. The clear tray keeps everything contained so cleanup is easy. Toss in a small handful of petals so it looks lush without buying a full centerpiece arrangement.
One warningDon’t overfill trays — water sloshes and makes the table look wet.
Quick tipAdd a small amount of clear glycerin to water if you want slower movement for photos.
20. Budget Candelabra From Mirror Trays and Candle Cups
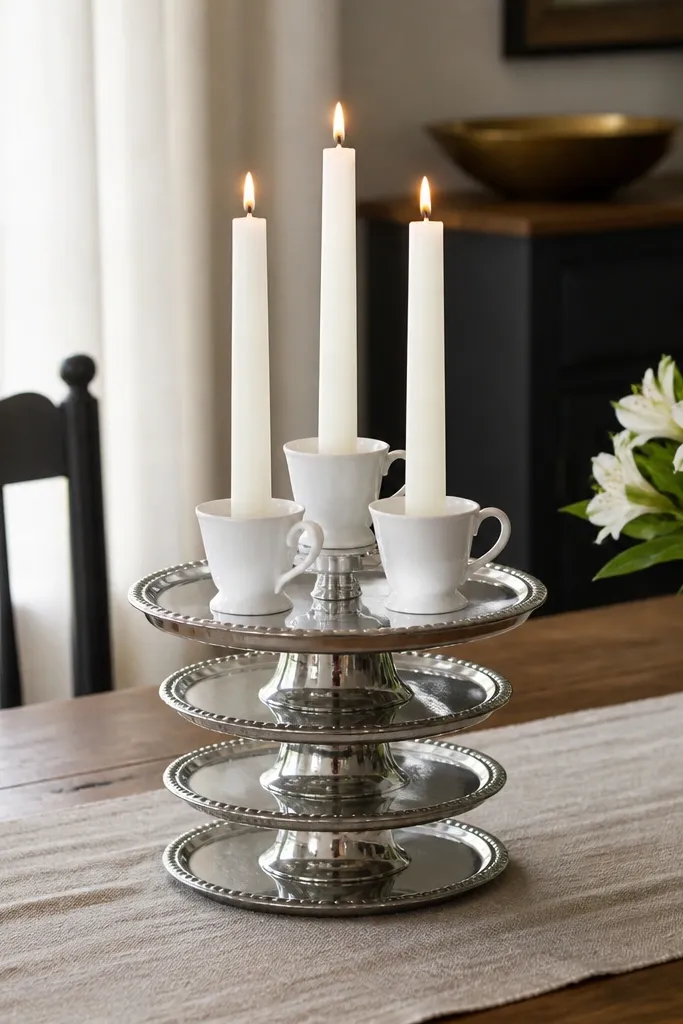
Find two small mirror trays and one larger base tray from a thrift store. Add candle cups using hot glue or heavy craft adhesive so they don’t slide. Space the cups evenly so the top doesn’t look lopsided.
If you want height without buying a real candelabra, stacking mirror trays does the trick. The reflections make it look more elaborate than it is. Use candle cups in matching white or ivory so the top reads cohesive in dim light.
One warningDon’t glue directly onto dusty reflective surfaces — it pops off mid-event.
Quick tipWrap the underside of candle bases with a thin felt strip to reduce wobble.