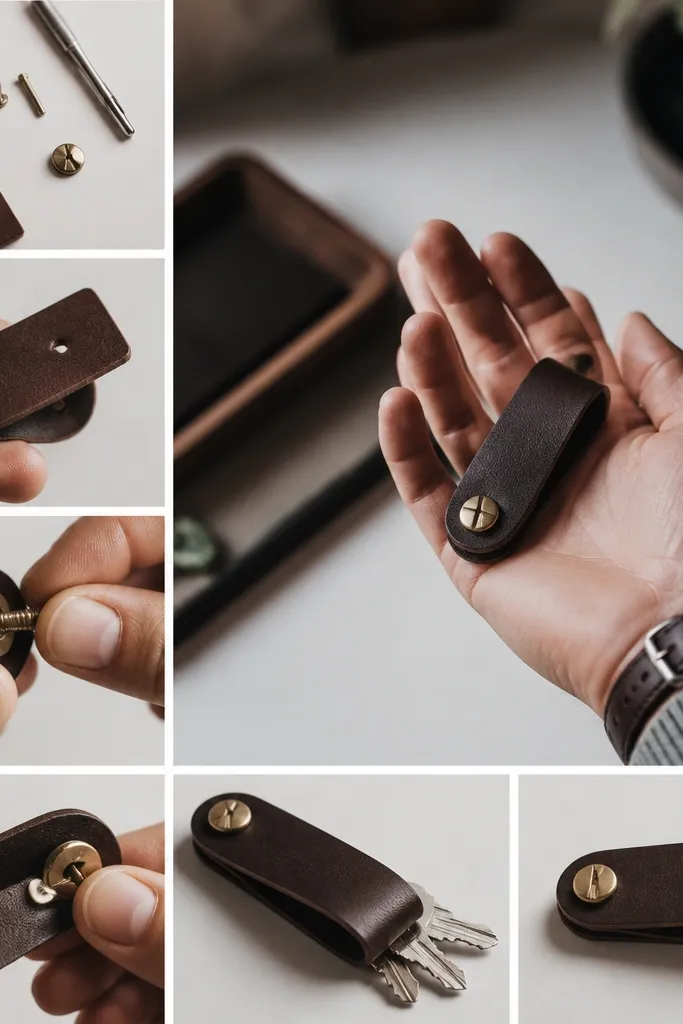
1. Faux Leather Key Fob With a Clean Contrast Stitch
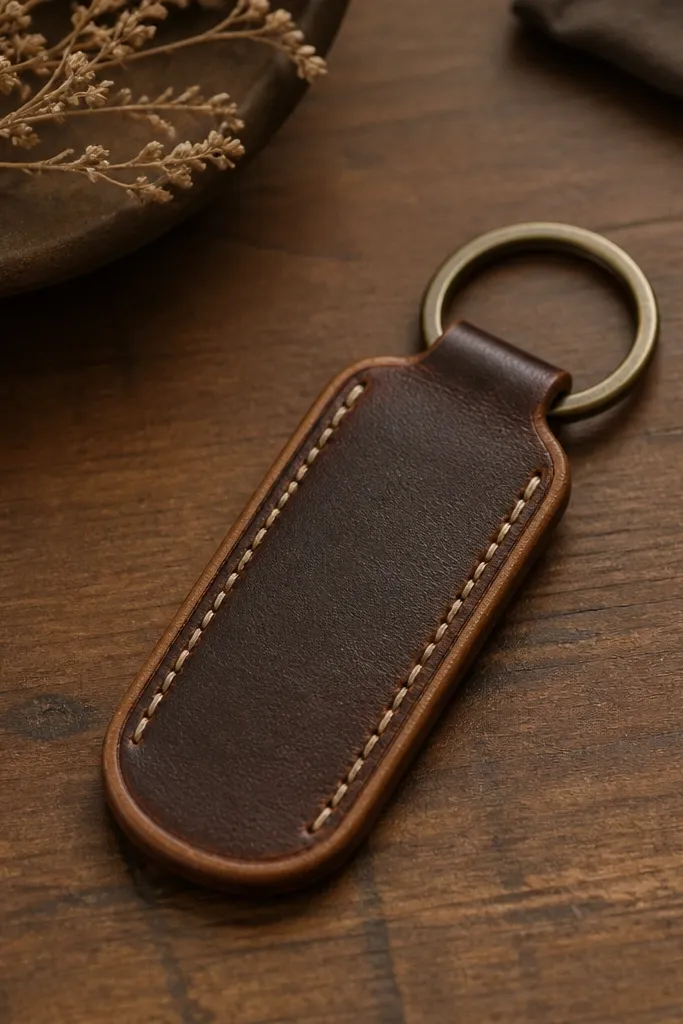
This looks store-bought because the shape is simple and the stitching is straight. Use one color for the body and a second color for the edge strip so the piece has a border frame. The key ring gives it instant “utility” energy, and the faux leather catches light without looking shiny like cheap vinyl. It’s also easy to personalize — you can add initials or a small stamped icon.
Cut a rectangle about 5.5 in by 2.5 in, then fold in half to create a 2.75 in wide fob. Add a 0.25 in wide tan strip along the front as the border. Punch two holes for the stitching near the sides, 0.2 in from the edge, then stitch with waxed thread or upholstery thread using a simple saddle stitch. Add a metal key ring through a small punched hole at the top.
Quick tipBurnish the edges with a scrap of leather and a little beeswax so it looks smoother than regular craft cuts.
One warningAvoid using thin paper-like “leatherette” — it wrinkles and makes the stitching look uneven.
2. Wood Slice Coaster Set With a Map-Style Line Drawing
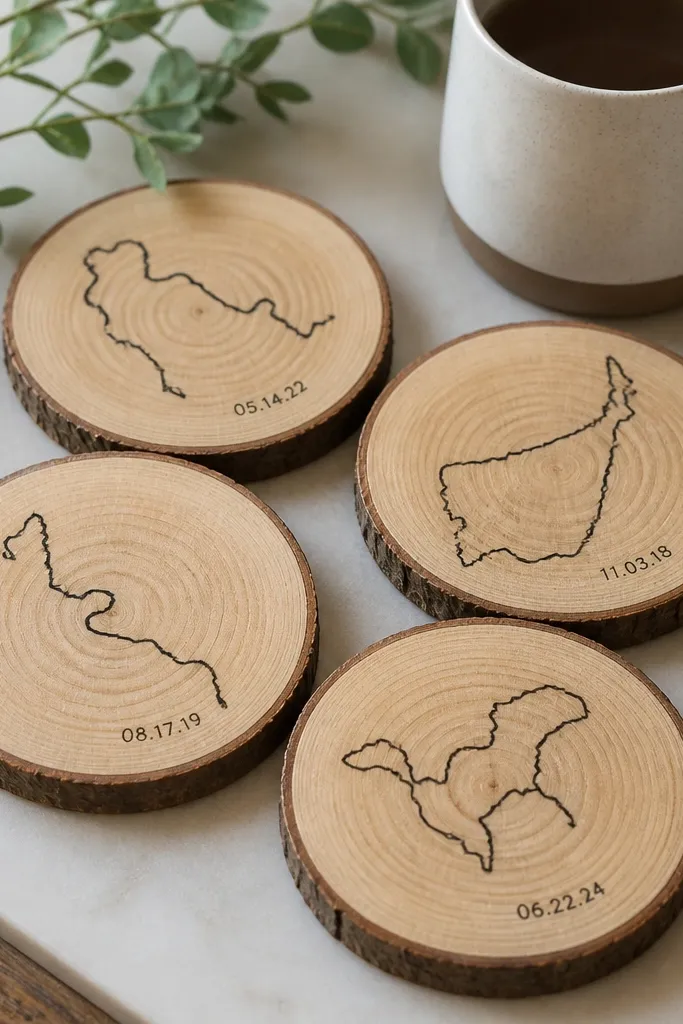
Coasters are one of the fastest ways to make a gift feel practical and thoughtful. The wood grain reads warm and real, and the black line drawing looks designed instead of “handmade mess.” Keep the drawing minimal: one route line plus a tiny label. Sealing matters here because unsealed wood soaks up water and turns the gift into a stain magnet.
Use 4 wood slices around 4 in diameter with flat faces. Sand lightly with 220 grit, then wipe clean. Transfer a route-style drawing using carbon paper or a printed stencil, then paint with black acrylic or ink. Seal with 2-3 coats of matte clear acrylic spray, letting each coat dry fully.
Quick tipWrite the location name or date in 6-8 mm block letters so it stays readable without looking like scribbles.
One warningSkip glossy sealant — it makes the wood look plasticky and can glare in photos.
3. No-Sew T-Shirt Heart Patch for His Favorite Tee
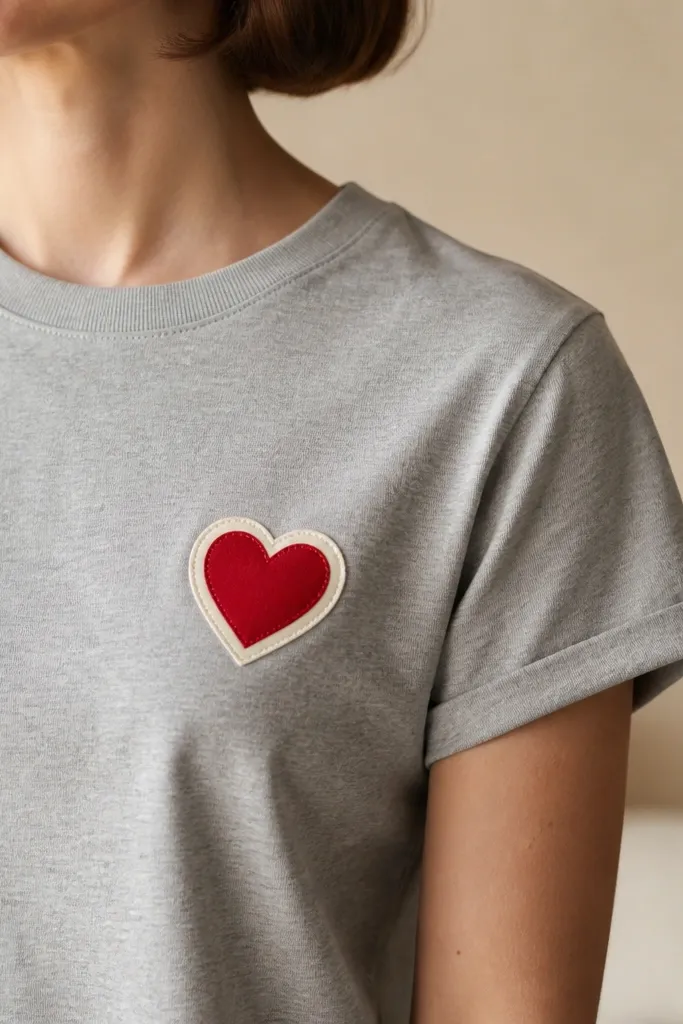
This gift works because it changes something he already owns. The heart patch looks cute and personal, and it’s low-cost if you use leftover fabric or thrifted textiles. I like using a heat-activated adhesive sheet so you don’t need hand sewing. The result looks clean and wearable, not like a random fabric scrap.
Cut a heart about 3.5 in tall from a cotton print or solid fabric. Iron-press it to the shirt with a heat-activated fusible web (follow package temps). Then add a border by painting a thin outline with fabric paint or using a fabric marker, keeping the line 2-3 mm thick. Let it cure per the paint instructions, usually 24 hours.
Quick tipChoose fabric that matches his shirt undertone — warm reds look better on heather gray than neon pink.
One warningDon’t place the patch where the shirt wrinkles in wear — the heart will look warped after washing.
4. Desk Cable Organizer in Cork With a Monogram Label
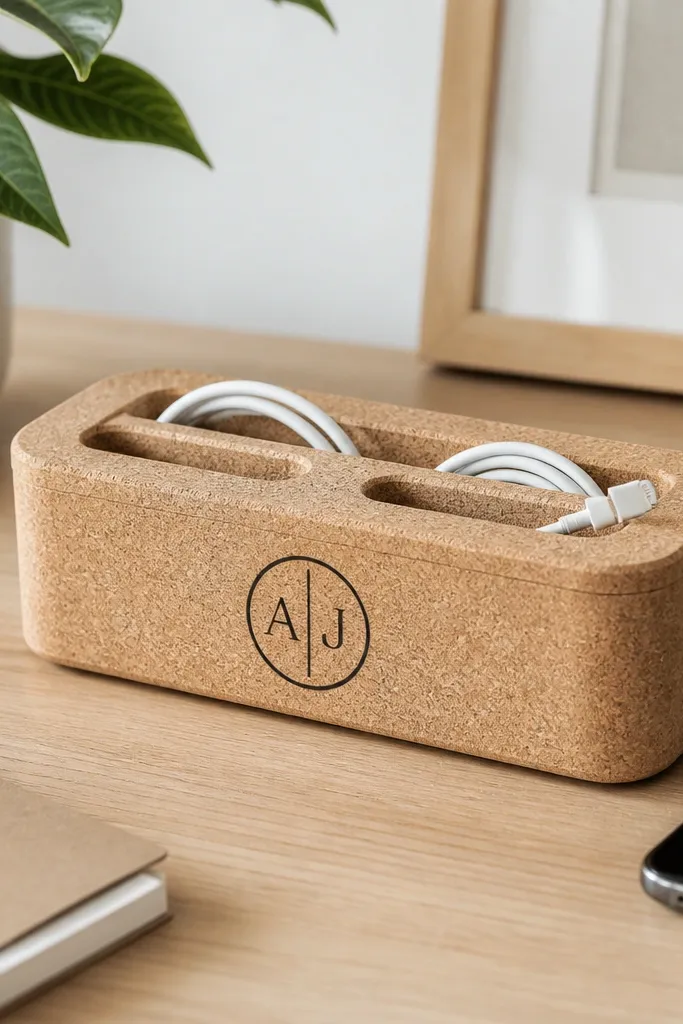
A cable organizer is one of those gifts that he’ll use immediately, and it quietly makes his desk look tidy. Cork has a natural texture that looks expensive without extra effort. The monogram label makes it feel personal. You’re also using a flat material, so the build is simple and forgiving.
Cut cork sheet into a tray shape about 8 in long and 3 in wide. Create two divider channels by gluing cork strips upright, 1 in tall, leaving a 0.5 in gap between sections. Glue with a strong contact adhesive and press with weights for an hour. Add a vinyl monogram or painted letters with a fine brush.
Quick tipSeal cork with a thin matte clear coat so it resists dust and feels smoother.
One warningAvoid hot glue for cork edges — it peels when handled.
5. Photo Strip Mini Fridge Magnet Set
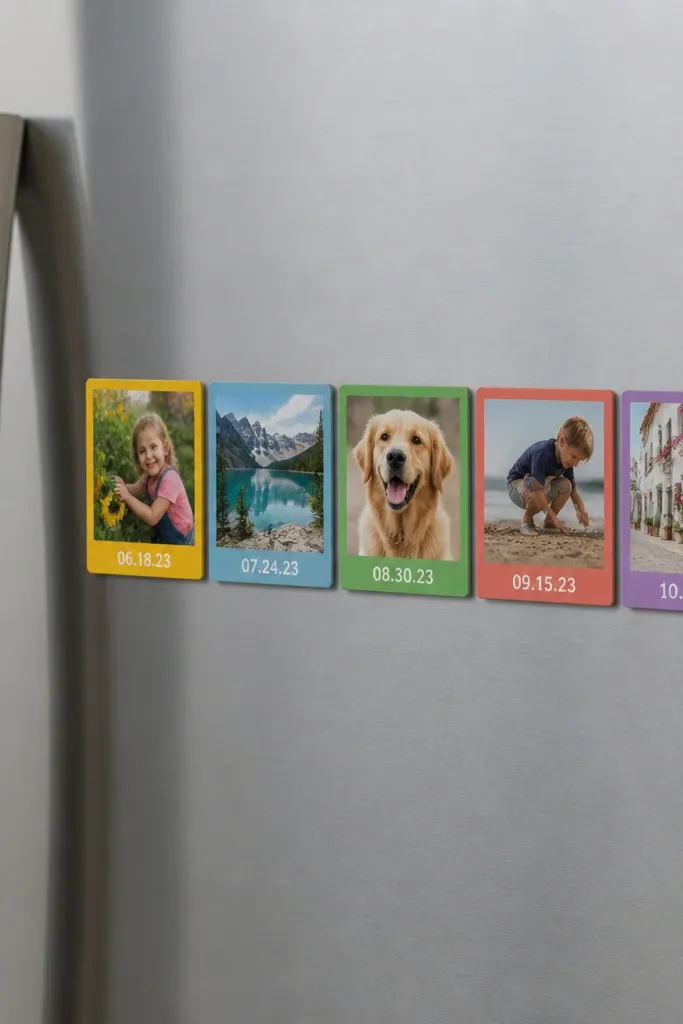
This is a cute DIY gift for boyfriend because it turns your photos into something he sees every day. The key is making the photos look like a coordinated set. Use consistent borders (same color, same thickness) and keep the labels small. Magnets let you place it anywhere without worrying about framing.
Print 5 photos in 2x3 in or crop to 2x2 in. Cut cardstock borders around them, leaving about 0.25 in on each side. Glue the photo + border onto magnet sheets or stick adhesive magnets to the back. Seal the front with a clear matte laminate sheet to protect from smudges.
Quick tipPick one border color and repeat it on all five so it looks intentional, not random.
One warningSkip bare photos — they smear from fingerprints fast.
6. Slate-Style Message Board for His Car or Locker
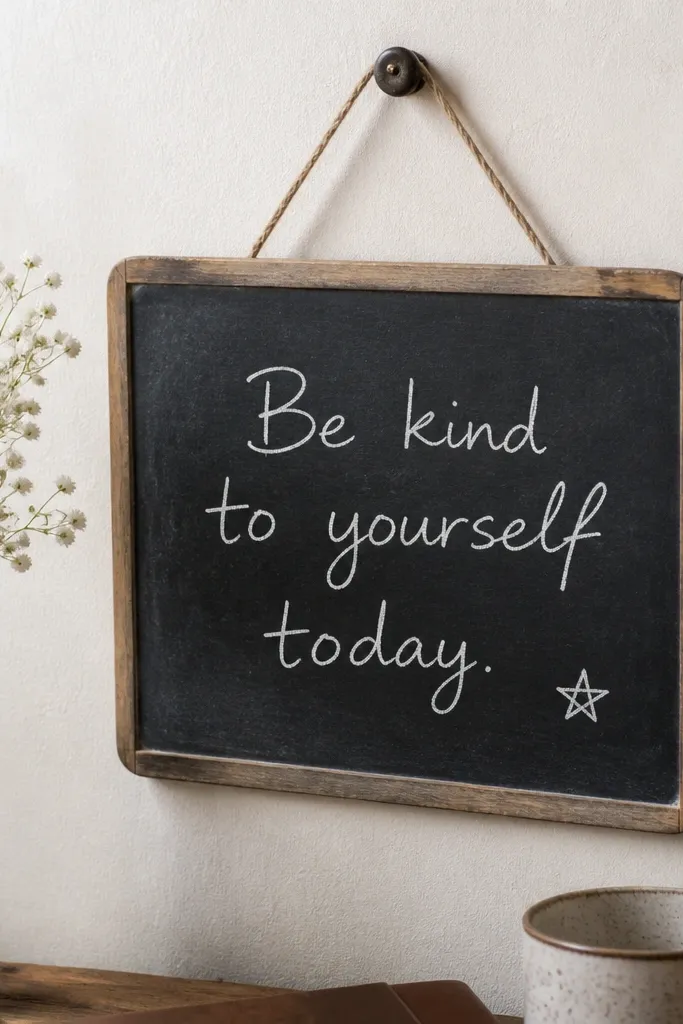
A small message board is fun because it turns your notes into a visual routine. The “slate” look reads high-end even when the board is cheap. Chalk writing looks bold and clean if you use a white chalk marker. It’s also easy to change messages, so it doesn’t feel like a one-time gift.
Use a thrifted wooden plaque or a cheap small sign board, about 6x9 in. Paint it with chalkboard paint or a slate-effect paint, then cure it. Write with a white chalk marker for crisp lines. Attach with a command hook for his locker or a strap for a car organizer.
Quick tipAfter the first cure, rub a thin layer of chalk dust over the surface and wipe — it improves future writing.
One warningAvoid glossy chalkboard paint — it makes writing look faded and streaky.
7. Custom "Date Night" Coupon Book in a Hardcover Folder
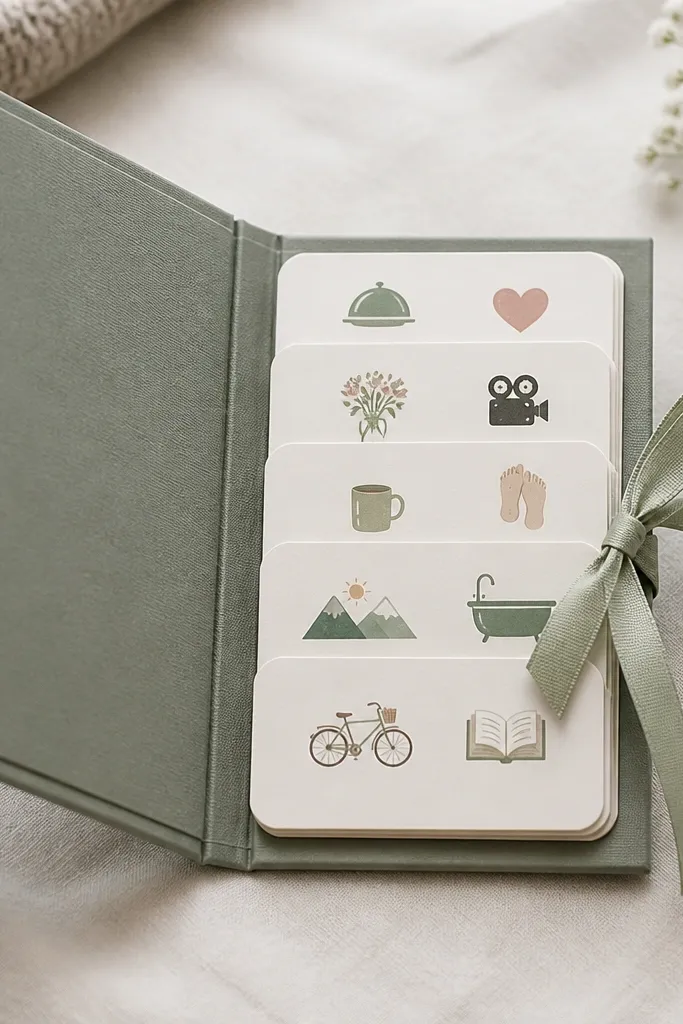
Coupon books work because they’re personal and flexible. I like the hardcover folder look because it stops the cards from bending and gives structure. Icons make each coupon feel designed even if your handwriting isn’t perfect. The ribbon closure keeps it tidy in a bag.
Cut 10 coupon cards from thick cardstock, about 3.5x5 in. Round corners with a corner punch. Create a design system: one icon color (like teal) and one text color (black). Put them into a small folder made from thick cardstock or a cheap presentation sleeve with a cover panel. Tie with a 1/4 in satin ribbon.
Add one coupon that’s “Pick the playlist while I cook” — it lands well for couples who are busy.
Avoid flimsy paper coupons — they crease after a week.
8. Upcycled Denim Bracelet With a Braided Rope Cord
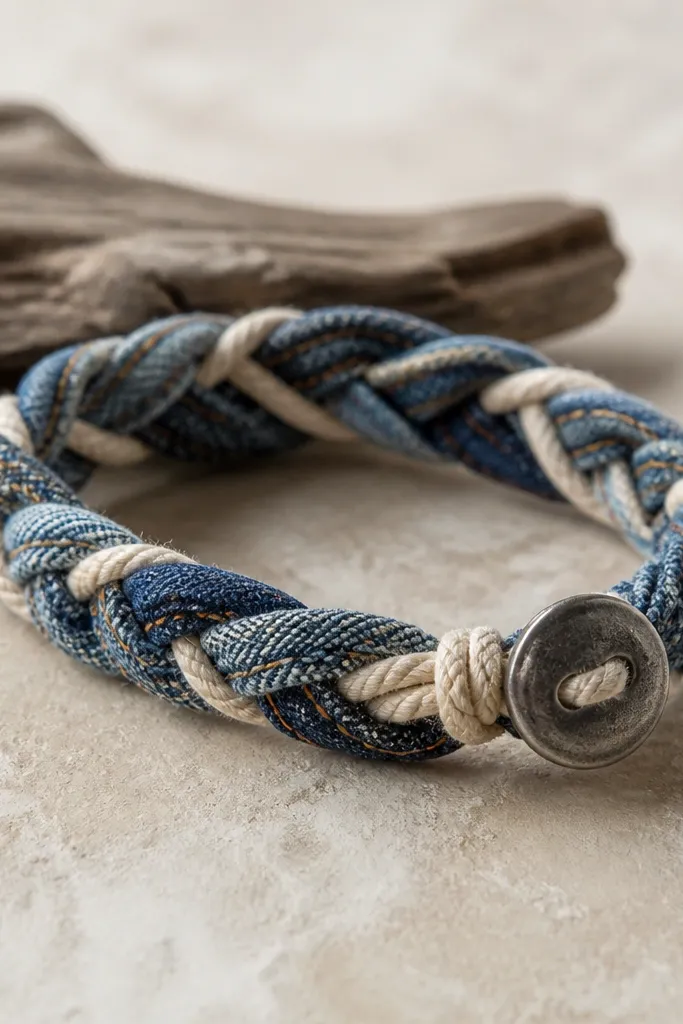
This looks cool because denim already has texture and wear marks that read “real.” Braiding gives it a crafted look without needing perfect symmetry. The rope cord adds contrast and makes it feel tough instead of dainty. A metal button closure makes it easy to put on and looks like a deliberate design element.
Cut 3 denim strips about 3/4 in wide and 10 in long. Roll edges with your fingers to reduce fraying, then braid the three strips with a rope strand in the center. Tie off and glue the ends with fabric glue. Sew or glue a metal button and loop on the final inch.
Quick tipWash-dry your denim strips once before braiding so the bracelet doesn’t shrink after you give it.
One warningAvoid cutting strips too narrow — they unravel and look flimsy.
9. Thrifted Frame Turned Into a "Memory Ticket" Wall Card
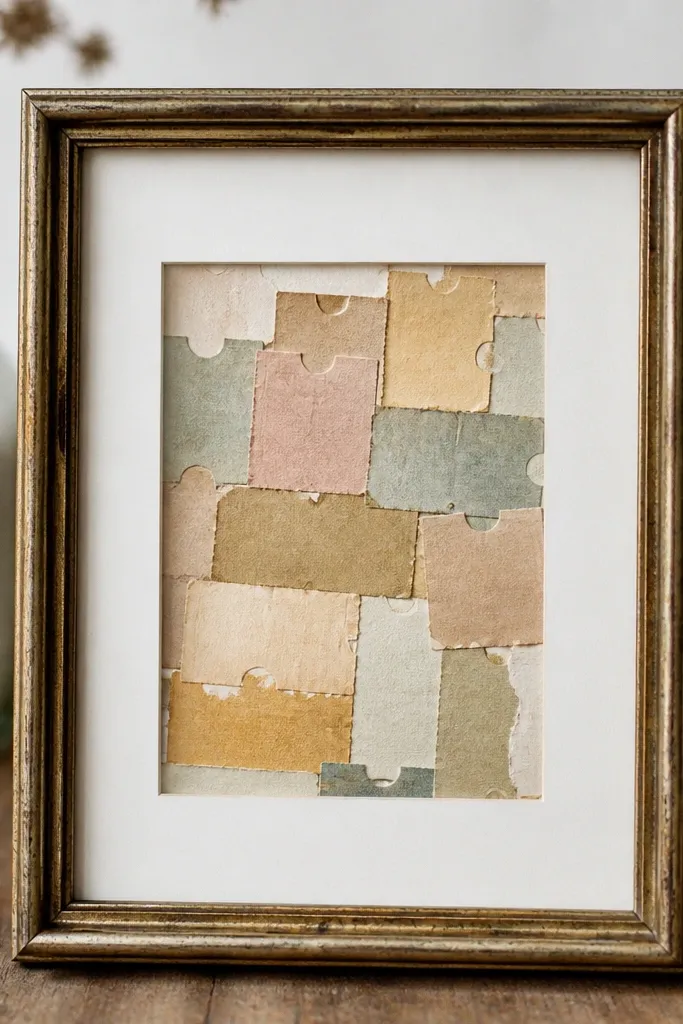
Frames make cheap materials feel intentional. The ticket-stub style collage looks cute and nostalgic, but you can keep it clean with a simple grid. Use one background color (off-white) and keep text in one font style using markers or printed labels. It looks like you designed it, even if you used scrap paper.
Find a frame with a removable backing and mat. Cut a panel from thick cardstock matching the mat opening, about 8x10 in depending on your frame. Create 6-8 “ticket stubs” from patterned paper or cardstock scraps, then glue in a grid. Seal the whole panel with a clear matte spray before inserting.
Use a paper cutter for straight edges — torn looks better when it’s controlled.
Avoid overcrowding the frame — leave at least 1 cm of breathing space around the edges.
10. Car Cupholder Phone Stand From an Old Sunglasses Case
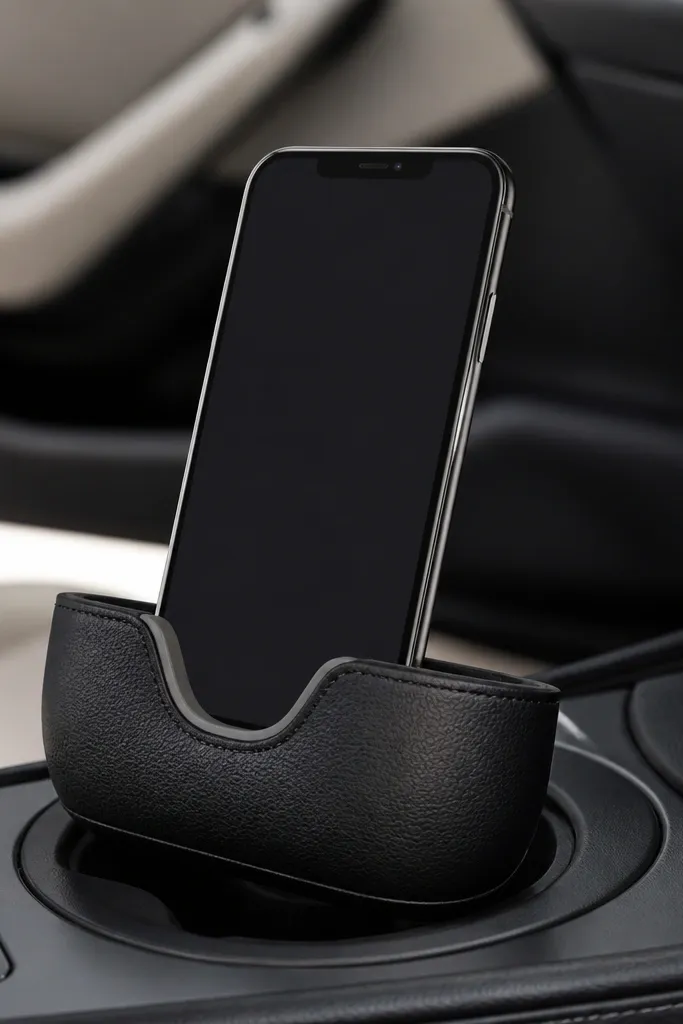
This one hits because it’s a practical upgrade and it looks like a real accessory. Sunglasses cases have hard structure, so the phone stand holds shape. Add a grip base so the phone doesn’t slide when the car shifts. The payoff is he uses it immediately, which makes it feel like a thoughtful gift.
Use a hard-shell sunglasses case about 6.5 in wide. Cut a U-shaped cradle opening so the phone rests at a slight angle. Sand the cut edges and cover with thin black heat-shrink or fabric tape. Add non-slip adhesive rubber dots to the bottom.
Quick tipTest with his exact phone model so the cradle angle matches the camera and charging cable position.
One warningAvoid making the cradle too deep — it traps the phone and makes removal annoying.
11. Cinnamon-Scented "Calm" Keychain Charm With a Clear Coat Finish
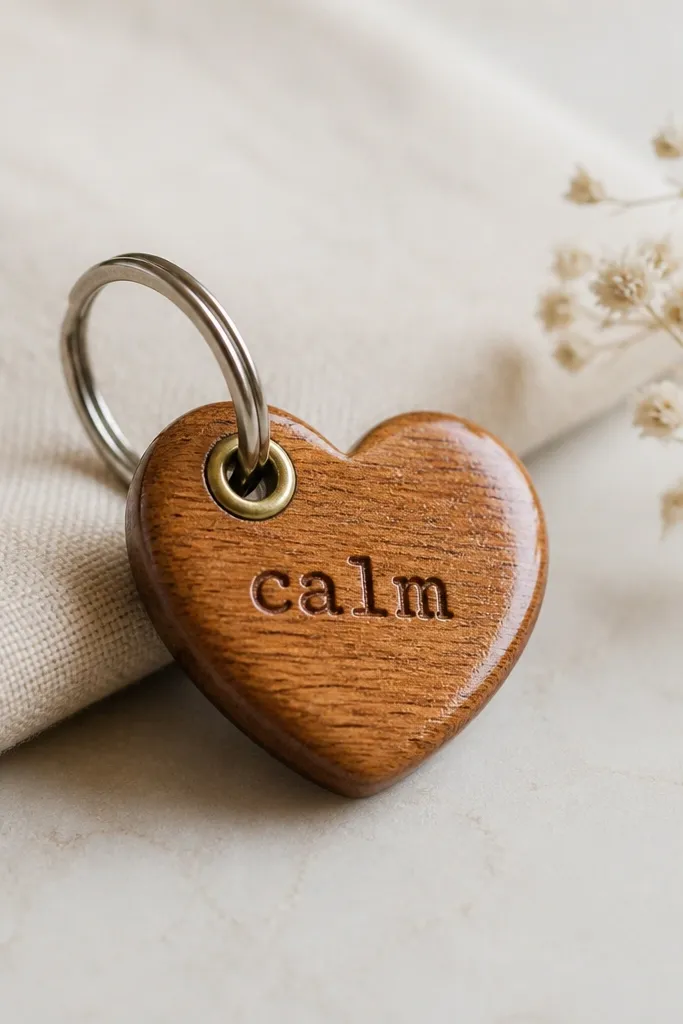
Smell gifts are underrated because they feel personal fast. A simple wooden charm stamped with text looks cute, and cinnamon scent gives it a cozy vibe. The clear coat helps the charm resist smudges from hands. Keep the stamp simple — one word or a tiny symbol.
Use a small wooden tag about 1.5-2 in. Sand, then stain lightly (walnut stain works great). Stamp with a metal alphabet stamp or write with a paint marker, then dust with a tiny amount of cinnamon mixed with a drop of clear acrylic medium. Seal with 2 coats of clear matte or satin varnish.
Quick tipUse less cinnamon than you think — too much makes it sticky and messy.
One warningAvoid high-gloss varnish — it looks cheap and can feel tacky.
12. Embroidered Initial on a Thrifted Hat Patch (Iron + Stitch Look)
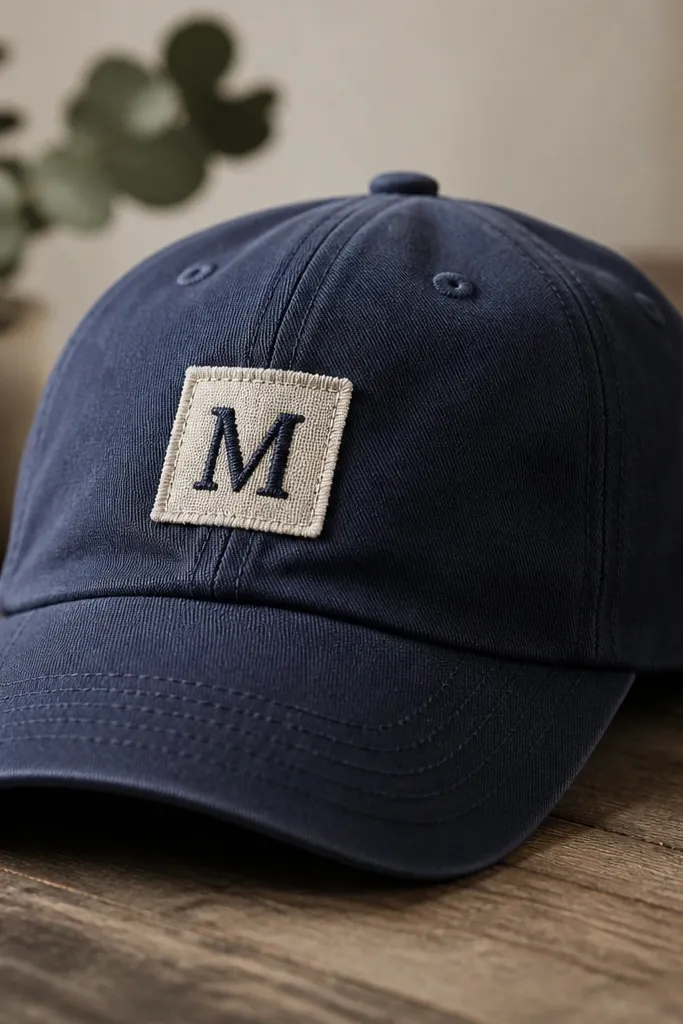
This looks creative because embroidery reads “time spent” even when you keep it simple. A single initial is easy to customize and looks good on hat fronts. Using a pre-cut patch shape keeps edges clean. The iron-on + stitched edge effect makes it look like it was made for that exact cap.
Cut a fabric patch about 2.5 in wide from felt or sturdy cotton. Iron fusible interfacing to the back so it doesn’t warp. Stitch the initial with a basic running stitch or backstitch using 6-strand embroidery floss. Then iron the patch onto the hat and add a thin edge stitch all around to lock it in.
Choose thread color that matches his shoes or watch band tone.
Avoid stretchy fabric patches — the letter will distort after wearing.
13. "Beer Night" Coaster With a Repeating Icon Pattern
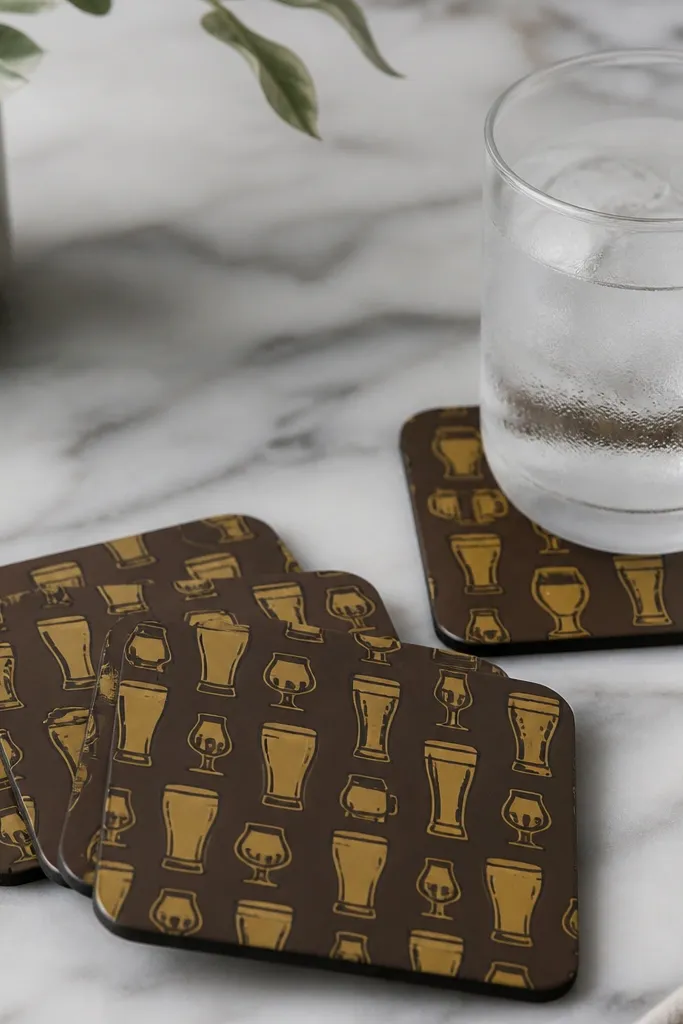
Icon patterns look intentional when you repeat them consistently. Coasters are also a great “cheap DIY gifts for boyfriend” option because they’re small, practical, and easy to finish. The muted palette keeps it from looking like party decorations. Seal it well and it stays clean even with condensation.
Use 4 square cork coasters about 4x4 in. Print or hand-draw a single beer glass icon, then stamp or paint it in a 2x2 grid on each coaster. Let paint dry, then add 2 coats of water-based polyurethane matte sealer. If you want extra durability, add a thin clear laminate on top.
Quick tipKeep the icons about 1 in tall so the pattern stays readable.
One warningAvoid painting right onto dusty cork — the icons blur.
14. Tie Clip Made From an Old Watch Band Link
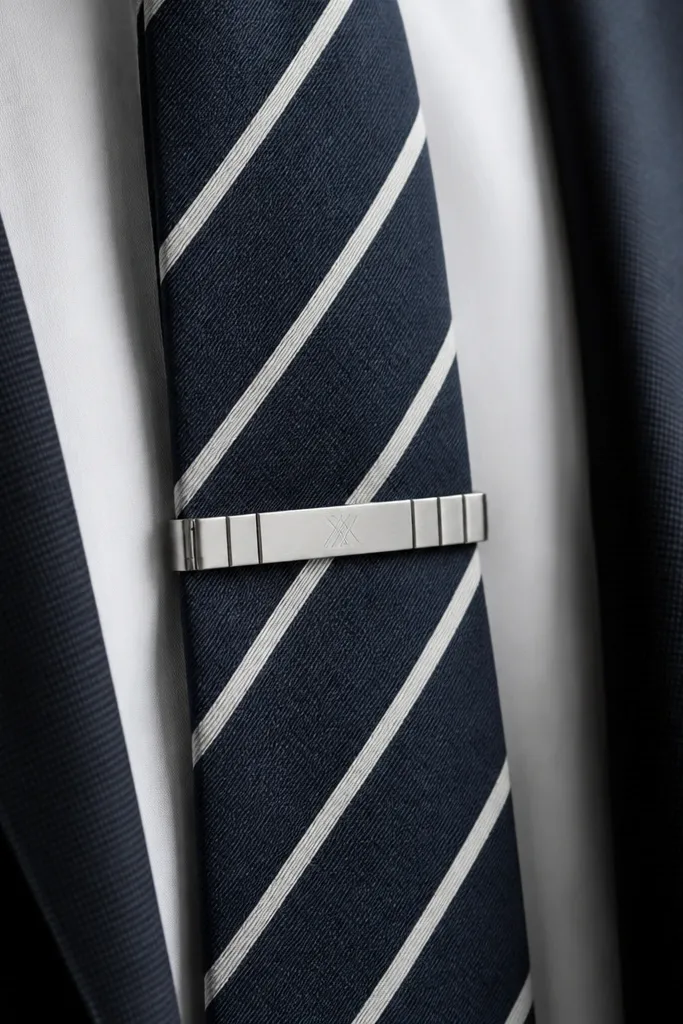
A tie clip is small but it looks sharp instantly. Using an old watch band link gives you a metal texture that looks like it came from a jeweler. You can engrave initials or add a tiny enamel dot for color. The best part is it’s genuinely personal without needing complex skills.
Remove one link section from a watch band and clean it with rubbing alcohol. Attach a tie clip mechanism to the back using small screws or strong epoxy rated for metal. If the mechanism doesn’t align, sand the edges of the link so it sits flat. Polish lightly with a microfiber cloth.
Quick tipEngrave with a small metal stamp or use a permanent paint marker sealed with clear topcoat.
One warningAvoid super-thick epoxy — it looks lumpy and won’t clamp cleanly.
15. Mini Succulent Planter From a Reused Candle Jar
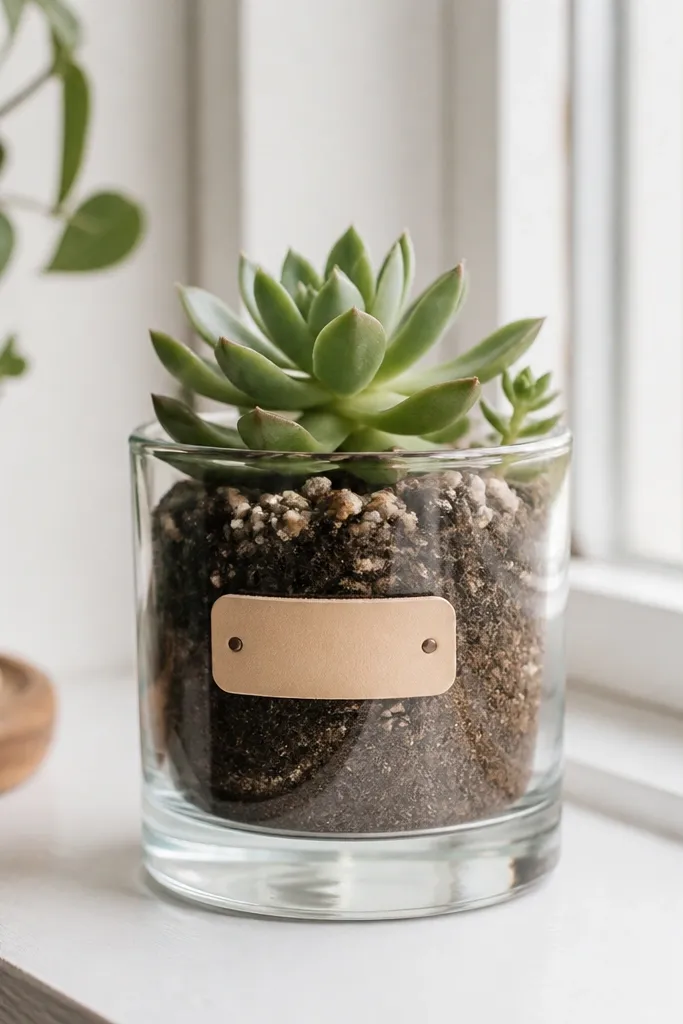
This looks like a real plant gift because the jar is already finished glass. A succulent is low-maintenance, so it doesn’t turn into guilt later. The label makes it personal, and the clean pot edge makes it feel styled. It’s also cheap if you already have candles or can thrift jars.
Clean the candle jar thoroughly and scrape any wax residue. Punch drainage holes in the bottom if possible; if not, use a deeper layer of gravel and only water lightly. Add cactus soil, plant a small succulent, and top with a thin layer of decorative pebbles. Make a label from cardstock, then cover it with clear tape or laminate.
Choose a succulent with a similar color to his vibe — green for classic, bluish for modern.
Avoid overwatering — candle jars without drainage get soggy fast.
16. Necklace-Style Keychain Lanyard From a Paracord Bracelet Clamp
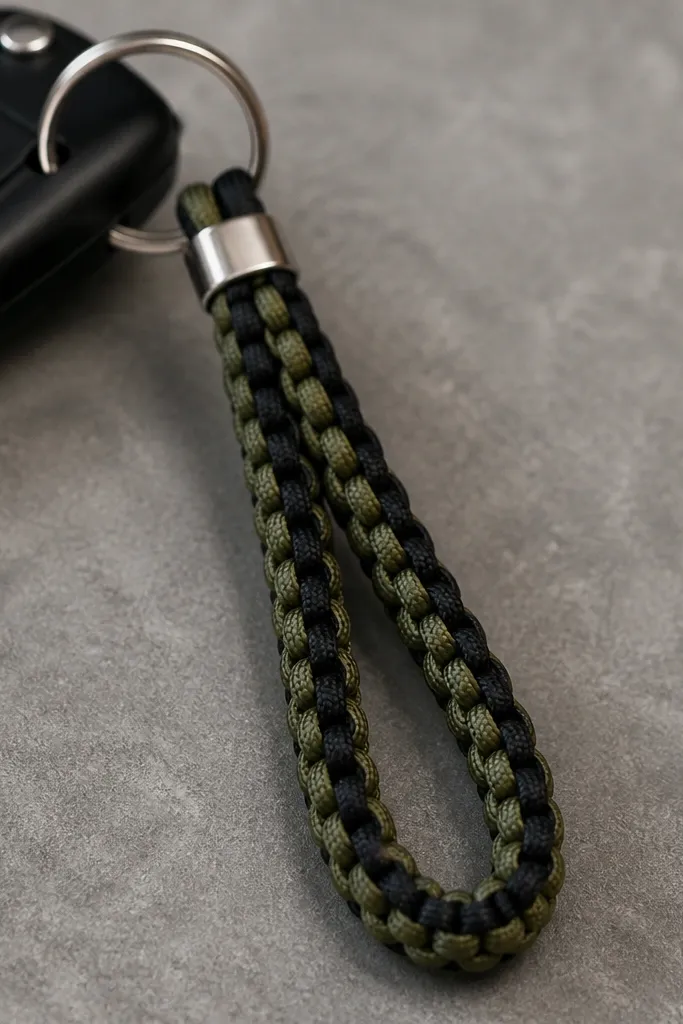
Paracord looks bold and masculine, and it’s surprisingly easy to make look clean. A two-tone braid gives it that “designed” look. The metal clamp makes the clasp feel sturdy. This is one of those cheap DIY gifts for boyfriend that looks like it came from a shop, not a craft table.
Cut paracord strands about 18-20 in each depending on the braid you want. Use two colors for a consistent pattern, like black outer with olive inner. Braid tightly and melt the ends with a lighter to prevent fraying. Attach to a key ring using a small metal split ring and clamp hardware if you want a secure closure.
Quick tipKeep tension high while braiding — loose paracord looks cheap even if the materials are good.
One warningAvoid mismatched cord thickness — the braid will look lopsided.
17. Personalized Socks With Fabric Paint and a Simple Geometric Stripe
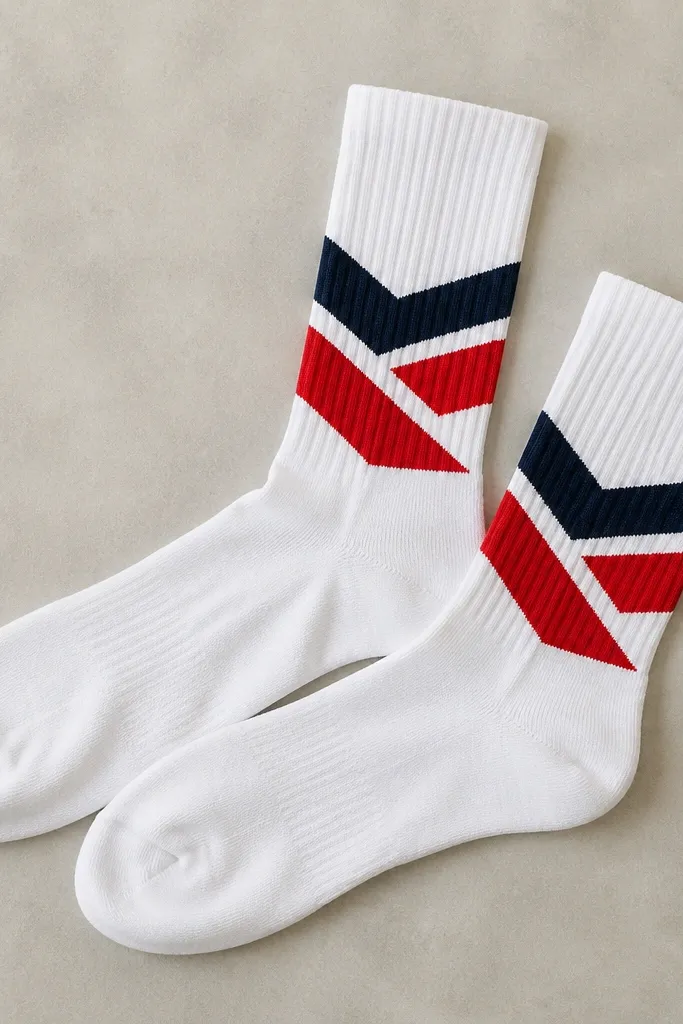
Hand-painted socks look creative because they’re visible every day but still easy to customize. Geometric stripes look clean even if your drawing skills are basic. Fabric paint plus the right cure makes it last through normal wear. Pick two colors he already wears — navy and red is an easy win.
Use white crew socks and put cardboard inside the sock so paint doesn’t bleed through. Tape off a stripe band about 2 in tall around the ankle. Paint with fabric paint using a small foam brush, then remove tape carefully while paint is slightly tacky for crisp edges. Cure by heat-setting per the paint instructions, usually 2-3 minutes per side using a dry iron and parchment.
Quick tipWash inside-out in cold water after curing so the stripes stay sharp.
One warningAvoid regular acrylic paint — it cracks and peels after a few washes.
18. Wallet Insert Card in a Clear Sleeve With a Handwritten Note
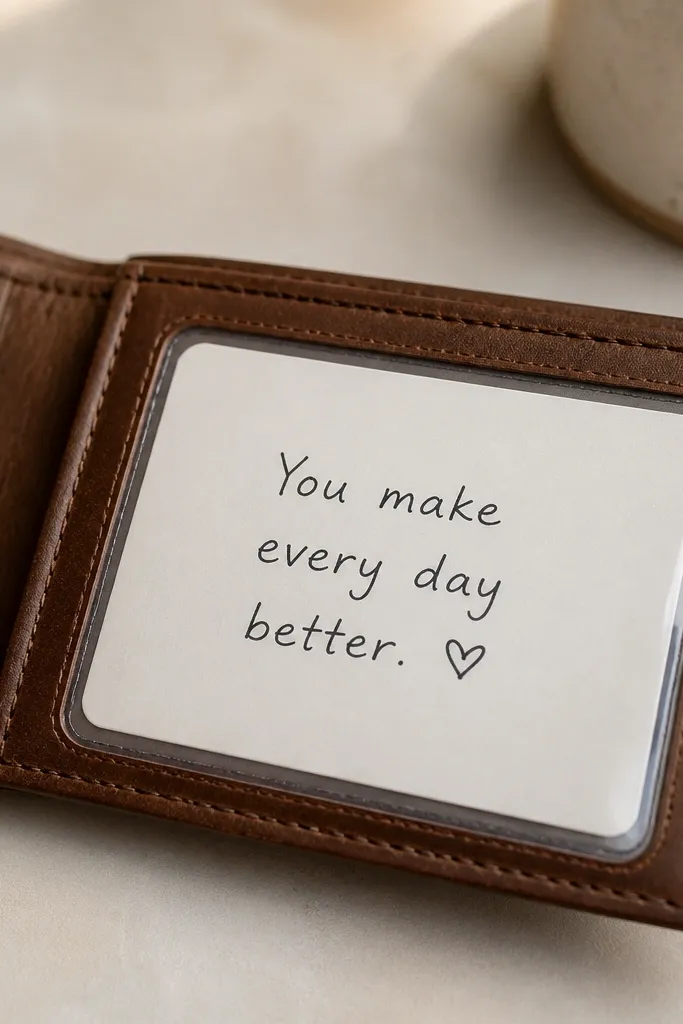
This is a low-effort gift that feels intimate because it’s private and always with him. The clear sleeve makes it look tidy, like a product, not paper shoved in. Thick cardstock holds its shape, and the dark ink looks clean. You can also add a tiny date and a simple symbol for a personal touch.
Cut cardstock to wallet insert size, usually around 3.25x4.5 in depending on his wallet. Put it in a clear ID-style sleeve so corners don’t fray. Write your message with a fine-tip permanent marker or paint pen. Seal with a thin layer of matte clear acrylic spray if you want extra protection.
Quick tipKeep the message to 1-3 lines so it reads fast when he checks his wallet.
One warningAvoid thin printer paper — it curls and looks like it came from a copier.
19. Thrifted Glass Bottle Turned Into a Candle Holder With Twine Bow
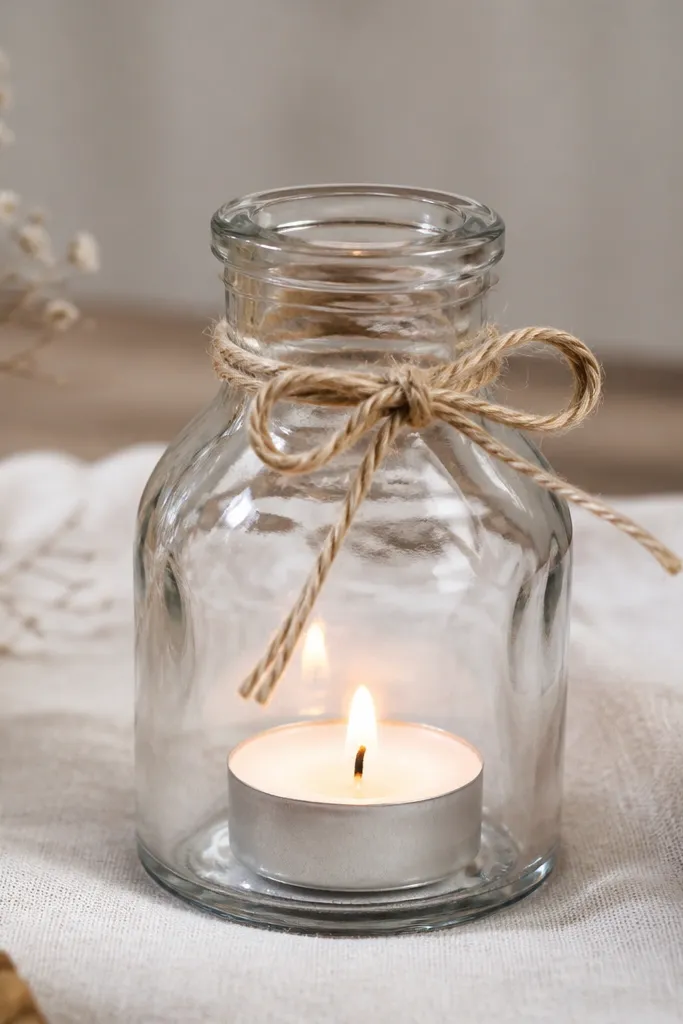
Bottle candle holders look cozy and intentional because glass reflects light softly. The twine bow adds a handmade touch without needing paint. Use a tea light or a small votive depending on the bottle opening. This gift also works well for guys who don’t want “cute” stuff — it reads homey, not girly.
Clean and dry a thrifted glass bottle. If you want it safe and stable, use a tea light in a metal cup. Tie twine around the neck with two wraps and finish with a tight knot. If you want a more finished look, add a small label strip with a date or short phrase using fabric tape.
Quick tipUse a battery tea light for travel or gifting if you’re worried about wax mess.
One warningAvoid leaving glue strings on the bottle — they show under candle light.
20. Recycled Paper "Leather" Wallet Card Holder With a Snap Closure
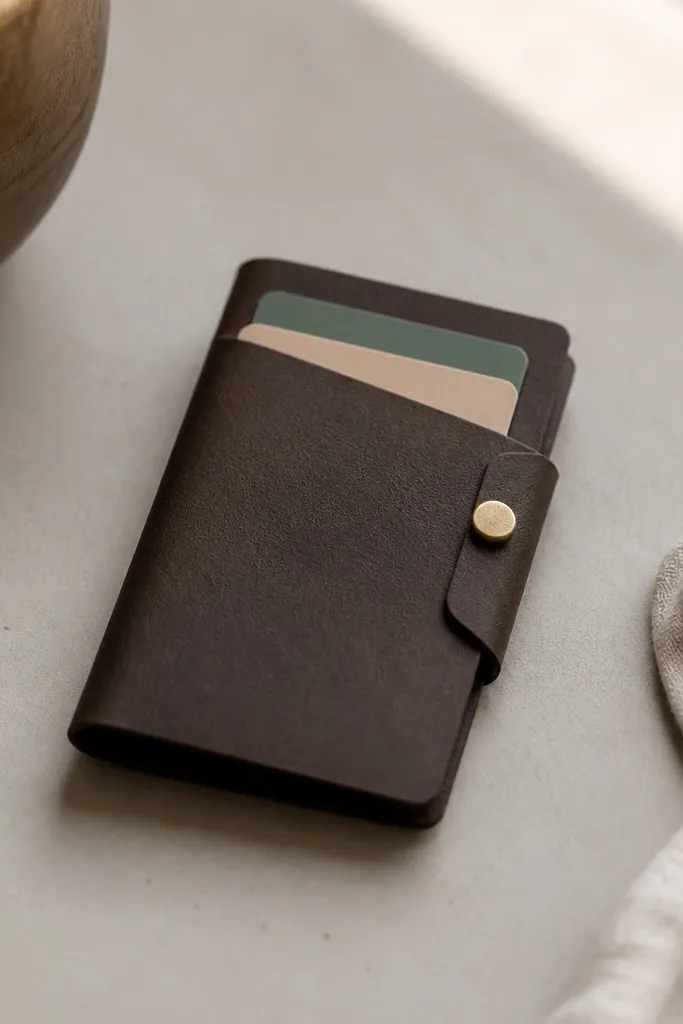
This is one of the cheapest ways to get a “leather-looking” gift without buying leather. If you use paper that’s thick enough and seal it properly, it bends like a soft wallet. A snap closure makes it feel secure and intentional. The dark finish hides imperfections better than bright colors.
Use thick recycled paper or kraft cardstock around 250-300 gsm. Coat both sides with a thin layer of Mod Podge or a paper sealer, then press under a flat weight. Trim into a holder shape about 3.5 in by 4.75 in and fold for an insert pocket. Add a small snap fastener at the side using a snap setter tool or pliers.
Quick tipBurnish the folded edges with a spoon handle — it makes the fold look like molded leather.
One warningAvoid skipping sealing — unsealed paper looks like craft paper immediately.