1. Black-Wax Leather Key Tag From Scrap Belt
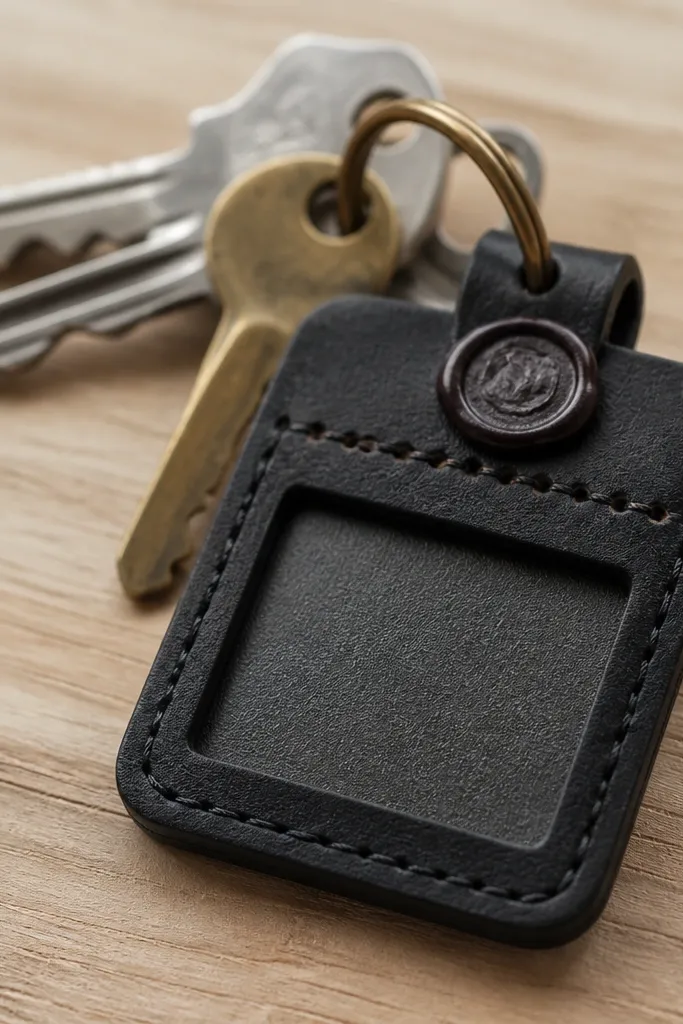
This is the kind of minimalist key accessory that looks expensive because the leather has weight and the shape is simple. I use scrap belt leather because it already has a nice finish and thickness. The black wax seal adds contrast without extra decoration, and the stamped dot row gives a handmade detail that still reads clean.
Cut a 2.5 x 4 inch rectangle from the belt. Punch a hole 0.5 inch from the top, then thread a 1/8 inch leather cord loop or a small metal key ring. Stamp 5 dots in a straight line with a small leather stamp, then rub black wax over the stamp area and seal with a hairdryer for a smoother surface.
Quick tipUse a scrap piece to test wax color — some leathers drink dye and go glossy fast. Stop at a matte finish so it doesn’t look like paint.
One warningSkip thin craft leather. It curls and makes the tag look flimsy by week two.
2. Cork Coasters With One-Line Burned Pattern
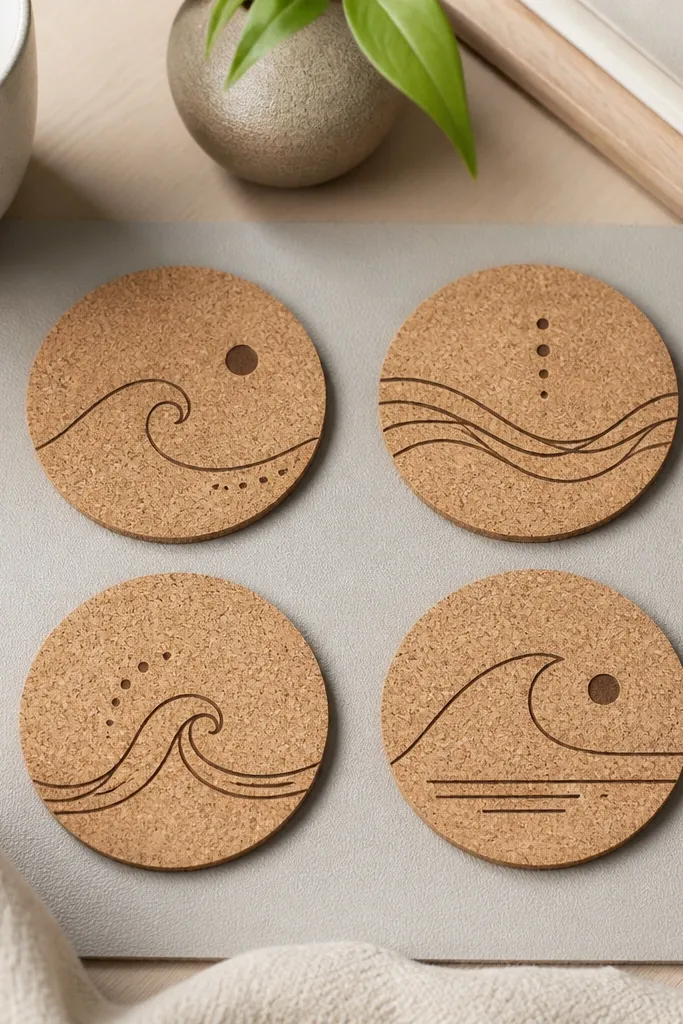
Cork is already minimalist because it’s textured and calm. A single burned line pattern keeps it modern and stops the “craft doodle” look. I like designs that are slightly imperfect — the burn marks show the tool path and make it feel human.
Cut cork sheet into 4 rounds, 4 inches wide, using a compass cutter or a sharp utility knife and ruler. Lightly sketch one design per coaster, then burn with a woodburning pen set to low-medium. Seal with a clear matte acrylic spray so drinks don’t soak in and the burn doesn’t fade.
Burn on scrap first to dial the heat. If the line looks fuzzy, lower the temperature and slow down.
Don’t use thick paint on cork. It chips and makes the surface feel uneven.
3. Desk Cable Labels In Off-White + Charcoal
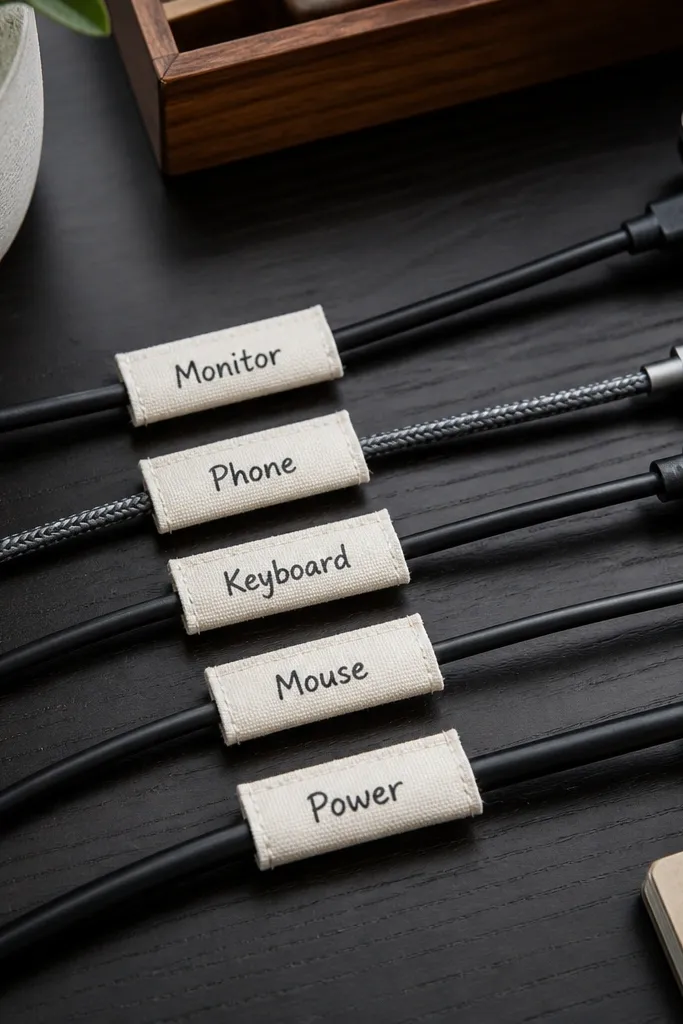
These labels make his desk look organized, not “DIY organized.” The minimalist win is a consistent label size and the same font style. Off-white paper plus charcoal ink reads clean, and you can add one tiny symbol per cable for quick recognition.
Cut label strips from thick paper or thin cardstock, 1 inch wide by 3 inches long. Round the corners with a corner punch. Write names in all lowercase with a fine-tip paint pen, then seal with a thin layer of matte Mod Podge so it doesn’t smear. Attach with small strips of removable tape or a strip of clear heat-shrink around the label end.
Quick tipKeep the words short: 'phone', 'monitor', 'dock'. Longer phrases look busy fast.
One warningDon’t wrap the label around the cord too tight if the cable flexes. It will peel or crease.
4. Monogram Monochrome Notebook Cover From Canvas Scrap
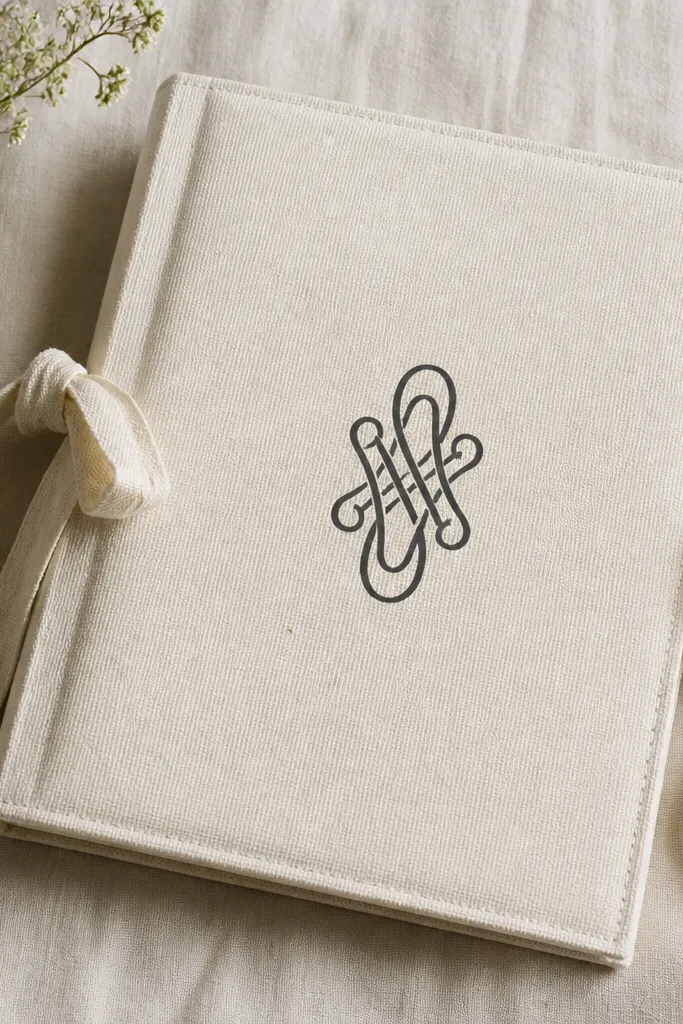
A notebook cover is useful and looks intentional when the fabric is structured. Canvas holds shape better than cotton, and monochrome lettering keeps it modern. The side ties stop the notebook from flopping open and make it feel like a real product.
Cut canvas to cover the front and back with a 0.75 inch margin for folds. Turn edges under 1/4 inch and top-stitch around the perimeter. Add a simple stitched monogram using a single thread color (charcoal) with a backstitch pattern. Finish with two ties made from 1/2 inch fabric strips, stitched near the corners.
Quick tipIron the canvas hard before sewing. Wrinkles show through and ruin the minimalist look.
One warningSkip stretchy fabric. It warps the cover and makes the monogram look off-center.
5. Hidden Pocket Wallet Insert From Old T-Shirt
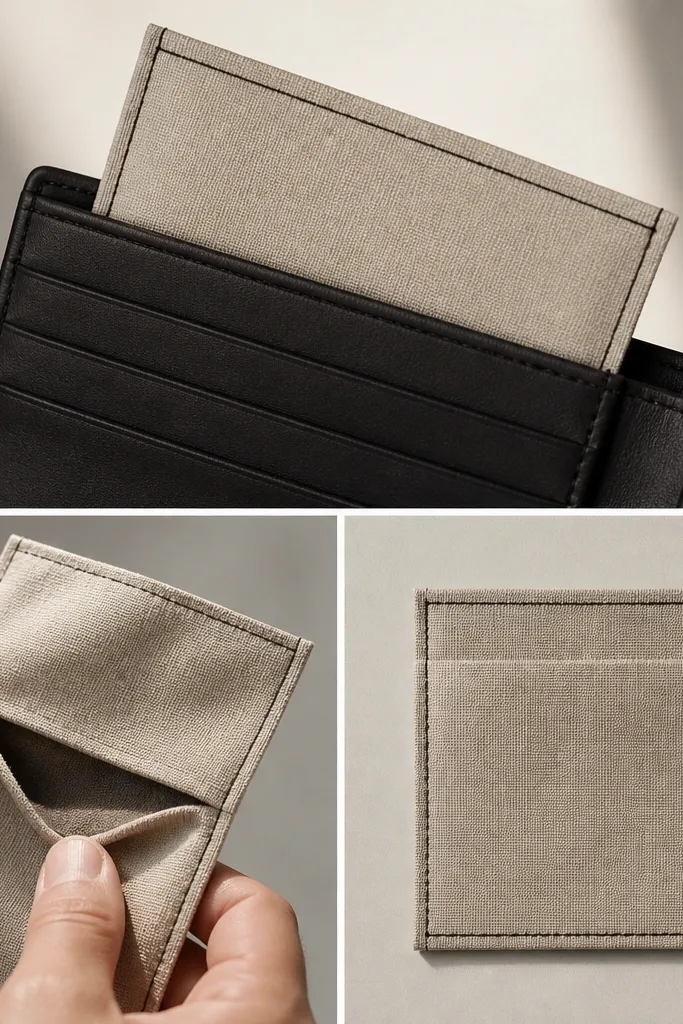
This is a repurpose gift that solves a real annoyance: receipts and small cards sliding around. The minimalist look comes from matching the insert to the wallet lining tone and using one seam style for structure. A hidden pocket keeps it tidy without adding bulk.
Cut two rectangles from a thick old t-shirt fabric — I use the body fabric, not the stretchy collar. Make one piece 3/4 inch shorter than the other so it forms the pocket opening. Stitch the pocket edges with a straight stitch, then sew the insert into a single fold that slides into the wallet. Use a darker thread if the fabric is light, and reinforce corners with a backtack.
Quick tipTest fit with a few cards before final trimming. Wallets vary by millimeter.
One warningDon’t use thin jersey. It collapses and the pocket looks saggy.
6. Concrete-Style Tray From Plaster + Cardboard Mold
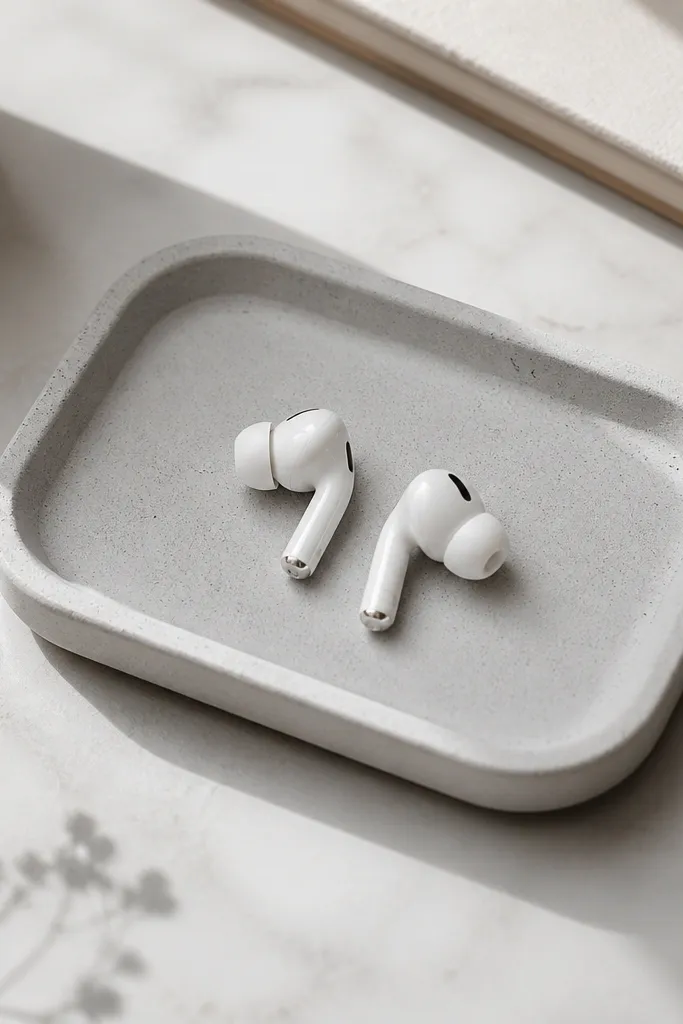
This tray makes his daily carry feel intentional. The concrete-style look reads modern because the surface is matte and the corners are soft, not sharp. I keep the design plain — one size, one color — so it doesn’t compete with his desk.
Build a cardboard mold with 1/2 inch walls and a flat base lined with plastic wrap. Mix plaster with a splash of water until it’s like thick yogurt, then pour 1/4 inch deep. Tap the mold to release air bubbles, let it set 30-40 minutes, then pop it out and sand the edges lightly. Seal with matte clear acrylic for water resistance.
Use gloves and a mask. Plaster dust gets everywhere when you sand.
Skip glossy sealant. It looks like a craft coating instead of a concrete finish.
7. Photo Strip Wall Art Using Washi + 1 Wood Clip Rail

Minimalist wall gifts need restraint: one rail, a few photos, and consistent spacing. Washi tape is perfect because it’s removable and looks light instead of bulky. The black clips add a subtle industrial touch without turning into a collage.
Cut a 10-12 inch wood strip, sand it, then stain or paint it matte black or natural. Attach 3-4 mini clips with small screws or strong glue plus a backing strip. Print 3 photos in a narrow vertical crop, then tape them to a thin backing strip using washi tape at the top. Hang with one centered hook.
Quick tipUse the same color tone across photos, like all cool lighting or all warm lighting. Mismatched tones look messy fast.
One warningDon’t add more than 4 photos. The minimalist look falls apart when it becomes a scrapbook.
8. Minimal Hanging Planter From Glass Jar + Twine
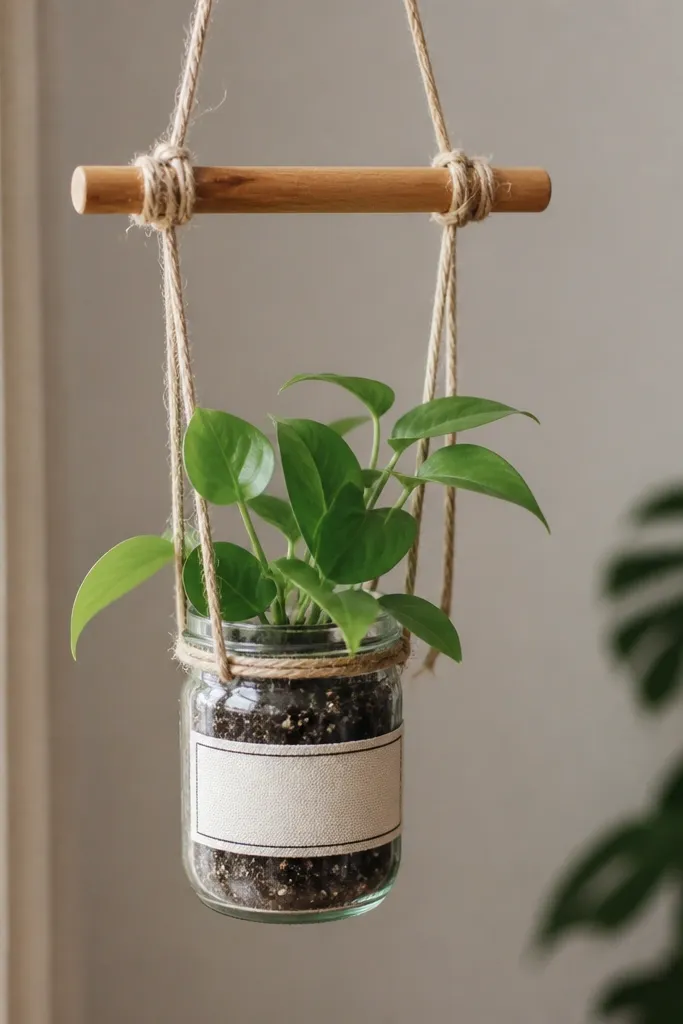
This is minimalist because it’s one shape — jar — and one line — twine. Glass shows the plant’s roots and gives a clean, airy feel. The twine knots look handmade, but the jar stays simple, so it doesn’t read “homemade craft” in the bad way.
Clean a glass jar and remove the label. Wrap twine around the jar neck in three tight loops, then tie a top knot that hangs from a dowel or hook. Add a small drainage layer with pebbles, then potting soil and a hardy plant like a pothos cutting. Tie a label strip using painter’s tape so you can swap it later.
Quick tipIf the jar leaks, line the bottom with a thin plastic bag and poke drainage holes. Soil stays controlled.
One warningDon’t use thick rope that looks chunky. Thin twine keeps the minimalist silhouette.
9. Shelf-Safe Spice Jar Labels From Old Map Paper
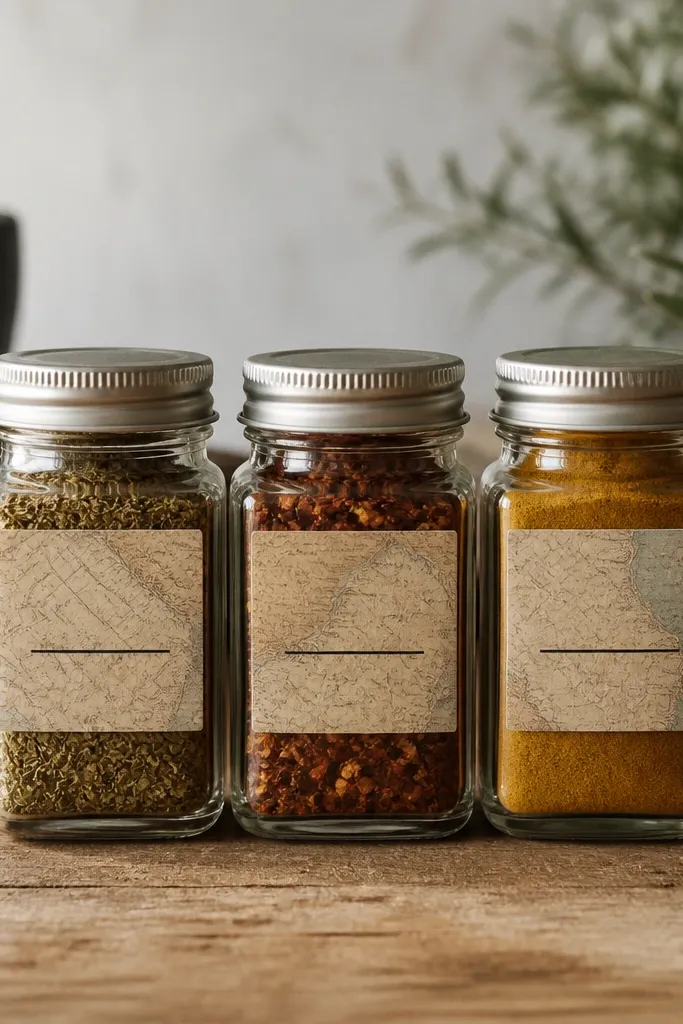
This gift is small but feels thoughtful because it tidies his kitchen without changing his whole setup. Map paper gives texture, but you keep it minimalist by using only black text and one underline. The labels look like they came from a designer set.
Cut label rectangles to fit jar fronts, about 2 x 1.5 inches. Write the spice name in uppercase with a fine paint pen. Seal the paper with matte clear spray, then attach using thin double-sided tape designed for paper. Place labels at the same height across jars so they line up visually.
Measure jar height and mark the label center with a pencil dot before sticking.
Skip glossy spray. It makes map paper look wet and cheap.
10. Monochrome Candle Holder From Tin Can + Sanded Edges
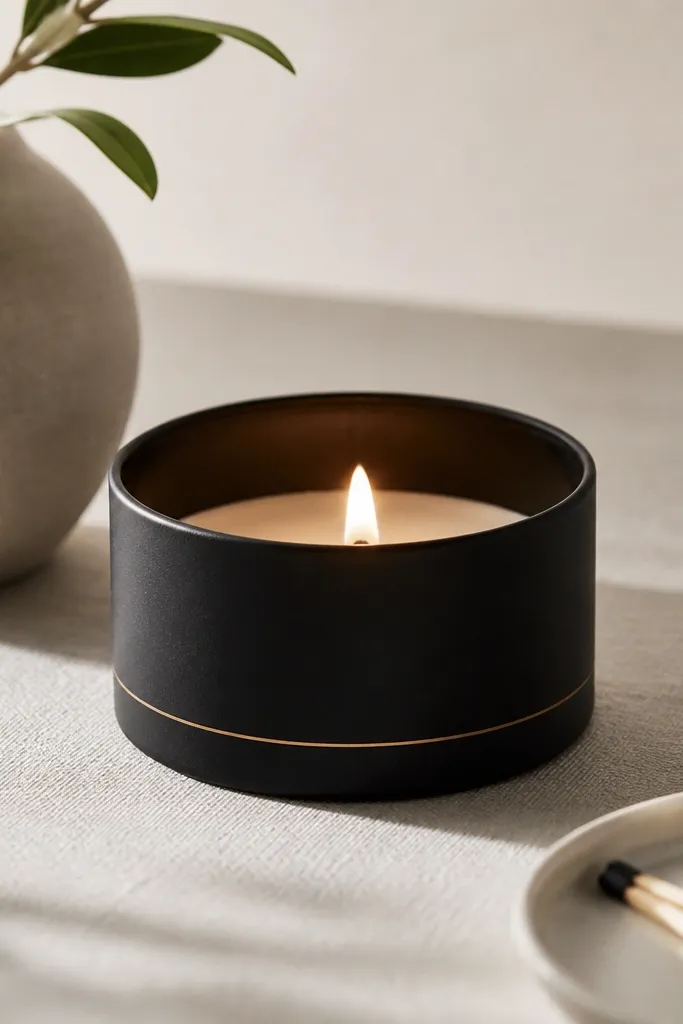
Tin cans are repurpose gold if you treat the edges right. Sanding and painting matte black makes it look like a minimalist lantern, not a recycled project. The single line decal gives just enough detail to feel designed.
Clean a small tin can and remove the label. Cut the rim smooth — don’t leave sharp metal; sand with 120 then 220 grit. Prime with metal primer, then paint matte black. Add a thin line decal with vinyl or stencil paint, 1 inch above the base. Seal with matte clear if you used paint.
Quick tipUse a tea light with a metal cup insert so heat doesn’t warp the can.
One warningDon’t skip sanding. Sharp rims scratch hands and look sloppy immediately.
11. Sewn Key Organizer Pouch From Denim Offcuts
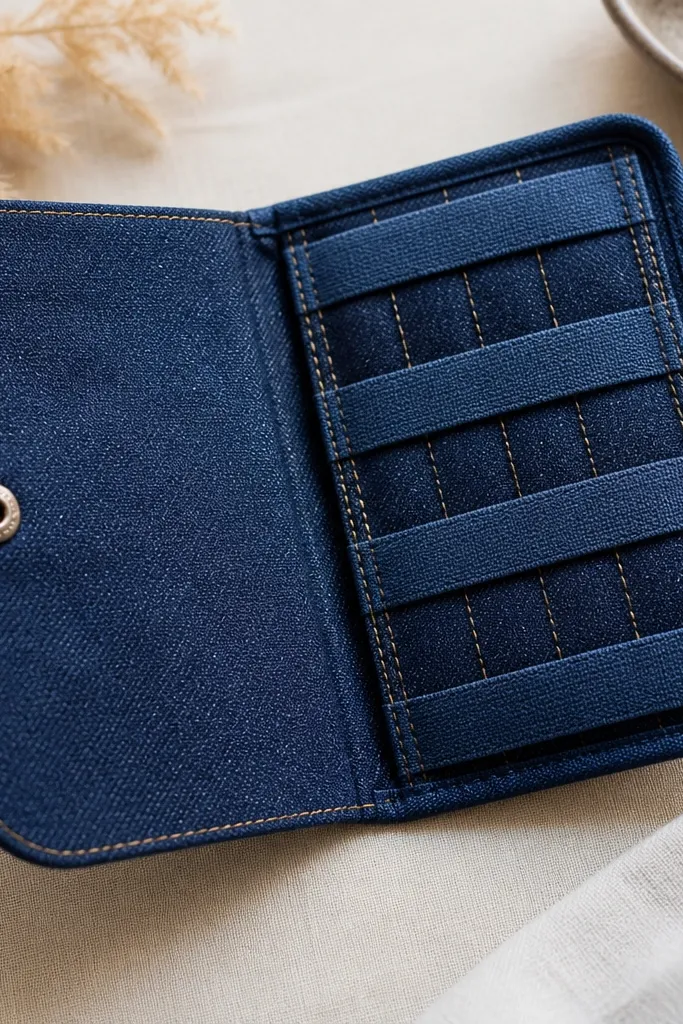
A key pouch is minimalist because it reduces clutter and keeps keys from clanking all day. Denim offcuts are thick enough to hold shape, and the stitched grid makes it look structured. The flap with a snap keeps everything contained without a bulky zipper.
Cut denim into a rectangle 9 x 7 inches for the main pouch. Add an internal divider grid with 1/2 inch strips, stitched to the bottom panel first. Fold the top flap down 2 inches and stitch the sides, then attach a snap. Line the inside with thin cotton so keys don’t scratch the denim.
Mark divider placement with chalk dots before stitching. One off-center stitch ruins the symmetry.
Don’t use slippery lining. Keys slide and the pouch loses the tidy effect.
12. Modern Minimalist Desk Coaster Set From Broken Tile
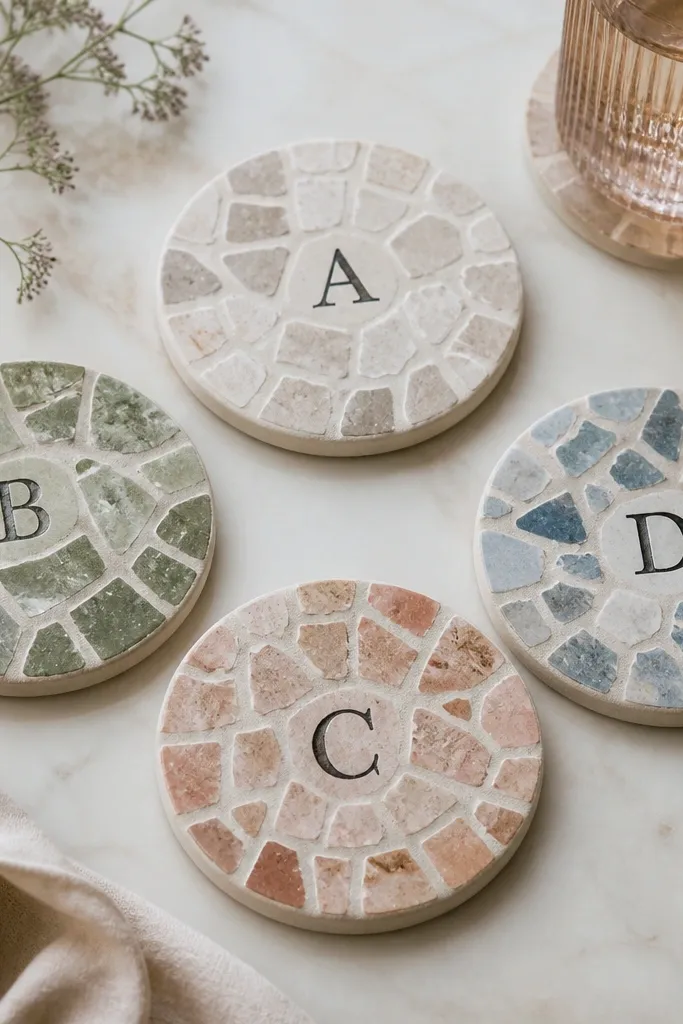
Tile coasters look high-end because ceramic has weight and a clean finish. The minimalist move is to skip patterns and just add one centered initial. Sealing makes them usable for mugs without staining the desk.
Use leftover ceramic tile chunks about 4 x 4 inches, then grind/sand edges with a wet sanding block. Clean thoroughly, then stamp or stencil a single initial on the center. Seal with a clear stone sealer and let it cure fully before use. Add cork backing dots with contact adhesive for grip.
Quick tipWet sand over a bucket and change water often. It keeps dust down and the finish smoother.
One warningDon’t leave raw grout dust. It makes the coaster look hazy and dirty.
13. Upcycled Towel Gym Bag Tag With Thread-Color Stripe
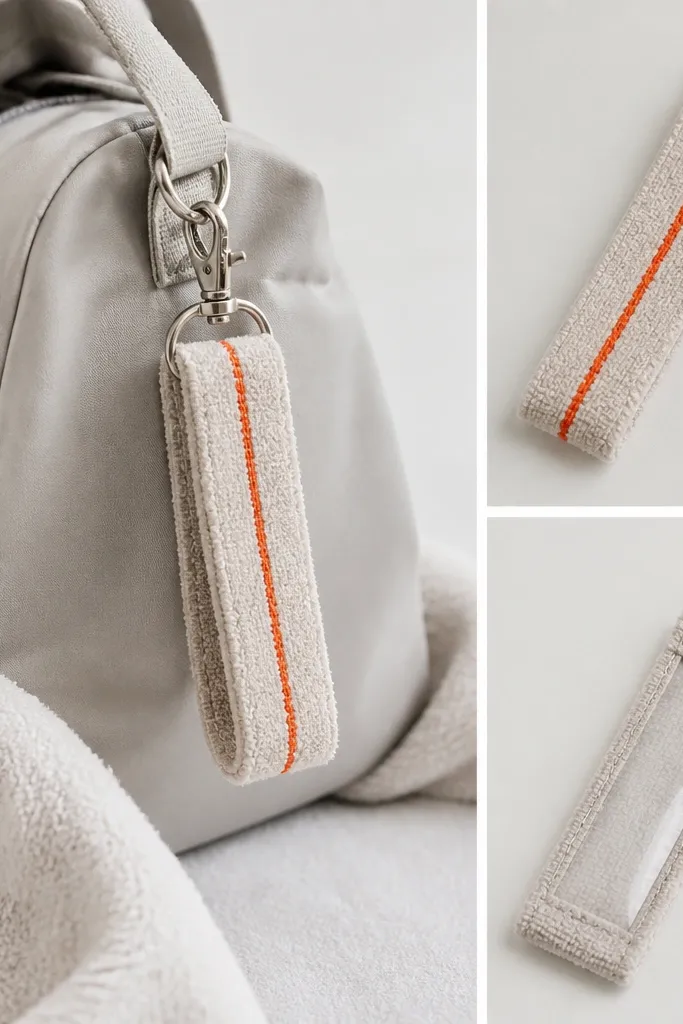
This is a practical minimalist gift that still looks intentional. A towel strip holds up to daily handling, and the thread stripe gives a clean pop without adding clutter. The label window keeps it functional for travel and gym days.
Cut a 3 x 5 inch towel piece and fold it in half, right sides together. Sew the sides, leaving the top open enough to slide a small label card. Add a single stitched stripe 1/2 inch from the edge with contrasting thread. Seal the open edge with a short top stitch and attach a metal key ring.
Quick tipUse a label card printed with your own handwriting style. Straight printed text looks cold next to the handmade stitching.
One warningSkip frayed edges. If the towel sheds, trim and zigzag stitch the raw edges.
14. Cinch-Wrap Bottle Carrier From Shirt Sleeve
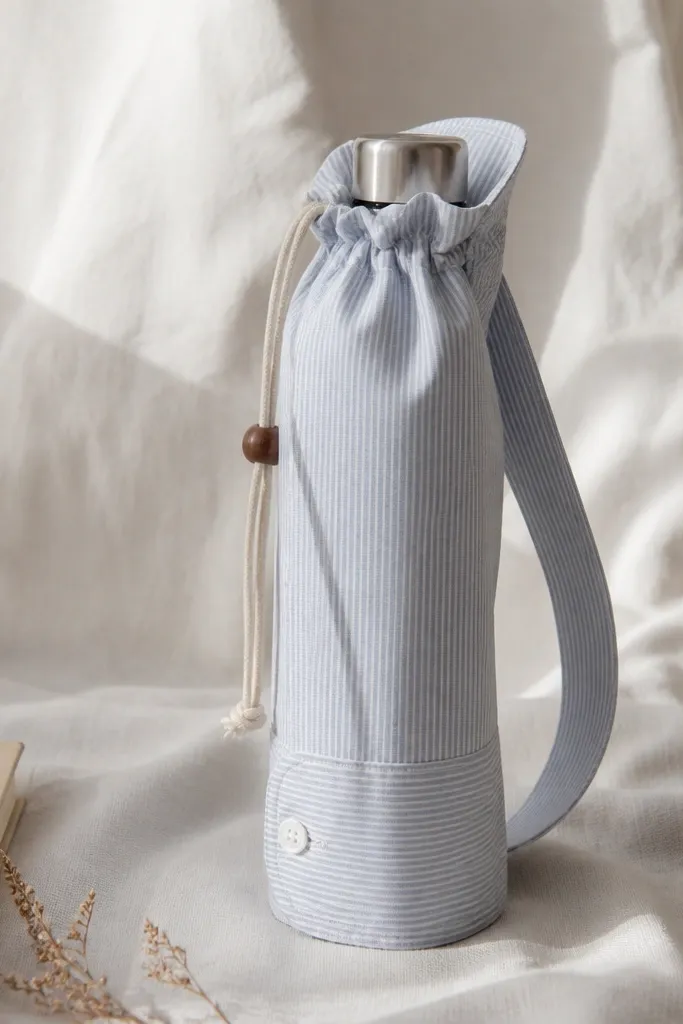
A bottle carrier is one of those gifts he uses without thinking. The minimalist look comes from using one garment panel (the sleeve) and keeping the seam lines straight. A drawstring cinch keeps the silhouette tight and stops the fabric from flopping.
Cut a shirt sleeve so it’s 2-3 inches taller than the bottle. Hem the bottom edge, then fold the top down 1 inch and sew a channel for the drawstring. Thread a cotton cord through the channel and tie a simple knot stop. Add a tiny reinforcement stitch where the bottle weight sits.
Wash and dry the fabric before sewing. Shrinkage changes the fit and the cinch line.
Don’t use thin dress fabric. It stretches, and the bottle ends up loose.
15. Simple Sumi-Inspired Ink Coasters On Wood Slice Base
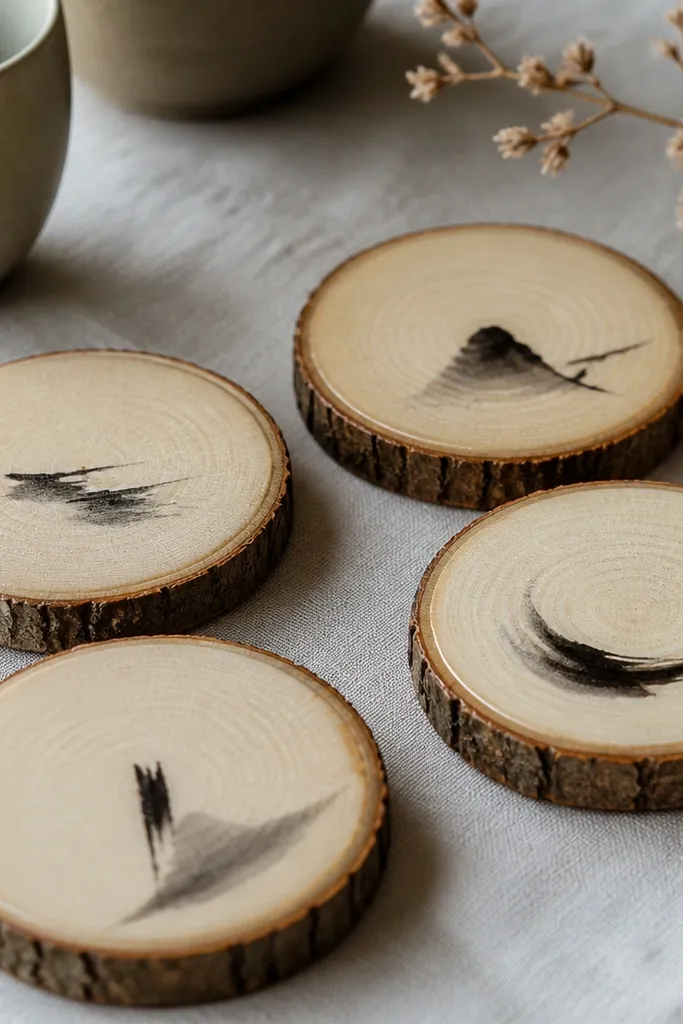
Wood slices make a minimalist coaster set feel warm and modern at the same time. The ink marks stay simple — one stroke, one wash — so it doesn’t look like random blotches. When you seal properly, the ink stays crisp and the surface wipes clean.
Sand wood slice tops with 220 grit and clean with a tack cloth. Paint one ink wash using black ink diluted with water, then add one crisp brush stroke. Let dry fully. Seal with 2-3 thin coats of clear water-based polyurethane, sanding lightly between coats.
Quick tipKeep the ink marks small. Big brush areas take longer to dry and smear if you rush the seal.
One warningDon’t skip sealing. Untreated ink lifts with condensation.