1. Vinyl table numbers on sealed wood slices
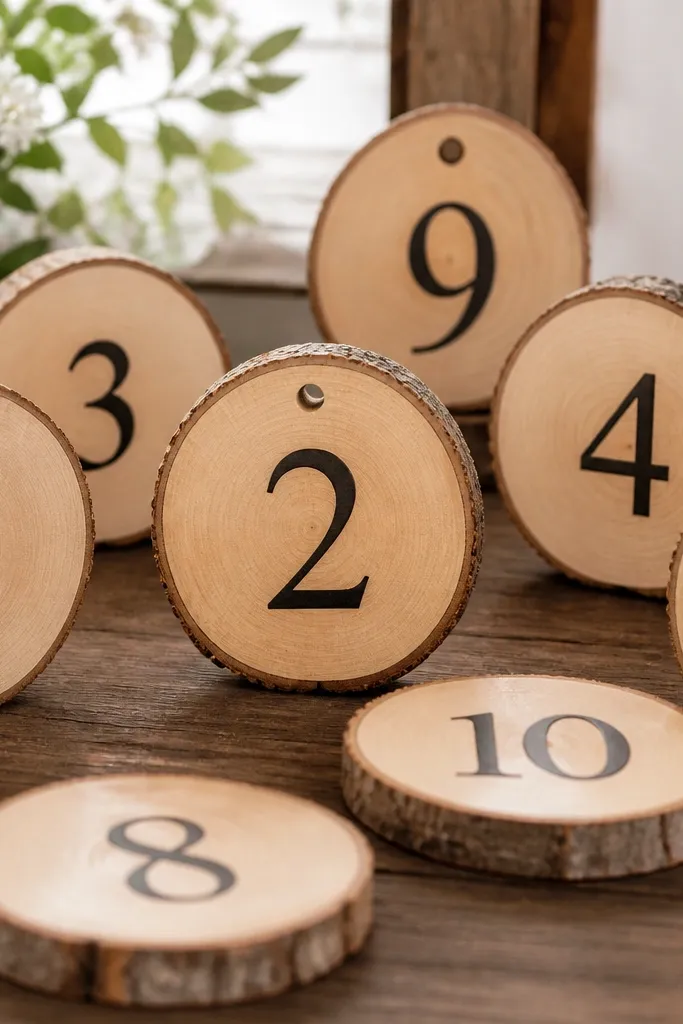
This is the cleanest low_maintenance upgrade I’ve done for table decor. Wood slices give you texture without needing flowers, and vinyl makes the numbers crisp even from across the room. I use a single font style across all tables so the set looks intentional, not “random crafts.” Seal the wood so it doesn’t absorb moisture from humid venues or spill risk.
Use 4-inch wood rounds (thicker is better, around 3/4 inch). Sand lightly, wipe with isopropyl alcohol, then apply outdoor-rated vinyl numbers. Seal with 2 thin coats of matte clear spray so fingerprints don’t show. If you want them freestanding, add a small felt circle to the bottom and keep the center of weight aligned.
Quick tipPrint your numbers on transfer tape before you apply — it prevents crooked alignment when you’re working one table at a time.
One warningAvoid cheap vinyl that turns cloudy after humidity; it makes the numbers look hazy instead of sharp.
2. Twine-framed photo mini signs with magnetic backs
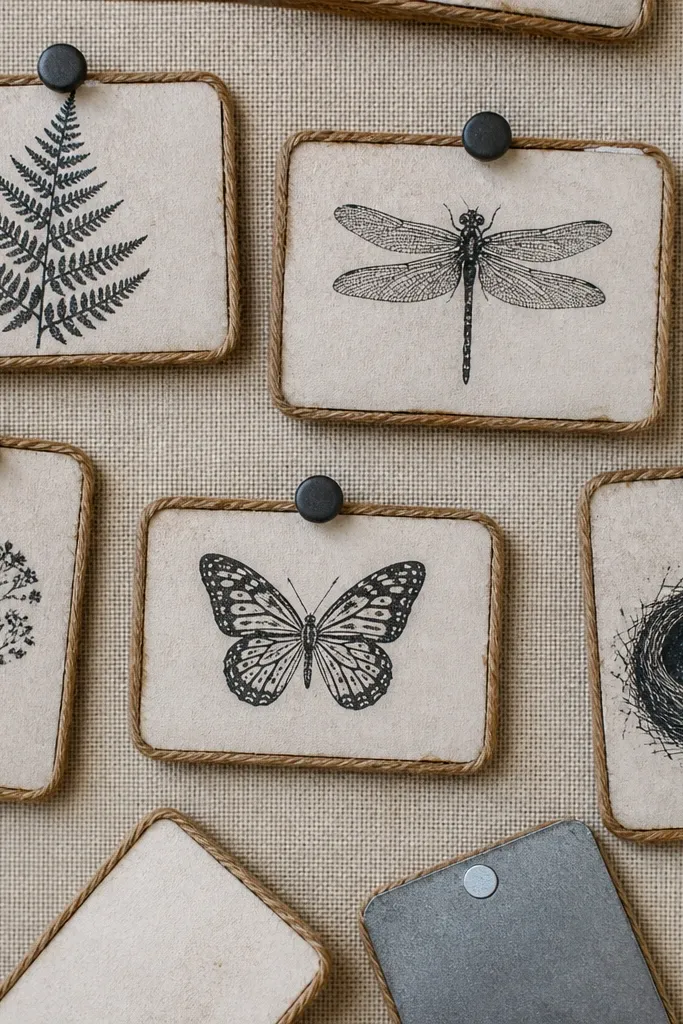
This is how you get a “designed” look without buying a full custom sign package. The twine frame adds texture and hides small paper edges, while magnets let you swap signs quickly for day-of timeline changes. I’ve used this for welcome notes, ceremony instructions, and bar menus. It stays low_maintenance because you’re not re-gluing anything onto walls.
Print on 110 lb cardstock in cream (slightly warm white looks better than pure white). Frame with 1/8-inch twine and hot-glue the ends on the back. Attach a thin sheet of metal or a strip of strong magnets to the back with contact adhesive. Make the sign sizes consistent: 5x7 inches for welcome, 4x6 for smaller notices.
Quick tipUse a single corner layout for all signs so your board looks uniform even if you change content late.
One warningSkip foam tape that’s too thick; it makes the sign wobble when someone bumps the board.
3. Fabric drape runner for head table with no-sew hemming
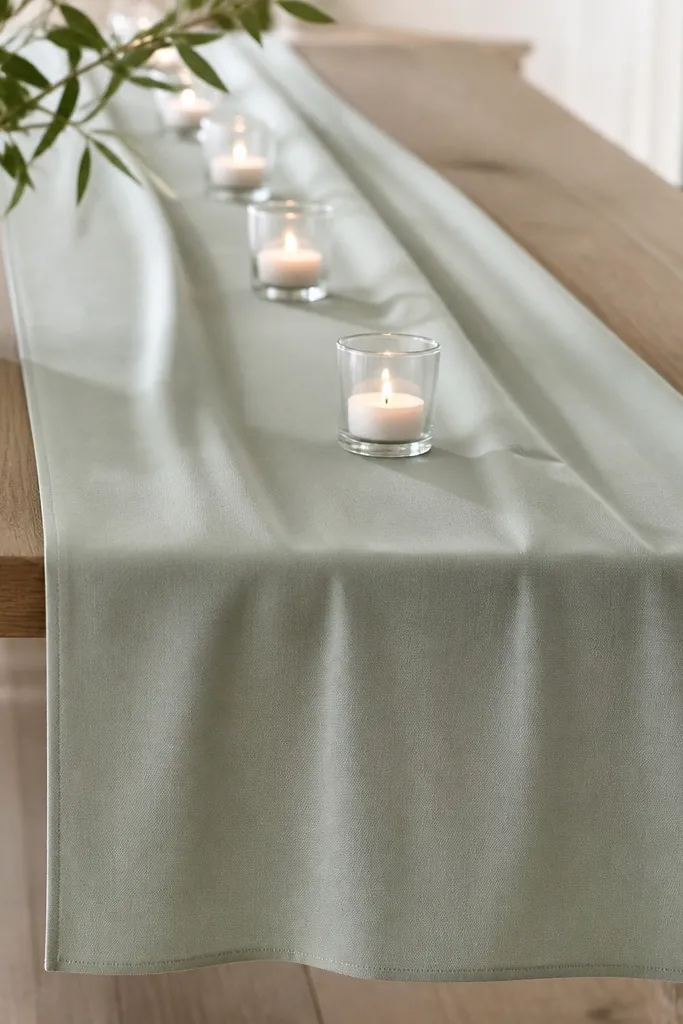
Paper table runners blow up the moment wind or movement hits. Fabric drapes sit flatter and look expensive in photos because the folds catch light. I like using one long runner instead of separate pieces; it keeps the look consistent. This also works as a backdrop base for floral arrangements.
Choose a fabric that hangs well: ivory cotton sateen or a soft polyester chiffon layer. For no-sew hemming, use fusible hem tape along the edge, then press with a hot iron through a pressing cloth. Drape the runner so it has 3-4 inches of overhang on each side for a “tailored” look. Secure the back edge with double-sided tape on the table skirt, not on the fabric.
Steam the fabric right before setup; dry wrinkles show in photos even if the fabric is expensive.
Don’t use stiff tablecloth fabric; it creates sharp creases instead of smooth folds.
4. Paper fan centerpieces with weighted bases
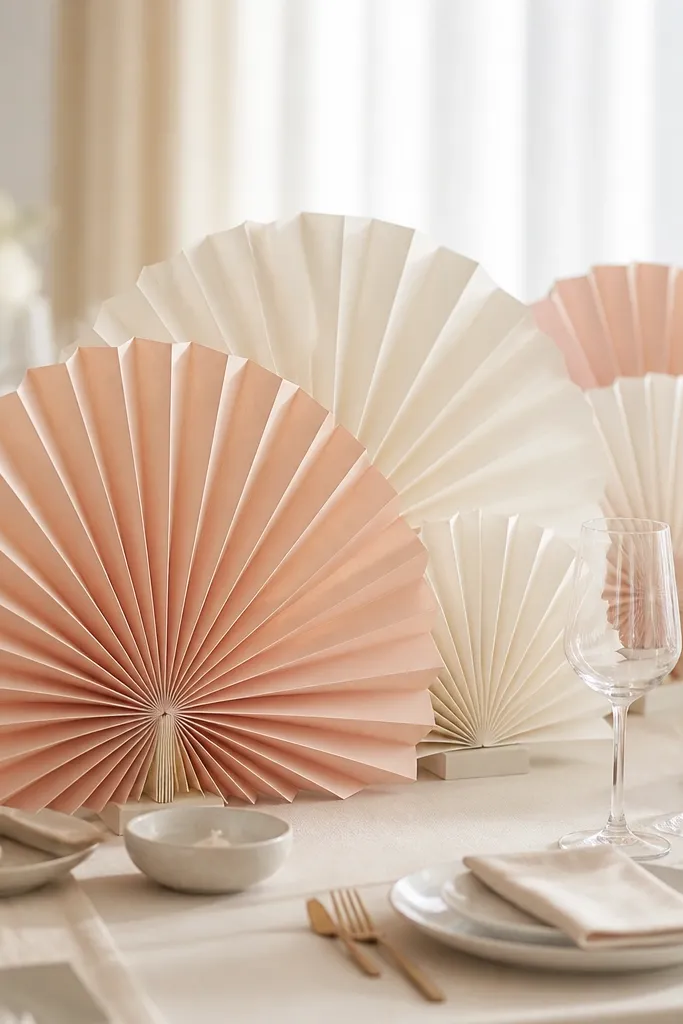
Fans look airy and romantic, and they’re low_maintenance because they don’t wilt. I use them when I don’t want real flowers near candles or outdoors in heat. The key is weighting and sizing so they don’t topple when someone bumps the table. They also photograph well because the texture reads clearly at a distance.
Fold and accordion-crease fan sheets in 12x18 inch cardstock (or thinner paper if you seal it). Use 8-10 inch diameter fans for most tables. Create a weighted base with a small wood disc or a thick acrylic coaster, then mount the fan with a short dowel. Paint or wrap the base to match your palette.
Seal the paper with a light matte spray from 12 inches away so it resists minor moisture without turning shiny.
Don’t rely on skinny hot glue lines; fans pop apart when moved.
5. Mason jar stencil candle holders with painter's tape masks
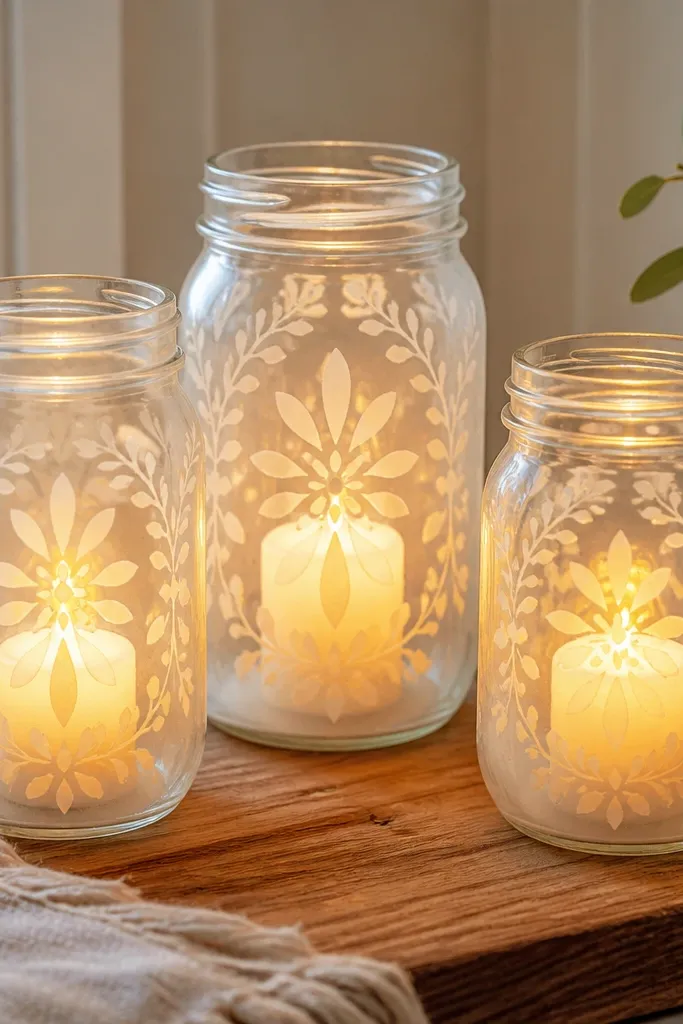
This gives you that “etched glass” look without paying for etched glass. Stenciling keeps everything consistent, even if you’re making a bunch. Painter’s tape masks are forgiving — you can peel and reapply for clean lines. The frosted effect makes candlelight look softer and more romantic.
Use clear mason jars in the 16 oz size. Tape stencil shapes (like tiny leaves or simple arches) onto the jar, then apply glass etching cream carefully in a controlled area. Neutralize and rinse exactly per product directions, then dry thoroughly. Insert LED candles if you’re indoors or outdoors with any wind risk.
Quick tipDo one test jar first and adjust stencil thickness — thin lines look messy after etching.
One warningAvoid using cheap craft paint; it flakes when people handle the jars.
6. Crepe paper aisle markers with ribbon sleeves
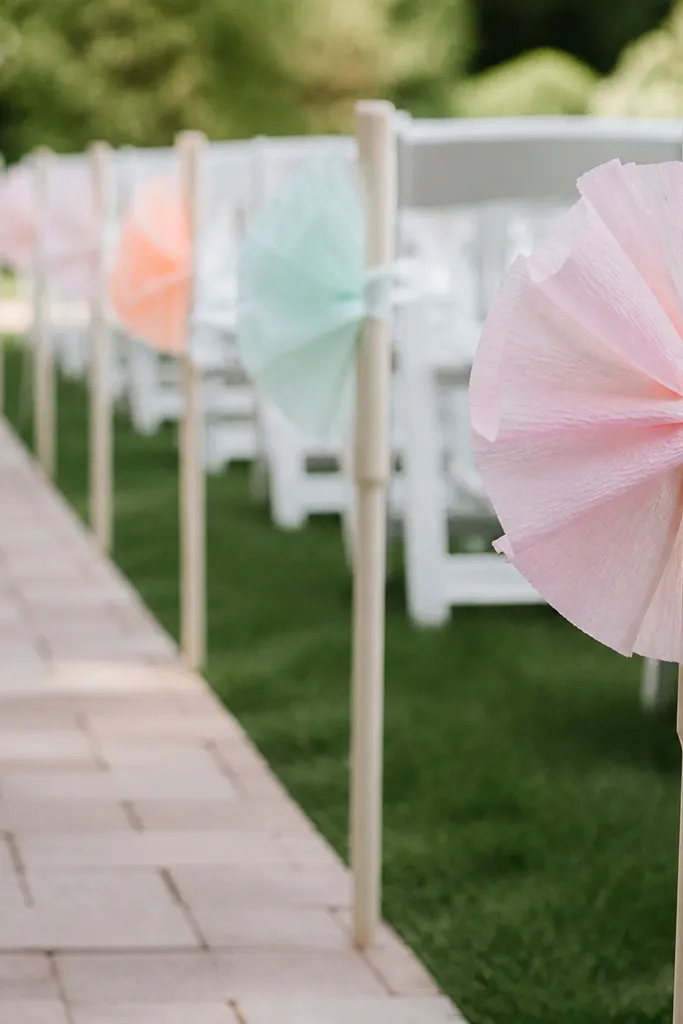
Aisle decor gets kicked, stepped over, and bumped by guests. Crepe paper is light, and ribbon sleeves protect the paper from snagging. I like this for low_maintenance ceremony setups because the markers are easy to transport and they don’t require complicated assembly. You can match the colors to your invitations without buying a full aisle kit.
Cut crepe paper into layered rosettes or small pom shapes (about 6 inches wide). Wrap each stake with satin ribbon as a sleeve so the paper doesn’t rub directly on wood. Attach the rosette to the top with a tight zip tie under the ribbon layer. Space markers every 3-4 feet so they read clearly from the front.
Quick tipPack markers in separate paper sleeves so rosettes don’t crush; I use muffin trays for transport.
One warningSkip thin paper rosettes that tear when a sleeve slips.
7. Chalkboard-style welcome sign on a repurposed frame
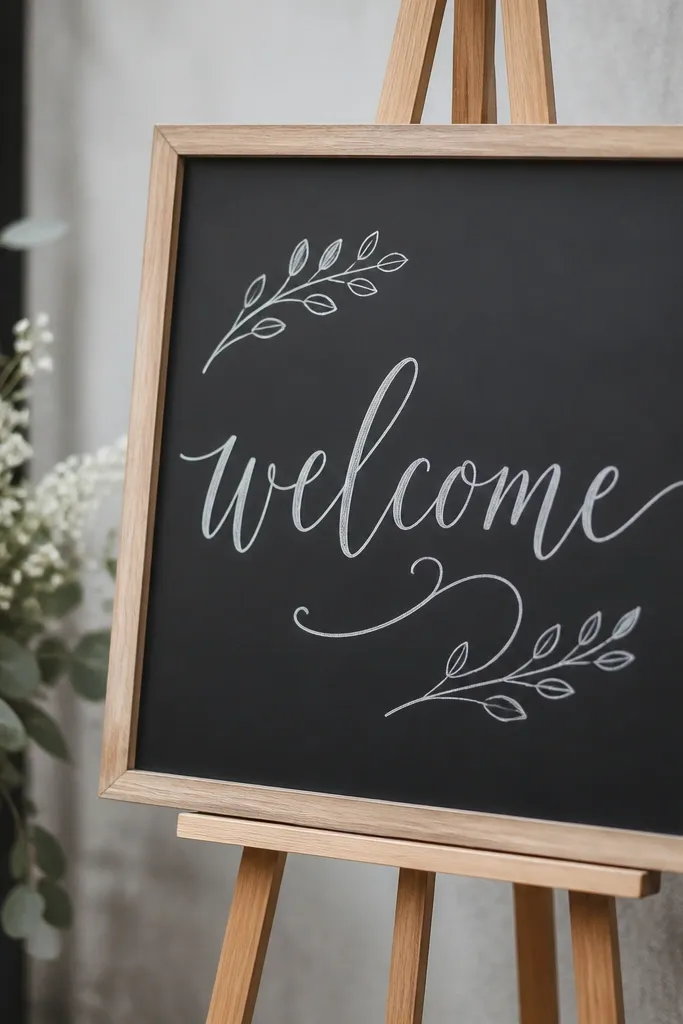
If you want the “chalkboard” look without chalk dust everywhere, paint a panel with chalkboard-style coating. Using a repurposed frame makes it feel custom and saves money. It’s low_maintenance because you erase and rewrite with minimal mess. I’ve used this for welcome signs, bar menus, and last-minute schedule changes.
Buy a spare wood frame with inner opening around 12x18 inches. Sand the backing, then apply chalkboard coating or chalkboard paint in 2-3 thin coats. Cure for the recommended time, then season with chalk. Lettering looks best with a paint marker or chalk pencil — keep stroke thickness consistent.
Quick tipPlan your lettering spacing with painter’s tape guides before you start the final marks.
One warningDon’t use glossy paint; it reflects overhead lights and makes the writing hard to read.
8. Tulle pom garland for indoor photo corners
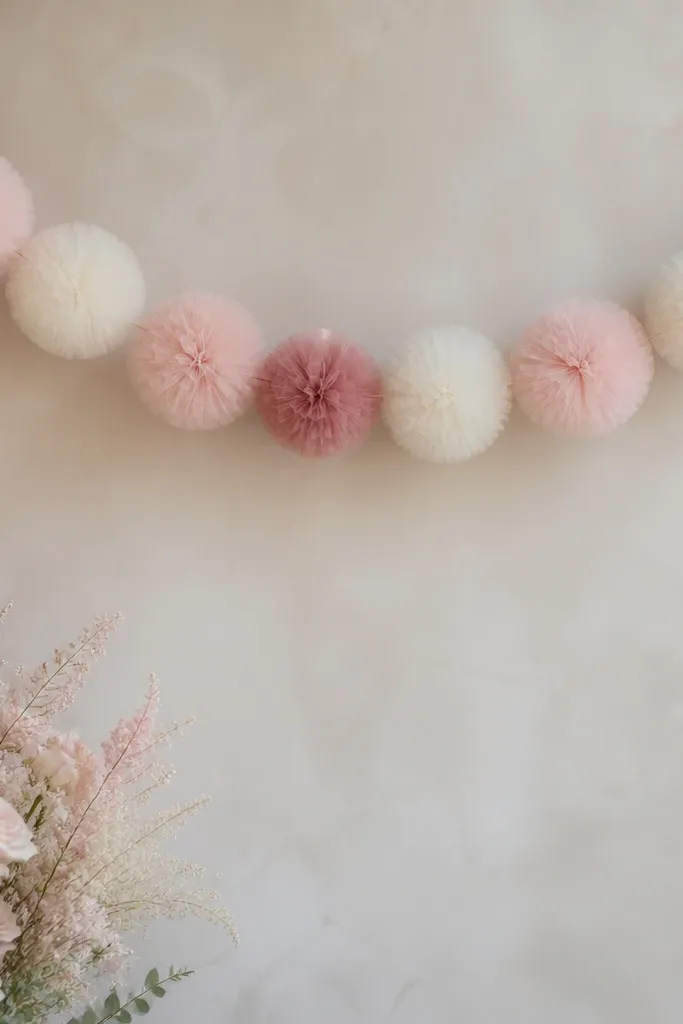
Tulle poms fill empty corners fast, and they look good even when the background is plain. I like this for indoor photo corners because it doesn’t require perfect spacing like paper lanterns. The pom texture hides any uneven wall surfaces. It’s low_maintenance because it’s one string you hang and forget.
Use pre-cut tulle sheets or cut 12x18 inch strips. Tie into pom clusters around a thin wire or fishing line. Mix colors in blocks: 2-3 poms per color before switching so it reads as intentional. Hang with clear command hooks and tension the wire so it forms a slight curve.
Quick tipTrim a few poms slightly shorter — the garland looks layered instead of flat.
One warningSkip heavy garlands that sag; keep it light so the shape stays crisp in photos.
9. Store-bought faux floral bouquets turned into low-touch table clusters
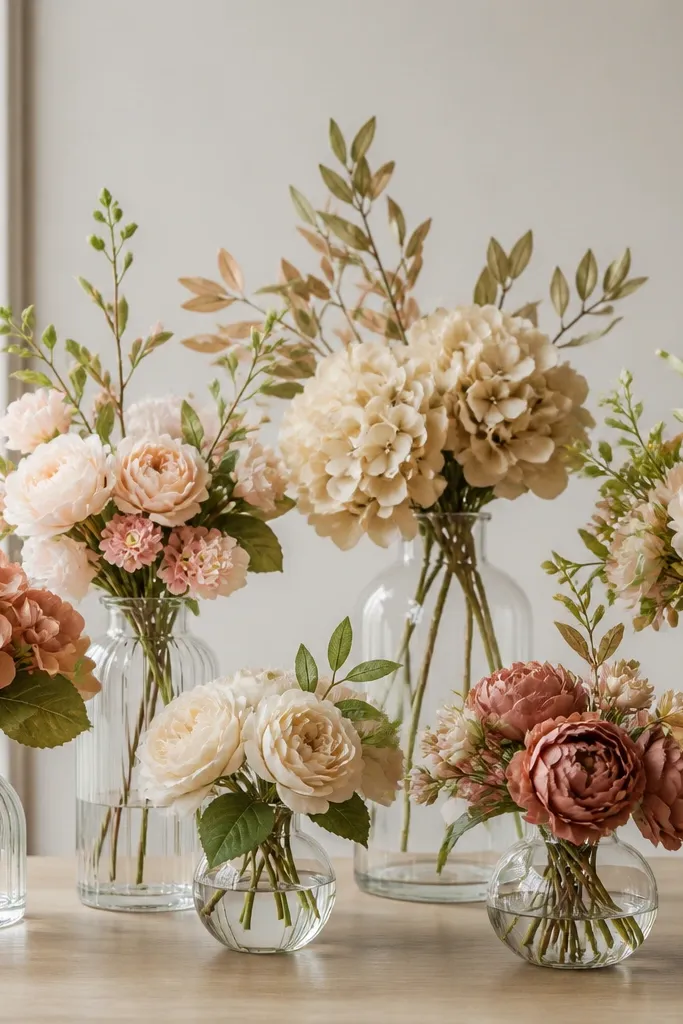
This hybrid move saves time and keeps the look consistent. Faux florals are low_maintenance because they don’t shed petals and don’t wilt in warm venues. The trick is not using the original bouquet shape — you break them into small clusters so tables don’t look like someone dumped a bouquet in a vase. I’ve done this when I needed 16 centerpieces and real flowers were too risky.
Buy one or two store-bought bouquets in your color palette, then separate stems. Trim to 6-8 inch heights for table clusters and 10-12 inches for head table. Put each cluster into a clear 8 oz vase for a uniform look. If the stems look too plastic, wrap exposed stems with floral tape in a matching green.
Quick tipSpray a tiny amount of matte finish on any shiny leaves so they don’t catch harsh overhead lighting.
One warningAvoid leaving full bouquet stems long; it makes the arrangement look tall and bulky in a small centerpiece space.
10. Crepe paper wedding cake topper made from foam letters
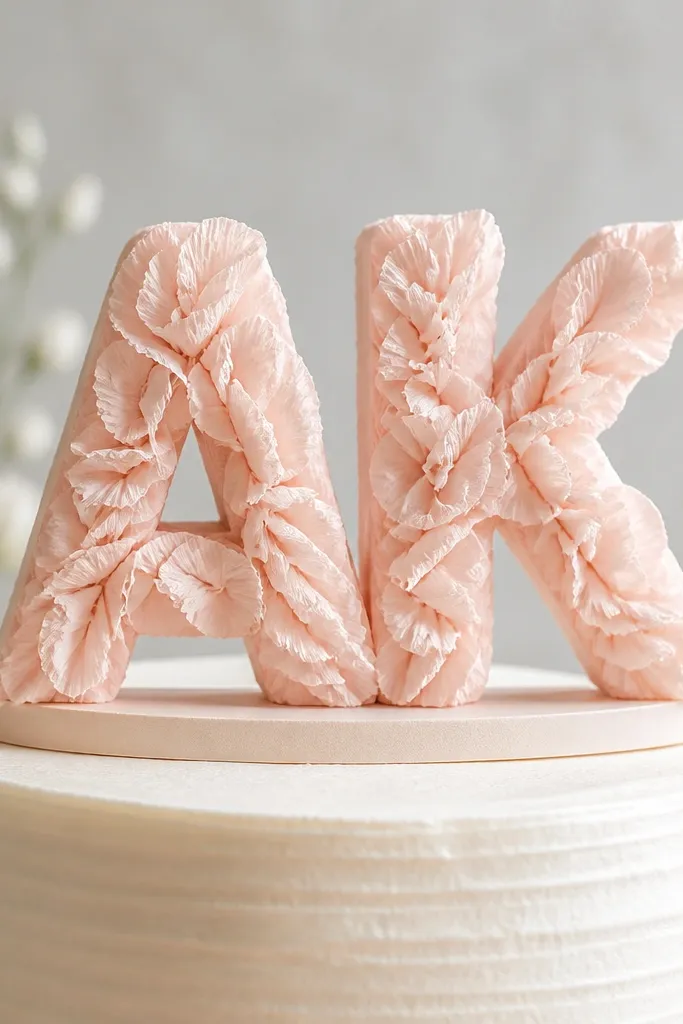
Cake toppers get handled less than centerpieces, but photos catch every detail. Foam letters wrapped in crepe paper look soft and dimensional without needing real flowers. This is low_maintenance because it doesn’t shed or wilt, and it stores better than paper-only toppers. I’ve used it for couples who wanted something personal but didn’t want to paint or carve.
Pick foam letters sized to your cake top (usually 4-5 inches tall for a standard cake). Wrap with thin strips of crepe paper in a repeating pattern: twist the strip, then glue at the edge. Add a small base like a circle of cardstock or a short wood disc. Keep colors tied to your palette: warm white letters with blush crepe accents looks great with champagne cake decor.
Quick tipSeal the topper with matte craft spray once the glue sets so it doesn’t look overly sticky in close-up photos.
One warningSkip chunky glue blobs; they show as bumps on the letters.
11. Low-setup seating chart cards with binder clip frames
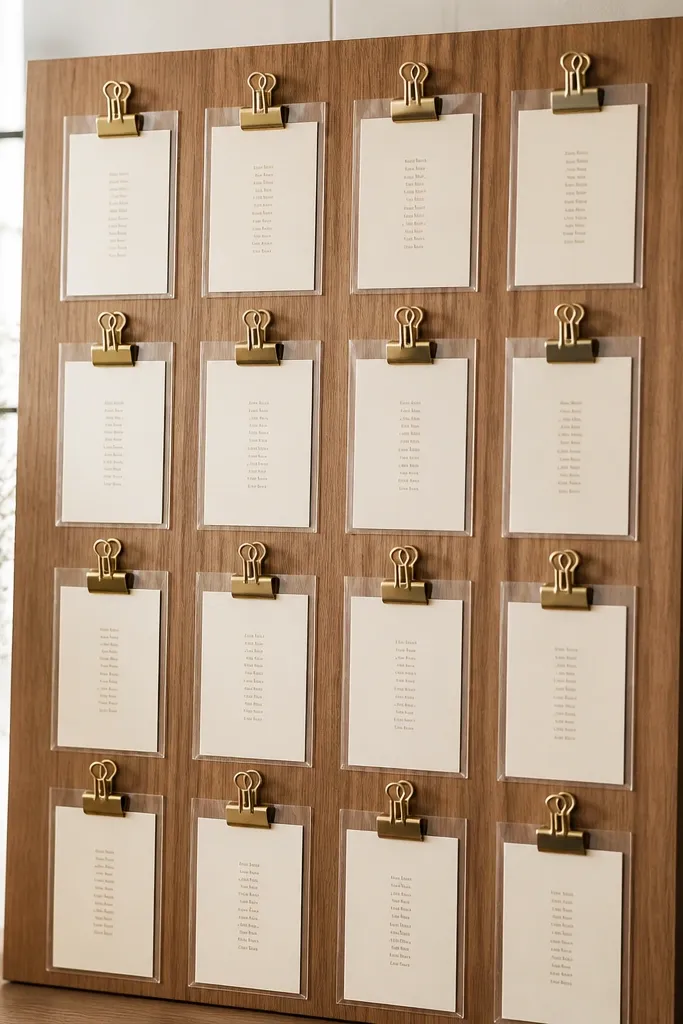
Most seating charts die on day-of because they’re glued or pinned and then people bump them. Binder clip frames let you replace cards fast and keep everything aligned. The clear sleeves protect paper from spills. It’s low_maintenance because setup is just clipping — no measuring tiny pushpins.
Use a flat board or foam board around 18x24 inches. Cut your cards to 4x6 inches and print in a clean font. Put each card into a clear plastic sleeve (the kind used for scrapbooking). Clamp sleeves with binder clips spaced evenly so the board looks balanced. Label sections with one larger header card.
Write table numbers on the back of each card so you can re-sort quickly if a card gets swapped during setup.
Don’t use paper that’s too thin; it curls at the edges in heat.
12. Store-bought acrylic place card holders upgraded with felted feet
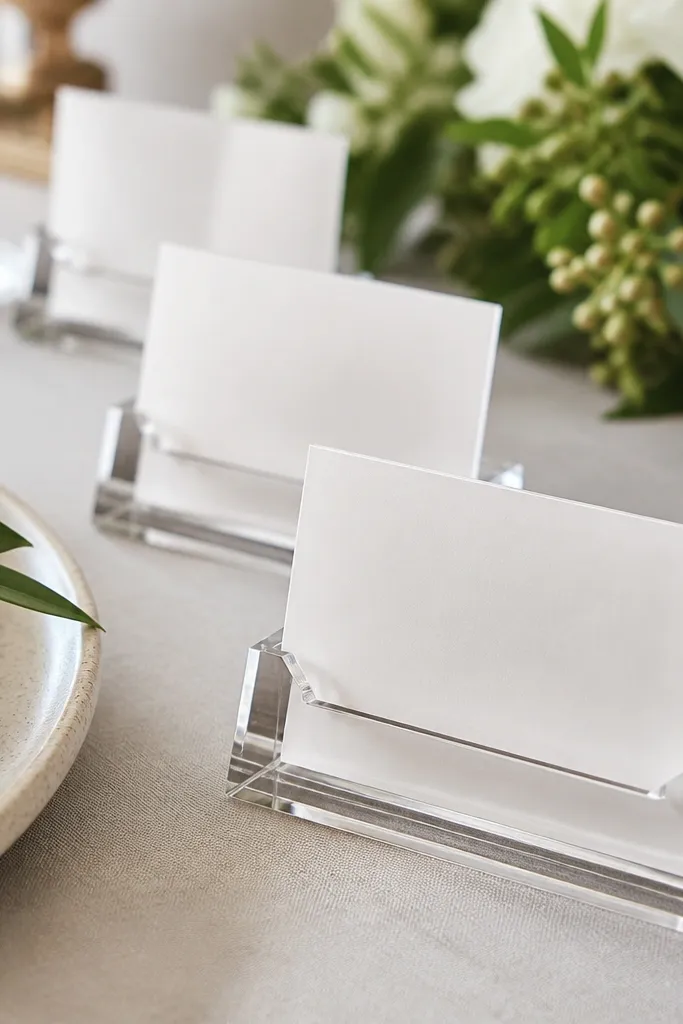
Acrylic holders look sleek, but they slide on smooth tablecloths. This upgrade fixes the biggest annoyance I’ve had: cards drifting when servers pass by. The felted feet make them stable without changing the look. It’s low_maintenance because once you stick the pads, you don’t re-adjust all day.
Clean the bottom of each acrylic holder with alcohol, then apply small adhesive felt circles. Choose felt that matches your tablecloth color (black felt disappears on dark linens, white felt disappears on ivory). Keep the place card size consistent — 3.5x5 inches works well for most holders. Place holders 1 inch from plate edges for a uniform look.
Quick tipTest one holder on your actual tablecloth before you do all of them — some linens grab felt, others don’t.
One warningAvoid foam pads that are too thick; they tilt the card and ruin the alignment.
13. DIY balloon-free "photo wall" using crepe paper ribbons and dowels
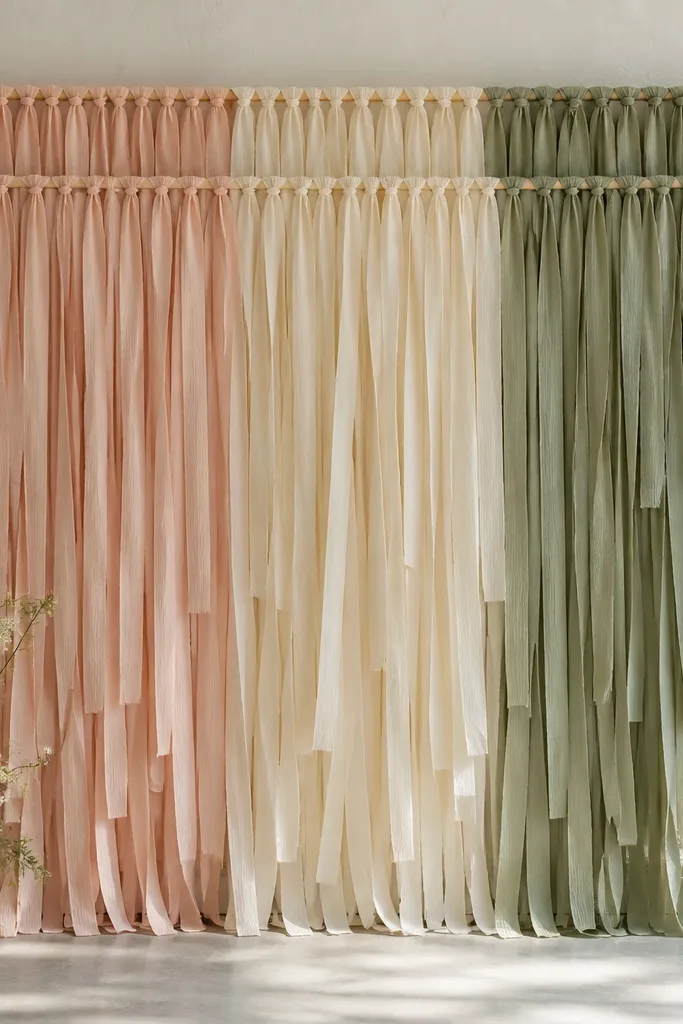
If you hate balloon logistics, this gives the same photo impact without the deflation stress. Ribbons create movement and hide uneven wall texture. Dowels make it stable and reusable. I like this when the venue has strict rules about balloons or when wind makes balloon setups risky.
Use two lightweight dowels or PVC pipes and hang them from a stand or wall hooks. Tie crepe paper ribbons (2-3 inch wide strips) in bundles so each section looks dense. Keep ribbon lengths around 36-48 inches so they hit mid-frame in most photos. Finish edges with a simple knot and trim ends for a clean fall.
Quick tipGroup ribbon colors in 4-6 strip bundles so guests read it as color design, not random strands.
One warningDon’t use overly thin ribbon; it looks wispy and cheap when the camera flash hits.