1. Monogram place cards with Cricut foil vinyl and thick cardstock
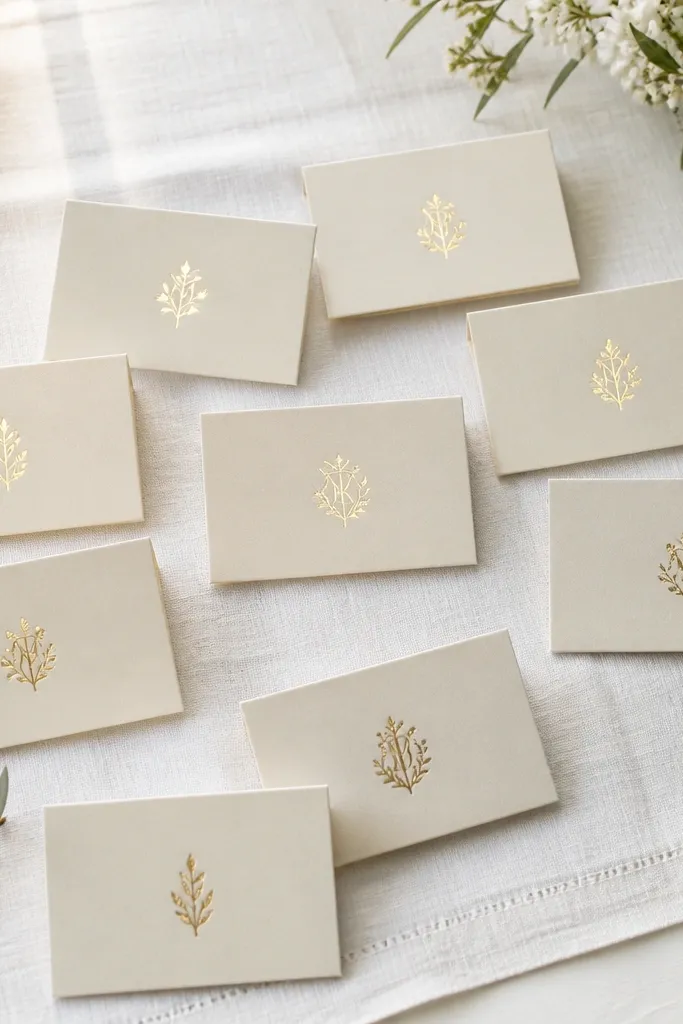
This is the quickest way I’ve found to make place cards look expensive without printing 60 full-color designs. The key is foil vinyl on a matte, thick cardstock so the gold looks crisp and doesn’t smear. I like ivory cardstock at 110-130 lb cover weight because it holds a clean edge when you fold or angle it. Add a tiny alignment mark in your design so the monogram sits consistently on every card.
Quick tipDo one test-cut on a scrap strip of the same cardstock and measure the letter height with a ruler before you cut the full batch.
Cut your monogram in foil vinyl using the thinnest setting your Cricut supports for vinyl, then weed carefully with a fine pick. Mount the vinyl to the front using transfer tape so the letters land flat. Use a small dot of ATG on the back corners if you’re making a tent-style card; it keeps the card from bowing when guests touch it.
One warningDon’t use glitter vinyl on place cards — it looks rough up close and the texture catches fingerprints.
2. Hand-folded mini envelopes for message cards with Cricut-cut liners
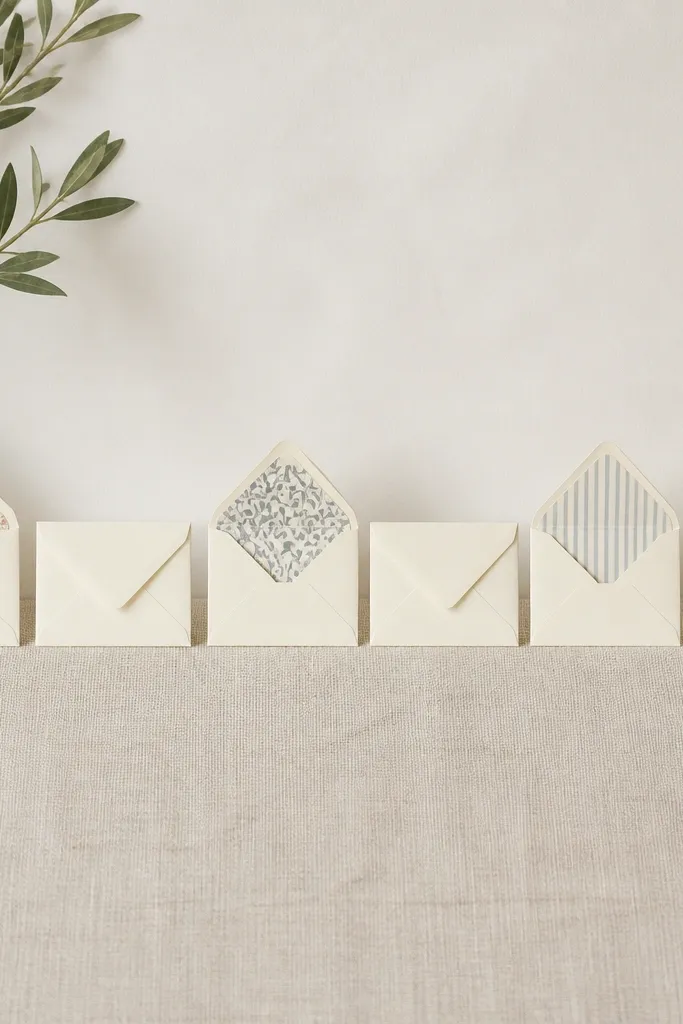
This one is a favorite because the envelope shape feels handmade even if you cut the liner with a machine. The liner gives you that custom look inside without printing full sheets. I use a 6x6 inch paper for the envelope outer and a thinner patterned paper for the liner so it folds without bulk. The contrast — plain envelope outside, patterned inside — reads premium fast.
Quick tipScore the envelope fold lines twice: press lightly the first time, then go over with firmer pressure so the flap closes flat.
Make the envelope from cardstock and fold using a bone folder for a crisp crease. Cut the liner rectangle with Cricut 1/8 inch smaller on each edge so it slides in without catching. Glue with a thin line of craft glue along the liner’s edges; avoid the center so the liner doesn’t buckle.
One warningSkip thick double-sided patterned paper for the liner — it makes the envelope bulky and hard to close.
3. Cricut cut acrylic-style wedding menu sleeves with sealed edges
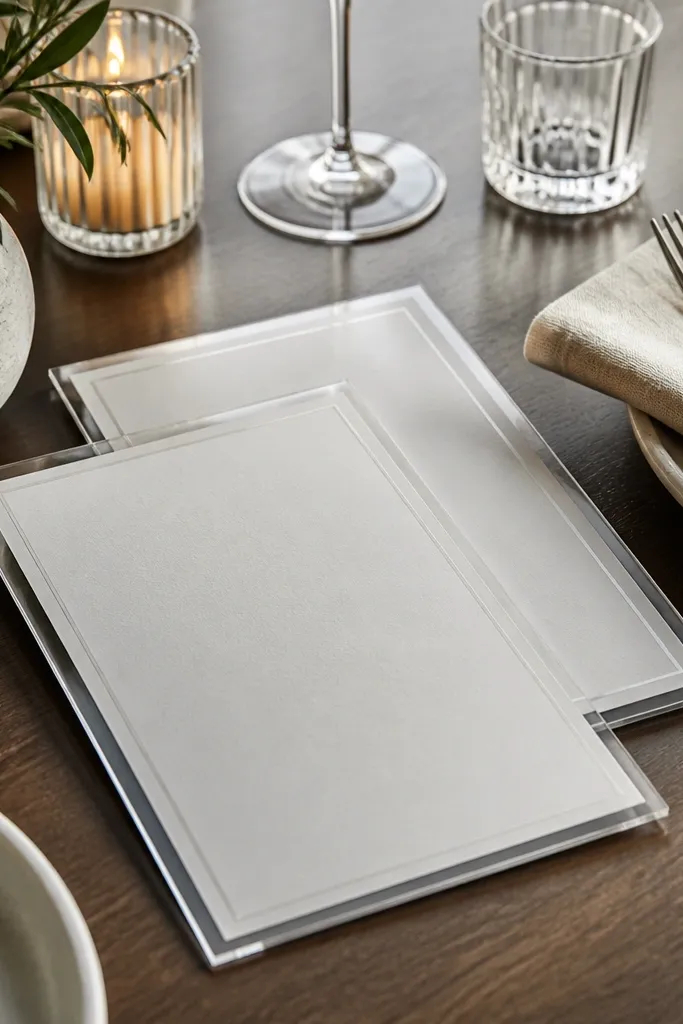
If you want that acrylic look but don’t want to buy acrylic sheets, you can fake it with clear film over cardstock. Cricut cuts the window perfectly, then you seal the edges so the paper doesn’t fray. The effect is clean and modern, especially on a dark table runner. Use a matte printed insert for the text so the film doesn’t glare.
Cut a sleeve base from 110 lb cardstock and add a window opening with Cricut. Cover the window with clear adhesive film or clear contact paper trimmed slightly larger, then press and trim with a craft knife. Insert your printed menu panel and fold the tabs to close.
Use a craft knife and metal ruler for the final trim on the clear film — scissors leave micro-waves that show under lights.
Don’t skip edge sealing — unsealed window cuts fuzz and look messy after a few hours.
4. Cricut vinyl water-bottle labels for a consistent set of 48
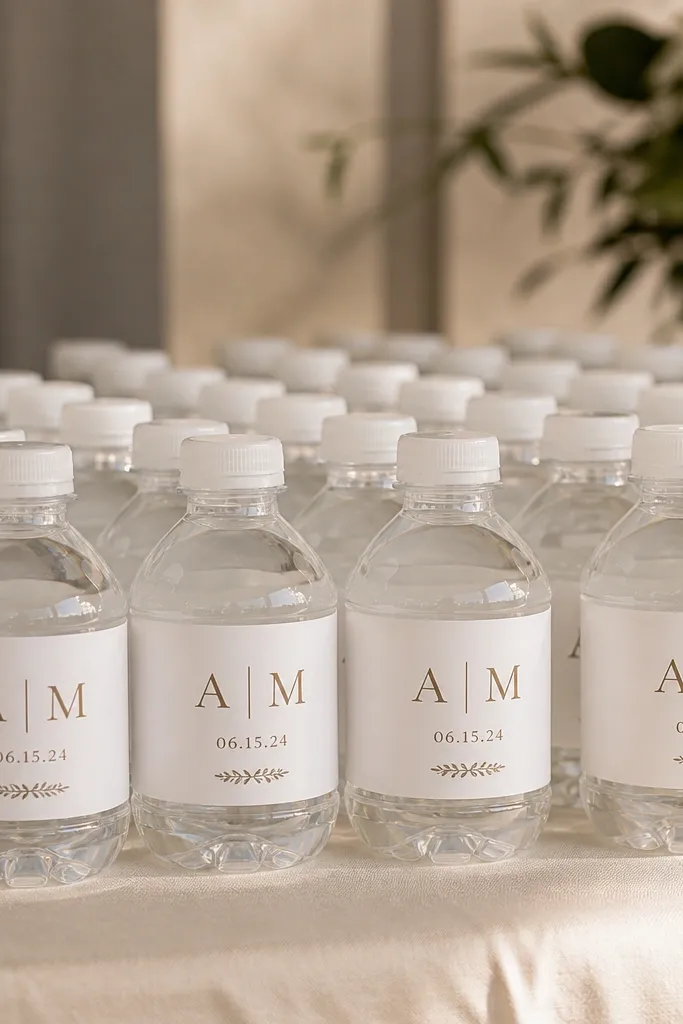
This is where Cricut saves you from handwriting 48 labels. Matte vinyl looks classy on clear plastic and doesn’t glare like glossy prints. Make the label design simple: initials, date, and a tiny icon or border line. Keep each label the same height so the set looks intentional, not random.
Design labels to wrap around the bottle by 1/4 inch for overlap. Cut vinyl and apply with transfer tape so each label lands straight. For the best adhesion, wipe bottles with rubbing alcohol first and let them dry fully before applying vinyl.
Cut a small alignment strip in your design that you use as a placement guide on the bottle — it stops crooked labels.
Don’t apply vinyl to condensation — it traps moisture and the vinyl edges lift.
5. Handmade fabric napkin rings with ribbon knots and tiny tags
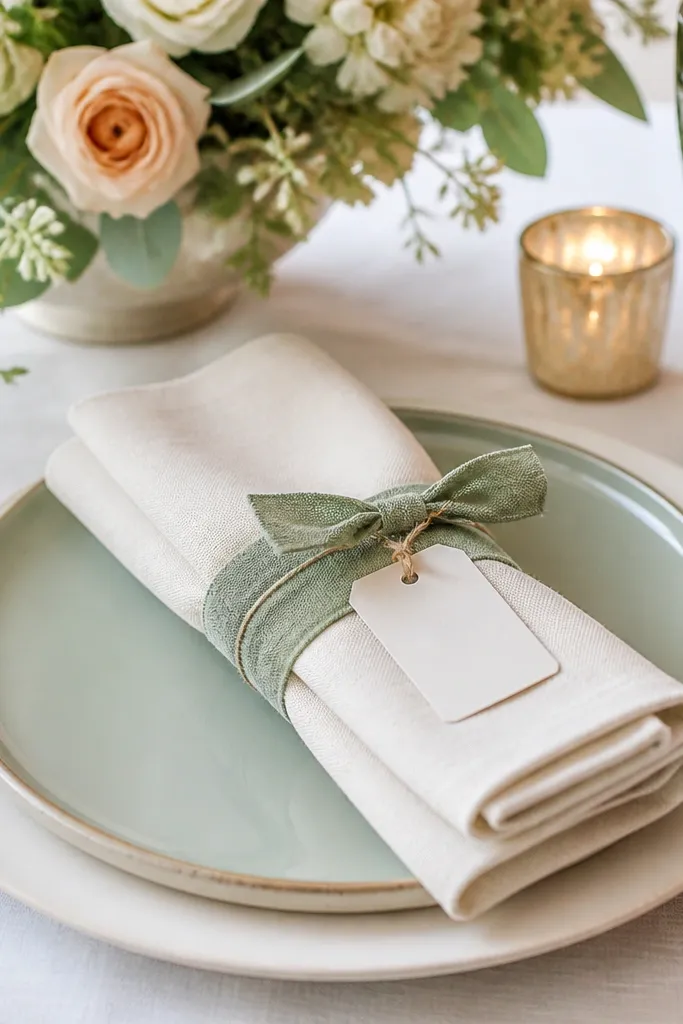
These rings look like you bought them, but they’re built from ribbon and fabric scraps. The knot gives you that dimensional detail that vinyl and paper can’t match. I use 3/8 inch satin ribbon for the knot and a slightly wider fabric strip for the wrap so it holds shape. Tie a tiny tag with a short length of twine — it adds a sweet, personal finish.
Quick tipSteam the fabric strip before wrapping so the ring looks smooth and doesn’t show wrinkles on camera.
Wrap fabric around the napkin and overlap by about 1 inch, then stitch or glue the overlap so it doesn’t slip. Make a tight ribbon knot on the side and glue the tails flat under the knot. Attach a tag that’s about 1.5 inches wide with a hole punch and a 4-5 inch piece of twine.
One warningAvoid loose knots — they flop during service and look sloppy by the time guests notice.
6. Cricut-cut vellum signage with layered shadow backing
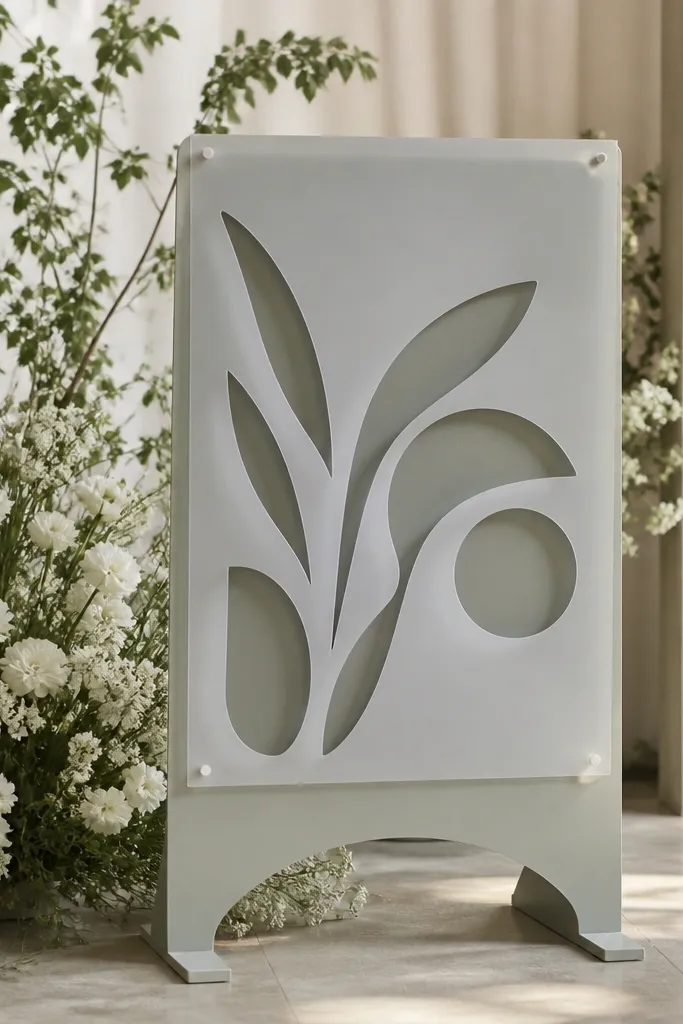
Vellum plus a shadow backing makes Cricut lettering look like a studio prop. The vellum softens the edges and gives a gentle glow under warm lighting. I like cutting the vellum letters and backing them with a solid cardstock layer so you get contrast without printing directly on the vellum. Use a darker backing like deep navy or charcoal.
Quick tipApply vellum with a tiny amount of double-sided tape near the center, not the edges — it keeps the letters from warping.
Cut letters from vellum with the lightest material setting. Back the vellum letters with a solid cardstock layer the same size but offset by 1-2 mm for the shadow effect. Mount the layered piece on a rigid base so it doesn’t sag.
One warningDon’t use glossy backing with vellum — it creates glare that kills the soft look.
7. Handmade watercolor invitation corner seals with Cricut-cut wax stamp frames
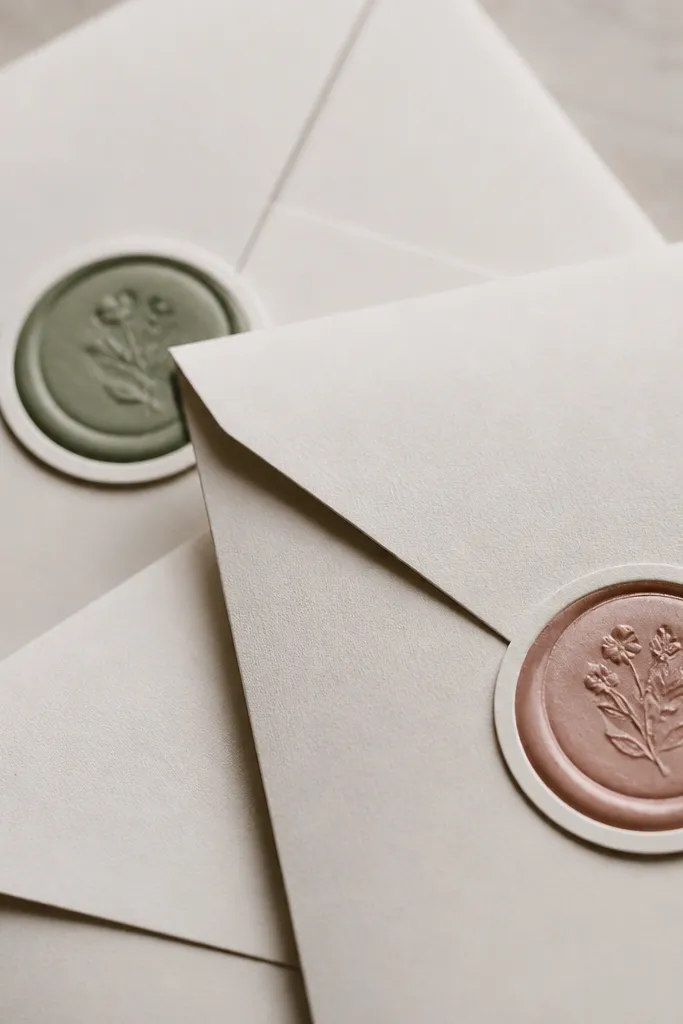
This is a trick I used on a spring wedding because it feels artsy without turning into a full watercolor printing project. The border frame is where Cricut shines — perfect circles, consistent thickness. The faux wax look is handmade using layered ink and a clear embossing powder or wax-look medium so each seal has a subtle variation. The result reads handcrafted while staying consistent across the set.
Quick tipMake the circle center 1/8 inch smaller than the frame so it doesn’t spill over the border.
Use Cricut to cut circular frames from heavy cardstock or thick sticker paper. For the faux wax center, dab watercolor or ink onto a small surface, then seal with clear embossing powder and heat. Glue the finished center into the frame and place it at the envelope corner with strong craft glue.
One warningSkip cheap ink pads — they smear when you seal and ruin the raised look.
8. Cricut monogram cake topper from layered cardstock with a wire base
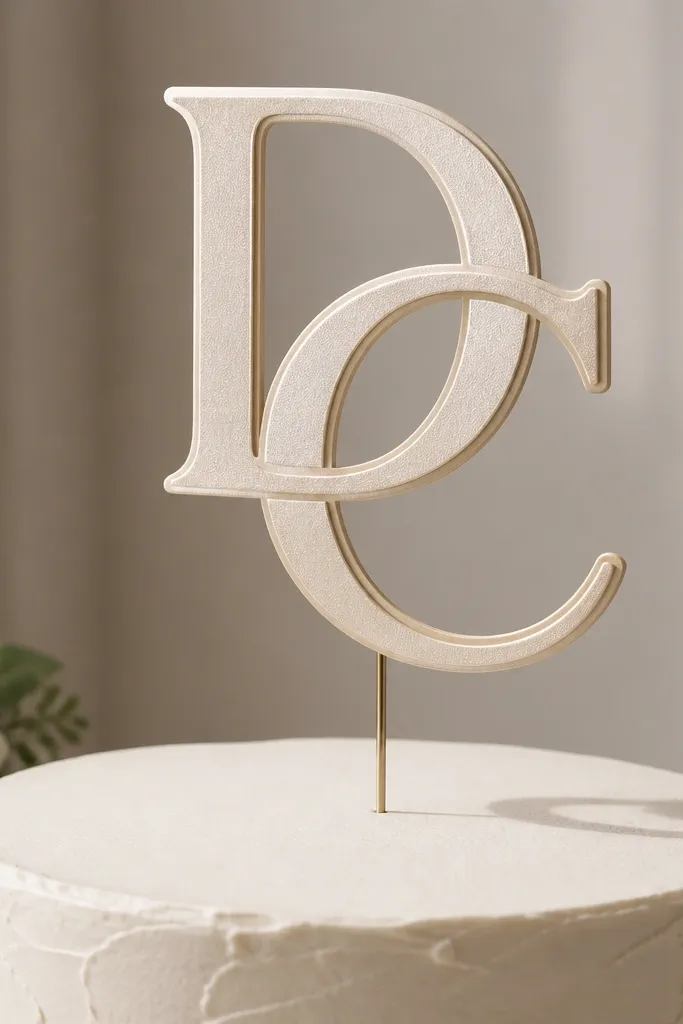
Layered cardstock toppers look clean and lightweight, and Cricut makes the cutouts match perfectly. Add a wire base so the topper sits stable and doesn’t collapse. I like using metallic cardstock for the top layer and matte cardstock for the bottom layer so you get contrast. This style photographs well because the edges cast distinct shadows.
Cut two versions of the monogram — one metallic, one matte — then align and glue the layers with a thin line of tacky glue. Punch a small hole through the center and insert a wire stake, then secure from the back with glue. Keep the topper height around 6-8 inches so it clears frosting without leaning.
Test the wire length on a spare cake box or a stack of books so it lands at the right height.
Don’t use flimsy cardstock — it flexes and the monogram looks crooked.
9. Handmade bead-and-thread escort card tags with a simple card fold
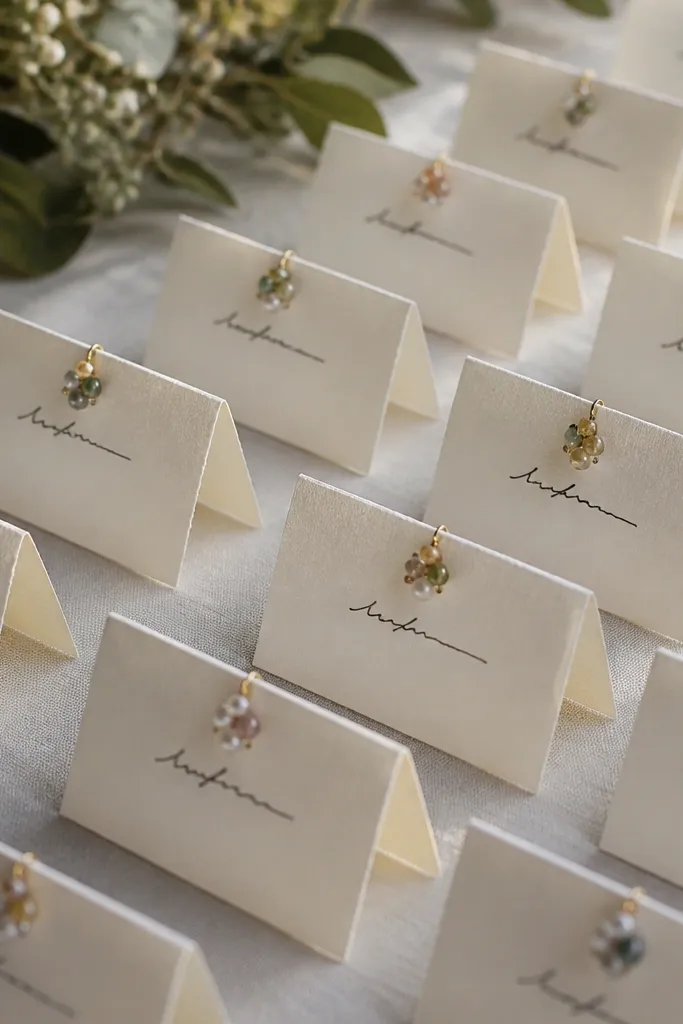
If you want escort cards that feel like jewelry, bead-and-thread tags are the answer. The beads add sparkle without needing fancy printing. I keep the bead design minimal: a tiny seed bead cluster or a short line of micro beads so the tag still reads clearly from a distance. Handmade folding makes the tent stand sturdy and quick to set on a display board.
Quick tipUse a clear-drying craft glue for the bead thread ends so the knots don’t show through from the front.
Use cardstock tags about 3x5 inches and fold into a tent with a crease. Stitch or glue a short thread loop with beads on the top edge, then knot and secure on the back. Write names in a consistent hand or use a simple black stamp for uniformity.
One warningSkip huge bead clusters — they block the name area and look crowded.
10. Cricut adhesive vinyl window clings for ceremony programs
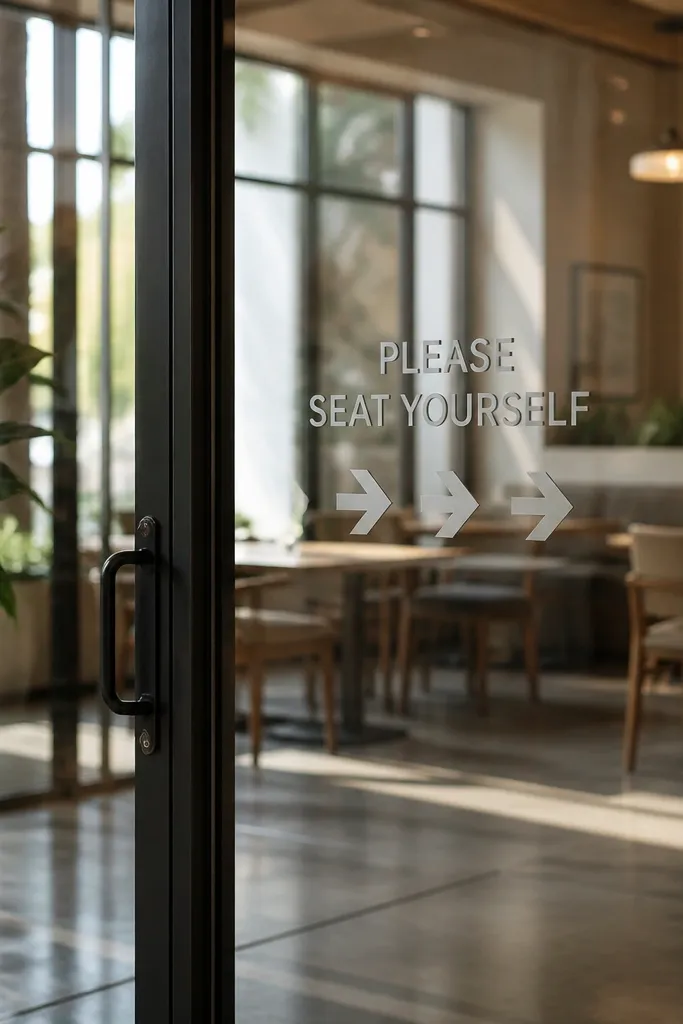
Window clings are the cleanest way I’ve found to guide guests without printing a bunch of freestanding signs. Cricut cuts the text and arrows perfectly, and adhesive vinyl lets you place it directly on glass. Use frosted or matte vinyl so it looks readable but not harsh. This also hides dust and fingerprints better than clear glossy film.
Quick tipWarm the vinyl slightly with your hands before applying — it conforms better to glass texture.
Design arrows and text in one layer for easy weeding. Cut from matte adhesive vinyl, weed the small pieces, then apply to clean glass. Press firmly with a squeegee and keep the edges aligned so guests don’t tug them off.
One warningDon’t apply on dirty glass — the cling edges lift within an hour.
11. Hybrid menu sleeves with Cricut-cut vellum bands and handmade name stickers
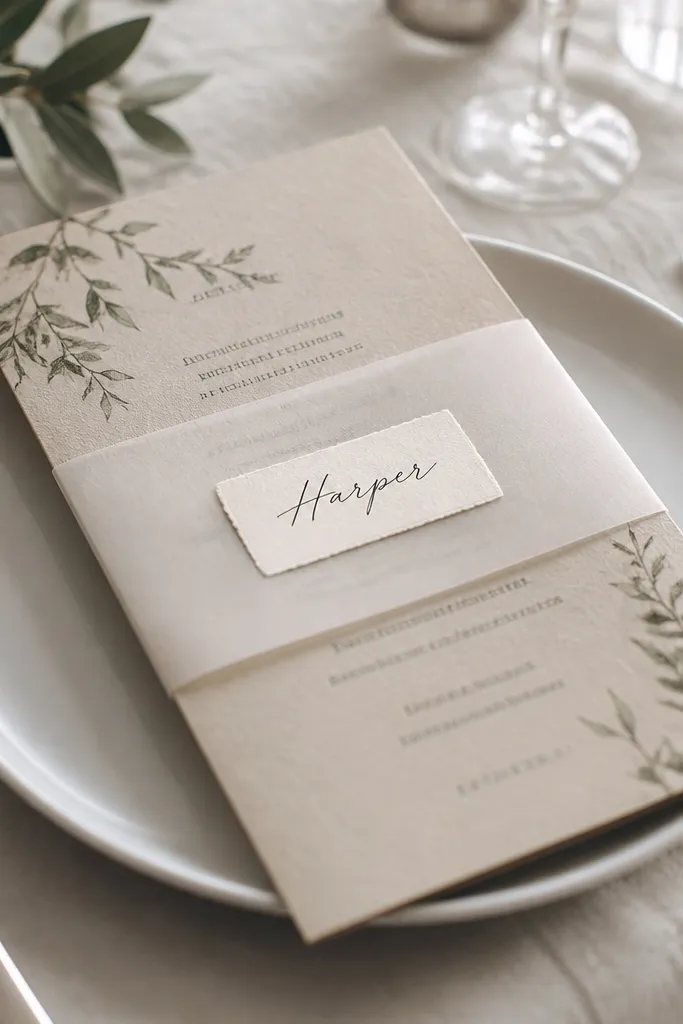
This is a hybrid trick that looks custom even when you’re doing a lot of guests. Cricut cuts the vellum band so every sleeve matches, while handmade name stickers add individuality. The soft translucency makes the handwritten names feel intimate. Use thin vellum so the sleeve doesn’t get bulky around the menu.
Cut a vellum band with Cricut and wrap it around a menu insert sleeve base. Make name stickers from a small cardstock rectangle and write with a fine tip black marker, then seal the sticker with a thin layer of clear matte spray. Glue the sticker onto the band after the band is attached.
Write names in pencil first and erase — it saves you when a guest’s name has tricky spelling.
Don’t use thick marker ink on vellum — it bleeds and looks fuzzy on camera.
12. Cricut-cut cotton tag labels for favors with stitched twine
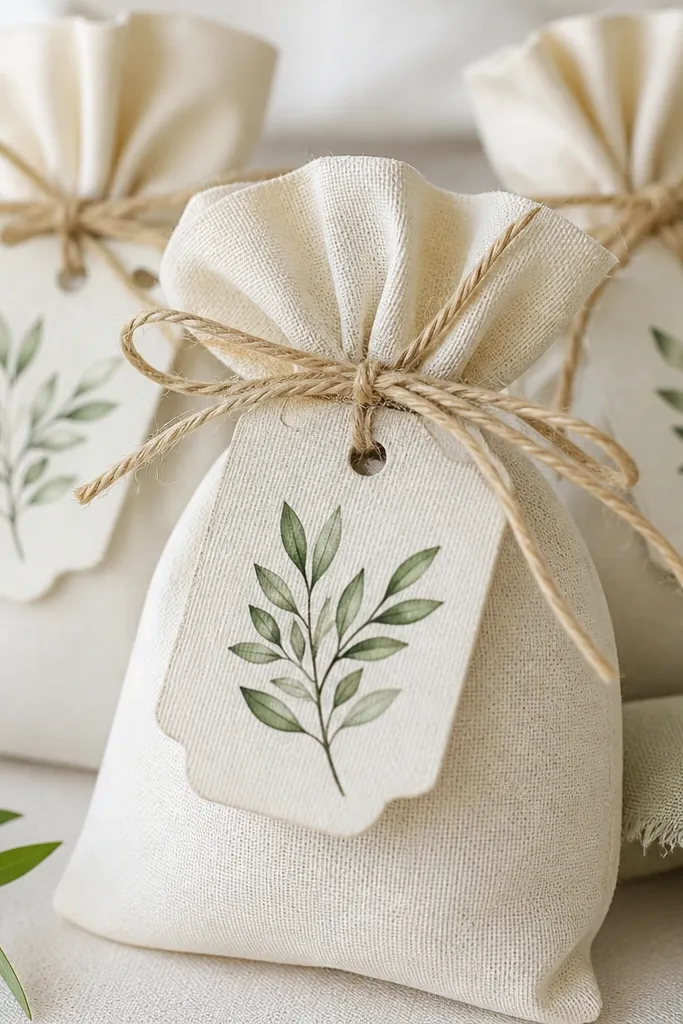
Cotton tags make favors feel handmade even when the design is cut by machine. Cricut can cut fabric cleanly if you use the right stabilizer and settings, then you add the label detail with iron-on or permanent marker. I love using natural cotton tags with a simple icon and initials. It looks soft and reads well next to rustic table decor.
Cut cotton tag shapes with stabilizer backing so they don’t shift. Add iron-on vinyl or use a fabric-safe pen for the design. Seal the edges by trimming with pinking shears or folding and gluing a thin hem so the tag doesn’t unravel.
Use a single color palette: one ink color and one twine color. It keeps the favors looking cohesive.
Skip stretchy fabric — the cut edges warp and the tag shape looks uneven.
13. Handmade paper flower napkin rings with rolled petals and Cricut center dots
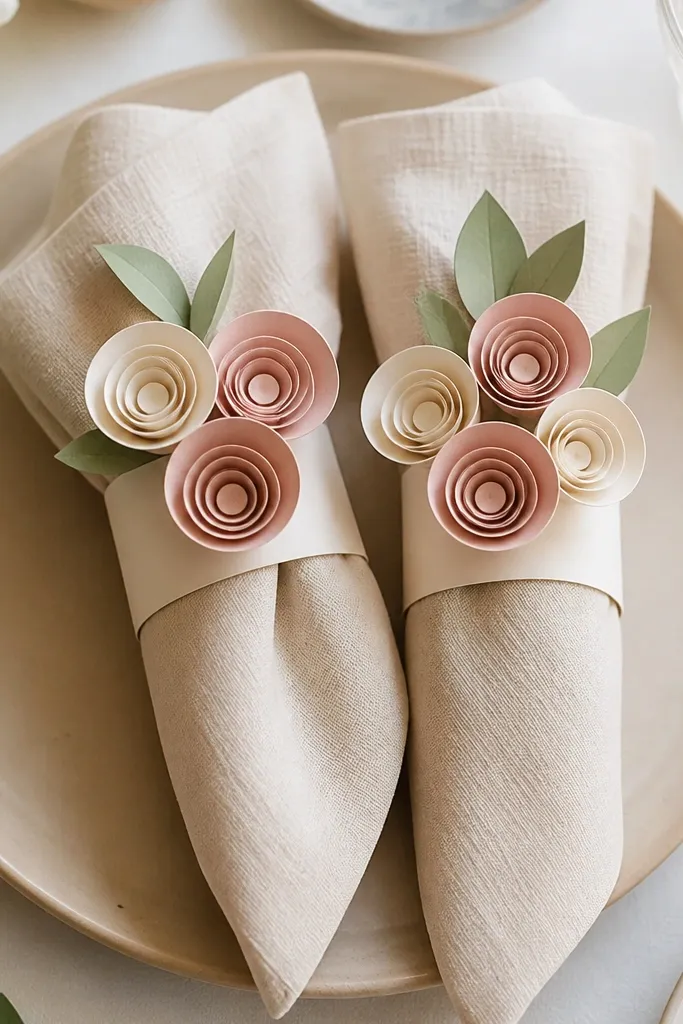
Paper flowers add drama without spending on real blooms for every table. I roll the petals by hand for that natural curl, then use Cricut to cut perfect center dots so the flower looks balanced. Choose two petal colors and one center color. The contrast makes the ring pop in photos even when the room lighting is dim.
Quick tipUse a spray bottle to lightly mist the petal paper before rolling — it helps the curl hold shape.
Roll petal strips tightly, then glue the base to form the flower. Cut center circles with Cricut from cardstock that matches your color theme. Attach the flower to a fabric or cardstock wrap band with a small glue dot so it stays secure while guests handle it.
One warningDon’t use thin printer paper — it collapses and the flower looks flat.
14. Cricut personalized aisle runner labels with removable vinyl squares
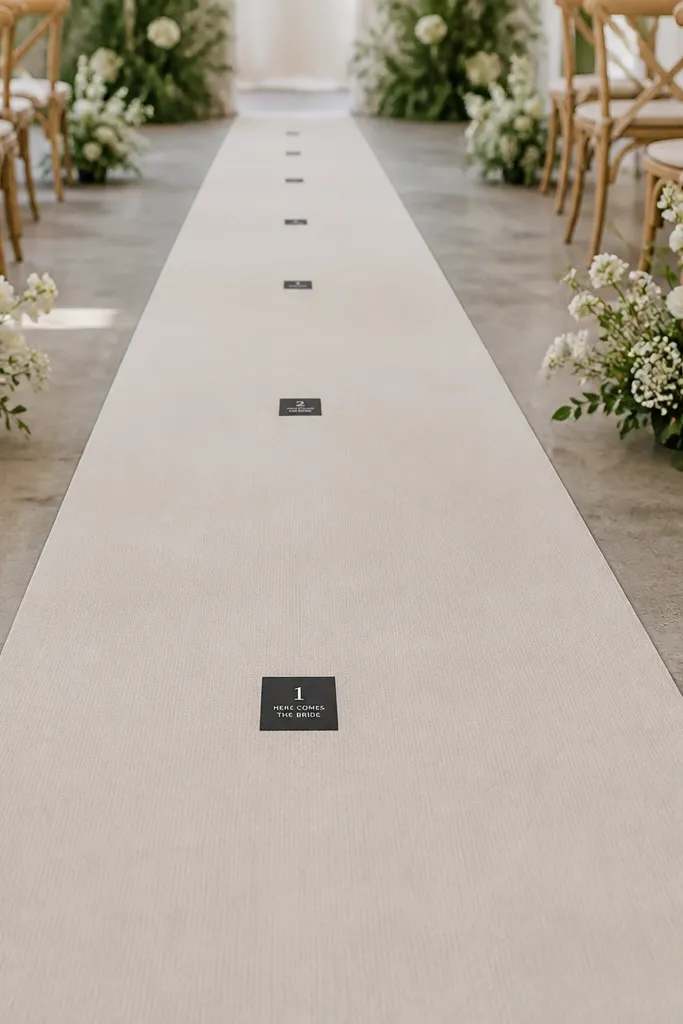
If you want seating guidance without taping down big signs, use small vinyl squares. Cricut cuts consistent numbers so the spacing stays even across the aisle. I use removable vinyl or apply vinyl to a clear transfer backing and place it with careful pressure. This method also works for rehearsal and cleanup because you’re not leaving behind paper trash.
Design squares 2x2 inches with the number centered. Cut vinyl and apply with transfer tape so each square lands exactly. Press edges with a fingertip and lift slowly for removal after the ceremony.
Mark your placement on the floor with painter’s tape before you apply vinyl — it prevents drift across the aisle.
Don’t use permanent vinyl on textured fabric runners — it tears fibers when you remove it.
15. Handmade ribbon-wrapped candle labels with cutout monograms
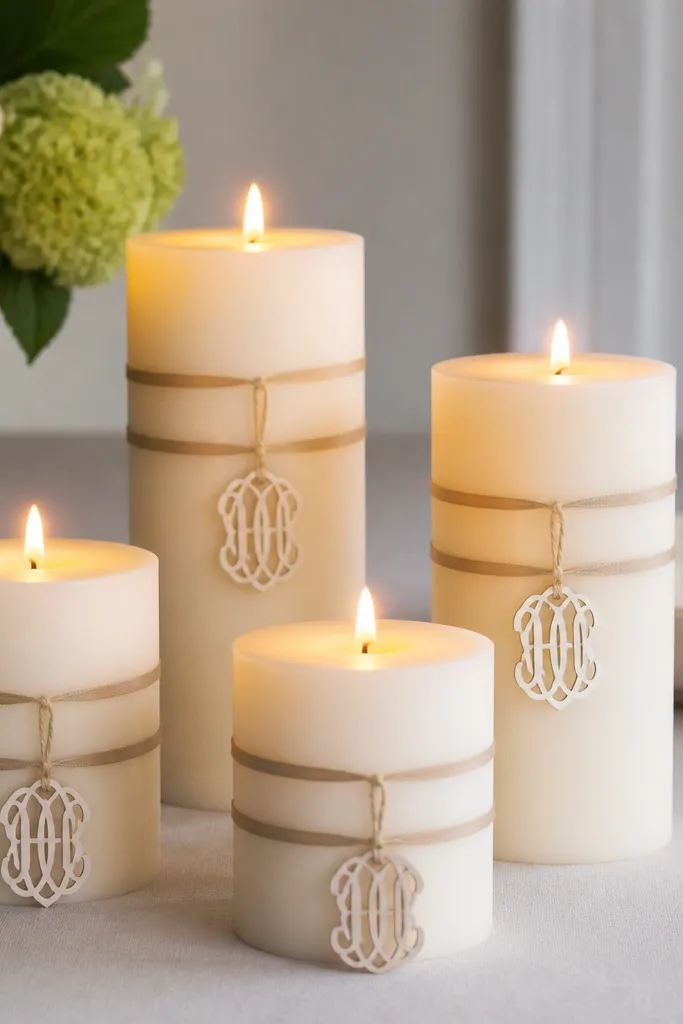
Candles get noticed when the room is dark, and ribbon-wrapped labels look intentional at a distance. The handmade part is the ribbon tightening and the way the label sits centered. I use a cutout monogram label because it looks clean and doesn’t require printing. The candle glow also makes the ribbon look richer.
Wrap ribbon around the candle and overlap behind the candle so the front stays smooth. Cut a monogram label from cardstock using Cricut or a die, then tie it to the ribbon with a short twine loop. Keep label size around 1.5 inches wide so it doesn’t crowd the candle.
Tie the twine with a surgeon’s knot and trim ends close — it stays tidy through the evening.
Skip thick ribbon — it hides candle shape and makes the label look off-center.
16. Cricut-cut acetate raffle sign with layered text for readability
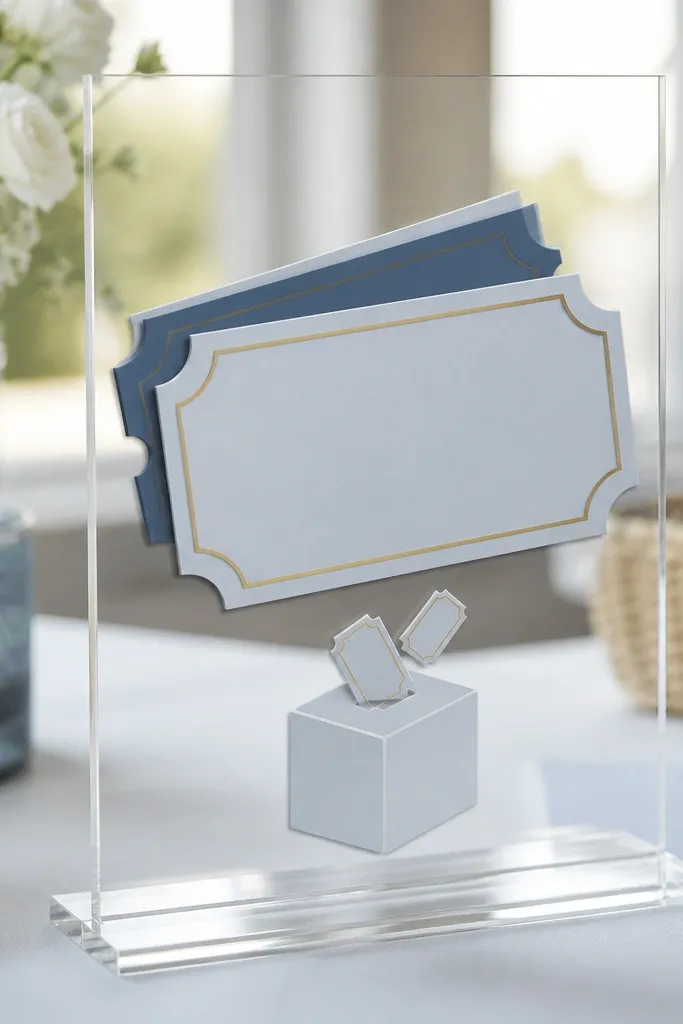
Clear acetate signs look modern, and Cricut makes the layered text easy. The trick is layering so the letters stay readable from across the room. I use dark shadow behind light letters, then add a thin border so the sign doesn’t look floating. This style works best for evening receptions where lighting makes acetate feel glossy.
Quick tipUse large font sizes — 3-4 inch tall letters — if guests will read it while walking.
Cut letters from adhesive vinyl for the top layer and a second darker layer behind it. Apply to acetate with a backing so the vinyl doesn’t shift while you press. Mount on a foam board or acrylic stand so it stays upright.
One warningDon’t make the letters too thin — small strokes disappear under warm lighting.
17. Handmade watercolor table number cards with Cricut-cut frame borders
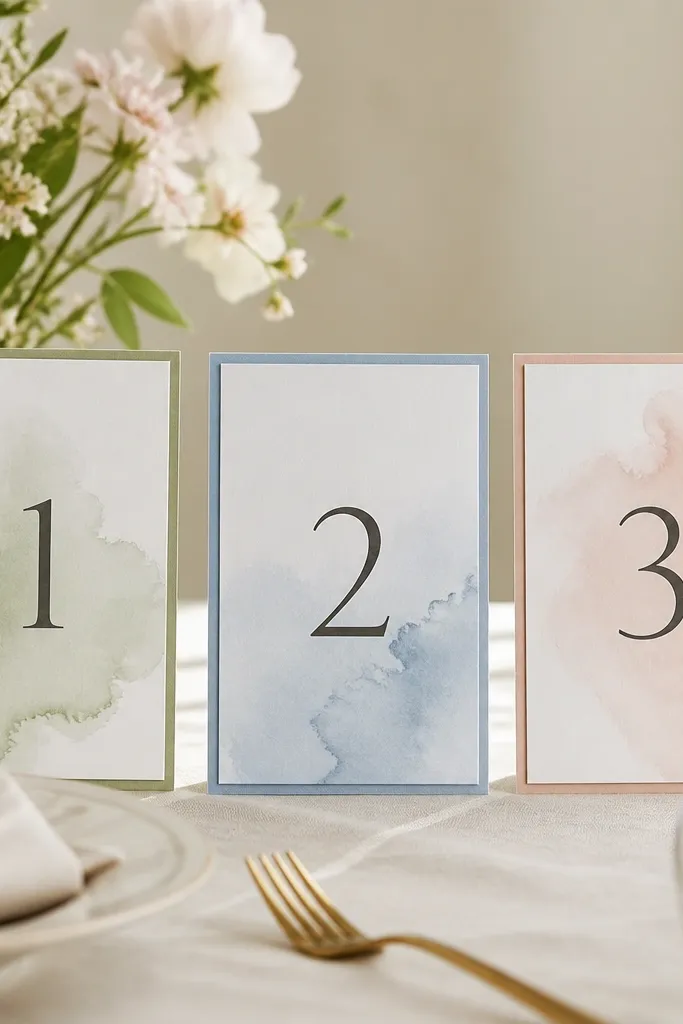
Watercolor table numbers feel custom, but you still need crisp structure. Cricut-cut frames give you straight lines and repeatable border thickness. I layer watercolor behind the frame so the color stays soft but the number stays sharp. Keep the watercolor loose, then let the frame do the order.
Quick tipLet the watercolor dry fully, then spray a light matte seal so the ink doesn’t lift when you glue the frame.
Paint watercolor wash on watercolor paper sized to fit your frame opening. Cut the frame border with Cricut from cardstock and glue it over the finished wash. Write the number with a fine tip pen or stamp it, then place it centered inside the frame.
One warningDon’t rush the glue — wet paper warps under adhesive.