1. Magnetic Photo Strip for His Desk
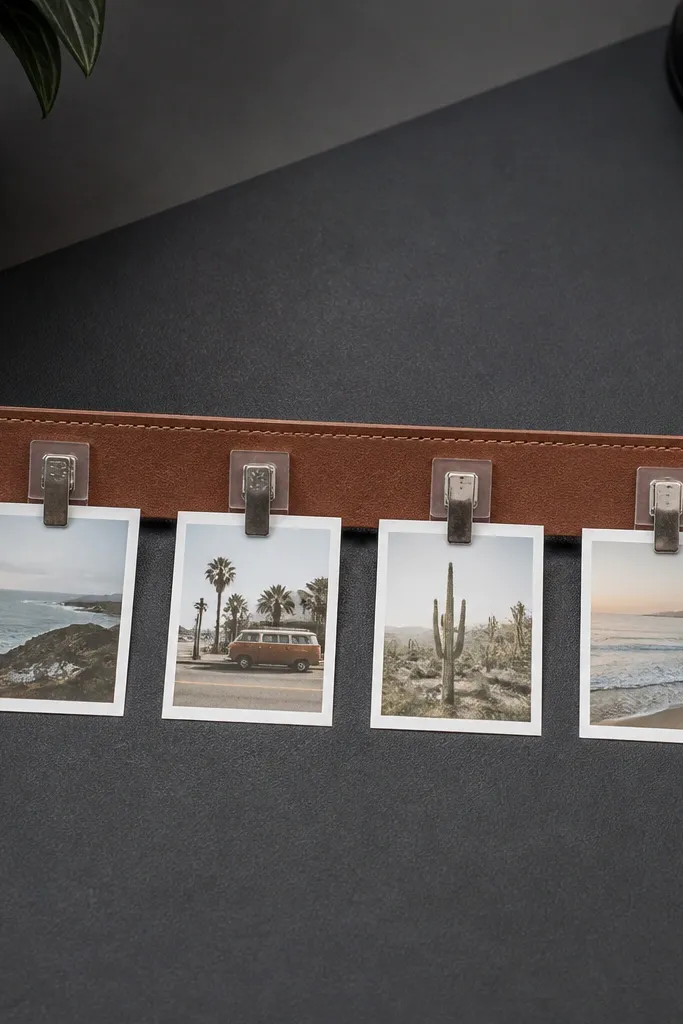
This gift turns a boring photo collage into something he can rearrange without touching glue. The magnets give him a satisfying click, and the faux leather edge makes it look intentional. I like using matte faux leather (black or deep brown) because it hides fingerprints and looks clean under office lighting. The clear acrylic tabs keep the photos visible and protected.
Quick tipBefore gluing anything, hold the strip against the metal surface he’ll use (monitor base or a metal file cabinet) and mark where the magnets land.
Cut a faux leather strip about 10 inches long and 1.5 inches wide. Affix three small rectangle magnets spaced evenly (about 3.5 inches apart) on the back. Add two clear acrylic tabs per photo spot so each photo slides in and clips to the tab with a tiny binder-clip style clamp. Use photos that are 2x3 inches or trim them down to 2x2.5 for the best fit.
One warningAvoid using cheap round fridge magnets — they wobble and make the strip look loose.
2. Fabric-Glued Keychain Bookmark for His Bag
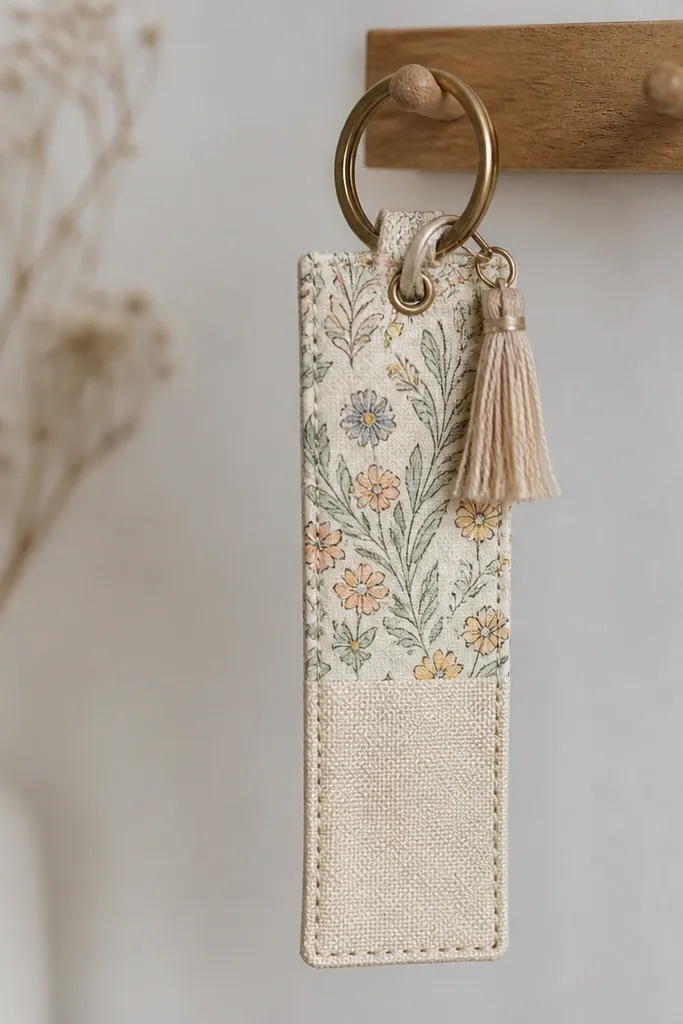
This is one of my favorite no-drill gifts because it’s small, fast, and it travels with him. Fabric glue lets you create a “stitched” finish without a sewing machine. The keyring attachment means he can clip it onto his backpack or key loop. I like pairing a patterned cotton front with a thicker canvas back so it holds shape.
Quick tipRound the bottom corners with scissors — it instantly makes the bookmark feel handmade and less boxy.
Cut two rectangles 10 inches by 2.25 inches. Choose a patterned cotton for the front and a solid canvas for the back. Apply fabric glue along the edges, press for 30 seconds, then clamp with clothespins while it cures. Add a small tassel made from embroidery floss strands and attach it to the top corner before sealing.
One warningSkip thin felt alone; it flops and curls after a few weeks.
3. No-Sew Cable Wrap with Velcro Strap
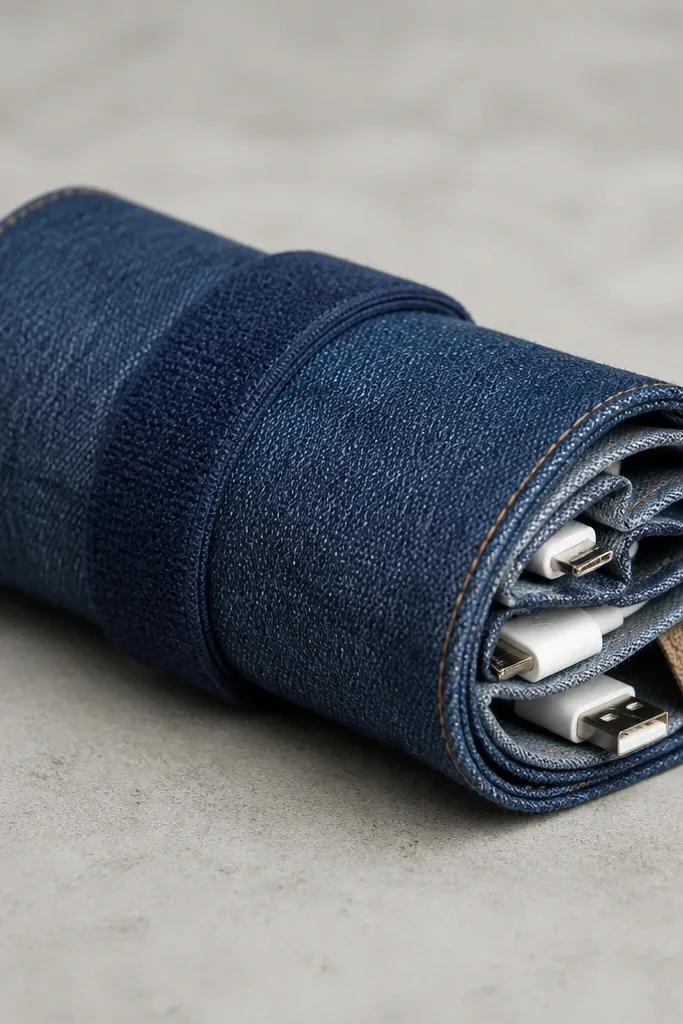
He’s always losing charger cords, and this fixes it without drilling into anything. The wrap keeps cables from tangling, and the Velcro strap holds the roll tight. Denim looks rugged and hides scuffs, while a contrasting label patch makes it look like a real product. You can include a short cord and he’ll use it immediately.
Quick tipTest with his actual cable length before cutting — a 1-inch difference changes how the wrap closes.
Cut a denim rectangle about 12 inches long and 6 inches wide. Fold it so the middle forms a U-shaped channel, then glue the sides with fabric glue (no sewing). Use a 6-inch strip of Velcro for the closure. Add a small fabric label patch on the outer flap with fabric glue.
One warningDon’t rely on hot glue for the Velcro — it peels after a few heat cycles in a car.
4. Clip-On Car Phone Mount Tray (No Drill)
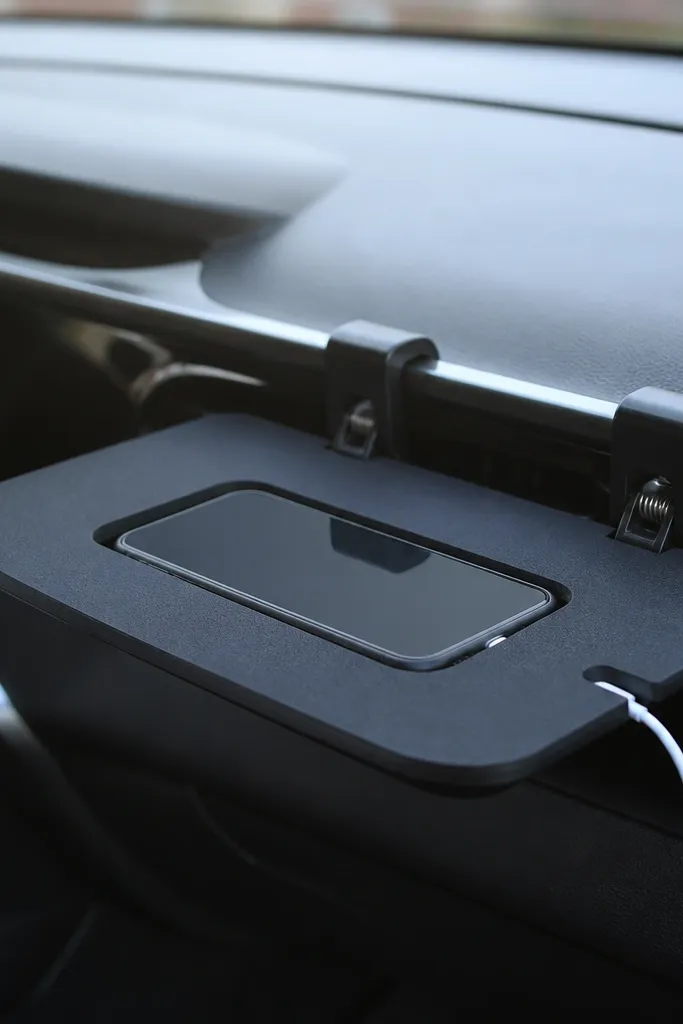
This gives him a place for his phone without drilling into the dash or buying a messy suction mount. Coated foam board is light and holds shape, and the clip-on attachment stays removable. The tray keeps the phone from sliding and makes it easier to grab at stoplights. I like adding a small side notch so the charging cable sits neatly.
Quick tipPaint or wrap the tray in vinyl before mounting so it wipes clean after dust and fingerprints.
Use coated foam board or craft plywood sealed with clear matte sealer. Cut a phone-sized opening leaving a 0.5-inch lip around the edges. Attach two spring clips on the back using epoxy or strong adhesive meant for plastics and sealed wood. Add a side cable notch about 0.75 inches wide.
One warningAvoid vent-only clips if his vent fins are narrow; the tray will slip.
5. Peel-and-Stick Aftershave/Cologne Mini Shelf
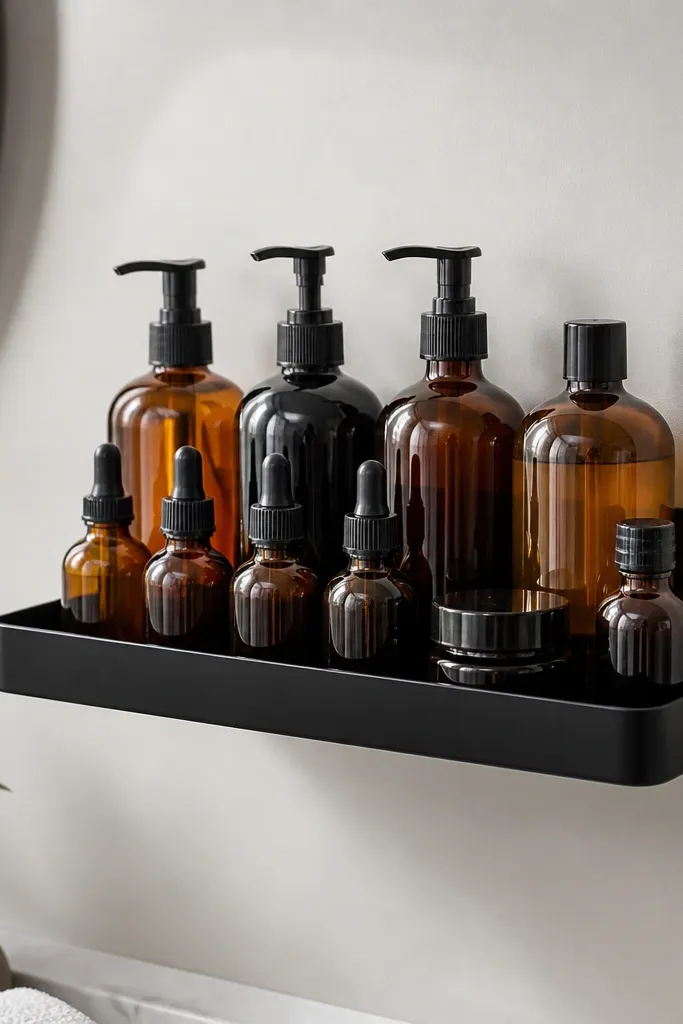
If he keeps toiletries on the counter, this turns them into a tidy display without drilling. Peel-and-stick mounting squares give a clean install when the surface is smooth and clean. A shelf with a raised lip keeps bottles from sliding when the door bumps it. I use a matte finish because it hides water spots.
Quick tipUse it in a spot that stays dry — bathroom steam weakens adhesives fast.
Use a small wood or acrylic shelf about 8 inches wide with a 0.5-inch raised front lip. Clean the mounting wall with rubbing alcohol and let it fully dry. Apply peel-and-stick mounting squares to the back and press for 60 seconds. Cure time matters, so avoid loading it heavy for 24 hours.
One warningSkip textured paint walls; peel-and-stick won’t hold the weight.
6. Upcycled Denim Wallet Card Holder
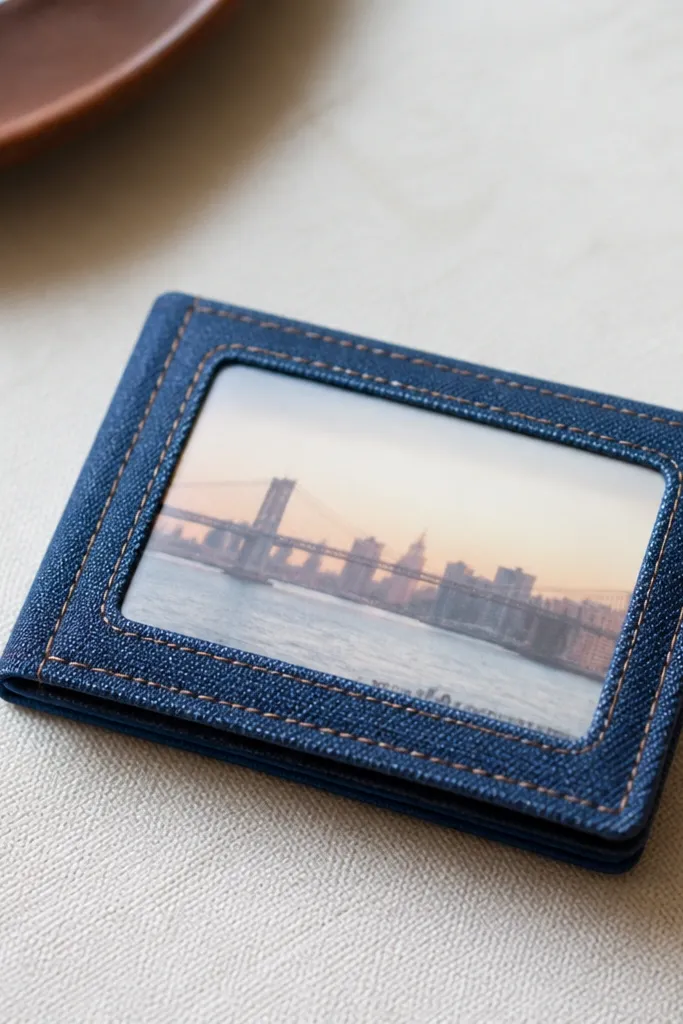
This is a no-drill gift that feels personal and looks better the more it’s used. Denim holds its shape, and the folded seams keep cards from slipping out. A clear vinyl pocket lets him see a transit card or ID without exposing the whole wallet. I like using the inside pocket seam for a built-in “stop.”
Quick tipSand the cut edges lightly with fine sandpaper — it removes fraying and looks factory-made.
Cut a denim rectangle about 7 inches by 4 inches. Fold it so it becomes a sleeve, then glue along the sides with fabric glue. Add a clear vinyl rectangle about 6 inches by 2.5 inches to the front panel using glue along three edges. Trim the corners so it slides into his wallet easily.
One warningAvoid stretchy jersey denim; it collapses and makes the holder sag.
7. No-Drill Desk Cable Dock with Push-Pin Ties
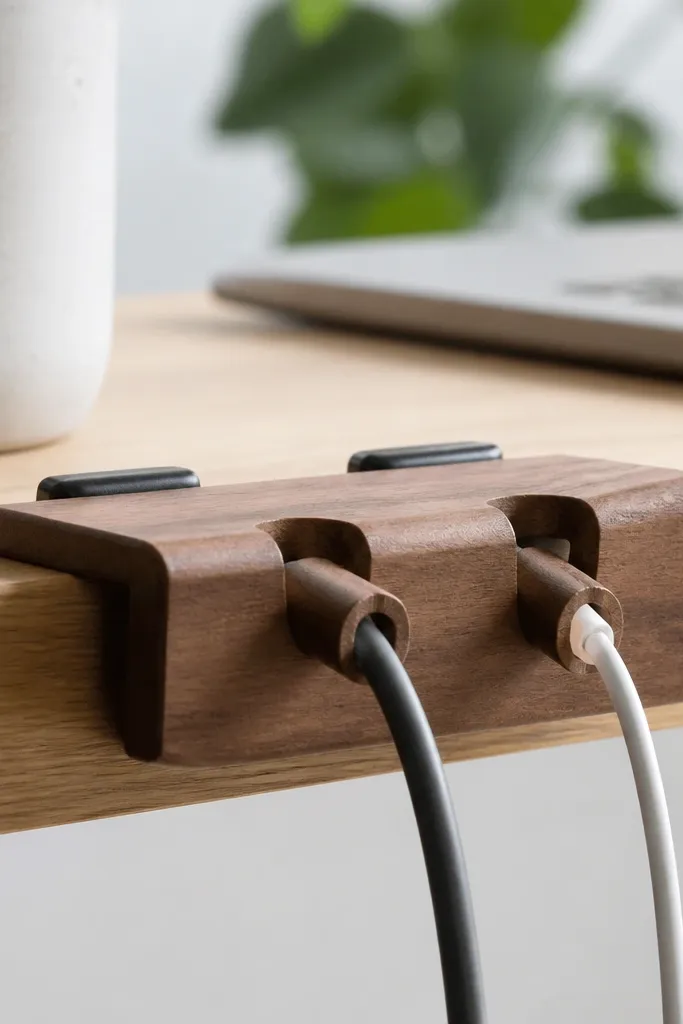
If his desk looks like spaghetti, this gives cords a home with zero drilling. The dock uses sticky-backed cable tie bases so the ties stay put. It also keeps plugs from getting pulled when someone trips the cable. The wood top makes it feel sturdy instead of like a craft project.
Quick tipBefore sealing, test the glue on the underside — some cheap wood releases dust that weakens adhesive later.
Use a short wood block (about 6 inches long, 2 inches wide). Seal it with matte clear coat. Glue or tape on two rows of cable tie bases on the top and side. Wrap cables using small fabric zip ties or reusable ties, then anchor them in the loops.
One warningDon’t tie cables too tight; leave a 1-inch slack loop so he can move his devices.
8. Magnet + Cork Coaster Set for His Drink Station
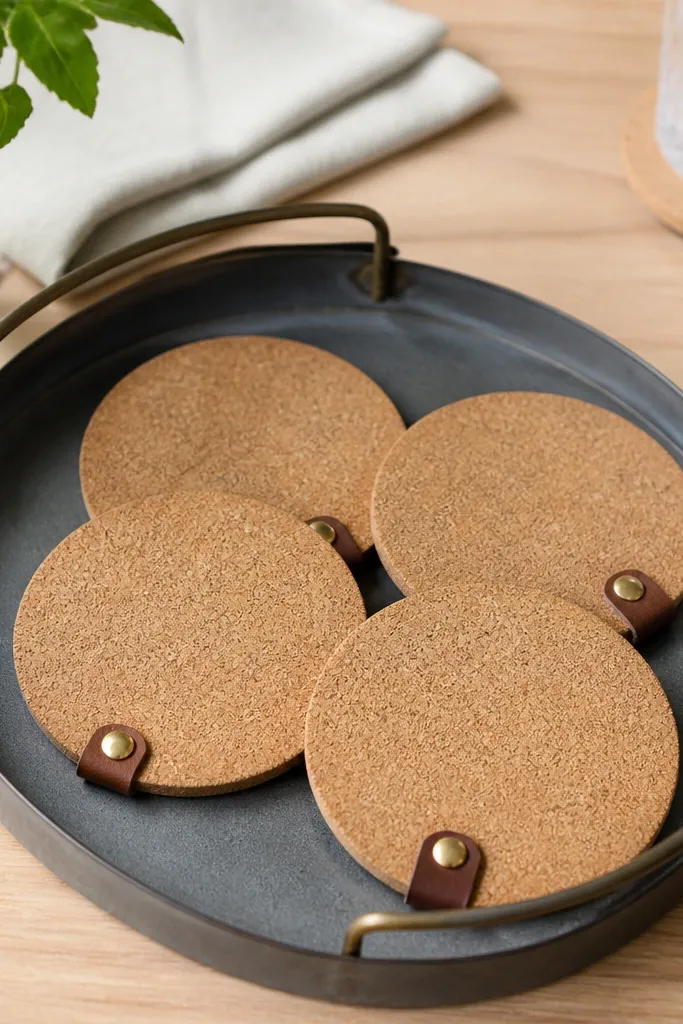
This one looks like a curated set, but it’s actually easy. Cork protects surfaces, and the magnets let him stick the coasters to a metal tray or fridge for quick cleanup. Leather labels make it personal without adding bulk. I like pairing warm cork with black leather because it looks sharp in any room.
Cut cork coasters to 4-inch squares if you’re not buying pre-cut. Hot glue or epoxy a small magnet to the center of the back. Add leather label strips (about 1 inch by 2 inches) with fabric glue, and write with a paint marker. Seal the cork tops with a thin matte sealant.
Use a scrap of cardboard under the cork while sealing so you don’t glue it to your work surface.
Avoid glossy sealant; it shows fingerprints and makes the cork look wet.
9. Heatless Beard or Hair Wrap with Ribbon Tie
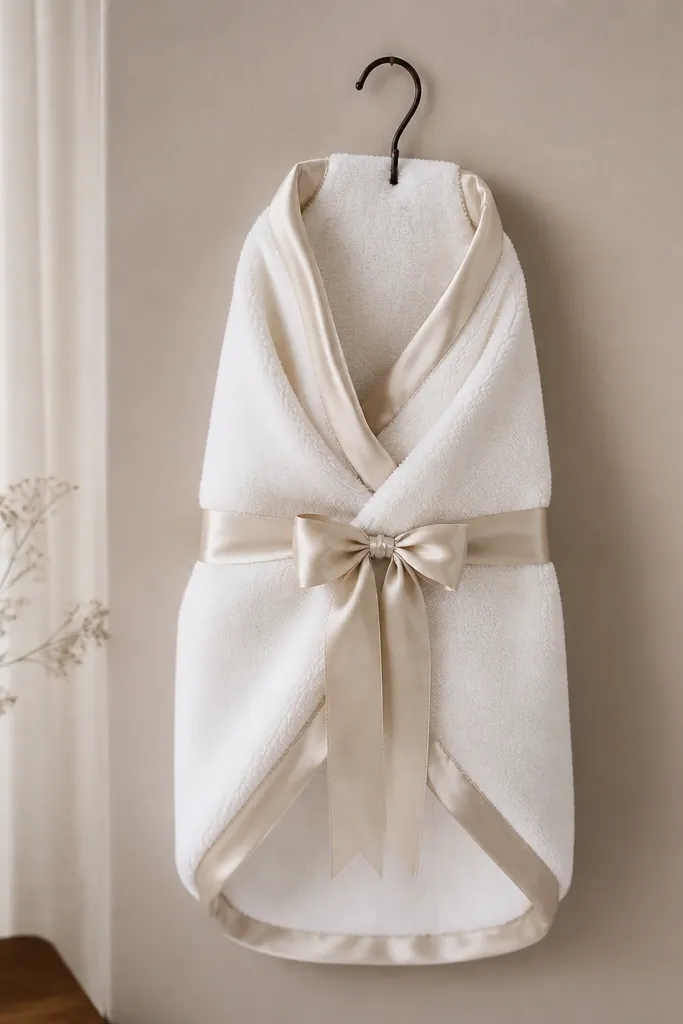
This is a comfort gift that feels thoughtful, and it’s totally no-drill. Terry cloth absorbs and holds shape, while satin trim looks clean and looks good in photos. The ribbon tie keeps it adjustable for different head/neck sizes. It’s also a fun “date night at home” gift because it turns into a routine.
Quick tipWash and dry your fabric before you cut — terry shrinks, and your wrap will get shorter after the first wash.
Cut terry cloth into a rectangle about 28 inches by 10 inches. Fold lengthwise and glue the edges with fabric glue, leaving the ends open for a tie channel. Thread a ribbon through the channel and tie knots at the ends. Trim satin edges with glue so it doesn’t fray.
One warningSkip slippery microfiber; it slides off and feels cheap against skin.
10. Upcycled Hoodie Pocket Phone Stand
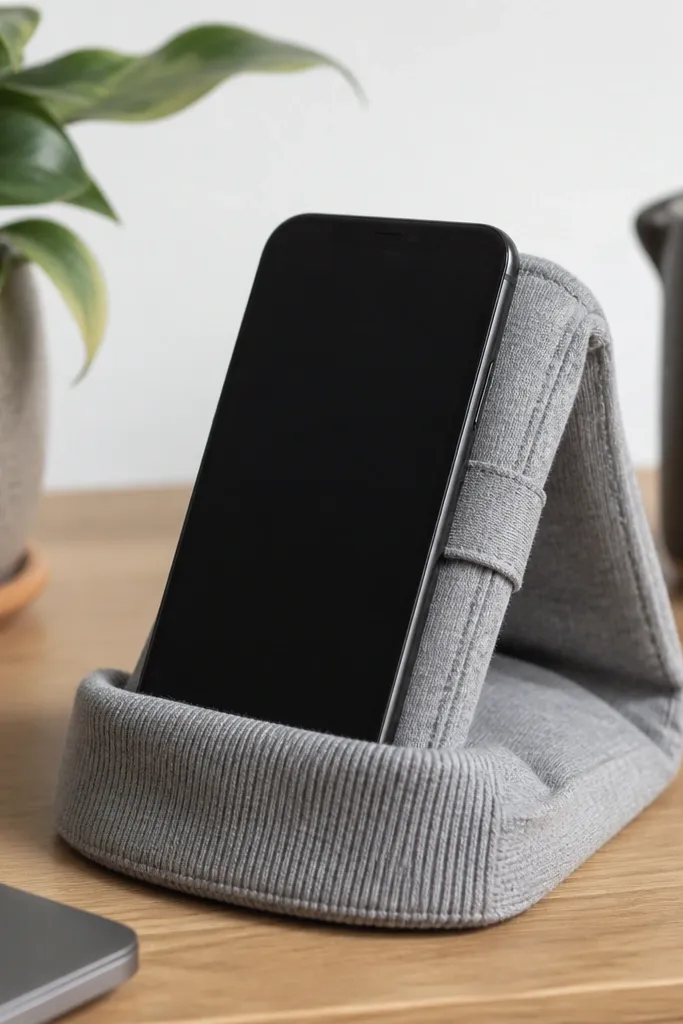
Old hoodie fabric is thick and forgiving, which makes a phone stand that doesn’t scratch and doesn’t wobble much. The pocket shape naturally creates a cradle, so you don’t need complicated measuring. This looks cozy and works on a nightstand or desk. I like adding a small strap that folds behind the stand to hold the viewing angle.
Quick tipTest with his phone case on — many stands fit the bare phone but fail with the case.
Cut the hoodie pocket area leaving about 3 inches of extra fabric on each side. Fold the cuff or a separate strip into a support brace and glue it behind the pocket opening. Make a viewing angle by gluing one end of the brace at a slight tilt. Reinforce the cradle edges with a second layer of fabric glue so it holds the phone weight.
One warningAvoid thin T-shirt fabric — it collapses and makes the phone slide.
11. No-Drill Bathroom Hook Using Adhesive + Loop
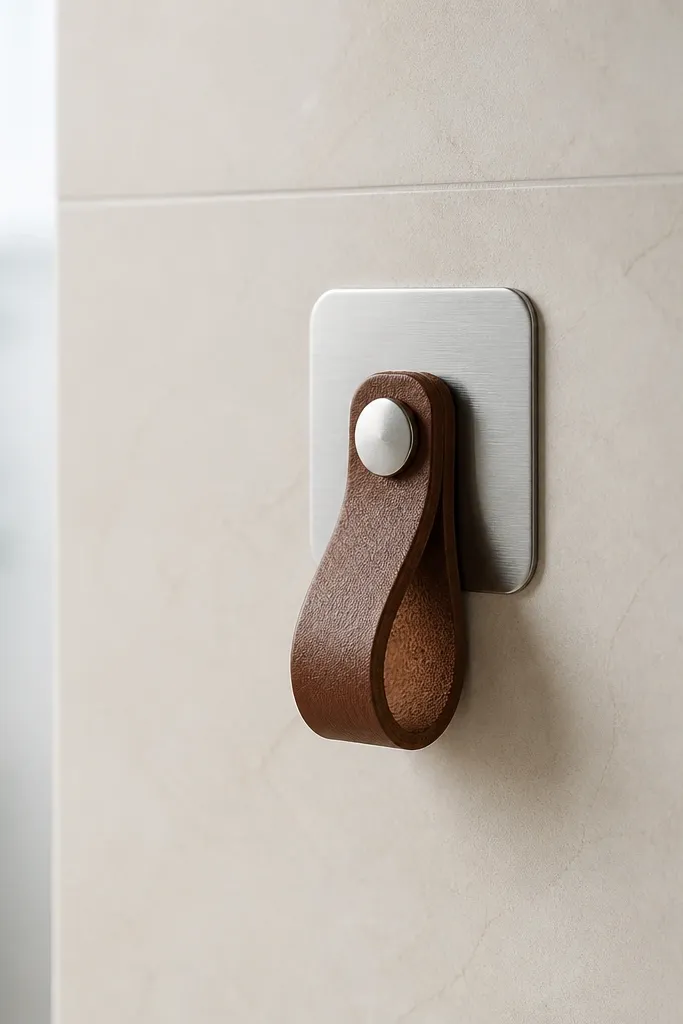
This is a practical upgrade for his bathroom routine. A leather loop looks good on towels, and an adhesive mounting plate keeps it removable. You get the vibe of a store-bought hook without drilling into tile. I use leather because it grips fabric and hides small imperfections in the mount.
Quick tipUse a hair dryer on low for 10-15 seconds to help the adhesive bond in cooler bathrooms.
Buy an adhesive hook plate rated for smooth surfaces, then glue a leather strip loop onto the plate face. Cut leather about 1 inch wide and 6 inches long, then fold into a loop and glue the ends. Press the mount to cleaned tile and let it cure before hanging anything heavy.
One warningSkip glossy soap scum walls — adhesives fail fast on that surface.
12. Tie-Clip Key Organizer from Old Belt
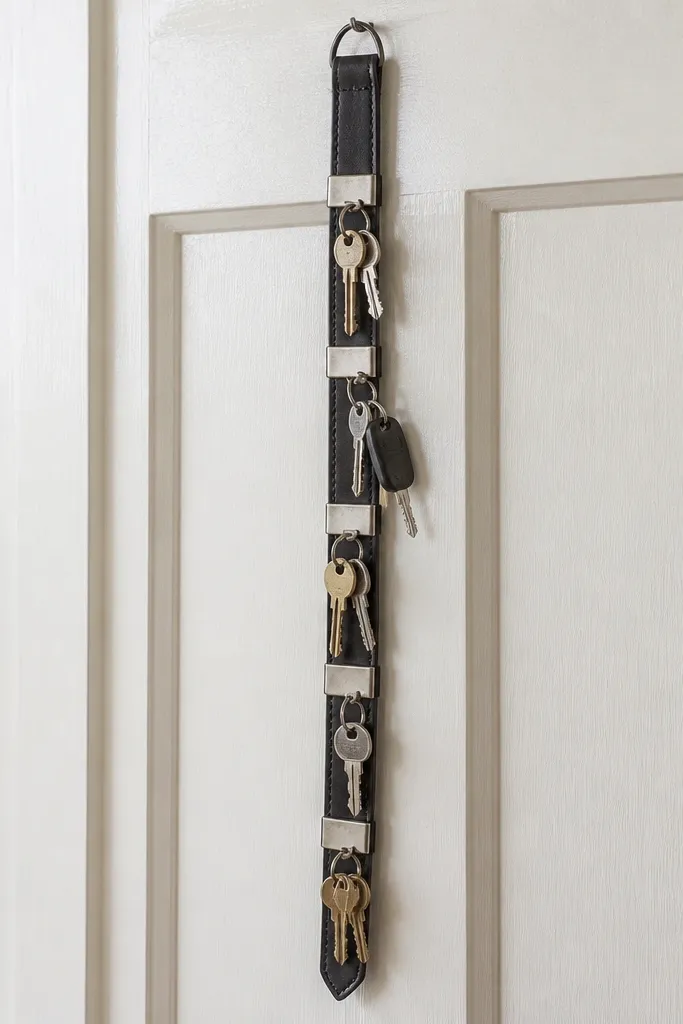
This turns a belt scrap into a key organizer that looks intentional and sturdy. Tie clips grip the metal key heads, so you avoid drilling into wood or installing hooks. The belt texture gives grip and hides minor edge roughness. It’s also a good “matching” gift if he wears leather accessories.
Cut a belt strip about 12 inches long and 2.5 inches wide. Remove the buckle and punch a small hole for a hanging loop made from leftover belt leather. Attach tie clips along the top edge using strong industrial glue or rivet-style adhesive meant for leather. Space clips so his keys don’t clank together.
Dry-fit keys and mark clip positions with a pencil before gluing — spacing looks off when you guess.
Avoid flimsy clips that only pinch — they pop open with heavier keys.
13. Desk Photo Frame with Removable Magnet Back
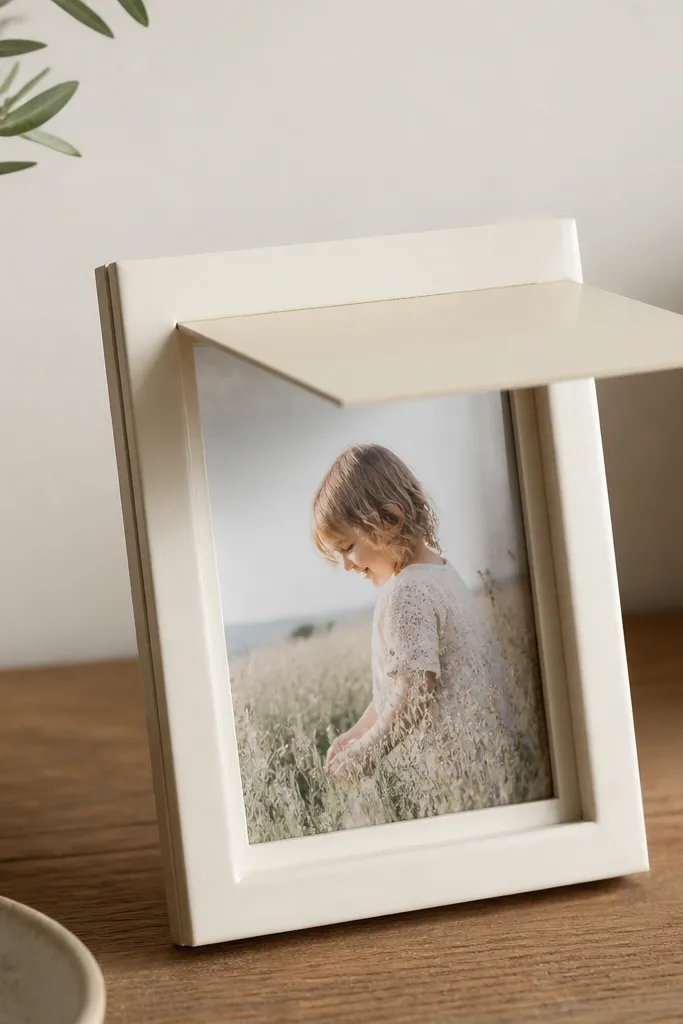
This is a clean, no-drill way to display a photo that he can swap when he wants. The magnet back makes it stay put on metal surfaces without screws. I like a matte paint finish because it doesn’t glare and it looks calm on a desk. The removable magnetic flap keeps the photo protected from dust.
Quick tipUse a paper trimmer to cut the clear plastic — uneven edges catch on the flap.
Use a thin wood frame or make one from two strips of wood. Paint the frame with matte acrylic and let it cure fully. Glue a magnet strip to the back, then attach a magnetic closure flap using a second magnet. Insert a printed photo behind clear plastic cut to size.
One warningDon’t use glossy varnish; it reflects light and makes the photo look washed out.
14. Upcycled Candle Jar After-Swim Desk Organizer
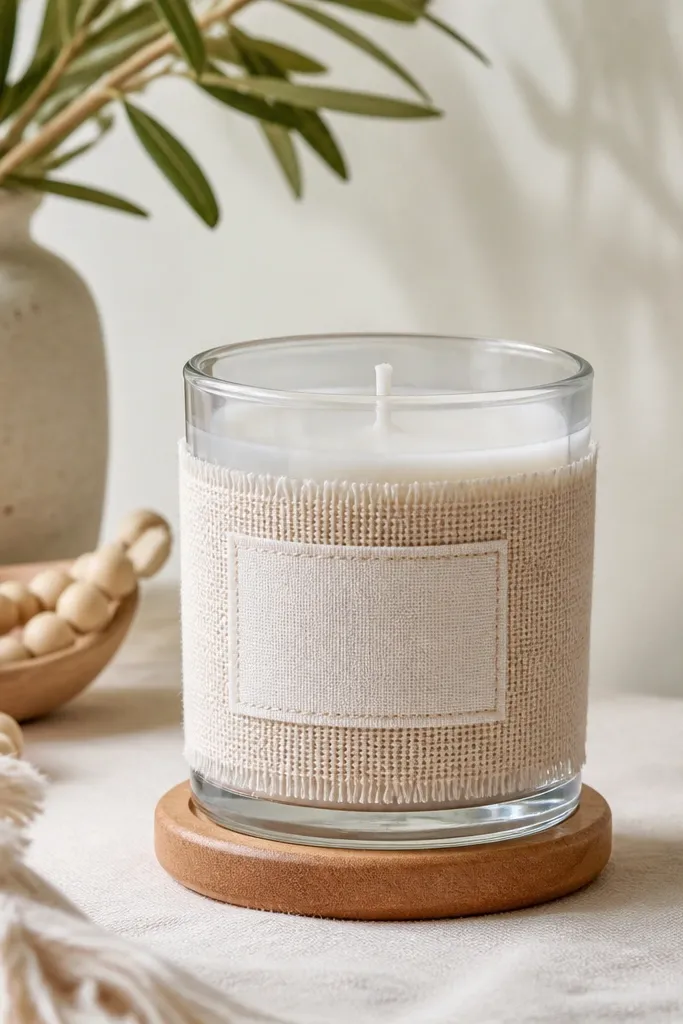
This is the gift for the boyfriend who always has pens, lip balm, and random stuff in one pile. The jar is already sturdy, and you get to customize it so it matches his space. A fabric wrap hides the label mess and makes it look like you bought it from a boutique. The base uses peel-and-stick pads so you don’t drill into anything.
Quick tipBurn off any leftover wax scent by warming the jar in the sun for an hour before wrapping.
Wash and dry a used candle jar thoroughly so the adhesive sticks. Wrap the jar with a strip of cotton or linen and glue the seam with fabric glue. Add a label with a label maker or paint marker. Place the jar on a wood coaster base, and stick felt or silicone pads under the coaster.
One warningAvoid leaving wax residue — it makes glue fail and the wrap slips.
15. No-Drill Wall Calendar Using Washi Hinges on Clipboard
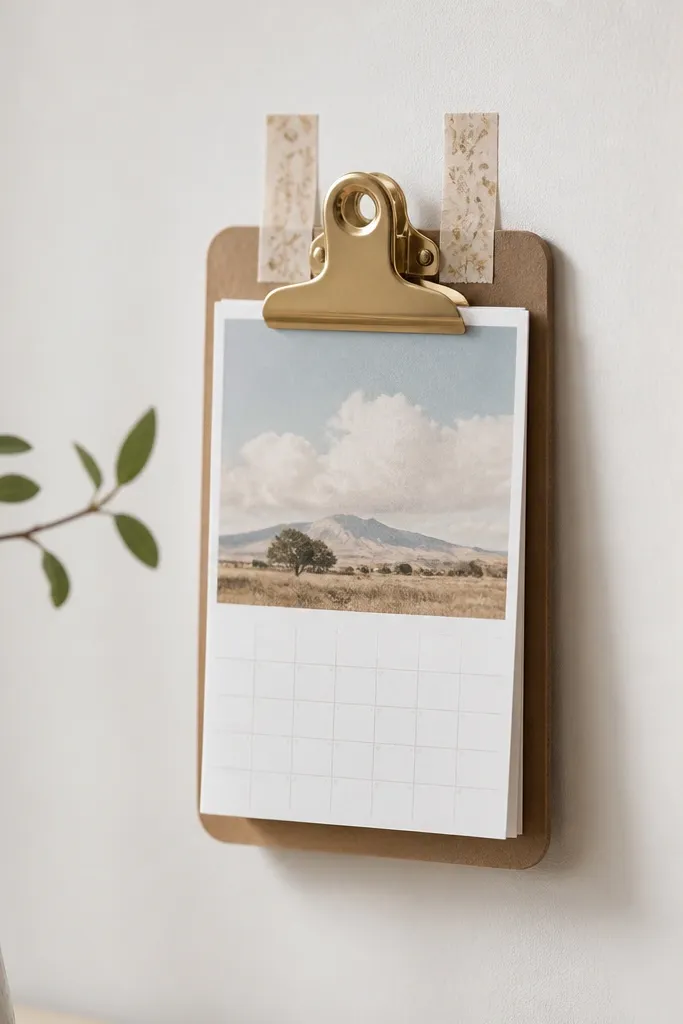
This keeps his schedule visible without installing a full calendar frame. A clipboard page is easy to swap, and the washi hinges make the paper lay flat even if he bumps it. The adhesive strips keep it removable, so you’re not stuck with holes. I like using a neutral clipboard with a pop of color in the washi for a clean look.
Quick tipPick a month layout with big numbers — he’ll actually use it, not squint at it.
Use a small clipboard and clip a monthly calendar printout. Attach it to a wall with removable adhesive strips on the back. Add washi tape hinges along the top edge of the calendar page so it doesn’t curl. Use two strips of washi spaced evenly across the width for a tidy fold.
One warningAvoid heavy paper without hinges; it bows and looks messy.