1. Brass-and-leather key fob with stitched initials
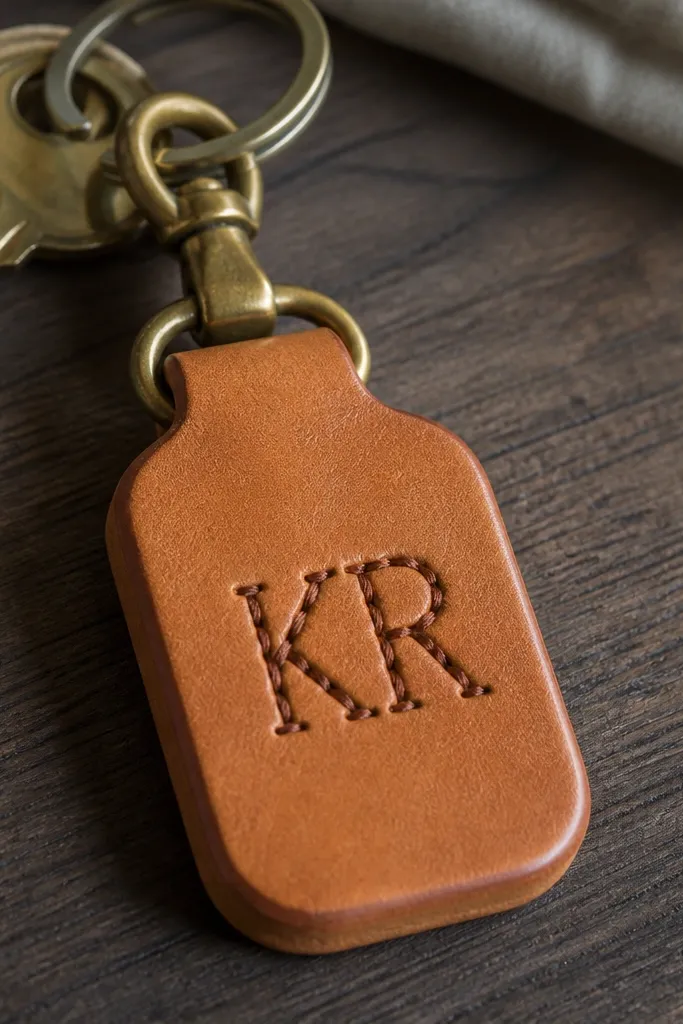
This is the kind of gift he keeps on his keys for months, so it never feels like “something you made once.” Use full-grain leather so it looks better over time, not worse. Brass hardware catches light when he moves, and the stitched initials make it feel personal without being loud. The luxe look comes from clean edges and a snug closure, not from decoration.
Cut the leather to about 4 inches tall and 2 inches wide before folding, then fold and stitch around the edges. Use a 4mm edge-to-edge spacing for the stitches and burnish the edges with a wooden slicker or a scrap piece of canvas. Choose thread color that’s 1 shade darker than the leather so it looks intentional. For hardware, pick a solid brass snap or clasp that doesn’t rattle.
Before stitching, lightly skive the fold edge so the seam lays flat and doesn’t bulk up.
Don’t use thin craft leather or cheap nickel hardware — it looks flimsy in hand.
2. Cedar-scented drawer sachet with a hidden tag
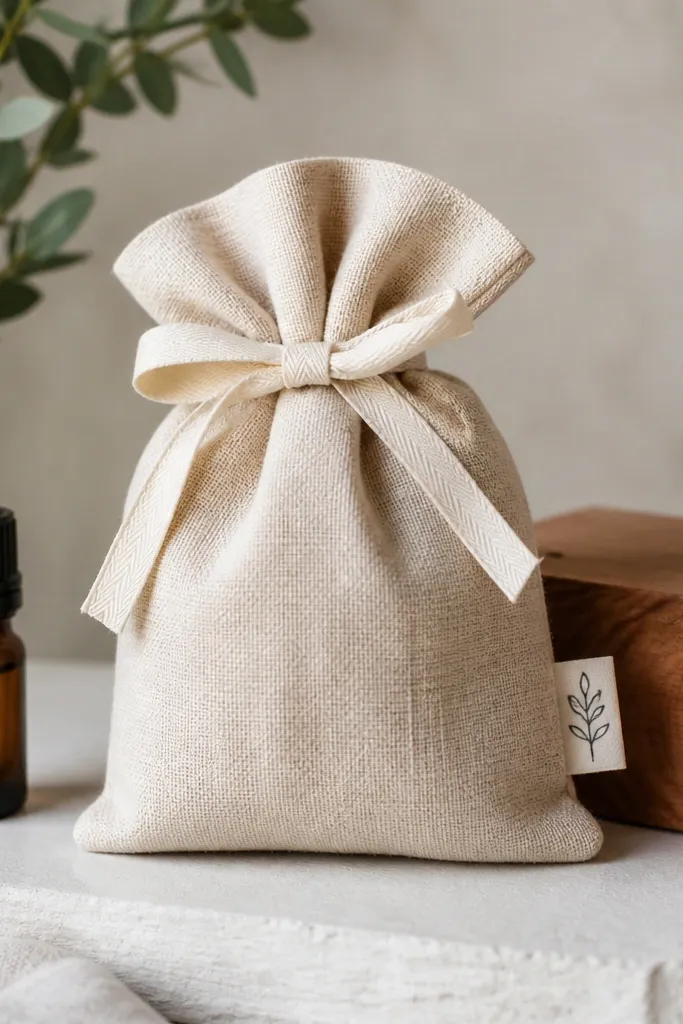
Use a 6 x 4 inch linen rectangle, fold, and stitch three sides, then turn right-side out and top-stitch the opening closed with a narrow hem. Fill with cedar shavings or wood chips wrapped in a small inner pouch so the scent lasts longer and doesn’t escape. Add 5-8 drops of essential oil (cedarwood, black pepper, or a mix) to the inner pouch, not directly to the linen.
This is a quiet luxury gift: it smells good and it looks good on a nightstand or inside a drawer. Linen has texture, so it photographs well and feels more expensive than polyester sachets. Cedar keeps the scent grounded, and a hidden tag makes it feel like a thoughtful secret. You also get to tailor the vibe — woodsy, clean, or spicy.
One warningDon’t over-saturate the scent — wet spots on linen look messy.
Quick tipTie the ribbon in a double knot and trim ends at a slight angle so it looks neat from every angle.
3. Desk "watch stand" tray from a leather offcut
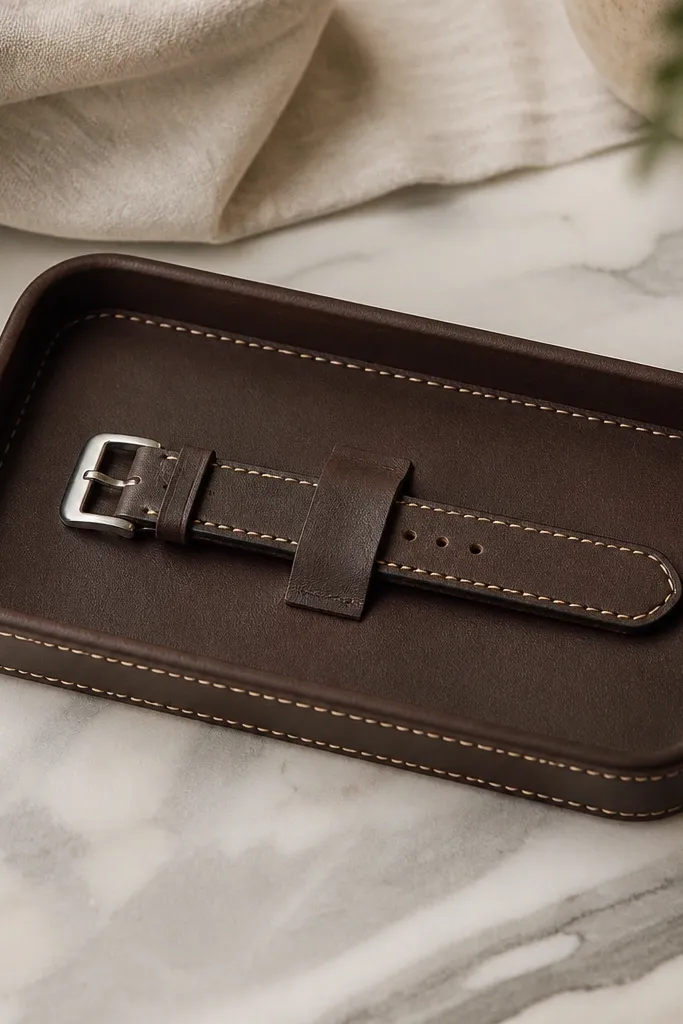
Cut the base to about 7 x 4 inches. Add a 3/4 inch leather strip along one long edge to create the raised lip. Glue the strap piece in place, then stitch around the perimeter using a saddle stitch. Finish edges with burnishing and a light coat of leather conditioner to even the color.
If he wears a watch, this becomes his default landing spot. The tray looks intentional because it has a raised lip and matching leather strap. Leather offcuts are perfect here — you’re not buying a whole hide, you’re using the piece you already have. The luxe feel is in the thickness and the stitched edges, not in fancy tools.
One warningDon’t rely on hot glue alone — the strap will lift after a few weeks.
Quick tipUse a thin rubber sheet under the base so it doesn’t slide on glass desks.
4. Wax-sealed letter set with deckled-edge envelopes
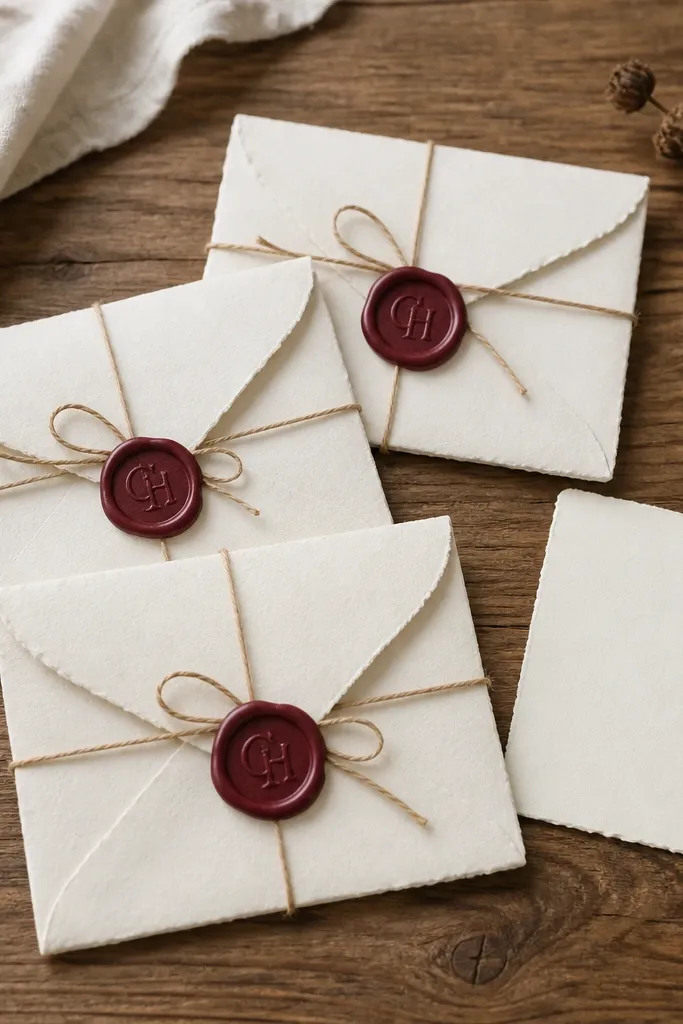
A store-bought card can be sweet, but it usually gets tossed. A wax-sealed letter set feels like an event, and the envelopes look premium because of the paper texture. The deckled edge is the giveaway that this isn’t mass-produced. You can also write three short letters so you’re not stuck with one long message.
Buy deckled-edge envelopes in a heavy weight (look for at least 120 lb). Use two-layer wax seals: melt a thin layer, press the stamp, then add a second thin coat for crisp edges. Write three letters: one for “today,” one for “when you need a reminder,” and one for “future you.”
Practice the seal on plain paper first — wax thickness matters more than the stamp design.
Don’t seal over wrinkled paper or slick ink lines — the seal will look uneven.
5. Custom "photo strip" keyring with heat-pressed film
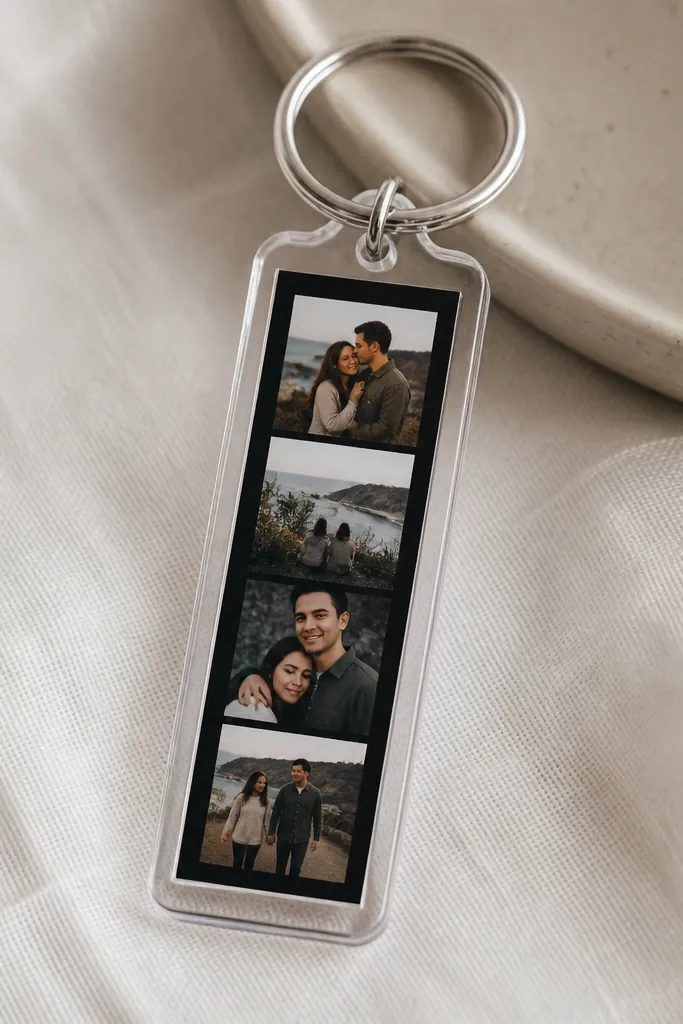
This is the kind of DIY gift that looks like it came from a boutique shop. The trick is using a photo film insert that sits behind a clear cover, so it has depth like a tiny display. The brushed metal ring keeps it modern, and the dark backing makes faces pop. It’s personal without being messy.
Print photos as a narrow strip and trim to fit the acrylic window. Use heat-pressed film or a clear laminate sheet over the photos to protect them from fingerprints. Assemble the keyring with a clean gasket or adhesive strip so you don’t get bubbles. Finish by sealing the edges so dust can’t get inside.
If you’re printing at home, bump contrast +10 and reduce highlights slightly so skin tones don’t wash out behind plastic.
Don’t use glossy paper directly behind clear plastic — it shows glare and looks cheap.
6. Linen-cuffed gym towel with stitched monogram
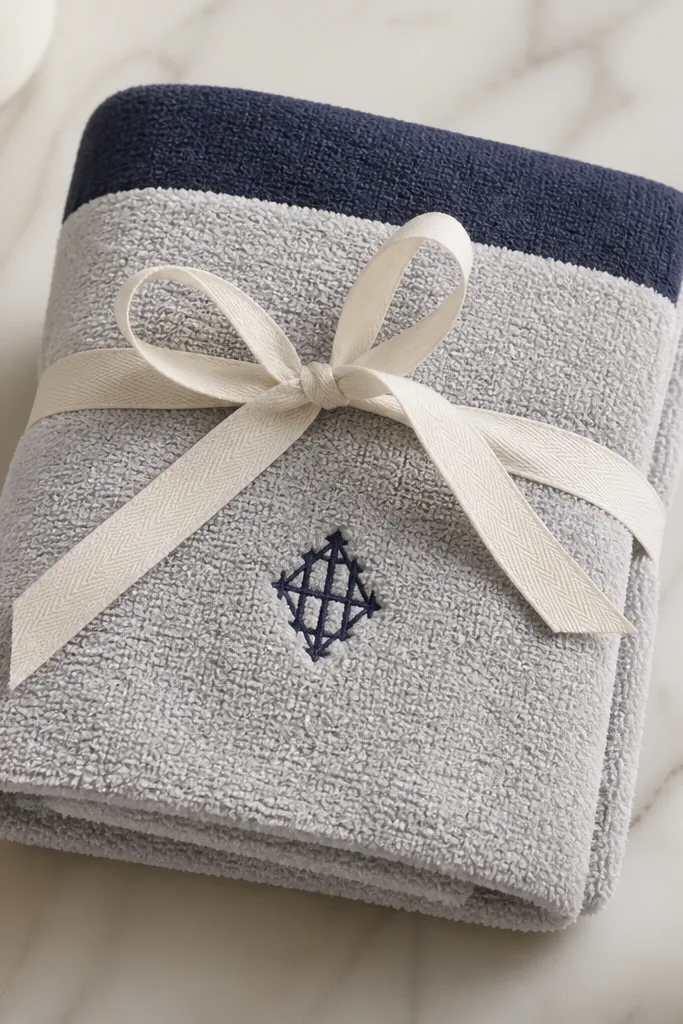
A towel is useful, but it turns into a luxe gift when it has a tailored cuff and threadwork. Linen cuff fabric looks expensive and it holds shape better than cheap trim. A small monogram reads classy and personal without covering the whole towel. I like this for boyfriends who hit the gym, climb, or run.
Choose a towel in a muted color like light gray or sand. Cut a linen strip for the cuff (about 2.5 inches tall across the width), then stitch it to the towel edge with a straight stitch. Add a single monogram about 1 inch tall using a backstitch pattern or simple satin stitch if you hand-sew.
Pre-wash both towel and linen so the cuff doesn’t shrink and pucker after the first wash.
Don’t use thick novelty thread — it makes the monogram sit raised and messy.
7. Cable organizer sleeve in waxed canvas
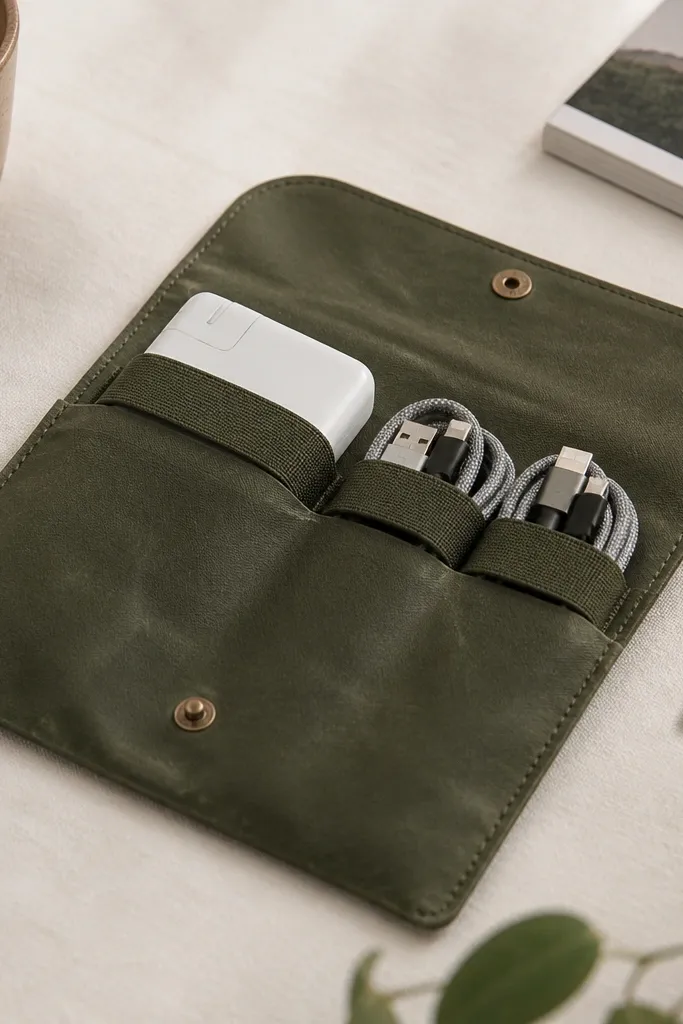
This gift solves a real annoyance: tangled cables. Waxed canvas looks rugged-luxe and it wipes clean, so it doesn’t turn into a sad fabric pouch. The elastic loops keep everything in place, and the snap closure makes it feel engineered. It also travels well — backpack, car, or office drawer.
Cut a sleeve rectangle about 10 x 7 inches, fold, and stitch the sides. Add elastic loops across the inside panel, each loop about 1 inch wide, spaced so chargers fit without forcing. Finish the top edge and attach a metal snap that matches your hardware preference.
Use a leather punch or awl to make consistent snap holes — uneven holes make it look homemade in a bad way.
Don’t skip edge finishing on waxed canvas — frayed edges ruin the luxe look.
8. "Aftershave" travel pouch with waterproof lining
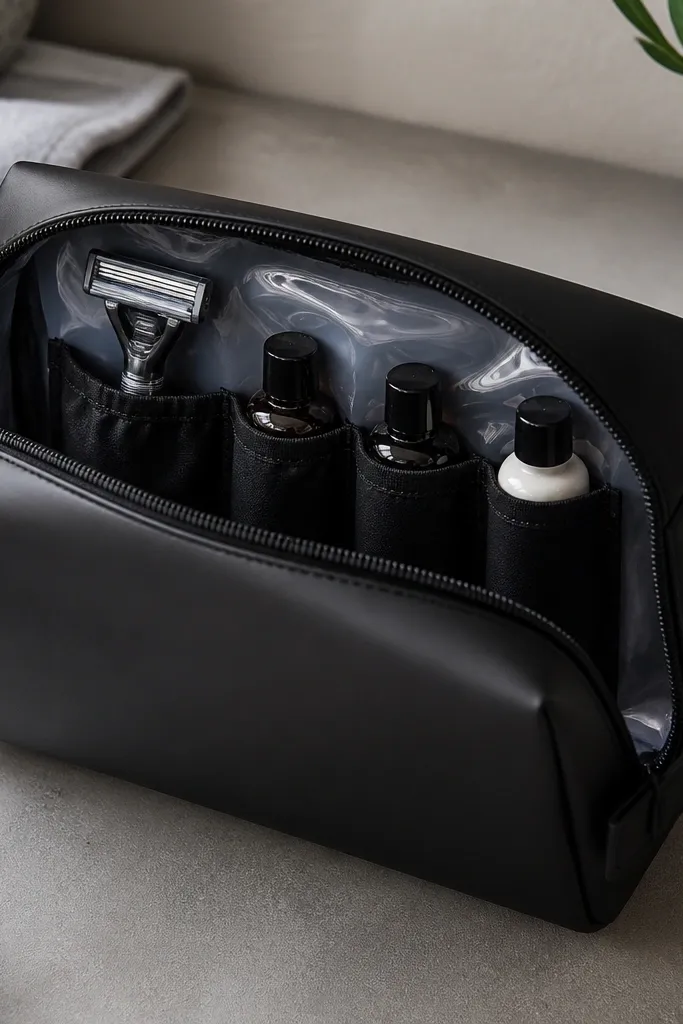
Store-bought toiletry pouches are usually flimsy. A structured DIY pouch feels better in the hand because the fabric has body and the lining wipes clean. Waterproof lining is the difference between “nice gift” and “he actually uses it.” Add elastic pockets so bottles don’t tip over and leak.
Use a sturdy outer fabric like cotton twill or canvas, and a thin waterproof lining fabric for the inside. Add a zipper at the top and sew elastic pockets inside: one for a razor, one for a small bottle, one for cotton pads. Keep the pouch size around 9 x 5 inches so it fits in a weekend bag.
Press seams with steam and a pressing cloth before you sew — zippers look straighter when the fabric is flat.
Don’t use a cheap zipper that snags — it makes the whole pouch feel low effort.
9. Bookish bookmark set with metal corner clips
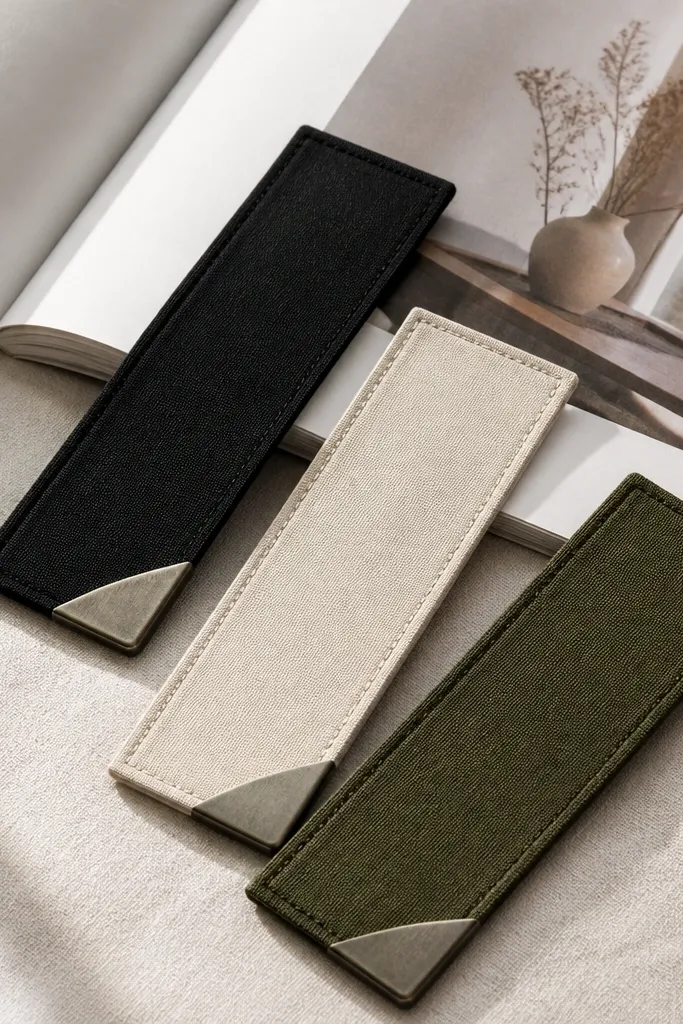
Cut fabric strips about 2 x 7 inches. Bind the raw edges with a narrow bias tape or a simple folded hem, then attach metal corner clips using a rivet or strong fabric glue designed for metal. Make three bookmarks with different textures: one cotton, one suede-like faux leather, one linen.
Bookmarks are small, but metal corner clips make them feel expensive and durable. Fabric bookmarks drape nicely and don’t curl like paper. This gift works for the boyfriend who reads on the couch, studies, or keeps a planner. You can match colors to his wardrobe — black and cream always look sharp.
One warningDon’t use thin paper bookmarks — they bend and look like a freebie.
Quick tipPick metal clips in a finish he already wears — if he has silver watch hardware, choose silver clips.
10. Stitched leather wallet insert for cards
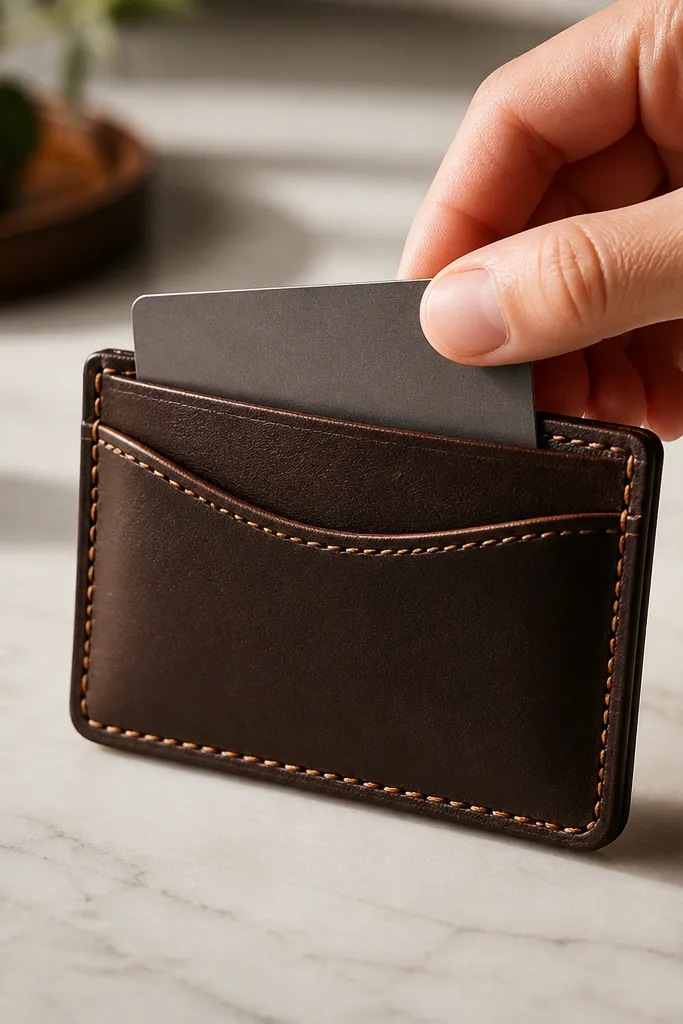
Cut two layers for the front and back, then add a divider if you want two pockets. Keep the holder about 3.75 inches wide and 4.5 inches tall for a slim fit. Use a hole punch and saddle stitch for even spacing. Finish edges with burnishing wax or edge paint, then condition the leather.
This is a “luxe because it fits” gift. Wallet inserts look cleaner than a bulky handmade wallet, and they’re easier to build without fancy patterning. Use a soft but sturdy leather so cards slide without snagging. The stitching pattern and burnished edges make it look like a product, not a craft project.
One warningDon’t skip edge finishing — raw leather edges look unfinished fast.
Quick tipDo a quick “card test” before you stitch everything closed — check that the pocket opening is wide enough for his thickest card.
11. Personalized desktop bar tray for keys and coins
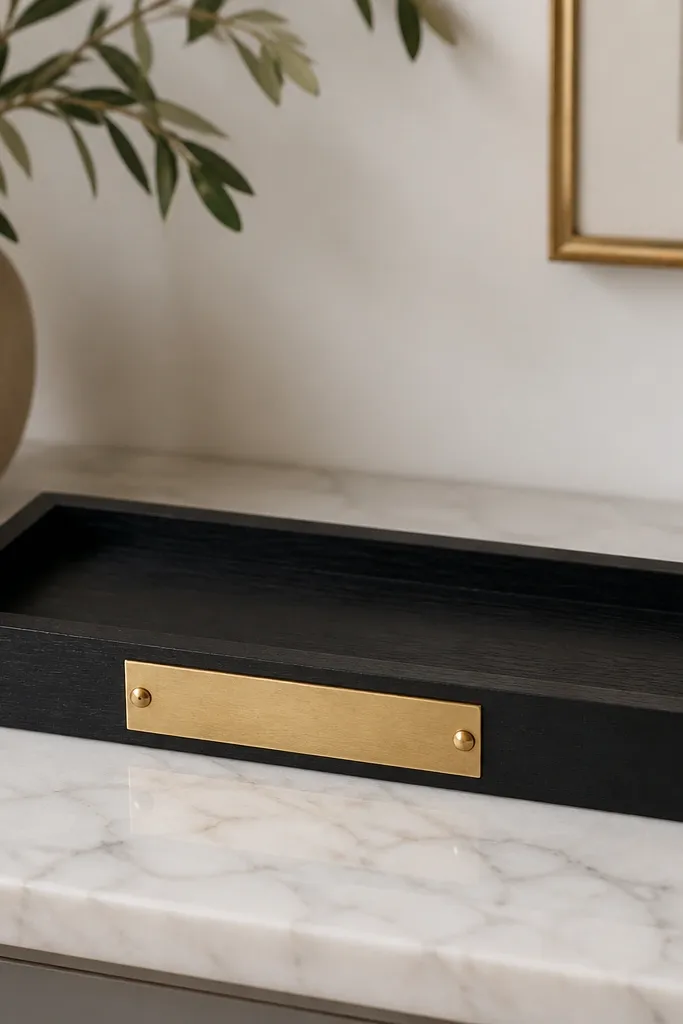
Use a small wood block or a pre-cut tray base, then sand and paint with matte black acrylic or chalk paint. Seal with a satin polyurethane for durability. Add a brass nameplate with small screws, centered and spaced evenly. If you want extra luxe, line the bottom with felt in charcoal gray.
This is the gift that cleans up his daily clutter. A tray with a raised lip keeps keys and coins from sliding into the chaos. The brass nameplate adds a store-bought look, but it’s still handmade because you choose the base, layout, and finish. I like black + brass because it looks sharp under lamps.
One warningDon’t use glossy paint — it shows brush marks and looks cheap.
Quick tipDrill pilot holes for screws — skipping pilot holes chips the wood and ruins the clean look.
12. Upcycled bottle into a desk pen holder with braided cord
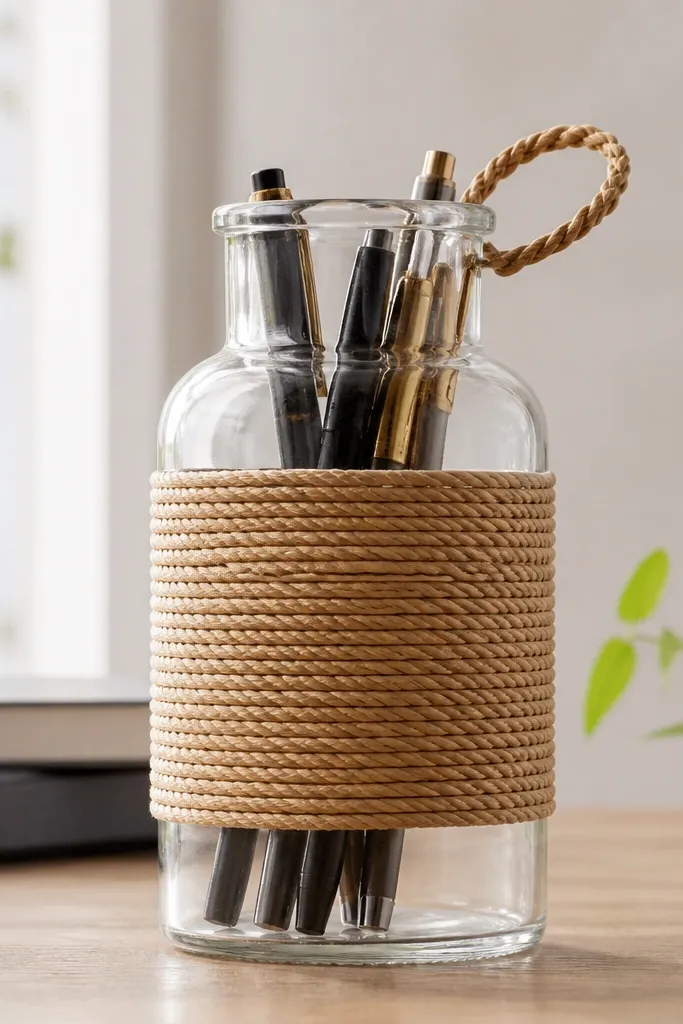
This takes a boring bottle and makes it look intentional on a desk. Braided cord adds texture that hides imperfections in the glass, and it gives you a hand-made warmth that store-bought pen holders don’t. If you wrap at consistent intervals, it looks like a design choice. It’s also a great option when you want a gift that costs almost nothing.
Clean the bottle, remove labels, and let it dry fully. Wrap braided cord around the bottle in tight bands, securing with hot glue in small spots or a strong fabric glue designed for glass. Keep the bands 1/4 inch apart for a clean rhythm. Leave the bottom open so pens sit stable.
Wipe the bottle with rubbing alcohol before wrapping so glue bonds better.
Don’t wrap loose cord — gaps make it look like wrapping paper.
13. Custom compass-style key map print on thick paper
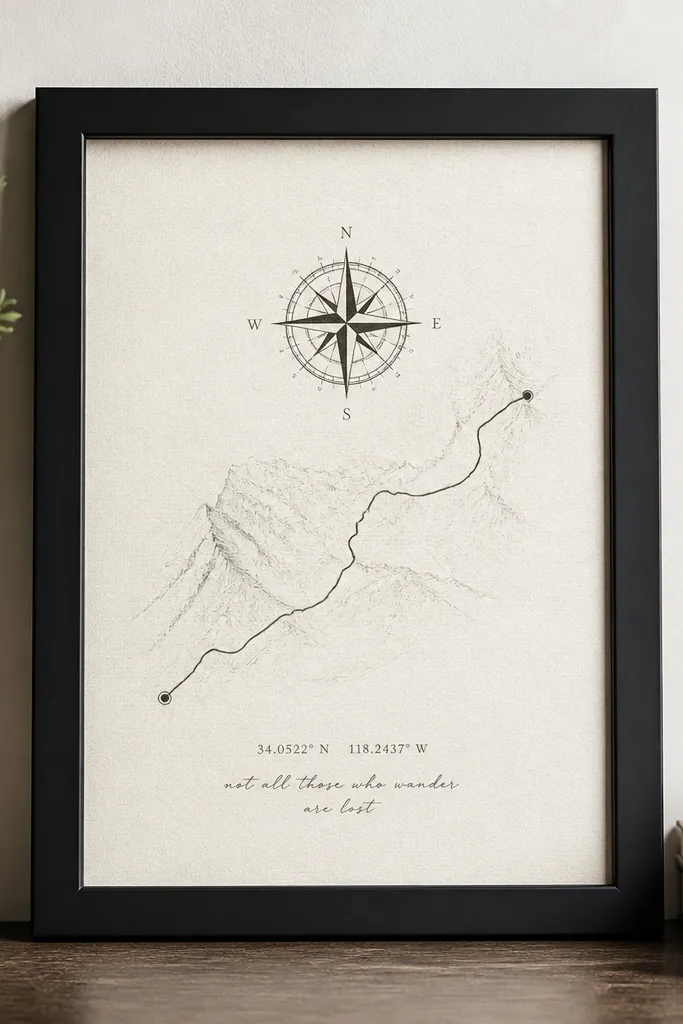
Use thick cardstock or art paper (at least 110 lb) and print your design with a simple palette — off-white background, black line work, one accent color like muted teal. Add a hand-written date or a short phrase in the margin with a fine-tip archival pen. Frame with a matte so the paper doesn’t touch the glass.
If you like sentimental gifts but hate clutter, this one hits the sweet spot. A compass-style design looks classic, and thick paper makes it feel like a real print. You can map the route between your first date and his favorite place, then add coordinates. It reads thoughtful without being cheesy when you keep the text short.
One warningDon’t use glossy photo paper — glare under room lights kills the premium look.
Quick tipKeep the accent color to one spot — like the compass needle — so it feels designed, not decorated.
14. Luxe "movie night" kit jar with handwritten cue cards
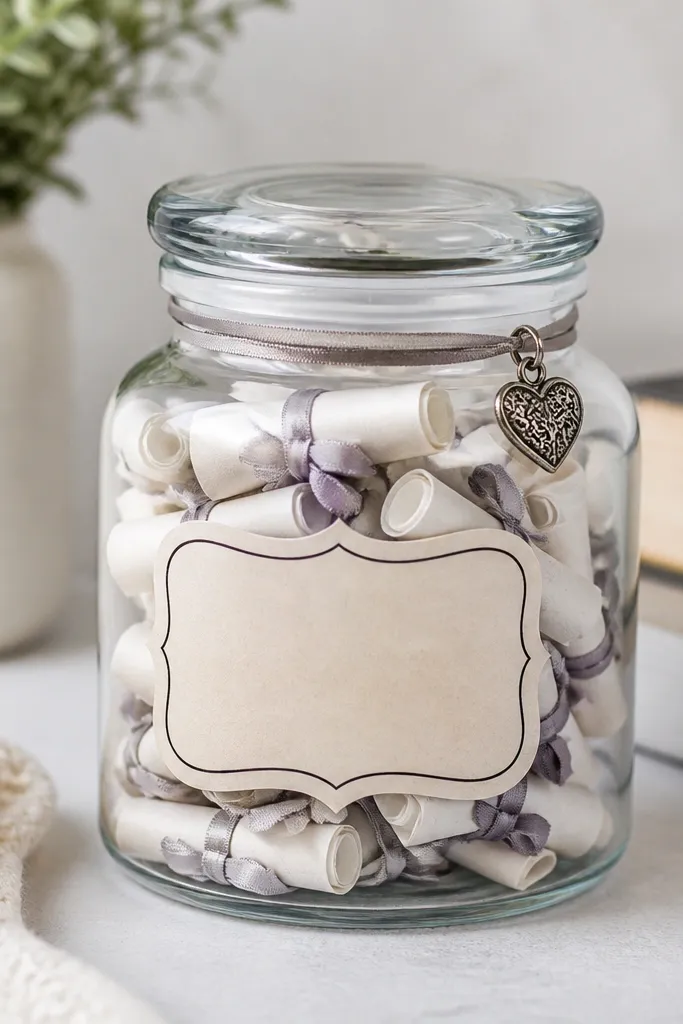
Use a quart jar, fill with 10-12 rolled cue cards. Cards should be about 3 x 5 inches on thick paper, and you should write with a dark ink pen that doesn’t bleed. Tie each roll with a thin piece of twine or leave them uniform with a small paper band. Add a label with your shared inside joke in small text.
This is a DIY gift that feels fun and personal, and the jar makes it look intentional. Rolled cue cards keep it tidy and they look premium when you use thicker paper and consistent ink. I’ve given this for birthdays and anniversaries and it always gets opened that same night. Store-bought kits can be cute, but the jar + handwriting makes it yours.
One warningDon’t overload the jar with random stickers — it makes the label look like a craft store sale.
Quick tipWrite the cue cards in advance and keep them short: title, snack suggestion, and one question. It reads better than long paragraphs.
15. Custom "first aid" mini kit pouch for his car
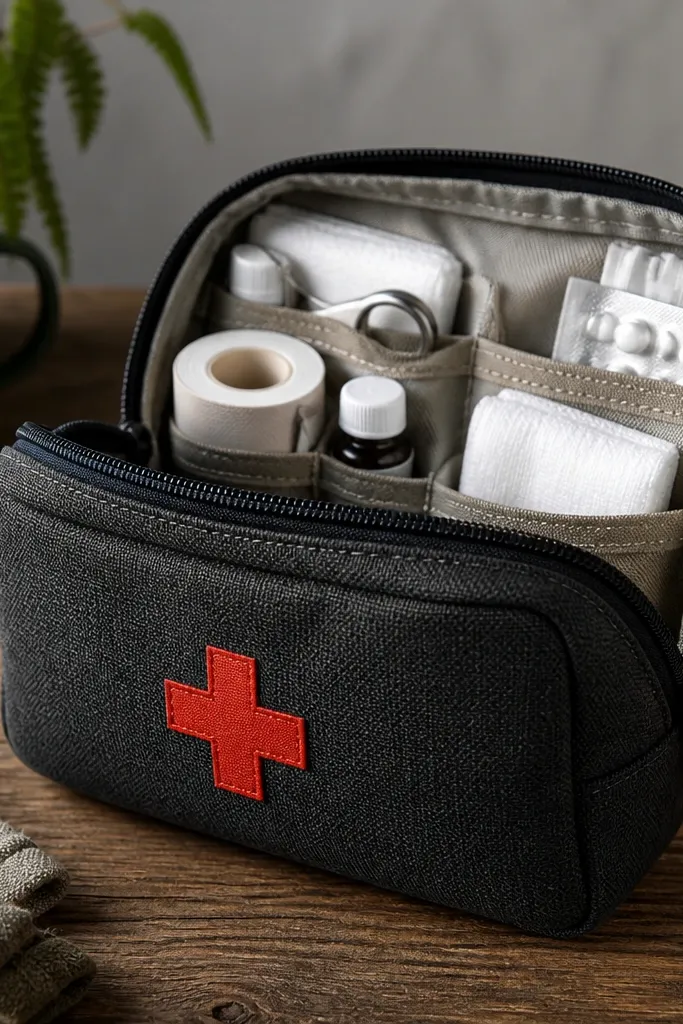
Use a compact zipper pouch, then add small elastic loops or a folded divider to create sections. Pack: 2-3 bandages, antiseptic wipes, a small roll of gauze, blister pads, tweezers, and a mini hand sanitizer. Label each section with a small printed tag or handwritten label on paper protected with clear tape.
This gift is practical, and it looks thoughtful when you organize it. A mini kit in a neat pouch beats loose items in a glove compartment. You pick the exact contents based on what he actually does — road trips, biking, hiking, commuting. The luxe look comes from compartment layout and clean labeling.
One warningDon’t cram everything into one bag pocket — it looks chaotic and hard to use.
Quick tipInclude one “comfort” item he’ll use fast — like a mini lip balm or hand warmers — so it feels personal.