1. Photo Strip Wallet Insert from an Old Cardboard Box
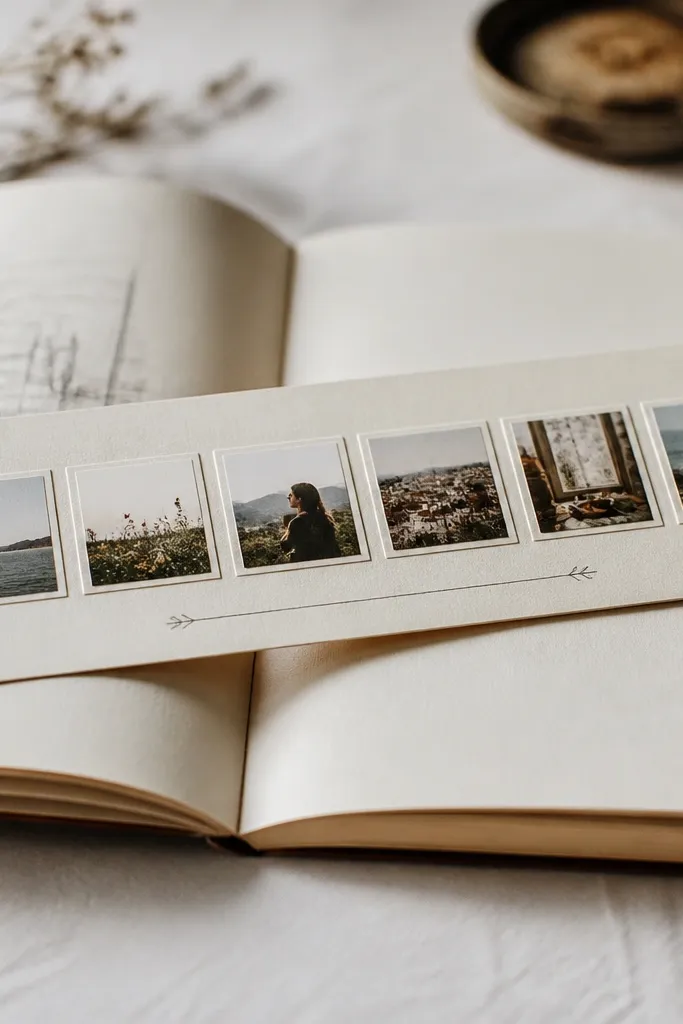
This is a sentimental gift that lives in his wallet without bulk. I use a thin, rigid base so it slides in and out smoothly, and I protect the photos with clear sleeves so they don’t get smudged. The cream background makes skin tones and prints look warmer, especially if the photos are slightly matte. The faux binding line gives it a “finished” look even though you’re not actually sewing the whole thing.
Start with a cereal box or shipping box panel around 4.5 x 8 inches, cut to fit his wallet pocket. Paint or seal one side with acrylic and let it dry fully. Add a strip of 6 mini photos printed on photo paper, each tucked into a small clear pocket made from clear packing tape folded over a photo’s edges. Trim to the wallet pocket width and add one small label at the bottom with his nickname and a date.
Print photos in a 2x3-inch layout and then crop them tighter before you assemble so the faces fill the frames.
Avoid glossy tape over everything — it reflects light and makes the photos look greasy.
2. No-Sew Belt Leather Keychain with Hidden Love Note
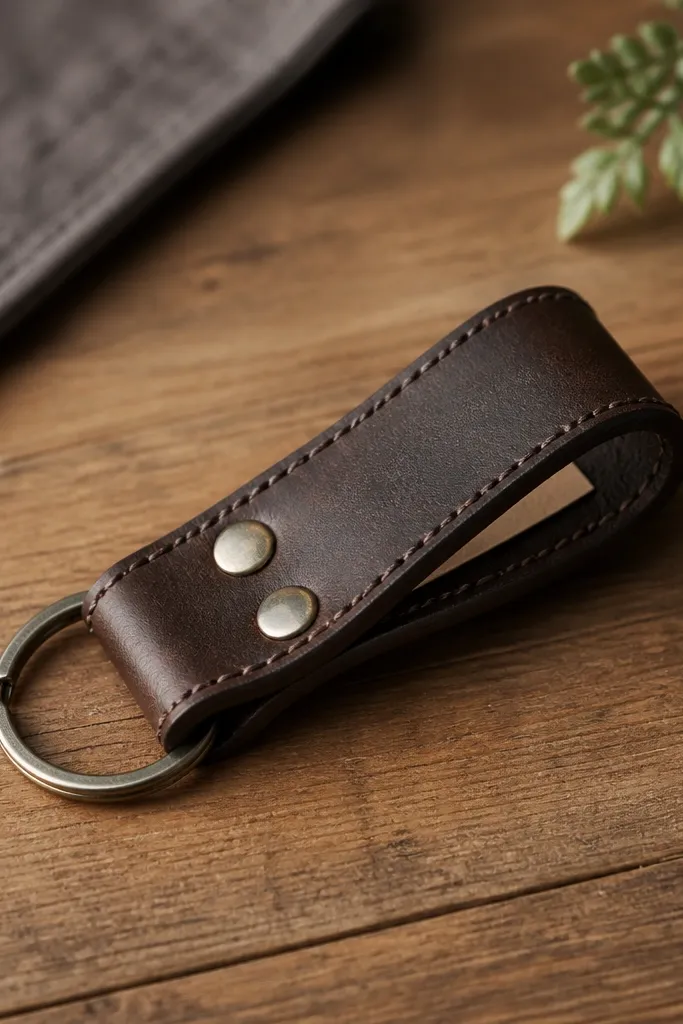
Leather from an old belt makes this look high-end fast. The hidden note turns it into a “secret message” gift, not just a key ring. I like dark brown or black leather because it hides wear and looks good with any key set. The pocket keeps the note flat so it doesn’t bunch when he grabs his keys.
Cut a strip of belt leather about 1.25 inches wide and 6 inches long. Fold it into a loop and punch two holes near the ends for a rivet or use strong leather glue plus a couple of rivets for extra hold. Make a small pocket on the back by cutting a rectangle pocket opening and gluing the edges down, leaving the top slightly open to slide the note in. Keep the note small, around 1.5 x 2.5 inches, and use thin paper so it stays flexible.
Write the note on paper, then lightly rub a bit of clear balm or wax on it after it’s dry so it resists smearing from handling.
Don’t use regular paper for the note — it will crease and tear in a week.
3. Upcycled Jar Lid Photo Magnet Set
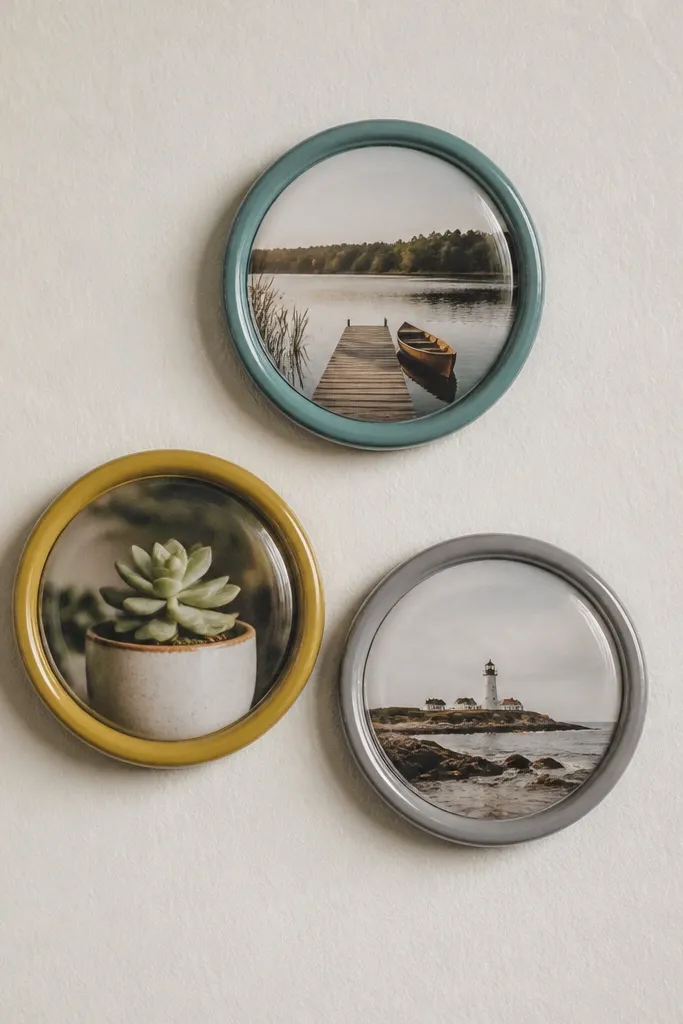
Clean and dry 3-4 jar lids. Lightly sand, then paint the outer rim only. Cut photo circles slightly smaller than the lid diameter, and glue them down with Mod Podge or clear craft glue. Seal with two coats of clear Mod Podge on top. Glue a round magnet sheet or a pre-cut magnet circle to the back and let it cure overnight.
This one is ridiculously easy and still sentimental. Jar lids are already the right shape, and magnets make it practical — he sees the photos every day. I use a thin ring of paint around the edge so each magnet looks intentional even if the photos are different. The clear seal protects pictures from moisture and keeps the surface smooth.
One warningSkip super-thick glue blobs in the center — they create bumps you’ll feel every time you pick the magnet up.
Quick tipUse matte photos (or slightly matte print settings) because glossy photos under clear seal can glare.
4. Scrap Wood Desk Photo Tray with Stained Edges
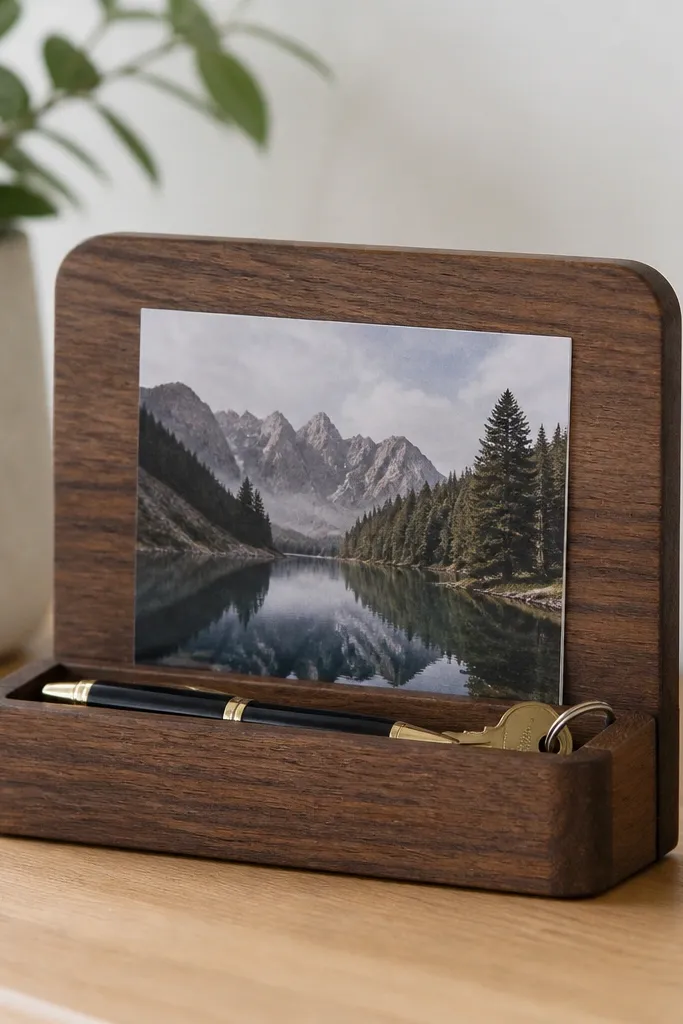
This turns scrap wood into something he’ll use without thinking. The tray holds keys, coins, or a pen — and the photo panel makes it personal. I like staining the edges and leaving the center panel slightly lighter so the photo pops. The rounded corners make it feel store-bought and safer on a desk.
Use scrap wood pieces about 1/2 inch thick. Cut a base around 6 x 4 inches and a front panel around 6 x 1.5 inches. Round the top edges of the front panel with sandpaper. Stain the tray base and edges, then let dry. Glue the photo to the front panel with a thin layer of Mod Podge and seal the entire tray with matte clear coat. Add a small lip by gluing a thin strip of wood under the photo panel.
Sand in one direction and wipe with a damp cloth before sealing — it removes dust that ruins the clear coat finish.
Avoid high-gloss clear coat — it makes the wood look plasticky under office lighting.
5. T-Shirt Memory Patch on a Zipper Pouch
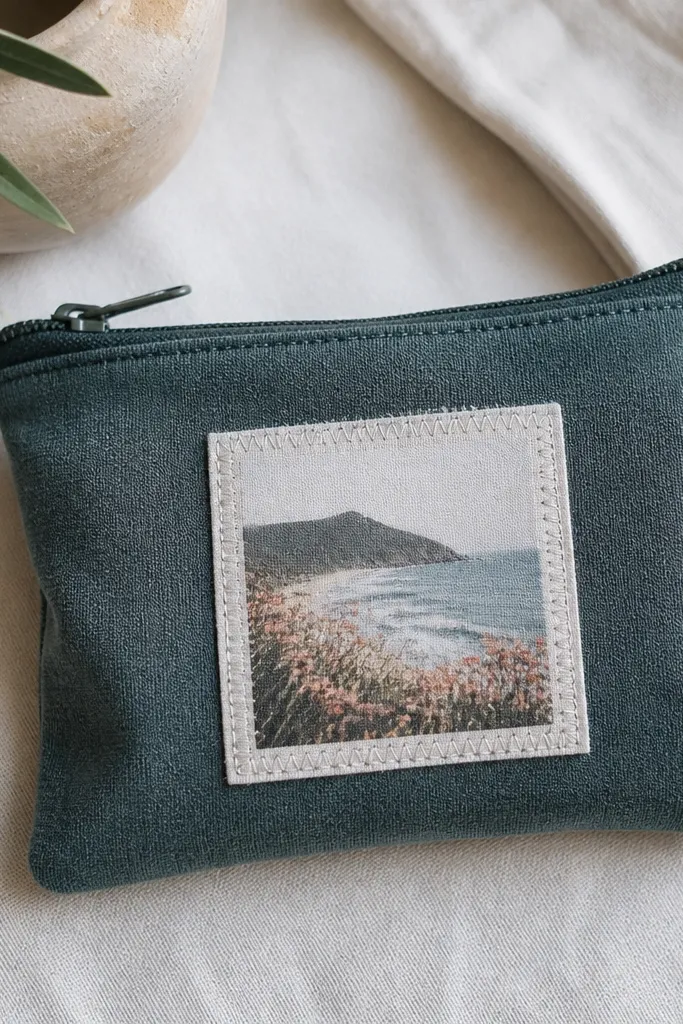
Cut two rectangles from the t-shirt, each about 9 x 6 inches (adjust for the zipper size). Add a cotton stabilizer or thicker interfacing to the zipper area so it doesn’t stretch. Cut a patch panel from a scrap cotton or felt, then glue the photo print onto it and stitch around the edges with thick thread (bold contrast works: cream thread on black patch). Sew the patch onto the front panel before attaching the zipper.
If you have an old t-shirt from a concert, team, or inside joke, this gift has instant meaning. The patch gives you a clear focal point without making you sew a whole garment. I use a zipper pouch because it’s practical for travel, chargers, or toiletries, and he’ll see the patch every time he opens it. The jersey fabric is forgiving, so it’s beginner-friendly.
One warningDon’t skip stabilizer on the zipper edge — stretchy fabric makes the zipper feel crooked.
Quick tipUse a zipper foot and go slow — jersey can shift, and you’ll avoid wavy seams that scream “first try.”
6. Map Coordinates Coaster Set with Cork Backing
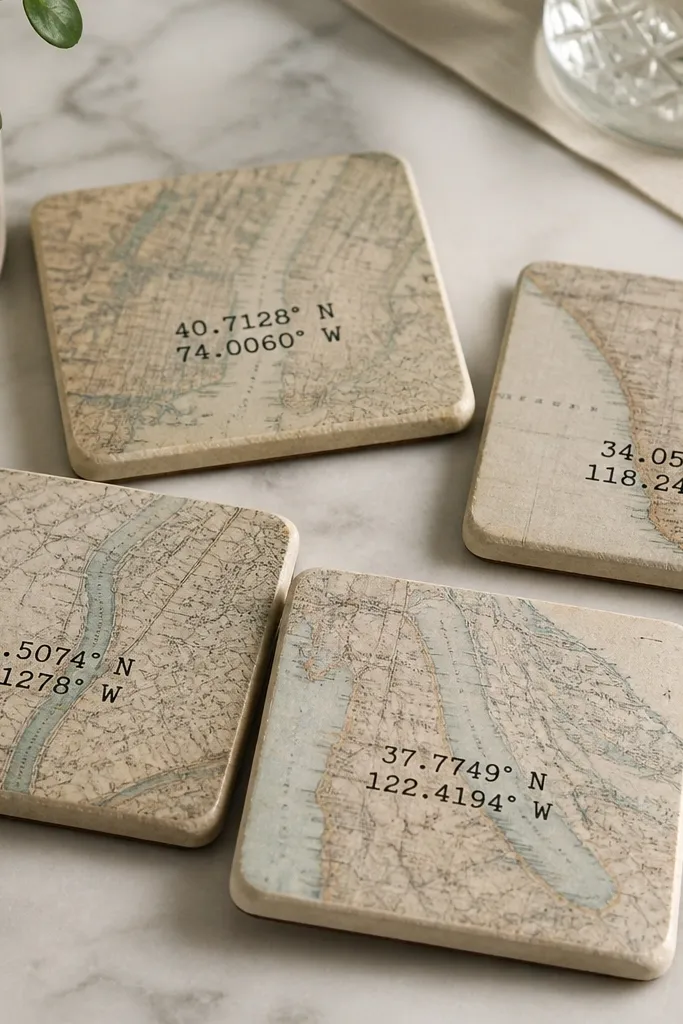
Use 4 square tiles or thick paperboard squares around 4 x 4 inches. Print or cut a map-style background for each and glue it down. Add coordinates with a stamp or printed label — keep the font simple and black. Seal with 2-3 coats of clear acrylic medium. Glue cork squares or cork sheet to the back and trim cleanly.
Coordinates turn a memory into something specific. I made these for a boyfriend who loves travel, and he put them under his coffee mug immediately. The cork backing protects surfaces and keeps the coasters from sliding. The map background gives texture without needing complicated painting.
One warningAvoid low-quality ink that smears — test your stamp ink on scrap first.
Quick tipSeal the edges too, not just the top — that’s what keeps them from curling and peeling after spills.
7. Wax Seal Letter Keychain from Old Envelopes
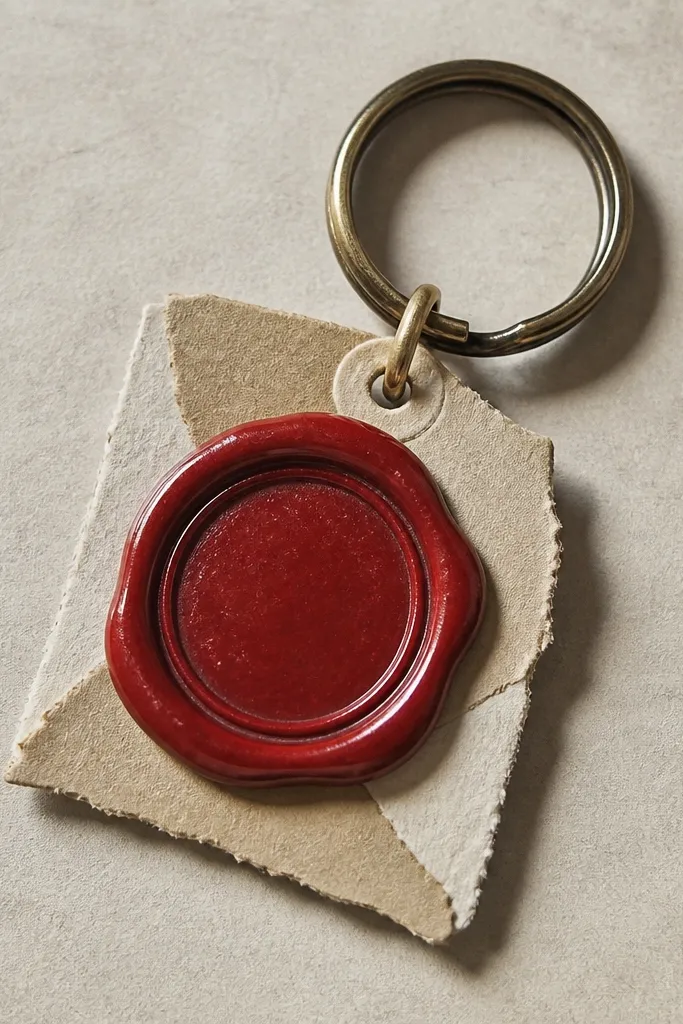
Cut a small envelope scrap around 2 x 2.5 inches. Fold and layer it to make a thick paper stack, then punch a hole near one corner. Attach a key ring through the hole. Place a wax-seal sticker or stamp-style circle on the top using craft glue. For a homemade seal look, use embossing wax or a wax-seal stamp if you already own one.
This is a sentimental gift that looks like a romantic prop but takes minutes. The wax-seal style gives you that “official letter” vibe, and the envelope scrap keeps the paper texture authentic. I like deep red or burgundy seals because they photograph well and look rich against kraft paper. It also works for people who don’t want a bulky photo item.
One warningDon’t make it too thin — paper scraps that are flat tear at the hole.
Quick tipWrite the initials inside the fold so it’s hidden until he flips it over.
8. Bottle Cap Coaster with His Favorite Quote
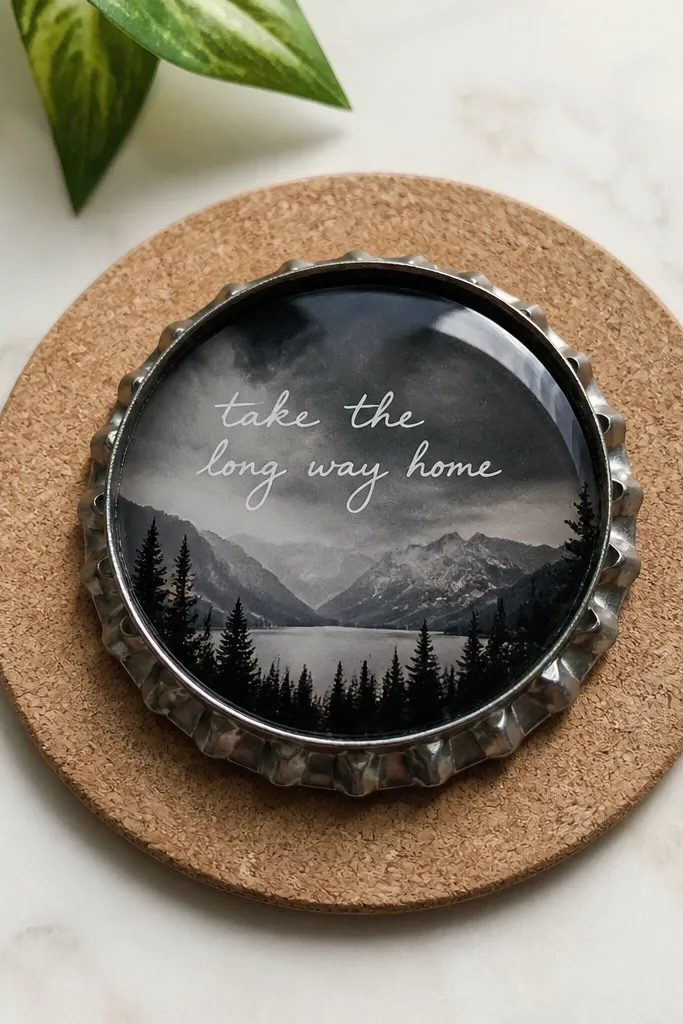
Use cork coasters as the base. Glue a bottle cap on top and let dry. Print or write the quote and photo, then cut to fit inside the cap rim. Seal with clear resin or clear craft epoxy according to the product instructions. If you don’t have resin, use multiple coats of Mod Podge, but let each coat dry fully.
Bottle caps are a fast way to turn a tiny moment into a desk accessory. The coaster part keeps it usable, and the quote gives it the sentimental hook. I like using a favorite line from a text or a nickname because it feels real, not generic. Sealing with clear resin makes the print look like it’s under glass.
One warningSkip thin prints — they wrinkle when you glue them into the cap.
Quick tipAdd a thin layer of matte clear over resin if the surface is too glossy under light.
9. Mini "Date Night" Scratch-Off Card (No Special Tools)
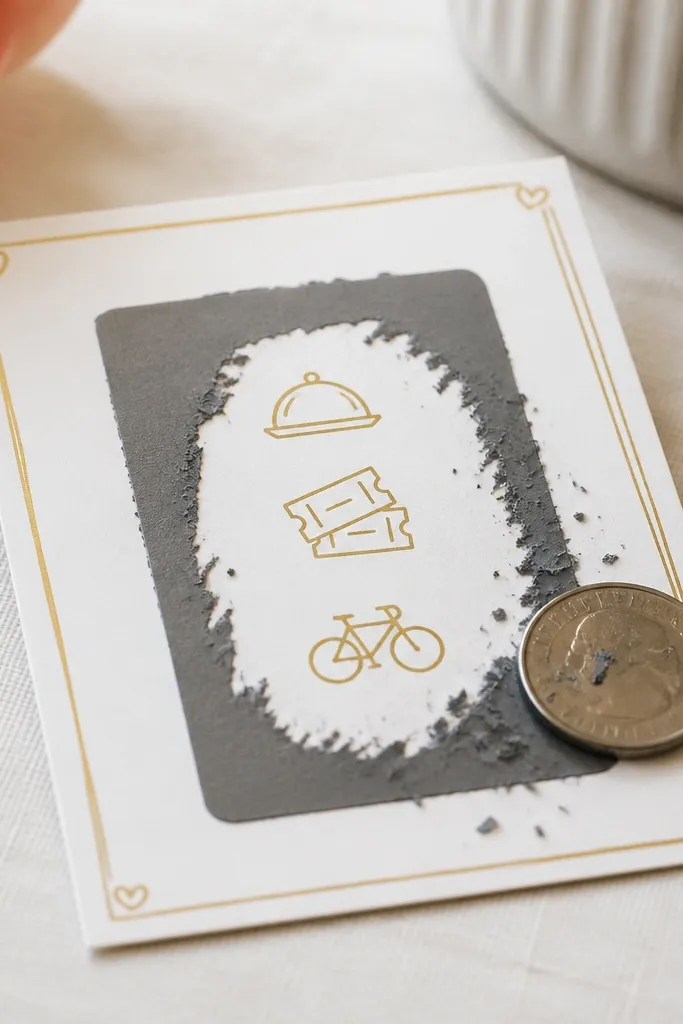
Scratch-offs feel fun and personal without being hard. You’re not buying a generic card — you’re writing the real plans you want him to do with you. I use a simple scratch layer that you paint on with a cotton swab, and it dries matte. The card stays flat in a pocket or bag.
Use 4 x 6 inches cardstock. Print three short date ideas on the inside: “Breakfast tacos,” “Walk + ice cream,” “Movie at home.” Paint a scratch layer on top with a thick coat of craft paint mixed with a little flour or cornstarch (test on scrap first). Let it dry overnight. Write the title on the front with gold or white gel pen.
Write the scratch layer instructions on the back in tiny text so it doesn’t confuse him.
Don’t make the scratch layer too thin — it peels instead of scratching.
10. Repurposed Photo Frame with a "Message Strip" Backing
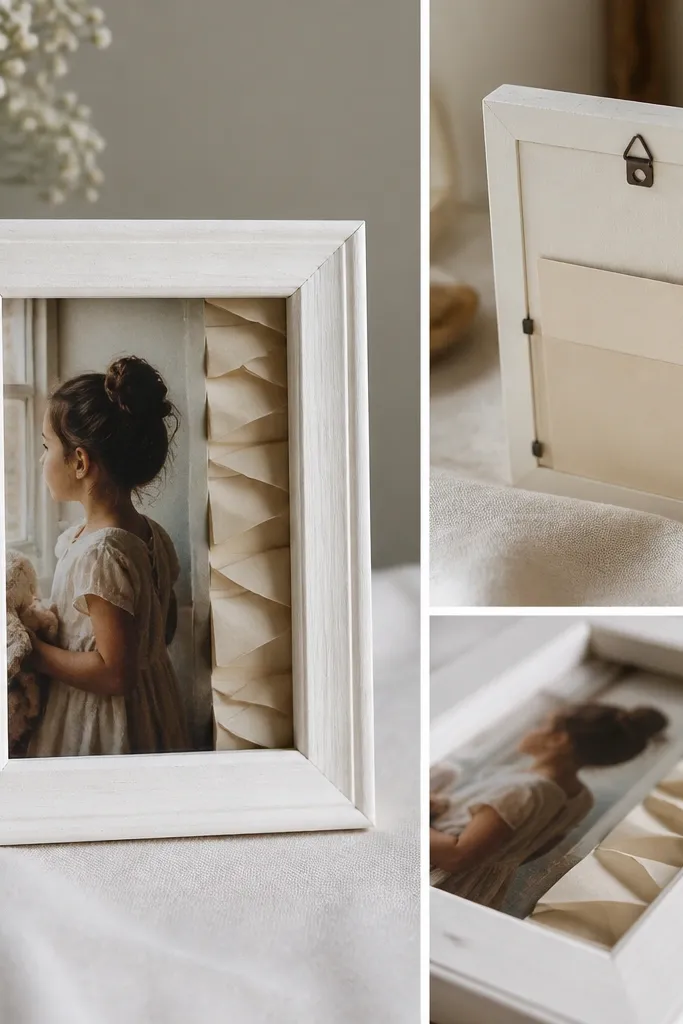
Take a small frame and remove the glass. Paint it matte white or charcoal with 2 coats. Print one main photo and glue it to the backing board. Cut a narrow strip of cardstock about 1 inch wide and 10 inches long, fold it accordion-style, and glue it behind the photo so it peeks out. Add a clear pocket holding one extra note so he has something to open right away.
Frames are sentimental by nature, but the twist is what’s behind the photo. I add a message strip that he can read over time, like a mini calendar. It feels personal because the messages match the relationship, not a generic anniversary line. Also, a thrifted frame is low cost and you can make it look new with paint.
One warningAvoid glossy paint inside the frame — it reflects and makes the photo look washed out.
Quick tipUse a laser-printed font for the message strip so it stays crisp when folded.
11. Candle Jar "You Make Me Feel" Label Set
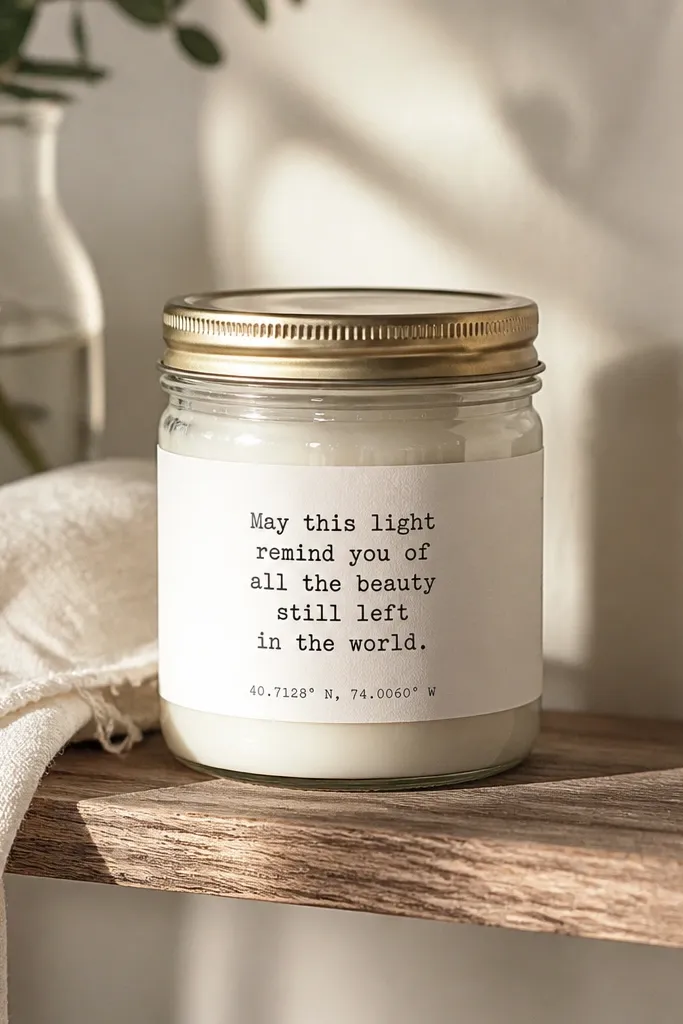
Save the jar after you finish a candle or buy a low-cost candle and keep the container. Clean the glass with rubbing alcohol so the label sticks. Design a label on plain white paper: one main sentence, then a short “because” line. Wrap the label around the jar, then seal the edges with a thin layer of Mod Podge.
This is for the boyfriend who actually uses candles, not just gets them. You reuse a jar and upgrade the label with a message that sounds like you. I’ve done this with plain store candles and it looks like a custom product because the label is the only thing you need to perfect. The glass jar also makes it feel more permanent than a card.
One warningAvoid labels that cover the lid — you’ll end up peeling them off when he opens it.
Quick tipPrint labels on thicker paper (80-100 lb) so they don’t crinkle around the curve.
12. Salt Dough Initial Key Holder with Painted Outline
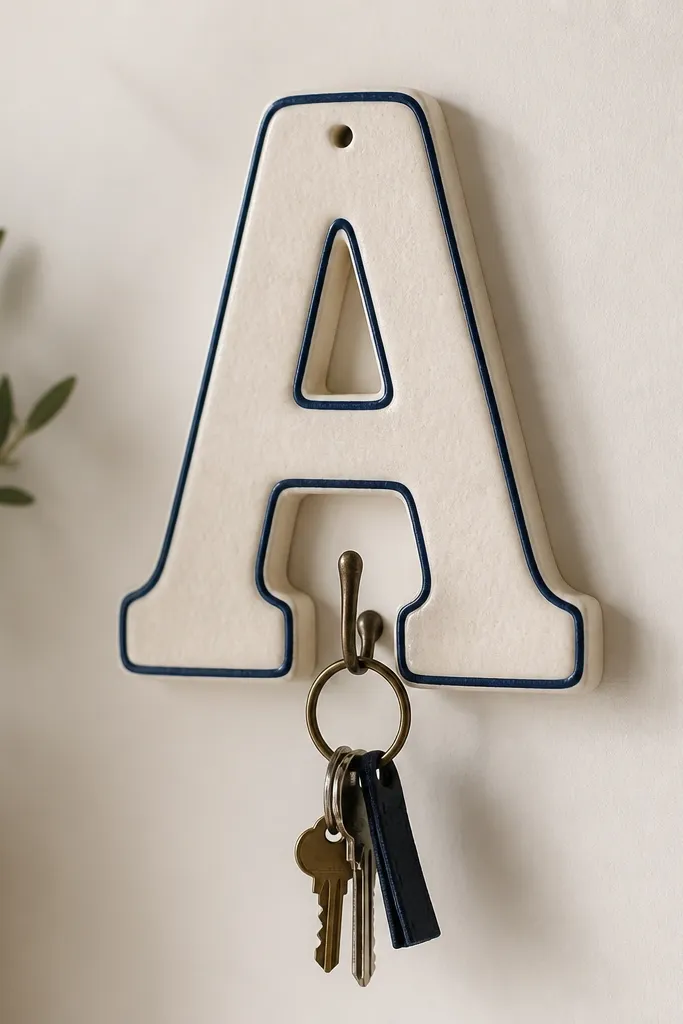
Mix salt dough: 1 cup flour, 1/2 cup salt, 1/2 cup water. Roll to about 1/2 inch thick, cut a large initial or a simple heart shape, and poke a hanging hole. Bake at 250°F for 1.5-2 hours until hard. Paint with acrylic, then seal with matte clear spray. Mount with a small screw and a wall anchor if the shape is heavier than expected.
Salt dough lasts a long time if you seal it, and it’s one of the most sentimental things you can make with almost no budget. The painted outline makes it look neat and graphic, not like a kids' craft. It’s also low maintenance for you because it bakes in the oven and you only paint once. Then it sits by the door and gets used every day.
One warningAvoid skipping sealing — porous dough gets chalky from humidity.
Quick tipSand lightly after baking so the paint goes on smooth.
13. Upcycled Denim Pocket Phone Stand with Hidden Photo
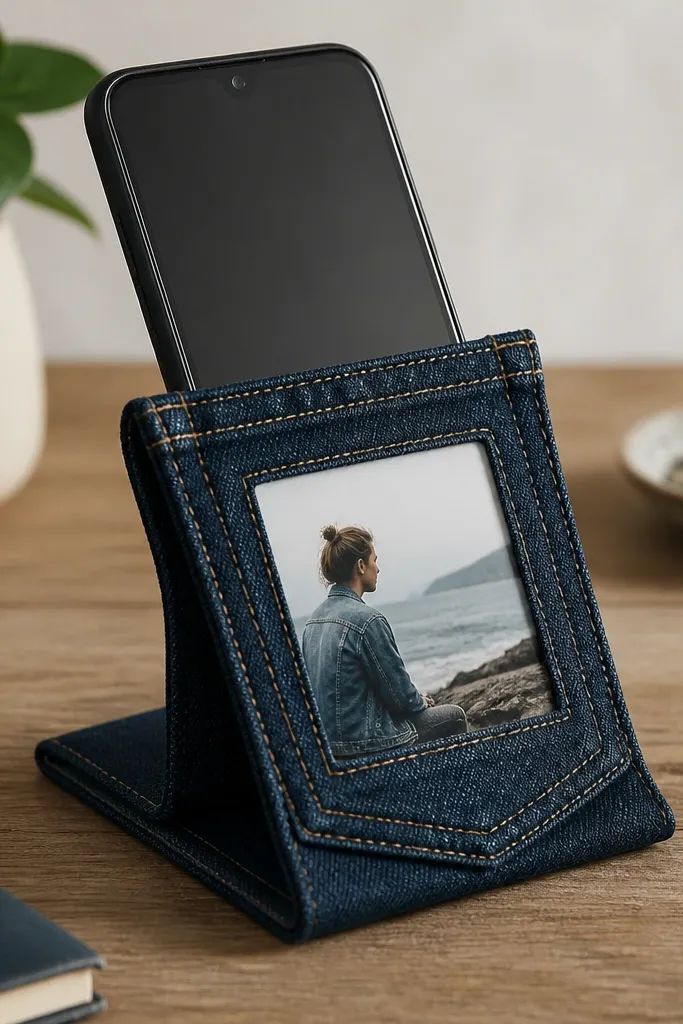
This one is practical and sentimental in a way that doesn’t feel forced. The denim pocket gives you a built-in “holder” for a phone, and the hidden photo makes it personal. I like using dark denim because it looks good with any printed photo and doesn’t show stains quickly. The clear window protects the photo while still letting him see it.
Cut a denim panel from an old jeans pocket area. Create a stand by folding the denim into a “V” shape base with a fold line at the bottom. Sew or glue the sides to form a stable angle. For the photo window, cut a small rectangle in the front and cover it with clear plastic from a folder sleeve or packaging. Glue the photo behind the plastic and seal edges.
Test the angle by propping his phone before sealing the final folds.
Don’t use thin denim without reinforcing the base — it collapses under phone weight.
14. Wooden Spoon Love Message for Cooking Nights
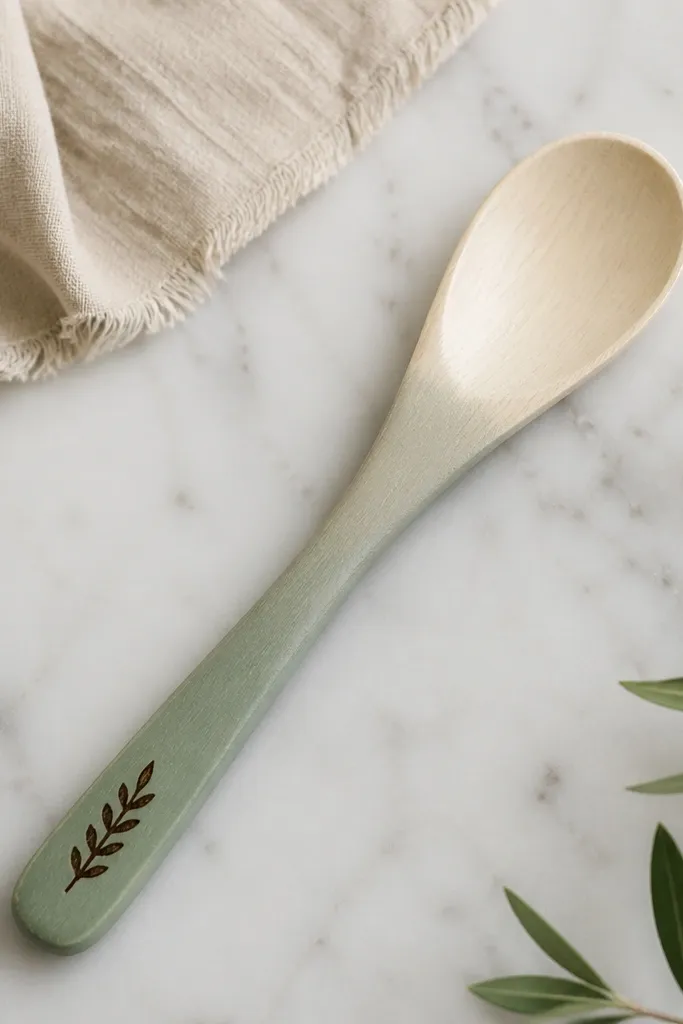
Pick a plain wooden spoon (uncoated or food-safe finished). Lightly sand with fine grit, then wipe clean. Burn the message with a wood burner if you have one, or use a paint marker designed for wood. Add a very light painted wash near the handle using watered acrylic. Seal with food-safe mineral oil if the spoon is meant for cooking.
If he cooks, this is one of the most meaningful gifts that stays in rotation. A spoon is always within reach, and the message is right where his hand goes. I like using wood burning or a simple paint marker for the text because it lasts better than cheap stickers. The color stays subtle so it doesn’t look childish.
One warningDon’t use regular varnish on a spoon he’ll put in food.
Quick tipStick the message length to 2-4 words so it reads cleanly from across the kitchen.
15. Custom Scratch Map "Memories" Sticker Sheet
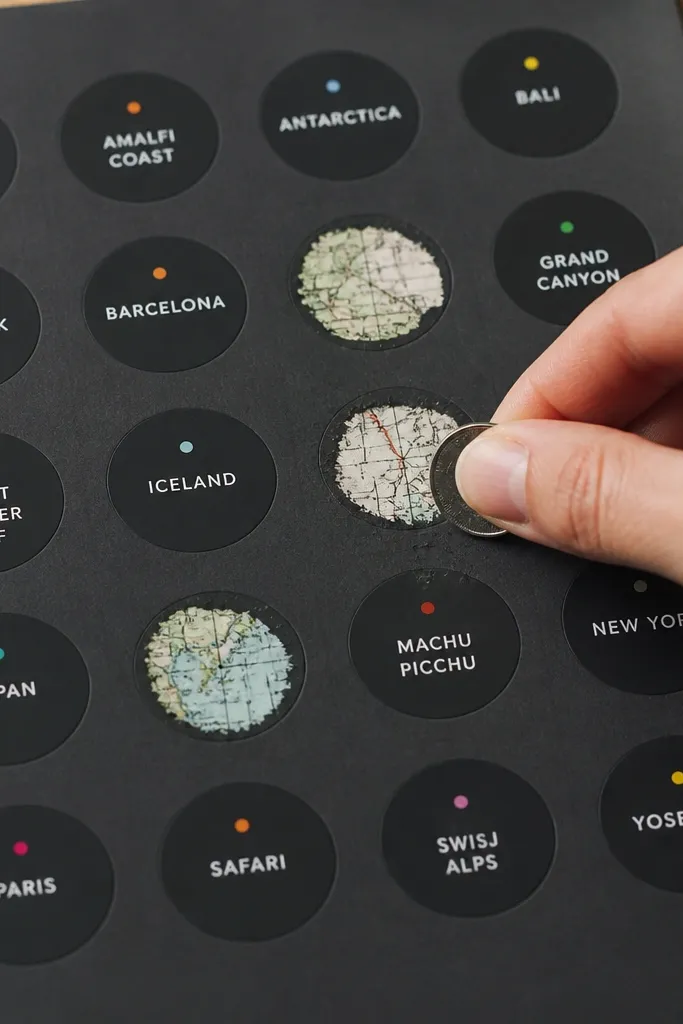
This is sentimental without being bulky, and it works for boyfriends who like planning. You create a “we went here” list he can scratch as you make memories. The sticker sheet format is low maintenance because it’s one print and one assembly. I keep the labels short so they look tidy in a planner or on a laptop.
Print location labels on sticker paper or cut vinyl labels if you have it. Apply a scratch layer sticker over each label using matte black craft paint mixed thick with a bit of cornstarch, then let dry. If you don’t want to DIY scratch layers, buy pre-made scratch sticker sheets and stick your labels on top. Package the sheet in a small envelope with a note: “Scratch after we do it.”
Use a consistent label style: same font, same size, same spacing — it looks professional fast.
Avoid messy spacing — uneven labels make the whole sheet look thrown together.
16. Keychain Photo Locket from a Small Clear Ornament
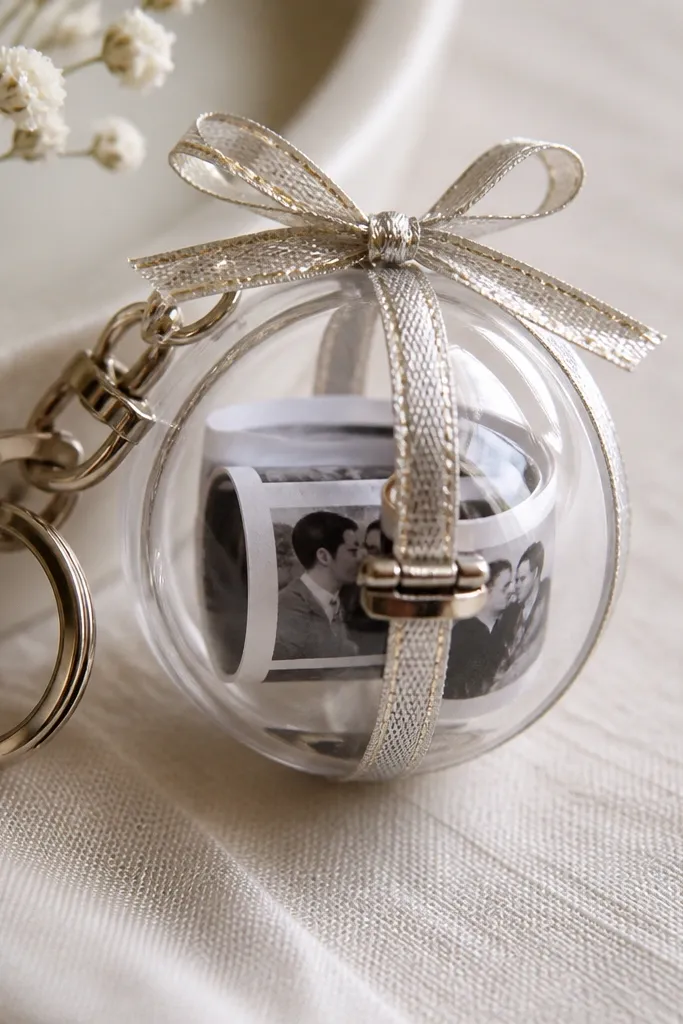
Buy a cheap clear ornament or take one from a craft store pack. Open it carefully, insert a rolled photo strip about 1/4 inch thick, and close it with the original clasp. If the ornament has a loop, attach a small key ring to it. Wrap a thin ribbon around the top seam and glue it down.
A clear ornament gives you a glassy “locket” look without glassworking. The photo strip is rolled so it fits easily, and the photo is visible when light hits it. It’s a good choice if he likes subtle accessories instead of big charms. The metallic ribbon makes it look intentional rather than random repurpose.
One warningAvoid thick ribbon that covers the seam completely — it makes it hard to open later.
Quick tipUse a photo strip printed in black and white for a more “locket” vibe.
17. Personalized "Gas Rewards" Envelope for His Car
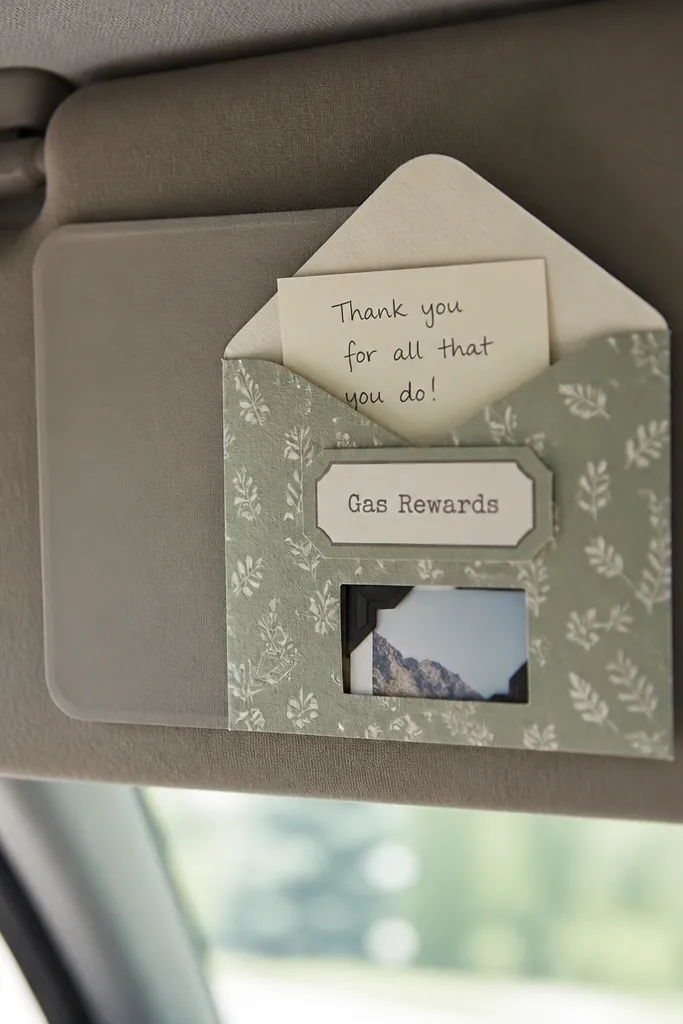
Cut an envelope from sturdy paper or use a small file folder envelope. Cover it with patterned paper and seal edges with clear tape. Print “Gas Rewards” and add a date. Add 3-5 coupons like “Pick the playlist for the drive,” “My treat for coffee,” each on a small card. Seal inside with a simple photo corner under a clear tape window.
This is one of my favorite low maintenance gifts because it’s useful and it gets used right away. You make a small envelope for the visor or glove compartment and fill it with “rewards” like a gas station receipt photo, a gift card, or a handwritten coupon. The sentiment is in the captions, not in a complicated craft.
One warningAvoid flimsy printer paper — it tears in a glove compartment.
Quick tipUse coupons with short, specific actions so he can redeem them instantly.
18. Matte Black Mug with Heat-Transfer Quote Patch
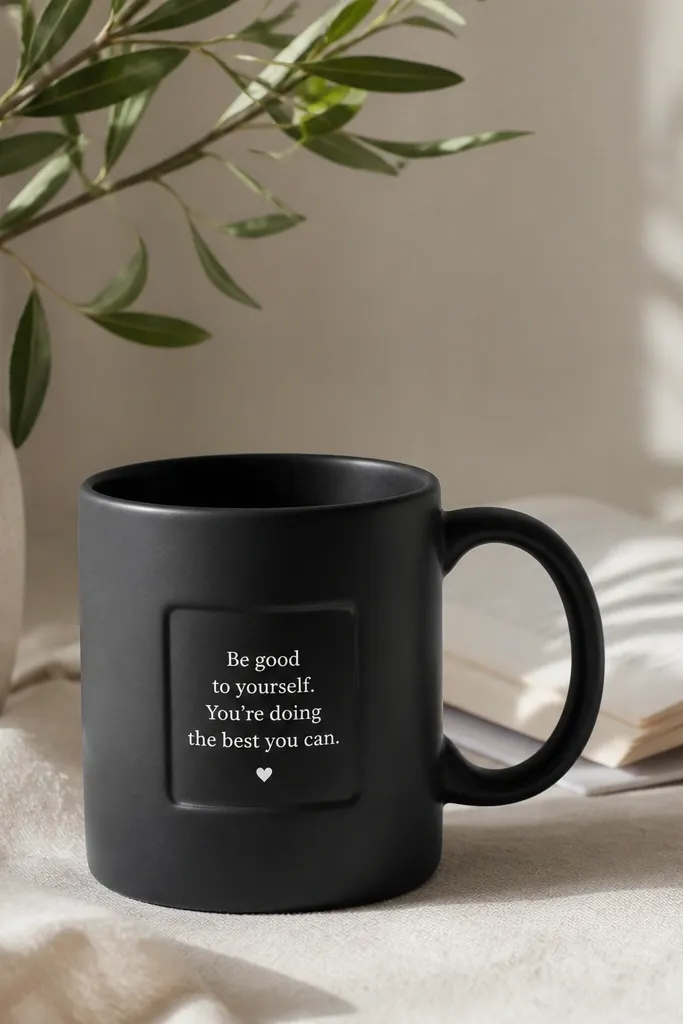
Heat-transfer style lettering looks clean and permanent when you do it right. I use matte black mugs because the white text pops and hides minor imperfections. You’re not relying on handwriting staying perfect for months. The patch size keeps it subtle, so it still looks good in his kitchen.
Buy a matte black mug and heat-transfer paper made for mugs or transfer vinyl made for heat. Design a quote in a simple font and print or cut it. Press with a heat press if you have one, or follow your transfer paper instructions carefully for time and pressure. Let it cure without washing right away.
Keep the patch under 2 inches wide so the text stays sharp on the curved surface.
Avoid cheap sticker-style transfers — they peel after the first few washes.
19. Pocket "Emergency Love" Cards in a Small Tin
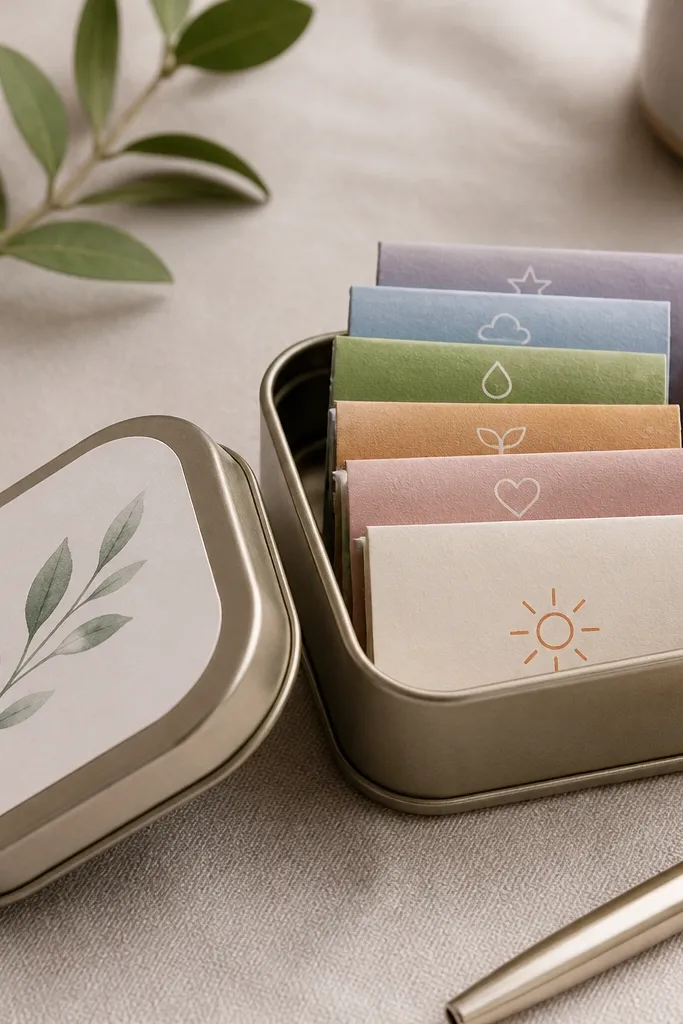
Use a small metal tin (like a mint tin or small candle tin). Print or hand-write 12 cards, each about 2 x 3 inches, and fold them in half. Label the tin lid with a simple title and a date. Put a clear sticker window on the tin front if you want the cards visible, but seal the edges so nothing catches.
Emergency cards are sentimental and genuinely helpful because they give him something to read when he’s stressed. I put them in a small tin so they don’t crush in a bag. Each card is short and specific, like “I’m proud of you for today” or “Text me a voice note and I’ll reply.” The icons add structure so the tin looks organized, not messy.
One warningDon’t cram tiny handwriting — if he needs it in a rush, short lines read better.
Quick tipWrite 2-3 cards that relate to his daily routine (work, gym, commute) so it feels personal fast.
20. Fabric Scrap "We Go Together" Key Fob with Button Closure
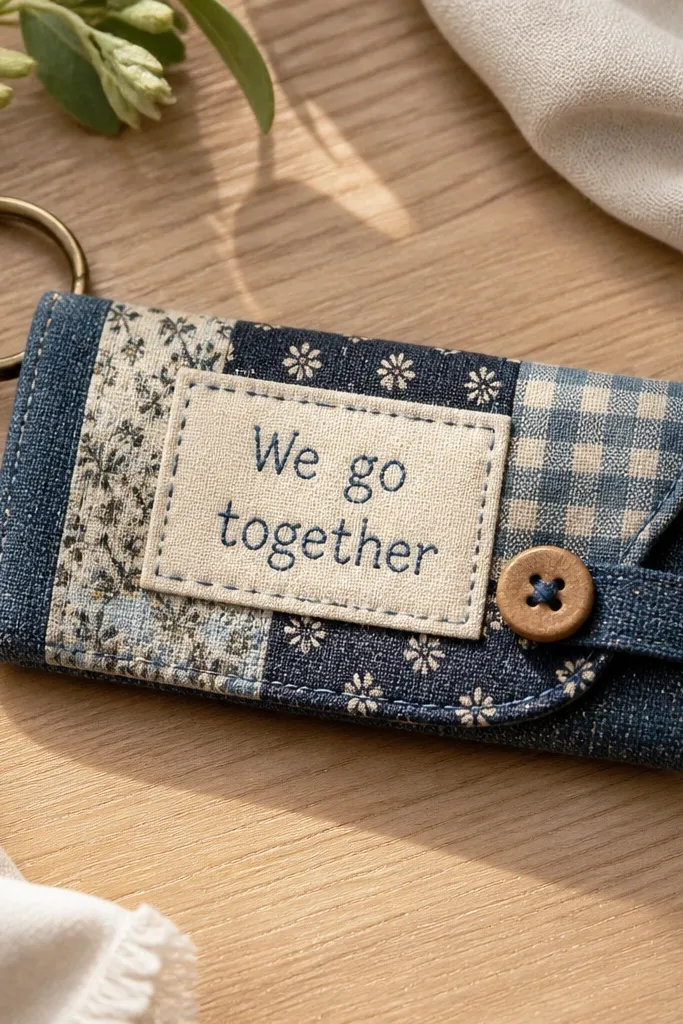
This is a sentimental gift that looks soft, not crafty. Fabric scraps let you match his style without buying new material. The button closure makes it feel like a real accessory, and the stitched patch keeps the message from smearing like ink can. I like using denim or canvas scraps because they hold shape.
Cut a rectangle about 3.5 x 5 inches from canvas or denim scraps. Fold it into a fob shape and sew the sides, leaving a gap for the key ring attachment. Add a small fabric patch on the front with a stitched border. Use a small button and loop made from thin ribbon for closure. Add key ring hardware at the top seam so it doesn’t twist.
Use thick thread and a simple straight stitch — it looks neat even if your stitching isn’t perfect.
Avoid slippery satin scraps — they twist around the ring.