1. LED Polaroid String Light Wall Pocket
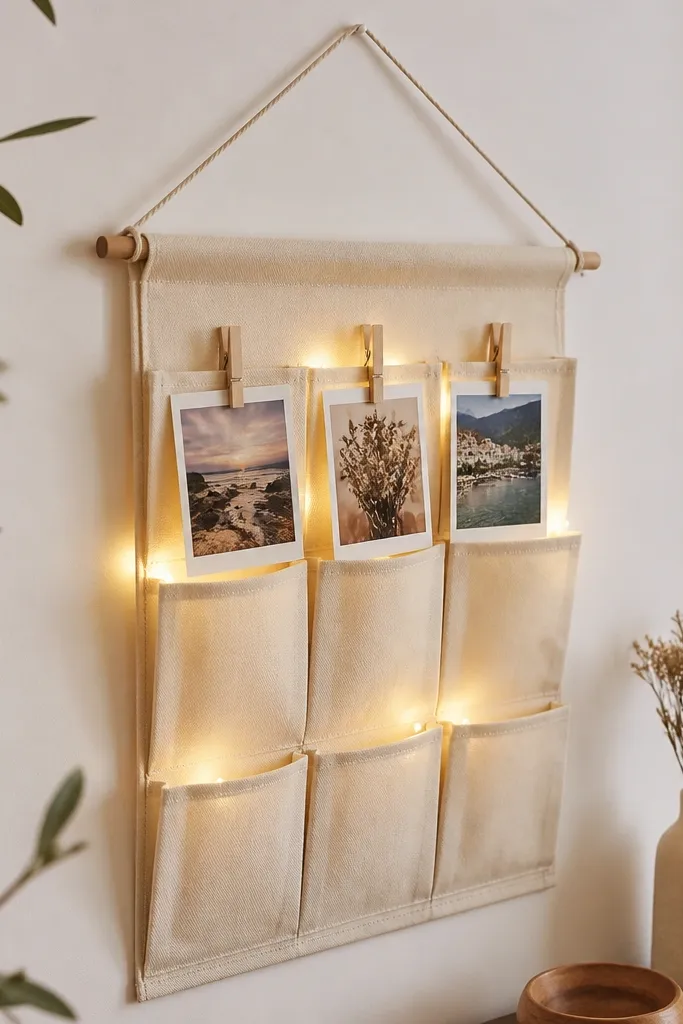
This looks special because the lights sit behind the photo area instead of in front. I use a warm white fairy light and tuck it into the depth of the pocket so the glow spreads evenly across the photos. The fabric pockets create a natural frame for each picture, and the clothespins keep the photos easy to swap later. It reads like a curated display even though it’s just fabric, clips, and LEDs.
Cut a backing rectangle from sturdy felt or canvas (about 10x16 inches), then sew or hot-glue three vertical pockets sized for 4x6 inch prints folded slightly. Place the fairy lights between the backing and the pocket front so the wire doesn’t show. Add a small Velcro flap at the top for the power pack cable to disappear behind.
Quick tipPrint two versions of each photo in different crops and pick the one that looks best in warm light.
One warningDon’t wrap the fairy lights directly around the photo edges — hotspots make it look messy.
2. Map Coordinates Light Box with Hidden USB
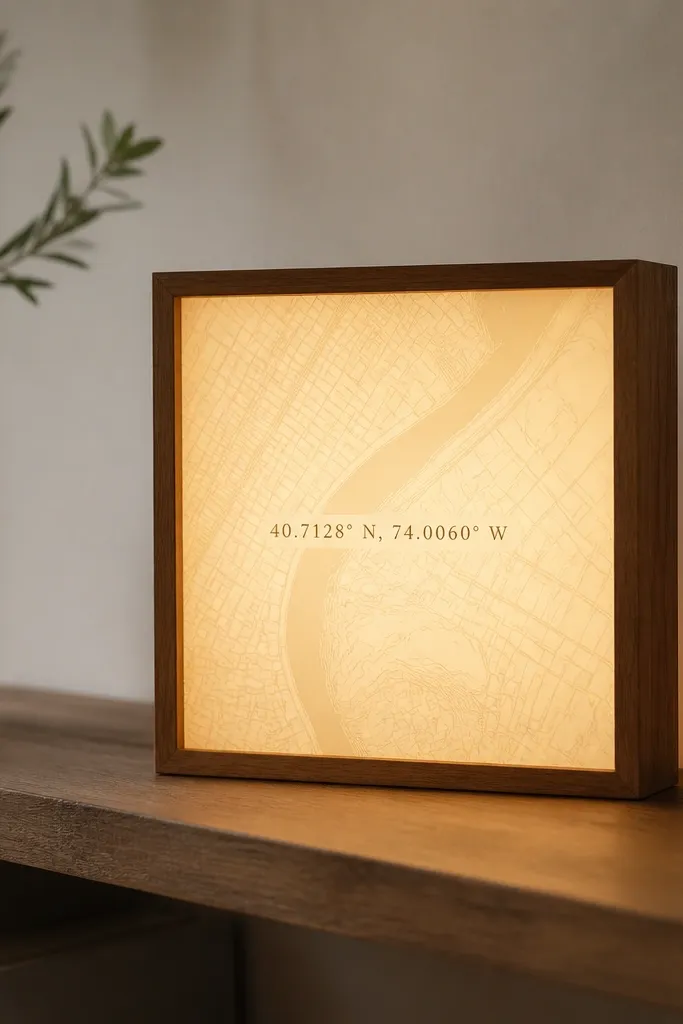
A map print feels personal fast, and the light box makes it look expensive. I attach the diffuser sheet between the LEDs and the map so the text stays readable without glare. The glow also makes the map paper look like it’s lit from within, not taped to a light source. The coordinates add that “you picked this for me” feeling.
Use a shadow box frame about 8x10 inches. Cut frosted acrylic or frosted craft plastic to fit the window area; glue it over the LED strip. Print the map on thick paper, then mount it behind the diffuser. Route a USB LED strip wire through a small notch on the back and cover it with a glued-on cable channel strip.
Choose coordinates that match a real moment, like where you met or the first trip — write them in a clean, small font.
Avoid clear acrylic without diffusion — it creates streaks and uneven brightness.
3. Football Jersey Number Light Up Shadow Letter
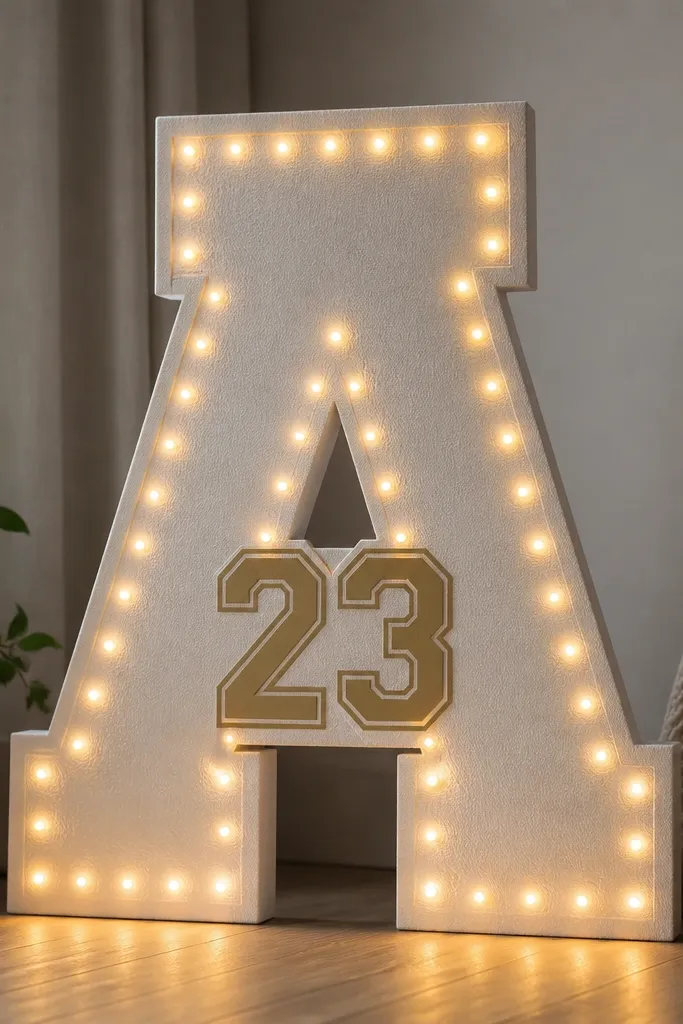
This works because it ties into a hobby without turning into a generic “sports poster.” The drilled-hole lighting gives a speckled glow that looks like stadium lights. I use a foam letter so it’s lightweight, then add a printed number patch texture (like heat-transfer vinyl or patterned paper). The result feels handmade but still clean.
Cut a large initial or number from 1/2-inch foam board. Drill tiny holes (2-3 mm) around the border in a grid pattern, then line the back with warm white LED string lights or micro LEDs. Add a jersey number layer using iron-on vinyl or fabric paint on cardstock. Seal the front with matte Mod Podge so it doesn’t reflect light harshly.
Drill holes closer together near the corners for a stronger glow where the eye lands.
Don’t use glitter paper — it throws sparkly glare and looks cheap under LEDs.
4. Glow-in-the-Dark Resin Coaster Set with Photo Centers
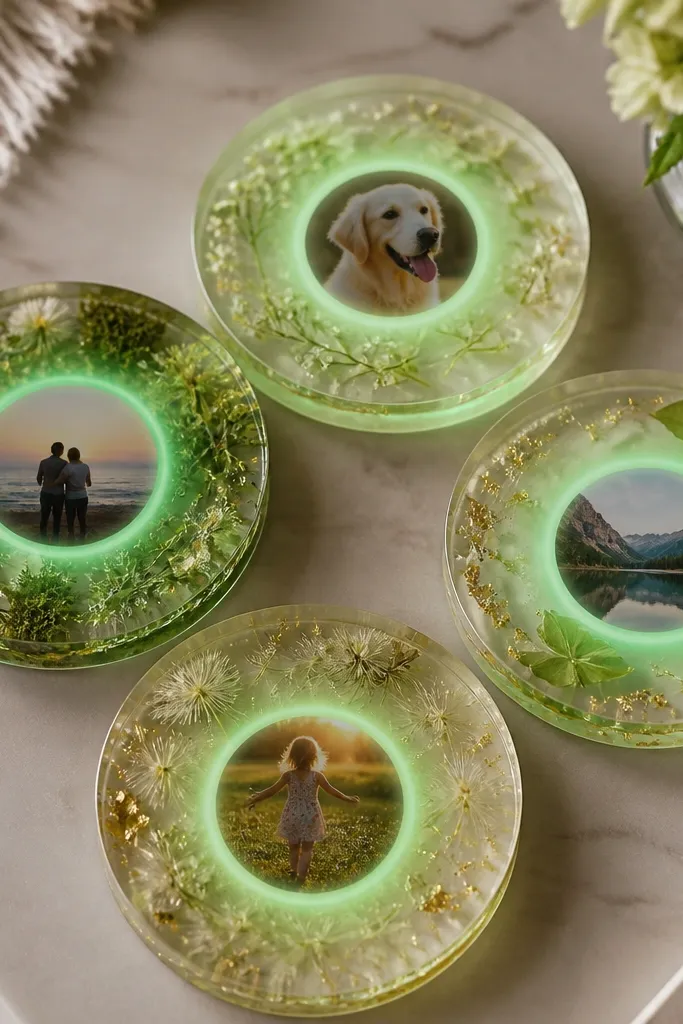
If he’s the kind of guy who likes “small but cool,” resin coasters hit perfectly. The glow pigment makes the coasters look alive even when he’s not using them. By putting a photo center under clear resin, you get a personal detail that doesn’t rely on constant lighting. It’s a gift he’ll actually use.
Use 4-inch silicone coaster molds. Print tiny photos on waterproof paper and seal them with a thin clear coat before resin. Mix clear epoxy with UV-reactive pigment (start small, you can always add more). Embed a thin LED strip only for the testing phase; the real glow comes from the pigment charge under light.
Charge them under a bright lamp for 10 minutes, then test glow before you seal the final resin layer.
Don’t skip sealing the photo — unsealed ink can tint brown under epoxy.
5. Mini Neon Sign Nameplate on Wood Slat Backing
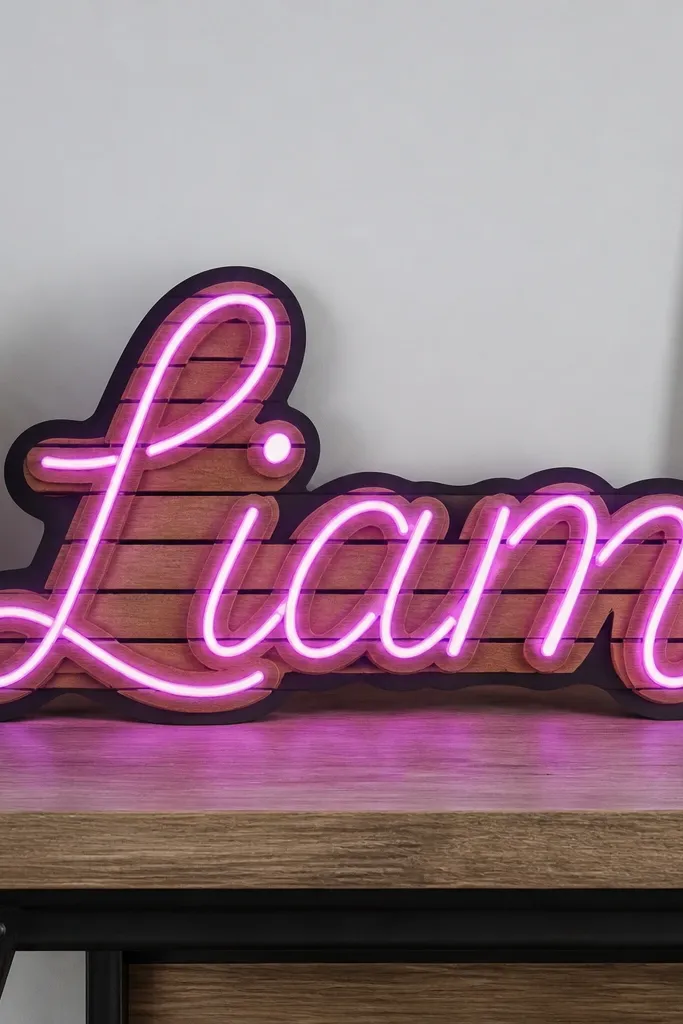
Neon style looks special because it’s bold and graphic. I’ve built these with flexible LED strip and a simple backing, and the trick is the diffuser and the channel. The black outline makes the glow feel like a real neon tube, not a DIY light bar. You can match his vibe by choosing pink-purple for gamer/party energy or blue-white for calm.
Sand a small wood rectangle (about 10x14 inches) and stain it dark walnut or paint it black. Cut letter shapes from acrylic or craft foam, then create a channel for the LED strip behind the letters. Use a thin acrylic diffuser strip or translucent plastic behind the LED trace. Mount the power pack on the back with a Velcro strap.
Quick tipTrace the letters with masking tape first and check spacing from 3 feet away.
One warningDon’t leave raw LED strip edges visible — it creates bright lines that scream “cheap.”
6. Lighted Beer Cap Memory Frame
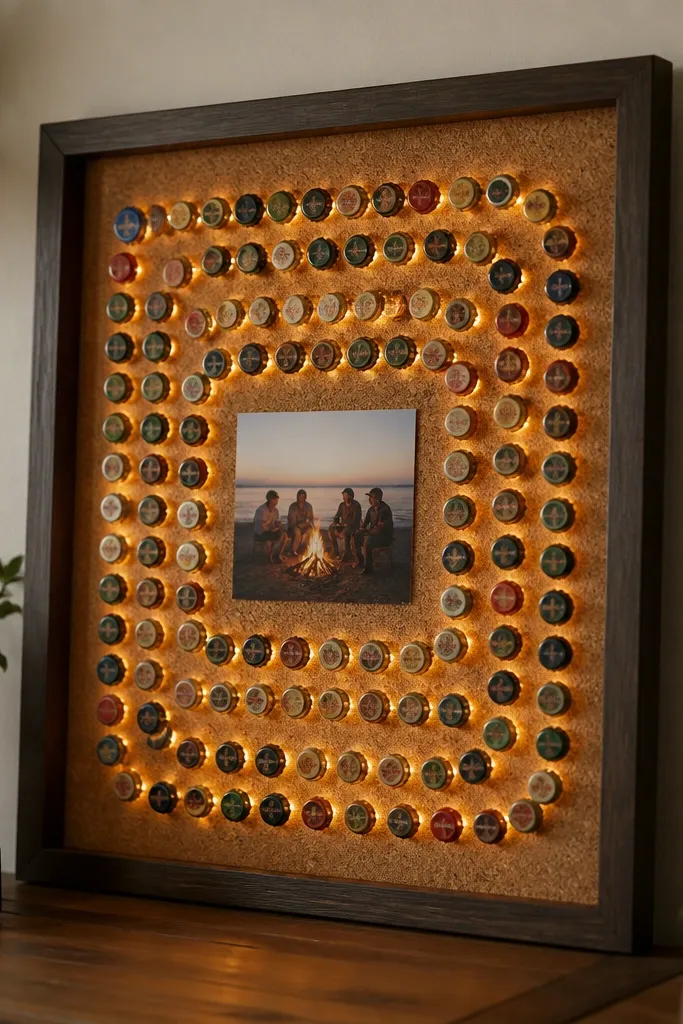
This is one of my favorite upcycling gifts because it uses something he already collects. Cork board gives the caps a textured backdrop, and warm lights make the metal caps look golden and dimensional. The photo in the center anchors the whole piece so it’s not just random caps. It feels like a story wall, but it’s compact.
Build a frame from a 12x16 inch shadow box or wooden frame. Glue corkboard to the backing, then arrange bottle caps with hot glue or epoxy for metal. Place warm fairy lights behind the cork in a loop, then add a diffuser layer using thin parchment paper taped to the back. Add a small opening on the back for the battery pack.
Quick tipUse a consistent pattern like a spiral or a “cap border” around the photo for a cleaner look.
One warningDon’t mix strong cool-white LEDs — they make metal caps look gray.
7. Desk Dock Lighted Keychain Photo Holder
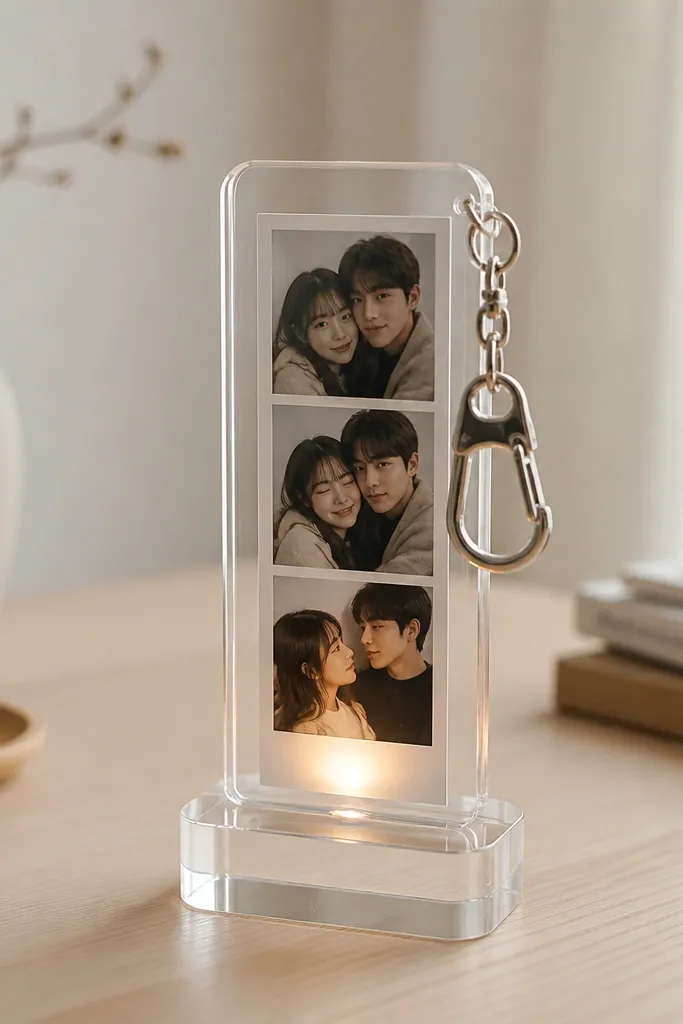
This one feels special because it’s practical. He can drop keys or a small badge on it, and the photo glows like a mini keepsake. I like using clear acrylic with a paper backing so the light bounces and stays soft. The glow is gentle enough for a bedside desk without hurting your eyes.
Cut clear acrylic into a small stand (about 3x5 inches) with a back lip. Insert a paper photo strip sized to fit behind the LED. Use warm white micro LEDs on a thin strip glued to the bottom interior. Drill a small hole for a tiny hook, then attach with screws.
Add a tiny piece of frosted film over the LED area so the glow spreads upward.
Avoid placing the LED directly behind the photo — you’ll get a bright rectangle.
8. LED Lettering on Fabric Flag Banner
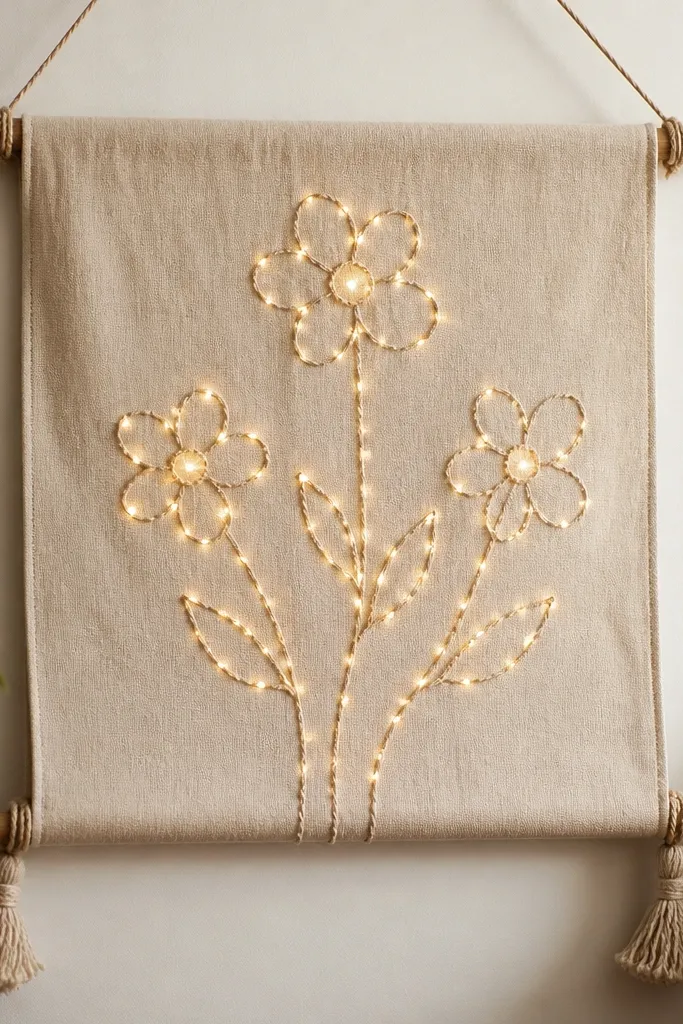
Fabric makes lights look softer and less harsh. I stitch the letters first, then run fairy lights along the seam lines so the glow follows the message. The stitched texture catches light and makes everything look hand-done. It’s perfect for birthdays, game nights, or a “home” vibe on a shelf.
Use cotton or canvas fabric (roughly 10x20 inches). Sew or use fabric paint to make the letters, leaving a channel along the stitch line. Tuck fairy lights into the channel and secure with a few hand stitches every 4 inches. Attach to dowels with ribbon loops so it hangs evenly.
Quick tipChoose one color for lights and one thread color; too many variations look chaotic.
One warningDon’t use satin fabric — it reflects LED glare and looks shiny in a bad way.
9. Hobby Lighted Tool Tag Wall Ornament
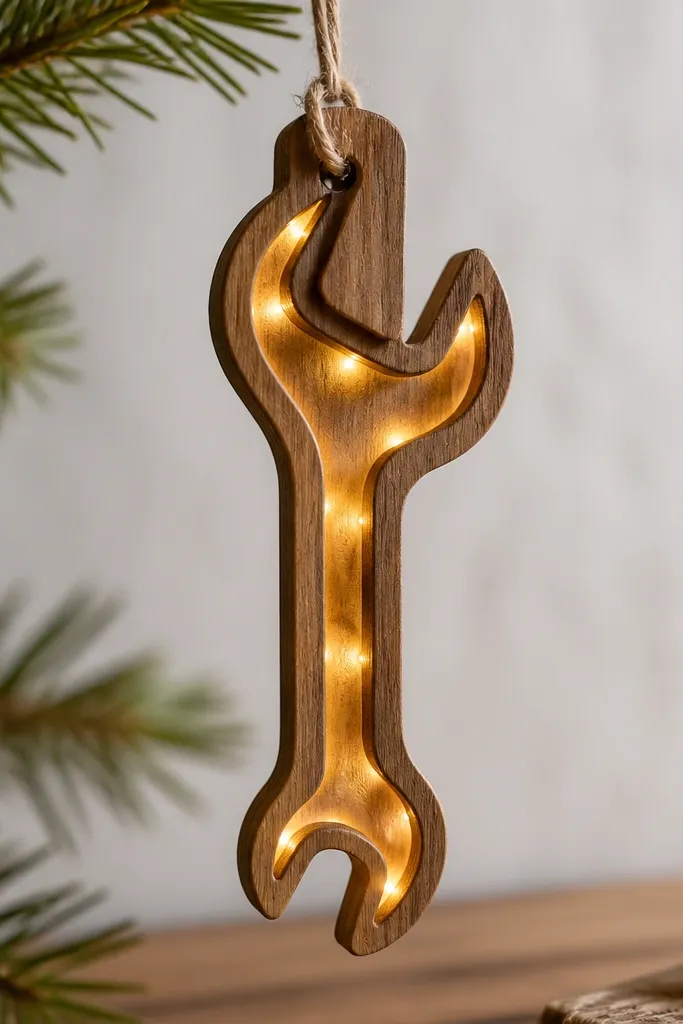
If he’s into cars, woodworking, or bikes, this feels like you paid attention. The trick is making the light come from the hollow cutout, not from the front. I cut the shape from thick plywood or craft wood, paint it matte, then add a back layer to diffuse the LEDs. It reads like a real sign, not a craft project.
Trace a tool silhouette onto 1/4-inch plywood or thick cardboard. Cut the shape and sand edges. Paint matte black or dark gray, then mount warm LEDs behind the hollow area. Add a thin diffuser behind the LEDs with white translucent plastic.
Drill a tiny wire hole at the top corner and route the cable inside the tag frame.
Avoid leaving raw wood edges visible — they look unfinished once lit.
10. Romantic But Masculine Lantern Jar with Coordinates
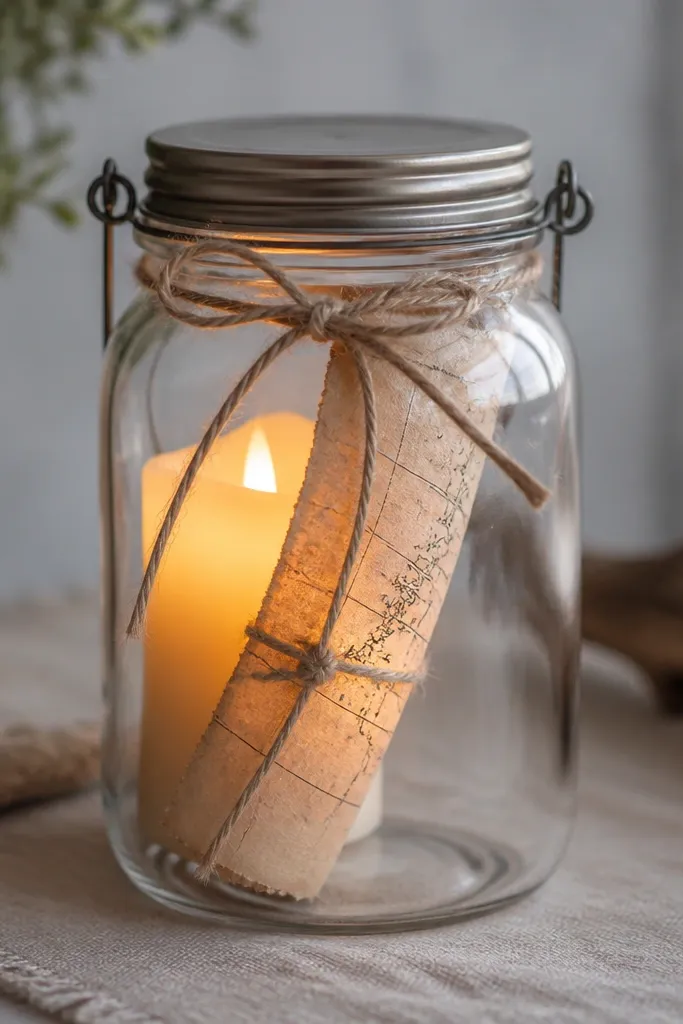
Lantern jars look warm and personal without trying too hard. I wrap a strip of paper with coordinates or a short date, then tie it with twine so it stays neat. Warm LED candles make the glow look like flame without the mess. The glass shape gives natural diffusion so it never looks like a spotlight.
Use a 16-24 oz jar with a metal lid. Print coordinates on thick paper, roll it into a tight tube, and slide inside before placing the LED candle insert. If the cable is long, route it through the lid liner with a small notch and seal with hot glue. Add a label on the front with simple black vinyl.
Pick twine color based on his style — black for clean, tan for outdoorsy.
Don’t use cold white LEDs — they make the jar look like a fridge light.
11. LED Message Bottle with Floating Star Confetti
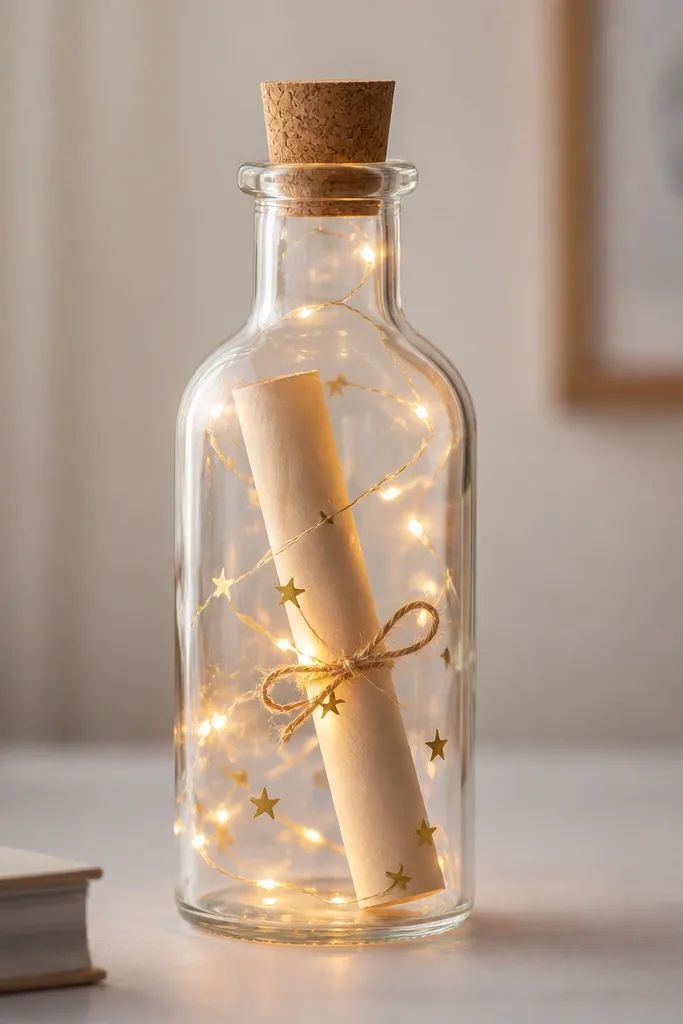
A message bottle feels thoughtful because it’s literally carrying something from you. The floating star confetti makes the light look like it’s moving. I use warm LEDs so the stars look gold instead of neon. The bottle shape also hides the battery pack better than a flat box.
Use a small clear glass bottle with a cork or cap. Wrap warm LED strip around the inside bottom, then tape the strip to a small plastic ring so it stays centered. Add star confetti (holographic gold works) and roll a message on thin paper. Secure the cap and leave a small opening for the LED wire if needed.
Write the message in pencil first on scrap paper — you’ll get the line length right before final ink.
Avoid chunky confetti — it clumps and blocks the light.
12. Lighted Vinyl Record Wall Art with Song Title
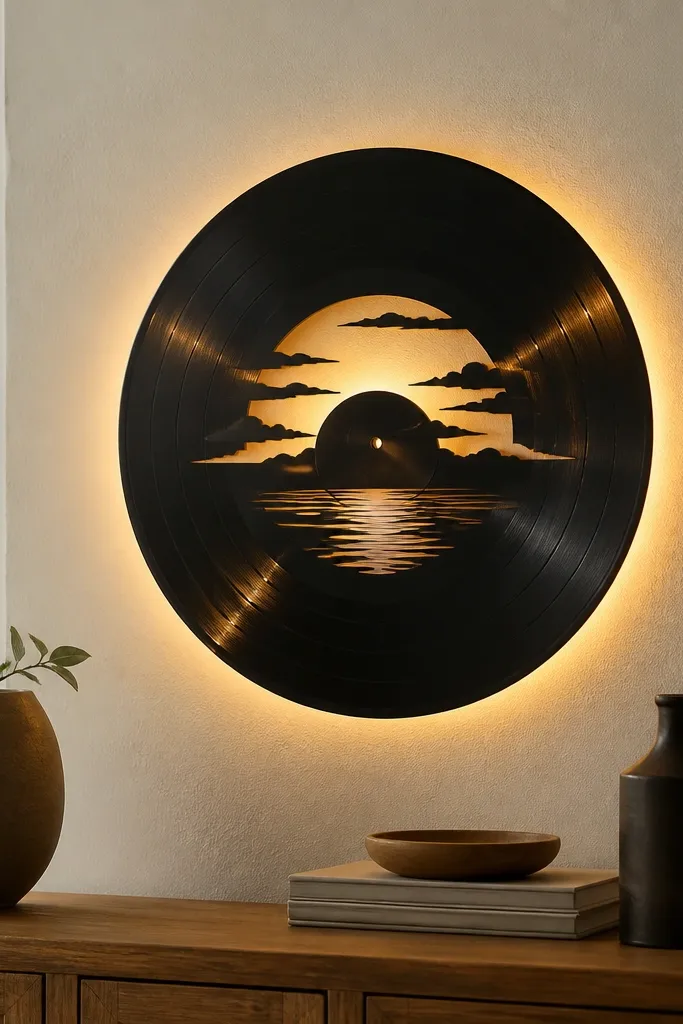
Vinyl already feels personal, and adding lights makes it look like a real merch piece. I mount a thin diffuser behind cut-out text so the letters glow without glare. The record grooves catch the light and create a subtle halo. It’s also a good way to reuse a record you’re okay with cutting.
Pick a record in decent condition. Use a stencil to cut the song title from thin acrylic or cardstock and mount it over the record label area. Glue a warm LED strip around the back perimeter. Add a backing sheet of white craft foam to diffuse the glow.
Quick tipChoose a typeface with thick letters so the glow reads from across the room.
One warningDon’t cut deep into the record — you risk cracking and sharp edges.
13. Fabric Rose with Hidden LED Stem
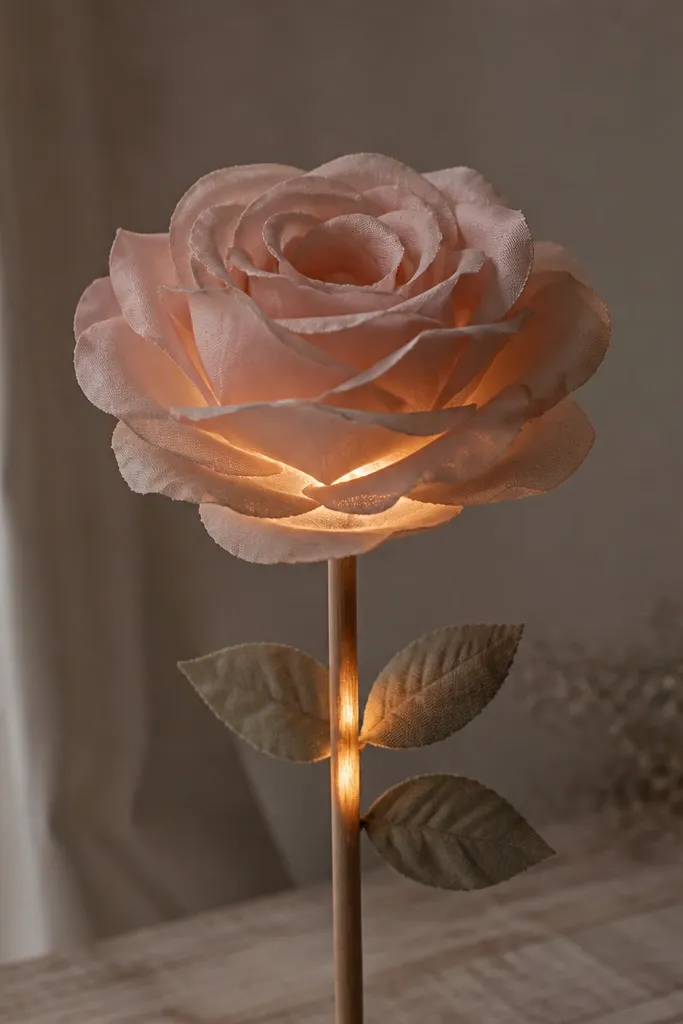
This one feels sweet without being overly girly because it’s a single clean rose with controlled glow. The light in the stem makes it look like a secret, not a toy. I use matte fabrics for the petals so the glow doesn’t look shiny and plastic. It’s a great add-on gift when you also give something practical.
Make a rose from cotton fabric or felt petals stacked around a rolled center. Inside the stem, insert a thin warm LED strip or micro LED line glued to a narrow backing. Wrap the stem with green fabric tape and secure with a few stitches. Place the battery pack in the base of the wooden stick with a removable Velcro patch.
Test the brightness before you cover the stem — dim LEDs look more natural through fabric.
Avoid satin petals — the highlight looks cheap under LEDs.
14. Personalized Light-Up Key Ring Holder Tray
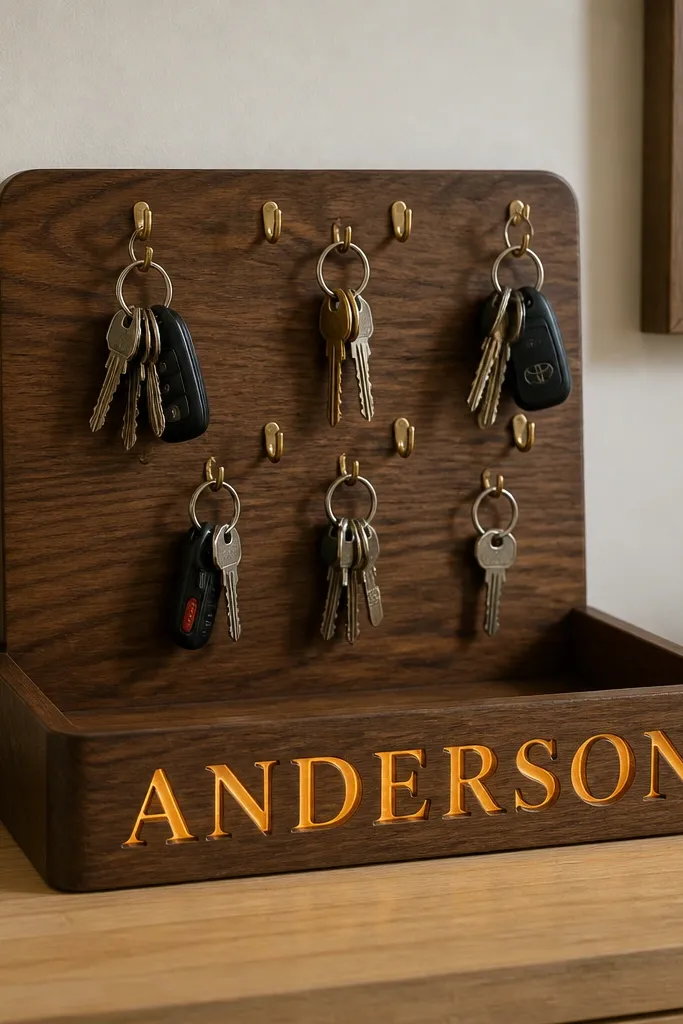
A tray is the kind of gift that gets used every day, and the lights make it feel like a reward. Carved letters glow from behind, so the glow stays crisp instead of foggy. I use warm LEDs and a matte finish to keep it man-friendly. Add his initials plus a hook layout for keys and a small accessory.
Sand a tray base (about 8x6 inches) and paint matte black. Carve or cut the name letters into the front panel using a craft knife or thin router bit if you have one. Glue warm LED string behind the carved area, then attach a thin frosted plastic sheet behind the LEDs. Install hooks with screws or small rivets.
Keep the letter depth shallow so the glow stays sharp and doesn’t bleed.
Don’t rely on hot glue alone for the LED strip — it can pop off with heat.
15. LED Carabiner Photo Clip Chain
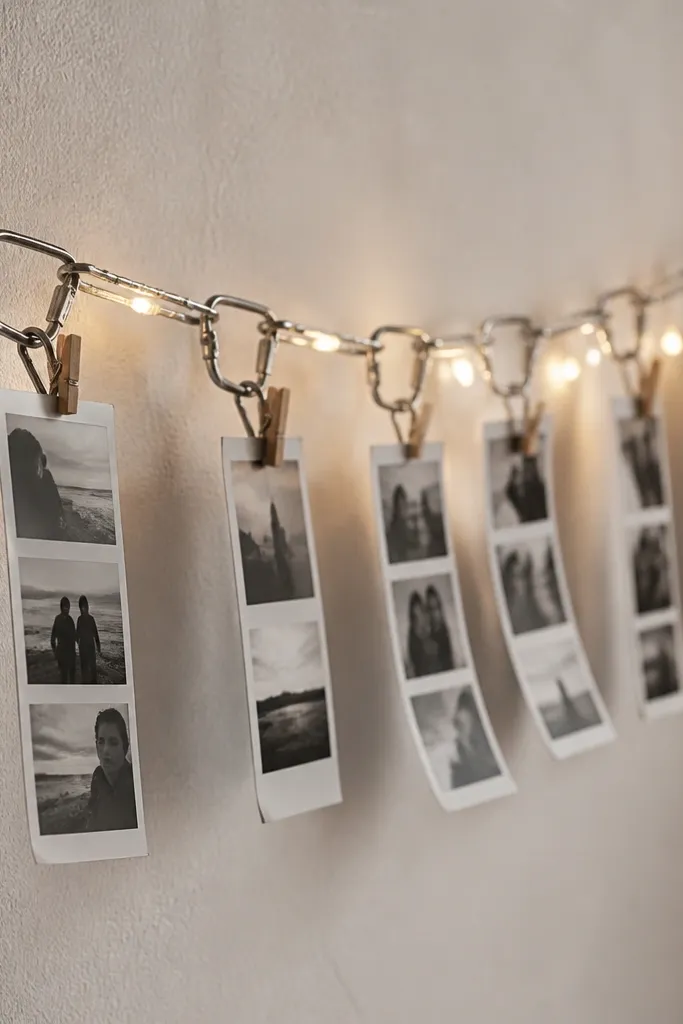
This looks like a mini adventure wall, and it’s easy to personalize. The carabiners give structure and hide wiring behind their metal backs. Warm lights behind the clips create a soft glow around each photo strip. It’s also flexible — you can add more clips later.
Use a metal chain or heavy cord. Attach carabiners at intervals, then clip mini photos with small clothespins. Run warm fairy lights along the back side of the chain and secure with zip ties. Put the battery pack in a small pouch taped under the bottom clip.
Quick tipSpace photos evenly so the chain reads as a grid instead of a random line.
One warningAvoid dangling wires in front of the carabiners — the shine shows every mistake.
16. LED Floating Shelf Memory Strip
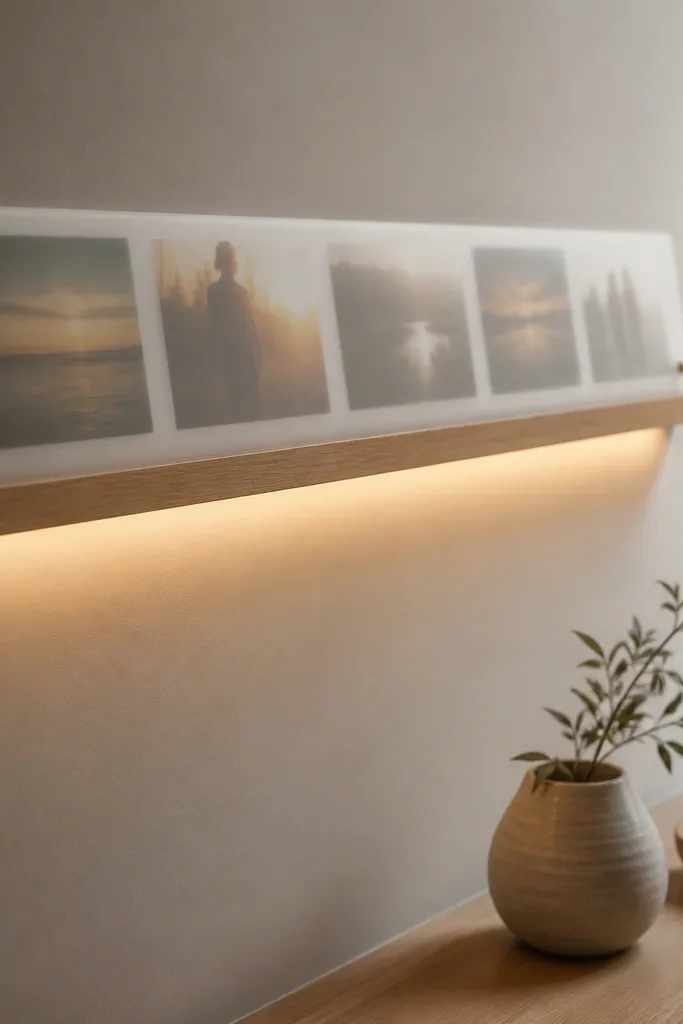
A floating shelf looks sleek, and the light strip makes the photos feel like an art installation. The diffuser panel keeps the LEDs from creating bright lines. I like using a photo strip in one consistent size so the glow doesn’t distort the layout. It’s perfect for a hallway or his workspace.
Install a small narrow shelf (about 4 inches deep) on the wall. Mount warm LED strip to the shelf underside, then cover with frosted acrylic or thin white plastic. Place photos in a slim slot behind the front edge using two small acrylic rails. Hide the cable in the wall or run it along a painted corner track.
Quick tipUse the same photo filter for all images so warm light looks consistent.
One warningDon’t skip the diffuser — without it, the LED points show through and look DIY.
17. Scrap Wood Lighted Coaster with Laser-Style Engraving Effect
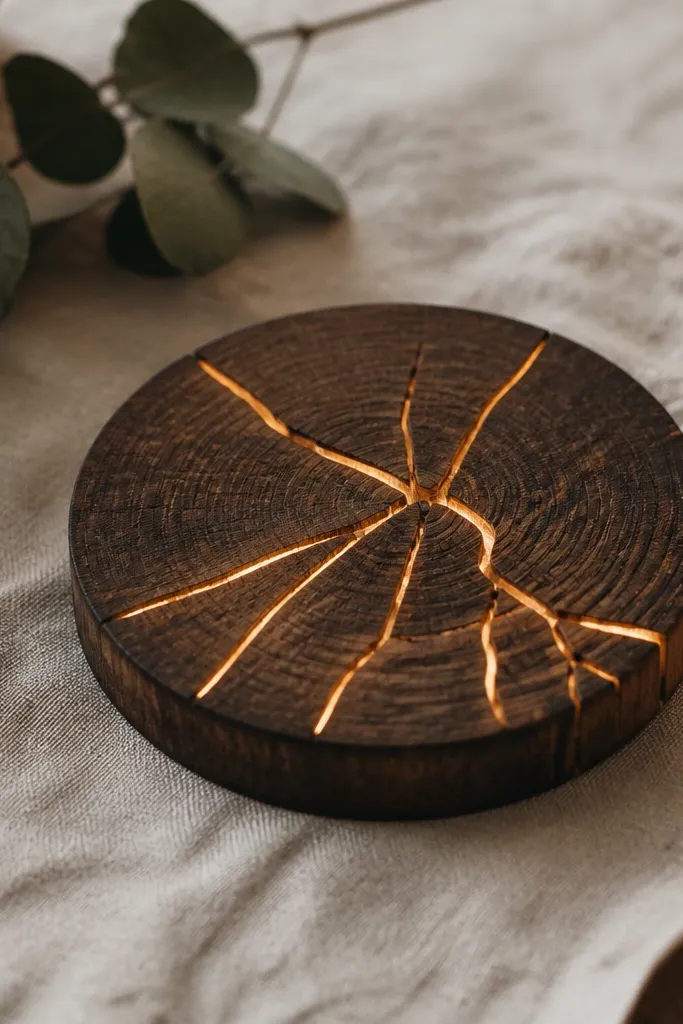
This is the kind of gift that feels handmade because it uses real wood grain. You get a laser-engraving look by cutting shallow grooves and letting the light fill them. Warm LEDs make the grooves glow like amber. It’s also a clever way to use leftover wood slices.
Cut wood into coasters about 4 inches wide and sand smooth. Use a craft tool to carve a simple pattern (waves, initials, a small date). Glue warm micro LEDs behind the carved area and add a thin diffuser paper layer. Finish with a matte wood sealer so the glow doesn’t reflect too much.
Quick tipCarve deeper near the center — it glows brighter and looks more dramatic.
One warningAvoid glossy sealer — it creates glare that hides the carving.
18. Light-Up Message in a Bottle Cap Shadow Box
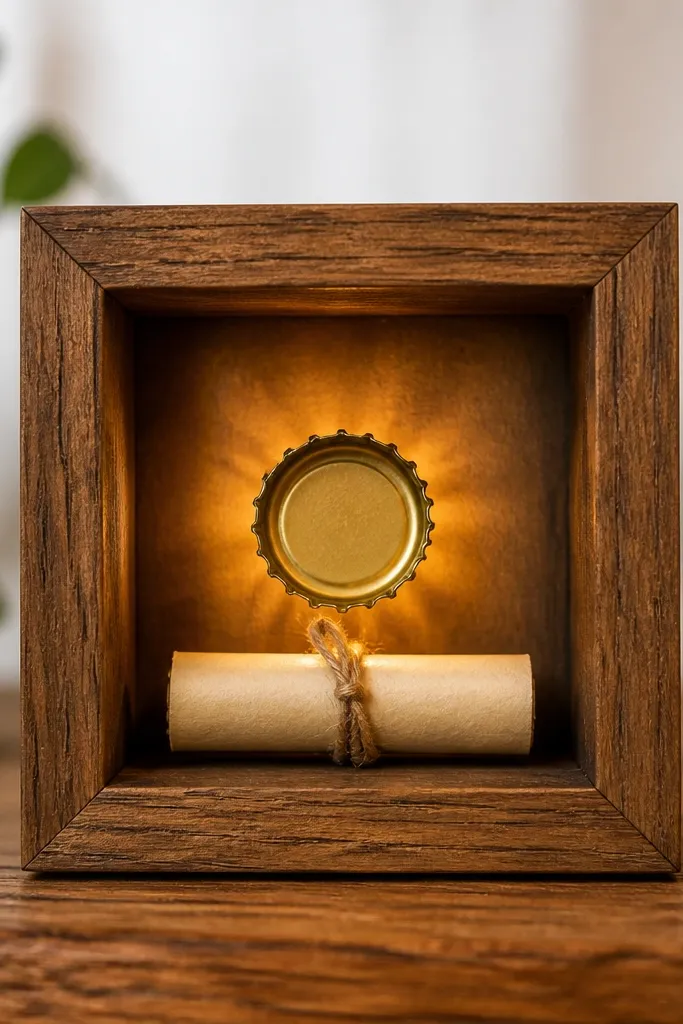
One bottle cap is enough when the lighting is right. This design keeps the focus tight so it doesn’t look cluttered. The cap reflects warm light and creates a gentle halo around the message. It feels personal because it’s small, specific, and tied to a memory.
Use a small shadow box frame (about 5x7 inches). Mount a bottle cap at center with epoxy. Place warm LEDs behind the cap area, then cover with thin vellum or parchment paper for diffusion. Add the message on a rolled strip behind the cap and close with a back panel that hides the battery pack.
Write the message on paper that matches his vibe — lined notebook paper looks casual, kraft paper looks outdoorsy.
Avoid bright RGB — it makes bottle metal look harsh instead of warm.
19. LED Glow Candy Jar for His Favorite Treats
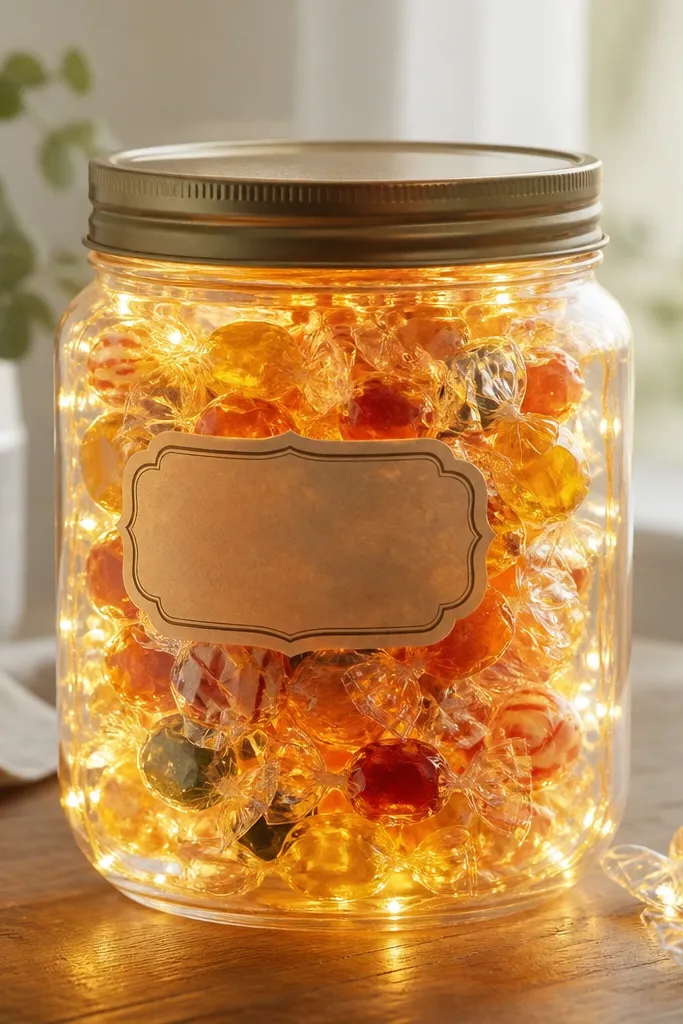
This one works because it’s a gift he can eat and display. The warm light makes the candy colors look deeper, especially reds and browns. I label it with a simple “for you” plus a short line about why that specific candy. It looks thoughtful even when you’re not doing complicated crafting.
Pick a jar with straight sides for even diffusion. Tape a warm LED strip around the inside, then cover the strip with a thin strip of white paper to prevent hotspots. Add candies, then place a printed label on the front using clear tape so it stays readable. Put the battery pack behind the label flap or inside a small fabric sleeve on the back.
Use cellophane wrap around the label edge so it doesn’t smear from condensation.
Don’t overfill the jar — candies can press against the LED strip and create uneven spots.
20. LED Photo Clip String with Map Pin Corners
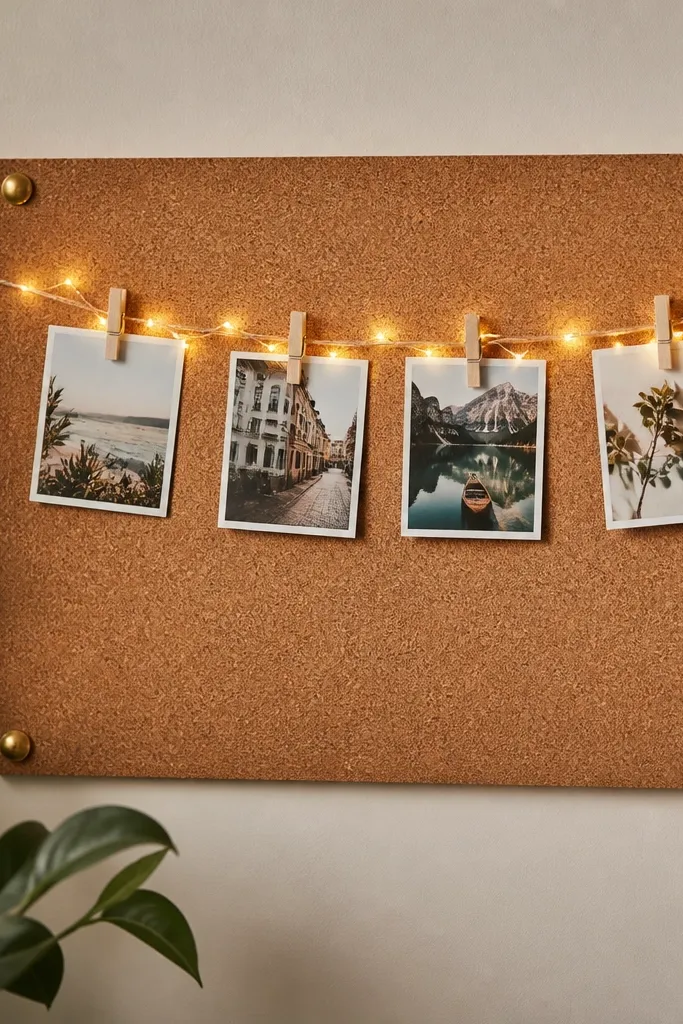
Cork plus map pins makes it feel like travel memory without needing a full map print. The warm fairy lights tucked along the photo line creates a gentle glow that frames the pictures. I like using mini photos because it looks intentional and keeps the layout from getting crowded. It’s also easy to update later with new prints.
Cut a cork board rectangle (about 9x12 inches). Drive four map pins into the corners and stretch a thin wire or twine between them. Clip mini photos along the twine with small clothespins. Tuck warm fairy lights under the twine line and secure with two tiny stitches to keep the wire from slipping.
Quick tipUse two rows of photos max so the glow doesn’t turn into a busy mess.
One warningAvoid thick ribbon behind photos — it hides the light and makes it dim.
21. LED Candle-Style Paper Lantern with His Initial
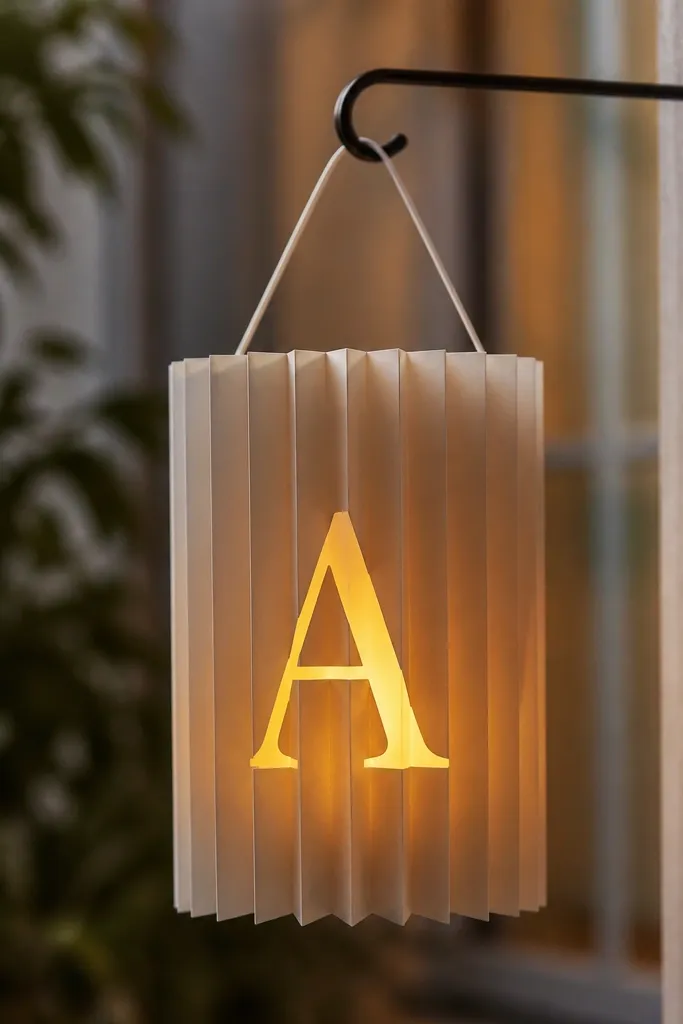
Paper lanterns look impressive because the light spreads across a surface. The cut-out initial gives you a clear focal point without needing fancy electronics. I use warm LED tea lights because they keep the paper safe and the glow steady. It’s a great gift for a dinner date or a cozy night in.
Fold a cardstock sheet into pleats and glue it into a cylinder. Cut a single initial or simple symbol on the front with a craft knife. Place a warm LED tea light inside and hang with a ribbon loop attached at the top. If you want the power pack hidden, choose a tea light style with a hidden bottom compartment.
Quick tipCut the initial slightly larger than you think so it still reads when the lantern is lit.
One warningDon’t use thin tracing paper by itself — it tears and the glow looks smeary.
22. Upcycled Denim Pocket Lighted Wall Planter Note
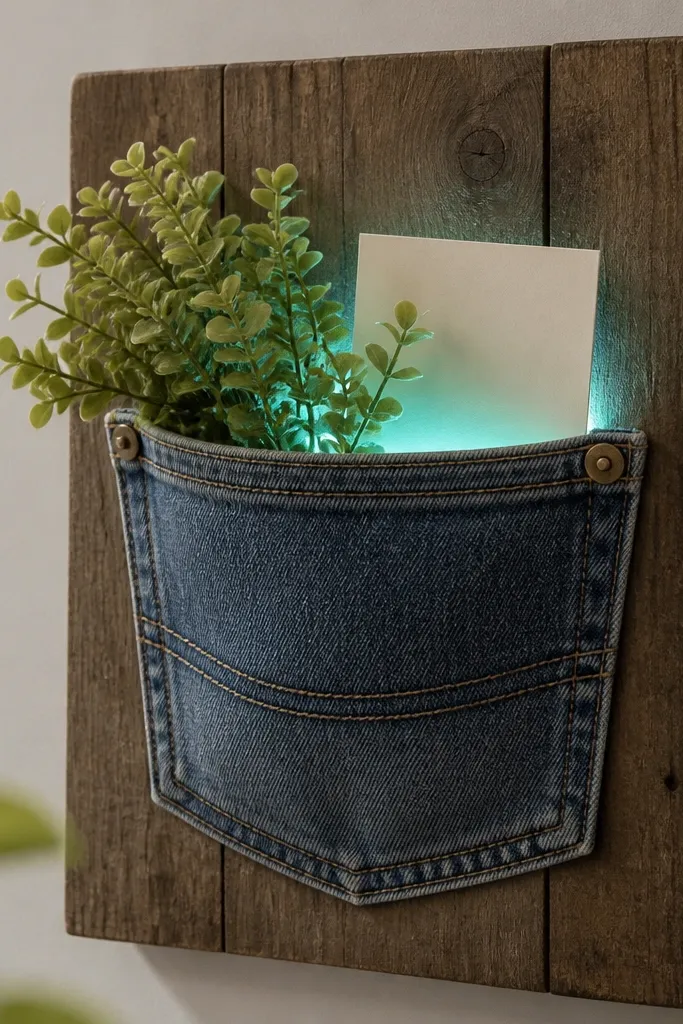
Denim is sturdy and it already looks like something you’d keep. The pocket holds a note card and a small faux plant, and the warm light makes the denim look deeper blue. I like this for guys who don’t want romance clutter but still appreciate a personal message. The pocket shape also hides wiring and keeps it from tangling.
Cut a denim pocket from old jeans and sew it onto a backing board or thick felt. Add a faux plant or small dried sprig inside the pocket. Put warm micro LEDs behind the pocket opening with a diffuser layer of thin white paper. Slide the battery pack into a small pouch at the back and close with Velcro.
Quick tipUse copper or brass push pins to mount the board so the hardware matches the light warmth.
One warningAvoid using super bright LEDs — denim already has texture and it can look harsh.
23. LED Letter Tile Coaster Set with Tiny Messages
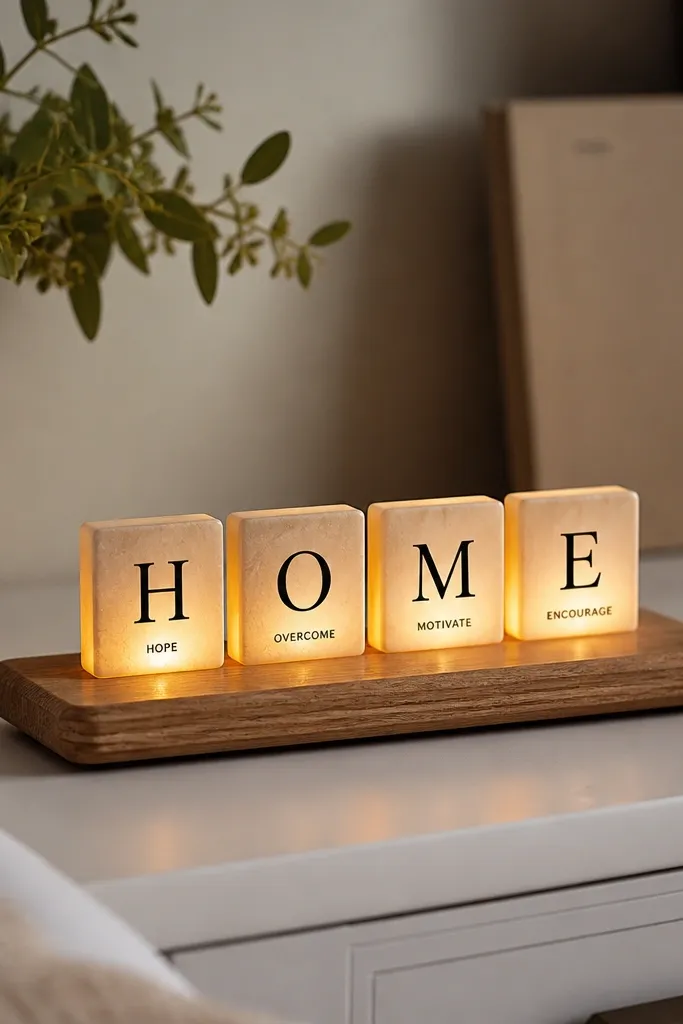
Coaster sets are practical, but they feel special when they’re personalized and lit. The trick is to put the light behind translucent tiles so the letters glow like stained glass. I use warm light and thicker acrylic so the glow stays soft. Tiny messages make it feel intimate without making the gift look childish.
Create four square tiles from frosted acrylic or translucent craft plastic. Print letters and tiny messages onto acetate or thin film and place them between the tile and the LED strip. Mount a warm LED strip under a wooden tray and position the tiles so each one glows evenly. Seal edges with clear silicone so the plastic doesn’t catch dust.
Quick tipPick messages that fit on one line so they stay readable at a glance.
One warningDon’t use super thin paper inserts — they warp and dim under heat.
24. Lighted Bottle Brush Tree with His Favorite Color Theme
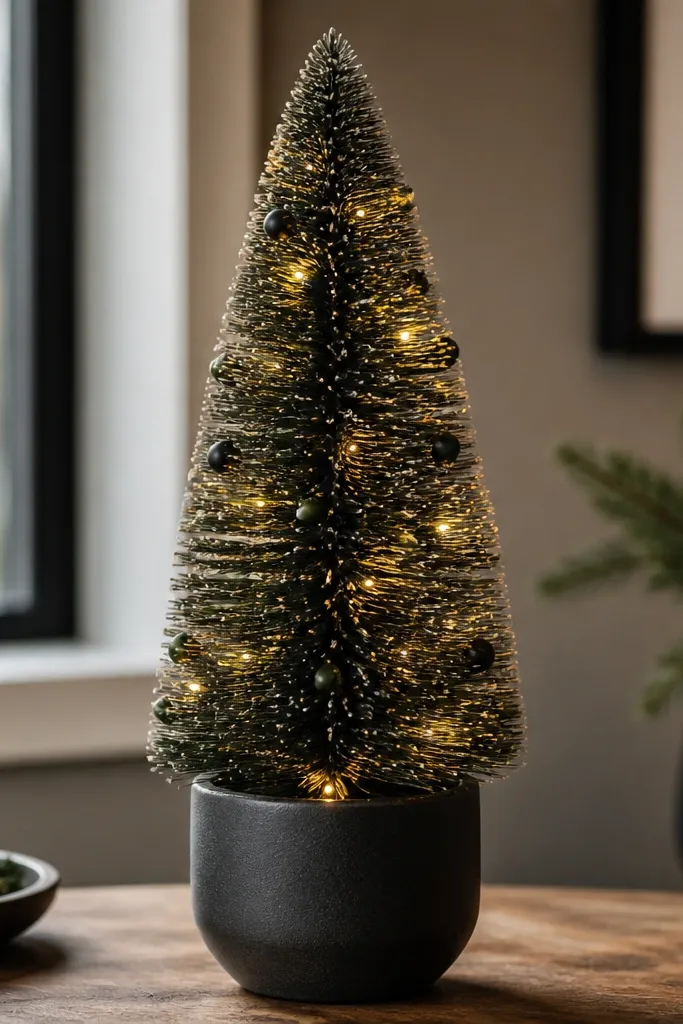
A mini tree is a fun gift that still feels personal when you match his color. I’ve done these with dark green bottle brushes and a black pot, then added warm white lights so it looks cozy. The bristles act like a natural diffuser, so you don’t see the LED points. It’s a solid “desk decor” option for everyday use.
Use a bottle brush tree (6-10 inches tall) and remove any included cheap lights if they look harsh. Insert warm white micro LEDs into the trunk and secure with a dab of hot glue. Spray the tree with matte dark green or leave natural for a rustic look. Put it in a weighted pot with craft foam so it doesn’t tip.
Quick tipWrap the micro LED wire around the trunk in a spiral so the glow is even.
One warningAvoid glossy paint on the tree — it reflects LED dots and looks patchy.