1. Floating Fabric Wall Panel with Tension Clips
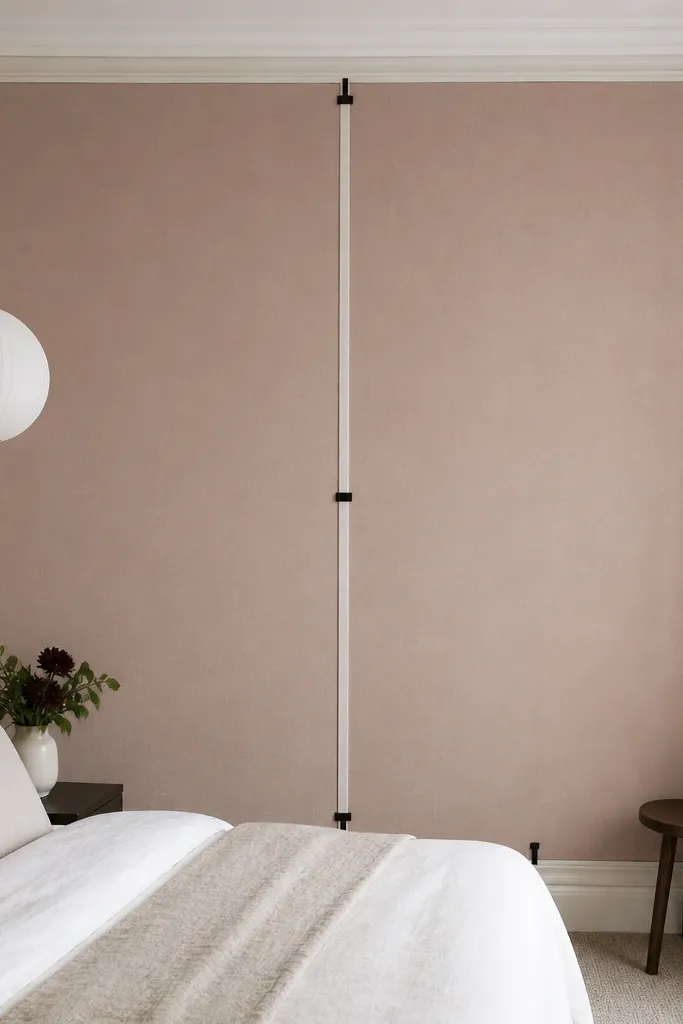
This makes the wall look dressed without wallpaper. I used a medium-weight cotton-linen blend in blush-beige, then bordered it with 1x2 white primed pine to keep the edges crisp. The fabric absorbs light, so the room looks softer and warmer, especially under warm bulbs. Tension clips keep the surface smooth instead of wrinkled, which is the difference between “cheap fabric” and “designed wall.”
Cut two vertical and two horizontal wood strips to form a rectangle slightly larger than your fabric size by about 1 inch on each side. Wrap fabric around the back and use metal tension clips along the inside edge every 6-8 inches. Hang the finished frame using two picture hooks into studs, spaced about 16-20 inches apart for stability.
Spray-paint the wood strips matte white before assembly so the border matches your frames.
Do not use super-sheer fabric — it shows wrinkles and makes the panel look unfinished.
2. 3-Layer Gallery Wall in One Color Family
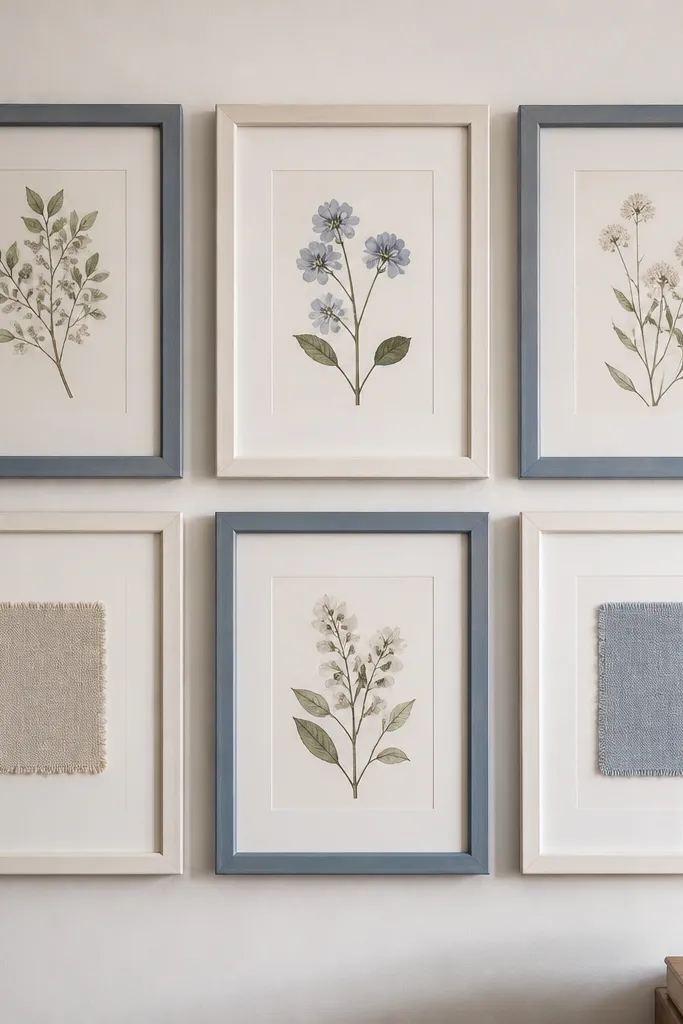
A dreamy wall is usually a repeatable layout, not random hanging. I built this gallery with 6 frames and kept the art within one color family: dusty blue, warm cream, and a touch of muted green. The trick is mixing print types — two botanical prints, two simple line drawings, and two fabric swatches — so the wall has texture without clutter. The frames are close enough to feel like a single composition.
Quick tipMeasure the whole grid on the wall first, then mark center points — eyeballing grids makes them drift.
Use six frames with the same outer dimensions if possible (example: 8x10 each). Arrange them in a 3x2 grid with 2 inches between frames. For the fabric swatches, mount 4x6 fabric pieces on cardstock and seal the edges with a thin layer of Mod Podge before placing behind glass.
One warningDo not mix wildly different frame thicknesses; it reads messy even if the art is pretty.
3. Warm-Glow Corner Lantern Shelf
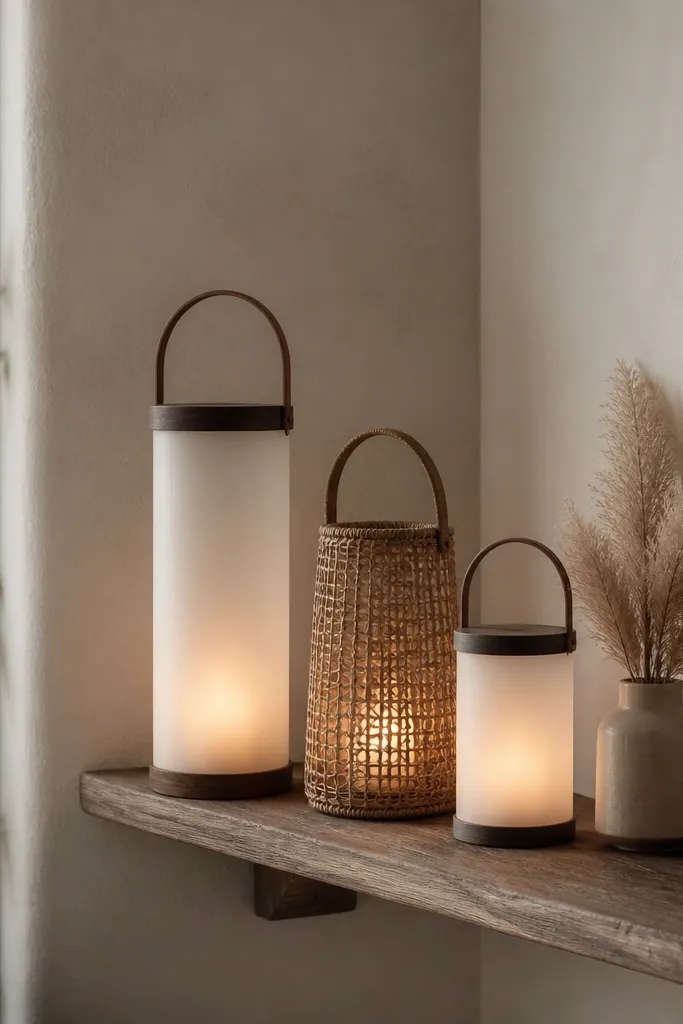
Dreamy rooms usually have layered light, and lanterns are the easiest DIY shortcut. I stacked three lanterns with different heights so the light hits the wall and creates soft shadows. The frosted glass gives a diffused glow, while the rattan adds a gentle pattern. Pair that with one neutral dried filler (pampas or wheat) to keep it airy.
Quick tipSwap plain bulbs for 2200K warm LEDs; the room instantly looks warmer.
Build or buy a narrow shelf around 8-10 inches deep. Place lanterns so the tallest is at the back-left, medium in front, and small near the edge — leave 1 inch clearance around handles. Use LED flameless candles if you want this in a bedroom with fabric nearby.
One warningDo not set lanterns too close together — tight clusters make the glow look harsh and messy.
4. Macramé-Inspired Rope Wall Hang Without the Knots
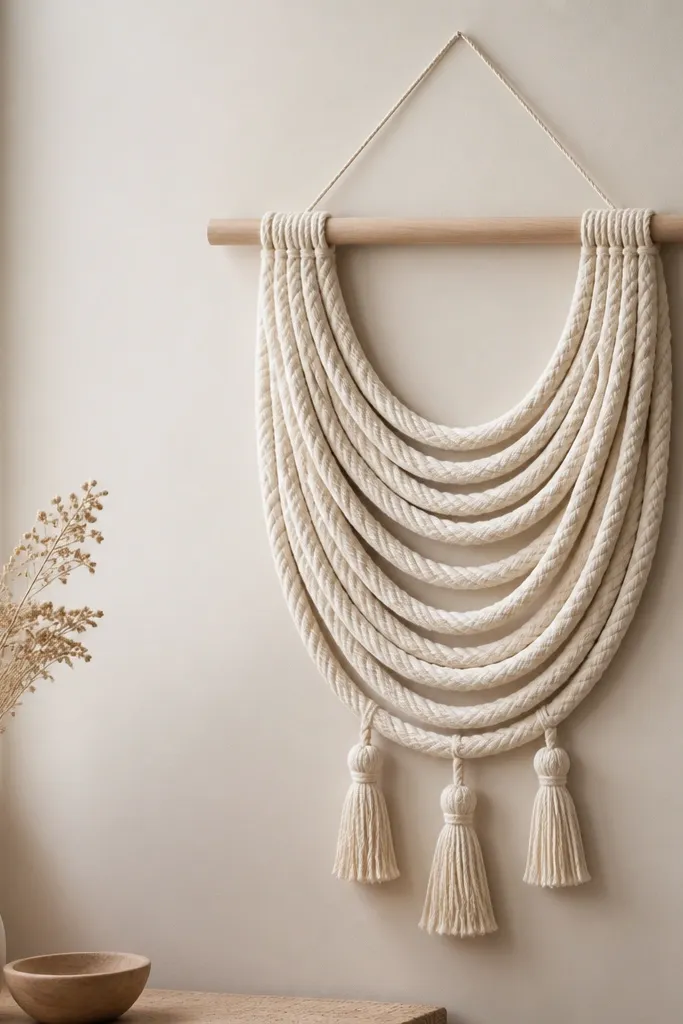
You get the macramé vibe without spending hours tying dozens of knots. I used thick off-white rope for that “cozy cloud” look, then draped it in gentle arcs around a dowel. The arcs catch light and create depth, especially on a matte wall. Keep the rope slightly uneven on purpose — the small imperfections look handmade.
Quick tipSeal the ends with fabric glue before trimming so frays look intentional instead of messy.
Cut 6 rope strands, each about 36-44 inches long depending on the height you want. Attach the strands to a 1-inch dowel using simple loop knots or heavy-duty hot glue on the back (hidden side). Fan the strands into arcs, then trim the bottom ends level after you get the shape you like.
One warningDo not use thin, slippery rope; it falls flat and looks stringy.
5. Painted Book Spine Color Block Shelf Styling
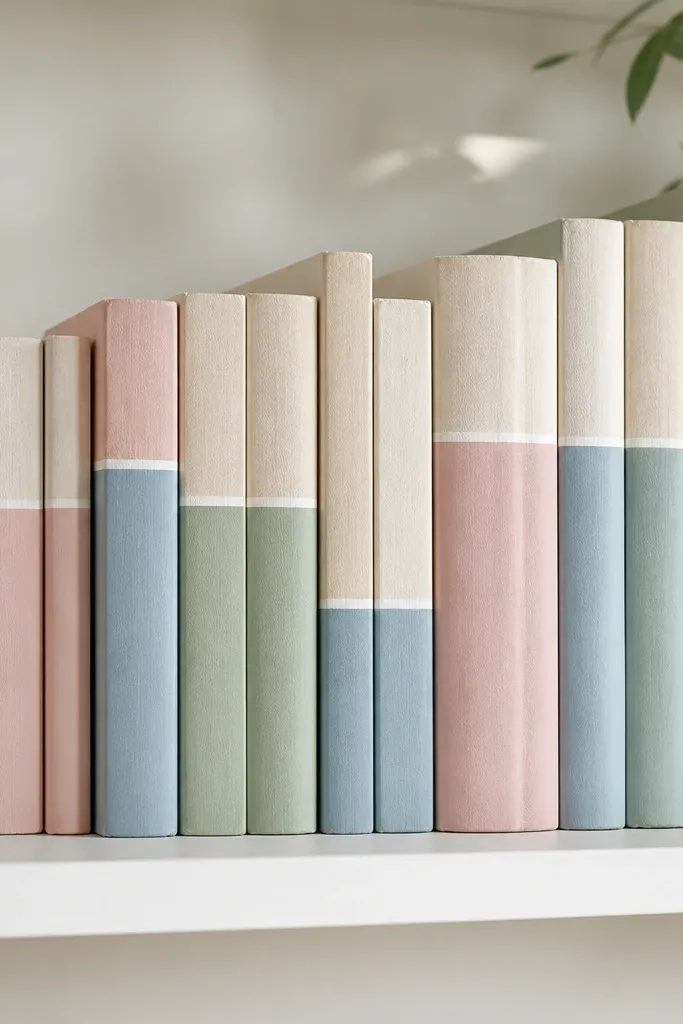
This is how you make mismatched books look like decor. I painted the spines with matte craft paint and kept the palette to three colors. When books look coordinated, your shelf stops looking like storage and starts looking like a styled surface. Add one neutral object (white ceramic or light wood) to keep it from feeling too “painted.”
Quick tipUse painter’s tape to create a crisp edge line — it beats freehand every time.
Mask the pages with painter’s tape so only the spine gets paint. Use foam brushes for even coverage and let each color dry fully before removing tape. Style with a repeating rhythm: 2-3 painted spines, then one natural book, then a small object.
One warningDo not paint glossy paint; it reflects light and makes the shelf look cheap under lamps.
6. Oversized Paper Flower Wall in a Single Cluster
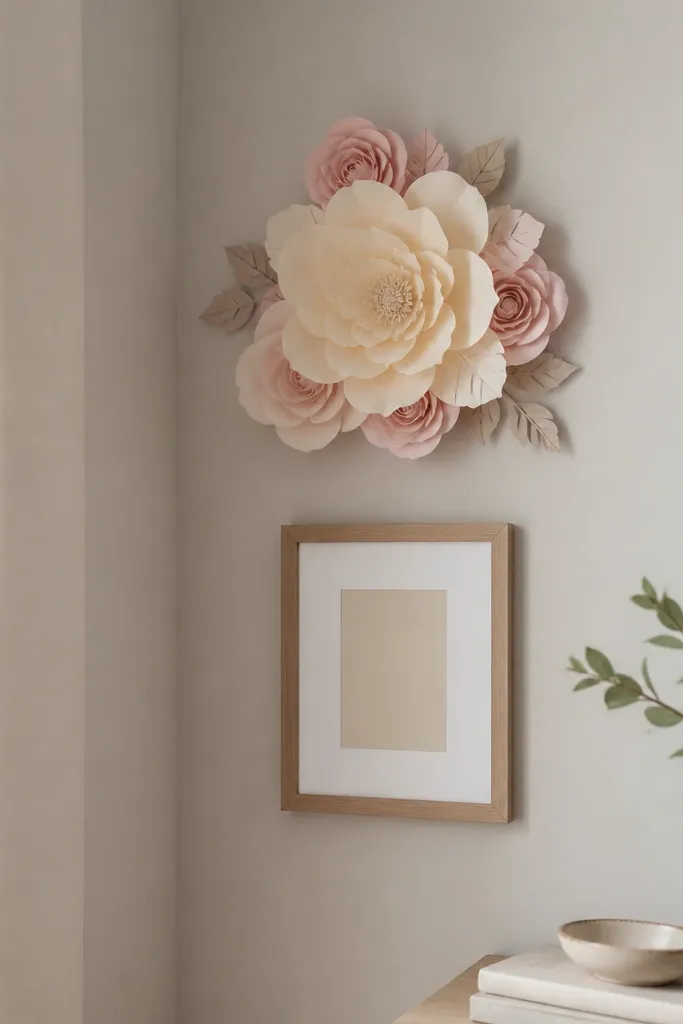
A single big flower reads dreamy fast because it becomes a focal point. I used layered petals in cream, blush, and pale pink so the center looks dimensional. Paper flowers also photograph well under warm lighting, which matters if you take room pics. Keep the cluster tight and leave breathing space around it so it does not look like a craft project explosion.
Quick tipMist the petals lightly with water and reshape them — it gives a soft curve instead of flat paper.
Make one main flower around 14-16 inches wide, then add two medium petals clusters (8-10 inches). Mount on a foam board backing and attach to the wall with strong adhesive strips or a few wall-safe nails. Frame or mount a small neutral element under it like a 5x7 print.
7. Linen Curtain Panel on a Tension Rod with Fabric Rings
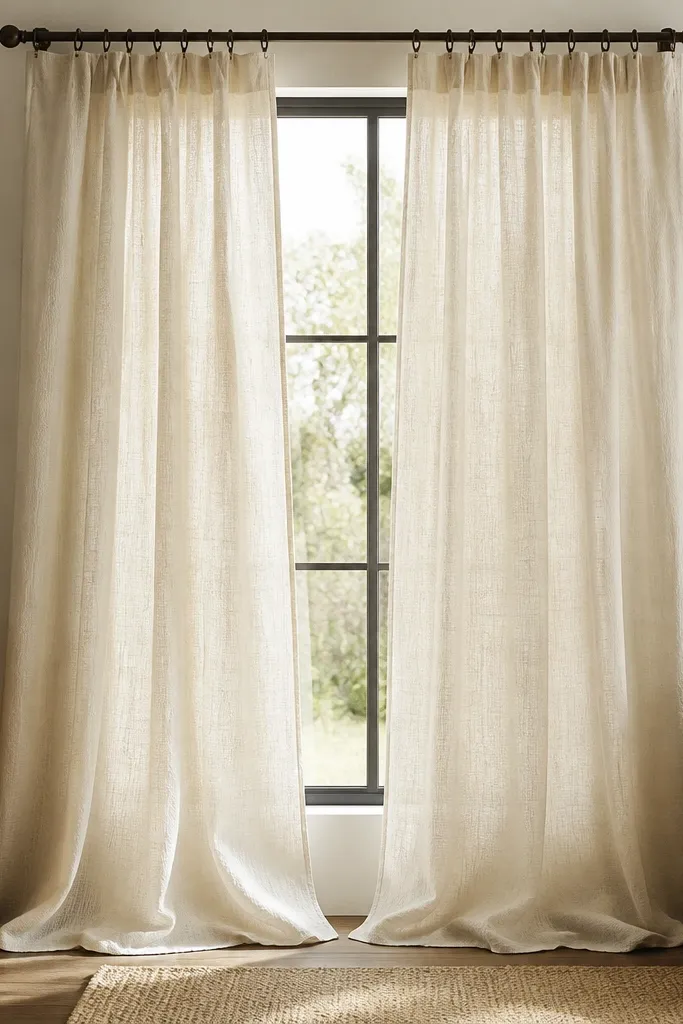
Curtains are the fastest “dreamy” upgrade because they change how light lands. I chose medium-weight linen in warm off-white so it drapes in soft folds instead of clinging. Fabric rings make the movement smoother than clip rings, and that motion looks expensive even in a small room. If you measure for height, the room instantly looks taller.
Quick tipSteam the curtains before hanging; linen wrinkles create texture but deep creases look messy.
Cut two panels to reach 1-2 inches above the floor for a clean look, or add 1 inch of pooling for softness. Use fabric rings made from the same linen or a matching cotton tape, spaced 6-8 inches apart. Hang slightly inside the window frame so light still fills the room.
8. Rattan + Ceramic Tray Styling on a Bedside Table
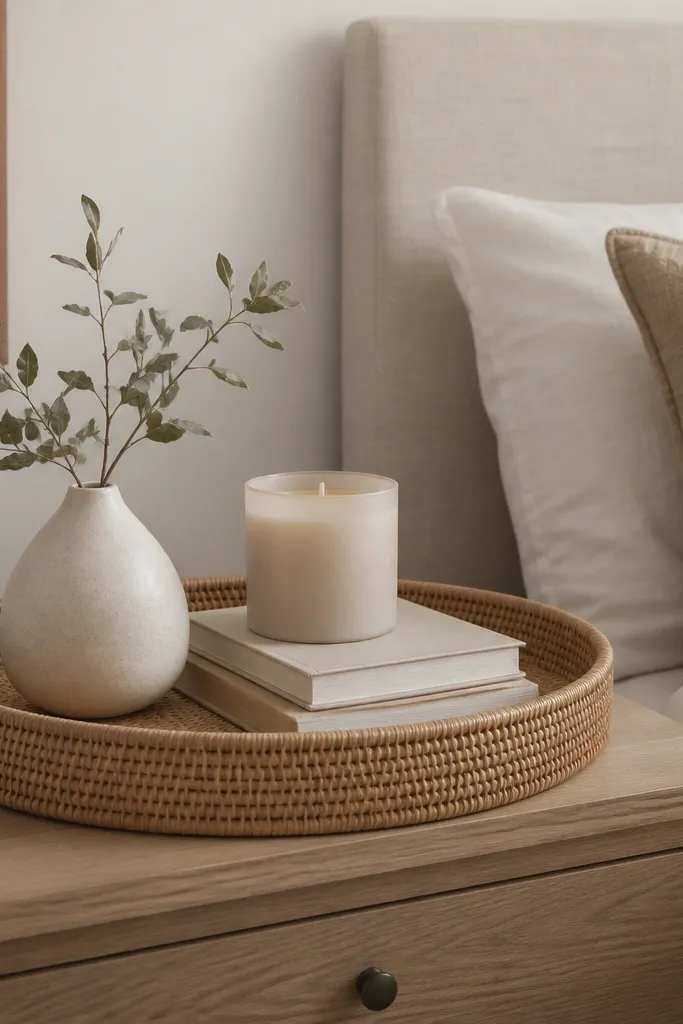
This is simple styling, but it looks dreamy because it groups your “daily clutter” into one intentional shape. I used a woven rattan tray so the texture matches soft textiles like blankets and curtains. The ceramic vase and candle keep everything warm and grounded. Once you style inside the tray, your bedside looks curated even when you’re busy.
Quick tipSwitch to matte ceramics; shiny finishes reflect harsh lamp light.
Find a tray about 10-12 inches wide so it holds three items without crowding. Use one tall-ish item (vase), one small item (candle), and one flat item (book stack). Keep the tray centered and leave a 1-inch gap from the edge of the table.
9. Acrylic Shelf with Fabric Backing
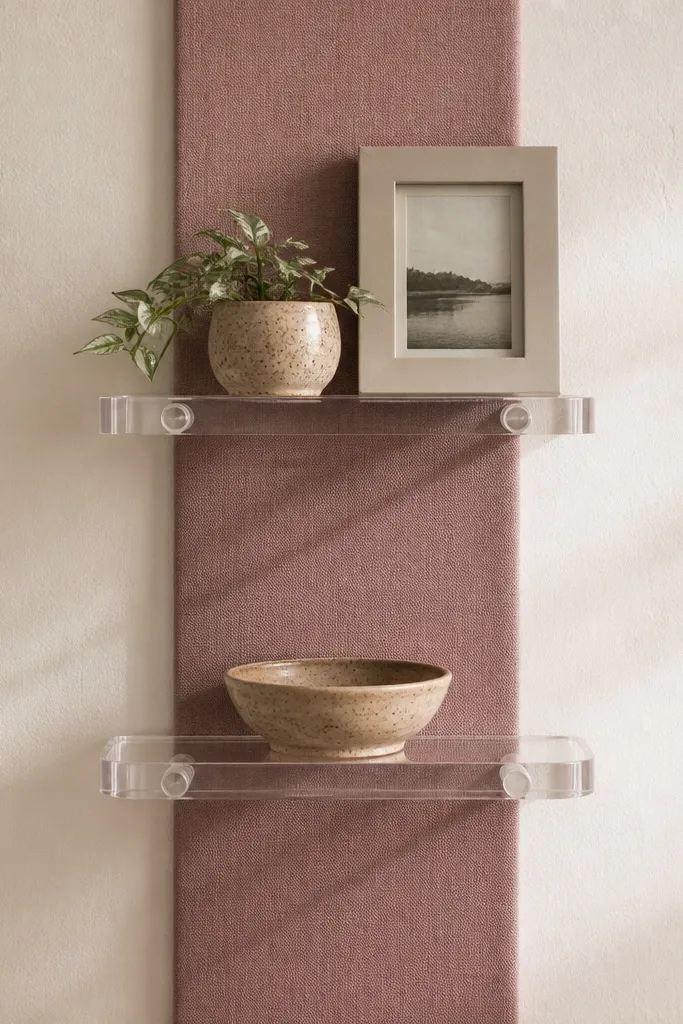
Clear shelves can look floating and modern, but plain walls behind them look empty. I added a fabric backing strip behind the shelf area so the items have a soft backdrop. Dusty rose or muted green works best because it warms up the wall without overpowering the decor. It also hides wall imperfections where you drilled.
Use acrylic shelves with hidden brackets and mount at least two inches below eye level for a balanced look. Cut fabric backing to the width of the shelf plus 1 inch on both sides. Hot glue or double-sided tape the fabric to the wall first, then mount the shelf so the brackets cover the edges.
Press fabric flat with a book overnight so it stays smooth around the shelf.
10. Framed Fabric Swatches with Matching Thread Borders
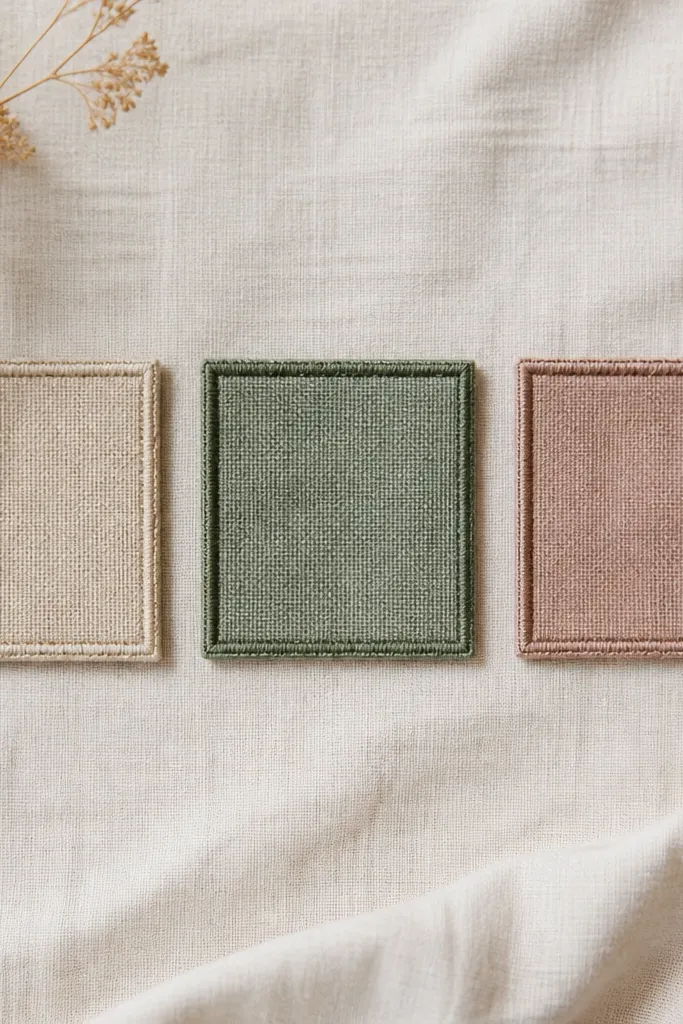
If you like the look of curated interiors, fabric swatches are a cheat code. I framed three swatches in cream, blush, and sage so the room palette repeats without adding clutter. The thread border gives a finished edge that looks intentional and not like a craft hack. These are especially good above a desk or near a reading chair.
Quick tipPick fabrics with different weaves (linen, cotton, gauze) so each swatch looks distinct.
Cut swatches to fit a 5x7 frame opening, leaving 1/4 inch extra around the edges. Use a thin embroidery thread and a hand-stitch or glue line around the perimeter to create the border. Mount with glass if you want them to stay dust-free.
11. DIY Ombre Vase with Chalk Paint and Wax Sealer
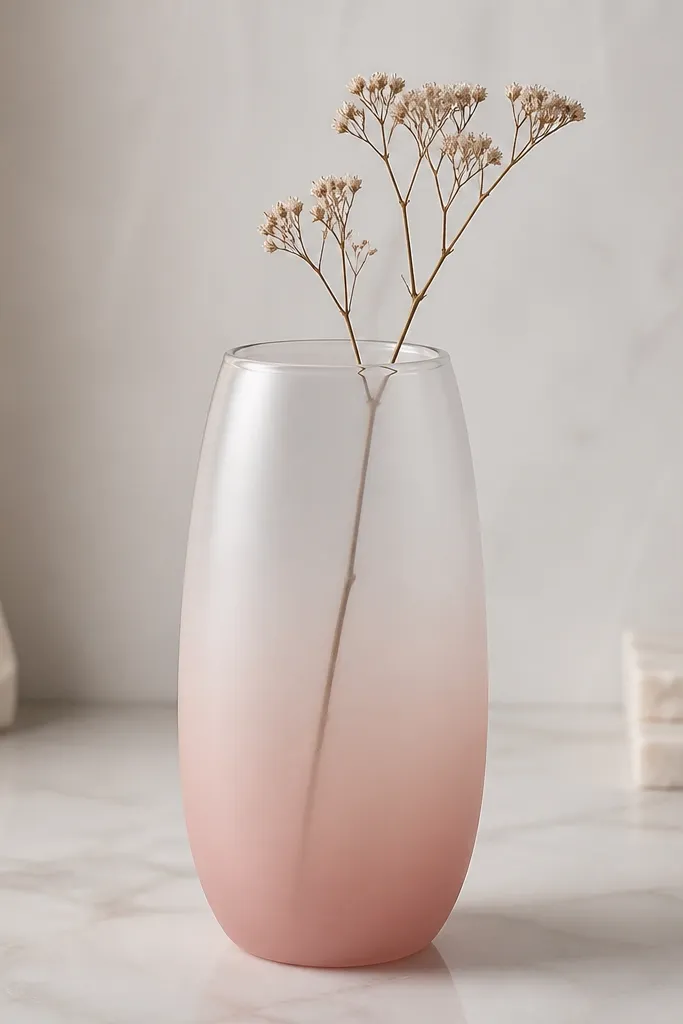
An ombre vase adds that “soft focus” vibe you see in dreamy photos. I used chalk paint because it dries matte and hides brush marks. The fade works best when you keep the top mostly clear so it still looks airy. Add one dried stem and let negative space do the rest.
Tape off the top section of a clear glass vase, then paint a blush area from the bottom up to about 1/3 height. Feather the paint upward with a dry brush so there’s no hard line. After it dries, seal with a clear wax sealer to protect from dryness dust on the surface.
Practice the fade on a scrap jar — the transition is where it either looks pro or homemade.
12. Mini Shiplap-Style Wall Panels from Thin Wood Strips
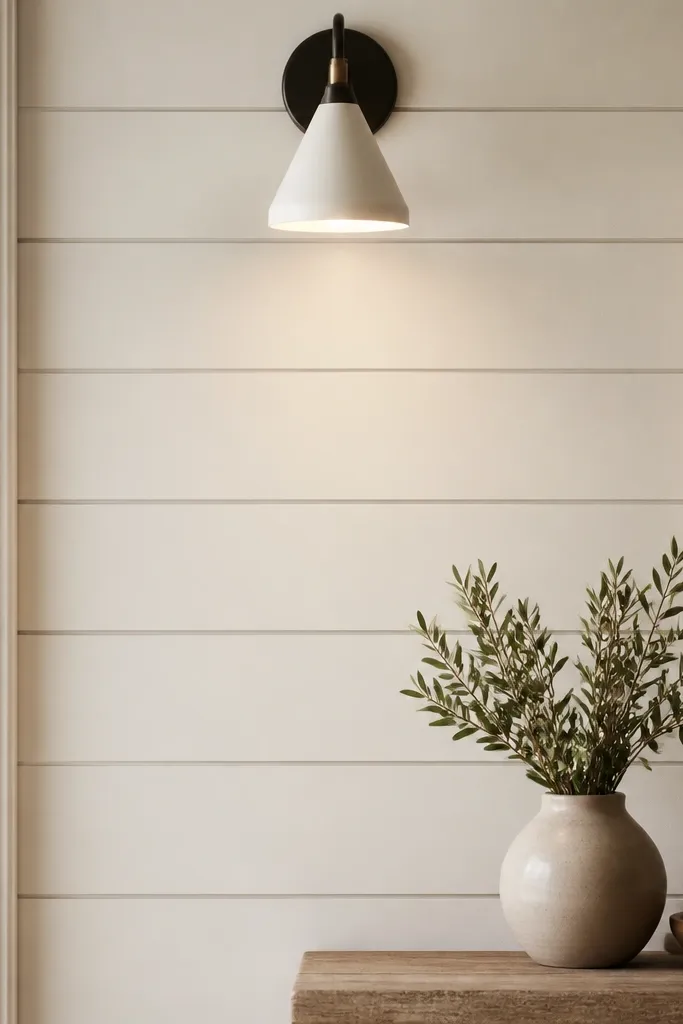
Texture makes a room look finished even if the decor is minimal. I used thin wood strips and kept the spacing consistent so it reads like shiplap but lighter. Warm white paint makes the texture feel cozy instead of stark. The best part is you can do a small section behind a bed or sofa without committing to a full wall.
Use 1/4-inch thick wood strips and space them 1/8 inch apart with small spacers. Nail or screw into studs or use construction adhesive for lighter sections. Paint with two coats of interior trim paint for smooth coverage over the strip edges.
Sand the strip edges after painting — it removes the “rough DIY” look.
13. Knotted Rope Curtain Tiebacks for a Soft Frame
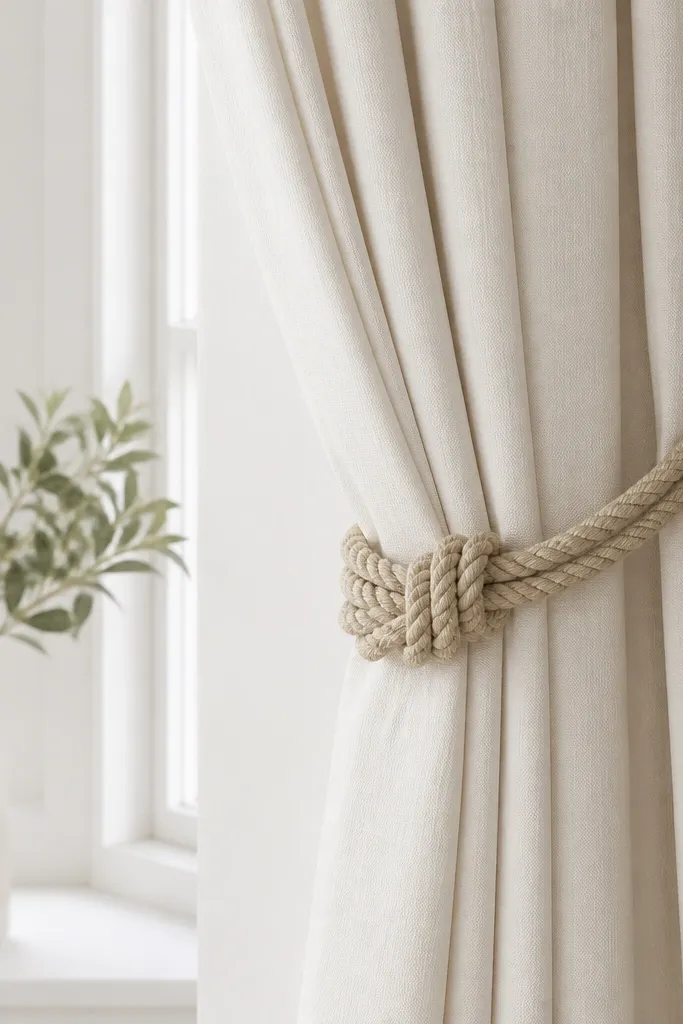
Tiebacks make curtains look styled instead of just hung. I used thick rope and tied a simple loop knot so the fabric gathers at the same height on both sides. The rope texture adds a natural element that looks good with linen, cotton, and even sheer curtains. It also frames the window so the wall looks intentional.
Cut two rope lengths about 24-30 inches each. Tie one end into a fixed loop and attach the other end to a small wall hook or curtain ring. Gather the curtain about 1/3 from the bottom and adjust until both sides match.
Use a fabric steamer after tying so the gathered fold looks smooth.
14. Desk Corner Wallpaper Look with Contact Paper and a Frame
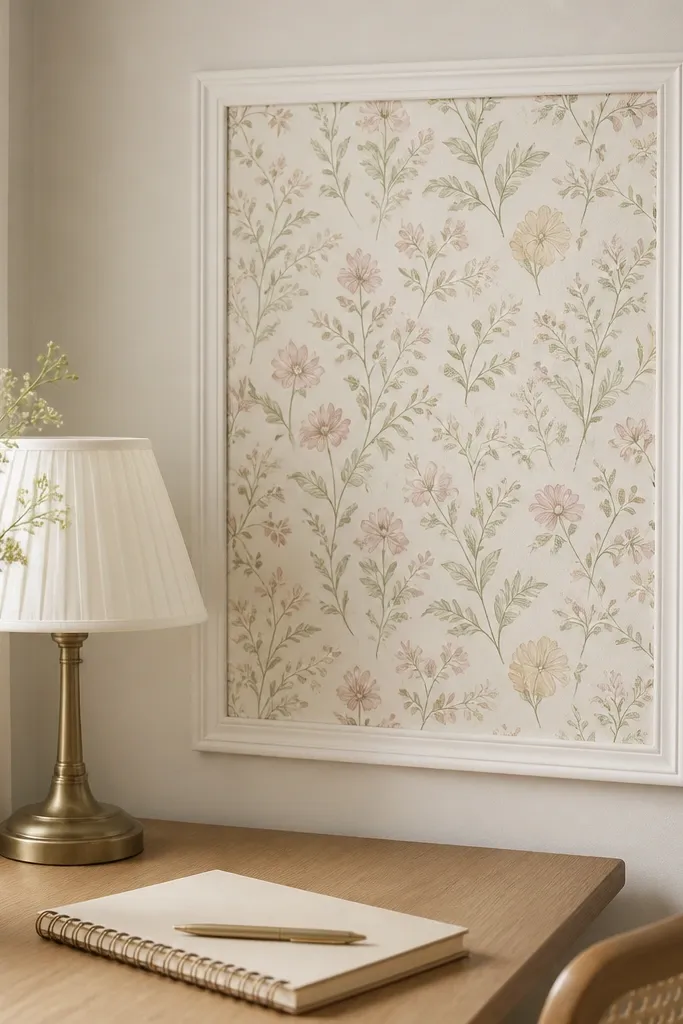
If you want wallpaper vibes without the mess, contact paper behind a frame is the cleanest trick I’ve used. I picked a subtle floral in muted tones so it does not fight with your desk items. The frame makes the contact paper look like real wall art. It also protects the surface from scuffs.
Quick tipUse a plastic scraper tool to push bubbles outward from the center.
Cut contact paper to fit inside a simple wood frame, leaving 1/8 inch margin. Apply contact paper carefully to the wall first or directly to the frame backing, then press firmly to avoid bubbles. Seal the edges with clear tape or a thin trim strip so corners do not lift.
15. Braided Rug Runner from Old T-Shirts
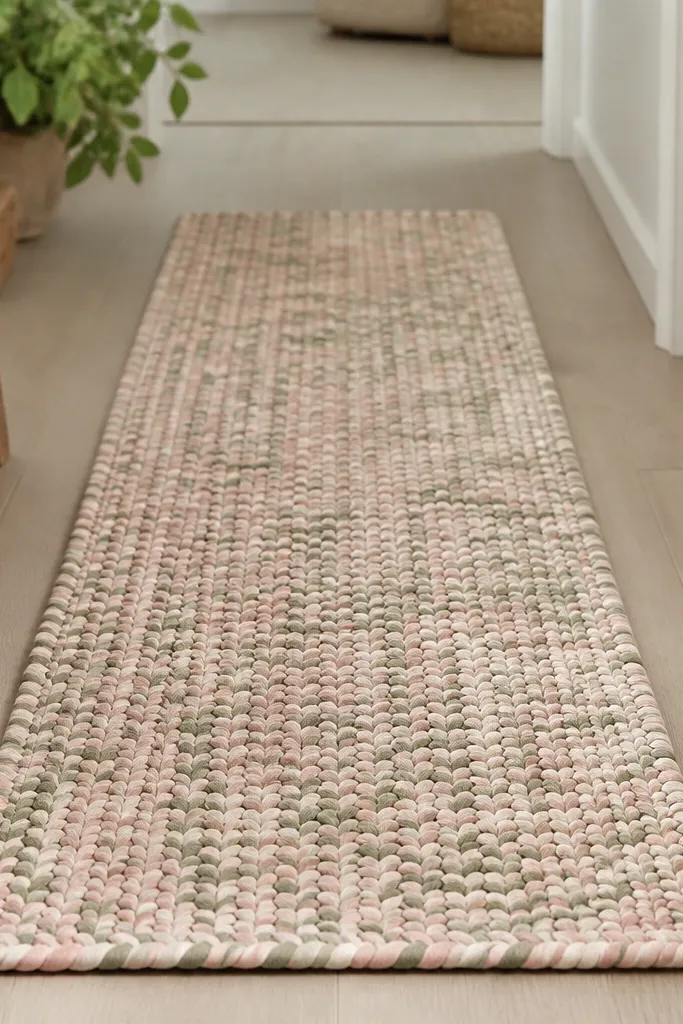
A handmade runner changes the whole feel of a hallway or bedside area. I braided strips from old t-shirts because they stretch slightly and lie flat without curling like many yarn rugs. The muted colors make it dreamy, and the braid texture adds warmth underfoot. It’s also one of the DIY projects that looks better the more you use it.
Quick tipWash and dry the fabric strips once before cutting — it shrinks them into a consistent texture.
Cut shirts into 1-inch strips, then braid 3 strands. For a 24x60 inch runner, you’ll need about 8-10 shirts depending on fabric thickness. Secure the ends by sewing through the braid center with thick thread, then trim frayed edges.
16. Painted Peg Rail with Fabric Clips for Photos
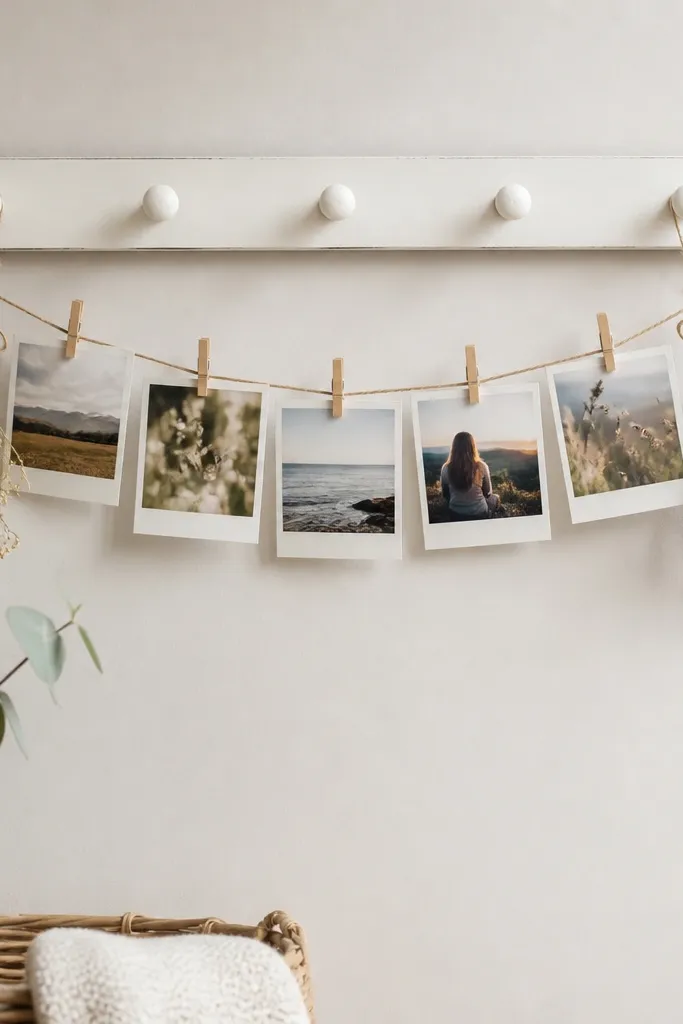
This makes a gallery feel changeable, which is dreamy because it never looks stuck in time. I used a peg rail in matte white so the hardware disappears into the wall. Then I clipped photos with matching fabric clothespins so the edges look soft instead of shiny. The dried bundles add texture so it doesn’t look like a random photo line.
Quick tipPaint the peg rail after sanding and dry it fully before installing so it does not chip.
Mount peg rail at about 66 inches from the floor for easy viewing. Use a light string or thin wire between pegs as the photo line. Clip photos with fabric clothespins spaced 2-3 inches apart and keep the print sizes consistent.
17. DIY Faux Stained Glass Window Panel with Vinyl
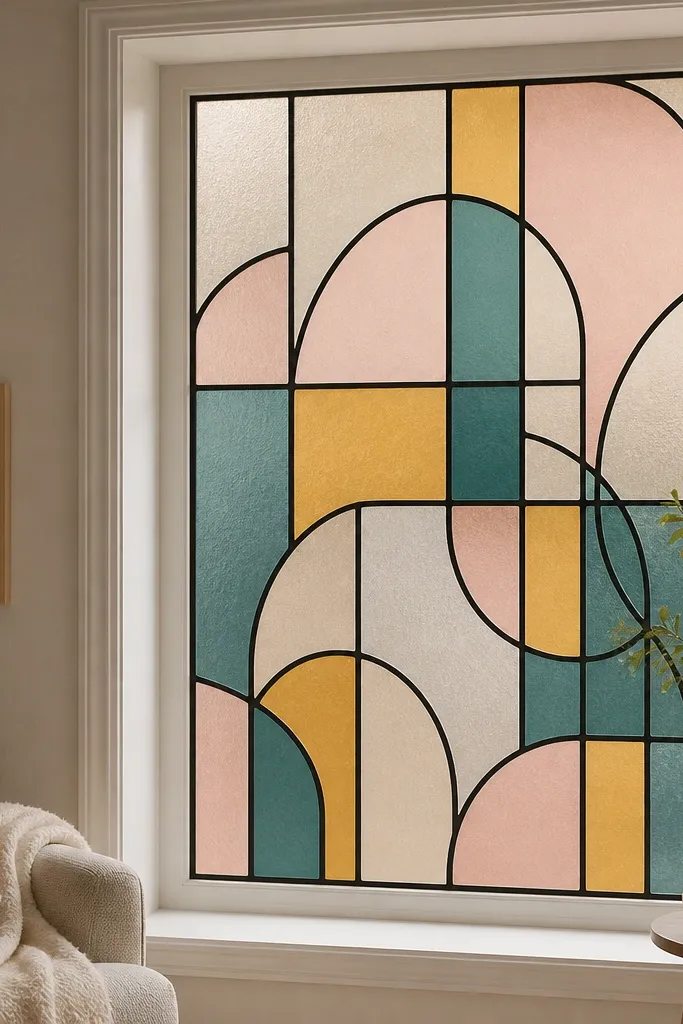
This is one of the fastest ways I’ve made a room feel magical with daylight. I used colored vinyl pieces outlined in black vinyl so it looks like stained glass without the glass weight. The colors turn sunlight into soft patches on the wall. Keep shapes geometric and grouped — it reads dreamy instead of chaotic.
Quick tipPlace the panel where morning or late afternoon light hits; that’s when it looks best.
Clean the window well, then cut vinyl shapes (triangles, diamonds, long strips) and outline them with black vinyl. Apply each piece slowly with a squeegee so you do not trap bubbles. Finish with a clear window vinyl film if you want extra scratch resistance.
18. Large Framed Mirror with Rope Edge Detail
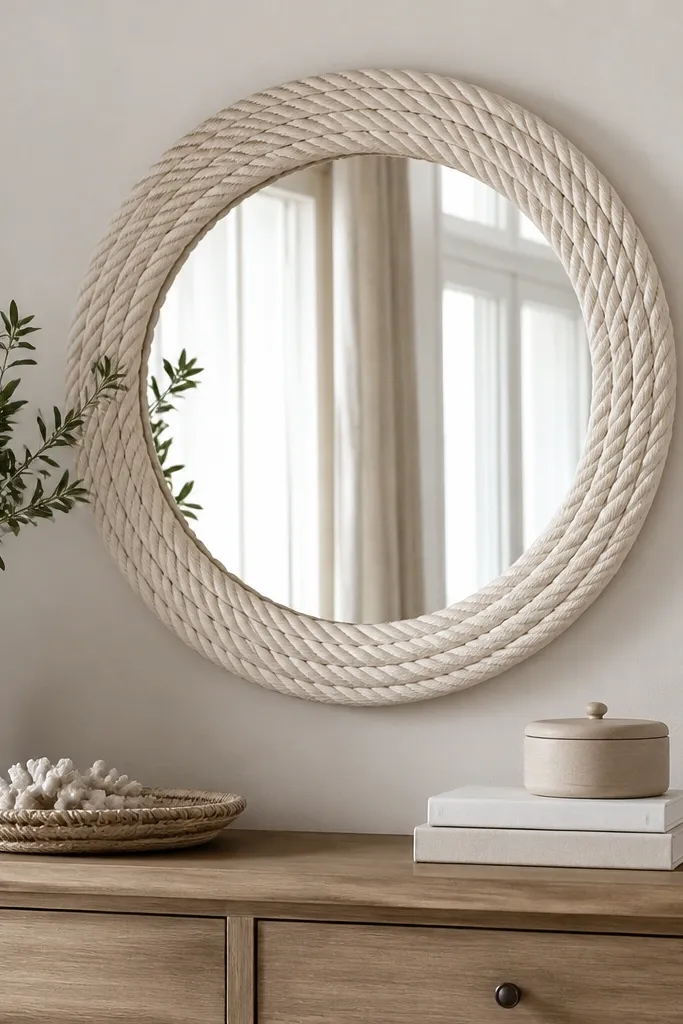
Mirrors make rooms feel bigger, but the rope edge detail makes it look handmade and warm. I wrapped thick rope around a simple frame, then glued it in place and painted a light cream coat so it matches other textiles. The rope adds texture that catches light without being glossy. It also works with boho, modern farmhouse, and soft minimal rooms.
Quick tipUse a drop cloth and paint in thin coats; rope holds paint differently than wood.
Use a round or oval mirror frame with a flat outer ring. Wrap rope tightly, glue in sections, and keep the seam at the bottom. After it sets, paint lightly with matte cream so the rope looks uniform and not patchy.
19. Dried Flower Shadowbox with Fabric Backing
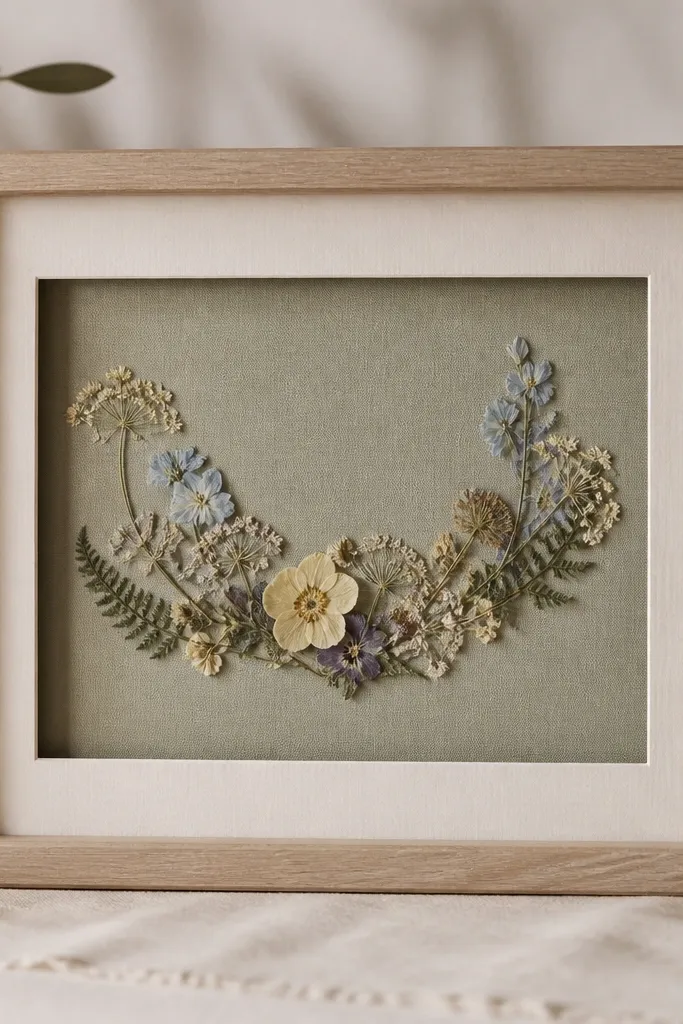
Shadowboxes make dried flowers look intentional instead of like they’re dying in a jar. I backed mine with sage fabric so the petals keep their color without turning muddy. The warm white mat adds contrast and makes the flower shapes pop. Arrange in an arc and leave empty space — negative space is what reads dreamy.
Quick tipSpray pressed flowers with a light fixative before sealing so they do not crumble.
Use a shadowbox with glass and a removable backing. Press flowers between book pages for 2-4 weeks, then mount them with tiny dots of clear craft glue. Place a warm white mat behind the flowers for a clean border.
20. Layered Bedframe Headboard Pillow Stack with Color Rules
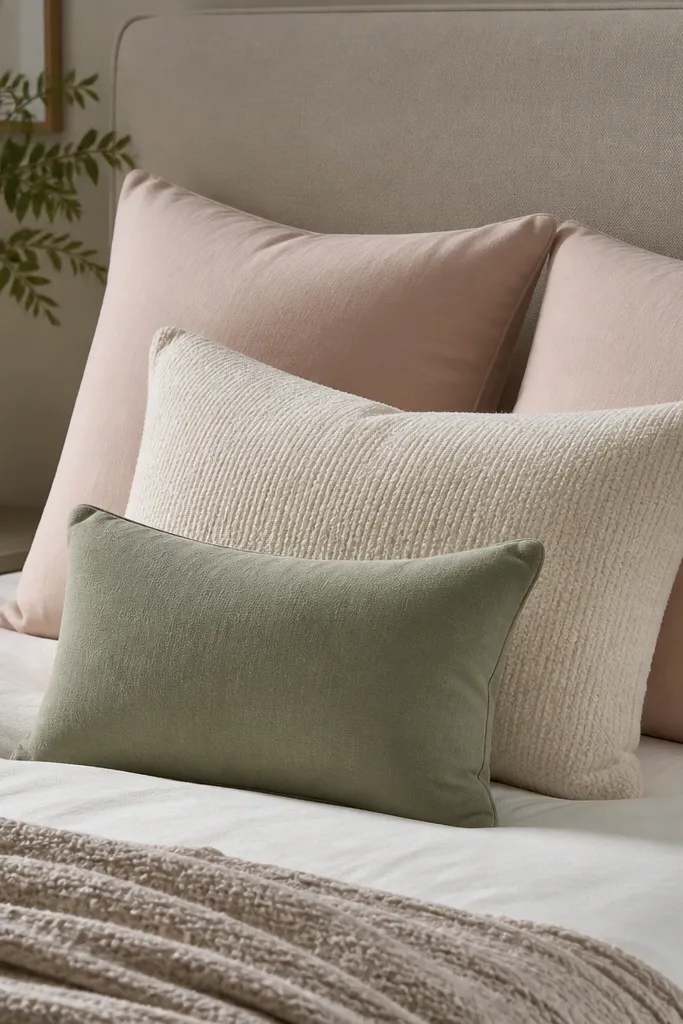
Your bed is basically a living-room wall, and pillow stacking changes the whole look fast. I keep a simple rule: two large pillows in one base color, one medium in a contrasting texture, and one small accent color. The effect is soft, layered, and photo-friendly without buying a dozen pillows. Mix covers with texture, not wild patterns, so it stays dreamy.
Quick tipFluff and press the pillow covers with a steamer; wrinkles make even nice fabric look worn.
Start with two standard or queen-size pillows against the headboard. Add one lumbar pillow in cream linen texture in front, then place one small accent pillow at the edge. Tie the palette together by matching the zipper tape color or stitching color if you sew covers.