
1. Cork Tile Pinboard With a Paper-Ready Header Strip
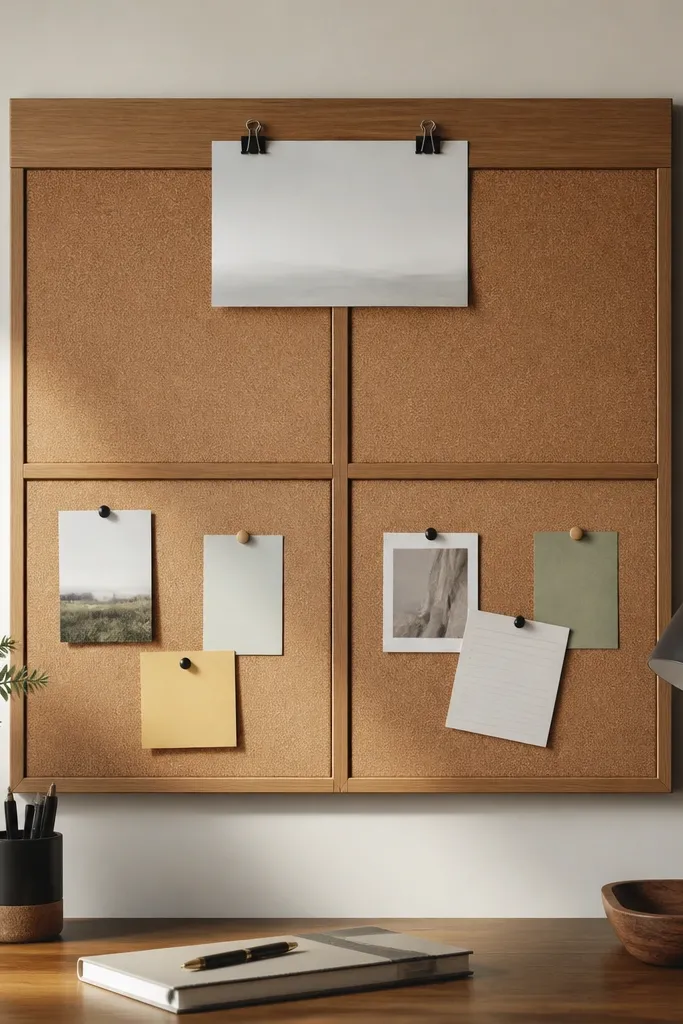
Cork looks warm and it absorbs the “busy” feeling that plain walls create. The header strip gives you one obvious place for today’s plan, so you stop scanning the desk for a starting point. Use natural cork with a matte black or linen-white strip — it reads clean under warm bulbs. I’ve found that a pinned plan reduces re-reading and decision fatigue because the next step is literally in view.
Cut cork tiles to fit a 2x2 layout (or buy a single cork tile sheet and score it). Mount with construction adhesive or a thin frame so edges don’t curl. The header strip is a 1x6 wood board painted matte off-white, with a clear plastic document clip centered on top.
Write “Today” on the header sheet in a thick marker so your brain recognizes the section instantly.
Avoid shiny contact paper over cork — it reflects lamp glare and makes notes harder to read.
2. Desk Lamp Shade Wrap in Linen Texture Vinyl
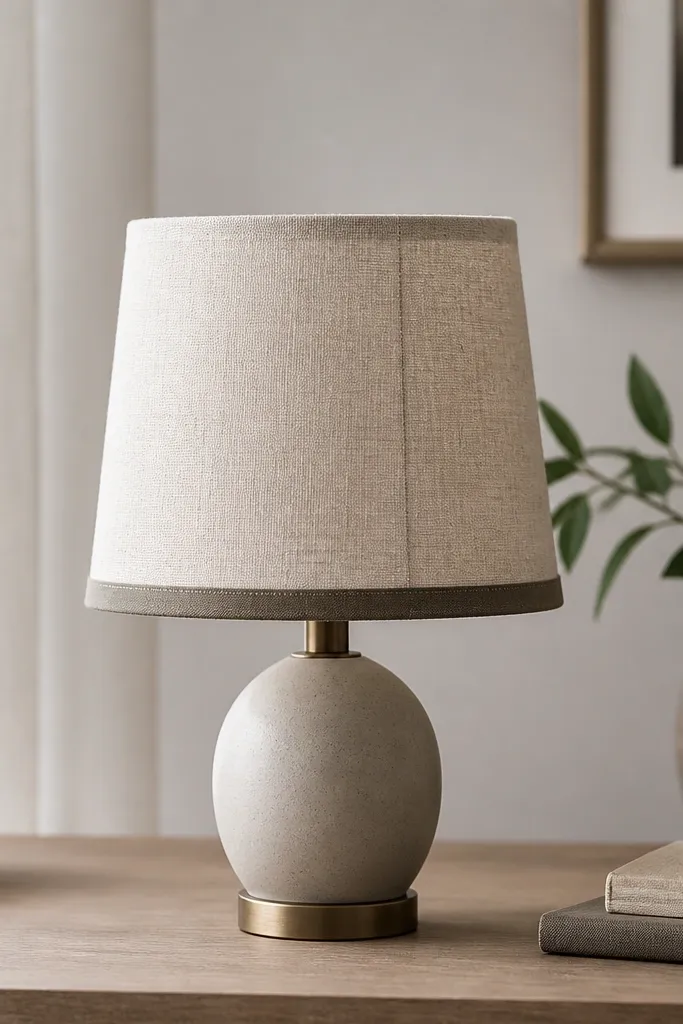
Changing the shade changes the whole room mood. A linen-texture wrap softens harsh light and makes study sessions feel less “spotlit.” I like beige with a subtle darker band because it frames the desk without adding clutter. When your light looks even, you stop squinting and your eyes feel less tired.
Measure the circumference of your shade and add 1 inch for overlap. Cut vinyl with a sharp craft blade, then smooth with a plastic squeegee so you don’t get bubbles. Add a 1-inch band near the bottom using a second strip for contrast.
Quick tipBefore wrapping, wipe the shade with isopropyl alcohol so adhesive grabs immediately.
One warningSkip patterned vinyl with busy repeats — it turns your lamp into a moving focus target.
3. Floating Shelf for Only 'In Use' Books
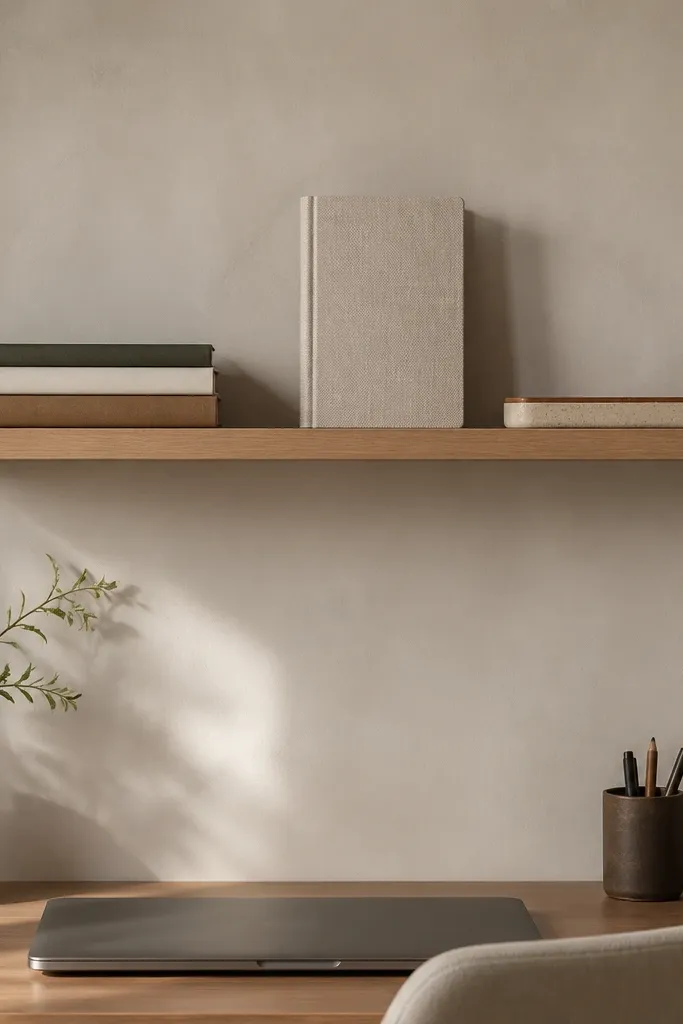
This is the shelf that keeps you from digging through a pile. By limiting it to “in use” items, it stops becoming visual noise. I build these with a matte finish so the shelf doesn’t reflect light and create glare spots on your pages. The result is a calmer backdrop that makes your reading area feel intentional.
Use a 10 to 12 inch deep shelf bracket system and keep items within 2 to 3 inches of the front edge. Paint the underside to match the wall if you want it to disappear visually. A small tray on the right holds pens and sticky notes so nothing rolls.
Quick tipLabel the tray with a tiny strip of black tape so you always return pens to the same spot.
One warningDon’t stack books randomly — spines facing different directions create clutter fast.
4. Cable Raceway With Fabric-Sleeve Cover
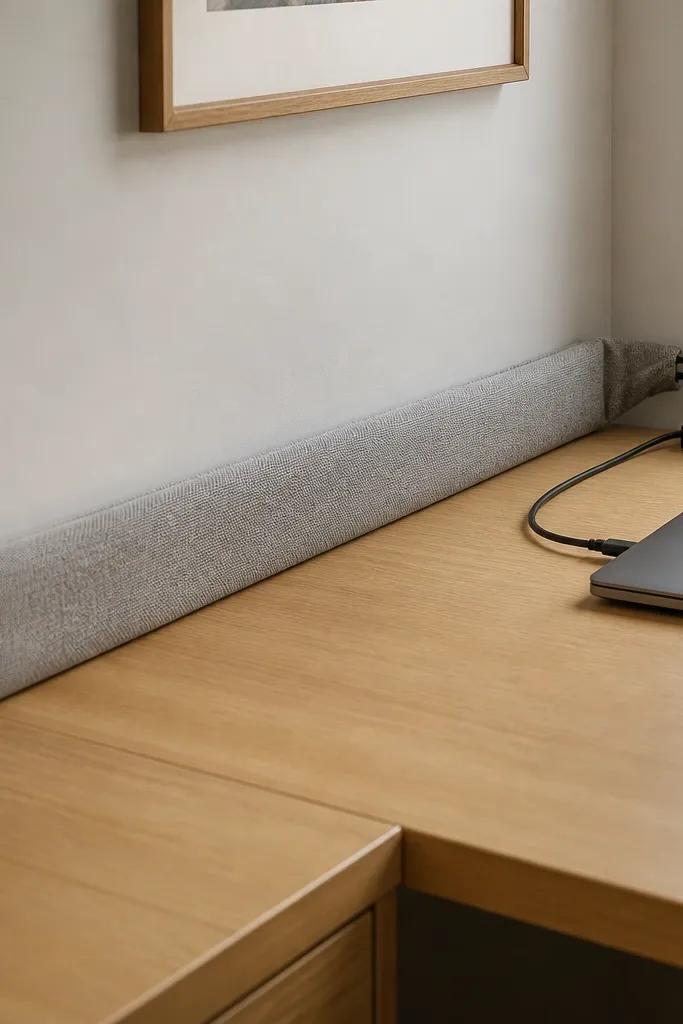
Cables are the fastest way to make a study room look chaotic. A raceway straightens the lines, then a fabric sleeve makes it look like part of the decor. I’ve done this on both rented desks and my own — it always makes the space feel calmer because your eyes stop catching loops and tangles. It also reduces cable strain because everything routes in one direction.
Mount a slim adhesive or screw-on cable raceway along the wall edge behind the desk. Feed cables into a fabric sleeve (like a wide bias tape tube or a custom sewn channel) and secure it with small Velcro dots. Leave a 6-inch service loop near outlets so you can unplug without pulling tight.
Bundle by function: one bundle for laptop power, one for charger cords, one for peripherals.
Avoid routing power cords across your writing surface edge — it makes the desk feel crowded.
5. Gallery Strip Above Desk With 'One Color Per Row'
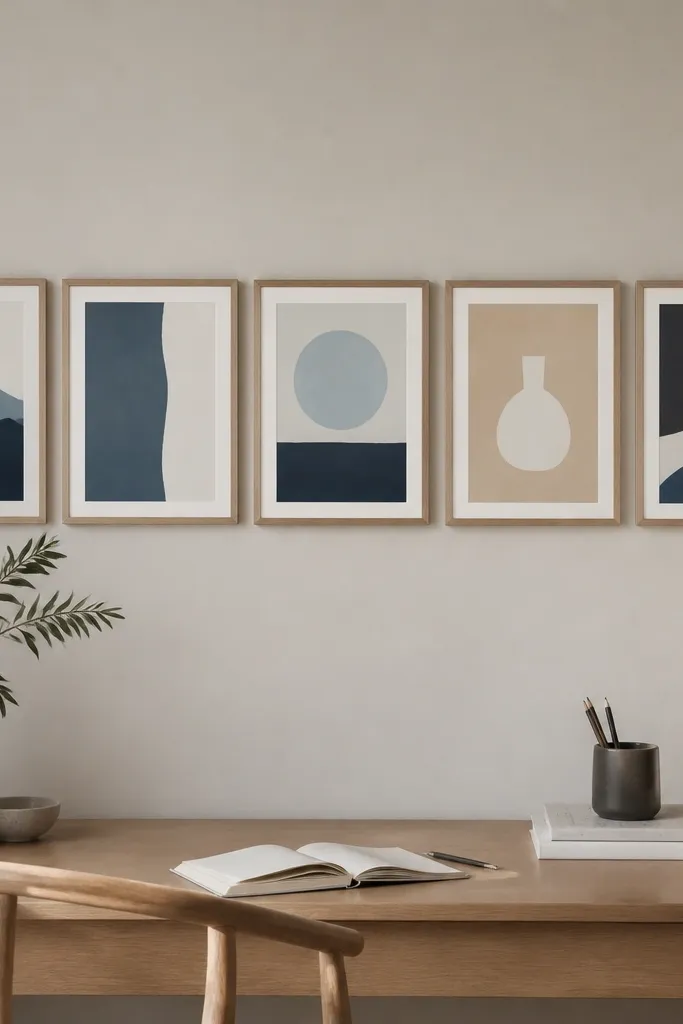
A small gallery strip keeps your eyes from drifting to random wall areas while you read. The “one color per row” rule makes it look designed, not thrift-store mixed. I like prints with lots of negative space because your brain doesn’t have to process tiny details during note-taking. It also gives you a stable visual background so your focus feels anchored.
Use 5 frames sized 8x10 or 5x7 depending on wall width. Print matte art on white paper with thick margins so the images don’t look cramped. Keep everything aligned to the same baseline using painter’s tape before you hang.
Choose prints that echo the room’s chair or curtain color by one shade, not by exact match.
Skip frames that vary wildly in finish — mismatched gloss makes the row feel messy.
6. Magnetic 'Quick Notes' Strip on Side Wall
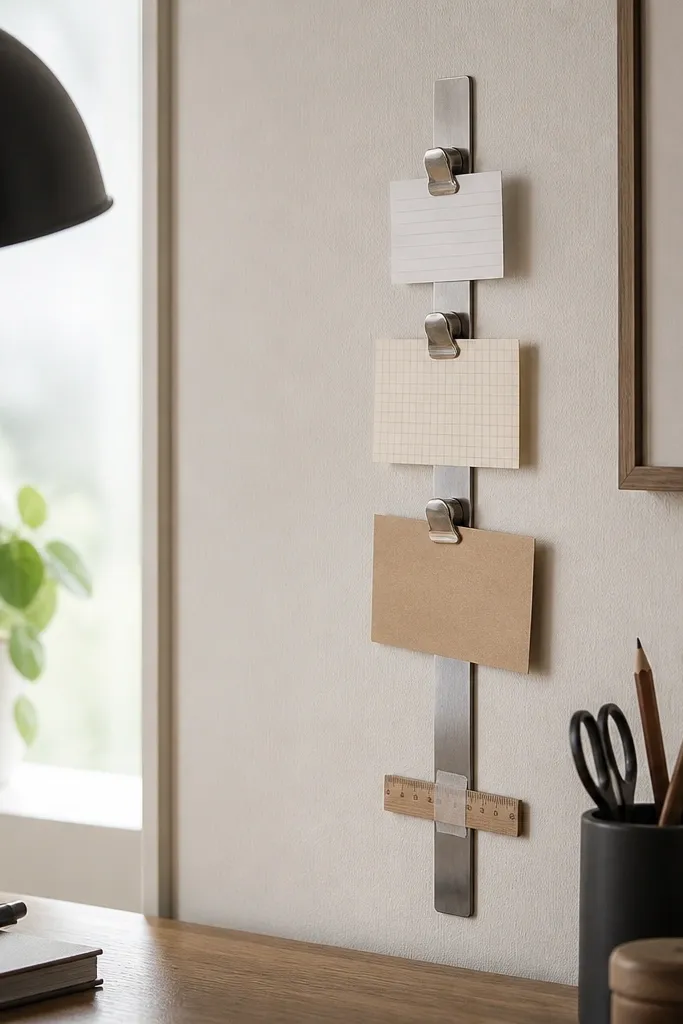
This is the fastest way to keep sticky notes off your monitor and desk surface. Magnetic clips let you swap cards without tearing paper or dealing with messy tape residue. I use it for reminders like “call dentist” and “finish outline,” so my work area stays clear. The metal strip also acts like a visual boundary — your eyes learn where notes belong.
Buy a slim magnetic sheet or metal strip, then mount it level with a stud finder or wall anchors. Use small magnetic clips or binder clips with magnets attached. Keep cards in a single size so your strip looks uniform.
Use white index cards with a single colored dot for categories.
Don’t place it behind you where glare hits — notes should be readable, not reflective.
7. Felt Desk Mat With Two-Tier Tool Zones
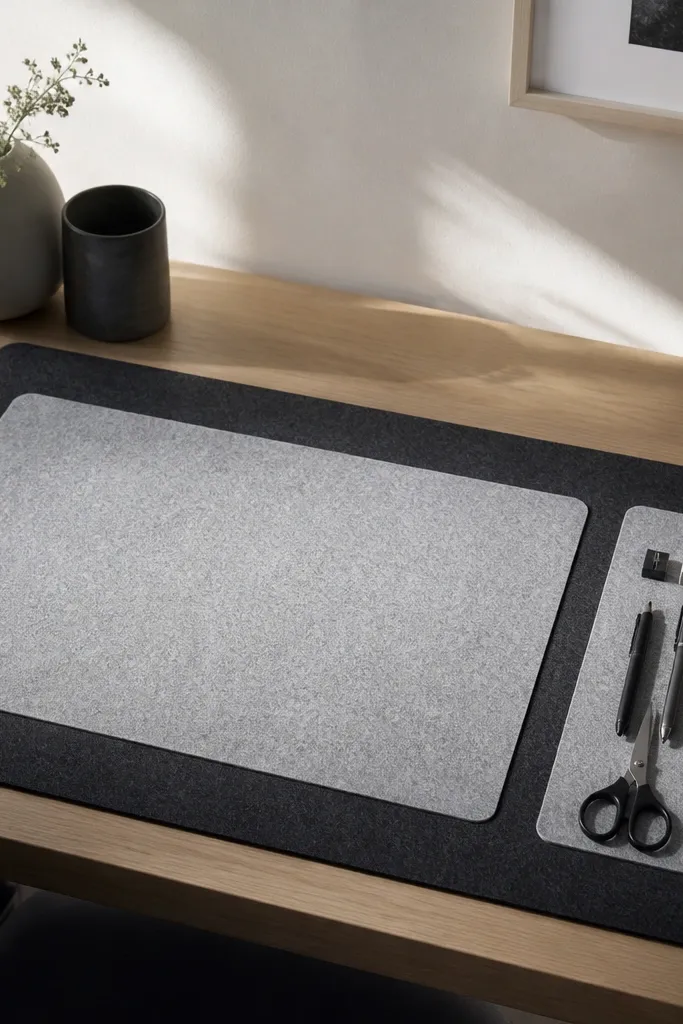
Felt matting makes the desk surface feel quieter. The two-tier zones train your hands: writing tools stay on one side, small supplies on the other. I’ve noticed less clutter because items get “assigned” locations immediately. The matte texture also reduces glare compared with glossy desk covers.
Cut felt pieces to your desk top size with a 1 inch overlap edge if you want a neat hem. Layer a lighter felt rectangle for writing zone and a narrower strip for tools. Stitch edges with simple whip stitch or use fabric glue for a clean, no-sew finish.
Quick tipMark the zones with subtle stitching lines instead of printed labels for a cleaner look.
One warningAvoid thick piles of felt that bunch under a keyboard — it makes typing feel off.
8. Wood Slat Wall Panel for a 'Work Zone' Frame
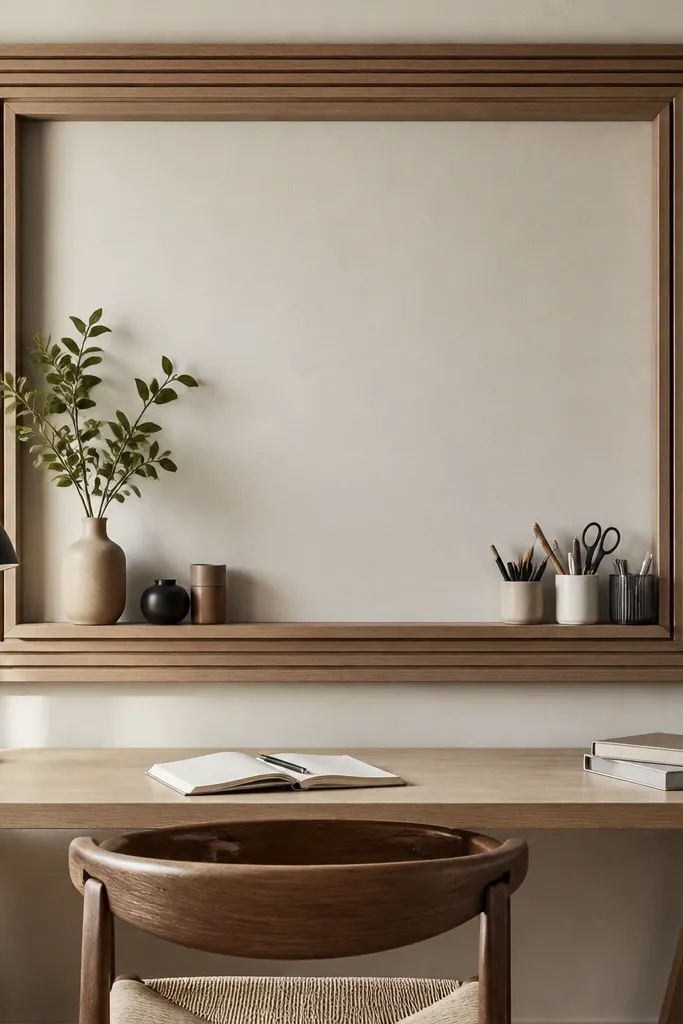
A slat frame gives your desk a boundary, and boundaries calm the mind. I like thin slats because they add texture without covering the entire wall. When your room has a clear “work zone,” you stop treating the whole room like a work space. That separation helps me stay in study mode longer.
Build a rectangle frame from 1x2 pine strips cut to fit your available wall area (for example, 30x18 inches). Attach slats across the frame edges only, then paint the frame with matte warm white or leave the wood natural and seal it. Add a tiny shelf inside the frame for a single tray.
Quick tipStagger slat spacing at 1.5 inches so it looks intentional, not like a fence panel.
One warningDon’t cover the whole wall — full coverage makes the room feel busy.
9. Drawer Organizers From Cardboard + Contact Paper (That Actually Hold)
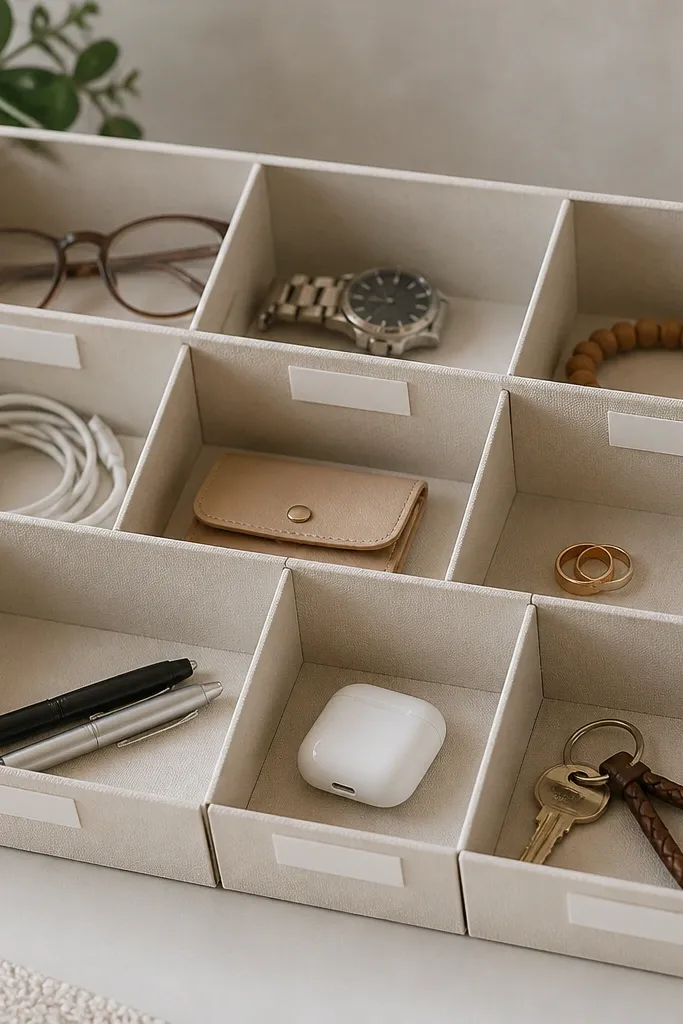
You don’t need expensive organizers to stop desk chaos. Thick cardboard holds shape better than you’d think if you reinforce the corners and add a firm base. The matte contact paper looks clean and hides scuffs from daily use. When your pens, chargers, and paper clips have bins, your focus stays on the task instead of rummaging.
Use 2 layers of cardboard for the walls (glue and press flat), then cut a base that fits snugly. Line with matte contact paper, burnish edges hard, and seal the top lip with a thin strip of clear packing tape on the inside. Label with painter’s tape before you commit with a marker.
Quick tipMeasure the drawer width, then leave 1/8 inch gap so bins slide in and out without scraping.
One warningSkip flimsy single-layer cardboard — it collapses under daily grabbing.
10. Patchwork Curtain Panel for Window Glare Control
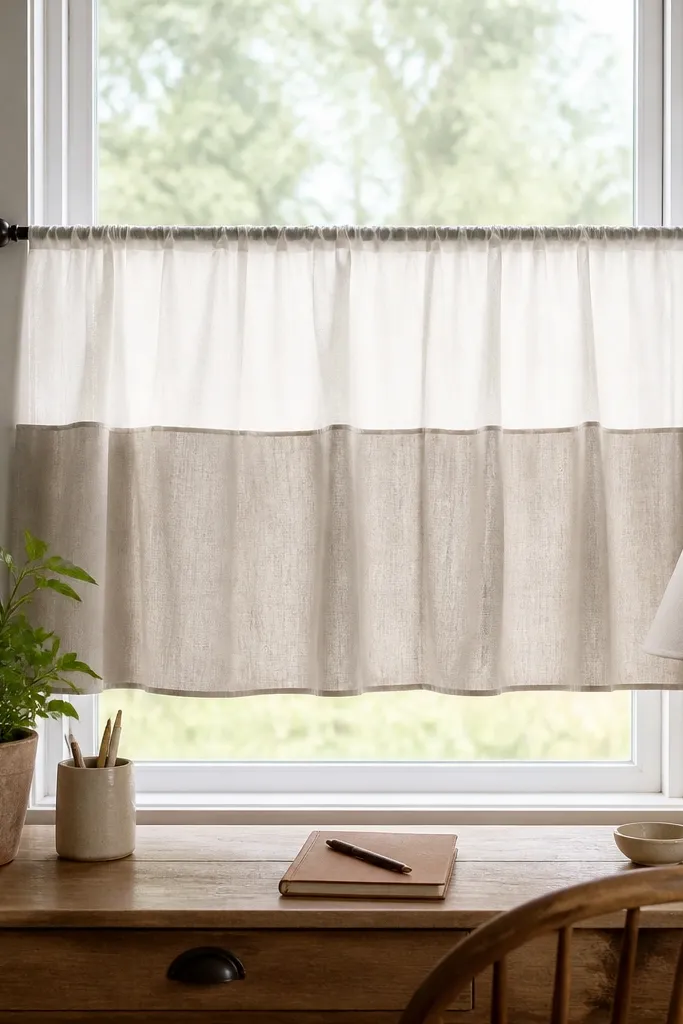
Glare kills focus fast. A two-layer curtain panel softens daylight and stops the bright hotspot that shows up on your screen or notebook. I like a sheer top to keep the room bright and a heavier bottom to block direct sun. It makes the study area feel steady hour to hour.
Sew or no-sew attach a sheer panel (white or pale cream) to a heavier cotton panel (sage, gray-blue, or oatmeal). Hang it with a tension rod or standard rod using simple tabs. Keep the panel length 4 to 6 inches above the desk edge so it doesn’t drag into your work space.
Quick tipTest at mid-day: open and close the panel and check if glare moves off your notebook.
One warningAvoid fully blackout curtains if you study in the daytime — the room becomes dim and you end up turning on harsh overhead lights.
11. Reclaimed Wood Clipboard for Printed Pages
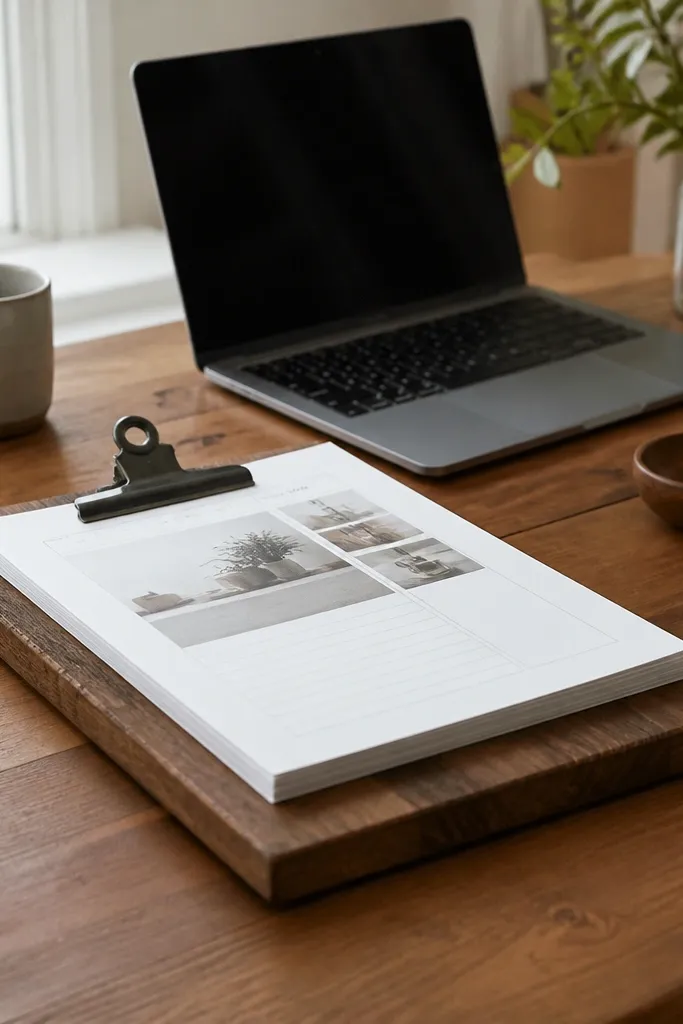
A clipboard keeps your printed pages upright and reduces the “where did I put that sheet” problem. Wood gives it warmth and a more permanent feel than a thin store clipboard. I use mine for anything I’m actively working through, so my desk stays flat and open. It also keeps your eyes from bouncing between screen and paper positions.
Use a wood board around 10x14 inches, sand smooth, stain or paint, then seal with matte clear. Attach a spring clip across the top edge using small screws. Add a thin rubber feet strip underneath so it doesn’t slide.
Quick tipMark page order on the back with a strip of painter’s tape so you can flip fast.
One warningAvoid glossy sealer — it reflects overhead light and makes paper shadows jump.
12. DIY Floating Pen Rail With Heat-Treated Wood Dowels
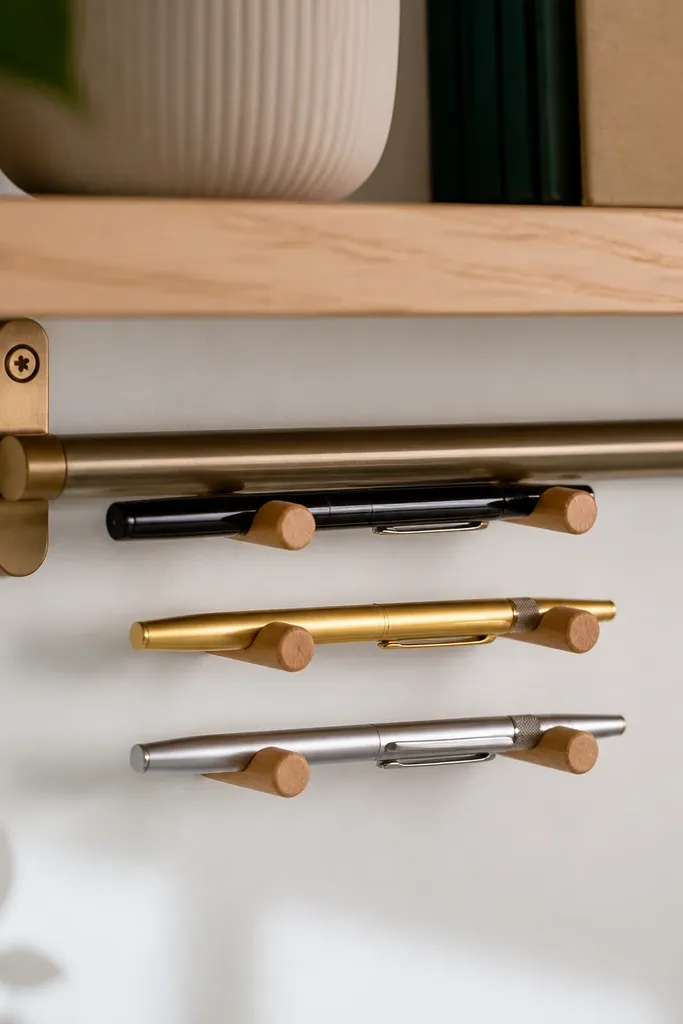
Pens should not live in a cup where they clatter and disappear. A pen rail with dowels holds each pen in place and keeps the desk edge tidy. Wood dowels add warmth and they don’t show scratches as badly as metal. The neat row also helps your brain spot the right tool quickly while writing.
Mount a simple wood rail board under a shelf using two brackets. Drill 3/4 inch holes at a slight angle so pens sit slightly elevated. Sand dowels smooth, seal with matte, and push them into the holes or glue them in place.
Quick tipDrill one extra hole for a highlighter so you don’t hunt later.
One warningSkip too-tight holes — pens should slide in without forcing, or you’ll bend caps.
13. Book Spine Labels Using a Simple Numbering System
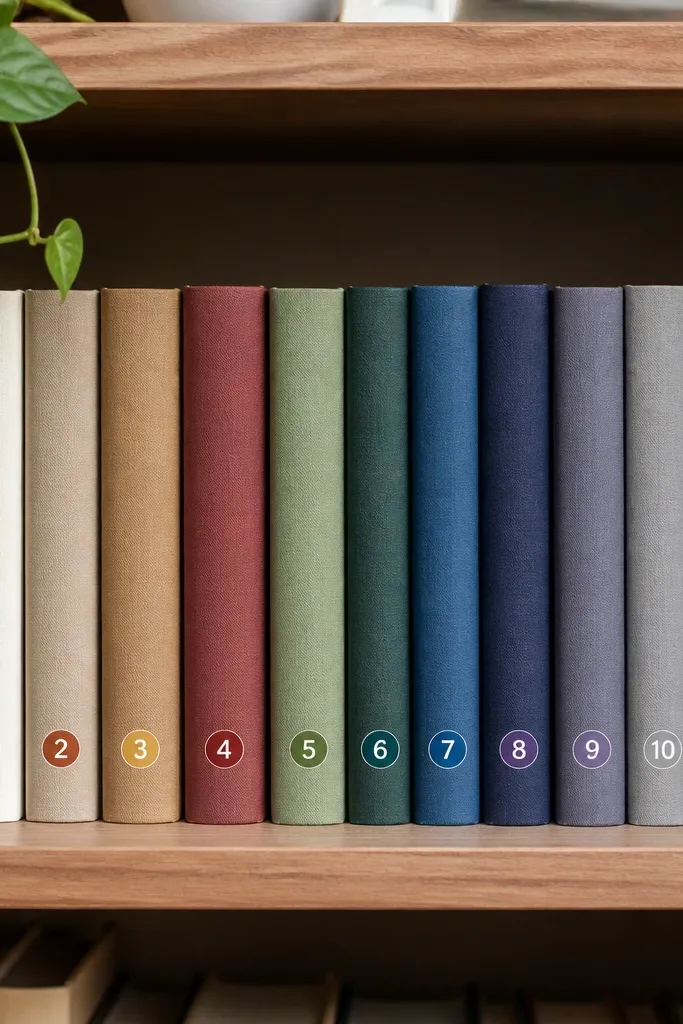
This is the decor trick that looks neat and also saves time. When your shelves have a consistent labeling system, you stop pulling five books to find one. It also makes the room feel organized even when books are in different sizes. I keep labels small and matte so they don’t stand out like stickers.
Use painter’s tape as a stencil to place a small rectangle label on each spine. Write a number in black marker, then add one color dot per category. Seal with a light coat of matte clear spray if the room gets frequent touching.
Label categories like “Read,” “Reference,” “To-do” using one color per category so your eyes learn fast.
Avoid full-spine covers — they look like temporary fixes and peel.
14. Paper Storage Wall Pocket Made From a Flat Fabric Panel
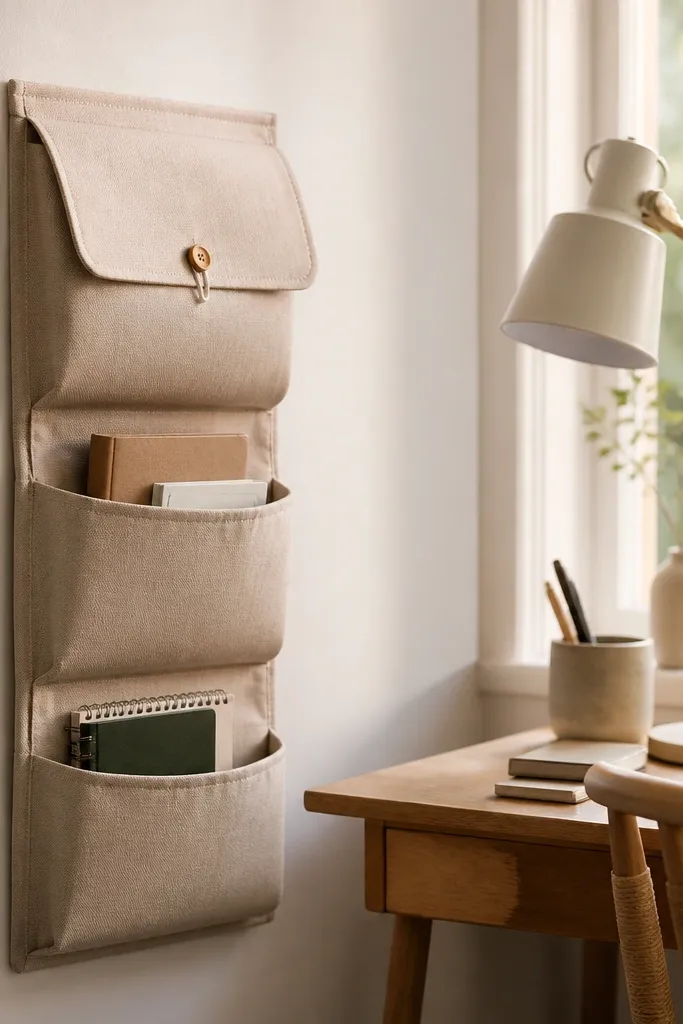
Loose paper piles make a desk feel like it’s always mid-chaos. A wall pocket keeps drafts, printouts, and returned worksheets off the desk surface. Fabric looks softer than plastic and it blends into the room. I like three compartments because it mirrors how I work: incoming, in-progress, and done.
Sew or glue a flat fabric rectangle and create two vertical dividers using iron-on interfacing so it holds shape. Add a top flap with a button-and-loop closure. Mount at arm height so you can slide paper in without kneeling.
Quick tipUse a darker fabric for the pocket so stray pencil marks don’t look messy.
One warningDon’t mount it too high — if you can’t reach quickly, you’ll revert to desk piles.
15. DIY Geometric Desk Backdrop With Matte Poster Board
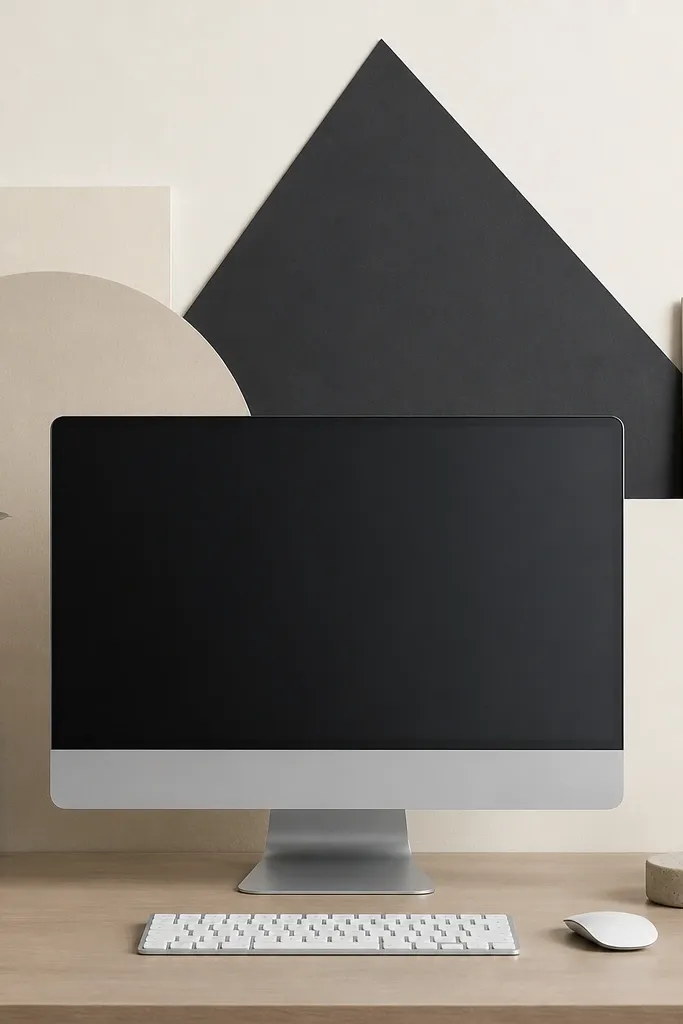
A backdrop behind your monitor reduces visual clutter in your peripheral vision. I’ve used matte poster board because it doesn’t glare like glossy vinyl. The geometric shapes give the room character without turning every focus session into a distraction. It also makes your desk look finished even if the rest of the room is plain.
Cut poster board into a base the width of your monitor stand area, then add one or two shapes like triangles or a thin vertical bar. Tape it to a foam board backing, then prop it behind your monitor with small adhesive hooks. Keep colors to off-white plus one dark accent.
Quick tipAdd a small strip of felt on the bottom edge so it doesn’t scratch your desk.
One warningAvoid busy multi-color patterns — they create eye movement while you read.
16. Floating Tray for Sticky Notes and a Hidden Ruler Slot
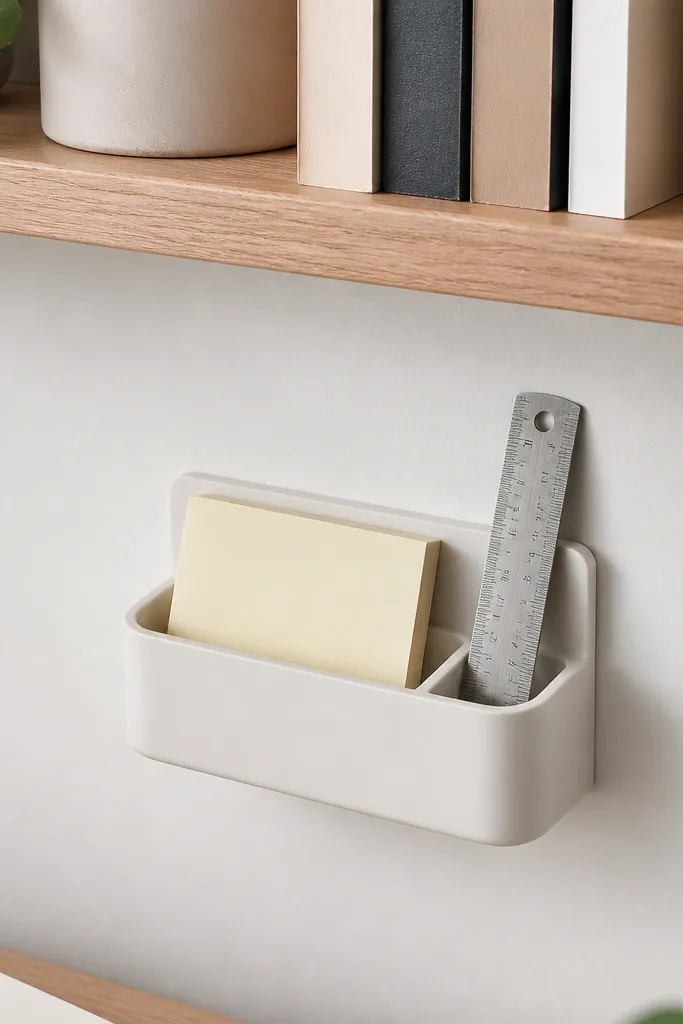
A tray that holds your sticky notes and ruler keeps your most-used tools in one predictable spot. The hidden ruler slot is a small thing, but it stops the constant search for measurement when you’re cutting paper. I like wall-mounted trays because it clears desk space without adding a bulky organizer. It also makes the area look planned from across the room.
Cut a wood tray base (about 10x4 inches), sand, and paint matte. Add a 3-inch wide slot for sticky notes by inserting a thin spacer strip inside the tray. For the ruler slot, glue a narrow strip so the ruler slides in with a snug fit.
Put the sticky notes slot closest to your dominant hand so you grab without rotating your body.
Skip open shelves for small items — they collect dust and look messy fast.
17. Linen Fabric Wall Organizer With Mini Peg Clips
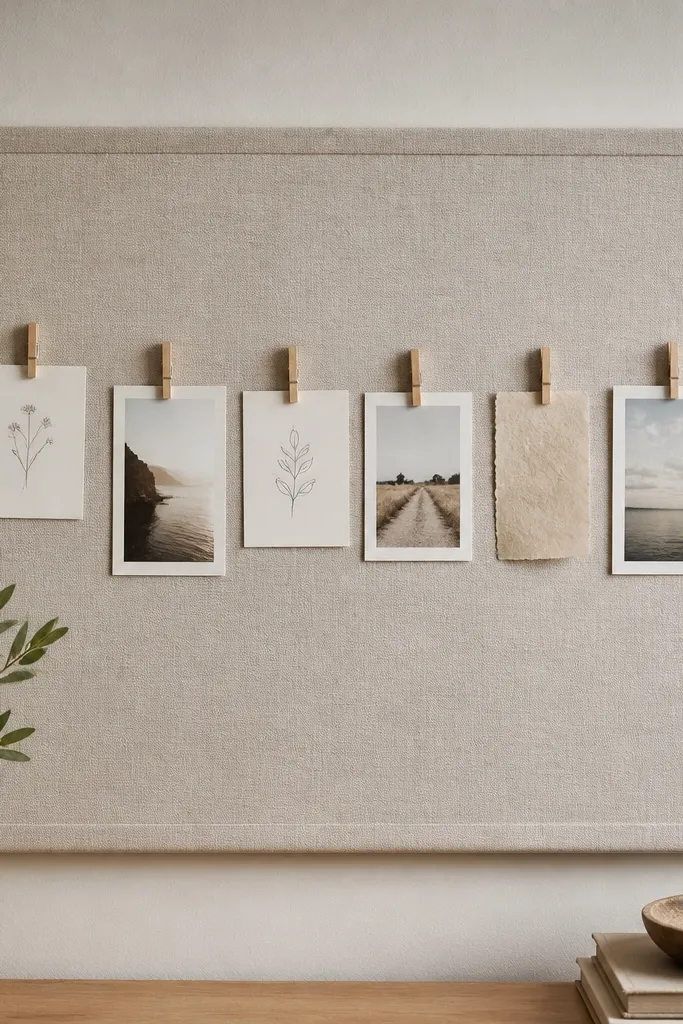
Fabric organizers soften the hard look of pegboards. The peg clips let you swap study cards quickly, and the line format makes it easy to scan. I like linen because it looks calm next to wood and matte paint. When your tasks are visible but not piled, you focus longer.
Stretch linen over a thin frame or mount it with stapled edges on a backing board. Install a top rail where clips attach, then hang the panel near eye level. Use identical index cards so spacing stays consistent and the organizer looks tidy.
Write with one color for tasks and another for study topics to keep scanning simple.
Avoid using too many clip sizes — mixed hardware looks random.
18. DIY Desk Calendar Stand From a Wood Block and Clip
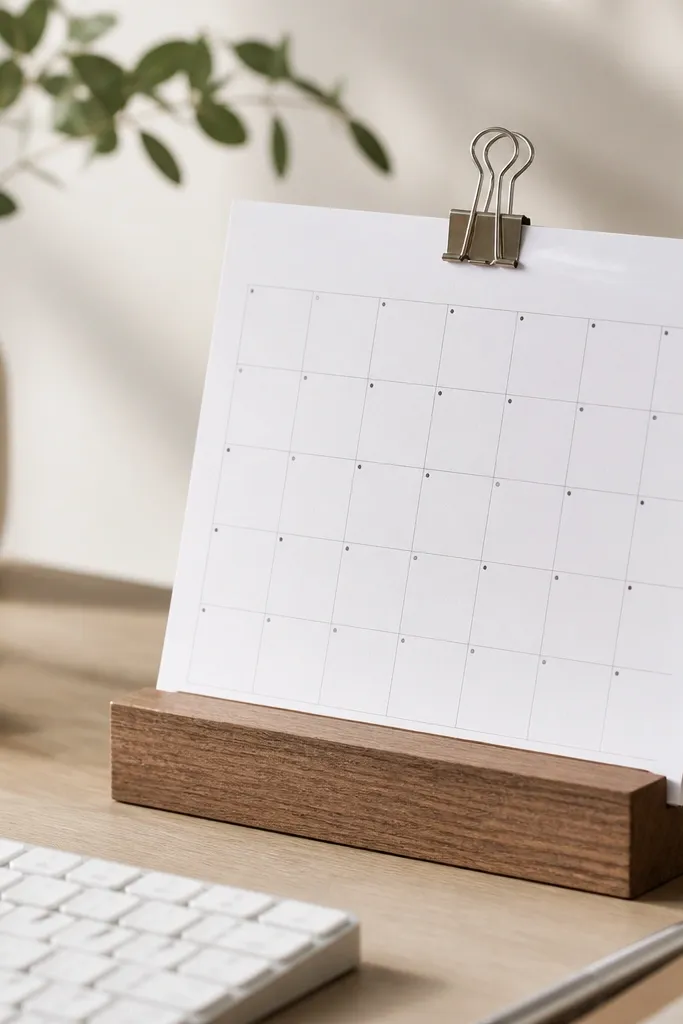
A desk calendar stand keeps the date in your direct line of sight without eating desk space. I’ve used this when I needed to track deadlines and it stopped me from opening my phone every time I forgot the day. The stand angle is key — it reduces glare from overhead lights. Wood plus metal looks clean and it holds up better than plastic stands.
Use a wood block about 2.5 inches tall, sand smooth, then drill a shallow groove for the binder clip base. Attach a spring clip across the top front edge. Add a felt pad under the block to keep it from sliding on desk mats.
Quick tipPrint the calendar on thicker paper (24 lb) so it doesn’t curl with humidity.
One warningSkip glossy paper — it catches light and makes numbers harder to read.
19. Matte Black Frame Dry-Erase Board for 'Next Steps'
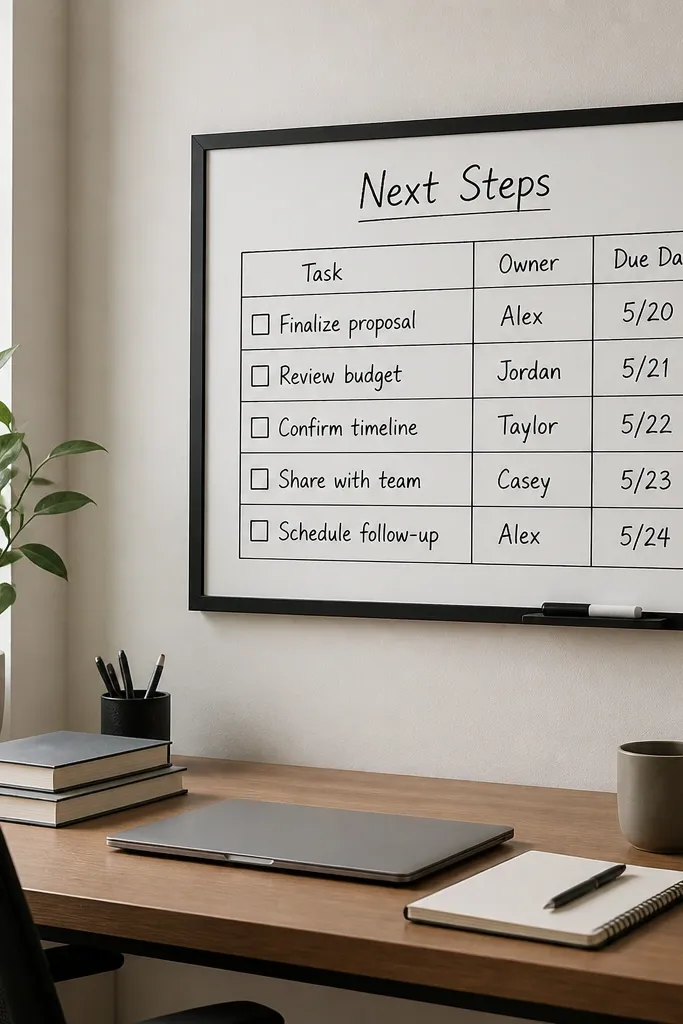
Dry-erase is the easiest way to keep the plan updated without paper clutter. A matte black frame looks grounded and doesn’t reflect light like shiny frames. I use a small grid: one column for tasks, one for time estimates, one for “done today.” When your next steps are visible, you start faster and waste less time deciding what to do.
Buy a standard dry-erase sheet, then mount it inside a custom frame made from thin wood strips painted matte black. Use chalk marker or dry-erase marker that matches your preference for color. Keep the board width around the size of a monitor so it feels like part of the work zone.
Quick tipWipe it at the same time every day and rewrite only what changed.
One warningAvoid ultra-thin frames that warp — the board edges look uneven.
20. Wall-Mounted Study Drawer With Scrap Wood Front
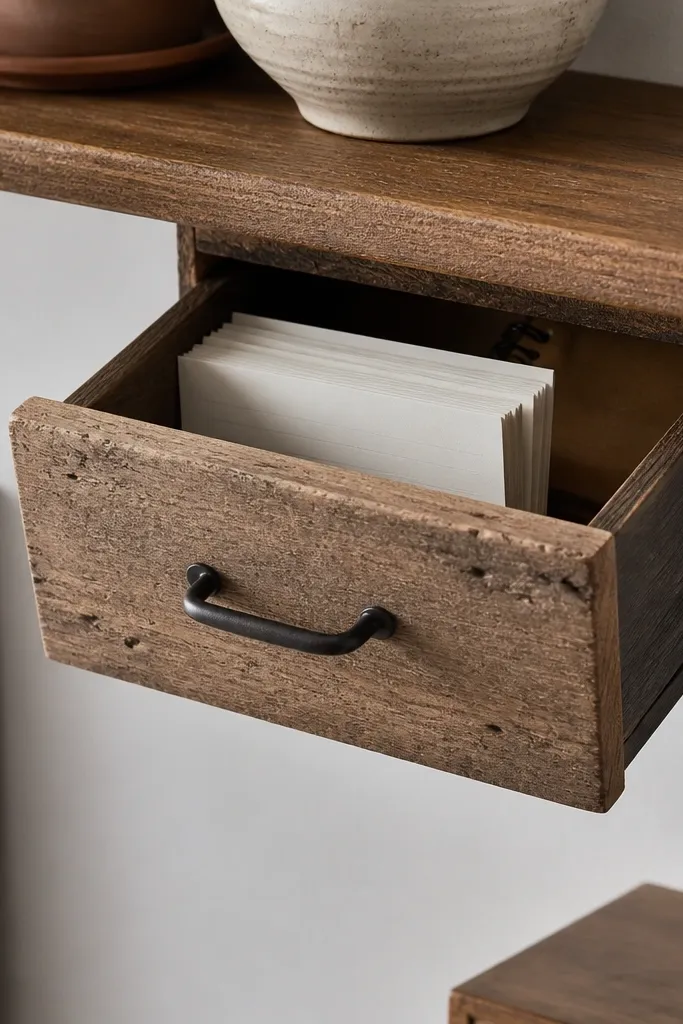
A wall drawer is focus-friendly because it keeps small supplies out of sight but easy to reach. The scrap wood front adds warmth and makes it look like furniture, not a storage bin. I keep only two categories inside: reference cards and current notebook. It keeps your desk surface clear, which makes the room feel ready to work.
Build a shallow box from plywood or thin wood, about 12 inches wide and 5 inches deep. Mount under a shelf with two L-brackets and add a small pull handle centered on the front. Paint or stain to match your desk or shelf so it blends into the room.
Quick tipAdd a removable divider so index cards don’t slide around.
One warningDon’t overload it — a jammed drawer looks messy when you open it.



