
1. Pick a pastel towel that becomes the "spa sign"
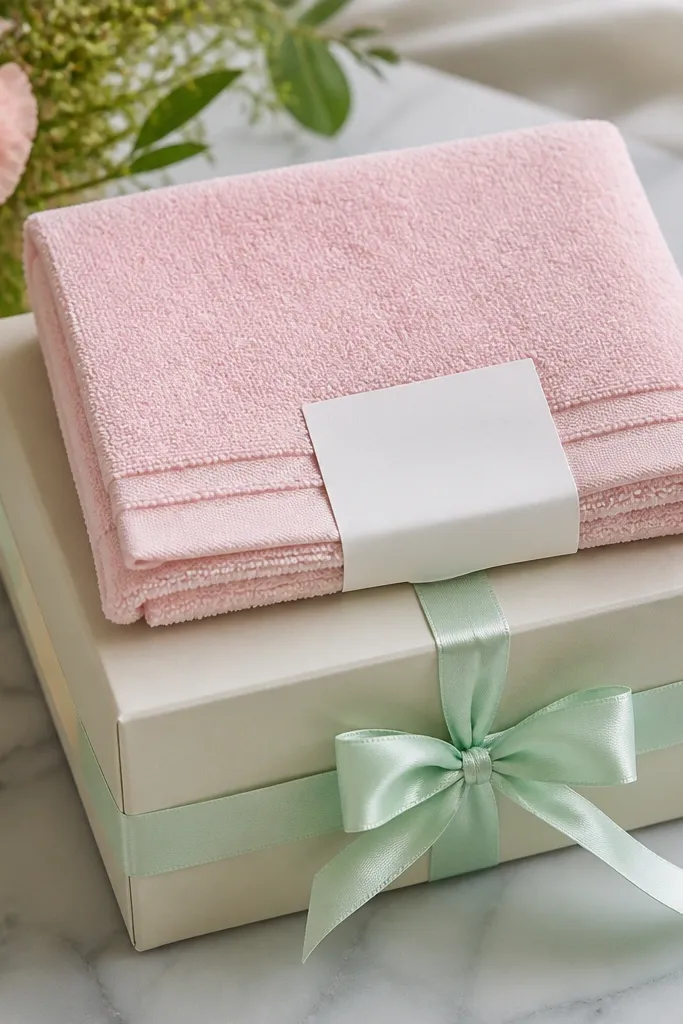
Buy a towel that’s about 12 x 18 inches or 13 x 13 inches. Fold it into a rectangle, then roll it loosely from one short side so it creates a soft cylinder. Place it on top and measure the box height with the towel in place before you assemble the rest.
I always start with one towel because it reads “spa” in a second. Choose a solid color, not a busy pattern — the gift looks calmer and more expensive. Light pink, lavender, or sky blue looks best in photos and hides small wrinkles from folding. The towel also gives your box height so the smaller items don’t sink.
One warningSkip towels with loud stripes or character prints — they make the whole set look like craft supplies instead of a spa.
Quick tipUse a fabric-safe marker to write the recipient’s name on a small white label, then stick it right under the towel fold so it shows from the front.
2. Use one container size for the scrub and keep the lid matching
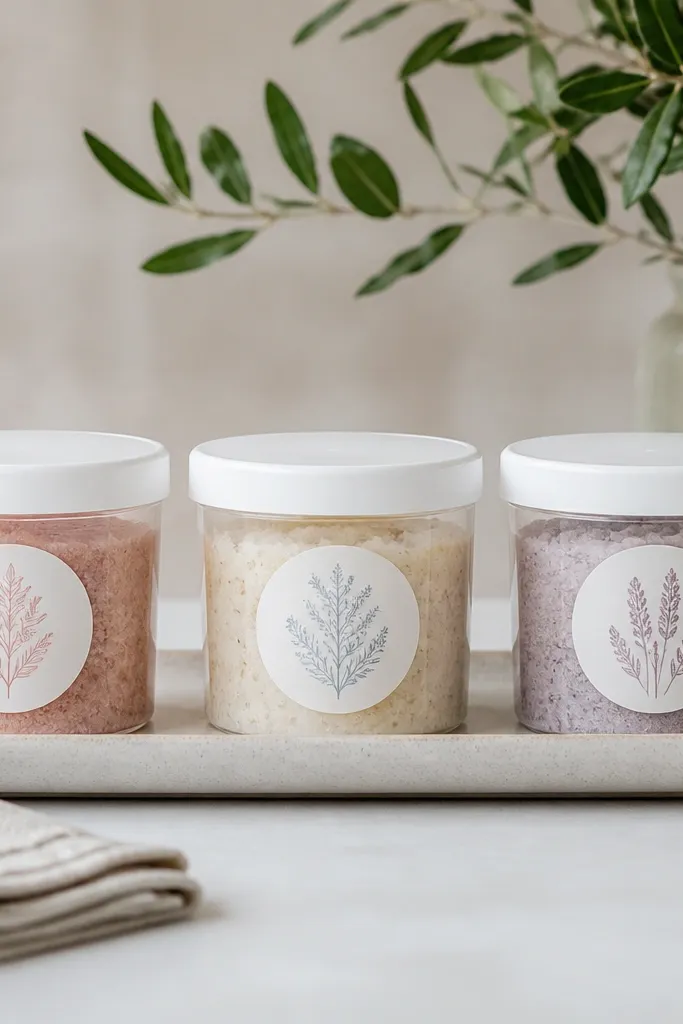
Pick a tub that’s around 4-5 ounces so it doesn’t feel too tiny. Fill with thick sugar scrub so it doesn’t slump — aim for a mounded top, not a flat surface. Label the lid and the side with the same sticker style so it looks intentional even if the lid is flipped.
For a simple spa set, the scrub container is where the “clean” look comes from. I use clear tubs with matching lids because you can see the texture through the sides and everything matches visually. White lids look fresh and pair well with almost any ribbon color. When the scrub container size is consistent, the set looks neatly planned.
One warningAvoid loose-fitting lids and containers that wobble — wobble reads messy fast.
Quick tipLet the scrub sit for 10 minutes after filling so it stops settling before you cap it.
3. Jar bath soak with a tight cap and a label that sits flat
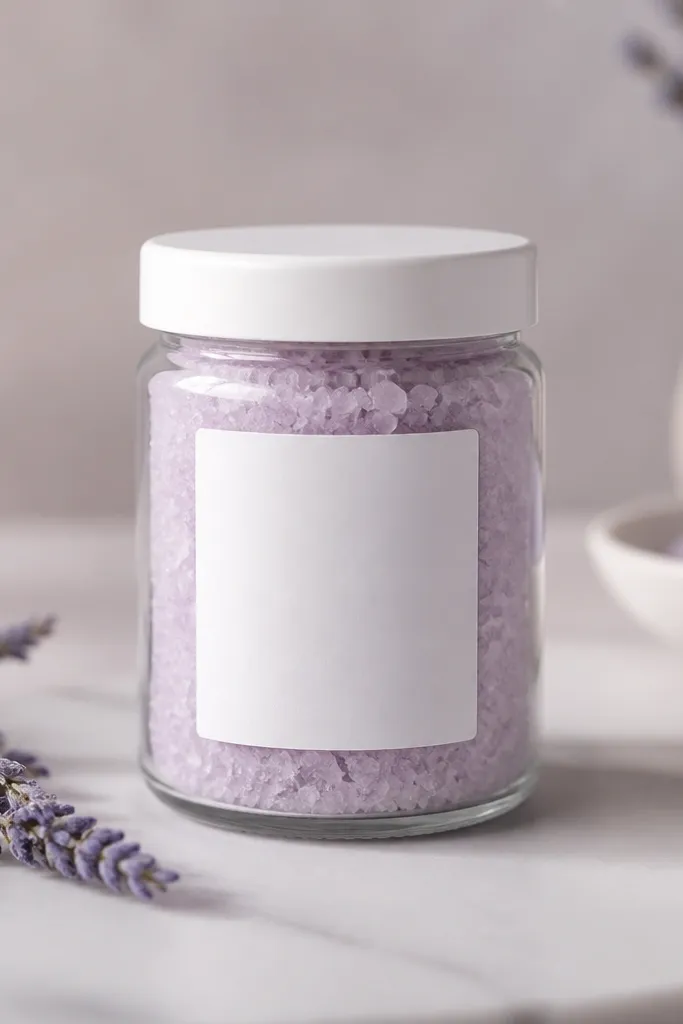
Choose a jar size that fits your box — usually 4 to 8 ounces for kids' gifts. Fill to about 3/4 full so the salts have room and don’t press up under the lid. Stick a label on the jar straight across the middle; if it wrinkles, redo it before you assemble.
A jar of bath soak makes the set feel like a “real” spa product. Use glass or a heavy-looking jar so it doesn’t look like a craft jar. Pale salts (lavender, rose, or seafoam) look soft and photogenic. A tight cap matters because it prevents leaks and keeps the label clean.
One warningDon’t use skinny jars that tip easily inside the box.
Quick tipSeal the label with a thin layer of clear packing tape over the edges if you’re gifting soon after mixing.
4. Lip balm tin with a color-pop label
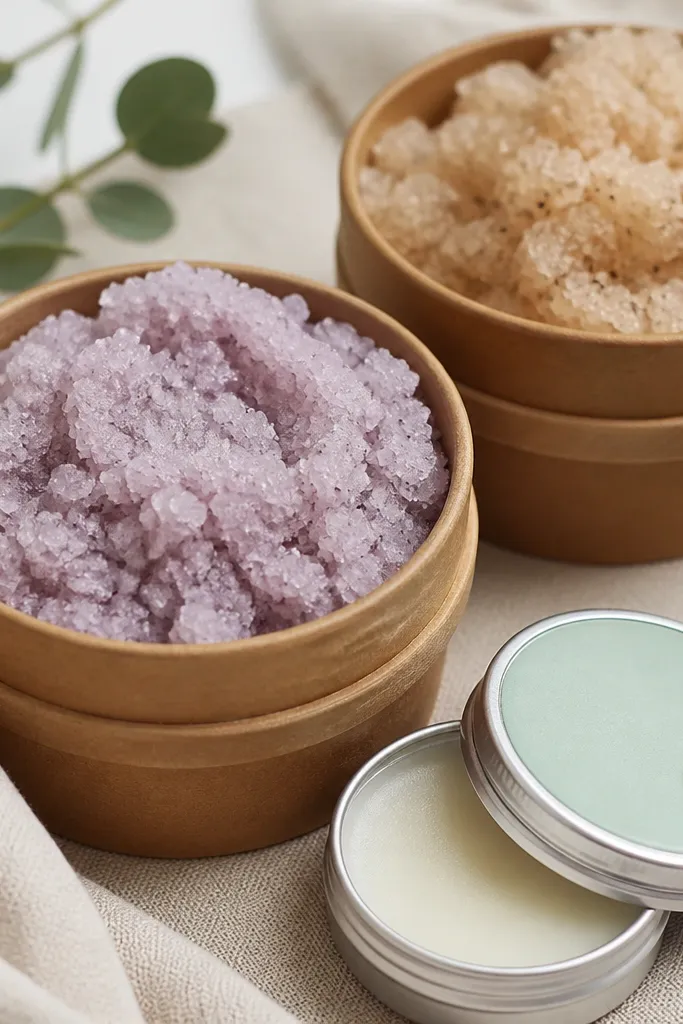
Use a 0.15 to 0.5 ounce balm tin (small is better for gift boxes). Write the flavor/scent on the label — keep it short like “Vanilla” or “Coconut” so it looks clean. Put the tin in the middle layer so it’s protected by the towel and tissue.
A lip balm tin turns your spa set from “bath stuff” into a full self-care kit. Metal tins feel sturdy in a way plastic doesn’t, and the shine catches light. I pick a color-pop label that matches the ribbon accent so it ties the whole set together. Even if the balm is simple, the tin looks like a store-bought item.
One warningSkip labels that wrap unevenly — crooked labels scream DIY.
Quick tipAdd the scent name in all caps on the first line, then “for soft lips” in smaller text.
5. Create a foam insert so everything sits upright
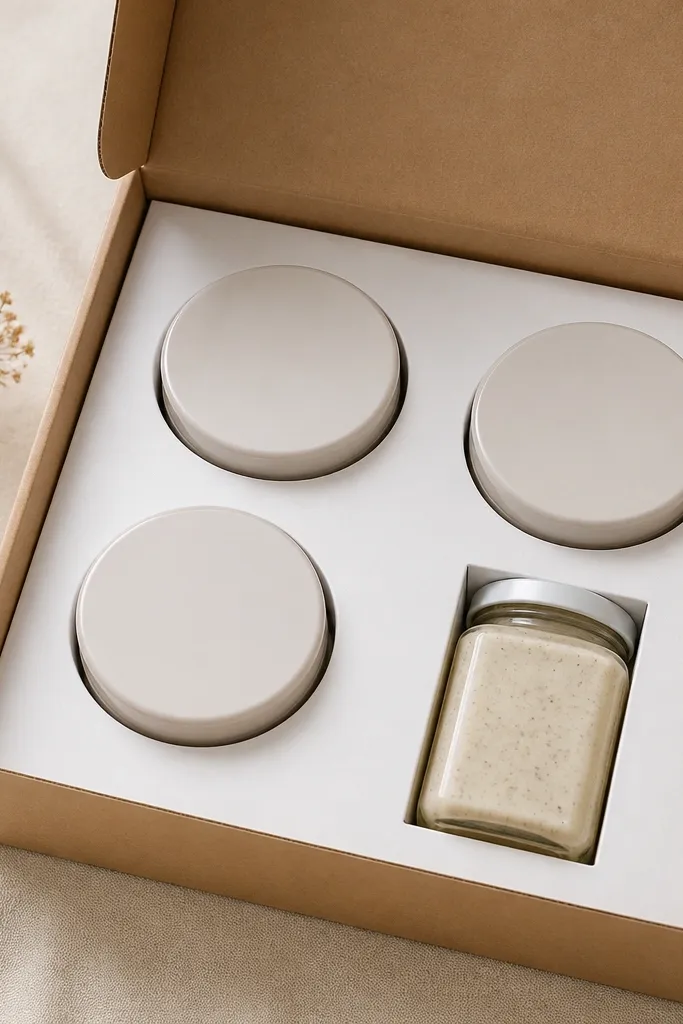
Cut foam board to the inside base of your box. Use a craft knife to poke a pilot hole, then widen slowly until each container fits with a snug grip. Test-fit before you cut the final holes so you don’t end up with gaps.
The easiest way to stop the “everything falls over” look is a simple foam insert. You cut holes just big enough for each container, so items stay upright and clean. It also makes the gift feel more premium because the items look displayed, not dumped. White foam keeps the background neutral under tissue paper.
One warningDon’t cut holes too big — loose containers shift and ruin the tidy look.
Quick tipWrap the foam top with a thin sheet of tissue paper so cut edges don’t show.
6. Make a crinkle paper nest that matches your theme
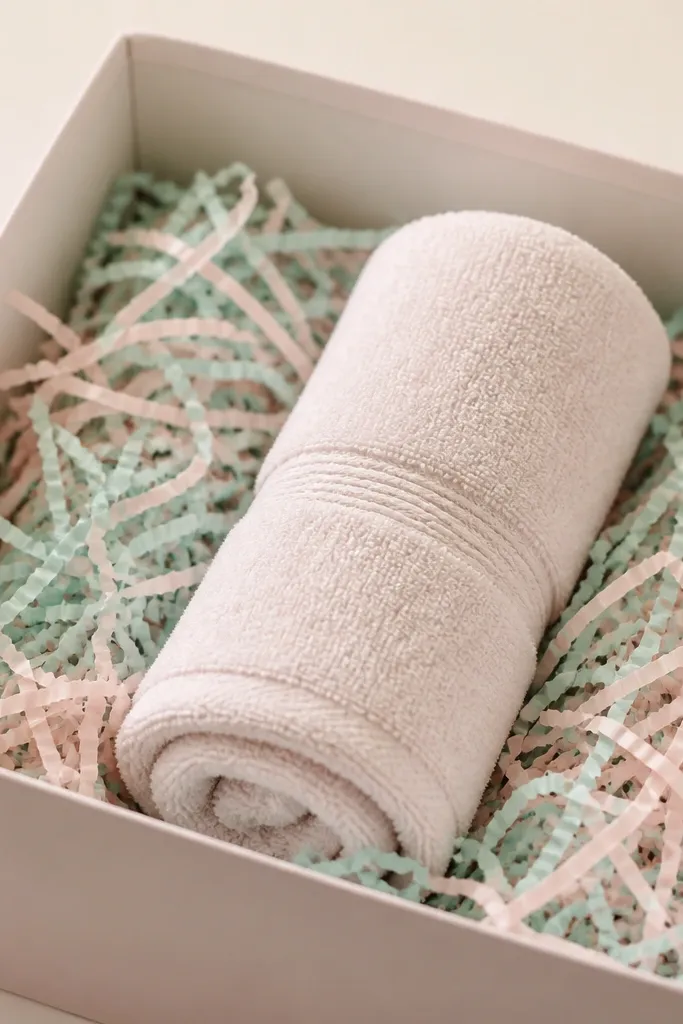
Use 2-3 sheets of crinkle paper and tear them into short strips before fluffing. Pack around the sides of the insert or directly in the box base if you skip foam. Keep the nest lower than the towel so the top stays clean and spa-like.
A paper nest gives your gift height and hides messy gaps around containers. Crinkle paper adds texture that reads “gift,” especially in photos. I choose two shades only — one main and one accent — so it doesn’t look like a clutter pile. When the nest is tight, the items don’t slide.
One warningAvoid mixing five colors — it looks like you grabbed scraps.
Quick tipPress the nest lightly with your palm to remove big air pockets.
7. Roll tissue paper into a tidy side "cushion"
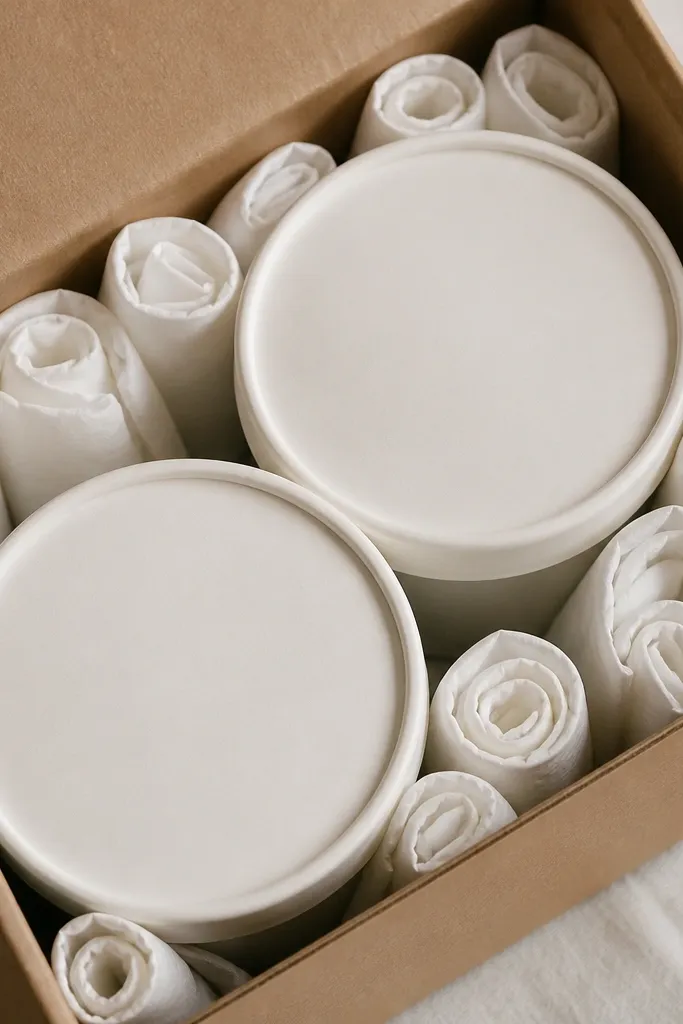
Tear a sheet of white tissue into 3-inch strips, then roll each strip tight like a small tube. Place tubes along the side walls and between containers, not on top of labels. Add a towel on top to anchor everything.
This is my quick fix when you don’t have foam or when a container is slightly off size. Tissue rolls create gentle pressure so items stop drifting. White tissue makes the set look bright and clean, and it hides the edges of packaging. It’s also cheap, which matters for budget gift sets.
One warningSkip loose tissue that flops around — it makes the whole set look unfinished.
Quick tipIf tissue slides, dab one tiny dot of hot glue on the box wall where the tube touches.
8. Tie a ribbon with a real bow, not a knot
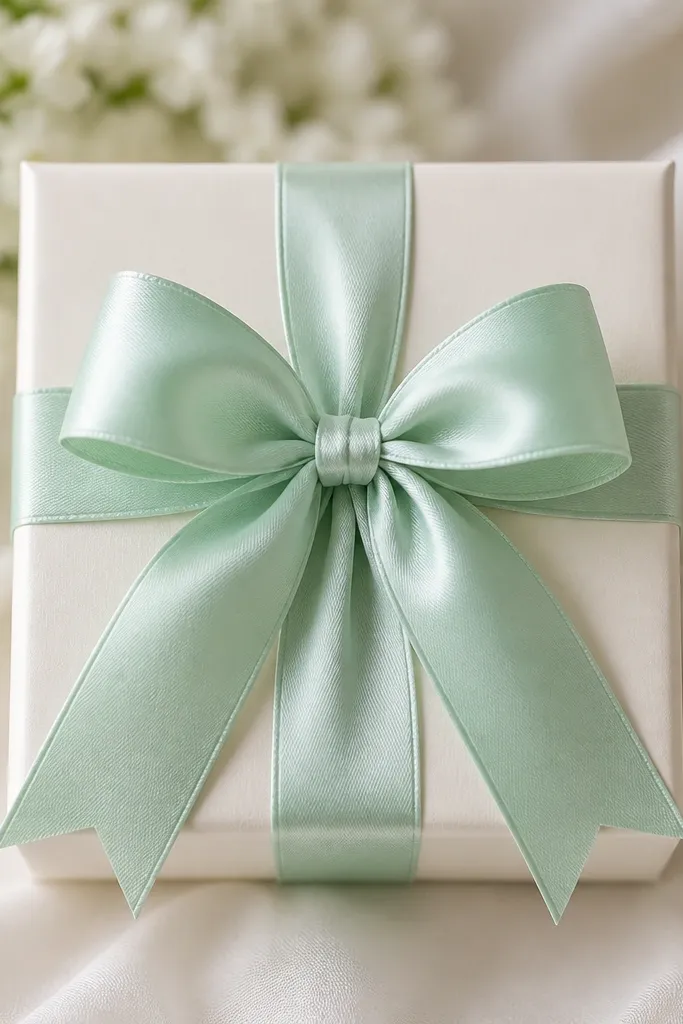
Wrap the ribbon around the box once, then create a loop on each side and cross them in the center. Trim tails to the same length, usually 4 to 6 inches. If the ribbon frays, run the end over a lighter carefully or use ribbon ends that already look finished.
A real bow changes the vibe instantly. Satin ribbon looks neat and doesn’t look like craft store string. The bow also gives you a focal point so the gift feels designed, even if the items inside are simple. I keep the ribbon width around 3/8 to 1 inch for most boxes.
One warningDon’t use thin ribbon that stretches — it makes the bow look saggy.
Quick tipUse double-sided tape under the ribbon ends so the bow doesn’t shift when you move the box.
9. Add a printed label strip for the 'set name'
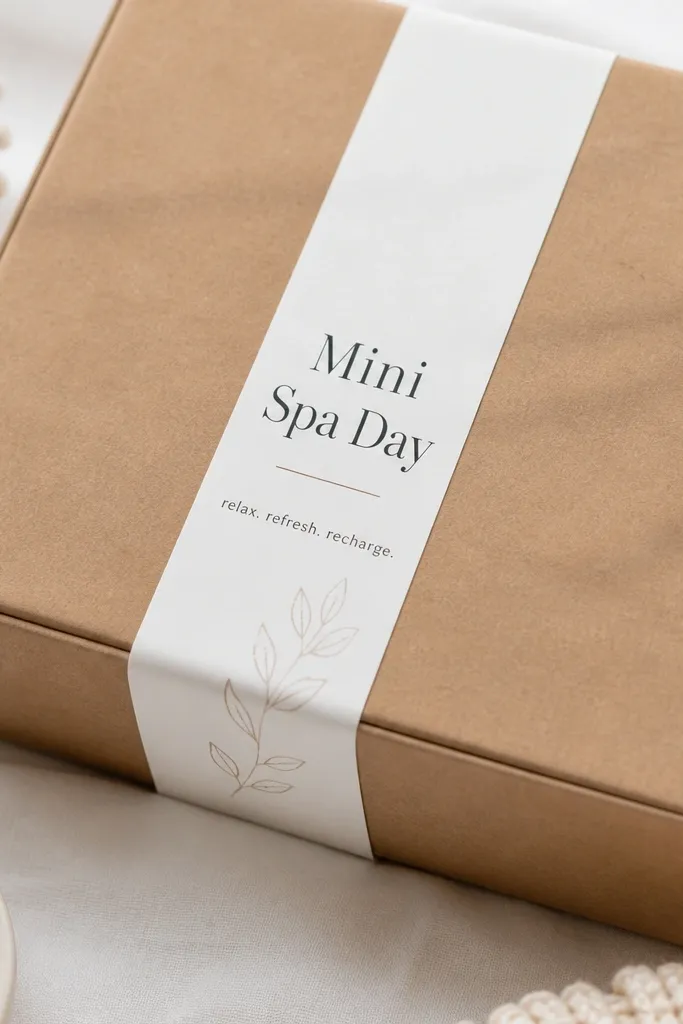
Use sticker paper or label sheets and print with a simple font. Measure your box front first — aim for a label that’s about 2 to 3 inches wide depending on the box. Place it centered above the towel roll so it doesn’t get covered.
A set name label makes the gift feel like a product, not a pile of items. Keep it to one line, big enough to read from across a room. I print on white sticker paper so it stays crisp and doesn’t curl like tape labels. This also helps kids understand what each item is for.
One warningSkip handwriting on long labels — it looks rushed and uneven.
Quick tipAdd a small line like 'Bath + Body' on the second row for clarity without clutter.
10. Write a scent card that matches each item
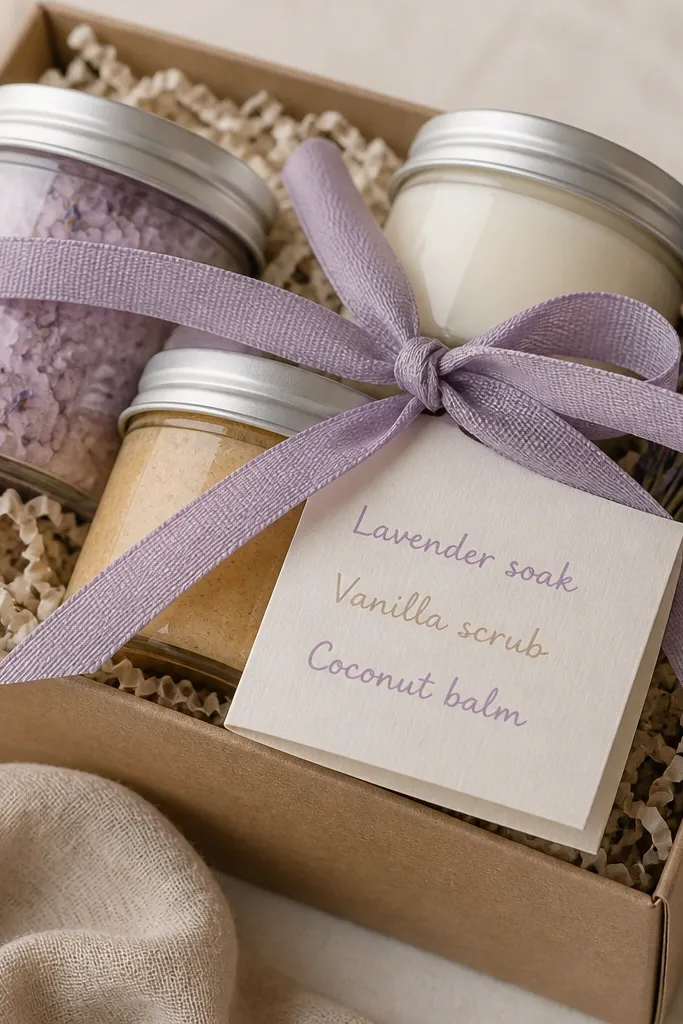
A scent card is the part people actually read. It tells the recipient what they’re using and stops the “wait, what’s this?” moment. I write it in a friendly, short list and match scents to each item label. It also helps if the set has multiple flavors and you don’t want labels to be the only guide.
Fold an index card in half or use a 4 x 6 inch card and trim it. Write each scent on its own line and keep the font size consistent. Slide the card behind the ribbon so it shows at the front but stays protected.
If you’re making for multiple kids, pre-type the scent names and only hand-write the child’s first name.
11. Include one bath-safe toy or tool for fun
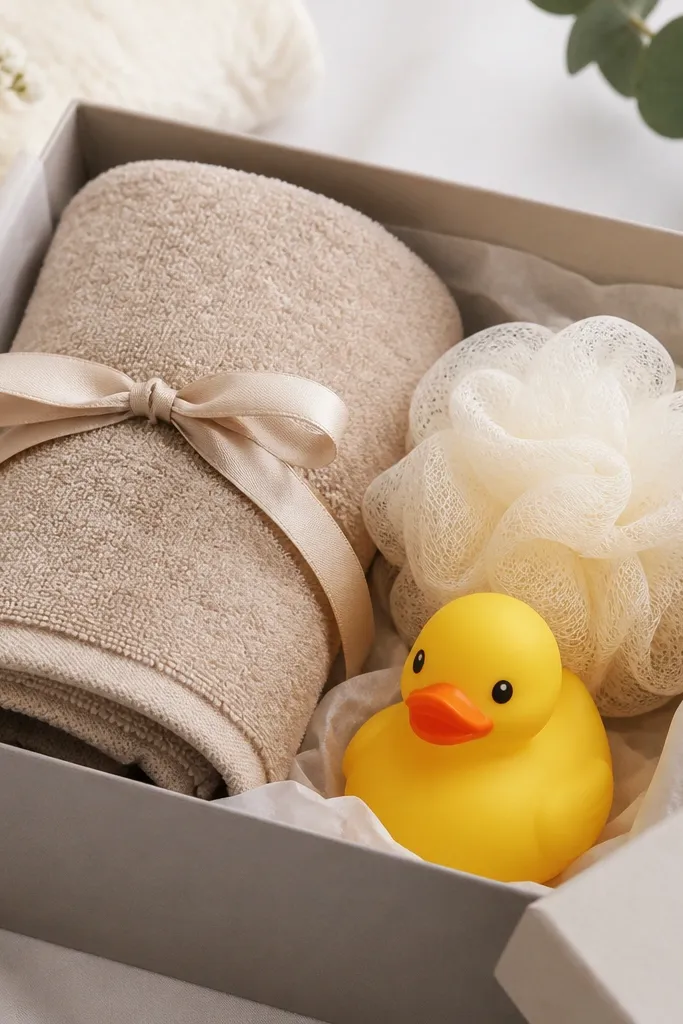
Spa sets feel more kid-friendly when there’s one playful tool. A small bath pouf or a rubber duck makes the gift feel like an experience, not a chore. I keep it simple and bath-safe so it fits the theme without extra packaging. This also gives you an extra item to balance the box visually.
Pick one item only so you don’t blow the budget. Place it under the towel or on the side so it doesn’t crush the scrub or jar. If you use a pouf, keep it folded and wrapped in tissue so it doesn’t snag labels.
Choose a tool in the same color family as your ribbon so it looks coordinated.
Don’t add random novelty items that don’t match the spa theme.
12. Use cellophane wrap to make the whole set look 'finished'
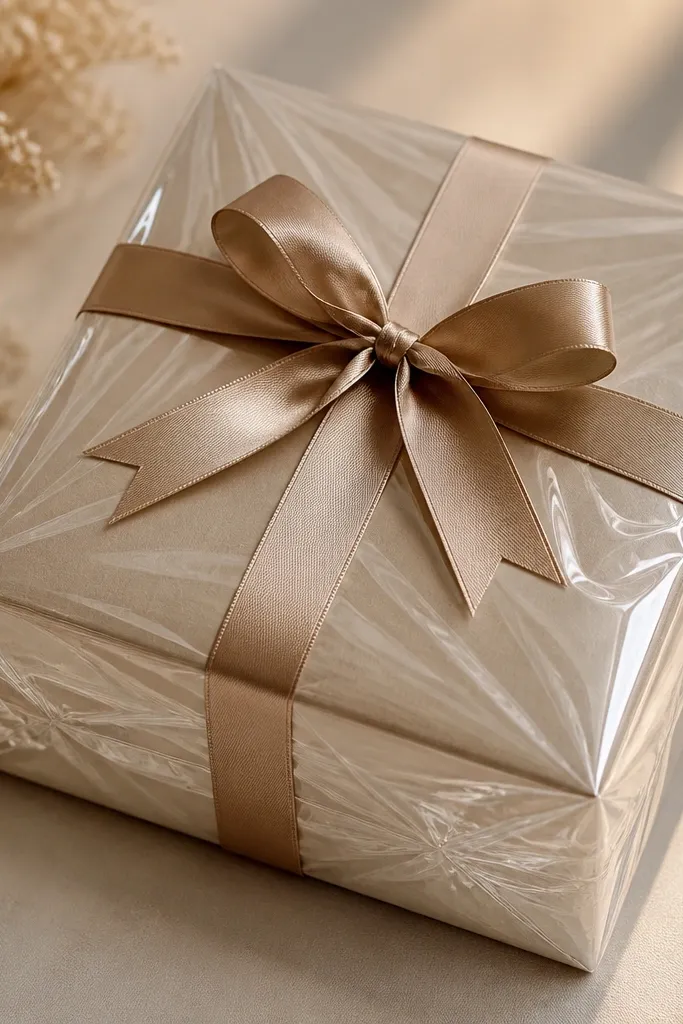
Cut a sheet of cellophane large enough to wrap the box with 4 to 6 inches of extra on each side. Pull it taut, then tuck the bottom corners under the base. Tie or tape the seam near the ribbon so it doesn’t show.
Clear cellophane makes DIY gifts look like they came from a shop. It protects items from minor scuffs and makes colors pop under light. When it’s pulled tight, the box looks smooth and intentional. I use it when I’m gifting something that might get jostled in a car ride.
One warningSkip loose cellophane — wrinkled wrap makes everything look messy.
Quick tipUse a small strip of double-sided tape to hold the cellophane edge before you tuck.
13. Seal the gift tag with a mini hole reinforcement
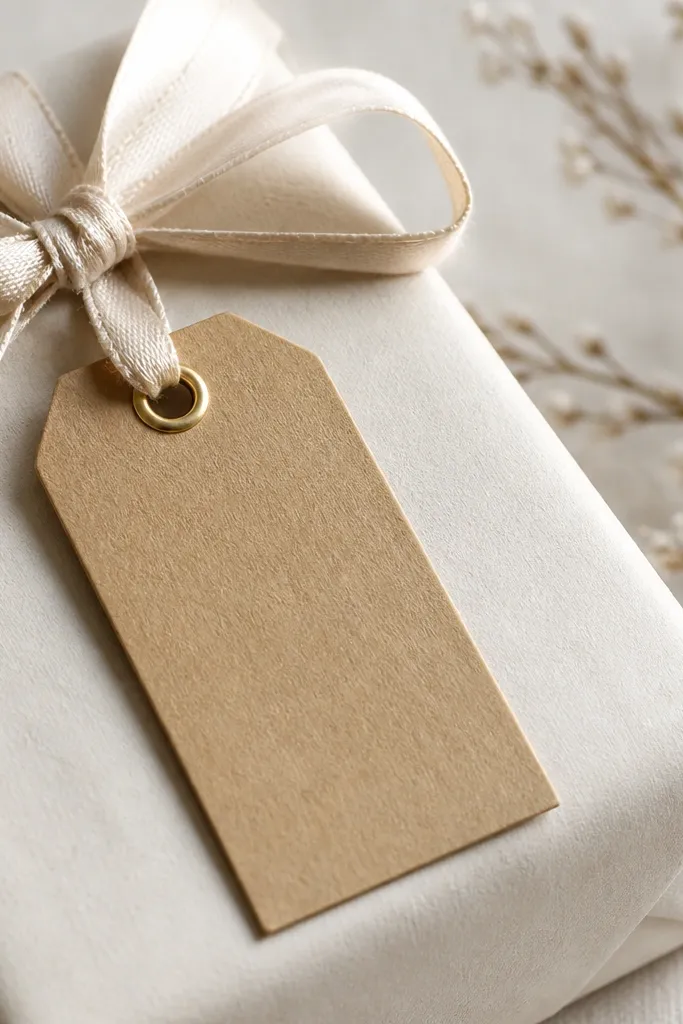
Tags make the set feel personal, but they fail when the hole tears. I use a tiny eyelet or hole reinforcement so the tag stays attached through handling. Kraft paper looks warm and pairs with pastel or mint ribbon. This is a small step that makes the gift look sturdy.
Punch the tag hole using an eyelet punch so it’s centered. Add a metal eyelet or a reinforced ring and then thread ribbon through. Keep the tag size around 2 x 3 inches so it doesn’t overpower the box.
Write on the tag with a fine-tip paint pen so it looks clean on kraft paper.
Don’t staple or tape tags — the edges look temporary.
14. Make mini labels for each item with one consistent style
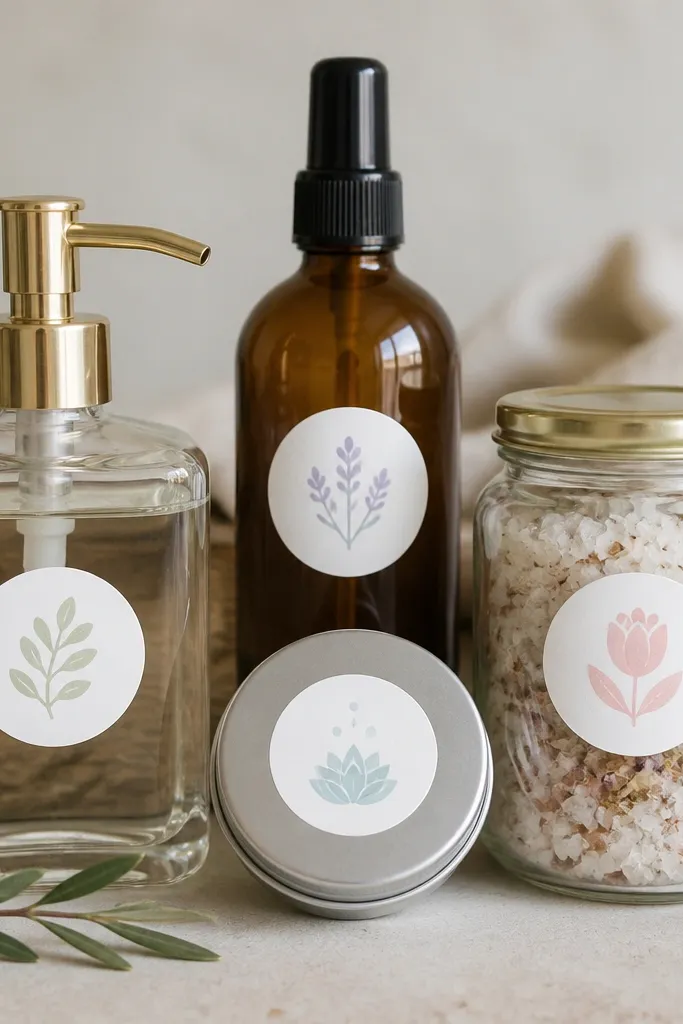
Use round sticker labels around 1.25 inches wide for tubs and 1 inch for smaller tins. Write the item name and scent only — skip extra paragraphs. Place labels where hands won’t constantly rub, like the front or top.
Consistent labels make the set look organized even when the items are simple. I use one label shape and one color ink tone across everything. Round labels look cute on lids, and they also cover small scuffs. If you keep the text short, you can label everything neatly without crowding.
One warningAvoid mixing label fonts and sizes — it reads chaotic.
Quick tipPrint labels on matte sticker paper so they don’t glare under flash photos.
15. Assemble on a tray to control placement and spacing
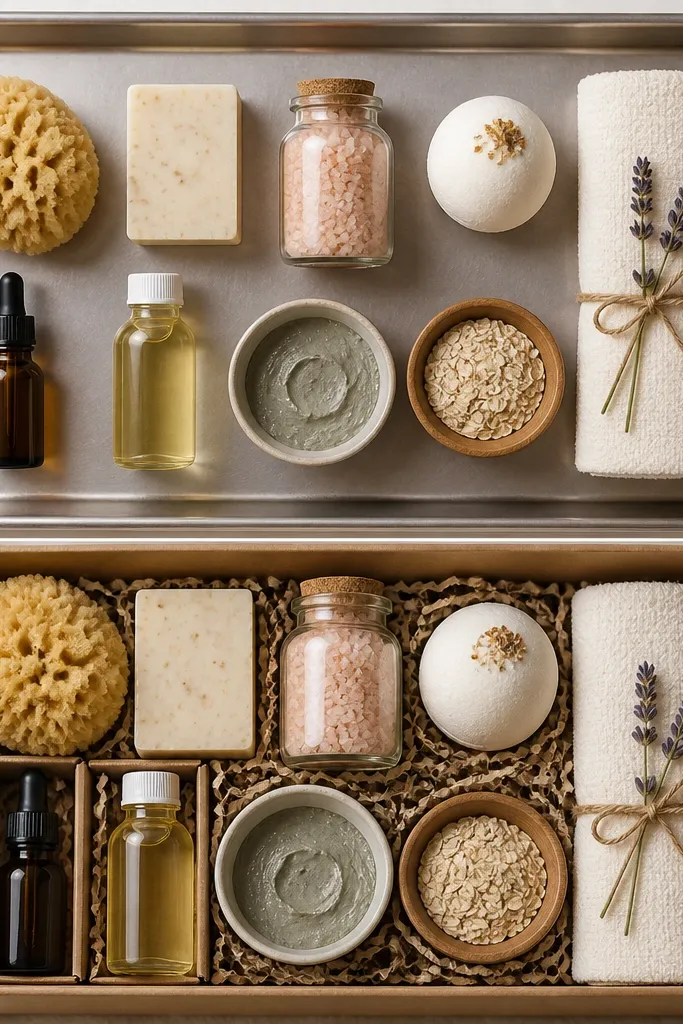
Lay out the towel, jar, scrub, balm, and any extra tool in a line on the tray. Use a ruler to keep the jar centered and the tubs evenly spaced. Then transfer in this order: base nest/insert, jars and tubs, towel on top, ribbon and tag last.
This is the step that keeps everything from looking random. I set up a tray so I can arrange items in a straight line and check spacing before anything touches the gift box. When you build on a tray, you can move things around without smearing labels or bending ribbon. It also helps you confirm you didn’t forget an item.
One warningSkip assembling directly in the box — it makes spacing uneven and labels get scuffed.
Quick tipTake one quick photo of the tray layout before you pack — it’s your reference if you get interrupted.



