
1. Leather-Style Keychain With Heat-Pressed Vinyl Name Tag
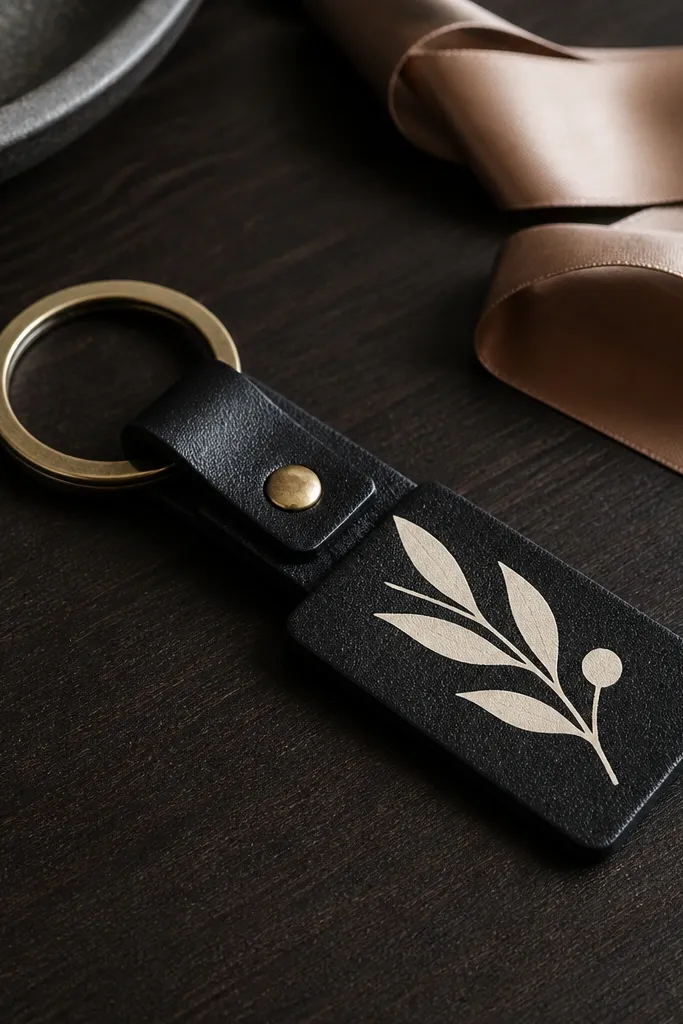
This looks expensive because the name tag is clean and matte, not glossy. I use thick faux leather so it holds shape when you fold it around the ring. The cream vinyl pops against black and reads as “custom” even from across the room. It also fits any boyfriend style — minimalist, sporty, or outdoors.
Cut a strip 2.5 cm wide and 10 cm long, fold it into a loop, and punch two holes for stitching or a rivet. Make the name tag 4 cm by 7 cm, then heat-press vinyl with a protective sheet over it. Finish with a quick wipe of leather conditioner on the faux leather for a soft feel.
Use matte vinyl for the tag and add one tiny detail like a single stitched line along the bottom edge for depth.
Avoid thin craft leather — it curls and makes the whole keychain look flimsy.
2. Coffee Tin Gift Set With Custom Label + Sugar-Free Option Note
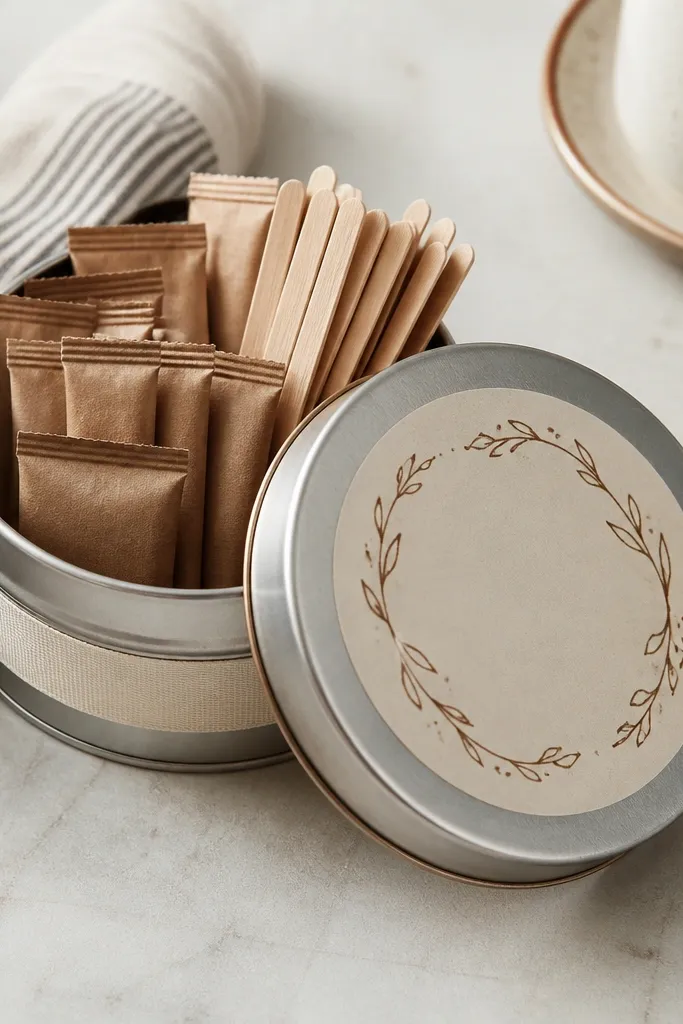
Coffee gifts hit because they’re practical and they smell good. The custom label makes it feel like you curated it, not grabbed it. I like adding a tiny note that includes his usual order or a sugar-free alternative, so it feels personal. The warm brown and cream combo makes the tin look cohesive.
Use a 4-6 inch tin, fill with 6-10 single-serve packets or grounds in small zip bags, and add 2 packets of flavored creamer (match his preferences). Wrap a 1 cm cream ribbon around the lid and glue the label centered. Seal the tin lid with a small piece of clear tape under the label so it stays crisp.
Quick tipPrint labels on 110 lb cardstock and rough the edges lightly with sandpaper for a “printed by hand” look.
One warningAvoid a glossy label finish — it glares in photos and looks cheap on shelves.
3. Mini Beard Care Kit Pouch With Felt Tabs
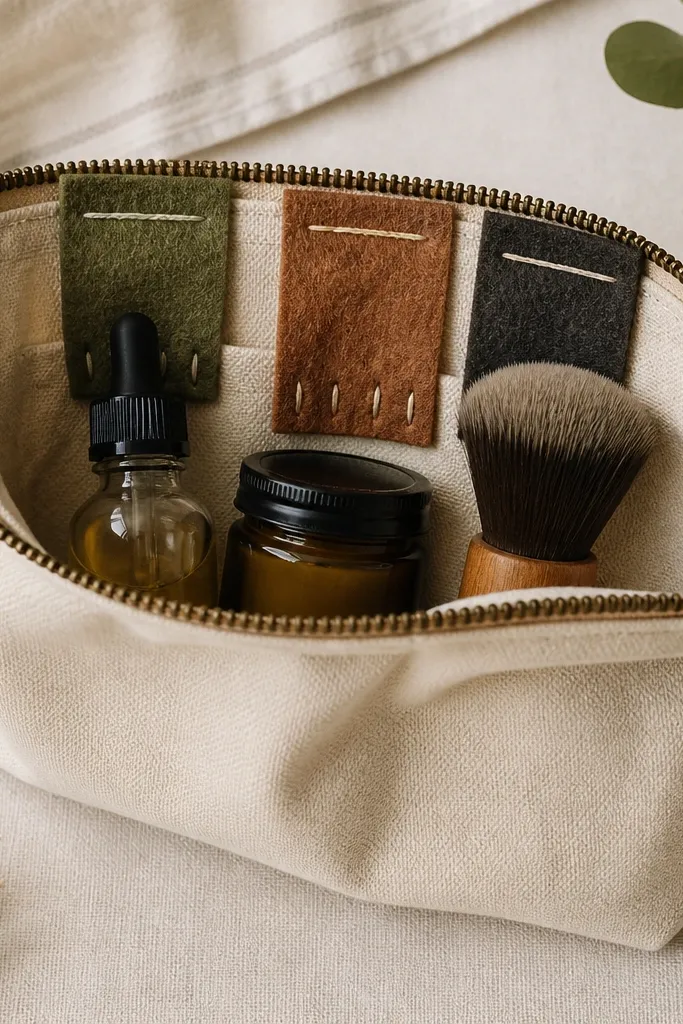
If he has facial hair, this set feels thoughtful fast. Felt tabs add structure and make the contents easy to find without rummaging. I pick muted colors like slate gray canvas with moss green felt. It looks clean, not childish, and the stitching detail reads as “made by someone who cares.”
Use a small canvas pouch about 20 cm wide. Cut felt tabs 3 cm by 6 cm, stitch around the edges, and attach them to the inside wall with fabric glue. Add a mini comb, 1 balm, 1 oil, and a travel brush in a snug arrangement.
Quick tipWrite the labels with a fabric marker first, then stitch over the marker line for crisp letters.
One warningAvoid loose felt — if the tabs don’t sit flat, the pouch looks messy.
4. No-Sew Sports Headband Wrap With Team-Color Stitch Lines
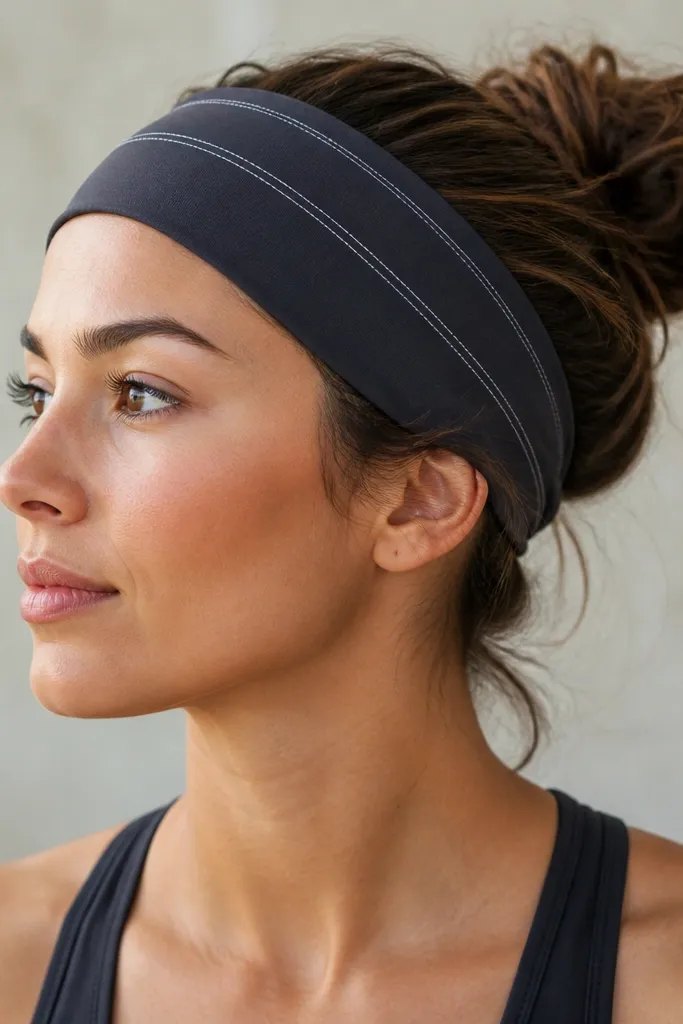
This is one of those DIYs that feels personal because it matches what he wears. The trick is using stretchy fabric and adding faux “stitch lines” so it looks like a store product. I like pairing navy with neon orange or forest green with cream. The headband also works for gym, running, and casual hangouts.
Cut fabric 10 cm wide and long enough to wrap his head comfortably, usually 50-56 cm. Fold both long edges in 1 cm, then glue the fold with fabric glue in two lines. Add two straight decorative lines with heat-set fabric tape or simple topstitch using a sewing machine.
Quick tipMeasure his head loosely by wrapping a soft tape around and adding 1 cm for comfort.
One warningAvoid stiff fabric — it will crease and slide, which makes it look handmade in a bad way.
5. Wood Coaster Set With Burned Constellation Coordinates
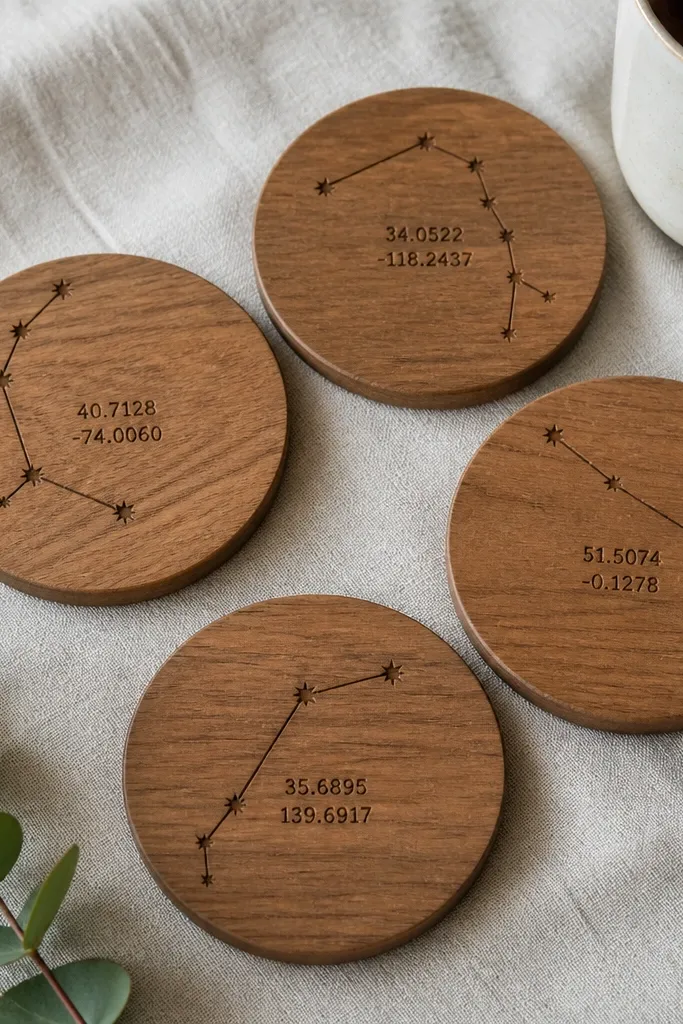
Burning wood makes a gift feel custom even if you’re not a “hand-painting” person. Constellations and coordinates look classy and personal without needing a big portrait. I use a small wood-burning pen and keep the lines thin so they don’t look messy. The set also protects furniture, so it’s useful right away.
Buy 4 unfinished round coasters 10 cm wide. Lightly sand, then burn a tiny constellation in the center and add coordinates around the edge. Seal with 2 coats of matte polycrylic, letting each coat dry fully.
Practice on scrap wood first and keep the pen tip moving — slow burning makes thick, gray scars.
Avoid glossy sealant — it turns the burned lines shiny and washes out the contrast.
6. Custom Photo Keyring Mini Slider With Clear Tape Window
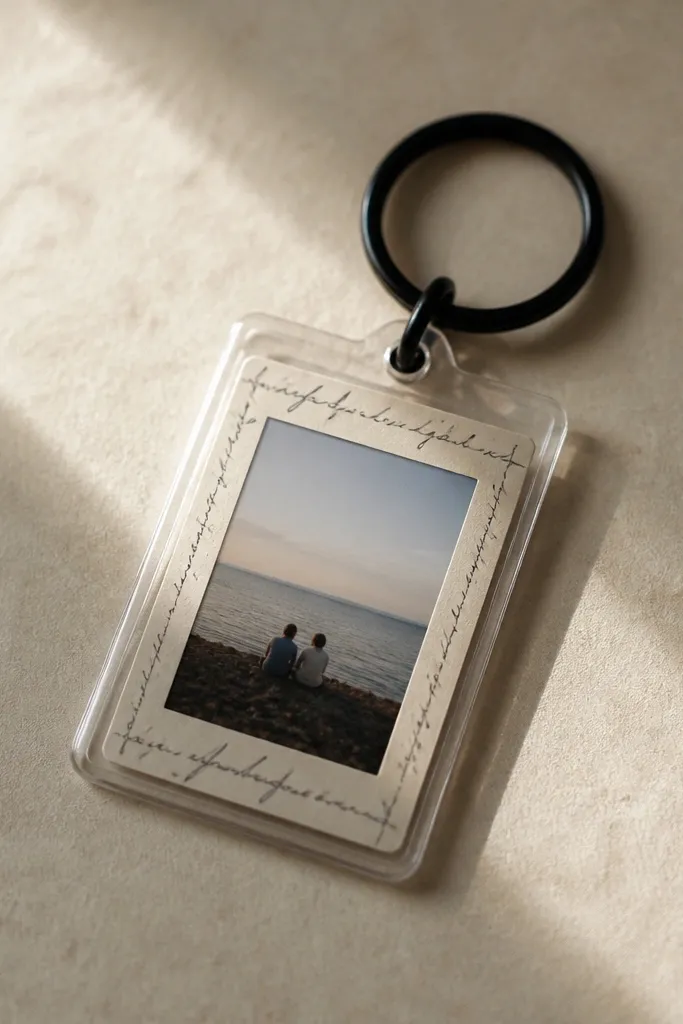
This one hits because it’s a photo he can actually carry. The slider window keeps the picture visible without making you laminate anything complicated. I like using a 2 cm by 3 cm photo so it fits the sleeve and looks crisp. The handwritten strip makes it feel like a note, not a printed insert.
Print a small photo, trim to 2 x 3 cm, and place it inside a clear plastic keyring sleeve. Add a border strip behind the photo in his favorite color (matte tape works well). Seal the edges with clear tape so it doesn’t snag on keys.
Quick tipUse a black border tape behind the photo so it looks framed and intentional.
One warningAvoid overstuffing the sleeve — if it’s too tight, it scratches the photo.
7. Spice Rub Packet Set With Hand-Stenciled Labels
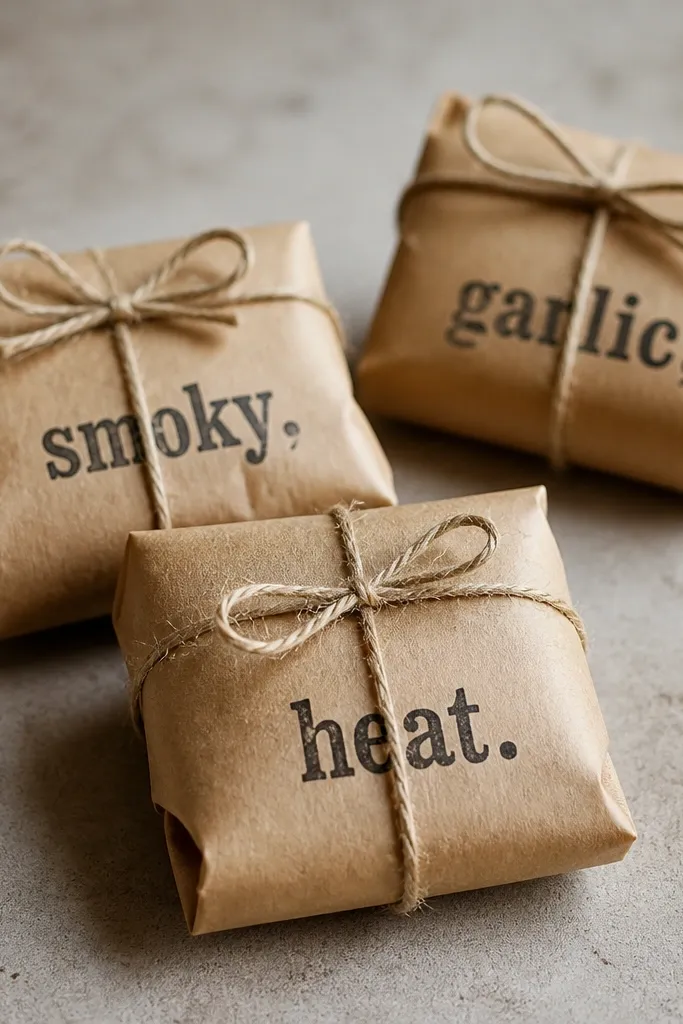
Spice rubs feel like you know how he eats and cooks. Stencil labels look sharp and take less time than freehand lettering. I make 3 packets so he has variety: a smoky one, a garlic-herb one, and a heat-forward one. The kraft paper + black ink gives a warm, man-friendly look.
Use 8 x 12 cm kraft packets. Fill with measured blends (for example 1 part smoked paprika, 1 part brown sugar, 1 part garlic powder) and close with a small fold. Stencil labels with acrylic paint on a foam brush and let dry 20 minutes before tying.
Write “Use 2 tbsp per pound” on the packet to make it easy right away.
Avoid wet ink on kraft — it smears and looks messy fast.
8. Travel Candle Jar With Frosted Vinyl Quote
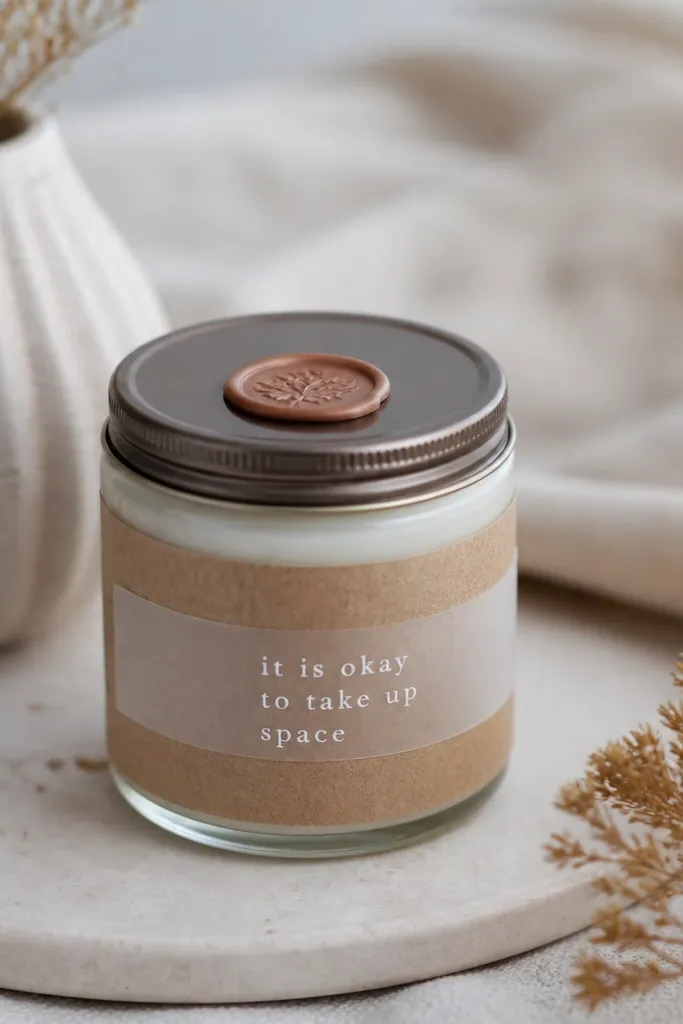
A candle jar looks like a real store product when you keep the label clean. Frosted vinyl gives that “etched glass” look without the mess of paint. I pick one short quote in all caps and keep it centered. The set also looks good in a gift basket because the jar shape is sturdy.
Use a small 8 oz jar candle or make one with soy wax if you already do that. Apply frosted vinyl letters after the jar is clean and dry, then wrap kraft paper around the jar with double-sided tape. Add a wax seal sticker at the lid edge to hide the seam.
Use a lint-free cloth and rubbing alcohol on the glass before vinyl — it sticks better and lasts longer.
Avoid messy vinyl edges — burnish with a plastic card so it stays crisp.
9. Handmade Soap Bar With Citrus + Cedar Look Label
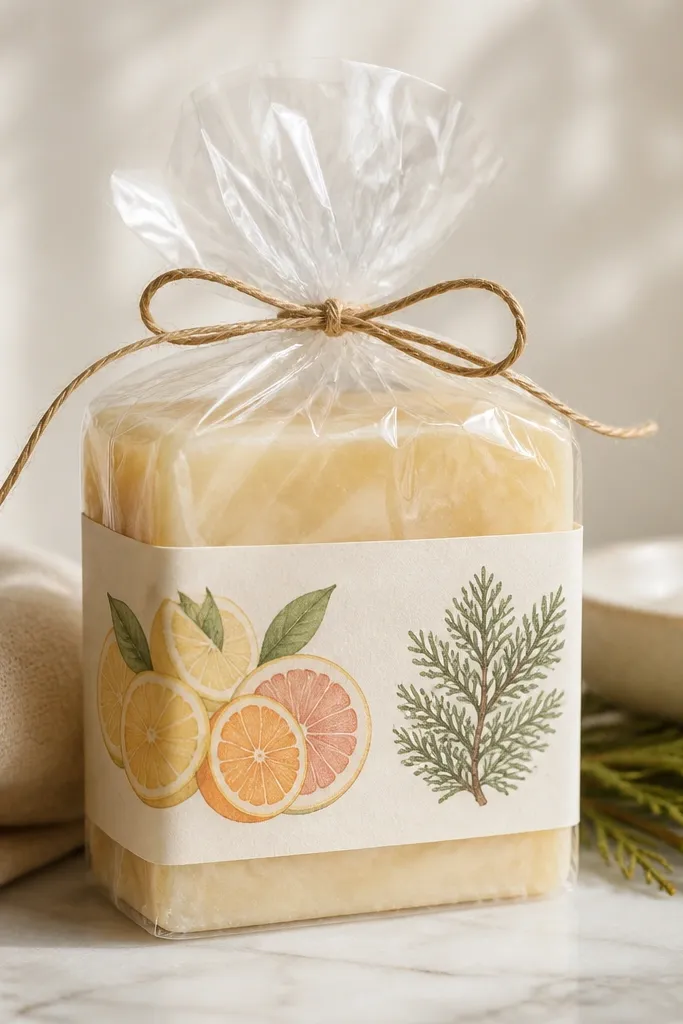
If you make soap, this turns it into a gift set item instantly. The soap bar itself is the star, and the label makes it feel designed. I like citrus + cedar scent combos because they smell clean and masculine. The clear wrap shows the texture, and the twine gives a handmade finish.
Cut soap into 100-120 g bars and let them cure fully if homemade. Wrap each bar with clear cellophane, add a label printed on 110 lb cardstock, and tie twine at the top. Include a small ingredient card on the back of the label.
Quick tipAdd a tiny “best for” note like “post-gym” or “shower nights” to make it personal.
One warningAvoid labels that don’t match the wrap — if the paper curls, it looks sloppy.
10. Sew-Free Sock Caddy With Ribbon Loops
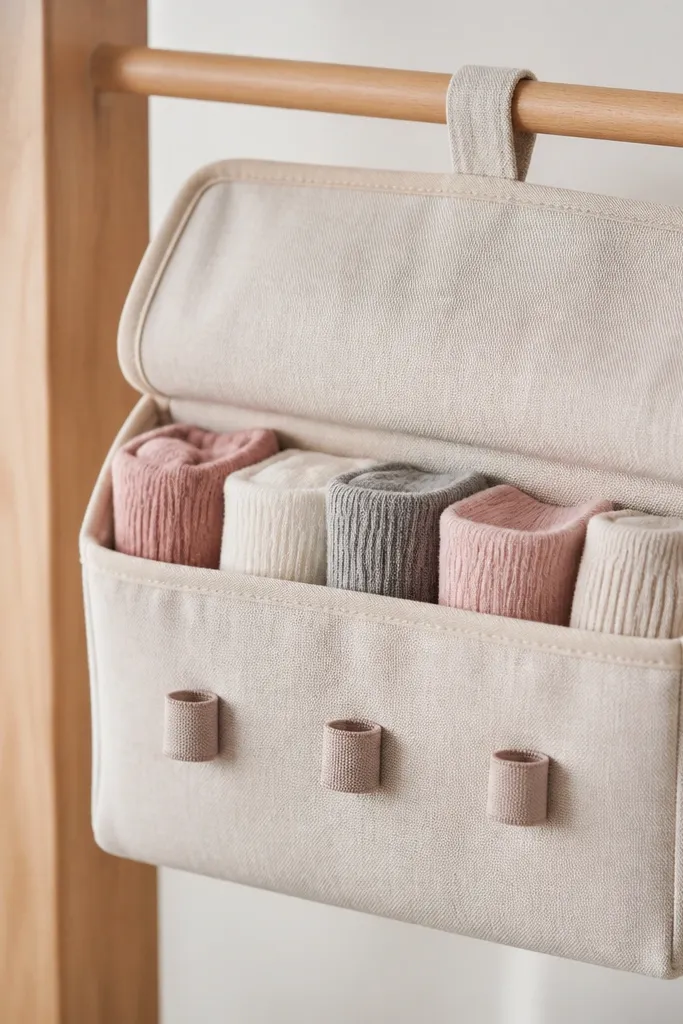
This is a practical “daily life” gift that doesn’t feel boring. Ribbon loops hold socks in place so he doesn’t end up with a messy drawer. I use denim or sturdy canvas and keep the ribbon color in theme with the rest of the set. It also works for kids because it’s simple — no zippers, no sewing.
Use a rectangular fabric piece about 30 cm by 40 cm. Fold in half, glue the sides and bottom with fabric glue, and leave the top open. Add 3 ribbon loops across the front — each loop about 8 cm long — and glue them down at the ends.
Quick tipTest the loop height by sliding one sock in before gluing the ribbon ends.
One warningAvoid stretchy ribbon — it sags and looks like it can’t hold weight.
11. Wooden Spoon Hanging Sign With Painted Outline and Date
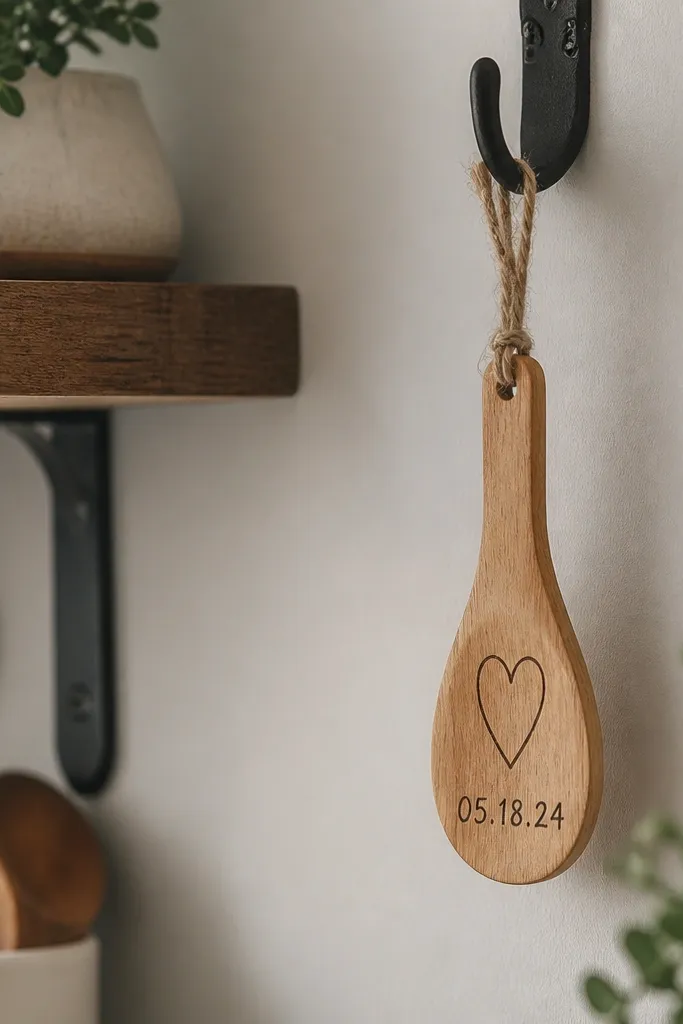
This is the kind of kitchen decor he doesn’t mind having. The spoon shape looks playful but the date makes it feel like a memory. I paint with a thin brush and keep the outline simple — no shading. It also ties into cooking gifts like spice rubs or coffee tins.
Buy a wood spoon cutout (or trace one onto a thin plywood scrap) and sand it smooth. Paint a thin outline in matte black or deep navy, then write a date with paint marker. Seal with matte clear coat and hang with 3-4 mm twine through a small drilled hole.
Quick tipDrill the hole before painting so you don’t chip the paint edges.
One warningAvoid thick paint fills — spoon shapes look messy when the brush strokes show.
12. Desk Plant Starter Kit With Seed Pack + Handmade Pot Label
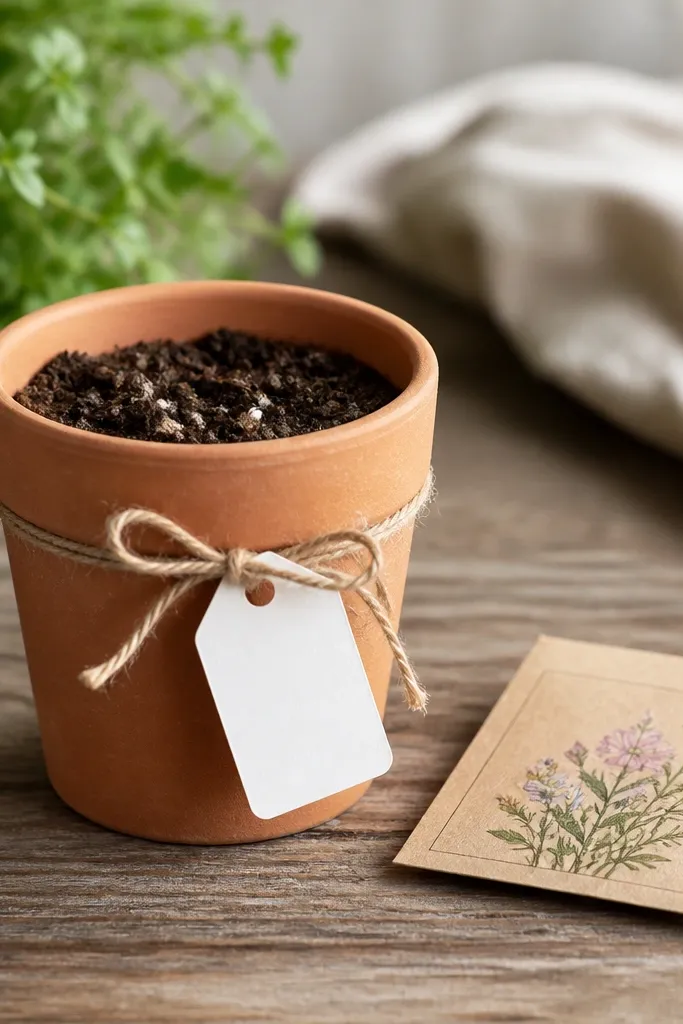
A desk plant kit looks cute and gives him something to do in 5 minutes. The handmade pot label makes it feel like he’s starting a project with you. I choose hardy seeds like basil or sunflower because they sprout fast and he won’t feel like he failed. The warm terracotta plus cream label matches a lot of gift set themes.
Fill a small pot with potting mix, then add 3-5 seeds and cover lightly. Wrap a cream label on cardstock around a short wooden skewer and stick it in the pot. Add a seed packet and a mini watering instructions card in the gift wrap.
Write watering frequency in plain words like “mist daily for 7 days.”
Avoid tiny labels with unreadable handwriting — use larger letters than you think.
13. Thermos Mug Wrap With Heat-Transfer Vinyl Grid Design
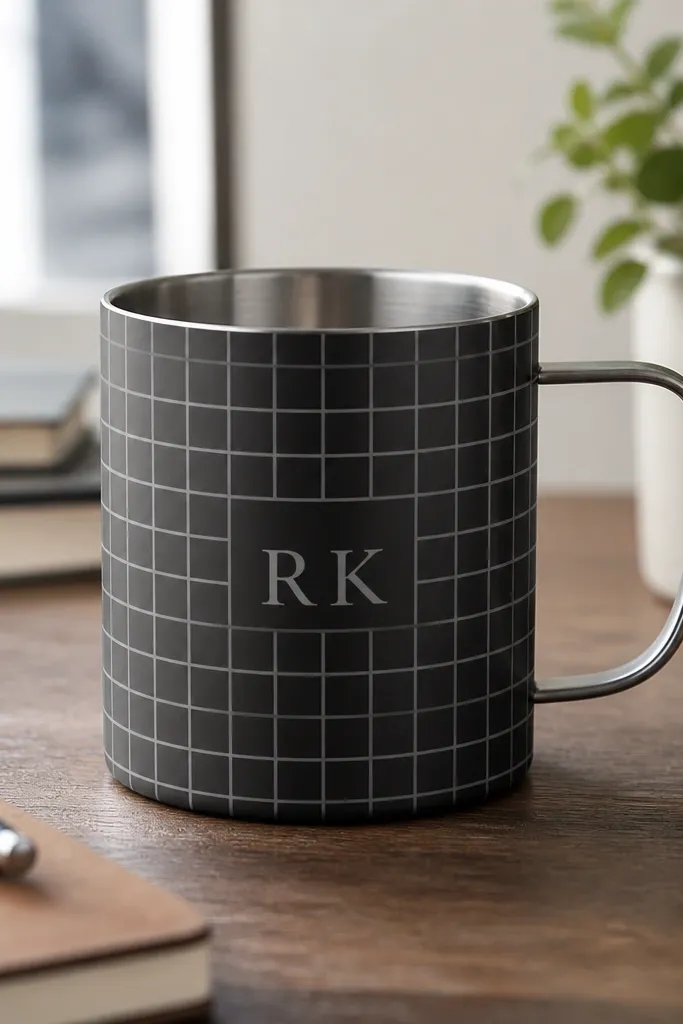
If he uses a thermos daily, this becomes a constant reminder without being cheesy. Vinyl wraps stick tight and look modern when the design is simple and geometric. I keep the palette to two colors so it doesn’t look like a sticker sheet. The grid pattern hides small surface imperfections on the mug.
Clean the mug with rubbing alcohol and dry fully. Apply heat-transfer vinyl cut to a grid pattern, then press with a heat tool using a press cloth. Add initials 3-4 cm tall centered on the front.
Quick tipUse a mirror image cut for letters so you don’t end up with reversed initials.
One warningAvoid cheap printable vinyl — it peels after washing.
14. Custom Cardboard Arcade Scoreboard With His Favorite Game System
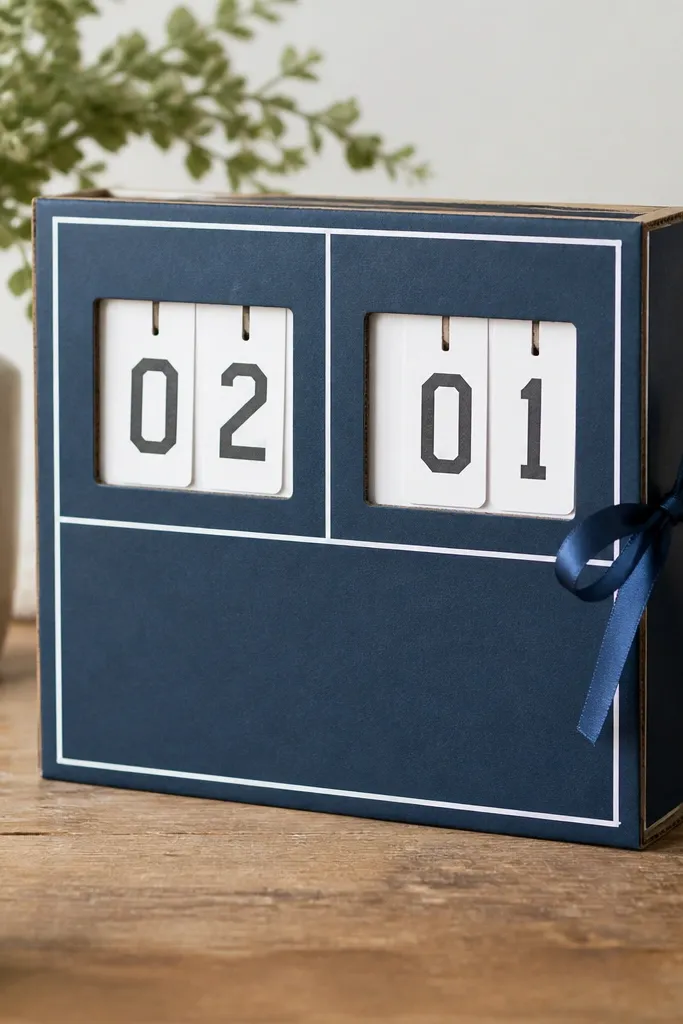
This is silly in the best way, and it works for gamers or anyone who loves a challenge. The scoreboard layout makes the gift feel interactive — he can slide the numbers and keep it on his desk. I use thick cardboard and strong paper hinges so it doesn’t wobble. It also pairs well with snack packs or game-themed items.
Cut a front panel 20 cm wide, add a paper slider track inside, and create a “score” window using a clear plastic sheet. Make the display numbers from laminated paper strips. Finish by wrapping the back with contact paper so it looks finished.
Quick tipUse a ruler to align the slider track — crooked tracks make it look handmade in a bad way.
One warningAvoid thin cardstock hinges — they crack when opened repeatedly.
15. Felt Movie Night Ticket Book With 12 Date Prompts
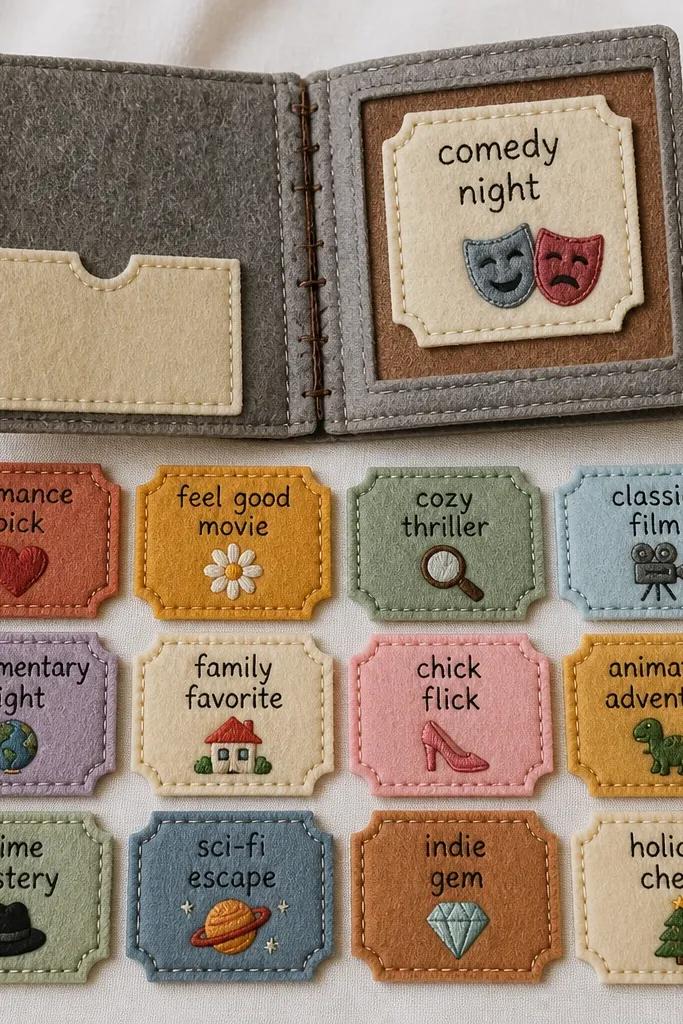
This is one of the most satisfying DIYs because you’re building a whole experience, not a single trinket. Felt tickets feel sturdy and cute, and the stitched spine makes it look like a real mini book. I keep the color palette to black, cream, and one accent like red. The icons help him pick fast without reading a long list.
Cut felt pages 10 cm by 15 cm and stitch along the spine with a simple running stitch. Make tickets 7 cm by 10 cm and attach them on one side like a flip card. Add a date prompt on each ticket using fabric marker, then seal with a thin layer of fabric paint for permanence.
Write prompts that take 60-90 minutes, like “grab takeout and watch one movie.”
Avoid glitter felt — it sheds and looks sloppy after a few weeks.
16. Wooden Bookmark Set With Laser-Look Pyro Line Art
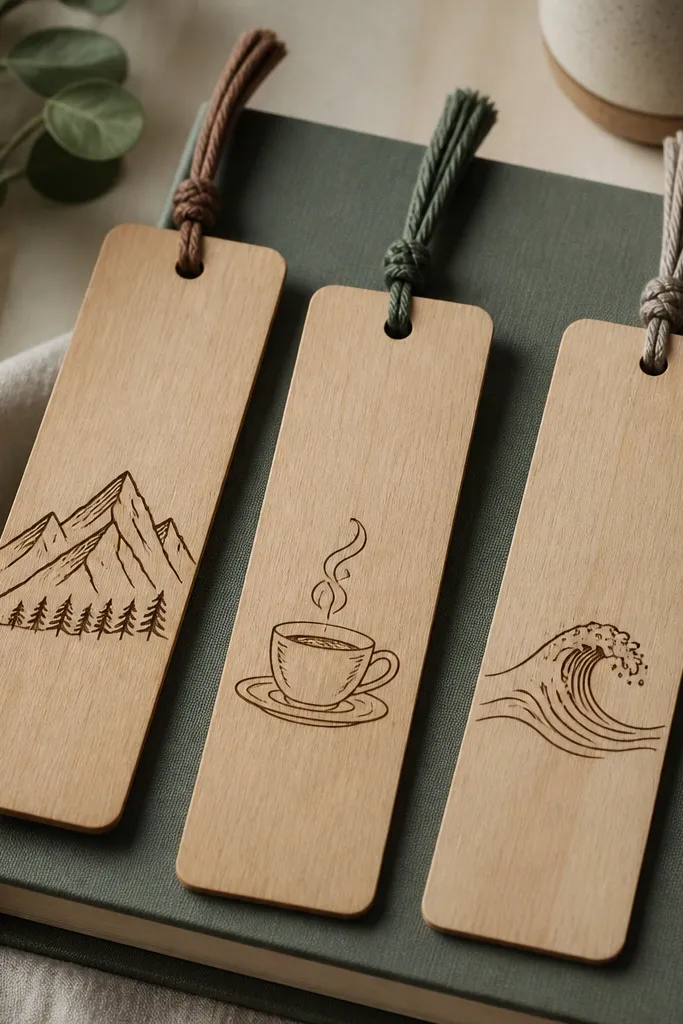
Bookmarks are small, but they feel thoughtful because they match a hobby. Pyro line art looks like laser engraving when you keep the lines thin and consistent. I like setting each bookmark with a ribbon tassel so it feels like a set, not three random pieces. These also make great add-ons for bigger gift bundles.
Cut bookmarks from 3 mm wood strips about 6 cm wide and 18 cm tall. Sand edges smooth, burn simple icons, and seal with matte polycrylic. Glue or tie a ribbon at the top, about 8-10 cm long.
Quick tipUse painter’s tape to mask areas you don’t want burned so you get crisp edges.
One warningAvoid heavy burning — it looks like a mistake instead of “engraved.”
17. Personalized Bath Salts Jar With Layered Color Bands
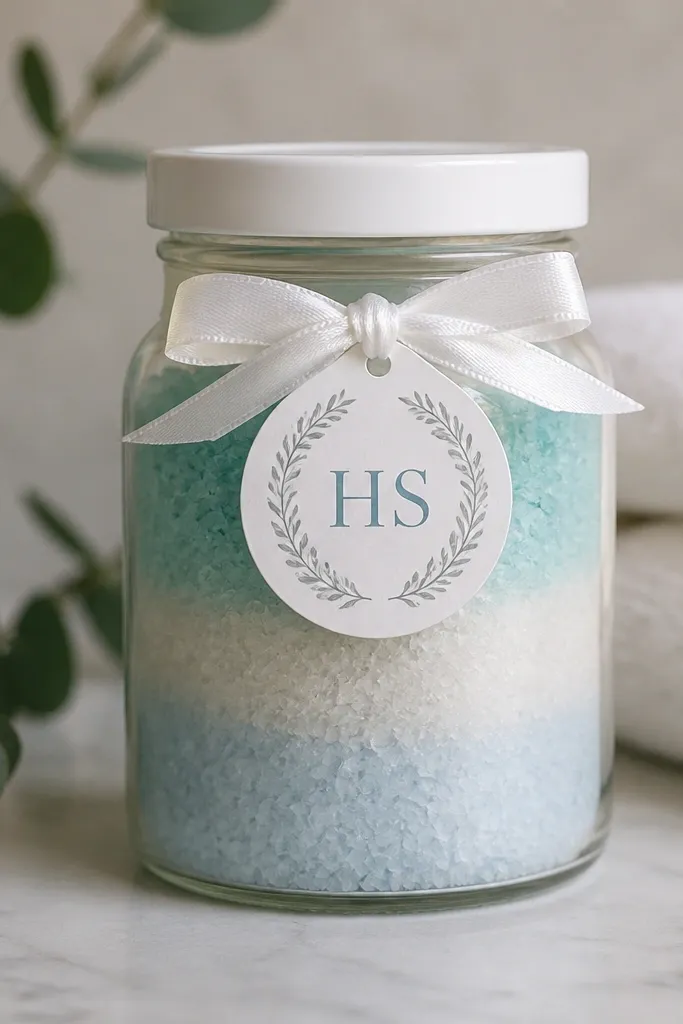
Layered bath salts look gorgeous and still feel practical. The colors make it look like a designer product, while the label makes it personal. I use pale, calming shades because harsh colors look childish in a bathroom. It’s also an easy add-on item for a larger boyfriend gift set.
Use a 12-16 oz jar with a wide mouth. Layer salts by spooning slowly and tapping the jar between layers so lines stay clean. Add a label on 110 lb cardstock and seal it with clear packing tape on top.
Quick tipAdd a small sachet of dried eucalyptus on the inside lid for a subtle spa smell.
One warningAvoid wet salts — any moisture makes clumps and destroys the clean layers.
18. Reusable Snack Bento Bag With Fabric Marker Grid Labels
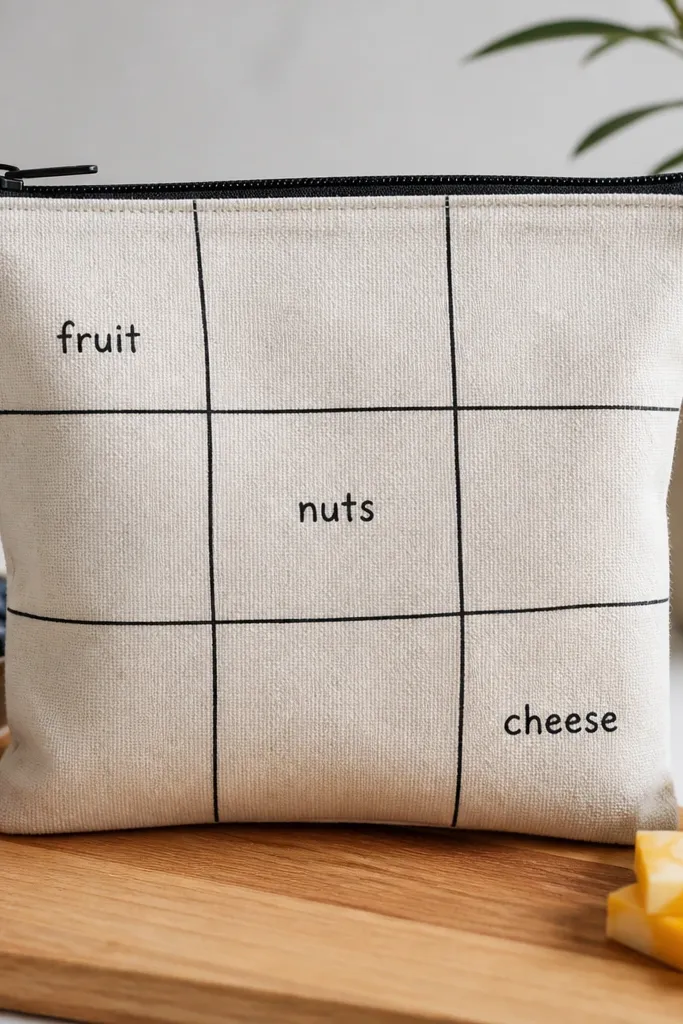
This gift is for the boyfriend who brings snacks to work or the gym. A drawn grid label makes it organized without needing fancy equipment. I use fabric marker because it looks like hand-drawn design, not printed stickers. The bag also holds up better than paper packaging.
Use a small zipper pouch or bento-style bag. Draw a grid with black marker, then write label words in each box. Heat-set the marker if your brand allows it, or seal the ink with fabric paint spray.
Quick tipAdd one color dot next to each label so he can grab the right section quickly.
One warningAvoid marker that won’t wash — test on a scrap if you can.
19. Desk Cable Organizer With Folded Cardboard and Fabric Tape
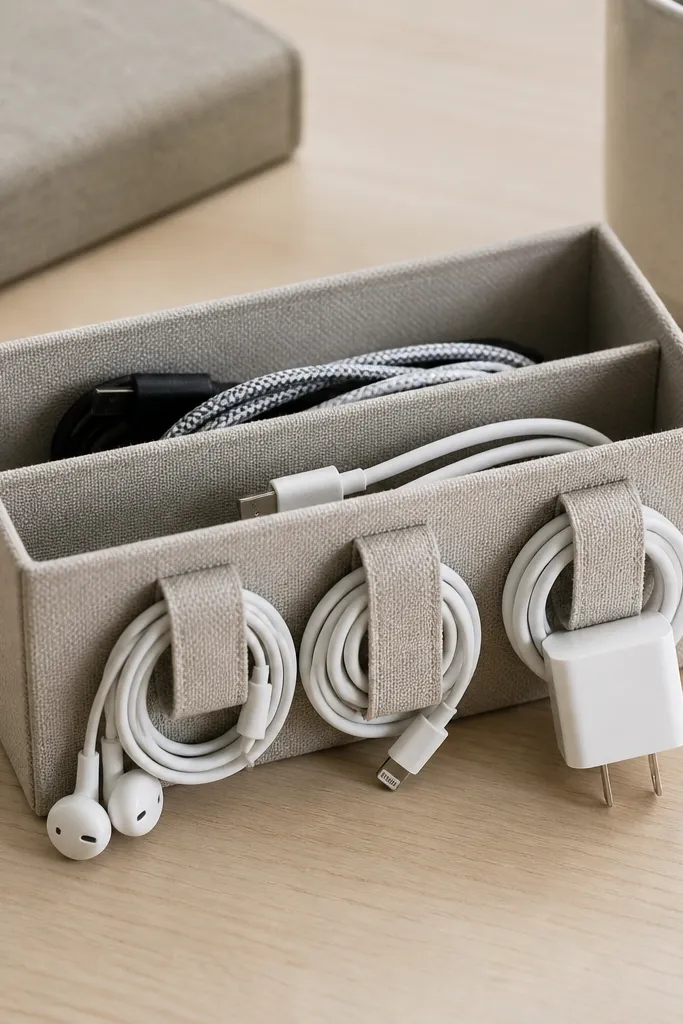
This is one of my favorite “quiet useful” DIYs. It cleans up a desk fast, and the fabric tape makes it look intentional instead of like a cardboard hack. I wrap the tray in matching tape colors from the rest of the set so it visually blends. It’s also a great item for kids to make because the cuts are simple.
Cut cardboard strips about 25 cm by 12 cm and fold into a tray shape. Cover the outside with fabric tape, then add inside channels by gluing thin cardboard dividers. Make three loops by taping a strip across itself and gluing at both ends.
Leave the top edges tape-free for a smoother cable slide, then sand any rough cardboard before covering.
Avoid leaving exposed cardboard edges — they peel and make it look unfinished.
20. Hand-Painted Sunglasses Case With Minimal Lines
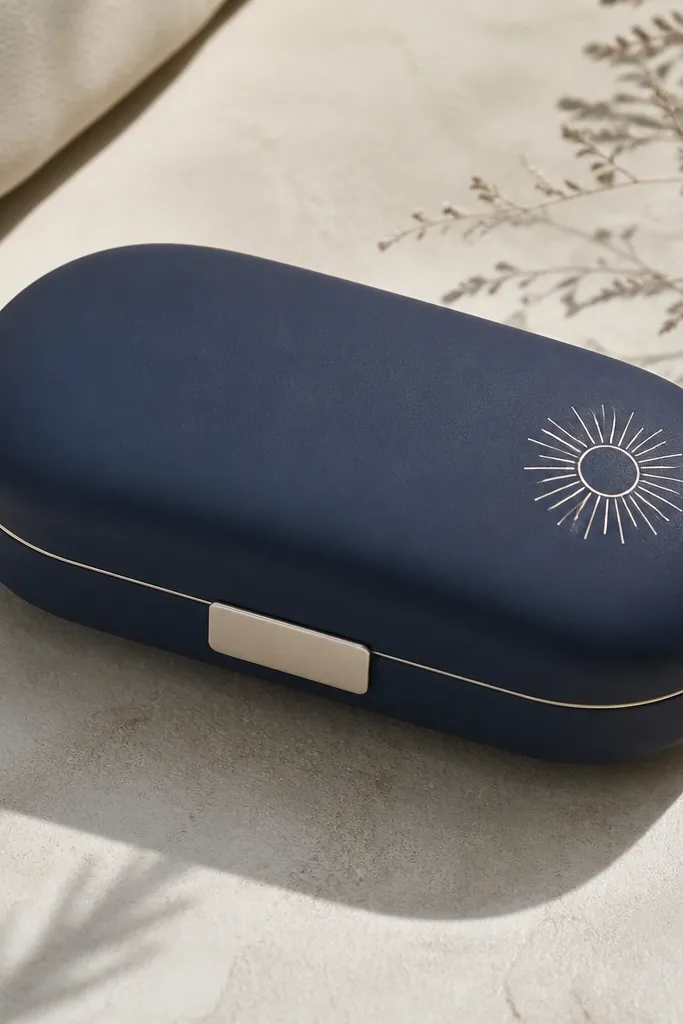
A sunglasses case is the kind of gift he uses without thinking about it, which is why it works. Minimal line art looks grown-up and doesn’t fight with his style. I use matte acrylic paint and a clear matte top coat so it doesn’t scratch off in a bag. The case also pairs well with sunscreen, lip balm, or a mini summer snack set.
Use a plain hard case, sand it lightly, then wipe clean. Paint a simple icon and one thin border line, then let it cure. Seal with 2 coats of matte clear acrylic, waiting 1 hour between coats.
Tape your lines with painter’s tape and press the edges hard so paint doesn’t seep.
21. Hiking Map Scratch-Off With Route Reveal Stickers
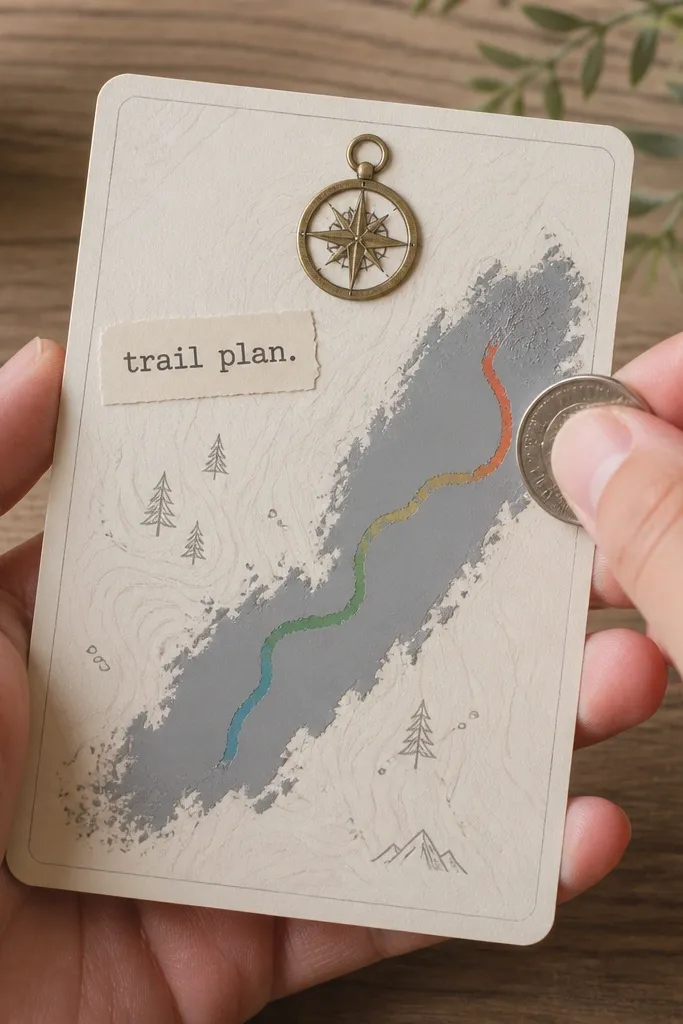
Scratch-off cards feel fun and personal because he gets a reveal, not just a note. I use a route drawn in a bright color and cover it with a scratch layer you can buy for crafts. The compass icon and date make it feel like a mini plan. It’s great for boyfriends who love day trips or weekend walks.
Print a map-style background on cardstock, draw a route line with a marker, and apply scratch-off coating over only the route area. Add a small sticker title and a short instruction like “scratch to see the trail.” Put it in a small envelope with a photo of the location.
Quick tipUse a ruler for the route line so it looks like a real plan.
One warningAvoid covering the whole card — leaving only the route to scratch looks cleaner.
22. Custom Bottle Opener Keychain With Stamped Bottle Cap Backing
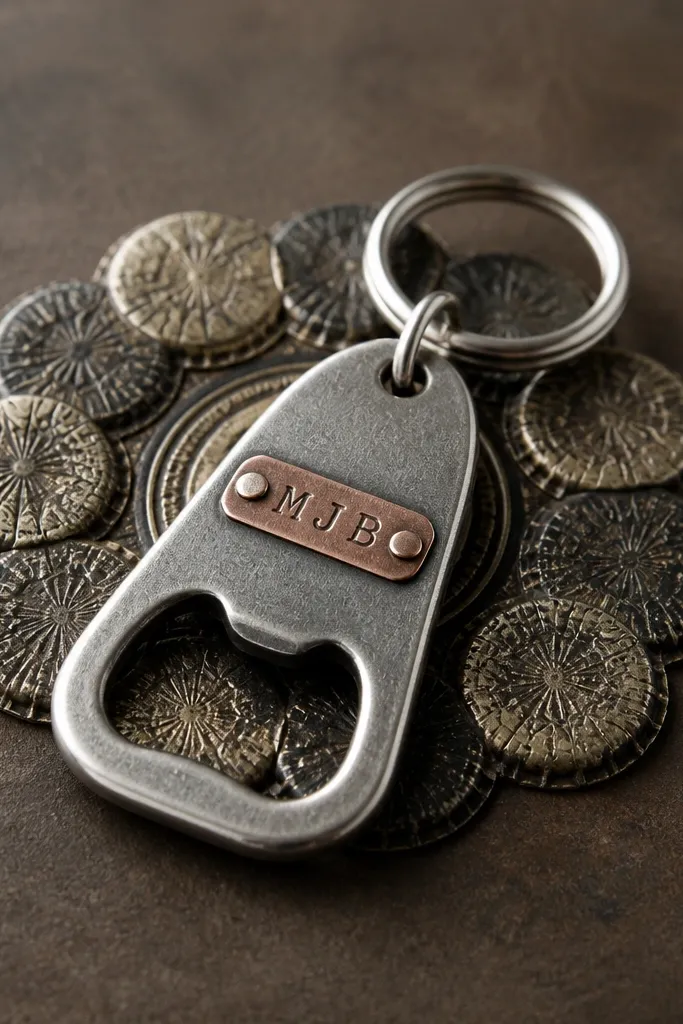
This is a practical DIY that still looks like art. The bottle cap backing adds texture and catches light, so it looks handmade even before he uses it. I like using blackened metal parts with a small gold accent so it doesn’t look like random junk. It works great for beer nights, cookouts, or camping.
Attach the opener to a key ring using a small split ring. Flatten bottle caps and glue them onto a thin backing circle, then attach the opener on top. Add a tiny label strip with initials and a date, then seal with clear coat.
Quick tipScuff the bottle cap lightly before glue so it grips and doesn’t peel.
One warningAvoid sharp edges on caps — sand them smooth before sealing.
23. Snap-Button Photo Frame Coaster Set
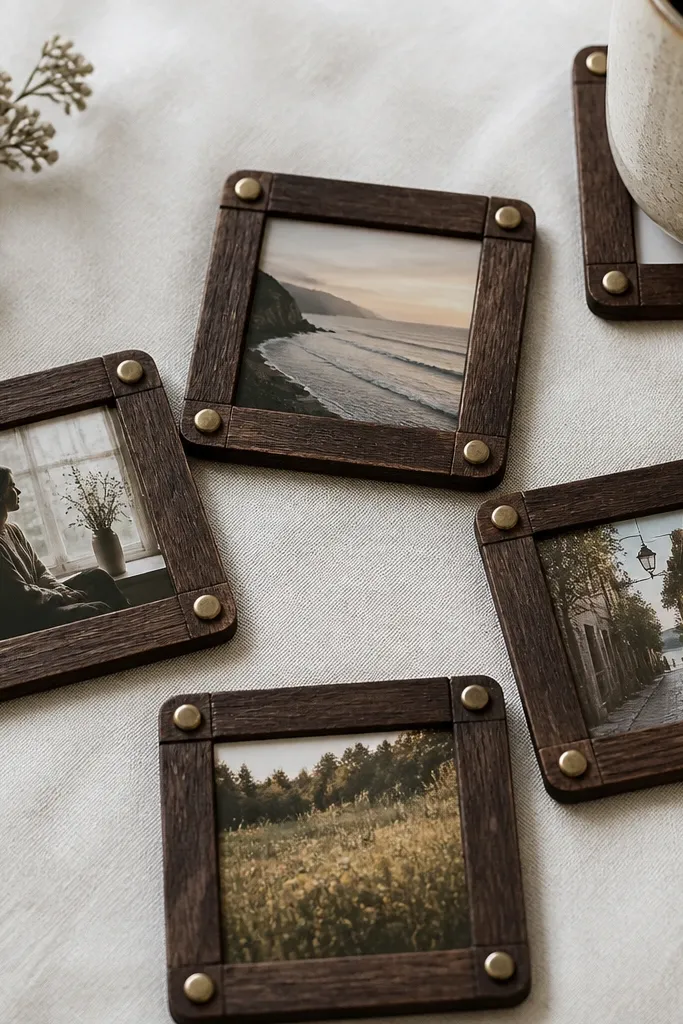
These coasters look like framed photos, which makes them feel personal without adding clutter. The snap-button border gives a satisfying closure and keeps the photo centered. I use matte photo paper and dark border backing so the center image looks crisp. They’re great if you want a set that feels sentimental but still useful.
Use 4 coaster blanks or cut 10 cm circles from rigid board and seal with matte medium. Print tiny photos to 7 cm circles, then mount under a clear plastic layer or laminate. Add snap buttons on the border so you can swap photos later.
Quick tipUse the same photo format for all four so the set looks like one series.
One warningAvoid glossy photo paper — glare makes the photos look washed out.
24. Workout Glove Care Kit With Mini Brush + Labelled Spray
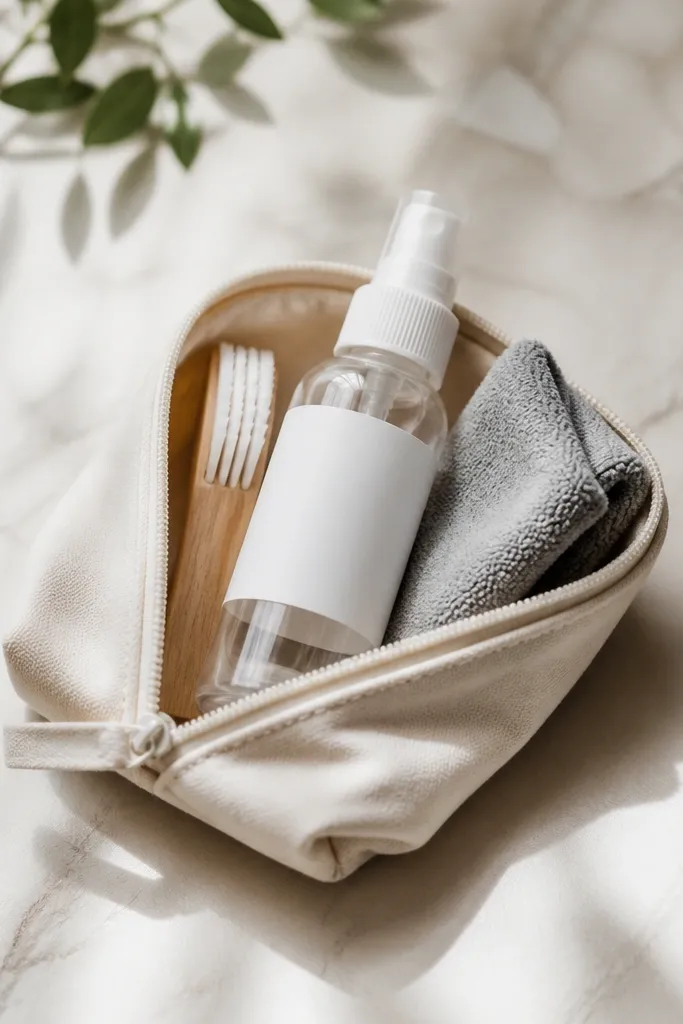
This gift works because it solves a real problem: gloves get nasty fast. The mini brush and cloth make it easy to clean right after workouts. I keep the label design simple so it looks like a product, not a craft. The pouch also makes it feel like a set item rather than loose stuff.
Use a small zipper pouch and pack a mini brush, a 50 ml spray bottle, and a microfiber cloth folded into a square. Label the bottle with fabric-safe adhesive labels or cardstock sealed with tape. Add a small instruction card like “spritz, wipe, air dry.”
Use a matte label finish so it doesn’t curl from condensation.
Avoid overly scented sprays — strong fragrance can irritate skin after sweat.
25. Game Controller Drawer Organizer With Modular Foam Pads
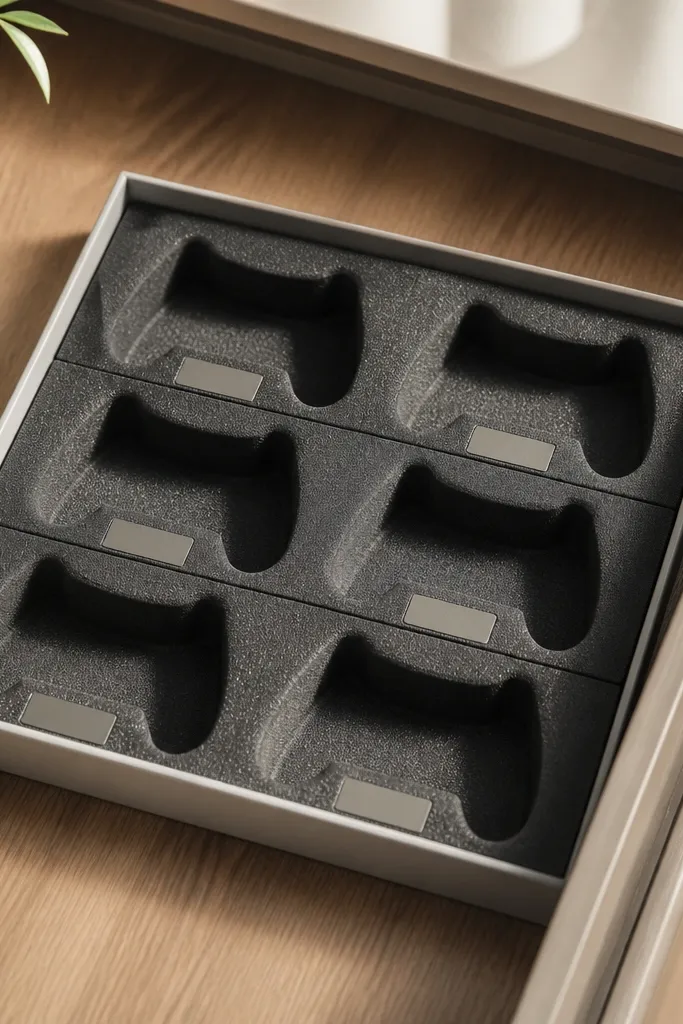
If he lives in the living room with controllers everywhere, this is a lifesaver. The foam pads keep controllers from sliding and protect thumbsticks from getting scuffed. I label each slot with simple icons so he can put things back fast. It also makes a gift set feel “real” because it changes how his space works.
Measure his drawer width and cut a foam sheet to fit snugly. Shape two controller slots using a craft knife and test-fit before gluing. Cover the top with fabric or contact paper and add label tags on string loops.
Leave a 2 mm gap along the edges so the insert comes out easily for cleaning.
Avoid foam that’s too loose — if it shifts, it looks messy.