1. Star Map Confetti on a Clear TPU Case
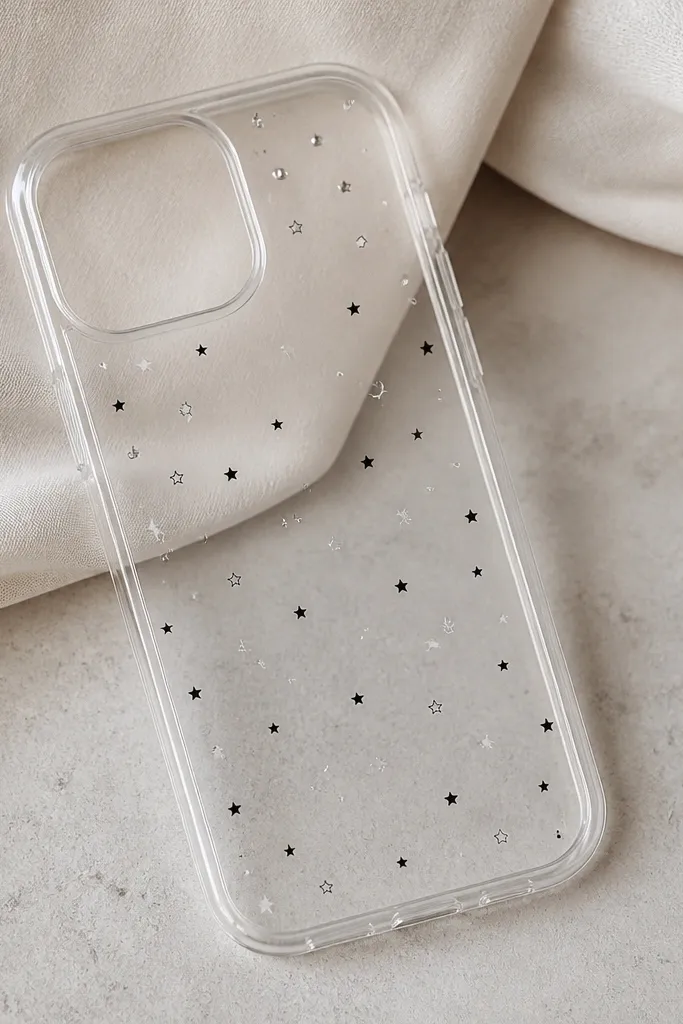
I love this look because it reads like intentional stationery, not random glitter. Use a black star pattern (printed or sticker) and add small silver dot decals for contrast. The clear TPU makes the background shine through, so the cover doesn’t feel heavy. It also hides minor unevenness because the stars are small and scattered.
Start with a clear TPU case that fits your exact phone model. Cut a thin strip of star pattern paper into small pieces, then place them on the back using a few dots of clear glue stick or double-sided tape. Leave a clean camera “window” by masking around the camera bump with painter’s tape before you stick anything.
Press the design with a flat plastic card for 60 seconds, especially around the corners. That one step keeps edges from lifting.
Avoid loose glitter or big flakes — they catch on fingers and look messy fast.
2. Fabric Patch Border with Heat-Bonded Backing
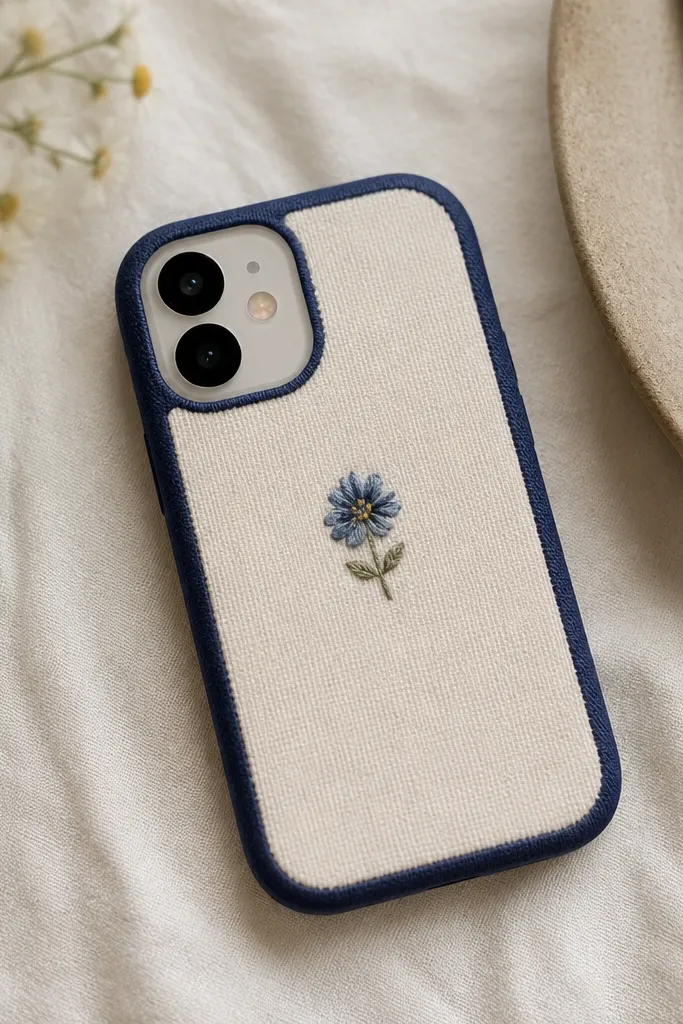
Fabric makes phone covers feel kid-friendly and cozy, and the patch border makes it look designed. I use a cotton print for the main panel, then frame it with a solid fabric strip. The border hides uneven cutting and gives the cover structure. It also holds color nicely under indoor lighting.
Cut a fabric rectangle slightly smaller than the phone back. Heat-bond a fusible interfacing to the back of the fabric so it doesn’t fray and stays stiff enough to wrap. Glue the fabric panel onto a thin backing sheet (like craft foam) and then trim to match the case edge with a ruler.
Use a fabric glue that dries clear and dries flexible, so the cover doesn’t crack when you flex it.
Skip quilting cotton with a super loose weave — it frays and sheds threads at the edges.
3. Shrink Film Photo Sticker with Gloss Topcoat
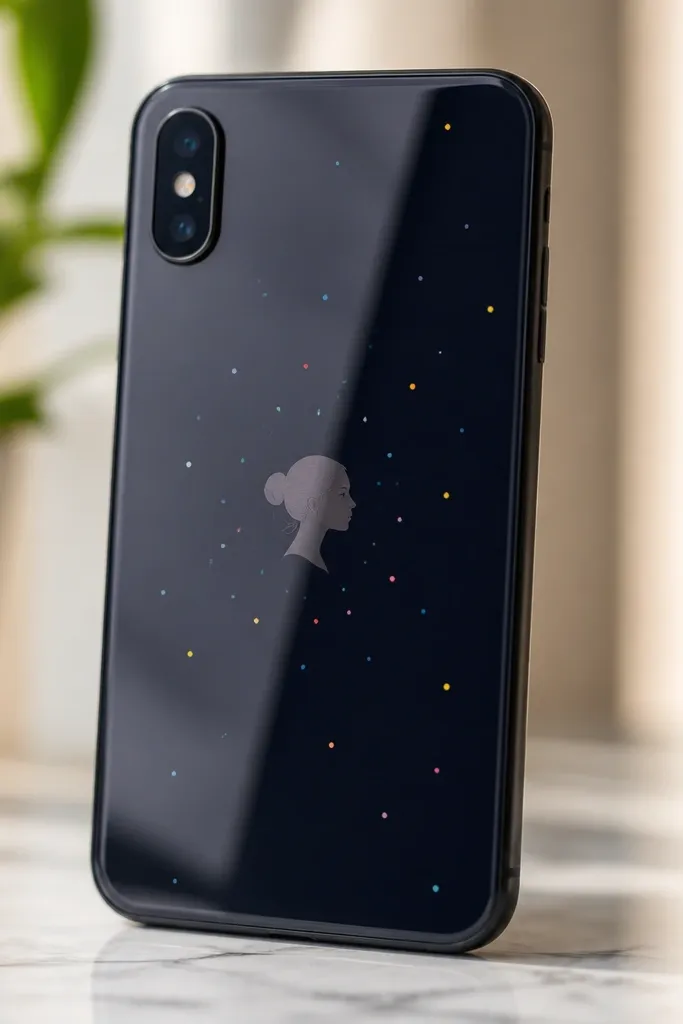
Shrink film gives you crisp lines and a glassy finish without real resin. I’ve done this with simple black-and-white silhouettes and it still looks high-end because the plastic surface catches light. Add a border of colored dots (red, teal, and gold) to make the silhouette pop. The result feels like a collectible sticker.
Print or draw your design on shrink film (the kind that shrinks in an oven). Cut the shape slightly bigger than your layout, then shrink it until it lies flat. Once cool, attach it to a clear case with double-sided tape and seal the edges with clear gloss topcoat made for plastics or crafts.
Quick tipDo a test shrink with a scrap first so you know how much your printer design scales.
One warningDon’t use matte topcoats — they make shrink film look cloudy and amateur.
4. Mini Pom-Pom Garland Across the Bottom
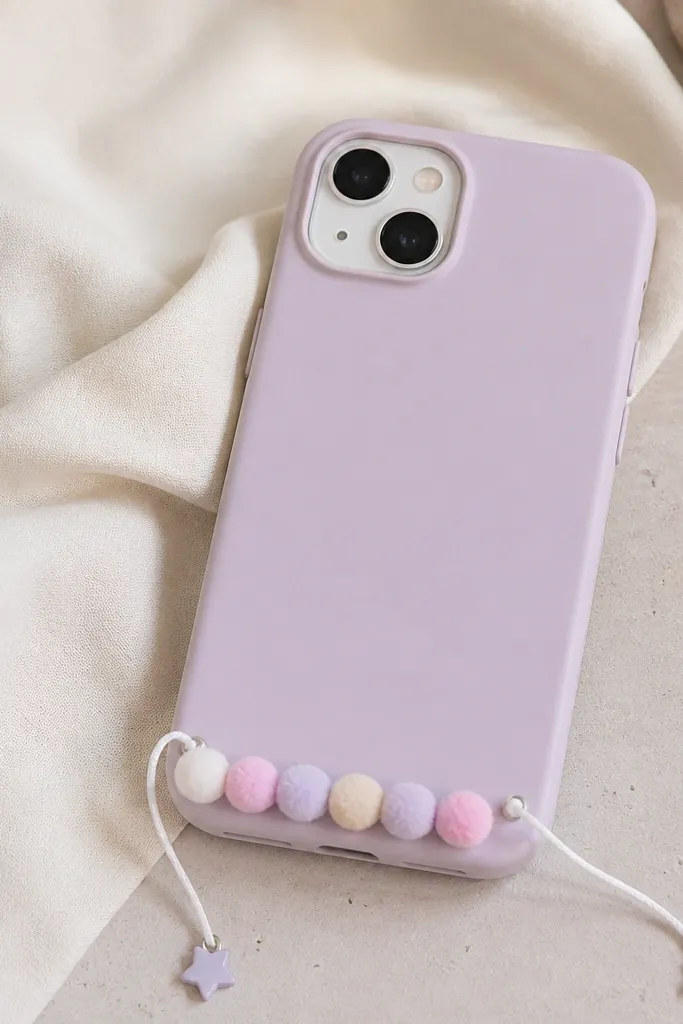
This one looks cute in photos because the pom-poms create texture and bounce with movement. Keep the pom-poms small (about 6-8 mm) so it doesn’t feel bulky. I pair it with a simple solid base color so the garland stands out. It’s also forgiving if your placement is slightly off — the texture hides alignment issues.
Glue a thin strip of white cord or felt to the bottom of a clear TPU case using fabric glue. Attach pom-poms in a straight line, leaving a 1-2 cm gap near the corners for a clean edge. Add two tiny star charms on either side to balance the composition.
Quick tipLet glue dry overnight before tossing the phone in a bag so the pom-poms don’t peel.
One warningAvoid big pom-poms — they snag on pockets and look uneven after a week.
5. Watercolor Wash Back with Clear Contact Seal
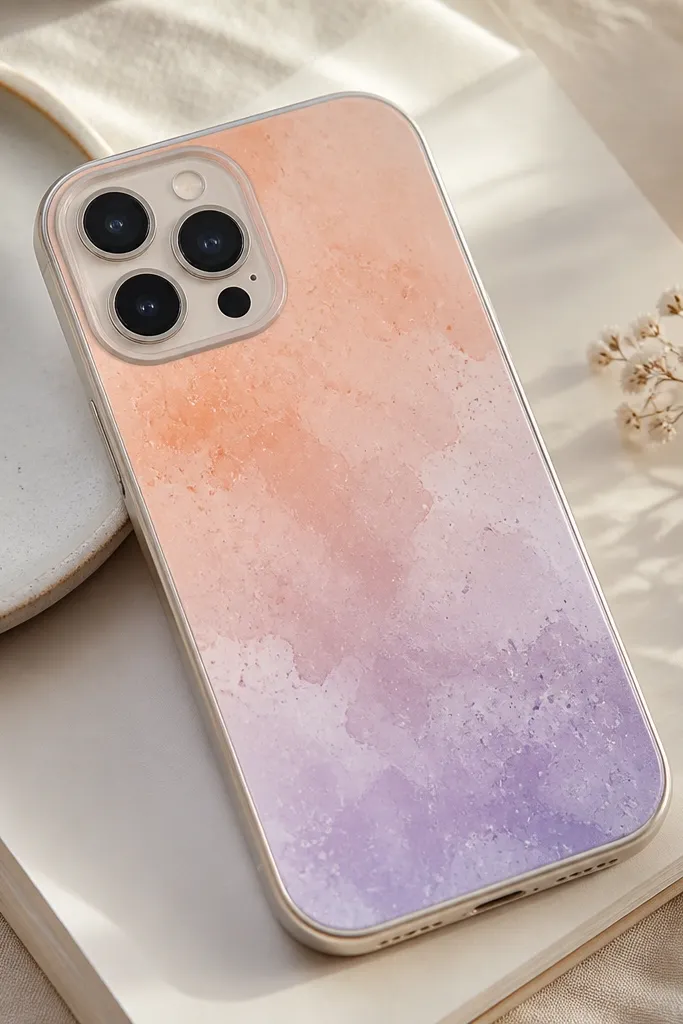
Watercolor looks expensive when it’s sealed and protected. The key is a loose wash with tiny splatters, then a clear top layer so it doesn’t smudge. I like dusty peach, lavender, and a whisper of teal. Under light, the colors shift and look like a boutique print.
Paint watercolor on a piece of thick paper or thin cardstock sized to the phone back. Let it dry fully, then cover it with clear adhesive vinyl or clear contact film. Trim with a craft knife and install onto a clear TPU case or adhesive-backed case insert.
Quick tipSpray a light mist of water on the paper before painting for soft edges, then stop before it puddles.
One warningDon’t skip sealing — watercolor fingerprints everything and fades where it gets rubbed.
6. Comic Pop Halftone Tape Stripes
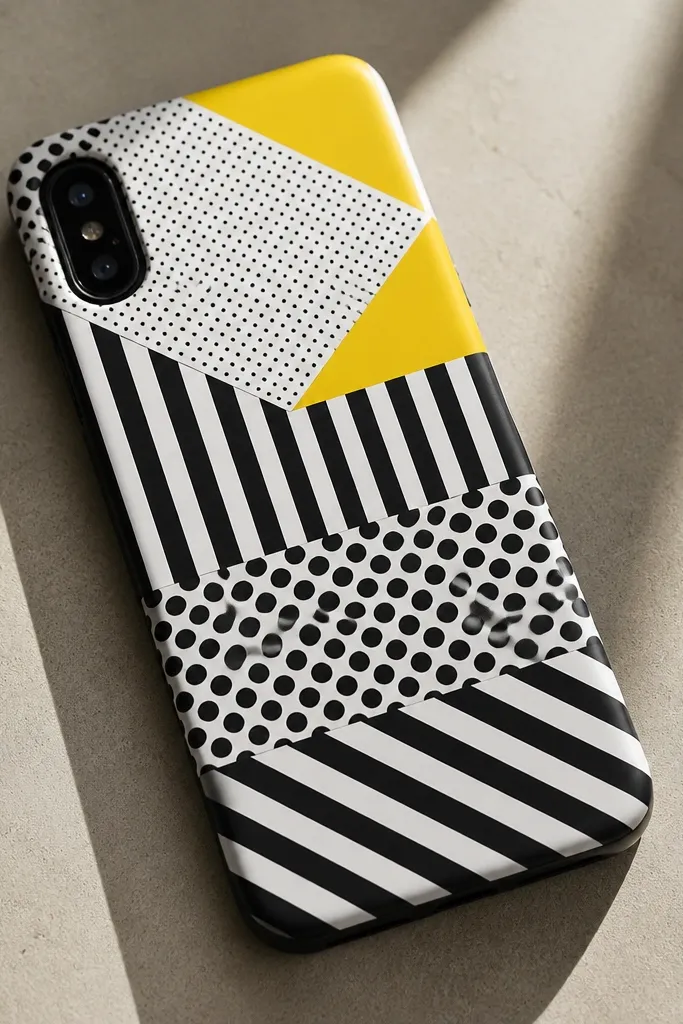
Tape-based designs are the fastest way to get graphic style. Halftone patterns look crisp even if you’re not an artist, and the clean tape edges make it look intentional. Use one dominant color (yellow) and one neutral (black/white) so it stays readable. This cover also hides small scratches on a clear case.
Use patterned washi tape with halftone dots or cut halftone vinyl tape if you have it. Layer stripes at a slight angle and add two triangle accents from yellow tape. Press tape down firmly and trim any overhang so it doesn’t catch fabric.
Quick tipWipe the case with rubbing alcohol first so tape bonds better.
One warningAvoid stacking too many tape types — it gets busy fast and looks cheap.
7. Perler Bead Frame Window
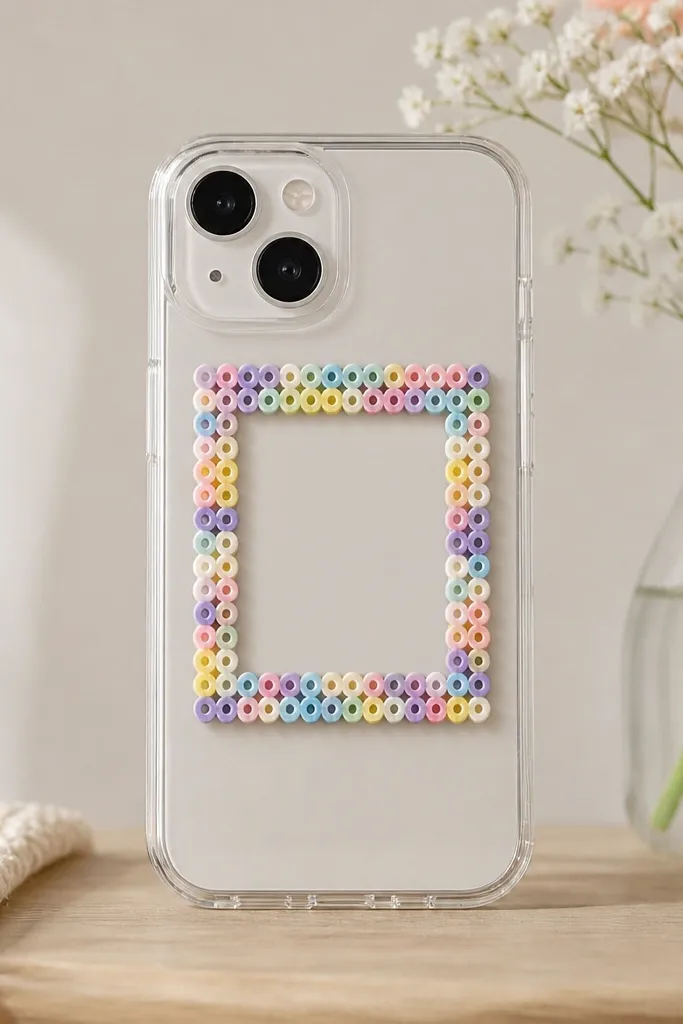
Perler beads give you a crisp grid look that stays neat. A frame around the center looks clean and avoids the problem of covering the whole back with beads. I use a single frame color like teal or black and keep the center plain for a modern feel. It also holds up better than you’d think when you seal it.
Make a perler bead square frame on a pegboard, then fuse each bead row. Glue the frame onto a clear TPU case back using hot glue with a thin layer, then seal the top with a clear craft varnish. Leave the camera area open and keep the frame at least 5 mm away from corners.
Use a ruler to measure your frame so it stays centered on the camera-free area.
Don’t put beads over the camera bump — the focus ring won’t like the uneven thickness.
8. Chunky Yarn Cuff with Button Closure
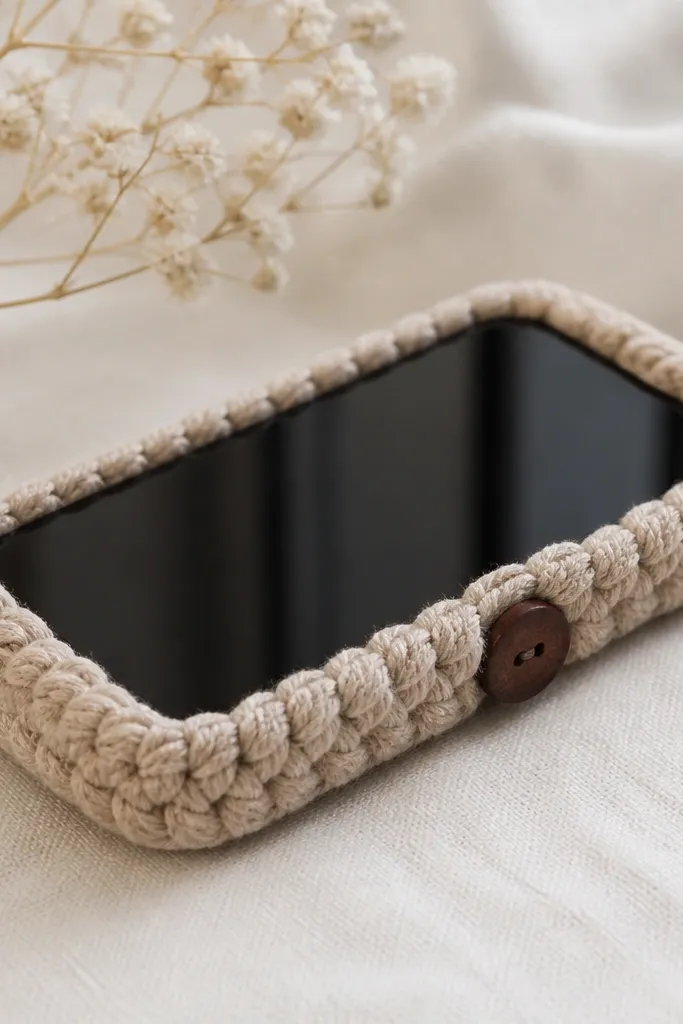
This looks like a cozy accessory, not a protective case. The thick yarn creates grip and reduces slips, especially for kids. I like doing it as a cuff rather than full coverage so it doesn’t get bulky. The button closure keeps it from twisting.
Wrap chunky yarn around the phone case edge and stitch it to a thin felt strip that matches the phone’s height. Add a small button and loop on the side where it’s easiest to snap. For color, use one yarn color plus a tiny stripe of contrasting yarn at the top.
Use a hot glue gun carefully to tack the yarn at corners, then sew the rest for strength.
Avoid loose stitches — yarn fuzzes and turns into a tangled mess after a few weeks.
9. 3D Paper Flowers with Folded Petals
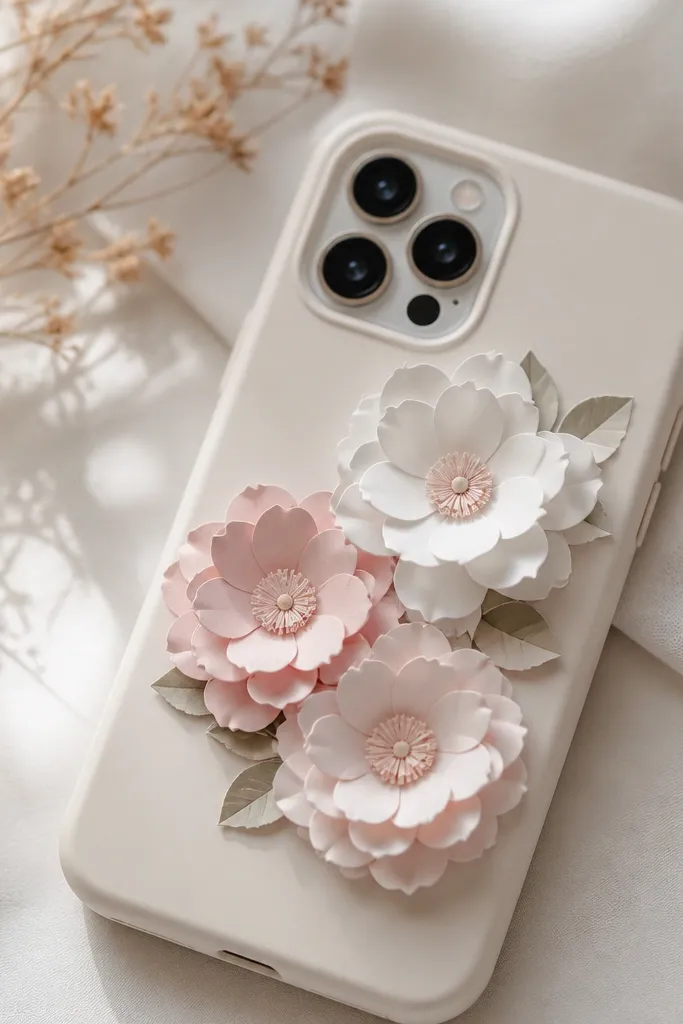
Folded paper petals create real depth, and depth reads premium in photos. Keep the palette to two colors plus a small green accent so it looks cohesive. The shadowing from layered petals makes the design feel dimensional without any resin. I’ve used this for birthdays and it always gets compliments.
Cut petals from cardstock, score gently along the center line, then fold to make each petal curve. Layer three petals sets into one flower and glue them to a clear case insert. Seal the paper with a thin clear coat so it doesn’t absorb grime.
Quick tipPress petals together on a flat surface for 2 minutes under a book so they stay crisp.
One warningAvoid thin printer paper — it curls and the petals look limp.
10. Clear Case + Faux Leather Name Tag
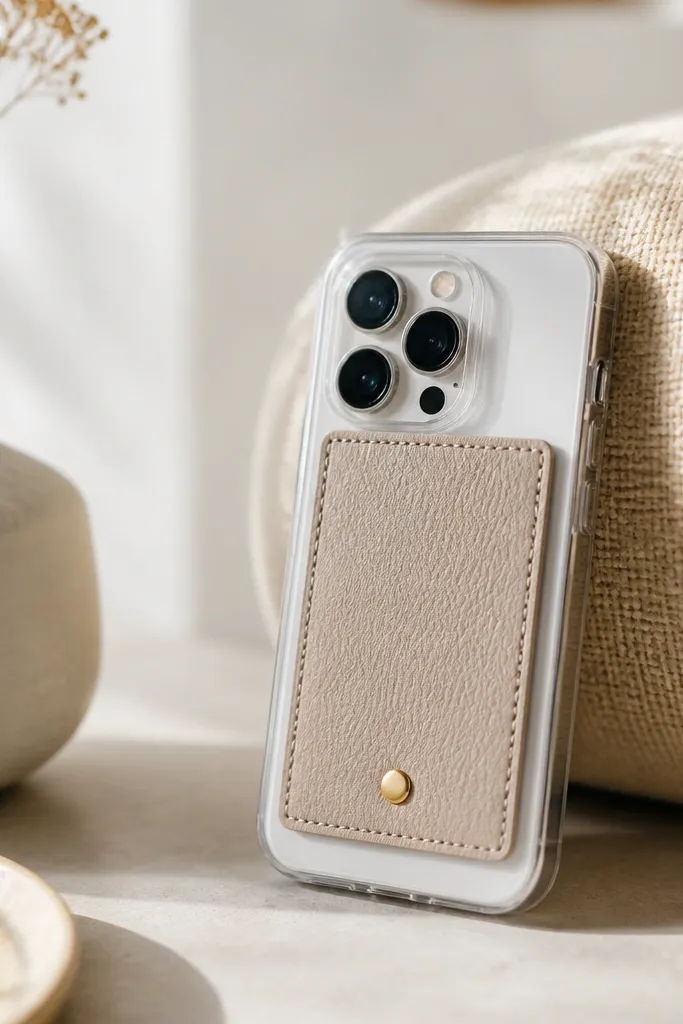
A faux leather name tag looks tidy and helps kids identify their phone. The material feels intentional, and the small rectangle shape keeps it from looking crowded. I use a matte finish faux leather in tan or black, then add a stamped-style label. It also hides scuffs on a clear case.
Cut faux leather to a rectangle sized to the back center. Punch two small holes near the top corners and thread thin waxed cord, or use peel-and-stick rivet accents. Glue or tape it onto a clear TPU case and seal the edges with clear craft glue.
Use a fine-tip paint marker for the text so it doesn’t bleed into the faux leather texture.
Avoid glossy faux leather — it shows fingerprints and looks shiny in a bad way.
11. Pressed Dried Leaf Under Clear Film
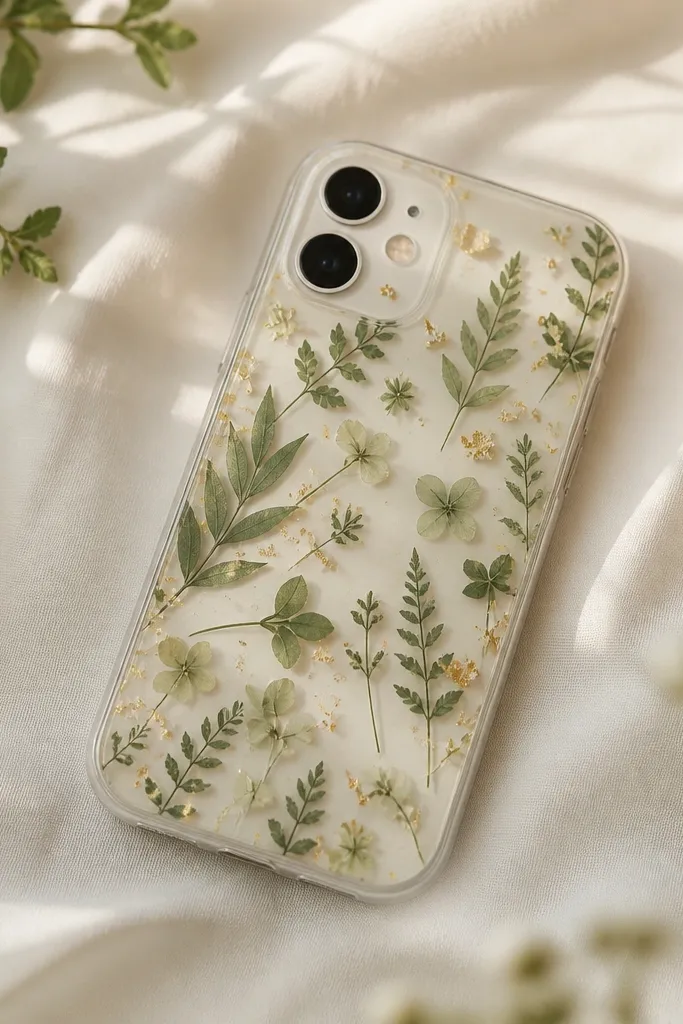
Pressed leaves look delicate, and sealing them makes them last. The trick is choosing thin leaves that flatten well so they don’t warp under film. I pair muted greens with small gold foil dots to make the whole thing feel intentional. Under light, the leaves create subtle texture.
Press leaves between books for a few days until fully flat. Place them on the back of a clear TPU case, then cover with clear adhesive vinyl. Trim cleanly around edges and seal the outer border with clear glue so moisture can’t creep in.
Choose leaves with smooth edges (like small eucalyptus cuts) — jagged leaves look messy under film.
Don’t use wet leaves — they brown fast and turn spotty.
12. Gel Pen Doodles + Laminating Sheet Top Layer
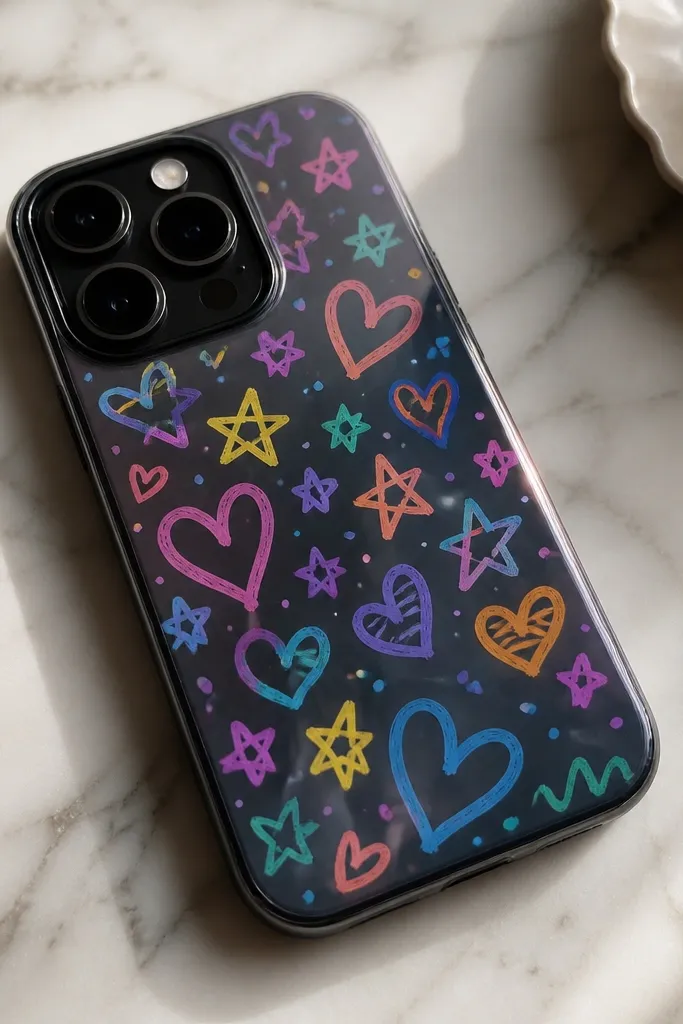
Gel pen doodles look playful and personal, and the laminate makes them survive wipes. I’ve done this with kids' drawings, and the clean outline from gel pens makes the final cover look like printed art. Use a white or light pink base so your colors pop. Lamination also hides tiny mistakes.
Draw on a thick sheet sized for the phone back. Trim it precisely, then cover it with a laminating pouch or clear adhesive laminate and seal edges. Attach to a thin backing or snap it into a clear case that fits securely.
Let gel ink dry for 30-60 minutes before laminating so it doesn’t smear.
Avoid drawing on glossy paper — gel ink smears and the colors look dull.
13. Rainbow Striped Edge Wrap with Micro-Bias Tape
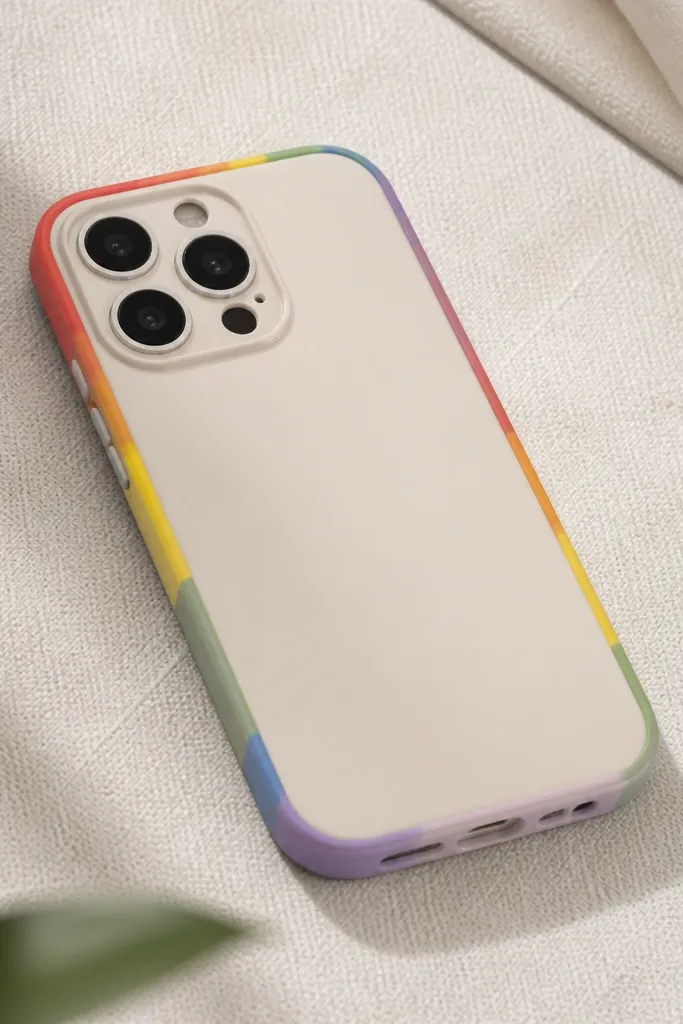
Edge wrap looks sharp because it frames the phone without covering the camera area. Micro bias tape gives you thin, tidy stripes that read like a store design. I keep the back solid (white or black) so the rainbow edge is the star. This style also protects side scratches.
Cut bias tape strips to match the phone height and side edges. Glue them around a clear case using a flexible glue, then trim the ends at a 45-degree angle for neat corners. Choose tape widths around 3-5 mm for that “micro” look.
Quick tipUse painter’s tape to hold the strip in place while the glue sets, then remove carefully.
One warningAvoid thick ribbon — it makes corners bulky and catches lint.
14. Marbled Sticker Sheet Cover with Corner Rounding
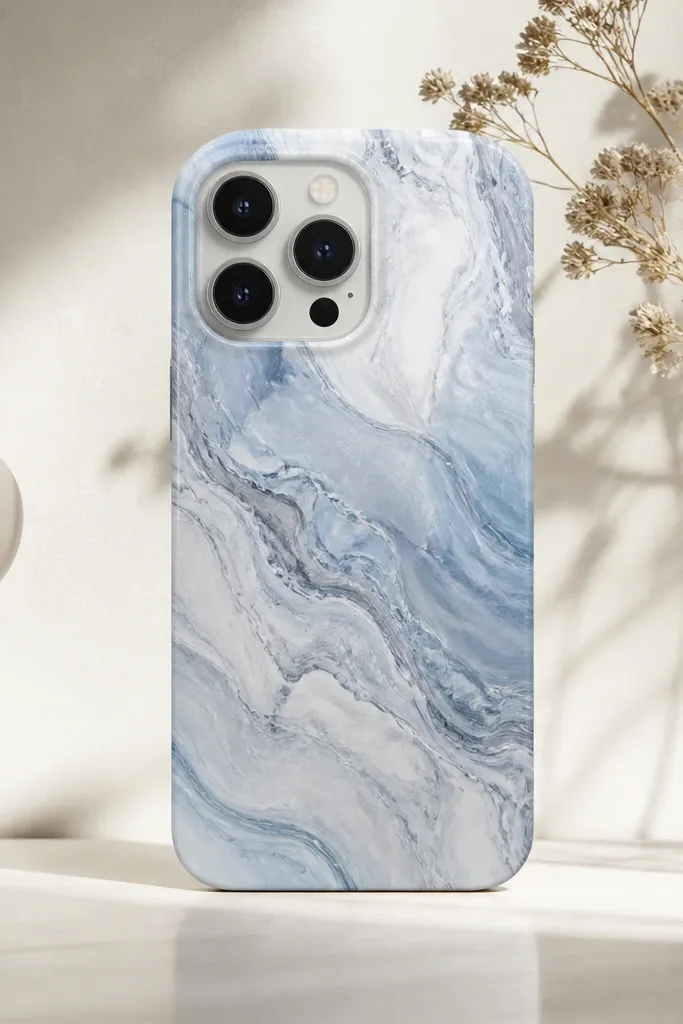
Marble looks stunning when the edges are clean. Sticker sheets give you a smooth surface, and rounding corners makes it look like a manufactured case. I like pale marble for kids because it hides tiny scuffs. A glossy top layer makes the swirls pop.
Pick a marble sticker sheet (vinyl or adhesive film) sized to your phone back insert. Cut using a craft knife and a metal ruler, then round corners with a corner punch or by tracing a coin. Seal the cut edges with clear nail polish or craft sealant if the film frays.
Quick tipPress the film with a microfiber cloth and work from center outward to avoid bubbles.
One warningAvoid cutting freehand — crooked lines show through instantly on marble.
15. Matte Acrylic Paint Block Design on Clear Base
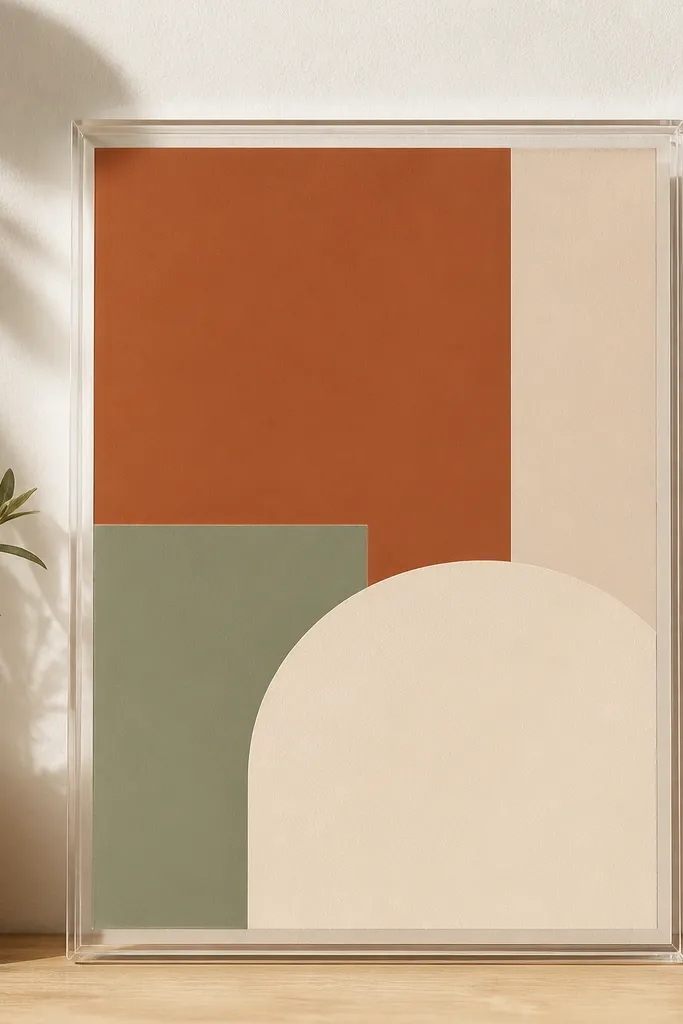
Matte paint blocks look modern and tidy, and matte hides fingerprints better than glossy. Use thick acrylic paint for opacity, then add a clear matte seal so it doesn’t rub off. The geometric layout makes it look like a design brand, even if your phone is plain. This also works great with kids because it’s simple shapes.
Tape off a geometric layout on a clear TPU case back. Paint blocks with acrylic paint mixed to a smooth paste consistency. Remove tape after paint is dry to the touch, then seal with matte acrylic varnish.
Use painter’s tape for crisp edges, not masking tape which bleeds.
Avoid thin watery paint — it streaks and looks patchy around the edges.
16. Beaded Letter Initial with Micro Seed Beads
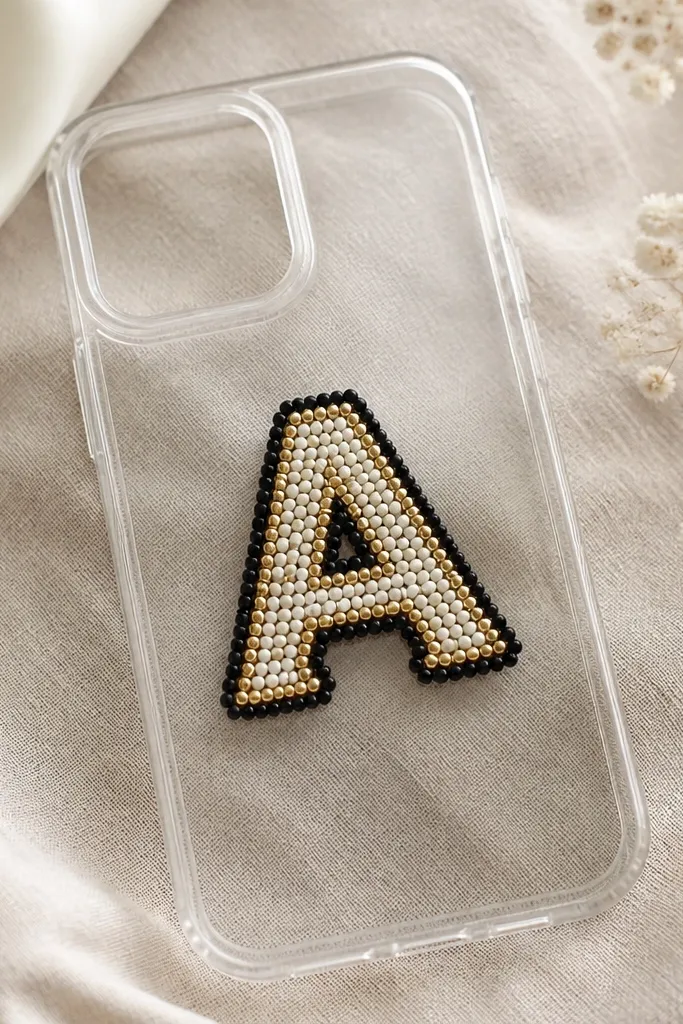
A single initial looks classy and personal, and seed beads give you fine texture. I like making one letter rather than full patterns because it stays readable and doesn’t get bulky. Gold and white look clean on clear cases, and black beads add definition. The texture catches light in a way that feels expensive.
Draw the letter on paper, then outline it with glue on a clear case insert or on a thin backing film. Sprinkle seed beads over the glue and tap off excess. Seal the bead edges with clear craft varnish so beads don’t shed.
Quick tipUse a toothpick to spread glue in thin lines so the letter doesn’t blob.
One warningAvoid using big beads — they create gaps and the letter shape gets fuzzy.
17. Photo Booth Strip with Film-Style Borders
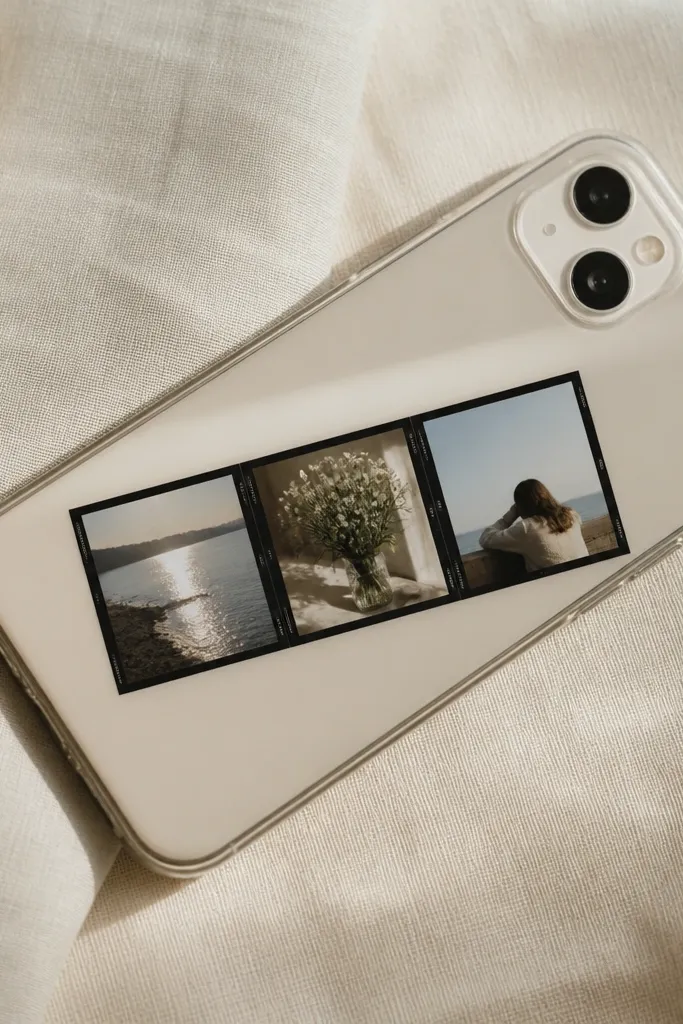
Photo strips look fun and nostalgic, and the film border makes it look like a real print. I’ve done this with family pics and birthday photos for kids, and it always gets used. Keep the photos small and unify them with one color filter so the strip looks cohesive. Gloss sealing makes the surface wipeable.
Print photos in small sizes (like 2x3 cm each) and trim. Add black film border paper strips around each photo, then glue the strip onto a clear case insert. Seal the whole thing with clear gloss laminate or a craft topcoat.
Trim photos with a sharp blade — the film look depends on clean edges.
Avoid mixing random sizes of photos — the strip looks messy and unplanned.
18. Rubber Stamp Pattern with Sponge and Clear Seal
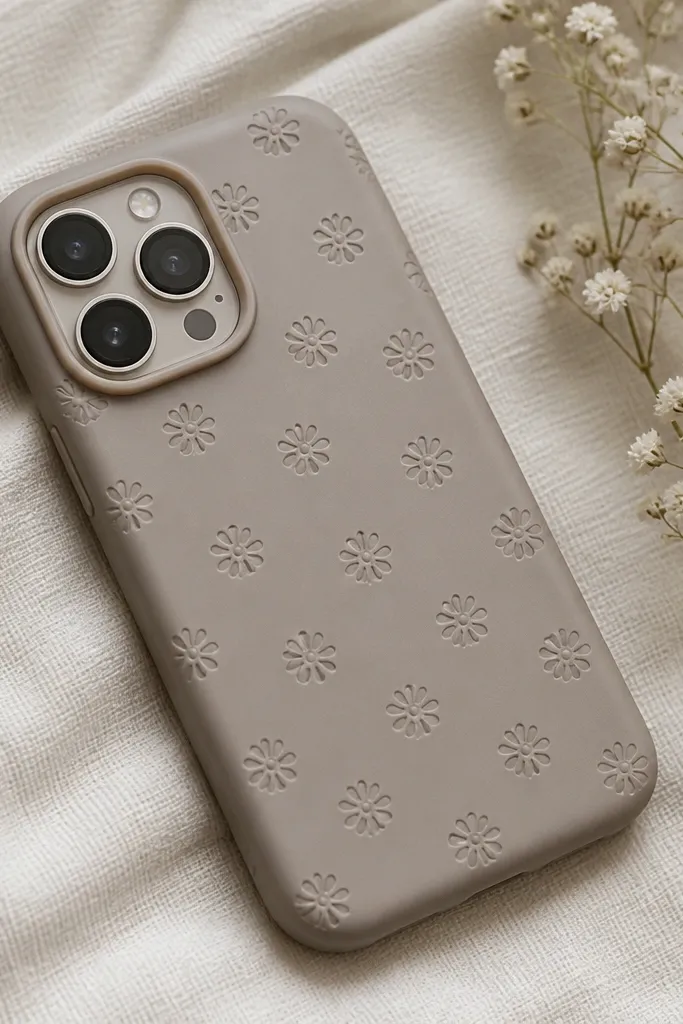
Stamp patterns look neat because they repeat with consistent spacing. I like doing it in one color like soft gray or muted teal so it doesn’t get loud. A sponge dab gives a slightly textured ink look that feels handmade but tidy. Sealing makes it last through hand oils and school grime.
Stamp onto a thin craft sheet cut to phone back size. Use acrylic ink or stamp ink made for non-porous surfaces if you’re stamping onto a clear base. Let it dry, then cover with clear adhesive vinyl or gloss topcoat.
Quick tipUse a piece of paper to test stamp pressure so you don’t get muddy edges.
One warningAvoid over-inking — thick blobs make the pattern look like a mistake.
19. Foil Accent Confetti with Double-Sided Tape
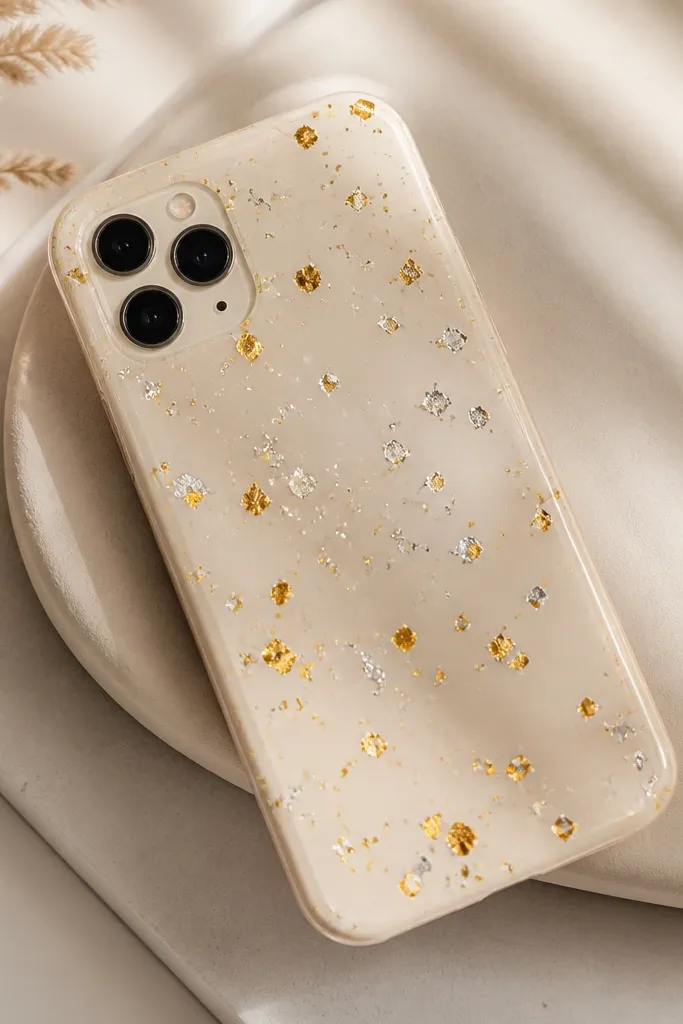
Foil confetti looks like party decor, but it stays clean when it’s sealed. I keep the base matte and let foil be the only shiny element. The tape method is fast and avoids messy glue fingerprints. It also works for kids because the shapes are simple and forgiving.
Cut or punch tiny foil shapes from craft foil sheets. Place them on a matte backing (matte paper or matte vinyl) using double-sided tape. Seal the entire backing with a thin clear laminate so the foil doesn’t oxidize or snag.
Punch shapes consistently with a hole punch to keep the density even.
Avoid loose foil on bare clear cases — it scratches and lifts at corners.
20. Heat-Set Vinyl Letters with Tiny Star Sprinkles
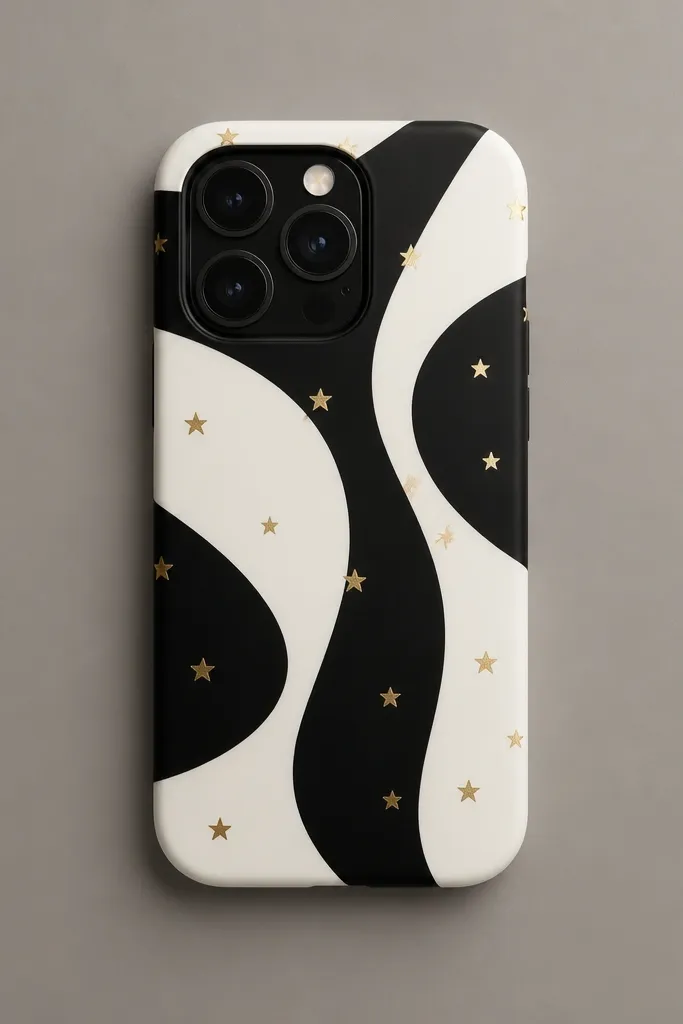
Heat-set vinyl letters look clean and strong, and they stay crisp after daily handling. The tiny star sprinkles add personality without making the design busy. I like using matte vinyl on a light base so the letters read clearly. This is one of my go-to methods for beginner-friendly results.
Apply vinyl letters onto a matte phone case back or onto a matte vinyl insert. Use a heat tool and press firmly, especially around thin letter parts. Add star sprinkles as small cut vinyl pieces, then seal with a clear matte topcoat if the case flexes.
Quick tipUse a weeding tool or tweezers to remove tiny vinyl bits slowly so letters don’t break.
One warningAvoid stretching the vinyl — stretched vinyl lifts when it cools.
21. 3D Foam Sticker Landscape with Layered Cutouts
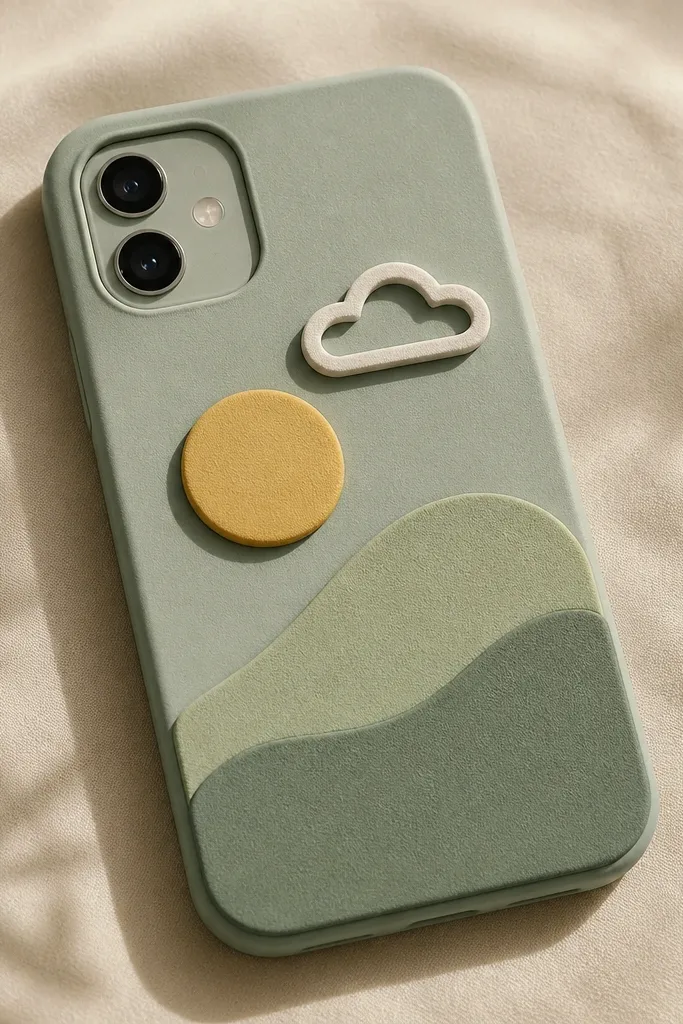
Layered foam gives you real 3D without resin. The depth makes shadows that look good in daylight, and the shapes stay readable for kids. I keep it simple — sun, cloud, hill — and use two or three colors max. When you seal the top, it wipes clean like a normal case.
Cut layers from craft foam sheets in different thicknesses or just foam layers stacked. Glue the back layer to a clear case insert, then add the next layer with foam tape for spacing. Paint foam edges with matching acrylic so the sides disappear.
Quick tipUse a craft knife with a fresh blade — foam cuts cleanly when the blade is sharp.
One warningAvoid unpainted foam edges — the white foam edge looks cheap fast.
22. Kawaii Ribbon Bow on a Solid Color Sleeve
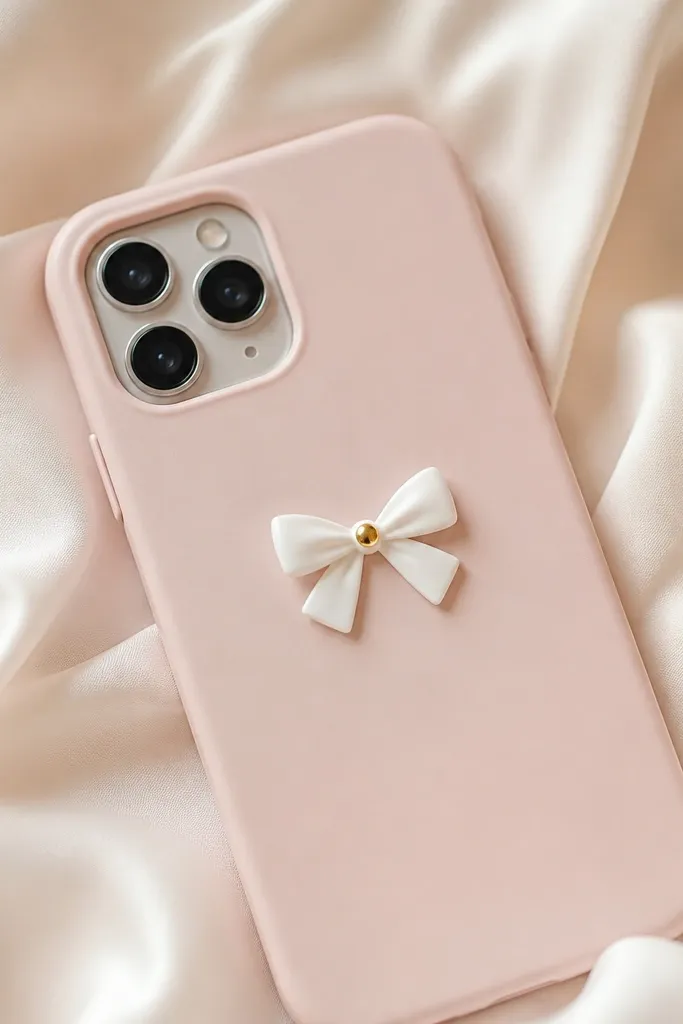
A ribbon bow is the fastest way to get a cute look, but it only works if the ribbon is trimmed and anchored well. I use a single bow centered on a solid back so it reads clean. Add a tiny gold dot or pearl in the center for a finished look. This cover suits birthdays and school days because it feels playful.
Cut ribbon into two loops and a short tail piece, then glue the bow onto a solid case back or sleeve insert. Use fabric glue and clamp it for 10 minutes so it bonds. Keep ribbon width around 8-12 mm so the bow stays in scale.
Quick tipFold ribbon ends at a slight angle and seal with clear glue so they don’t fray.
One warningAvoid hot glue blobs — they can show through ribbon and feel lumpy.