
1. Pastel Felt Bunny Face
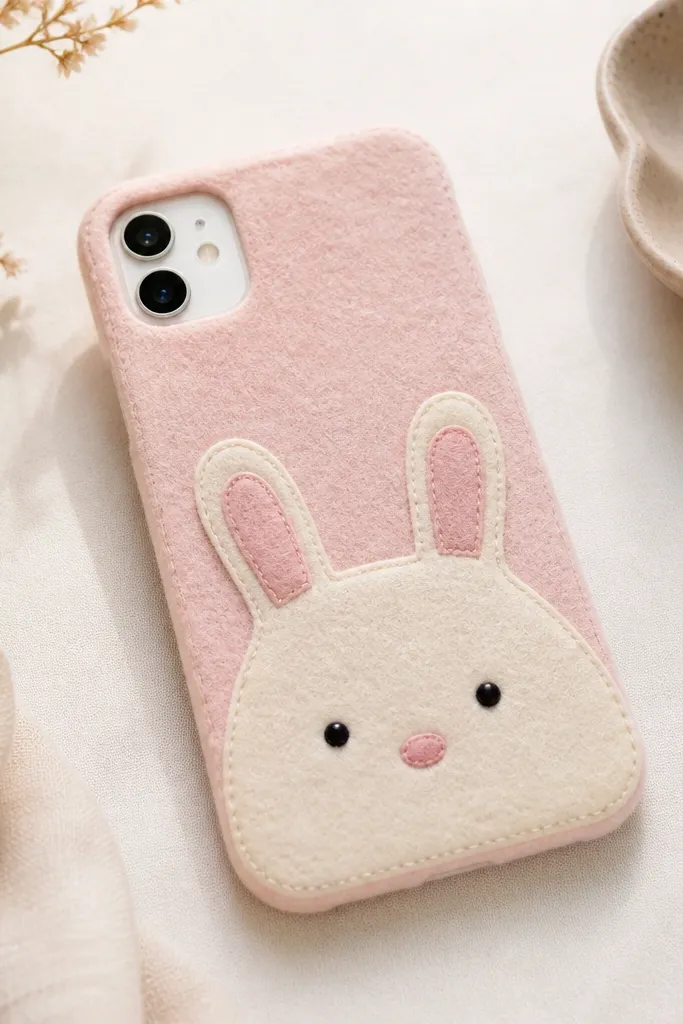
This one looks sweet because felt naturally hides tiny imperfections and gives a soft, cozy texture. I use a cream base and layer a pale pink inner ear so the ears pop without needing heavy contrast. The face is simple: two stitched eyes, a small triangle or oval nose, and a little mouth line. It reads cute even from across the room because the shapes are big and high-contrast.
Quick tipUse embroidery thread for the eyes and nose. It looks more “designed” than store-bought stick-on details.
Cut a felt base slightly larger than your phone back, then wrap it around the edges if you’re making a sleeve. For the bunny, cut ears from 2 colors of felt and glue/stitch them flat. Keep the face centered around the top third so it doesn’t fight the camera area. Seal with a matte clear fabric sealer only if you used glue — otherwise light stitch it and skip the heavy coat.
One warningDon’t glue chunky felt bumps over the camera — they catch on cases and lift.
2. Galaxy Confetti Vinyl Back
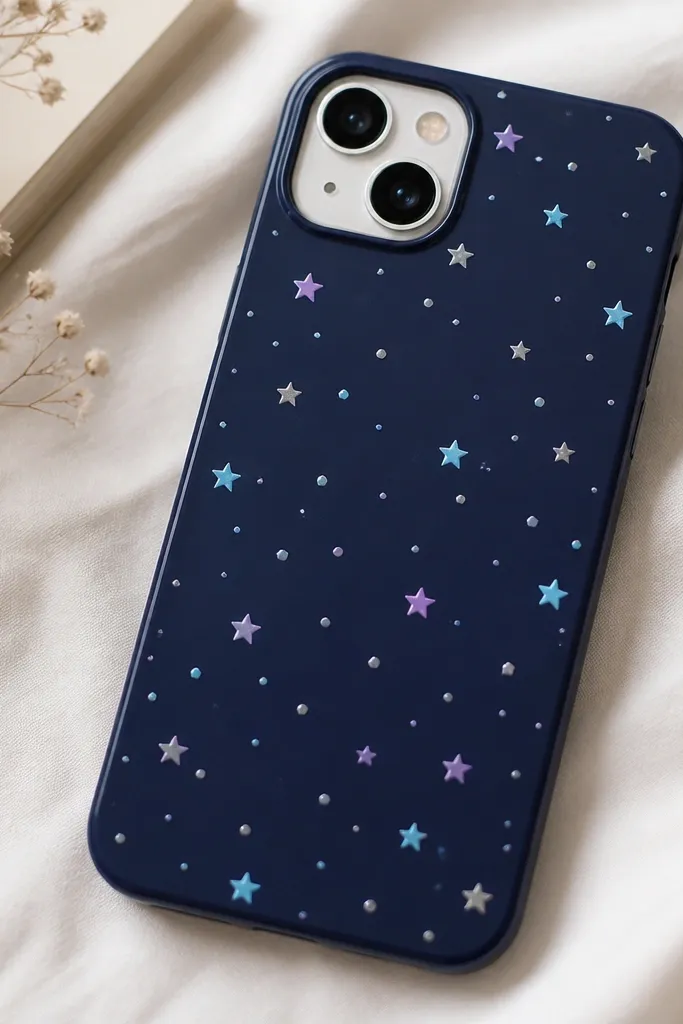
Vinyl confetti looks clean because it’s flat and you can control spacing. I like a dark base (navy or black) with metallic stars so the cover catches light in a way that feels “night sky” without getting messy. The tiny pieces also hide small scratches on the base. When you top-coat it properly, it stays smooth instead of peeling.
Quick tipUse a craft spatula or old credit card to press vinyl down — you’ll prevent edge lift.
Start with a plain TPU phone case or a thin foam base that matches your phone size. Apply vinyl stars and dots in a loose cluster — I do a heavier group near the top left and fewer pieces toward the bottom right. Leave the camera lens area clear so you don’t create glare. Finish with 2-3 thin coats of flexible clear top coat, letting each coat dry fully.
One warningDon’t use thick glue under vinyl. It creates ridges that look cheap.
3. Ribbed Sweater Texture Cover
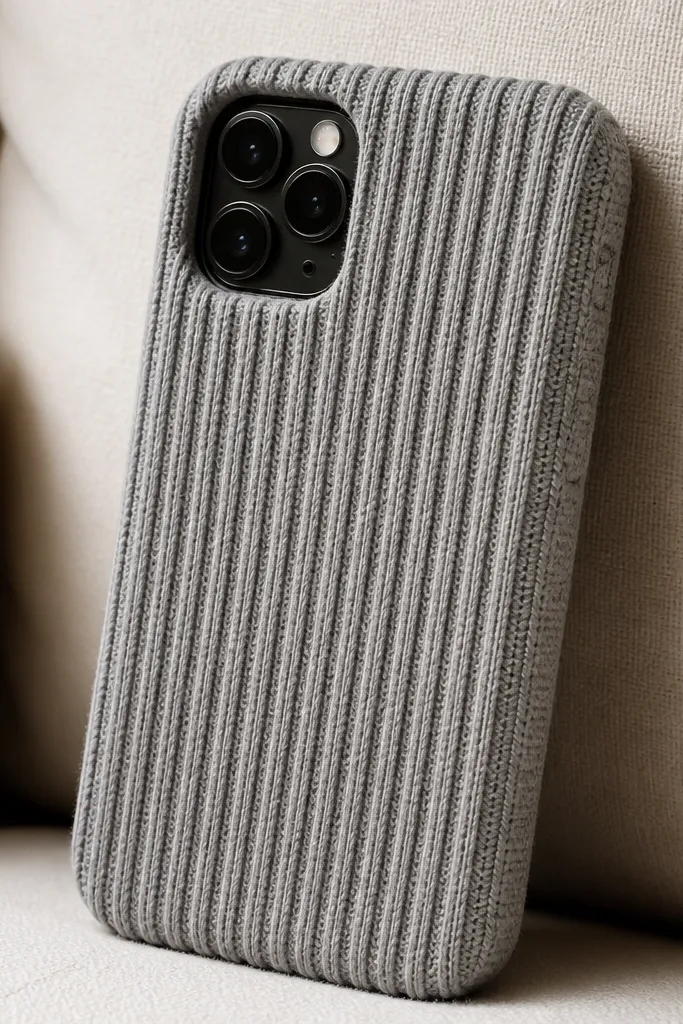
This looks expensive because knit texture does the styling for you. You don’t need decals if the fabric pattern is strong. A heather gray or forest green sweater knit looks great in natural light and makes the cover feel warm in your hand. The ribbing also hides tiny wrinkles that show up with smooth fabrics.
Cut a rectangle of sweater knit large enough to wrap the back and edges. Use a thin layer of fabric glue or double-sided tape along the edges only, not in the middle where it can soak and stiffen. Trim around the camera with sharp scissors, then fold the knit edge inward by 2-3 mm. Seal the edges with a thin brush coat so the knit doesn’t fray.
Choose knit with a tight weave. Loose knits snag in pockets and start to fuzz.
Don’t stretch the fabric while gluing. It warps the fit and makes the camera opening uneven.
4. Brown Paper + Gold Foil Nameplate
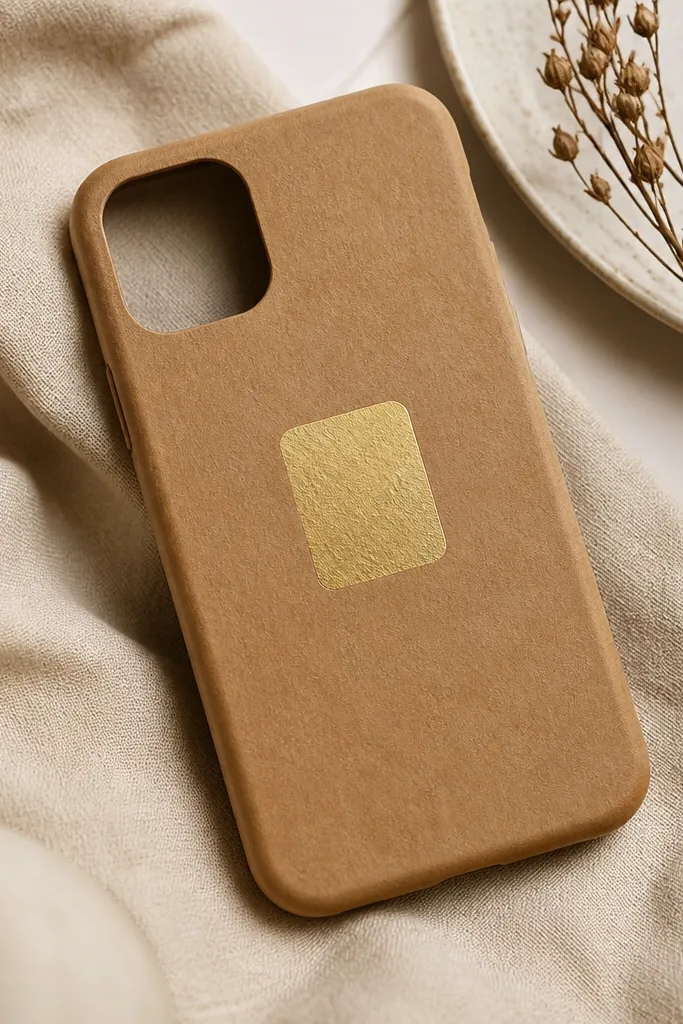
This one looks like a mini designer label. Kraft paper adds a matte, earthy texture, and gold foil tape makes it feel intentional. I keep the design minimal — one label, one font style — because too many elements on paper covers look cluttered fast. It also photographs well since the gold reflects light sharply.
Quick tipUse a hole punch to round corners instead of freehand. The edges look store-clean.
Use a kraft paper sheet or brown cardstock adhered to a case or foam base. Cut a label shape from metallic gold tape or foil sheets, then press it down with the back of a spoon. Seal the entire paper with 2-3 thin clear coats so it doesn’t scuff. For durability, add an extra coat only around the corners.
One warningDon’t skip sealing. Paper-only covers get fuzzy and start to peel after a few days.
5. Pressed Flower Faux-Suncatcher
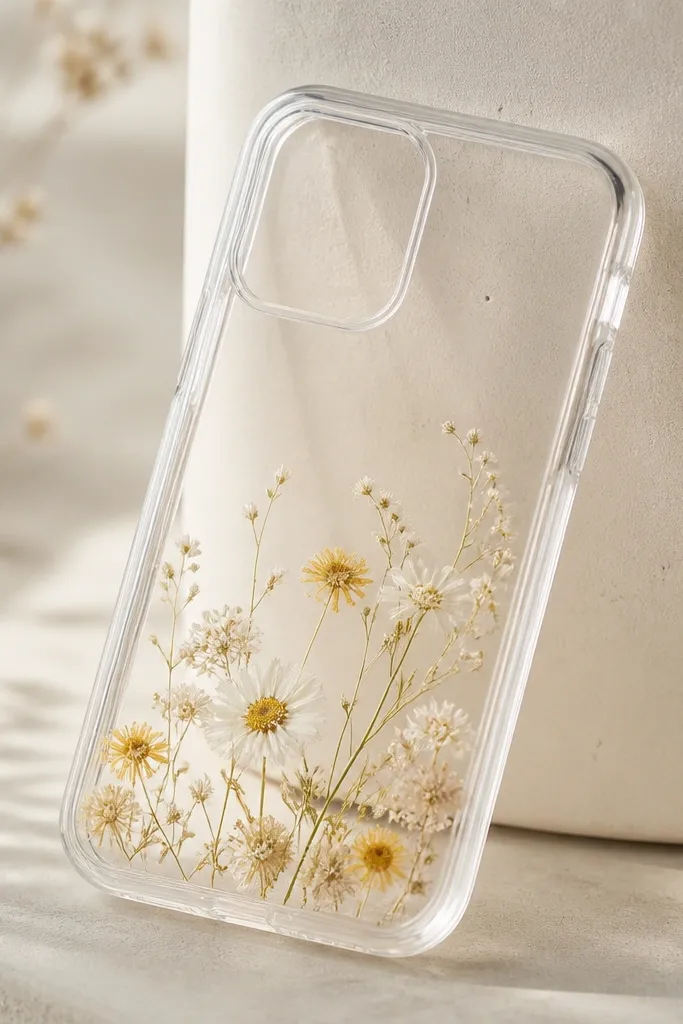
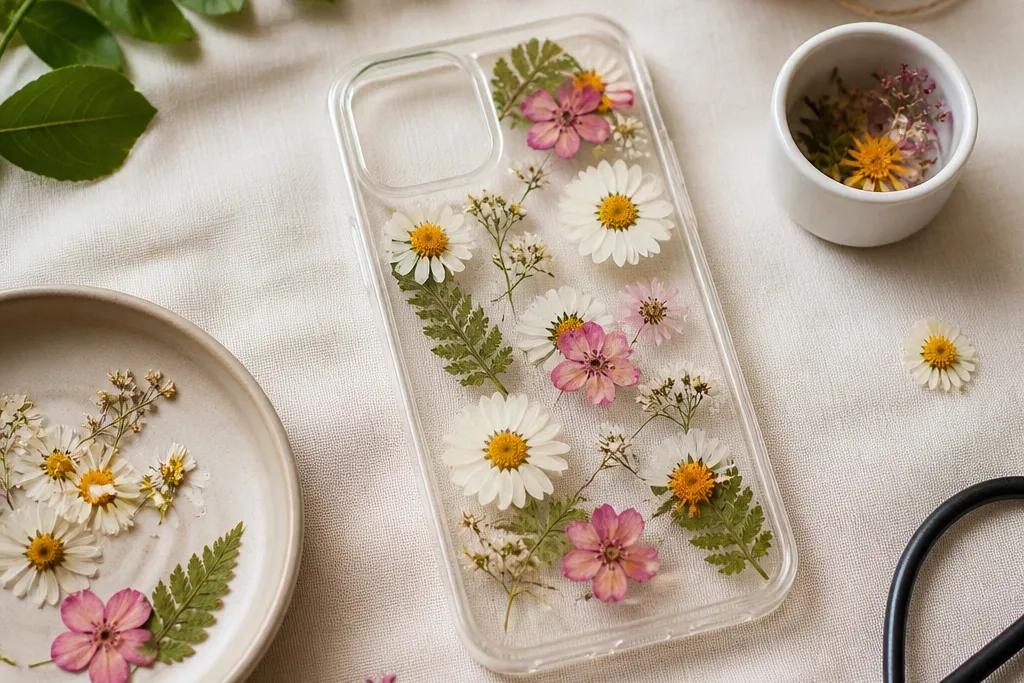
Pressed flowers look magical because they trap light in a way stickers don’t. I use pale blooms and keep the layout sparse so it looks airy, not like a craft project in a jar. The glossy finish makes the colors look deeper, and the sealed layer protects the petals from rubbing off.
If you’re using resin, do it on a TPU case base with a removable backing so you don’t spill. Arrange dried flowers on the back, then pour or brush a thin clear layer, cure, then add a second layer for even coverage. Keep flowers away from the camera so glare doesn’t smear. If you don’t want resin, use a clear gel medium in thin coats, drying between layers.
Let the flowers fully dry for at least a week before sealing. Moist petals cloud under clear coats.
Don’t place thick petals right under the camera — the lens glare makes them look smeared.
6. Monogram Faux Leather Patch
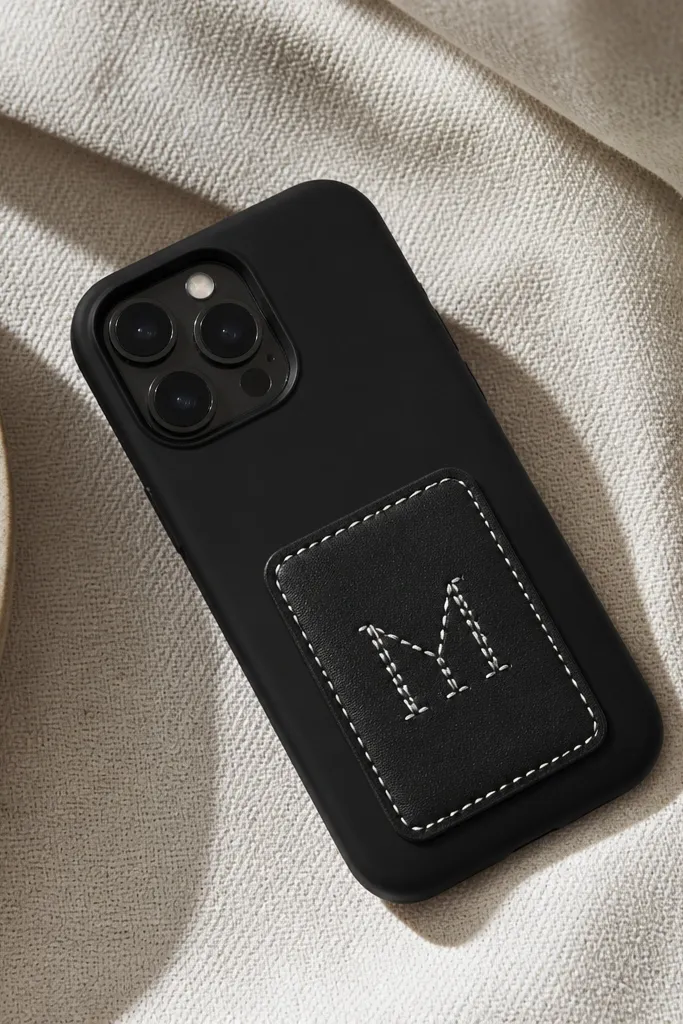
Faux leather patches make a phone cover look like a notebook cover. The monogram gives you a personal touch without needing a full design. I like black or deep chocolate base with a cream patch because it reads bold and clean. The stitched effect makes it look crafted, not printed.
Quick tipUse a craft punch to make tiny holes for stitching. It keeps the letters even.
Use a pre-cut faux leather square (around 1.5-2 inches wide) glued flat to your case. For the monogram, trace the letters with a pencil, then stitch with embroidery thread using a simple straight stitch or backstitch. Seal the edges of the patch with a tiny amount of fabric glue or clear adhesive so it doesn’t lift. This works best on smooth cases like TPU.
One warningDon’t glue the whole patch thickly. Thick adhesive shows as bumps around the edges.
7. Mini Checkerboard Tape Pattern
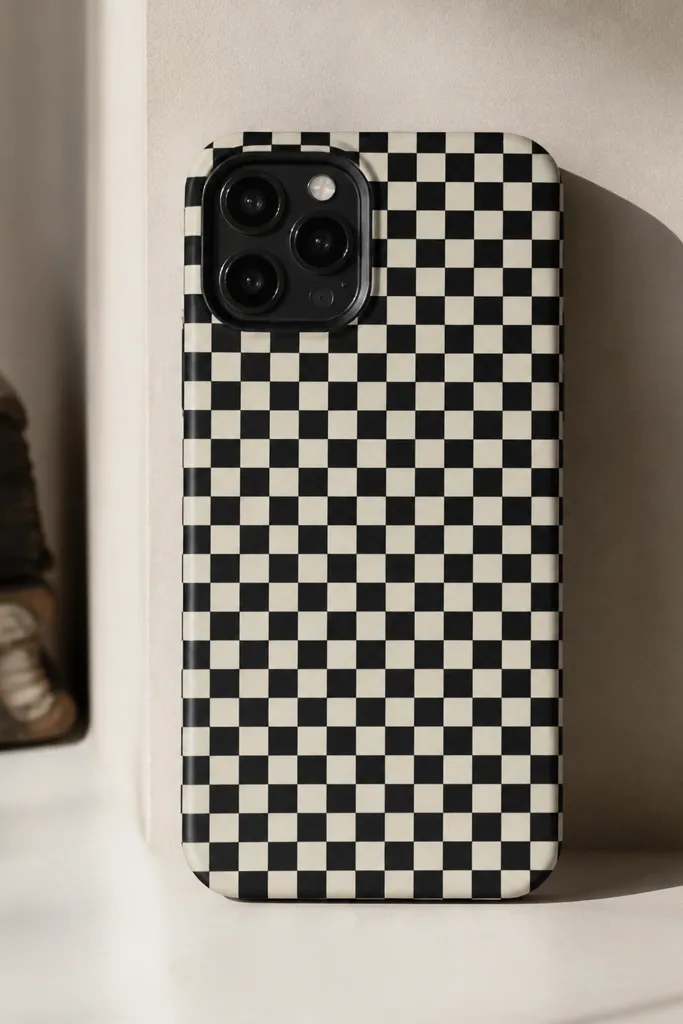
Tape checkerboards look crisp because tape edges create sharp lines. I keep the squares small (about 3-5 mm) so it reads like a pattern, not like random stripes. Black/white or navy/cream both look cute and graphic. It’s also low effort — once you set the first row, the rest is just repeating.
Quick tipPress each strip down with a fingernail or the edge of a plastic card to stop lifting.
Start with a smooth base. Lay down alternating strips of tape, then cut across with a craft knife to form tiny squares. You’ll want a ruler and a cutting mat, because freehand squares drift. Seal with a matte clear spray in 2 light coats if you want scratch resistance. Leave a small border around the camera cutout.
One warningDon’t use super-wide tape for tiny squares. It makes the pattern look chunky and messy.
8. Pastel Marble Paper + Clear Coat
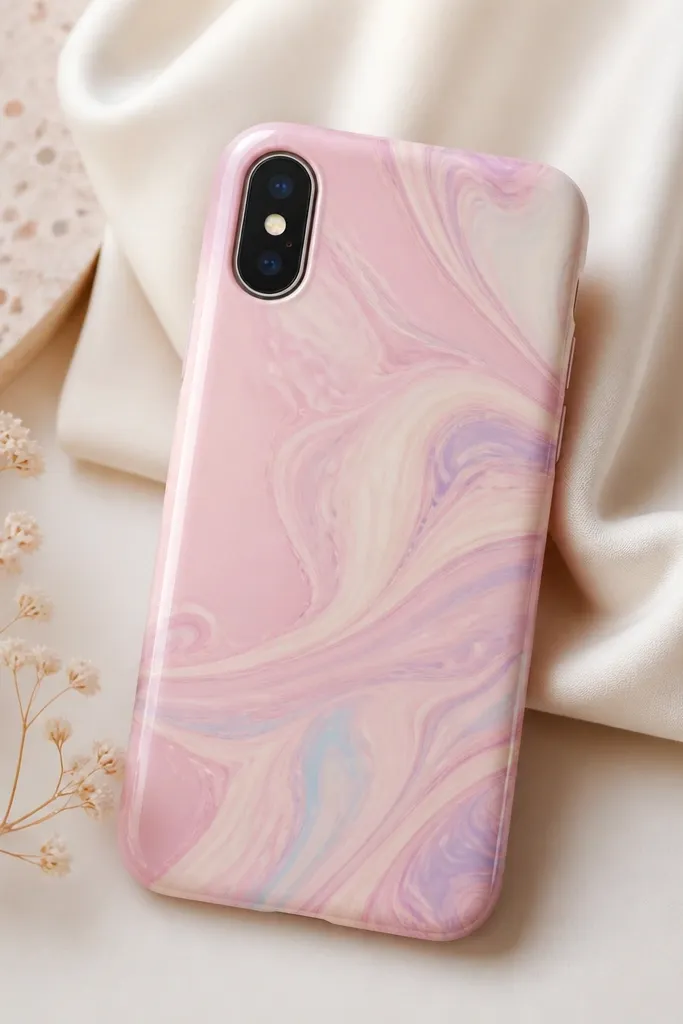
Marble paper looks fancy because the pattern is already complex, so your design stays interesting even if you keep it minimal. Pastels feel youthful and don’t look harsh like black marble can. A clear glossy top coat makes it look like a manufactured case. I’ve had marble paper survive better than plain printed paper because the ink sits under the seal.
Quick tipRun a plastic card over the paper to remove trapped air before sealing.
Use marble scrapbook paper or marbling you make yourself with shaving cream technique. Adhere the paper to a thin case base with decently thick Mod Podge or decoupage glue. Trim edges clean with a sharp knife. Seal with at least 3 thin clear coats, drying fully between coats.
One warningDon’t flood the edges with glue. Over-soaked paper curls and shows ripples.
9. Rainbow Micro-Bead Border
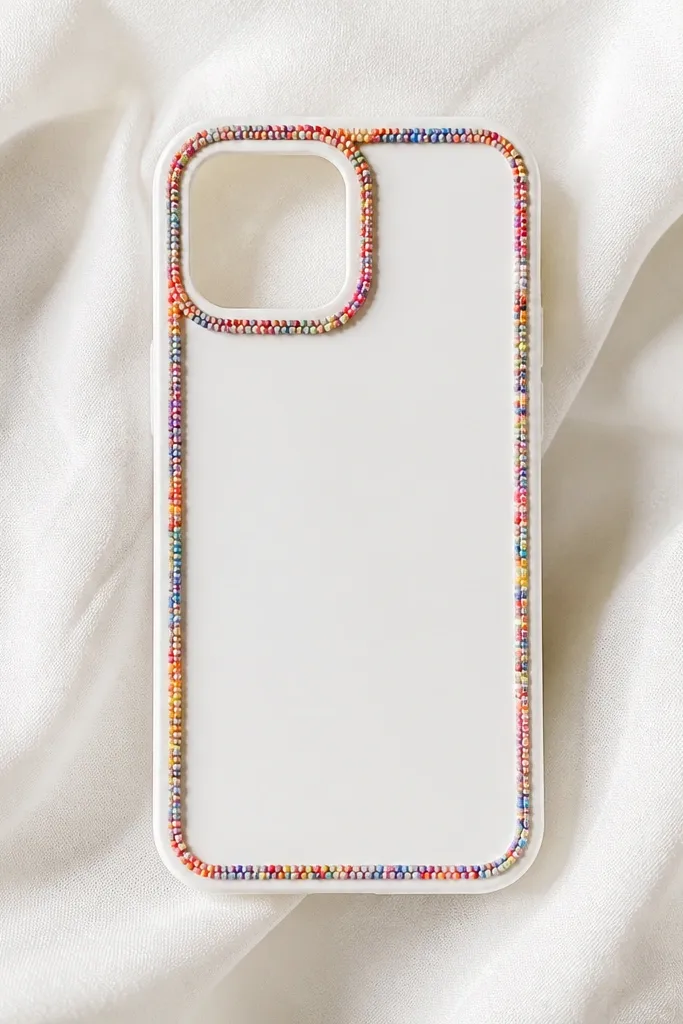
A thin bead border looks cute because it frames the phone without turning the whole cover into a chunky craft. I like a white base because it makes the rainbow pop. The beads also hide minor edge wear on the cover. When the border is sealed, beads don’t snag on fabric bags.
Use a flat base cover first — foam or a smooth TPU works. Apply a narrow line of craft glue where you want the border, then sprinkle micro beads and press them in gently. Let it dry, then seal the bead line with a thin clear coat so the beads lock down. Keep the bead border 3-4 mm away from the camera opening.
Use tweezers for corners. They keep the border from looking lopsided.
Don’t make the border too thick. Thick bead lines lift and snag.
10. Photo Booth Strip Frame
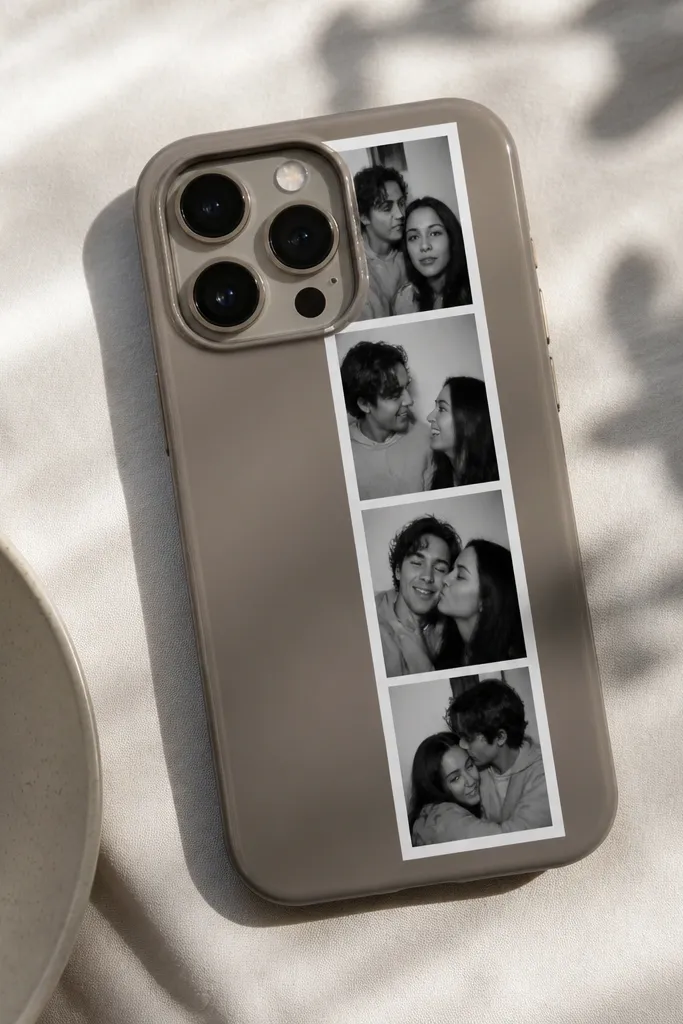
This is the cover I make when someone wants their phone to look personal fast. A photo strip feels fun and nostalgic, and it doesn’t require drawing skills. I keep the strip horizontal and centered so it reads clean. Black-and-white photos look sharper and hide print imperfections.
Quick tipUse a single-page photo layout app to keep consistent sizing before printing.
Print 3-4 small photos on photo paper (or use a photo print service) and cut into a neat strip. Back them with white cardstock so edges look crisp. Glue the strip onto a plain case base, then add a thin white frame cut from cardstock or foam sheet. Seal the whole design with a clear matte or satin coat.
One warningDon’t overlap photos with thick glue. It creates bumps that catch on pockets.
11. Butterfly Wing Folded Paper Art
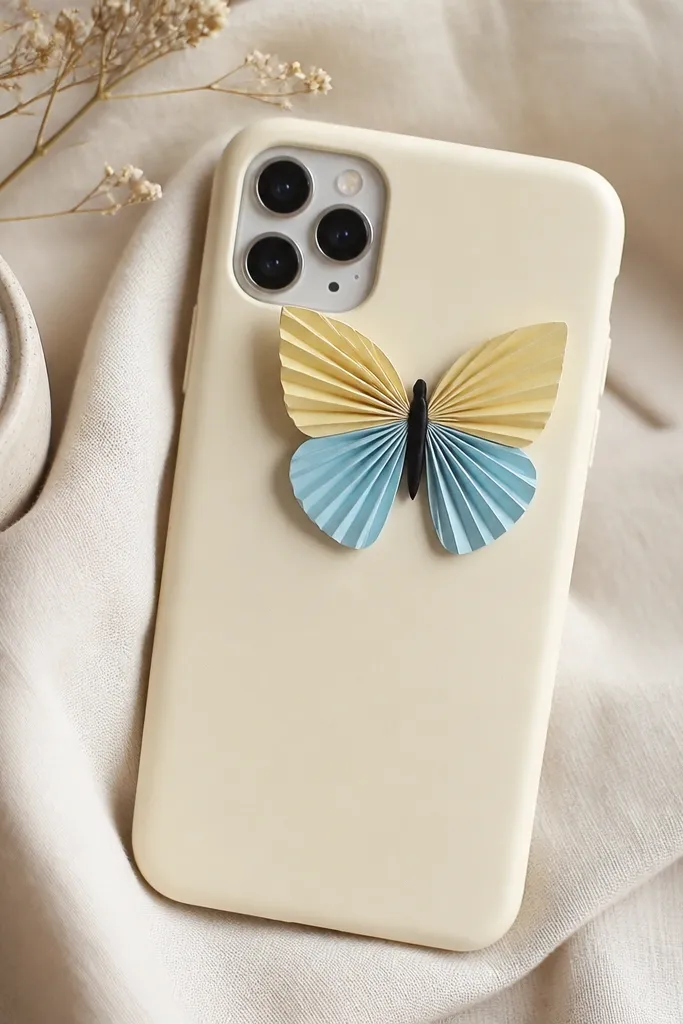
Folded paper butterflies look airy and dimensional without needing resin. The layered folds catch light differently as you move the phone, which makes the cover feel alive. I prefer soft colors like butter yellow and pale blue because they look gentle and still pop against cream. It’s also a great way to use odds-and-ends paper scraps.
Quick tipUse a bone folder or the back of a spoon to sharpen folds.
Cut wing shapes from two shades and fold along the center to create layers. Glue the layers to the case base with tiny dots, not a full smear, so the wings stay dimensional. Add a small body strip and antenna lines with a black marker. Seal with a satin clear coat in 2 thin layers so the paper doesn’t soak.
One warningDon’t fully saturate the paper with sealant. It warps the folds.
12. Teal Denim Pocket + Tiny Tag
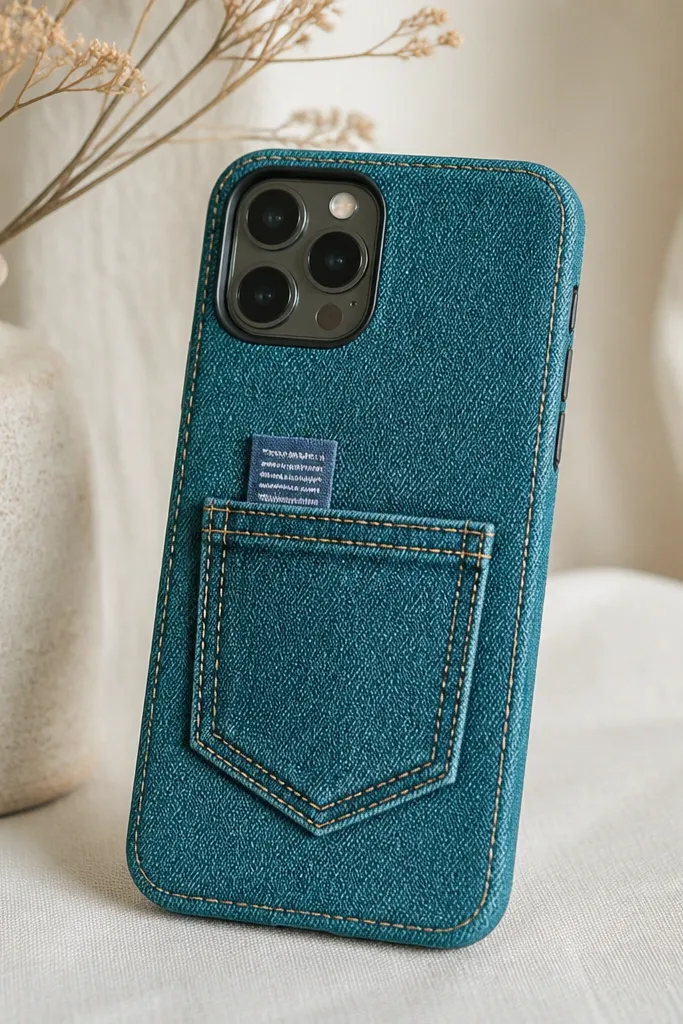
Denim reads casual-cute instantly. A tiny pocket detail makes it feel like a mini outfit, and the stitching gives structure. I like teal or medium-wash denim because it looks stylish without being too loud. The pocket also gives you a place to hide a small charm or tag-like graphic for personality.
Quick tipUse thick thread (like embroidery floss doubled) for the pocket outline. It stands out.
Cut a pocket shape from denim scrap and stitch around the edges with contrasting thread. Add a small tag inside made from cardstock or faux leather. Glue or stitch the pocket onto a felt or TPU base so it lays flat. Seal the pocket edges lightly with fabric glue so frays stay controlled.
One warningDon’t use thin, flimsy fabric. It puckers and makes the pocket look uneven.
13. Clear Tape + Tissue Paper Sunburst
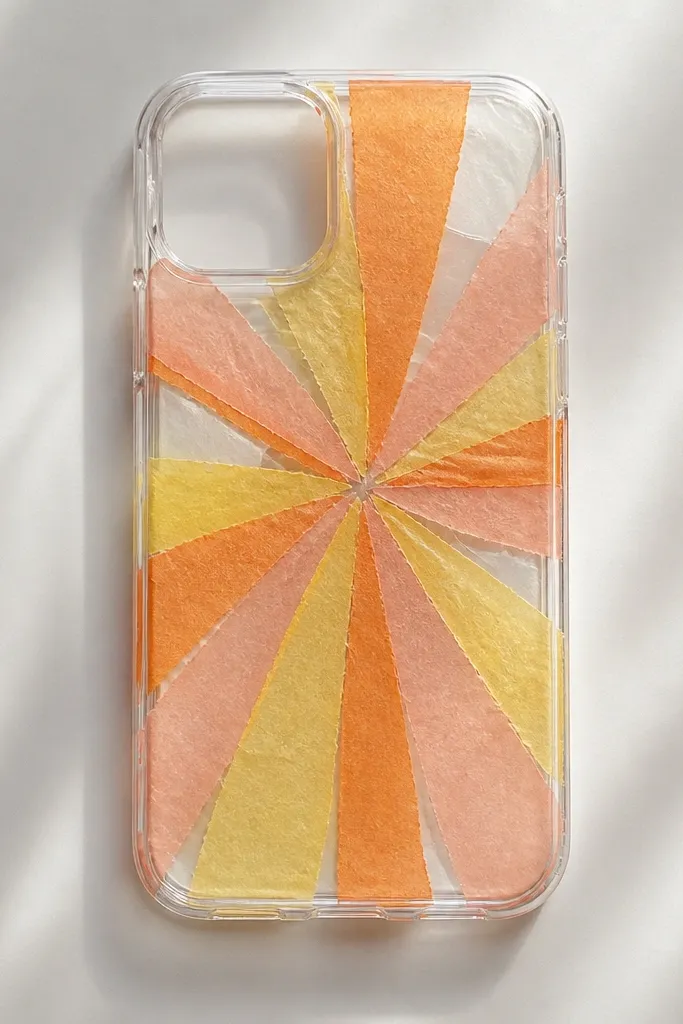
This looks like stained glass but costs pennies. The tissue rays are translucent, so the cover glows in sunlight. Clear tape keeps everything in place without needing a heavy adhesive layer. I keep the sunburst small and centered so it doesn’t clash with the camera.
Cut tissue strips about 1 cm wide and 4-6 cm long. Arrange them like a fan from a small circle in the middle, then tape the base points with clear packing tape. Add another thin layer of clear tape over the rays to lock them down. Place on a clear case or cover a solid base with tissue and tape. Seal only if needed — tape already protects it.
Press tissue strips gently with a dry cloth to flatten creases.
Don’t use wet glue with tissue. It tears the fibers and smears color.
14. Satin Bow Side Accent
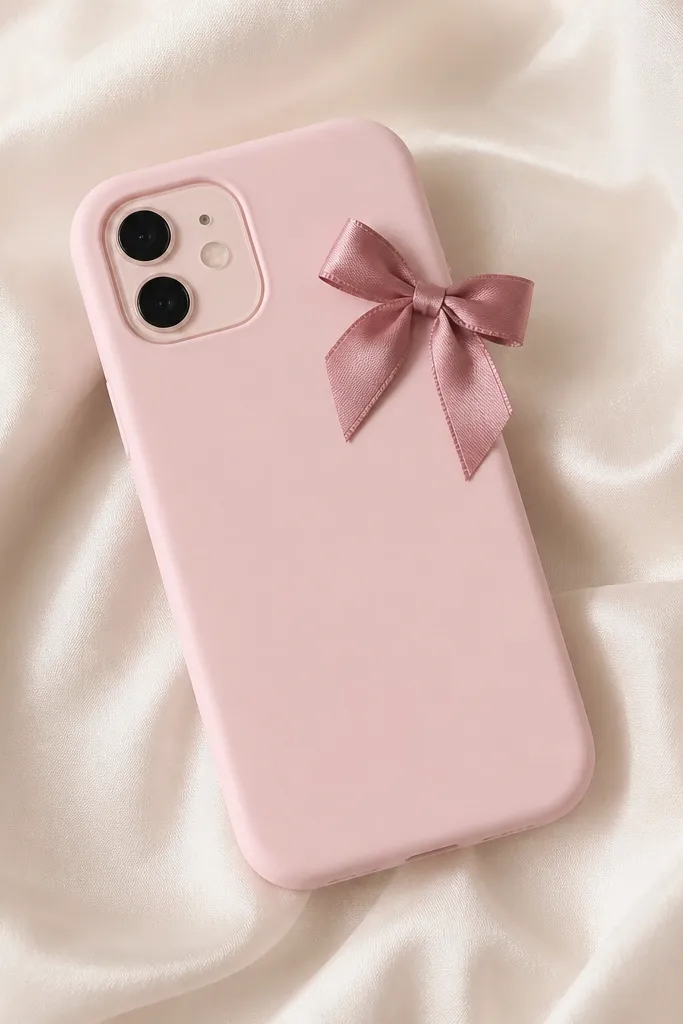
A side bow looks cute because it adds a focal point without covering the whole back. Satin catches light and makes the cover feel “dressed up” for photos. I keep the bow small so it doesn’t snag or interfere with how you grip the phone. Dusty rose or sage satin is my go-to because it looks soft against neutral cases.
Quick tipUse fabric glue instead of hot glue if you want less shine and a flatter join.
Glue or stitch ribbon into a small bow shape and attach it to a case using hot glue sparingly on the bow’s knot area. Wrap a thin ribbon tail around the center to hide the glue seam. Trim tails to about 1-1.5 inches long. If your phone has a bulky camera ring, place the bow on the opposite side.
One warningDon’t put the bow on the bottom edge. It gets scuffed first in pockets.
15. Black Cat Face With Glossy Eyes
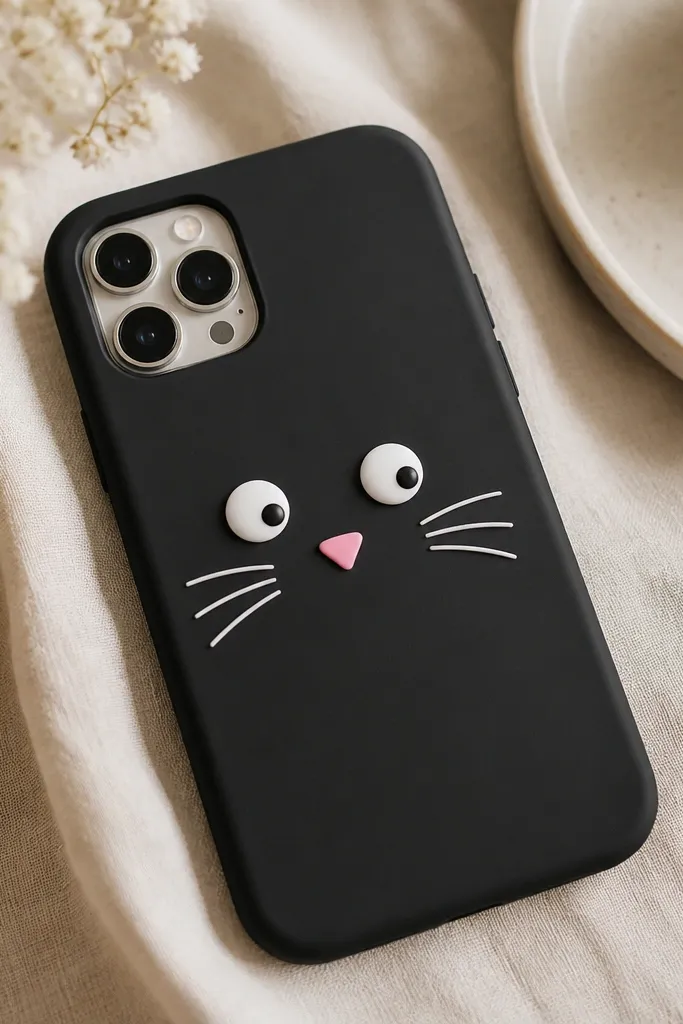
This one is a crowd-pleaser because it’s bold and readable. Matte black base hides fingerprints, while glossy eyes add a playful shine. White whiskers give a clean graphic look without needing complicated art. It’s also easy to repair if a whisker chips — paint marker touches up fast.
Quick tipTest marker thickness on scrap paper. Too thick makes whiskers look like stripes.
Use matte black vinyl or matte paint on a case base first if needed. Cut eyes from white vinyl or use stickers, then add a small clear gloss dot on each eye for shine. Draw whiskers with a fine paint marker in 3-4 lines per side. Seal with a light clear coat that stays flexible so the marker doesn’t smear.
One warningDon’t use glossy clear coat over matte paint in one heavy layer. It turns the whole surface shiny and cheap-looking.
16. Polaroid Frame With Date Stamp
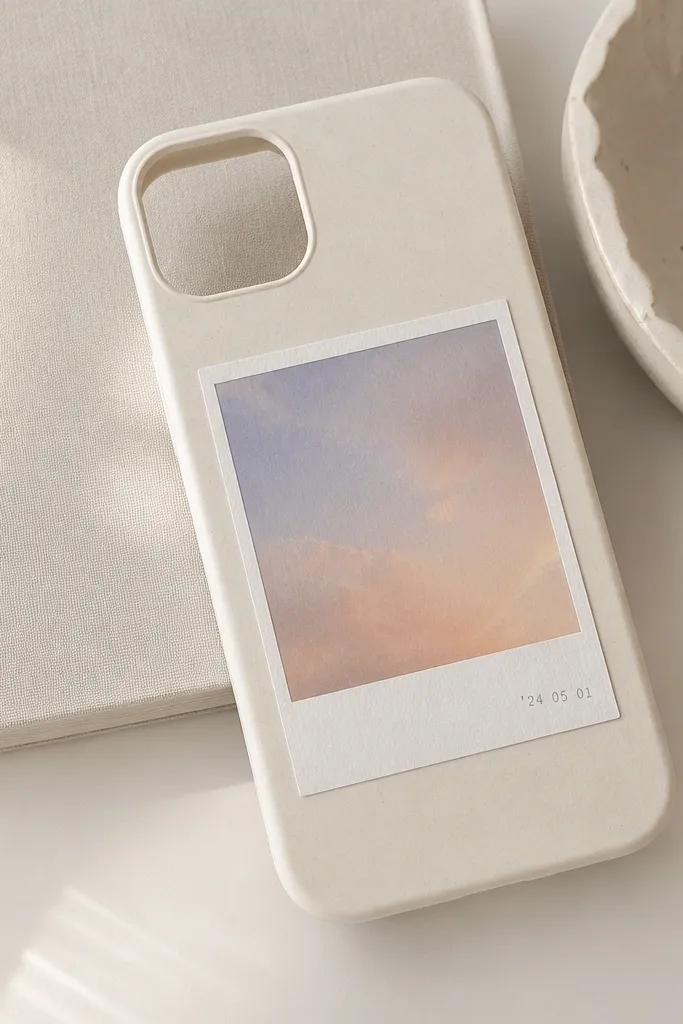
Polaroid frames look instantly nostalgic, and you don’t need real photos to make it work. A printed background plus a faux date stamp reads like a memory even if it’s just a color gradient. I like cream and soft gray because it feels vintage without yelling. The frame also hides minor printing misalignment.
Quick tipUse double-sided tape for the photo rectangle, then glue only the frame edges.
Print or draw a simple photo rectangle and mount it on white cardstock sized for a Polaroid frame. Add a gray date stamp in one corner using a stamp graphic or hand-drawn font. Glue the mounted frame onto a plain case, then seal the edges so the cardstock doesn’t peel. Keep the frame slightly higher on the back so it doesn’t interfere with camera flash.
One warningDon’t cover the whole frame with thick glue. Cardstock bubbles under pressure.
17. Lemon Slice Sticker Collage
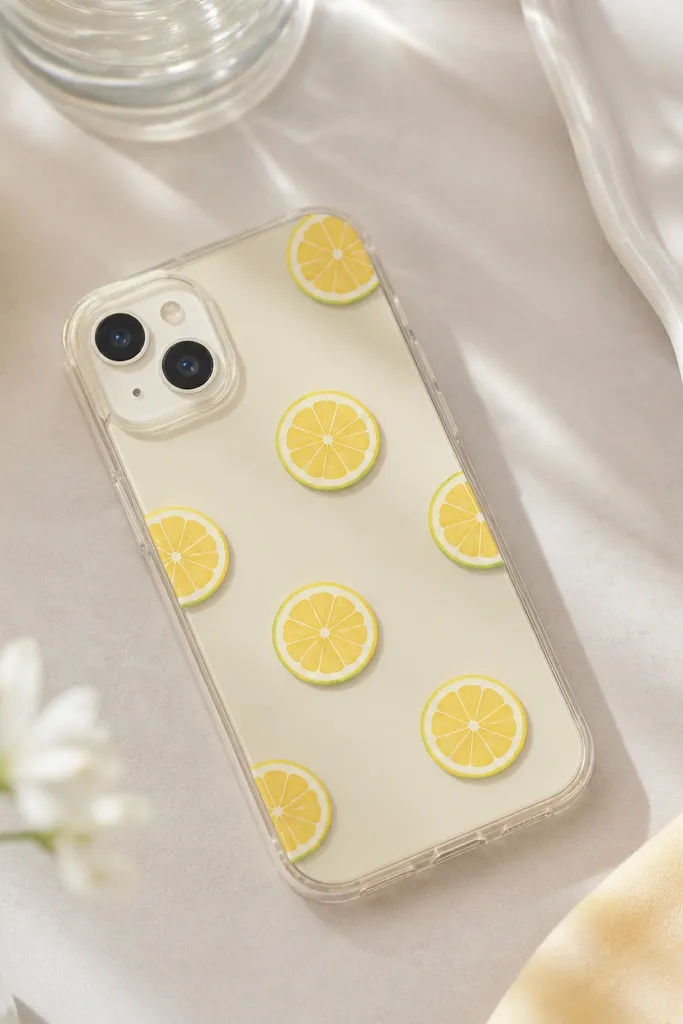
Lemon slice stickers look fresh and cheerful, and the bright color pops against clear bases. Negative space is the secret — it keeps the cover from looking like a sticker bomb. I place larger lemons near the top and smaller ones toward the bottom to guide the eye. When you seal stickers under a clear coat, they look smoother and feel more “finished.”
Quick tipWipe the case with rubbing alcohol before sticking. It stops stickers from lifting at the corners.
Use a clear case base or a pale yellow base. Arrange lemon stickers, then press them down firmly with a cloth. Seal with 2-3 thin coats of clear flexible top coat, letting each coat dry so air doesn’t trap under the stickers. Keep stickers away from the camera lens and flash area.
One warningDon’t overlap stickers too tightly. Overlap edges show through the top coat.
18. Mini Ribbon Lattice Back
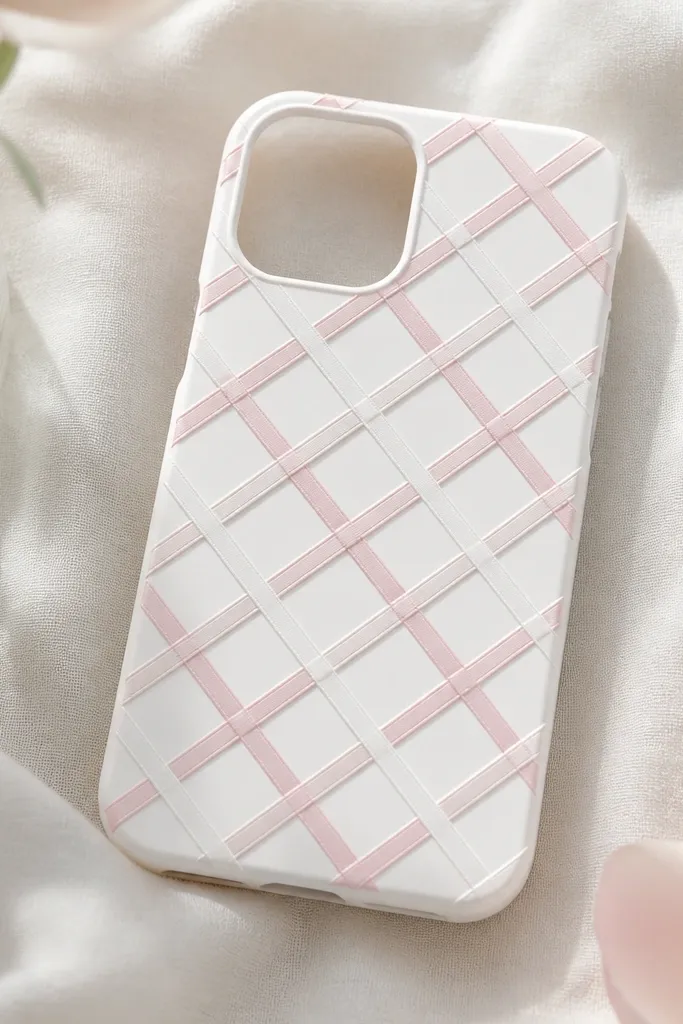
Ribbon lattices look cute because they create a pattern you can see from different angles. The trick is scale — mini ribbons are better than wide ones because they look intentional rather than bulky. Pink and white reads sweet, and a white base keeps it clean. Lattice covers also feel light compared to full fabric wraps.
Quick tipUse painter’s tape to map the grid before gluing. It keeps spacing even.
Cut ribbon strips about 6-8 mm wide and 2-3 mm shorter than your phone back width so they don’t overhang. Glue strips in rows first, then weave the cross strips on top. Anchor the ends with tiny glue dots under the ribbon edge. Seal lightly with a flexible clear spray so the lattice doesn’t fray.
One warningDon’t glue ribbon across the camera cutout. It creates glare and can lift when you remove the case.
19. Chocolate Brown Washi Tape Waves
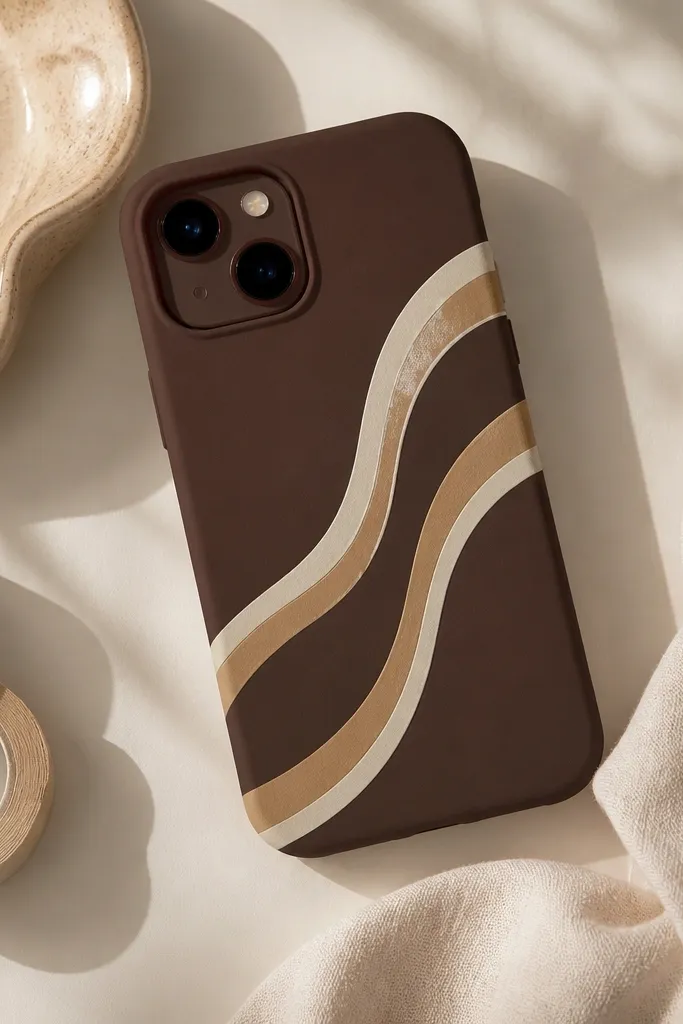
Washi waves look artsy but still cheap because tape patterns are forgiving. I like chocolate brown base with cream waves because the contrast is warm and flattering. Waves also hide small alignment mistakes — your eye reads the curve, not the tiny seam. Add a clear matte top coat so the tape edges don’t peel in pockets.
Lay down a straight guide line with pencil on the base so your wave curves stay consistent. Apply washi tape strips in arcs, overlapping by 1-2 mm. Keep the wave ends inside a 2-3 mm border around the edges. Seal with 2 light matte coats, letting it dry between coats.
Burnish each tape strip with a plastic spoon handle for a tight bond.
Don’t use glossy tape on a matte base if you want a uniform look. The shine difference looks accidental.
20. Peach Pom-Pom Corner Charm
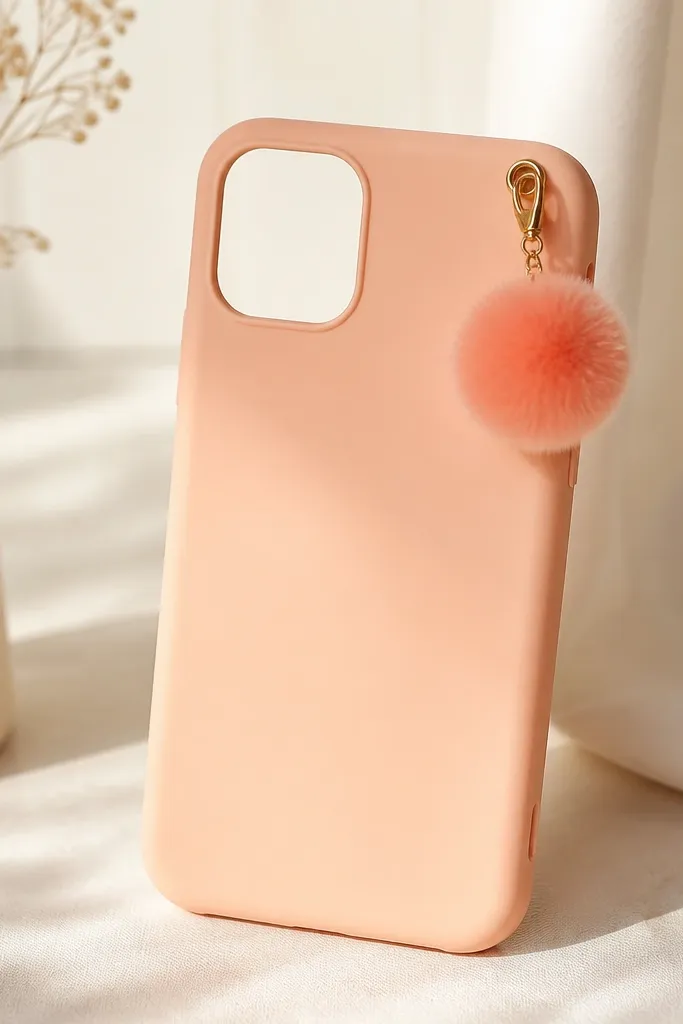
One pom-pom makes the whole cover feel playful without turning it into a bulky craft. I attach it to the top corner so it sits away from where you grip the phone most. A peach-coral gradient looks cute with warm outfits and looks good in daylight. The cover stays simple, so you don’t have to decorate the entire back.
Quick tipIf you’re worried about durability, stitch through the felt patch into the case using a thick needle.
Make or buy a small pom-pom (about 12-15 mm wide). Stitch it to a tiny felt patch first, then glue or stitch the patch onto the case. Keep the attachment point flat so the pom-pom sits upright. Avoid the camera side so it doesn’t snag on the lens ring when you set the phone down.
One warningDon’t glue pom-poms directly to smooth plastic. They pop off after a few drops.