1. Cocoa + Marshmallow Jar Trio with Kraft Sleeve
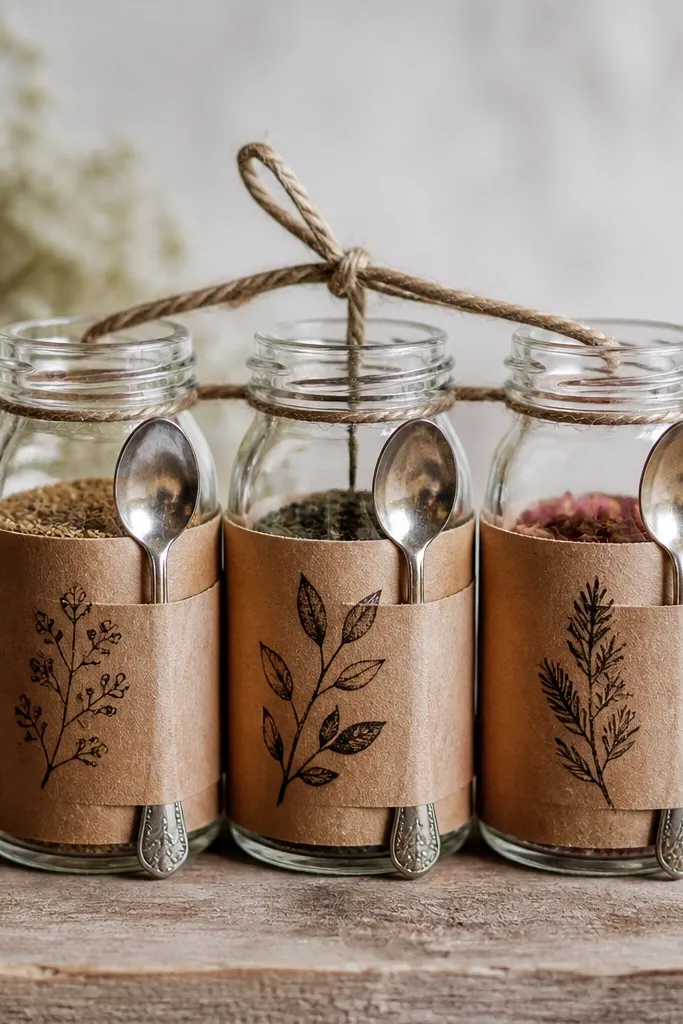
This set looks cozy without costing much because the hero is a jar of cocoa mix that you can batch quickly. Use clear jars so the layers show — brown cocoa, white marshmallows, and a darker chocolate layer if you want depth. Kraft sleeves keep it warm and hide any minor label mistakes. The spoon is the touch point that makes it feel like a real gift, not a pantry handout.
Quick tipWrite mixing directions on a 2x3 card and slide it under the twine so the jar still looks clean.
Use 8 oz jars with wide mouths. Layer 1/2 cup cocoa mix, 1/3 cup mini marshmallows, and top with a thin layer of mini chocolate chips. Wrap kraft paper around the jar and secure with double-sided tape, then add a small pocket at the side for a 4-inch metal spoon.
One warningSkipping a sleeve and using loose labels — they peel fast and make the set look rushed.
2. Bubble Bath + Washcloth Pouch Gift Set
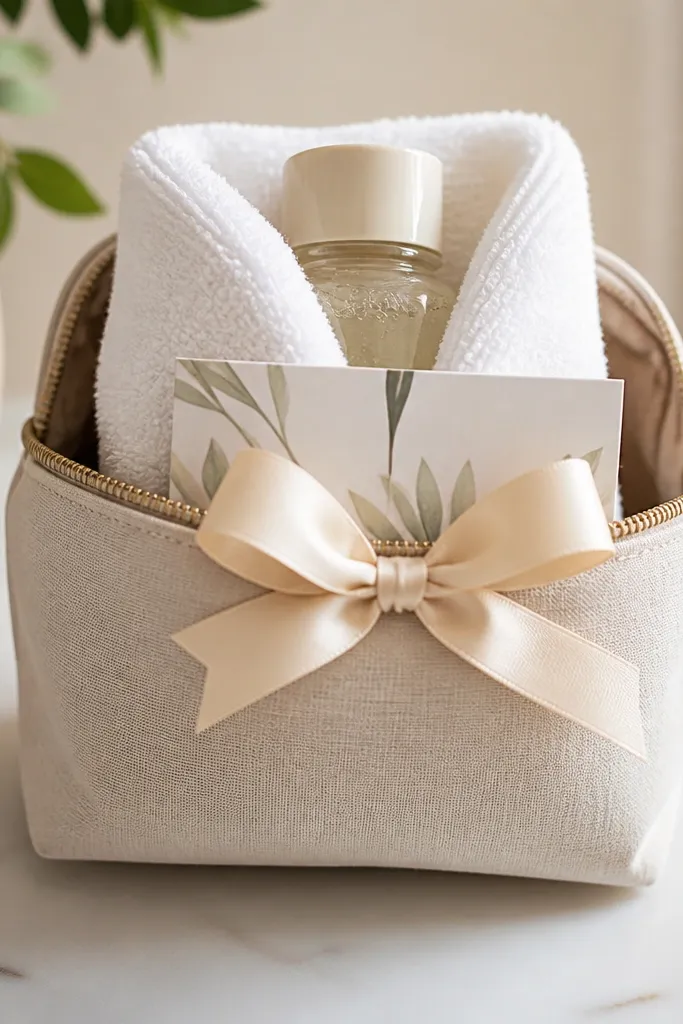
This one is budget-friendly because a washcloth is cheap and feels special when it’s folded like a little present. The zip pouch keeps bottles from leaking and makes it easy for kids to carry. Choose a single scent family (vanilla + caramel colors, or citrus + yellow accents) so the set looks cohesive. The fabric texture against the smooth bottle makes it look more “gift” than “supplies.”
Quick tipUse fabric-safe marker on the card for a handwritten look, then laminate with clear tape.
Pick a 6x9 inch zip pouch. Fold a washcloth into a tight rectangle (about 7 inches long) and wrap it around a 4 oz bubble bath bottle. Tie a 1/4-inch ribbon around the pouch zipper and slide a small instruction card on the inside back panel.
One warningUsing a pouch that’s too small — it bulges and makes the bottle look like it’s about to pop out.
3. Rainbow Bath Soak in Reusable Snack Jars
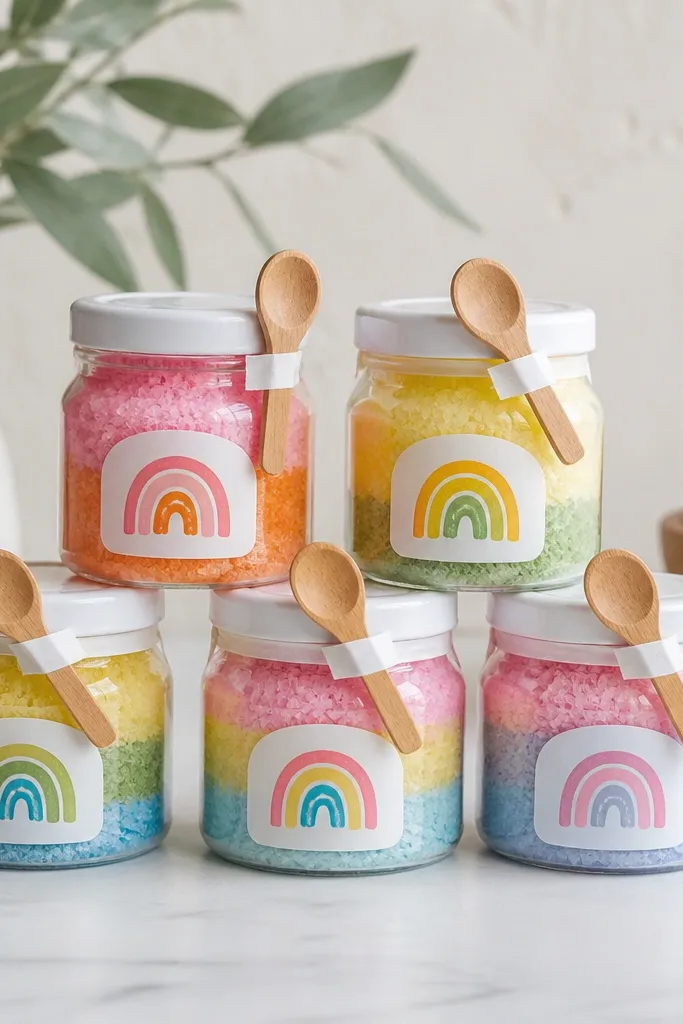
Kids love the color layers, and you get that wow effect with cheap ingredients. Use clear jars so the layers show, and keep the color palette to a rainbow strip so it looks planned. A small scoop taped to the lid makes it feel like a mini kit. This set works great for birthdays and sleepover gift bags.
Use 4 oz jars. Make bath soak by mixing Epsom salt with a little cornstarch and a few drops of skin-safe fragrance or essential oil. Add food coloring in small batches, then layer carefully with a spoon. Tape a plastic mini scoop to the lid with clear tape.
Label the lid with “For bath use only” in big letters so it’s obvious for younger kids.
Overfilling the jar — when you shake it later, colors smear and the layers look messy.
4. DIY Seed Paper + Pencil Combo in a Mini Box
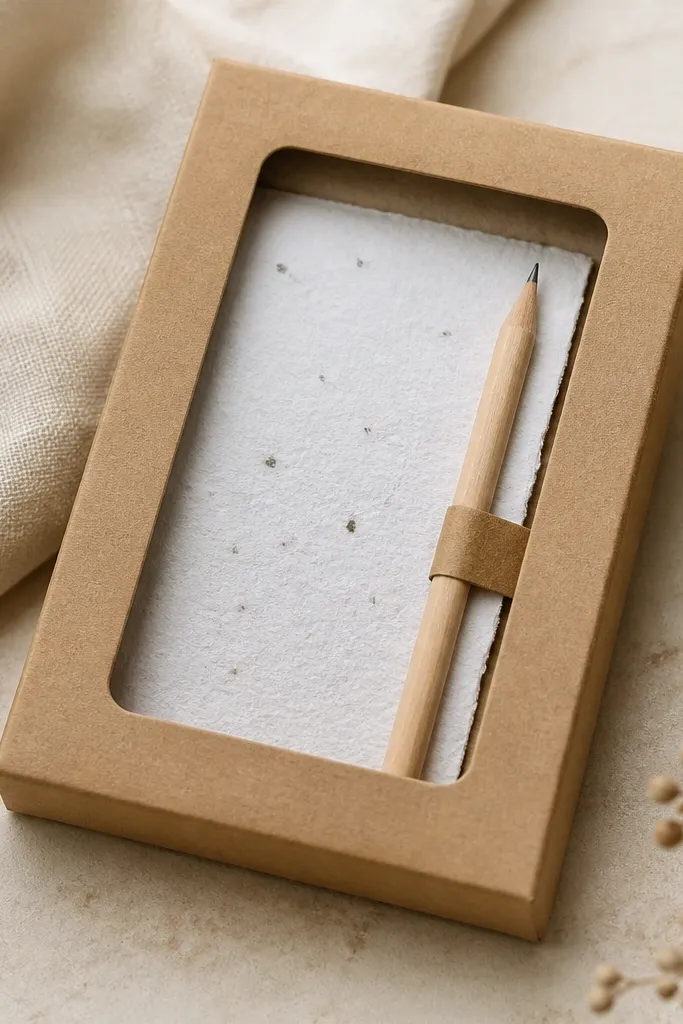
This is one of my go-to budget sets because it’s light, easy to mail, and kids feel like they’re doing something real. Seed paper looks artsy but you can make it with simple pulp and craft paper scraps. The pencil turns it into a “go do something” gift, not just a product. Keep the box simple so the handmade paper stands out.
Quick tipUse a foam brush to spread pulp evenly so the seed paper dries flat instead of curling.
Use a 3x3x1.5 inch kraft gift box. Place a seed paper sheet folded in thirds, then tuck a pencil beside it. Tie a paper band around the pencil using a strip of kraft paper and a dot of glue to secure the ends. Add a small “Planting steps” card on the top.
One warningSkipping the planting card — kids will ask what to do, and you’ll lose the magic.
5. Sticker Roll-Up + Mini Color Pencils Set
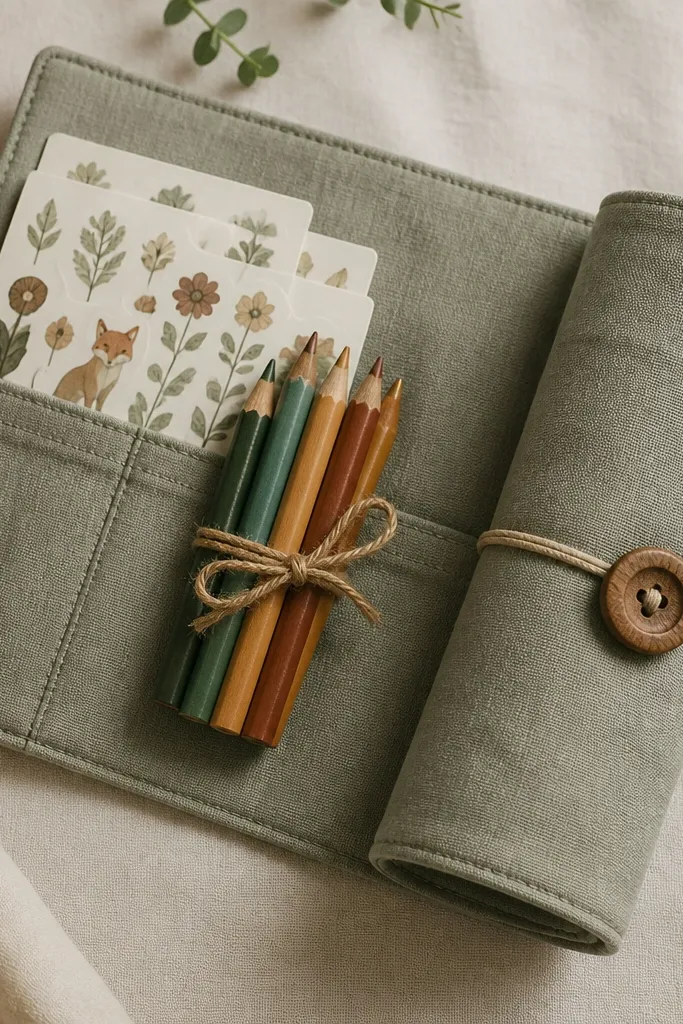
A roll-up looks more expensive than it costs because it’s structured and fun to open. You can use leftover fabric and a simple pocket layout to hold stickers and pencils. The mini pencils are cheap but feel special when they’re neatly tied and matched with a single color theme. This set works great for long car rides and waiting rooms.
Quick tipHot glue a thin strip of felt at the pencil tips so they don’t poke through the fabric over time.
Cut fabric to about 12x14 inches and fold into a roll. Sew or glue pockets so you can slide sticker sheets flat. Add 6-8 mini pencils and tie with twine. Close with a button and loop or a fabric snap.
One warningUsing flimsy fabric that won’t hold shape — the roll slumps and looks cheap.
6. No-Bake Playdough Kit with Cookie Cutter Labels
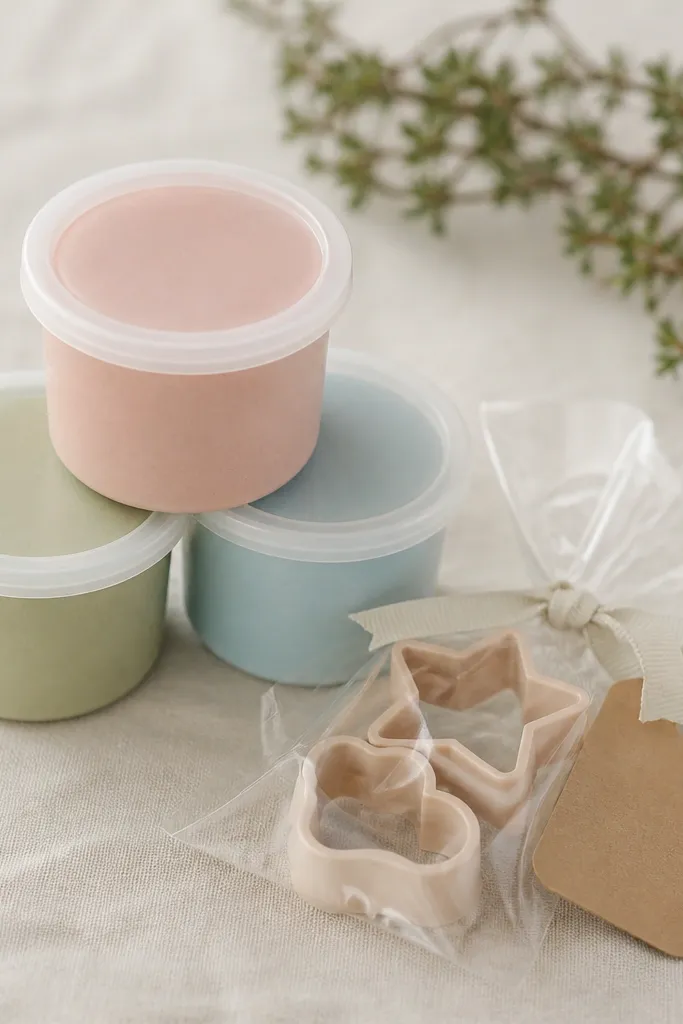
Kids get instant use, and you can keep costs low with flour, salt, water, and oil-based food coloring. The cookie cutters are the “fun multiplier.” Pastel jars look clean and calm, which makes the set feel thoughtful. Include a recipe card so parents can restock and kids can repeat the fun.
Use 4 oz containers with snap lids. Make playdough in batches: flour + salt + water + cream of tartar (if you have it) and a little oil. Divide into three bowls and tint with pastel food coloring. Add one cookie cutter per set in a small clear bag, then tie a kraft ribbon around the containers.
Label the lids with color names and a simple “Mix, knead, play” line.
Leaving labels off — playdough jars look identical and kids lose track of which is which.
7. Lemon Sugar Lip Scrub in Tiny Pots
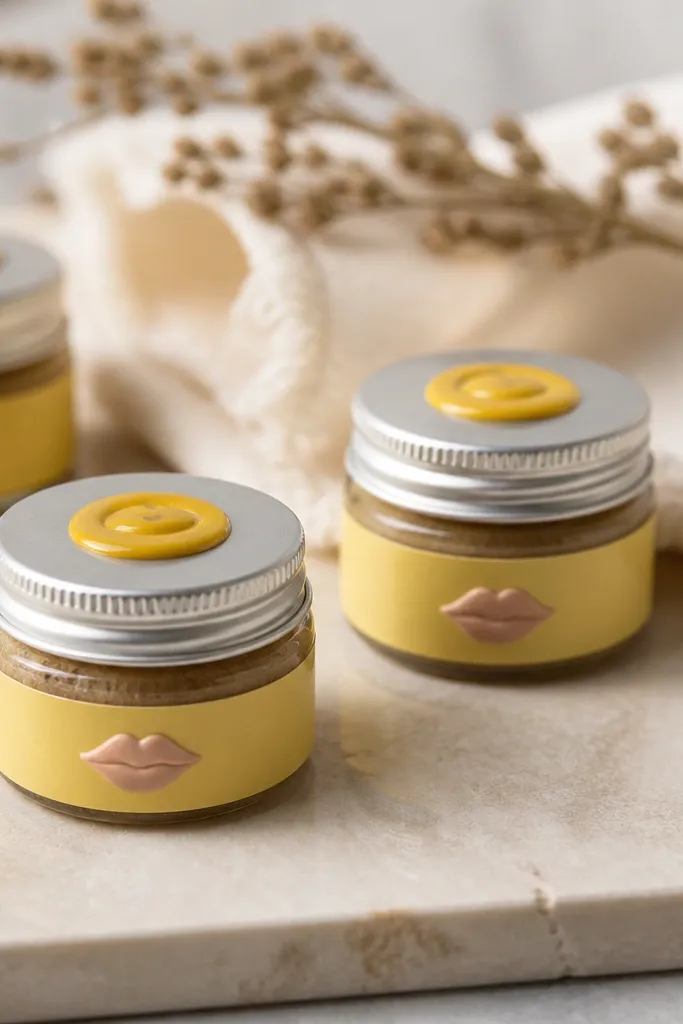
This set is budget-friendly because a lip scrub uses pantry ingredients and tiny packaging makes it feel upscale. Lemon sugar looks bright and cheerful, and kids love the smell, even if you keep it for older kids or teens. The tiny pot makes it easy to gift without bulky wrapping. It also photographs well for holiday cards.
Quick tipWrite a “Patch test” line on the back of the label and keep the scent light.
Use 1.5-2 oz cosmetic jars. Mix fine sugar with a small amount of carrier oil (coconut or olive) and add a few drops of lemon extract. Stir until it holds together like wet sand. Add a yellow label and seal the lid with a dab of clear tape or a small wax sticker.
One warningUsing coarse sugar — it feels scratchy and looks uneven when it settles.
8. Paint Chip Wind Spinner with Mini Twine Kit
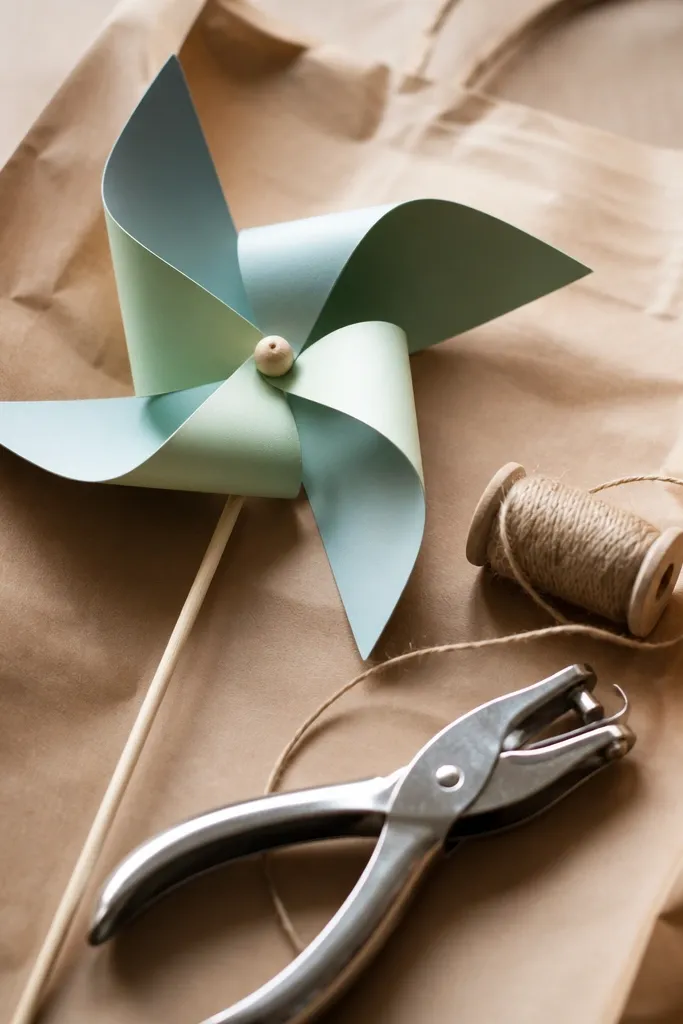
This set is a DIY craft gift that looks artsy but uses scraps. Paint chips are free or cheap, and the spinner gives instant visual payoff when it moves. Pair it with a mini twine kit so kids can hang it. The kraft bag keeps it budget and protects delicate pieces.
Quick tipAdd a clear tape hinge at the back of the spinner so it stays flat during shipping.
Cut paint chips into triangles or circles and punch a center hole. Stack them on a skewer with a small bead and tie twine at the top. Include a small spool of twine and a pre-cut hook loop made from pipe cleaner.
One warningUsing thick card stock without a hinge — it won’t spin smoothly.
9. Friendship Bracelet Kit with Bead-Color Instructions
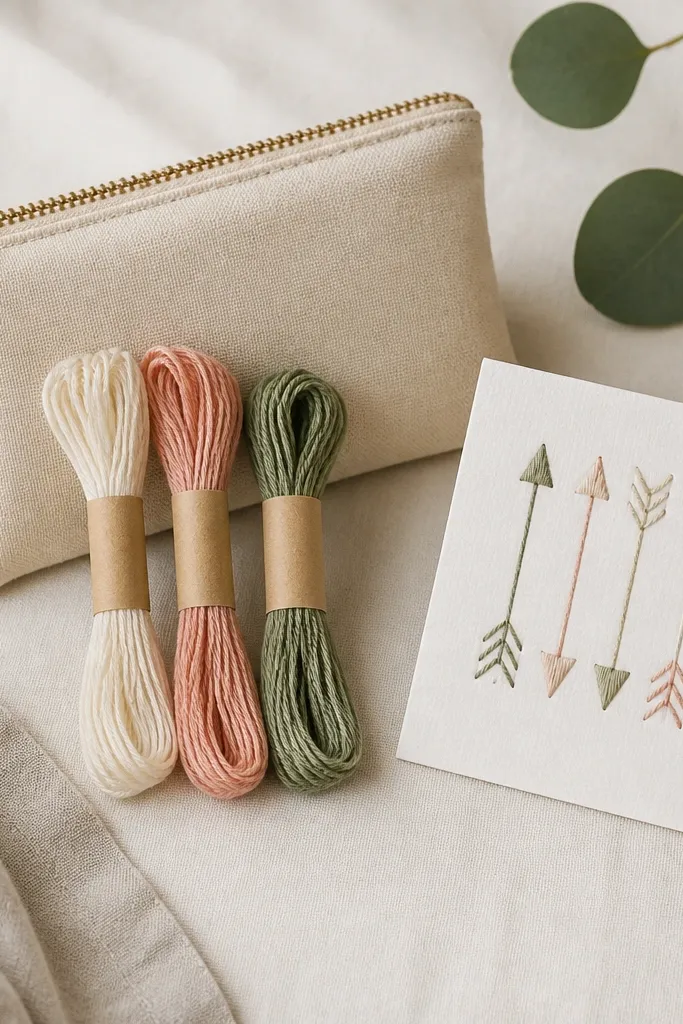
Embroidery floss is cheap and the colors make it feel like a premium set. I’ve handed these out at classroom parties — kids get excited because they can finish something quickly. The instruction card is the difference between “materials” and “a gift.” Keep it to one knot pattern so it’s doable the same day.
Quick tipInclude a safety pin to attach the floss to a clipboard while tying.
Use 6x9 inch pouches. Choose 3 floss colors and cut lengths around 24 inches each. Tie the bundle with a short ribbon. Write the knot steps on a card with big arrows and add a tiny icon for each step.
One warningPacking loose floss ends without bands — it tangles and kids quit.
10. Mini Herb Garden in Egg Carton Trays
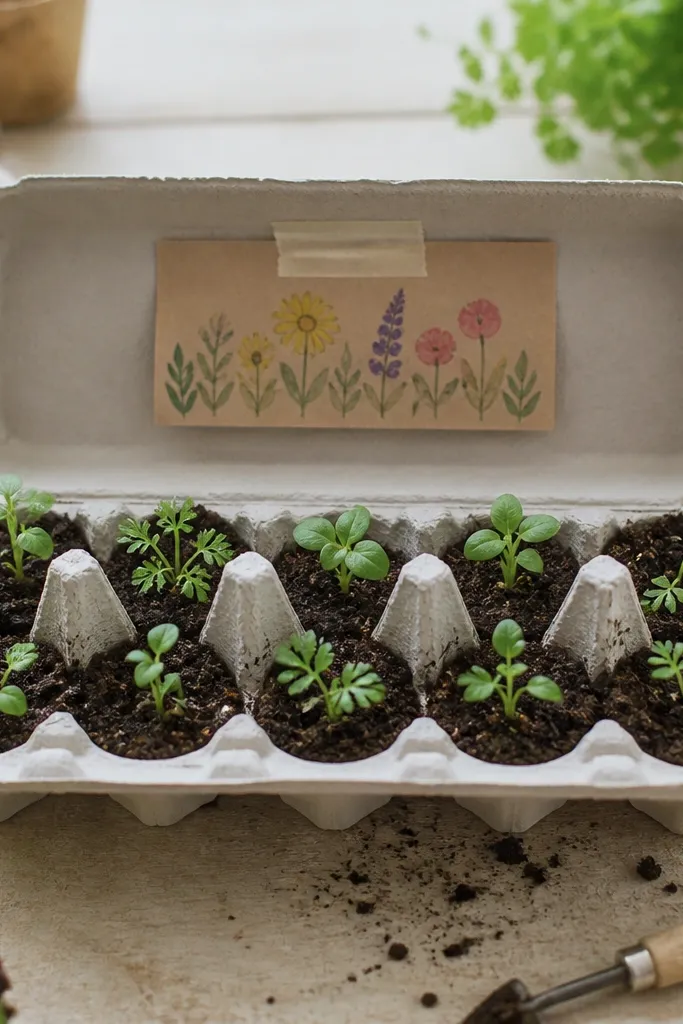
It’s a live gift that costs almost nothing and teaches patience. Egg cartons are perfect for small seed starts, and the labels make it look intentional. Choose one herb per set (basil or cilantro) so kids don’t get overwhelmed. The set stays cute even after it’s used because the carton becomes part of the garden.
Quick tipWater the soil before gifting so seedlings look alive on day one.
Cut the egg carton into sections if needed and poke drainage holes. Fill cups with potting mix and plant 2-3 seeds per cup. Tape a seed packet and a label card to the lid with planting depth and watering frequency.
One warningSkipping drainage holes — the soil stays wet and seedlings rot.
11. DIY Bath Bombs in Silicone Cupcake Liners
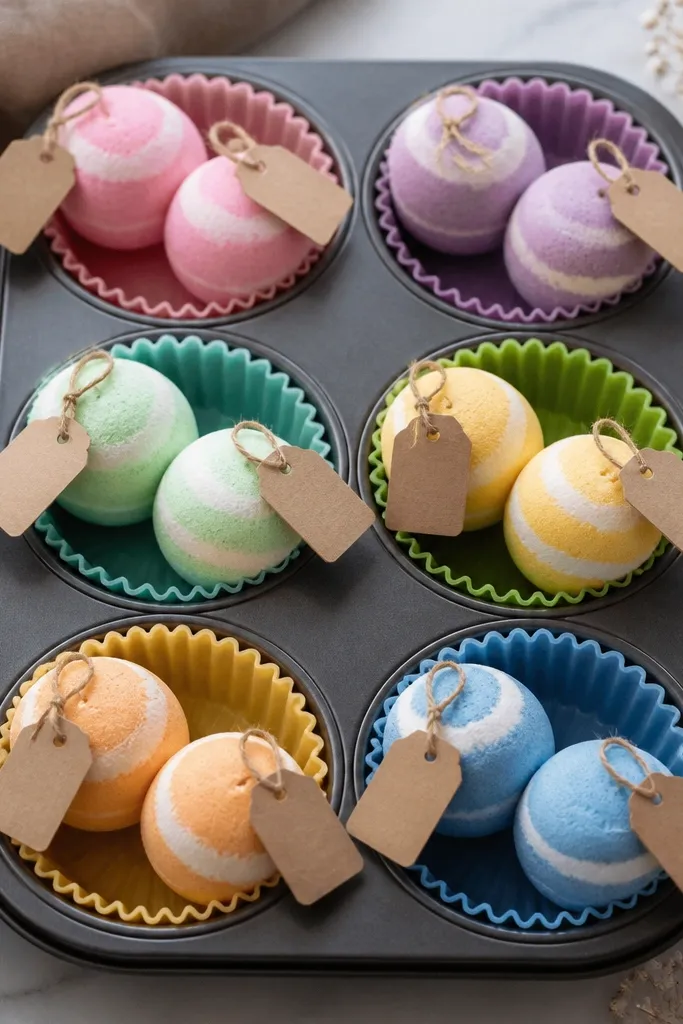
Bath bombs look like you paid more than you did, especially when you pour them into pretty silicone liners. Color swirls hide small imperfections and make each one look different. Add a small “how long to soak” card so kids use them right away. This set is great for winter birthdays and holiday gift bags.
Quick tipSpray a tiny amount of water only — too much makes them fizz in the mold.
Mix citric acid, baking soda, and cornstarch with a little oil and water mist. Add color in separate batches and layer in silicone liners. Let them dry overnight, then pop out and pack into a small box with tissue and a label.
One warningPacking bath bombs in a plastic bag with no padding — they crack and crumble.
12. Glow-in-the-Dark Night Sky Sensory Jar
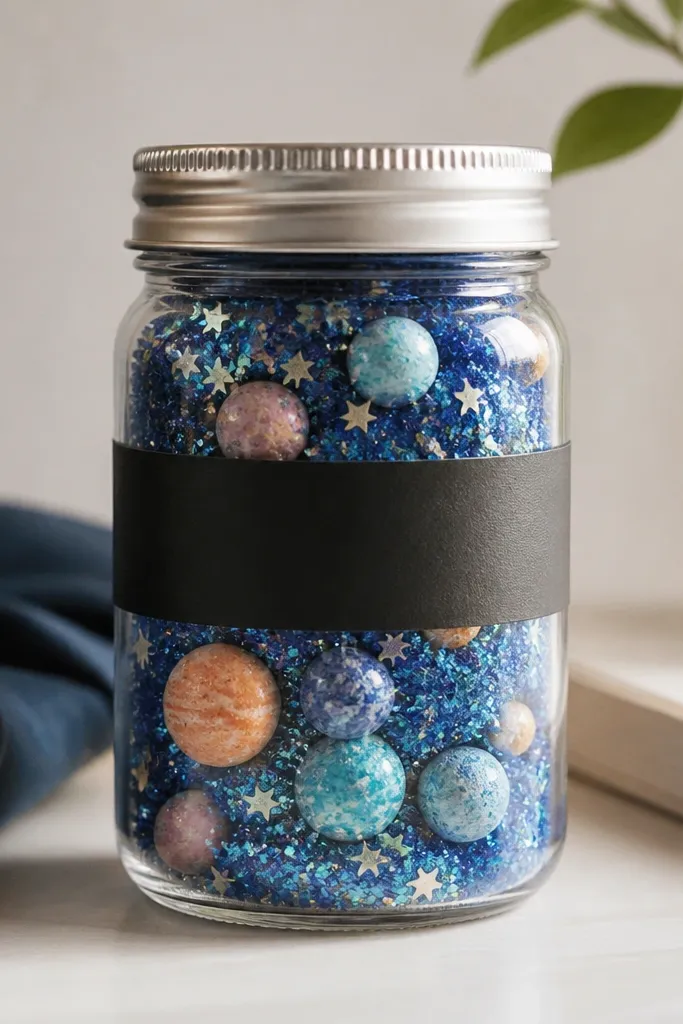
This is the kind of gift kids love because they can trigger the effect. Glow-in-the-dark star confetti and blue glitter make a night-sky look without complex materials. The jar stays safe and contained, so it works for younger kids. Tie the jar to a bedtime routine with a simple card.
Quick tipCharge the stars under a flashlight for 30 seconds and write that on the card.
Use 16 oz jars. Add clear baby oil or glycerin-based glitter gel (check what you have) plus blue glitter and star confetti. Add one or two foam shapes for planets. Wrap a strip of black paper around the jar and secure with double-sided tape.
One warningOverloading glitter — it turns cloudy and clumps.
13. Desk Buddy Bookmark Set with Lamination Tape
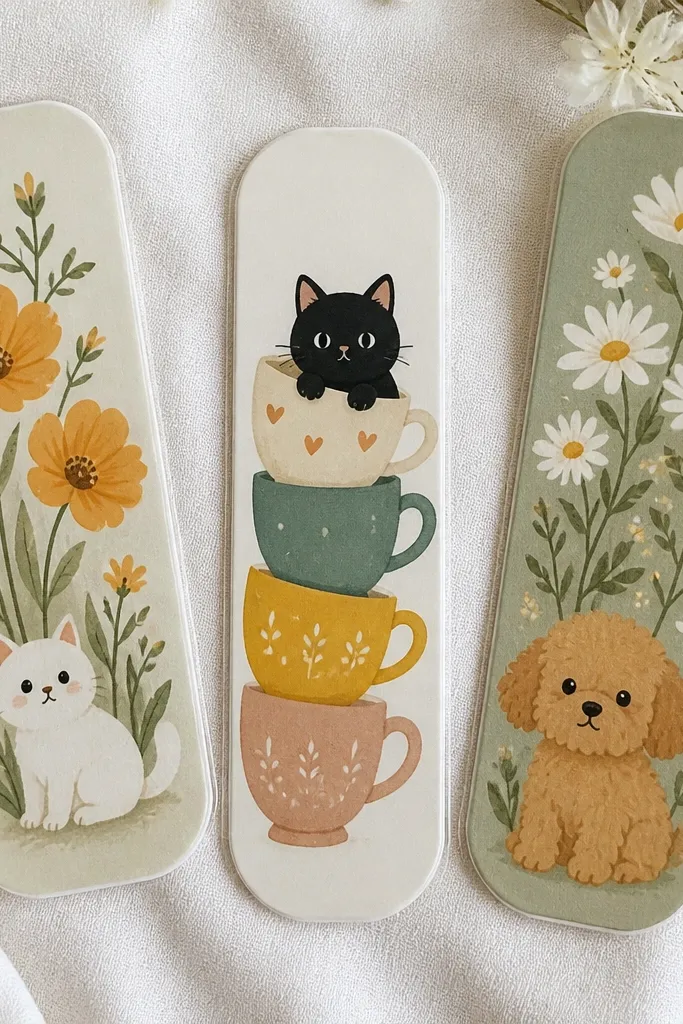
Bookmarks are cheap, but the lamination tape makes them feel sturdy and last through messy hands. Use thick cardstock and draw with marker so the colors stay crisp. Add one mini “reading challenge” card to make it a set, not a single item. This works for book lovers and teacher gifts.
Cut bookmarks to about 2x7 inches. Draw a simple character or icons (stars, hearts, animals) in three color themes. Laminate with clear packing tape on both sides, then punch a small hole at the top and thread ribbon.
Color the edges with a matching marker before taping so the tape doesn’t show white paper.
Using thin printer paper — it wrinkles and curls fast.
14. Suncatcher Tissue Paper Window Ornament
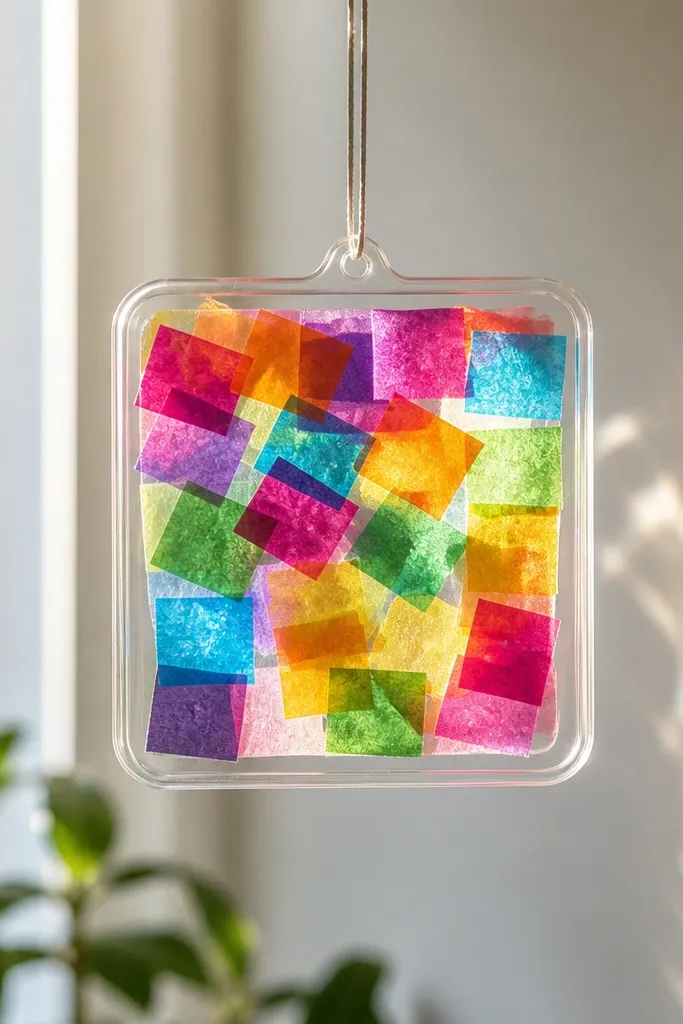
Tissue paper looks bright and expensive when it’s sealed properly in a frame. This set gives kids a craft plus a decor item they can hang. Use a limited palette like 5 colors so it looks clean rather than random. The light-through effect is the payoff.
Quick tipKeep tissue pieces slightly overlapping to avoid clear gaps that look patchy.
Use small plastic picture frames or craft hoops. Cut tissue paper into squares and glue them down with a thin layer of decoupage glue (or diluted white glue). Seal the top with another thin coat. Tie a ribbon or string for hanging.
One warningUsing too much glue — it soaks through and makes the tissue look dull.
15. Glitter Slime Kit with Clear Instructions Card
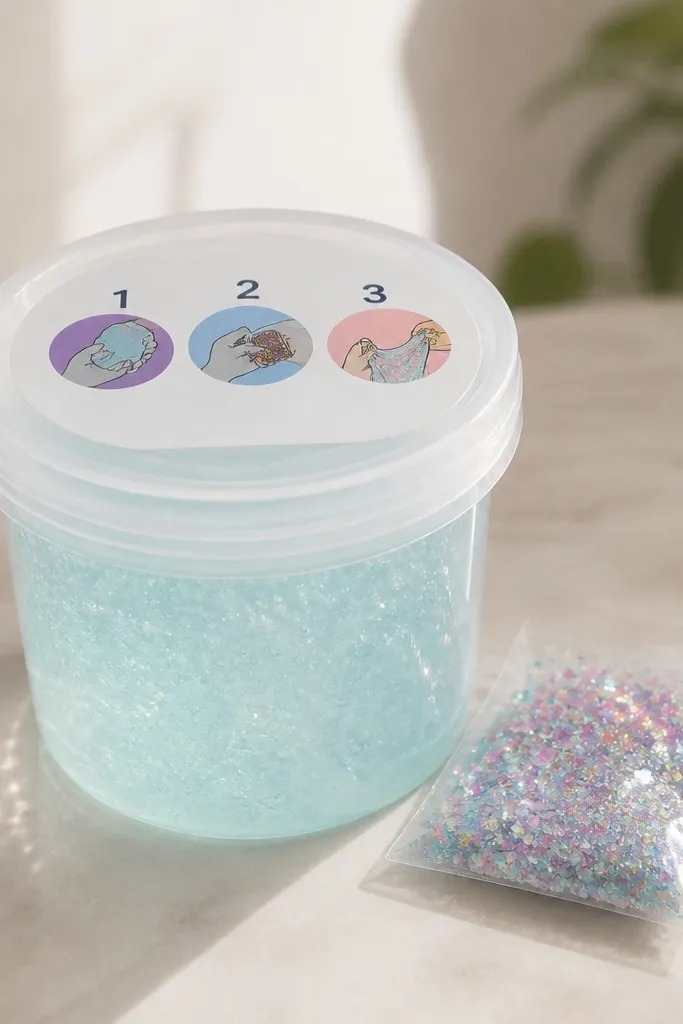
Slime gifts feel like a party in a box, and you can control the mess by packaging everything separately. Clear cups let kids see the texture, and glitter adds that instant “whoa.” A simple instructions card keeps it from turning into chaos. This set is best for older kids who can follow steps.
Quick tipWrite “If sticky, add 1 drop at a time” on the card so it’s fixable.
Use 4-6 oz clear cups. Make slime with basic glue and contact lens solution (if you use that method) or buy a slime base and portion it. Add glitter in a separate mini bag so kids can choose intensity. Include a step-by-step card with photos if you can.
One warningTossing glitter directly into the slime without mixing — it clumps into specks.
16. DIY Chalk Paint Mug with Tiny Paintbrush Wrap
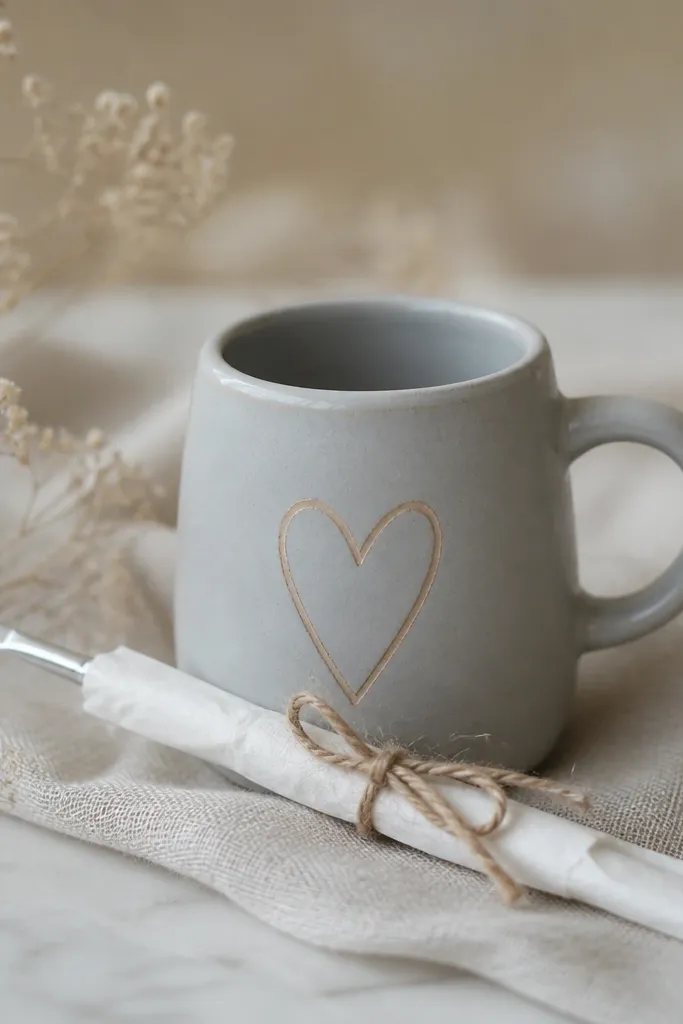
A painted mug is a budget-friendly gift that feels personal because you can keep the design simple. Chalk paint dries matte and hides brush marks better than glossy paint. Pair it with a tiny brush so the recipient can add one more detail later. The set looks cohesive because the brush wrap matches the mug color.
Use a plain white mug and chalk paint in light gray or pastel blue. Paint one side with a heart or name outline (keep it to 2-3 shapes). Wrap a 1-inch craft brush in tissue and tie with twine. Add a note with a quick “paint ideas” list.
Bake or seal the paint only if the product instructions say so — matte paint needs proper curing.
Painting right over a glossy finish without prep — the paint chips.
17. Mini Snack Build Kit in a Clear Favor Box
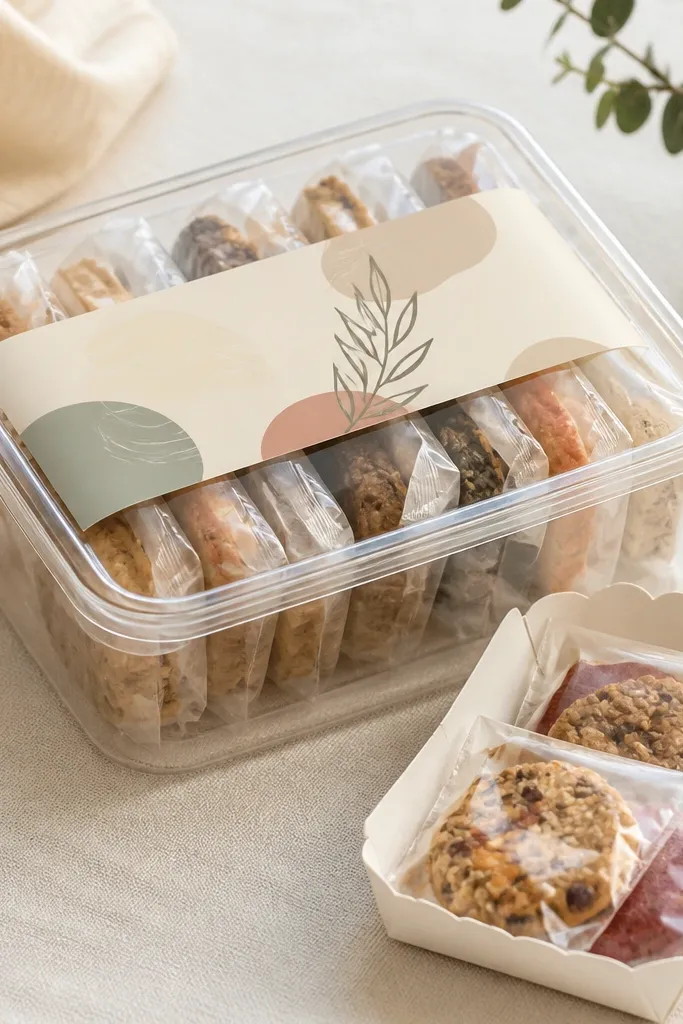
This set works because kids love building their own mix, and you can keep it budget by using pantry staples. The visual is important: clear box + neat layers makes it look expensive. Add one “theme” like movie night or nacho party so it feels curated without fancy packaging. Include a small game card to keep it fun.
Use a clear favor box around 6x6x3 inches. Add 1-2 wrapped snacks, plus 1 small bag of pretzels and 1 bag of candy. Place a paper tray divider (cut from cardstock) so items don’t slump. Tape a “Build your combo: pick 1 salty + 1 sweet” card on the lid.
Use matching color washi tape on every bag so the set looks coordinated.
Throwing loose snacks in the box — they get crushed and the box looks messy.
18. Hand-Sewn Felt Monster Keychain with Button Eye Card
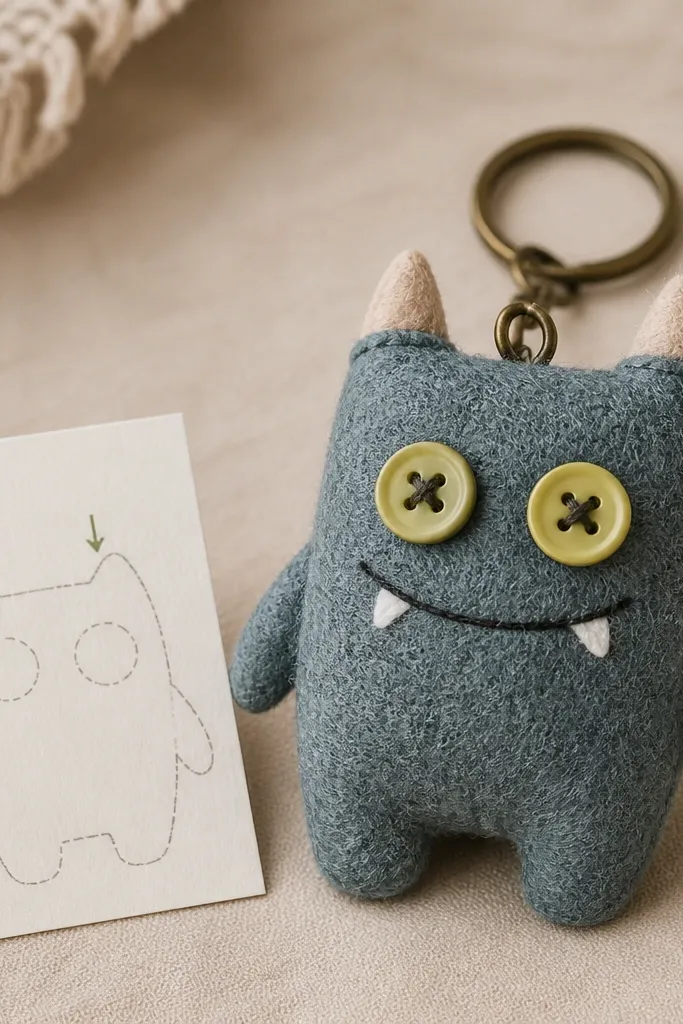
Felt keychains are cheap because felt sheets are affordable and the pieces are small. Button eyes add a cute, tactile detail that makes it look handmade even from a distance. The monster theme is forgiving — kids can be a little off and it still looks charming. This set also works as a craft kit if you include extra felt pieces.
Cut one felt shape (about 4 inches tall) and add a second layer for thickness. Sew around the edges with blanket stitch and attach two buttons for eyes. Include a small “assembly reminder” card and a key ring attached to a fabric loop.
Use embroidery thread in black or dark brown so the stitches read cleanly.
Using hot glue for the whole thing — it can lift and look uneven.
19. Craftora DIY Tea Party Kit with Mini Infuser + Labels
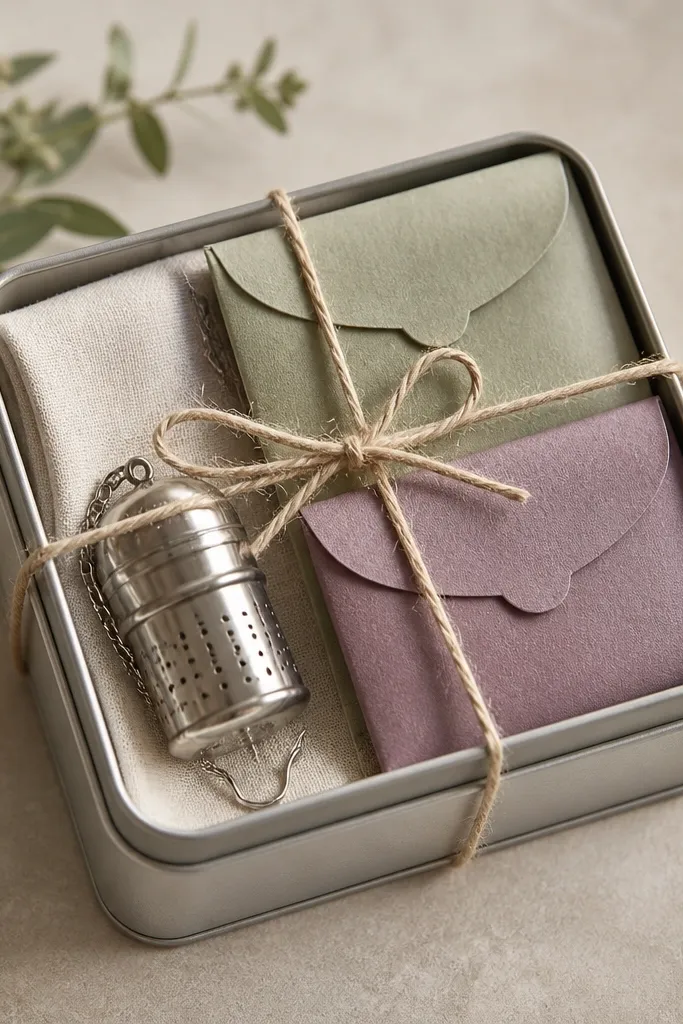
A tea party kit looks fancy when you put everything in a tin and label the parts. You can keep costs down by using loose leaf tea in small portions or tea bags you split into envelopes. The infuser is the hero item and gives a clear purpose. The mini napkin makes it feel like an event, not a container.
Quick tipMake the steeping card a single sentence: “Steep 3 minutes in hot water.”
Use a small round tin. Add a mini infuser spoon, two tea sachets in paper envelopes, and a folded 6x6 inch cloth napkin. Tie a ribbon around the tin and stick a label on top with steeping time written in simple terms.
One warningUsing no labels — tea gifts get ignored because nobody knows what’s inside.
20. DIY Pom-Pom Animal Beanie Pom Kit in Small Bag
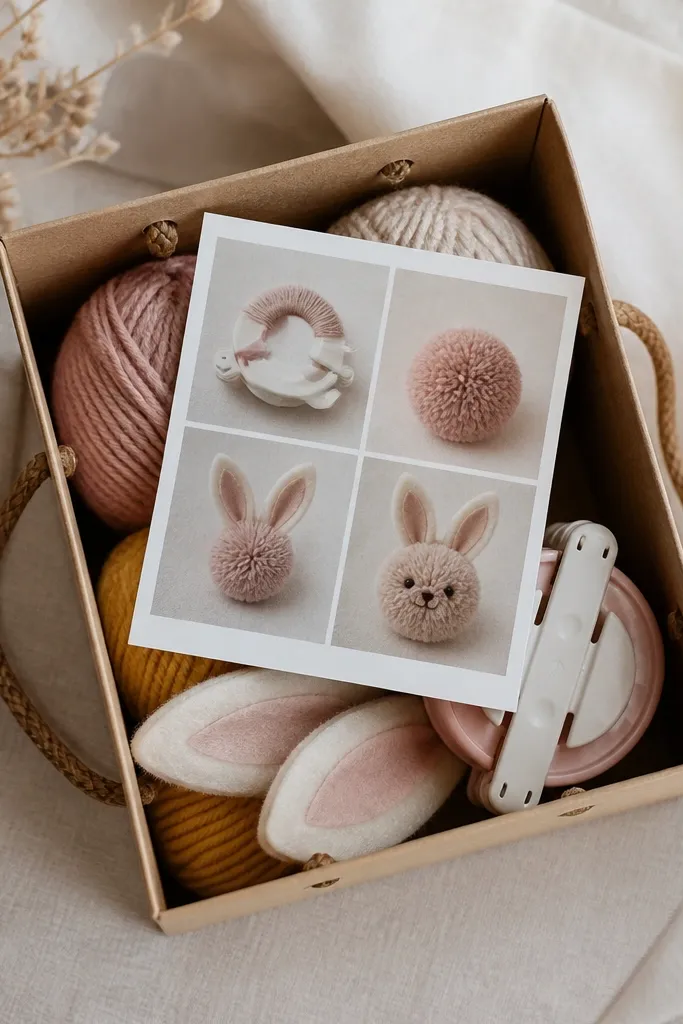
This is a craft kit style gift that teaches a skill fast. Yarn pom-poms look adorable, and you can turn the same base materials into different animals by swapping felt ears and tiny faces. The bag keeps everything together and prevents yarn from spilling. It also works for kids who like building things, not just using products.
Include a pom-pom maker (or cardboard template), a small bundle of yarn, and felt ear shapes cut to 1 inch. Add googly eyes or sew-on eyes. Put it all in a 6x10 inch kraft bag with a card that shows the steps in 3 photos.
Use yarn that has a similar thickness throughout so pom-poms come out even.
Including too many yarn colors — the kit looks chaotic and kids feel lost.
21. Sticker + Stamp Washi Tape Roll Gift Set
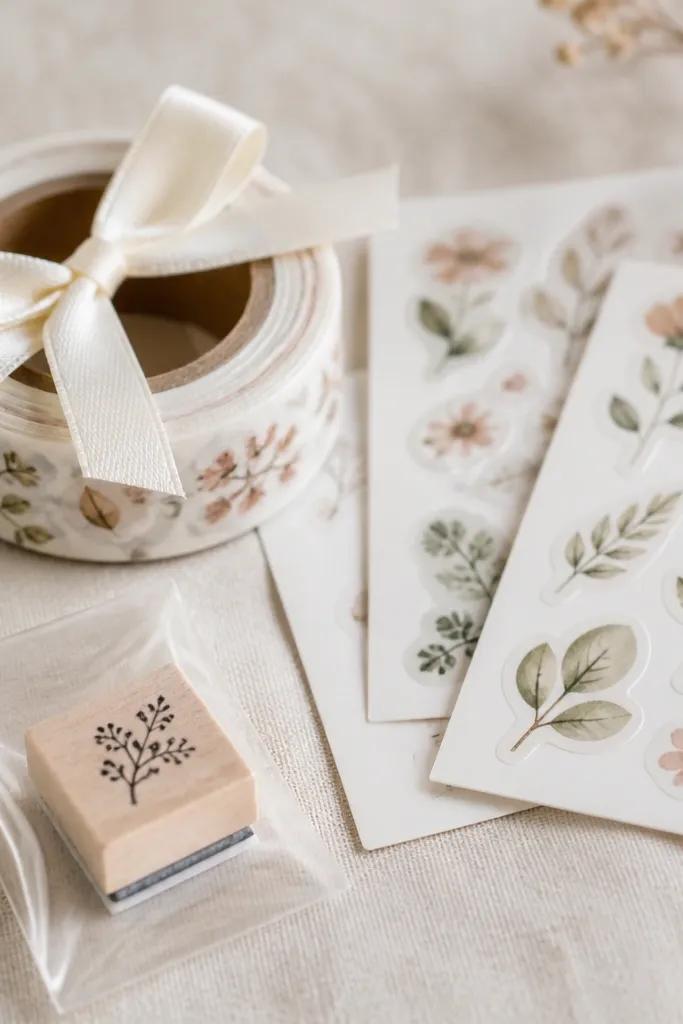
This set is cheap because you’re using craft accessories people already buy in bulk. A washi tape roll looks neat when it’s bundled and labeled. Add a small stamp and sticker sheets so kids get variety without a huge supply list. The finished roll fits in a bag, and it looks tidy.
Pick one washi tape theme (polka dots, rainbows, or space). Tie the roll with ribbon and add a small label strip on the ribbon. Put the stamp in a clear sleeve and tuck sticker sheets around the roll. Seal the whole thing in a cellophane bag with a kraft tag.
Write a “3 ways to use” card like “Wrap, label, decorate a card.”
Mixing random sticker themes with no color match — it reads like leftover clutter.
22. Popcorn + Movie Poster Recipe Card Gift Box
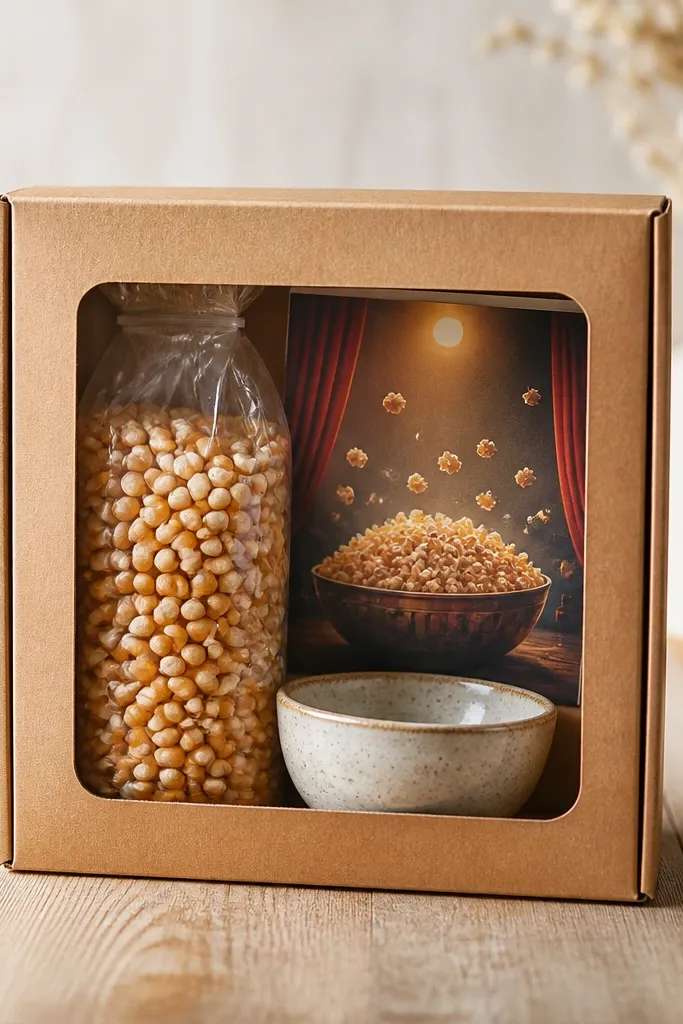
This set turns a snack into an activity. Popcorn kernels are cheap, and you can add flavored seasoning packets you make yourself. The movie poster style card gives it personality without adding cost. It’s also easy for kids to help measure, which means fewer “I’m bored” moments later.
Quick tipAdd a “microwave or stovetop” choice on the card so it works for different kitchens.
Use a small 6x6x4 inch box with a window or a simple kraft box. Add 1/2 cup popcorn kernels in a small bag, plus a seasoning packet (like cinnamon-sugar or chili-lime). Include a mini bowl or measuring spoon. Print a recipe card on matte paper and tape it to the inside lid.
One warningSkipping the instructions — popcorn gifts die on day one when nobody knows the method.
23. DIY Hand Scrub Bar in a Soap-Saver Bag
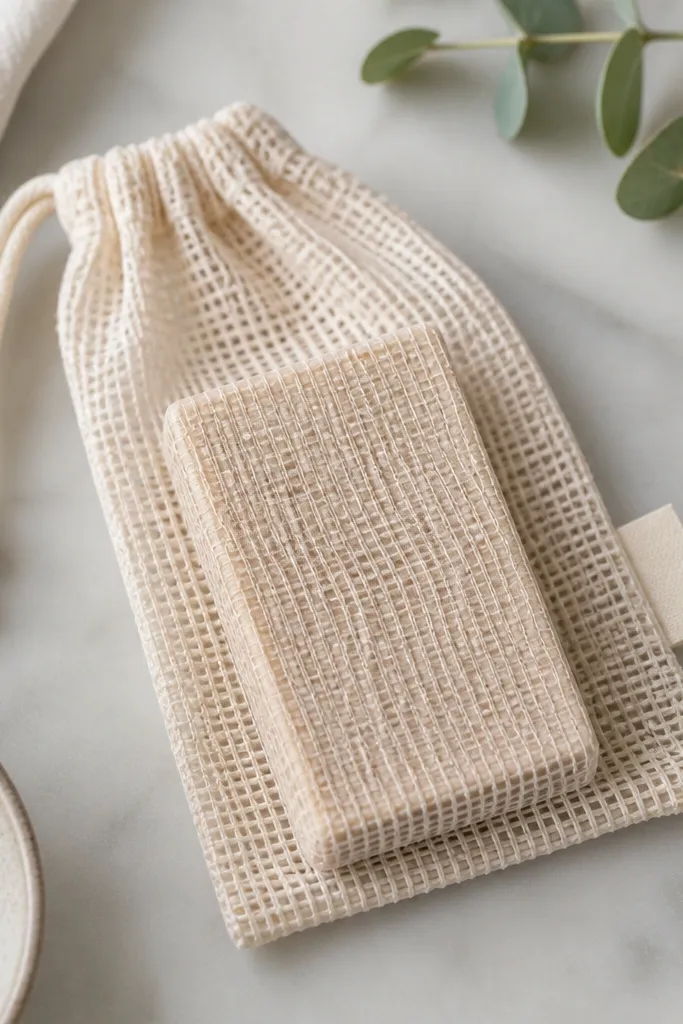
Scrub bars feel premium because they’re solid, tidy, and they last longer than loose scrub. Use sugar or coffee grounds blended with a simple soap base or melt-and-pour if you have it. The mesh bag makes it easy to use in the shower and keeps the bar from sliding around. Kids like the texture and adults like the clean hands.
Quick tipAdd a small safety note on the tag for younger kids: “Do not ingest.”
Wrap a scrub bar in parchment paper and slide it into a soap-saver bag. Tie the drawstring and add a label with “Use on wet hands, rinse well.” Choose a scent like vanilla or cocoa and keep it light for sensitive noses.
One warningUsing a scrub that’s too gritty — it leaves scratches and looks rough after a few uses.
24. Mini "Build a Story" Dice + Story Cards Kit
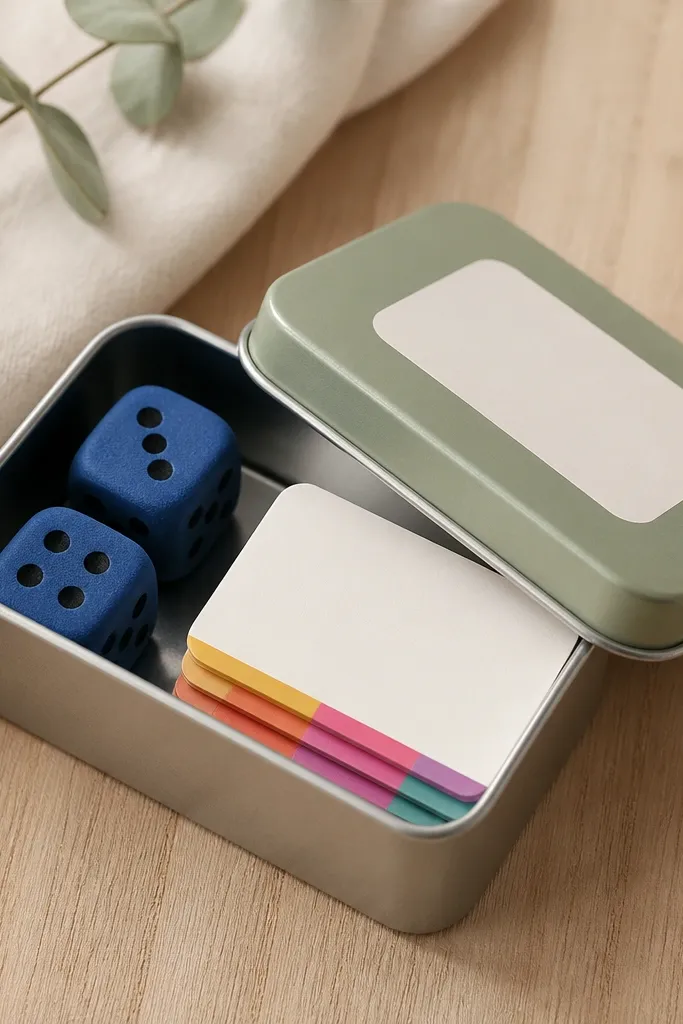
This is the kind of gift that keeps working after the wrapping paper is gone. You can make story prompt cards from cardstock and color-code them by category like characters, places, and problems. Dice add randomness, so kids don’t get stuck. A tin keeps it organized and makes it feel like a real game.
Use a small mint tin. Cut cardstock into 3x5 prompt cards and add color tabs. Make dice from foam craft blocks or include store-bought foam dice. Tape a quick rules card to the inside lid: “Roll 3 cards and write a story.”
Add one blank card labeled “Your own idea” so kids can break the pattern.
Handing over a big stack with no tabs — kids spread it out and lose the pieces.
25. Fabric Bookmark with Ribbon Tassel
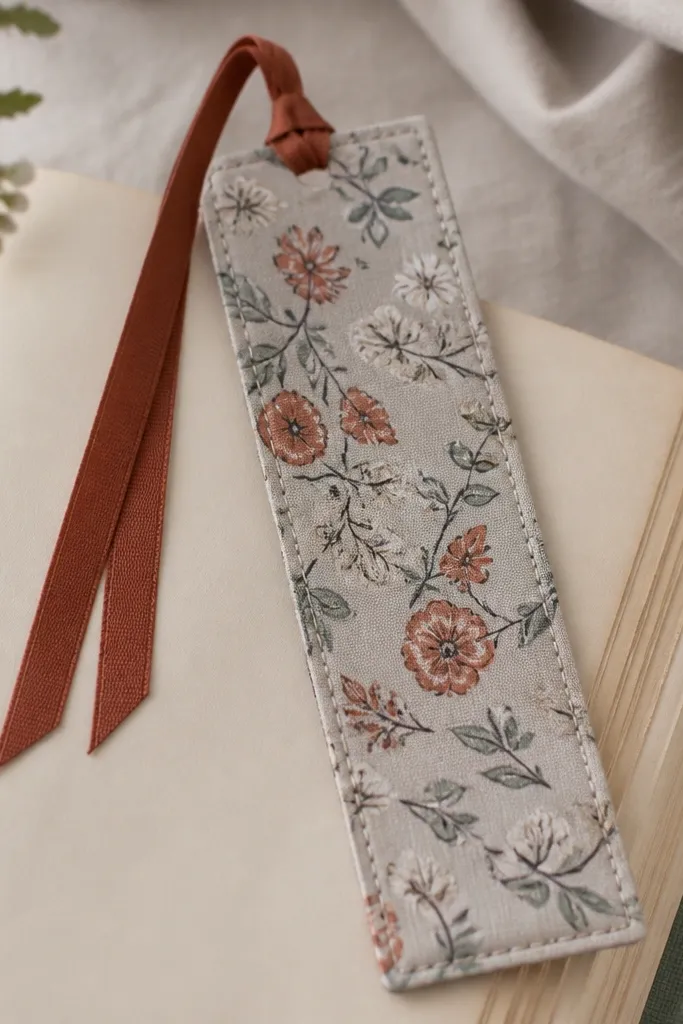
This is a budget gift that looks handmade because fabric has movement and texture. Use two cotton prints that share one color so it looks intentional. The ribbon tassel makes it feel fancy, and kids can grip it easily on pages. It’s also a great option for sewing beginners because the shape is simple.
Quick tipChoose quilting cotton — it holds shape and doesn’t curl like thin craft fabric.
Cut fabric rectangles about 2.5x8 inches and stitch along three sides, then turn right-side out. Add a ribbon strip at the top before closing the fourth side. Press flat and stitch the top edge for a clean finish. Gift it with one small book mark card and a pencil stub.
One warningSkipping pressing — folded fabric bookmarks look lumpy and cheap.