
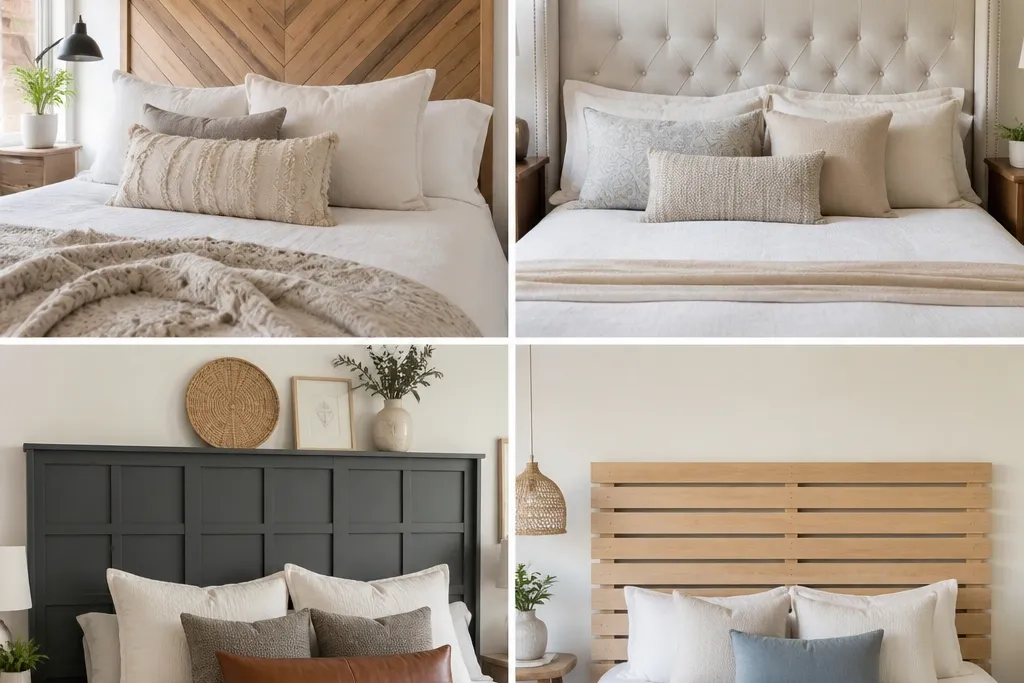
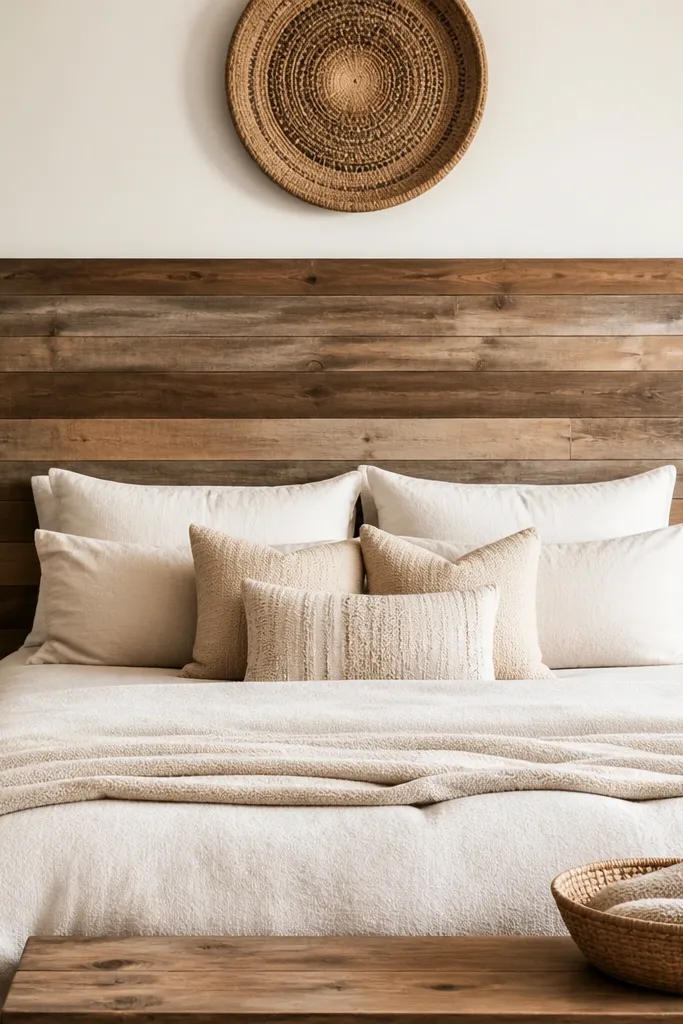
1. Plywood + Linen Wrap with Knife-Pleat Corners
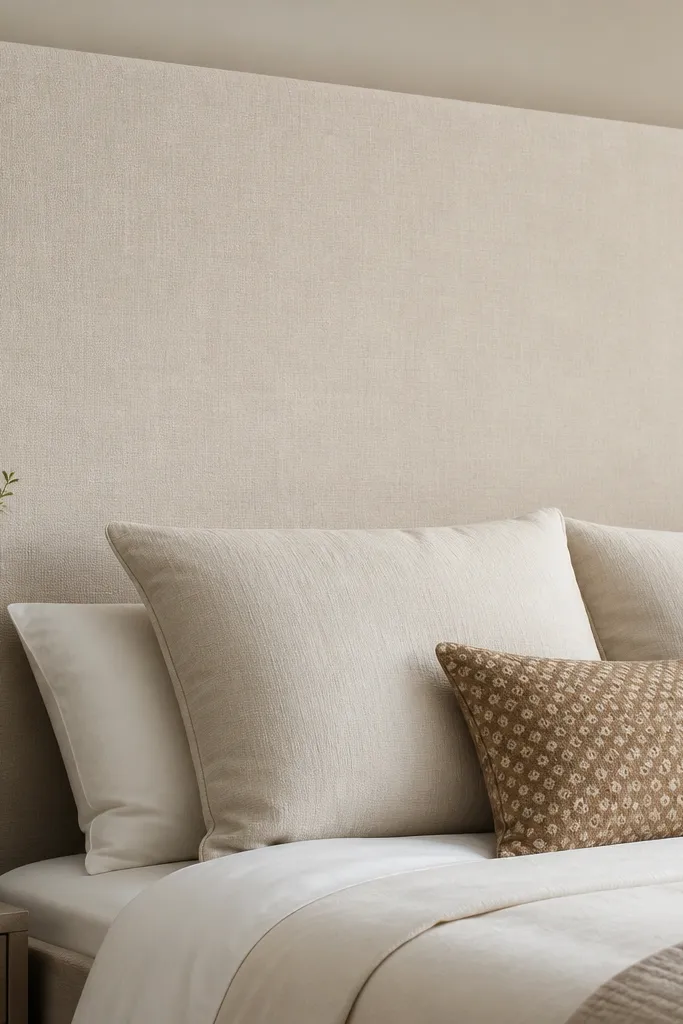
This headboard looks tailored because the linen is wrapped over a flat plywood core and the corners get controlled pleats. The oatmeal tone softens light and makes your bedding look richer, especially with white or taupe sheets. Knife pleats create structure without the bulk of full tufting, and they hide minor wall imperfections behind the bed. I’ve used this when I wanted a hotel vibe without spending on upholstery.
Cut 1/2-inch plywood to the finished size you want, usually 80 inches wide by 54 inches tall for a king with a little overhang. Wrap with 2 to 3 inches of fabric on each side, then make 3- to 4-inch knife pleats at each corner before pulling tight. Use a staple gun on the back edge and cover the back with a thin dust cover board.
Quick tipIron the linen before wrapping and keep the fabric face-down while you pull so you don’t stretch the weave unevenly.
One warningDon’t skip sanding the plywood smooth — grain will telegraph through linen and make it look rough.
2. Upholstered Channel-Quilt Panel with Foam Backer
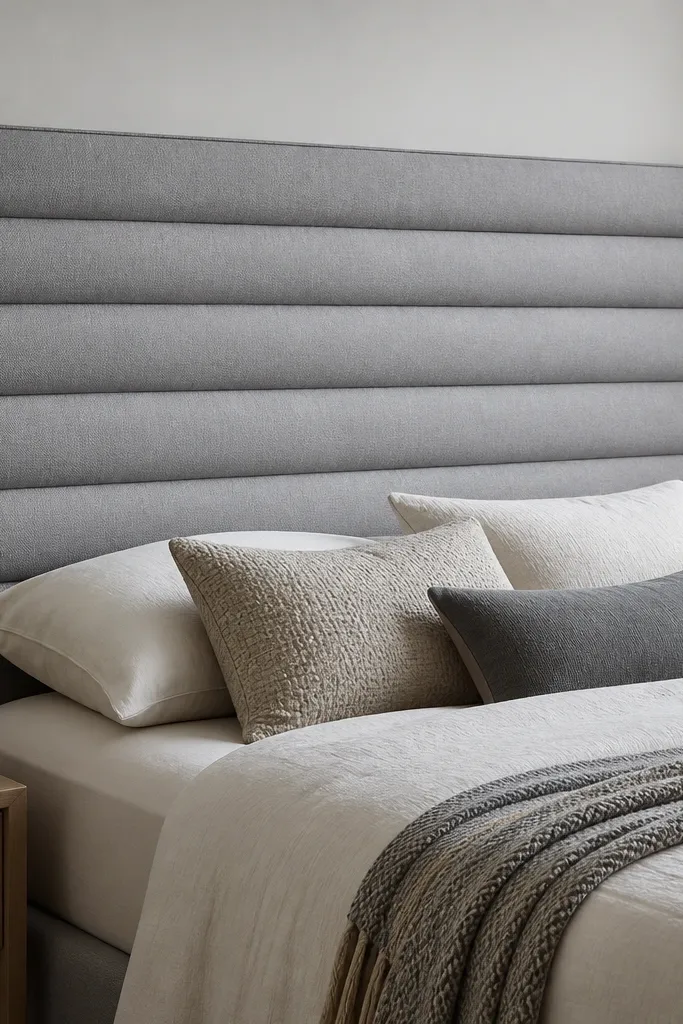
Channel quilting makes a king headboard look custom because it creates depth without complicated tufting buttons. Use medium-weight fabric so the channels hold their shape and don’t sag. I like pairing this with warm neutrals — cream bedding and brass accents — because the gray reads calm instead of cold. Foam behind the channels helps the panel look plush in photos and in real life.
Build a plywood panel and add a 1-inch foam sheet on top, then cover with batting. Mark channel lines with a chalk pencil, then sew simple piping or use fabric strips pinned and stapled along each line to create the channels. Keep your channels spaced 4 inches apart for a classic look that doesn’t feel busy.
Use a long straightedge and take time to mark lines lightly — crooked channels are what make DIY look off.
Don’t use super thin foam — it collapses and makes the channels look flat after a few weeks.
3. Cane Webbing Frame with Black Stain Strips
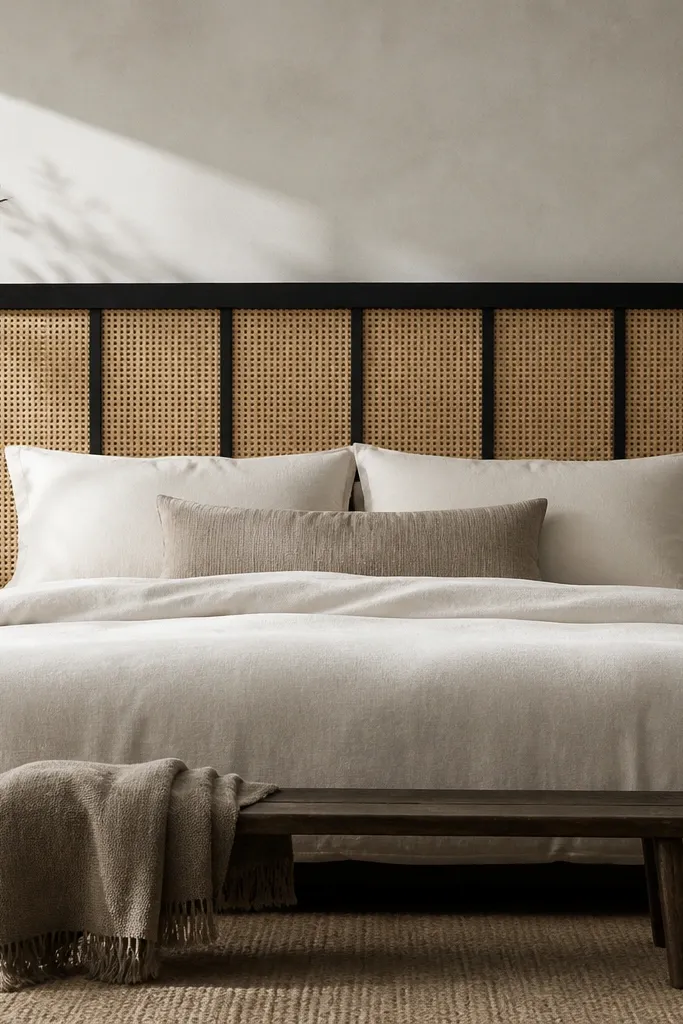
Cane webbing looks airy but still fancy, and it hides the “empty wall” problem behind a bed. The black frame gives contrast without needing fabric or bulky padding. This is the headboard I build when I want texture — it catches light and makes the room feel designed even with minimal decor. It also works great with rattan lamps and neutral bedding.
Make a frame from 1x2 boards for a light build, then stain with a deep black and let it cure fully. Cut cane webbing slightly larger than the opening, stretch it tight, and staple it to the back. Add two or three vertical strips spaced evenly to create the grid — for a king, 3 strips at about 18-19 inches apart looks balanced.
Quick tipSoak cane webbing briefly per the manufacturer directions if it’s stiff — it stretches cleaner and looks tighter.
One warningDon’t stretch cane loosely — sagging shows instantly and makes it look like a craft project.
4. Reclaimed Wood Slat Back with White Wash Gaps
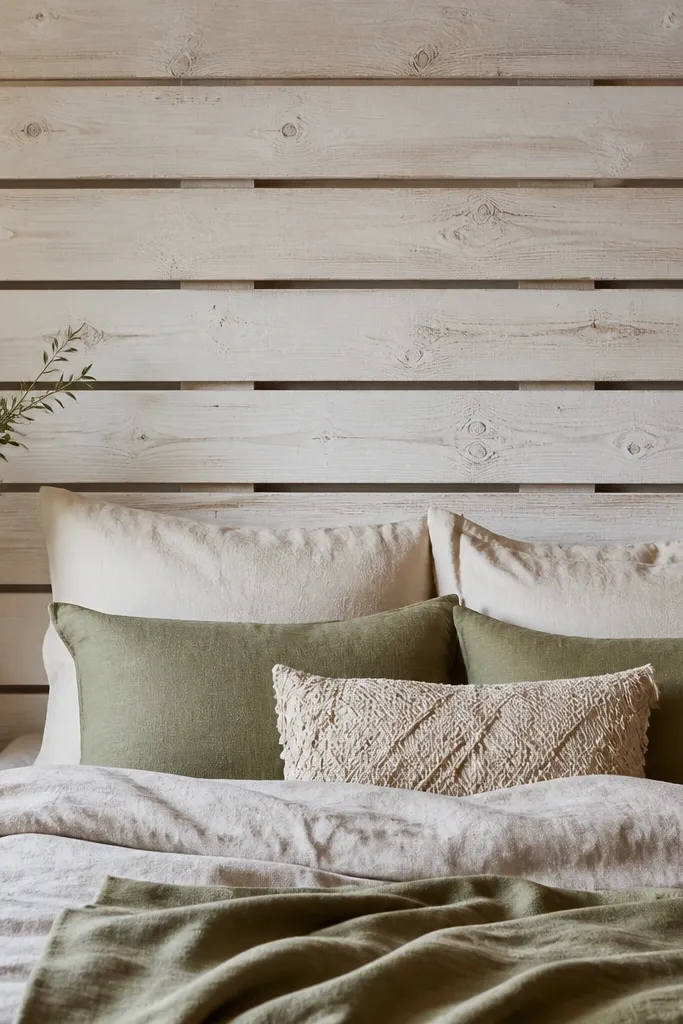
Slats create movement and make your bedding look more intentional because you get a textured backdrop. White-wash keeps reclaimed wood from looking too dark or heavy. I like leaving the gaps visible so light passes through a bit and the room feels brighter. This works especially well in a farmhouse, coastal, or modern cottage bedroom.
Use 1x3 or 1x4 slats cut to fit a panel sized around 80 inches wide by 50-54 inches tall. Space slats 1/4 to 1/2 inch apart for the striped effect. Screw and glue slats onto a backer board, then apply a thin white wash (diluted paint) and wipe quickly so grain still shows.
Quick tipSand each slat by hand at the ends first — end-grain is where splinters and roughness show.
One warningDon’t paint the slats solid white — you lose the grain and it looks like a budget DIY kit.
5. Vintage Door Headboard Repurposed with Trim Molding
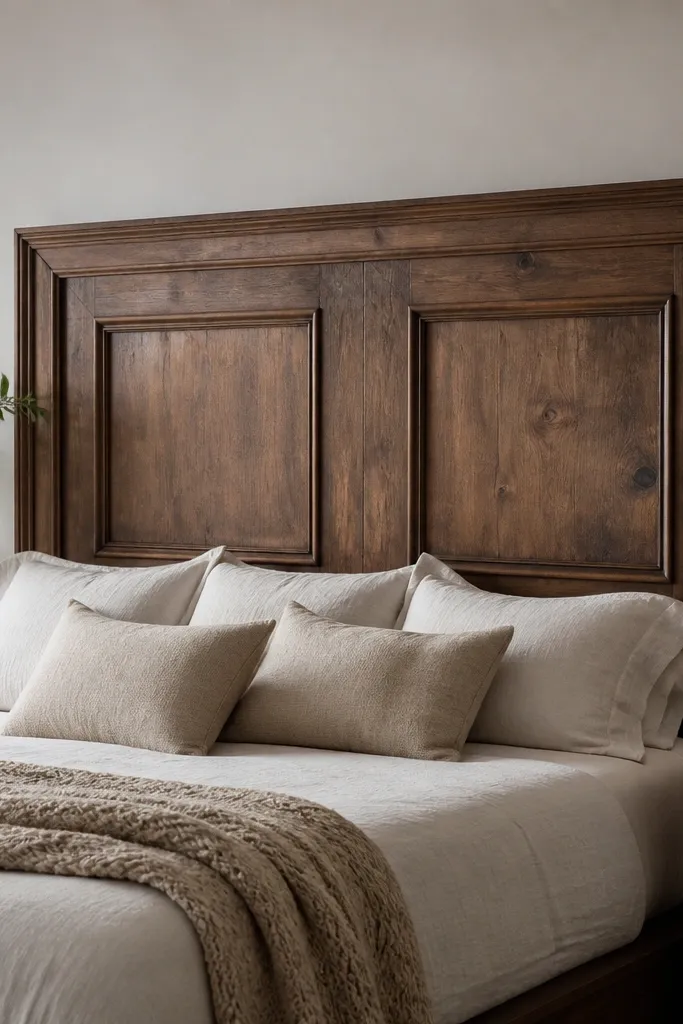
A reclaimed door already has built-in design lines, so the headboard looks “collected” instead of assembled. Adding trim molding around the inset panels makes it feel cohesive and intentional. I like this look because it hides imperfections — dents and old hardware marks become part of the story. Pair it with simple bedding so the door texture stays the star.
Use a door sized close to 80 inches wide and 55-60 inches tall. Remove hinges and knob, fill holes with wood filler, then sand and stain or paint. Add 1x2 trim molding around the inset areas using a miter saw, securing with finish nails and wood glue.
If the door has a slight warp, mount it to a flat plywood backing so it sits straight against the wall.
Don’t skip filling hardware holes — the uneven dark spots read cheap under bedroom lighting.
6. Macramé Rope Panel on a Slim Wood Rail
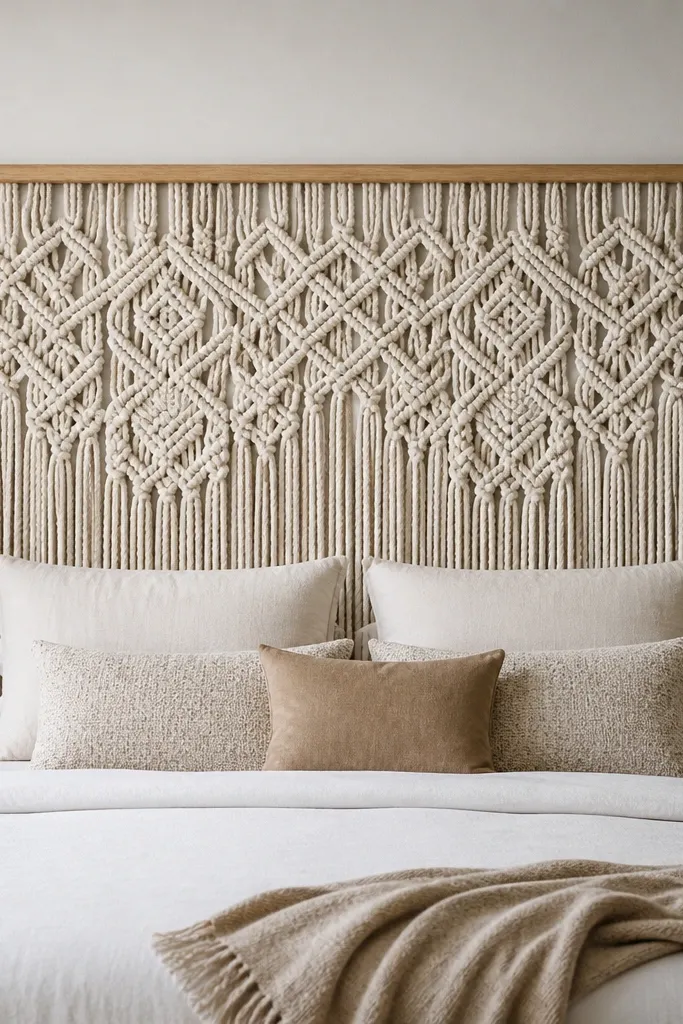
Macramé adds softness and a handmade feel without needing upholstery tools. The rope texture creates a warm, boho look that still feels airy because the design is open. This is also a great option if you want a headboard that doesn’t block light in a small room. Off-white rope looks best against dark frames or warm beige walls.
Build a top rail from 1x3 oak or pine, about 82 inches wide, then attach a thin backing board behind the rope knots. If you’re making it from scratch, measure a centered panel about 76 inches wide and 48-54 inches tall, then leave enough rope to tie and secure. Hang with two heavy-duty picture wire anchors to keep it level.
Quick tipTie a spare knot test on scrap rope first — some cord shrinks as it dries and tightens the pattern.
One warningDon’t use super thin craft rope — it tangles and looks wispy instead of substantial.
7. Faux Leather Wrapped Foam with Exposed Seam Trim
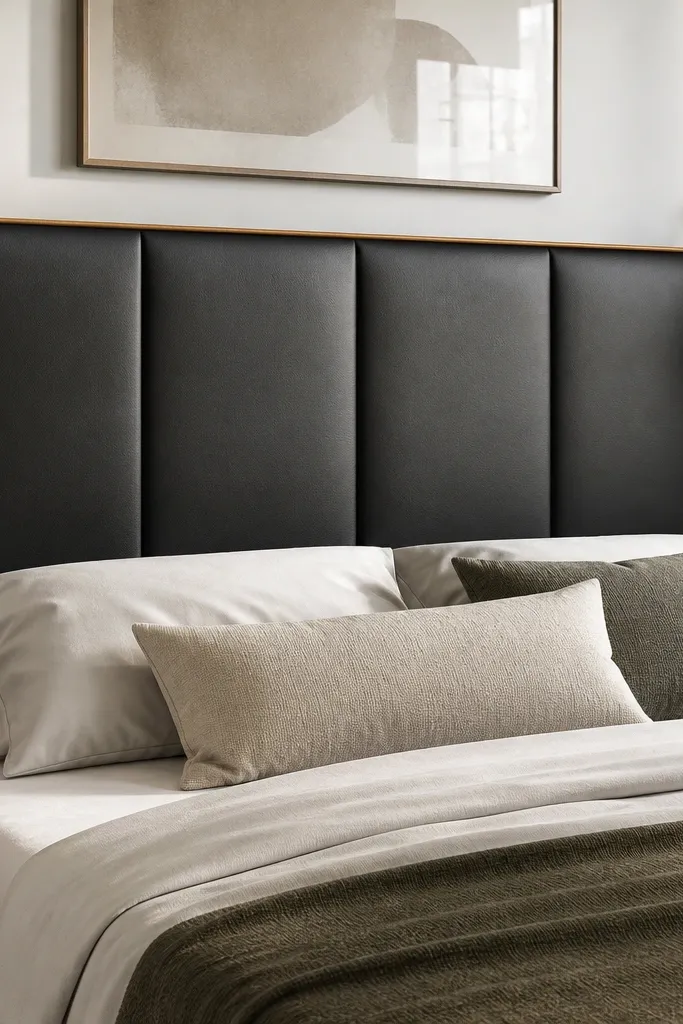
Faux leather gives you that clean, structured look without the cost of real leather. Exposed seam trim makes it feel custom and intentional, especially with a warm contrast like tan or camel. The foam backing gives it a thick, padded look that looks expensive against white walls. I like it for modern bedrooms because it reads sharp, not frilly.
Start with plywood sized around 80x54 inches. Add 1-inch foam and batting, then wrap faux leather taut. For seam trim, apply bias tape or faux leather strip around edges and across the panel in a simple frame pattern, securing with upholstery glue on the back.
Use a leather needle on your sewing machine if you’re stitching seams — it prevents skipped stitches and jagged edges.
Don’t pull faux leather too tight at the corners — it can wrinkle and create diagonal creases.
8. Pegboard + Stencil Accent with Spray Paint Depth
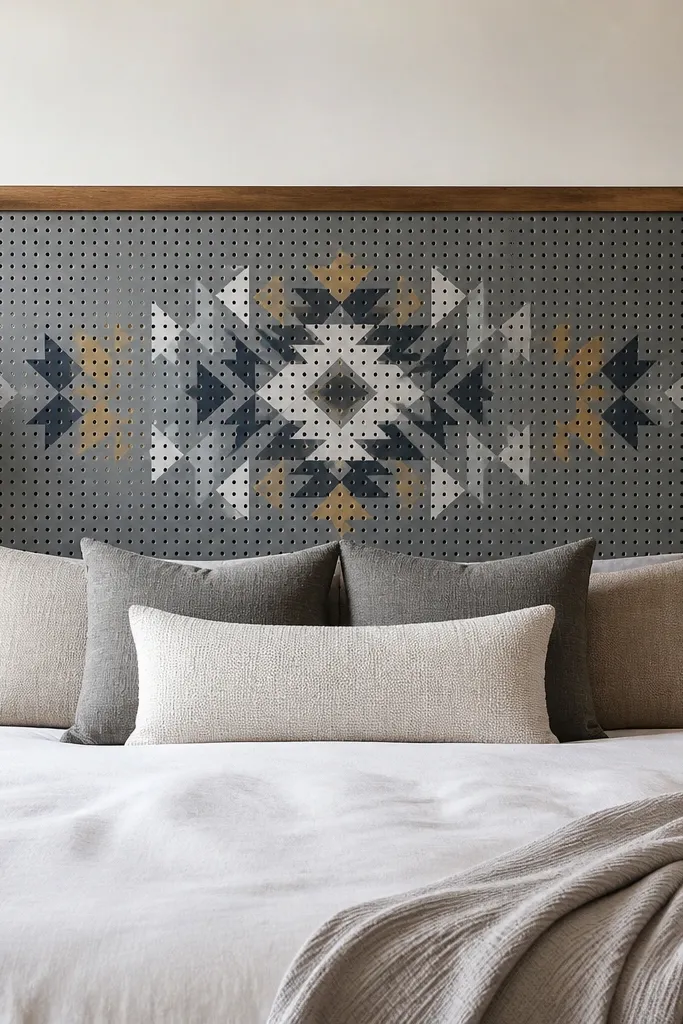
Pegboard is one of the easiest ways to get a graphic headboard without upholstery. The holes add texture, and the stencil gives you a bold focal point that still feels handmade. Layering spray paint creates depth so it doesn’t look flat or like decals. This is perfect if you want a modern look and you like changing decor seasonally.
Frame pegboard with 1x2 lumber to cover rough edges, then cut to about 80 inches wide by 52-54 inches tall. Sand the frame, paint the pegboard face with primer, then stencil and spray in layers — for example, light gray base, then darker charcoal stencil, then a thin highlight pass. Seal with a matte clear spray so it wipes clean.
Tape your stencil edges with painter’s tape and press it down firmly — spray can seep under and blur the design.
Don’t skip priming pegboard — raw board drinks paint unevenly and you’ll see patchiness.
9. 3D Fabric Panels with Foam Squares and Straight Stitch Lines
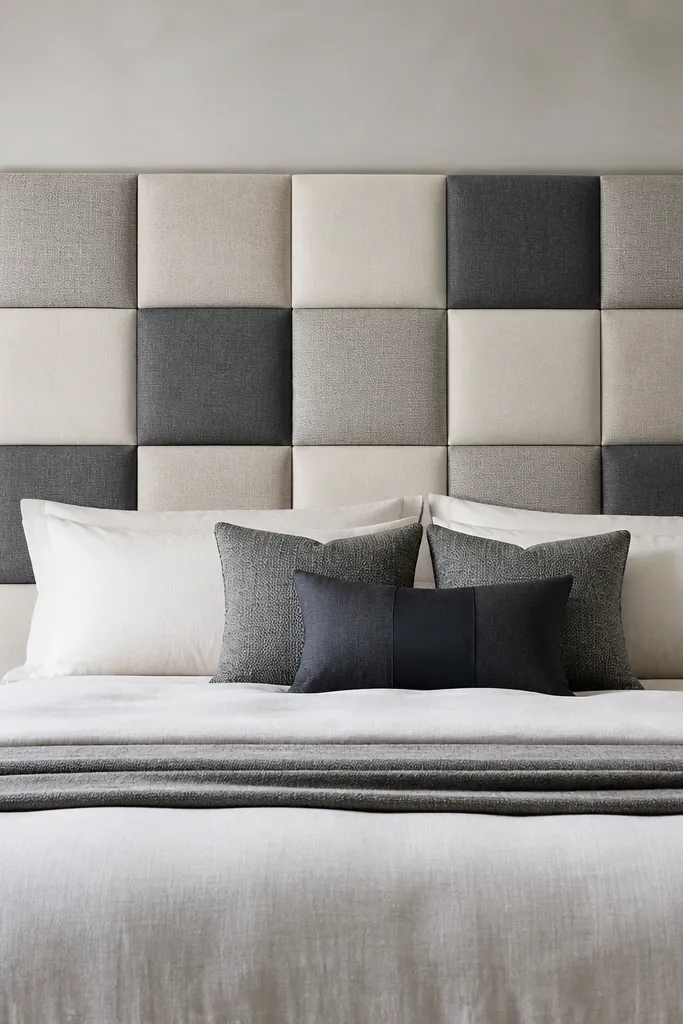
Raised fabric blocks look modern and expensive because they read as 3D even from across the room. Foam squares under fabric create the height, while straight stitch lines keep it sharp and tidy. I used a two-tone combo once — dusty blue blocks with soft white background — and it looked like custom furniture. This style also hides minor wall bumps because the surface is forgiving.
Cut foam blocks about 1.5 inches thick, and plan your grid. For a king width, a 5x3 or 6x3 layout works depending on your chosen block size; block sizes around 13-14 inches square look balanced. Cover blocks with fabric, then attach blocks to a flat backing with spray adhesive and small screws or strong glue through the frame.
Measure grid spacing from the center outward so the pattern stays symmetrical over a king bed.
Don’t rely on glue alone if you’re using thick foam — add mechanical fasteners into the backing so blocks don’t loosen.
10. Wood Lattice Headboard with Stained Chevron Accent
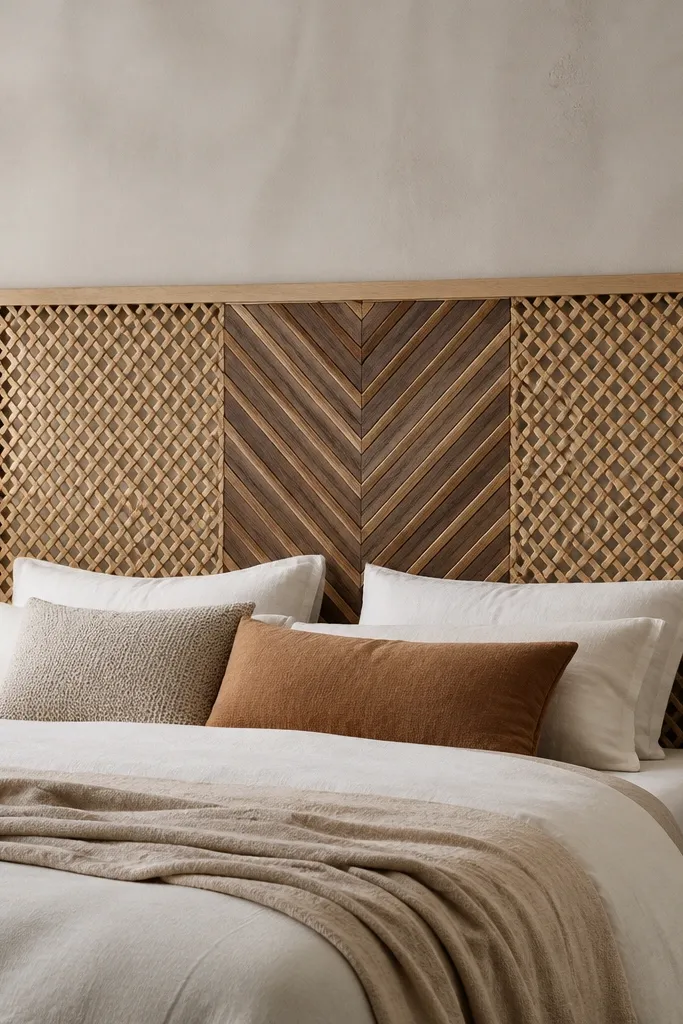
Lattice makes a headboard feel architectural without needing fabric. The chevron accent adds movement and keeps the design from looking like a simple grid. I like the contrast because it makes your bedding look more styled, especially with solid-color duvet covers. This is a great pick if you want wood texture but not heavy slats.
Use 1x2 frame boards for the outside, then attach 1/2-inch strips to form the lattice. Cut a chevron panel separately (thin strips arranged like V shapes), stain it darker, and attach it to the center. Keep the center chevron width around 36-40 inches so it doesn’t overpower the bed.
Quick tipDry-fit every strip and mark your overlap lines with pencil before you glue — lattice alignment is all about the first two strips.
One warningDon’t skip sealing — raw wood lattice picks up moisture and looks blotchy near the bed.
11. Rattan Roll-Up Shade Style Headboard
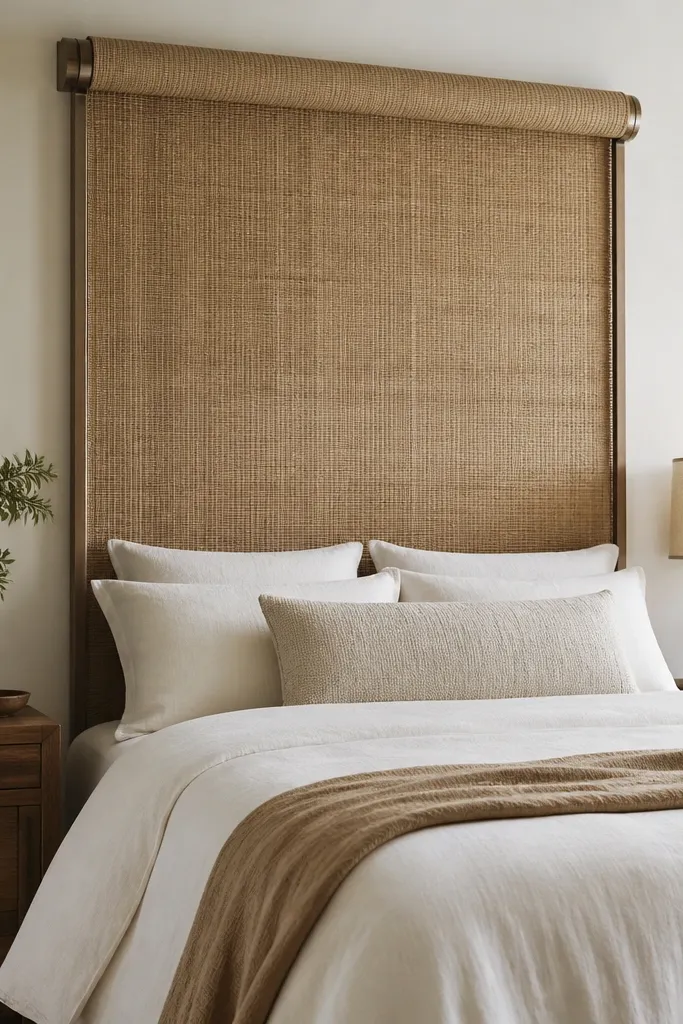
This one looks like a designer wall treatment, but it’s built from simple components. The woven texture gives warmth and hides wall imperfections. Because it has movement cues, the headboard looks lighter than a solid panel. I’ve used it in guest rooms where I wanted a stylish look that still feels relaxed.
Build a top rail from 1x3 wood and mount side supports so the woven panels stay taut. Use woven rattan panels or a woven shade kit material cut to size — aim for about 76 inches wide and 50-56 inches tall. Attach the bottom edge to a weighted strip or straight wood bar so it hangs flat.
Quick tipAdd a thin backing sheet behind the weaving if the wall is dark — it stops the wall from showing through.
One warningDon’t hang it without a straight bottom bar — woven panels curl and look sloppy fast.
12. Built-In Look with Wall Panels + Trim Frame (No Upholstery)
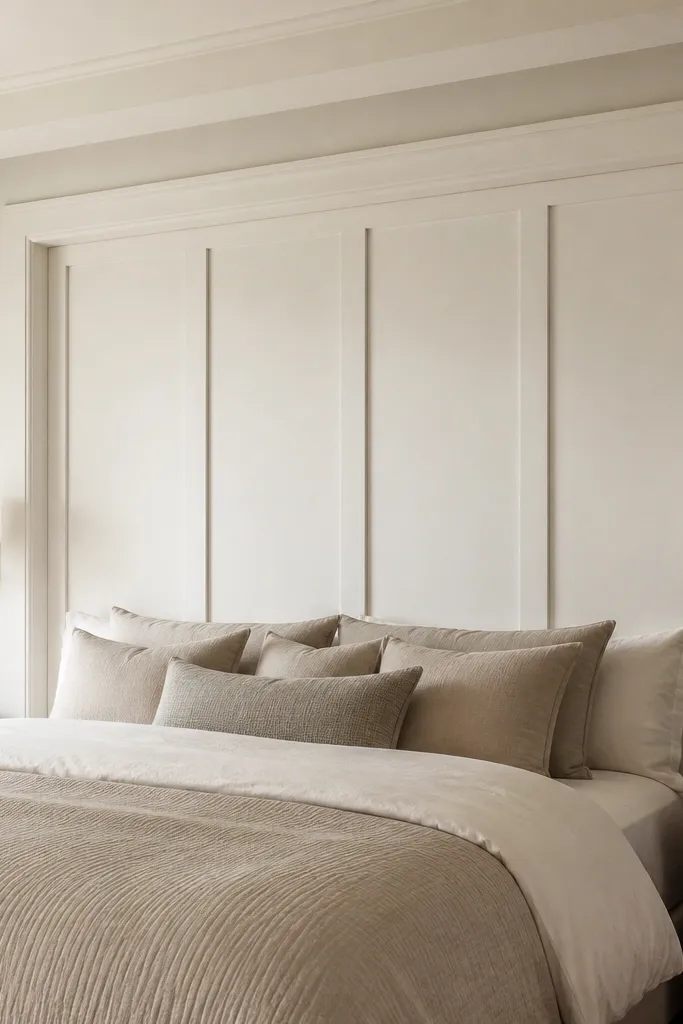
If you want a headboard that looks like it came with the house, this is the method. Flat wall panels avoid sagging fabric and give a crisp, tailored backdrop. I do this when the bedroom has crown molding or the wall is already painted in a calming neutral. The thick trim border creates the “furniture” feel even without padding.
Install a plywood or MDF backer panel to the wall using anchors, then build a frame around it with 1x3 and 1x2 trim. Use panel molding or faux raised panels on the inside for texture. Paint the whole thing in a semi-gloss trim paint so it wipes clean and looks sharp.
Quick tipUse a laser level for the outer frame rails — one crooked line makes the whole built-in illusion fail.
One warningDon’t use thin paint on trim — it looks chalky and cheap under direct lamp light.
13. Floating Shelf Headboard with Hidden LED Strip
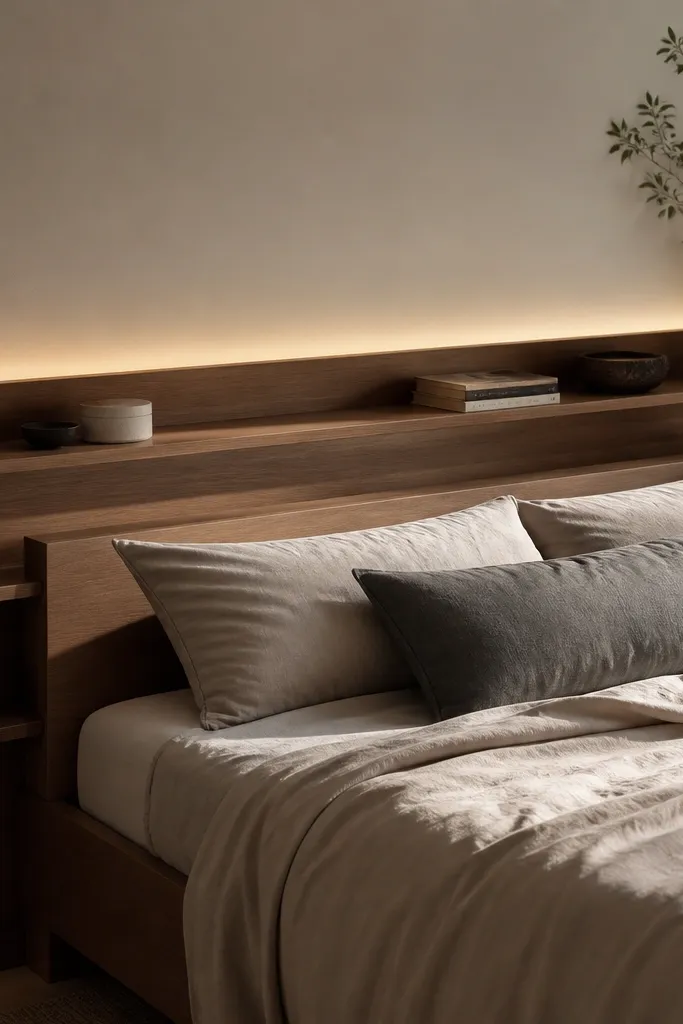
This headboard gives you function and mood at the same time. The shelves hold a lamp or a stack of books, and the hidden LED strip makes the room feel cozy without overhead lighting. I’m opinionated about the look: keep the wood light and the LED warm so it doesn’t read “tech.” This works great in bedrooms where bedside space is tight.
Build a backing board and mount it to the wall or bed frame, then add two shelf layers across the width — for a king, top shelf around 6 inches deep and a second shelf around 3 inches deep. Route a thin channel or add a back ledge to hide the LED strip. Use 2700K LED and a diffuser strip so you see glow, not dots.
Test the LED brightness by turning off all lights and standing back — adjust dimmer settings before you close the housing.
Don’t mount shelves too low — if the bottom shelf sits below 48 inches, it blocks your headboard look and bumps your pillow.
14. Felted Wool Wall Panel with Vertical Stitch Lines
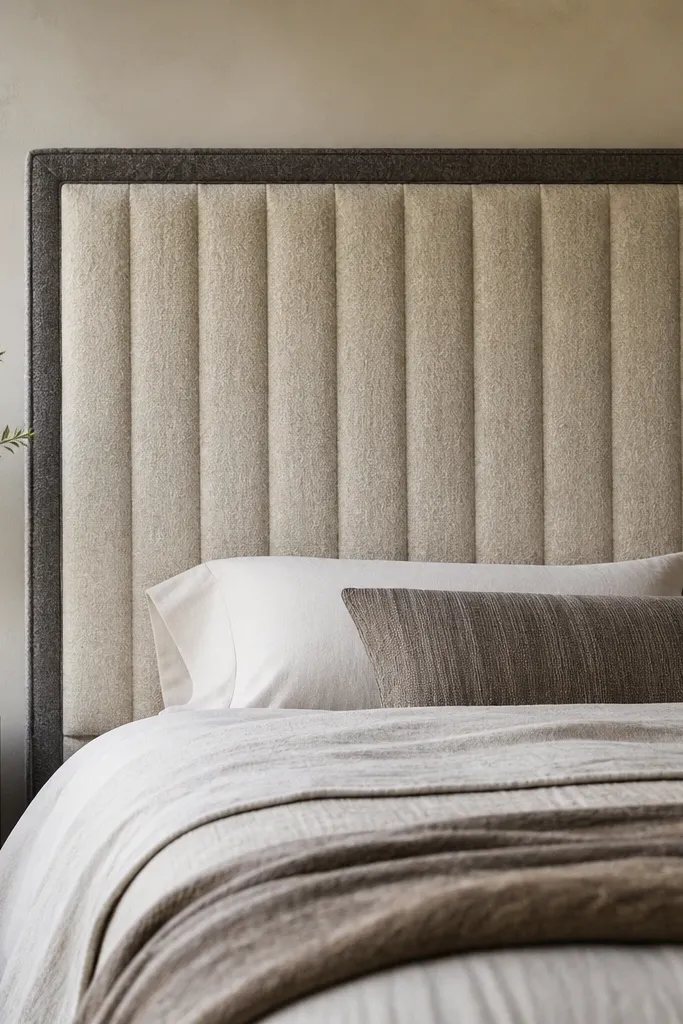
Felted wool makes a headboard look soft and intentional because the surface is dense and absorbs light. Vertical stitch lines add rhythm and keep the panel from looking flat. This is the headboard I choose when I want sound-dampening — it reduces echo in rooms with hard flooring. Colors like warm oatmeal, sage, and deep charcoal look especially good with natural wood nightstands.
Cut a plywood base and cover with a thin batting layer, then wrap wool felt. For stitch lines, mark evenly spaced vertical lines and stitch through both felt layers if your felt is thick enough, or stitch overlay strips onto the face. Leave a 1.5-inch border of contrasting felt around the edges for a finished frame.
Quick tipUse a longer needle and go slow — felt grabs thread and you want clean, straight lines.
One warningDon’t use thin craft felt — it pills and shows seams quickly.
15. Statement Ticking Stripe Headboard with Piped Edge
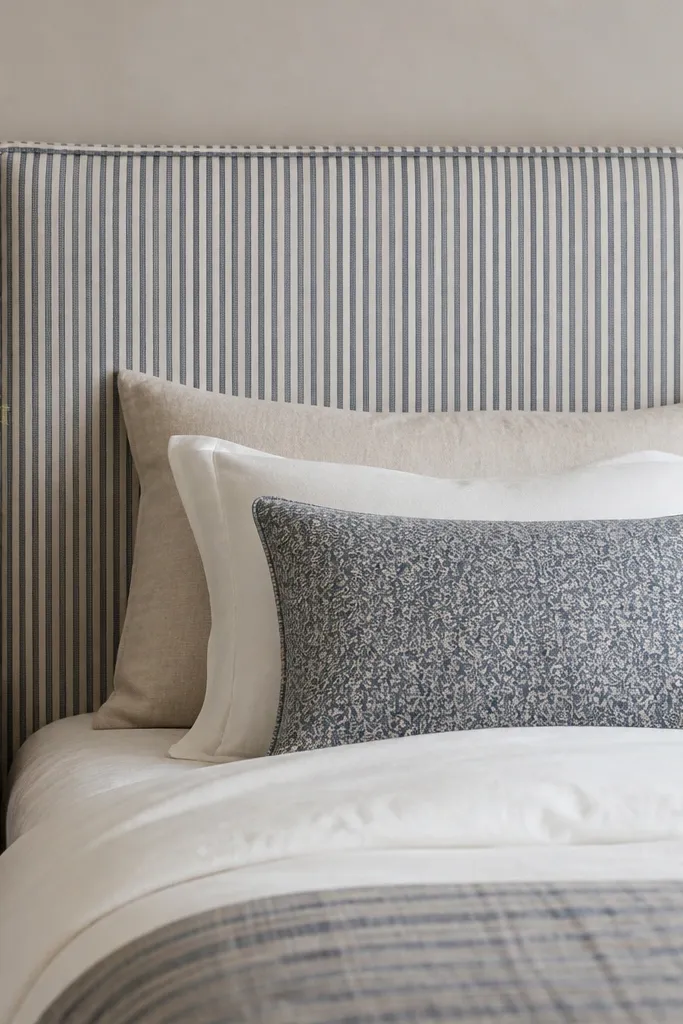
Ticking stripes look classic and they hide imperfections because the stripe pattern pulls the eye across the panel. Piping makes the lines crisp and makes DIY look like it’s been professionally upholstered. I’ve paired this with solid white bedding and it instantly looks cottage-cozy without feeling messy. Use muted stripes so it doesn’t fight your wall color.
Build a plywood base to about 80 inches wide by 54 inches tall. Add batting and 1-inch foam, then wrap ticking fabric taut. Sew or buy piping in a matching color, then staple the fabric edge neatly and attach piping around the perimeter. Keep piping spacing tight — around 1/8 inch from the edge of the seam for clean corners.
Cut fabric panels so the stripe lines are level across the width — rotate the fabric roll before cutting if needed.
Don’t skip aligning stripes — misaligned stripes make the headboard look like a rushed sewing job.



