
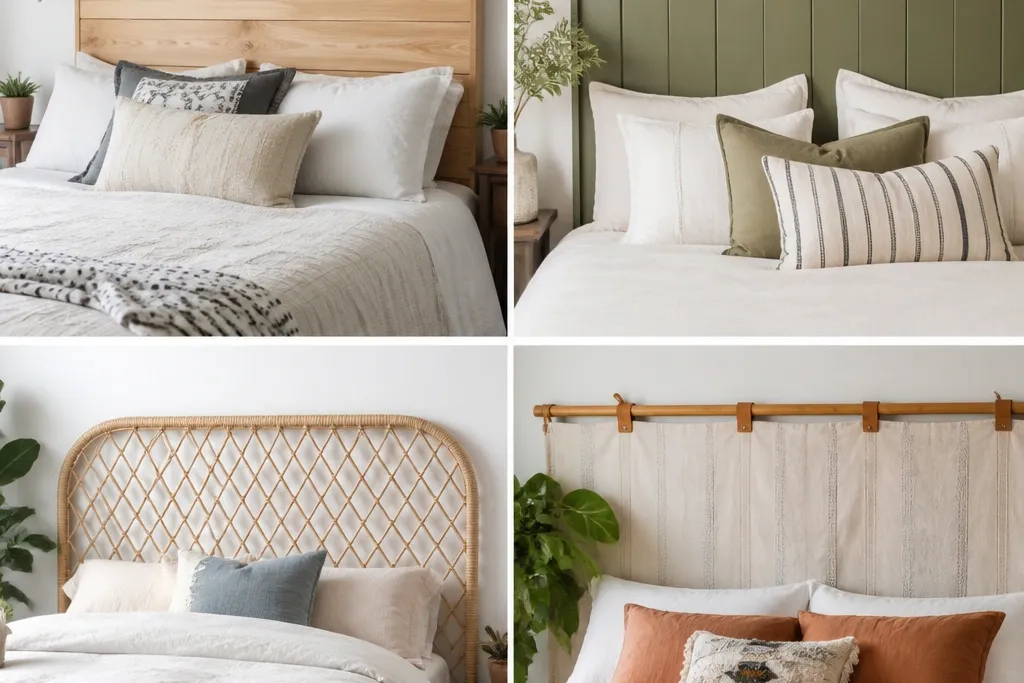
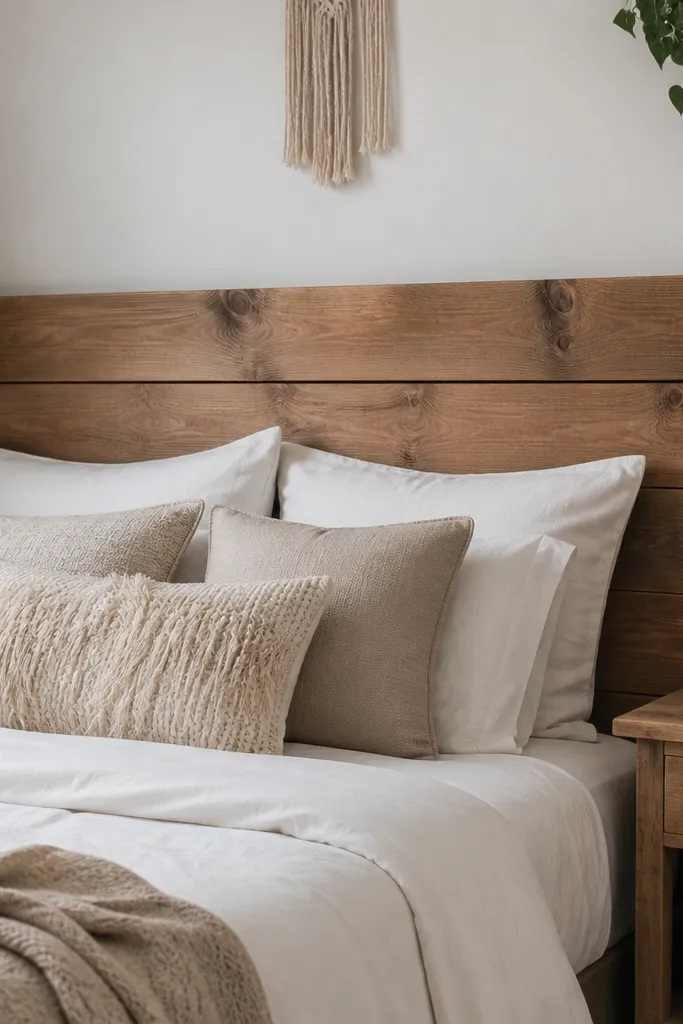
1. Plywood panel headboard with picture-frame trim
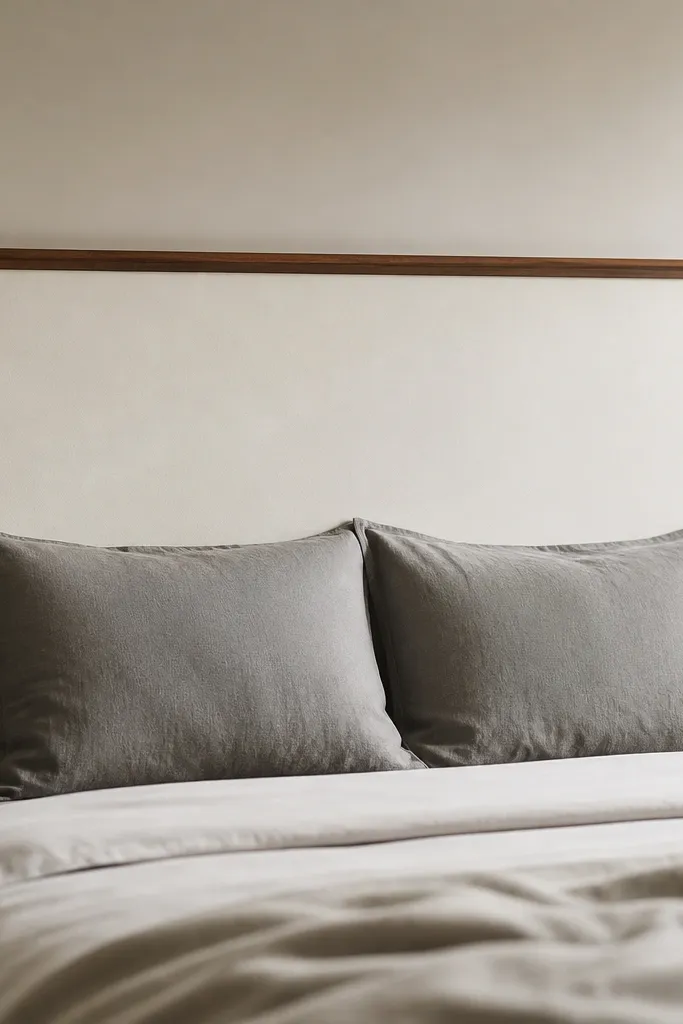
This is the fastest way to get a clean, built look without fancy carpentry. The plywood gives you a perfectly flat surface, and the picture-frame trim hides rough edges and gives you a crisp outline. Painting the center matte keeps it modern, while walnut-stained trim adds warmth without needing expensive hardwood panels.
Cut a 3/4-inch plywood sheet to your bed width minus 1 inch total (for example, 61 inches wide for a queen — aim for 60 inches). Add 1x2 trim around the perimeter, mitered at 45 degrees, then sand smooth. Mount with two French cleats behind or use wall brackets so the panel hangs level.
Quick tipUse painter’s tape to mask a 1/8-inch reveal between the trim and the painted center for a sharper line.
One warningDon’t skip sanding the plywood edges — splinters show through paint and make it look homemade.
2. No-drill fabric panel headboard on a tension shelf frame
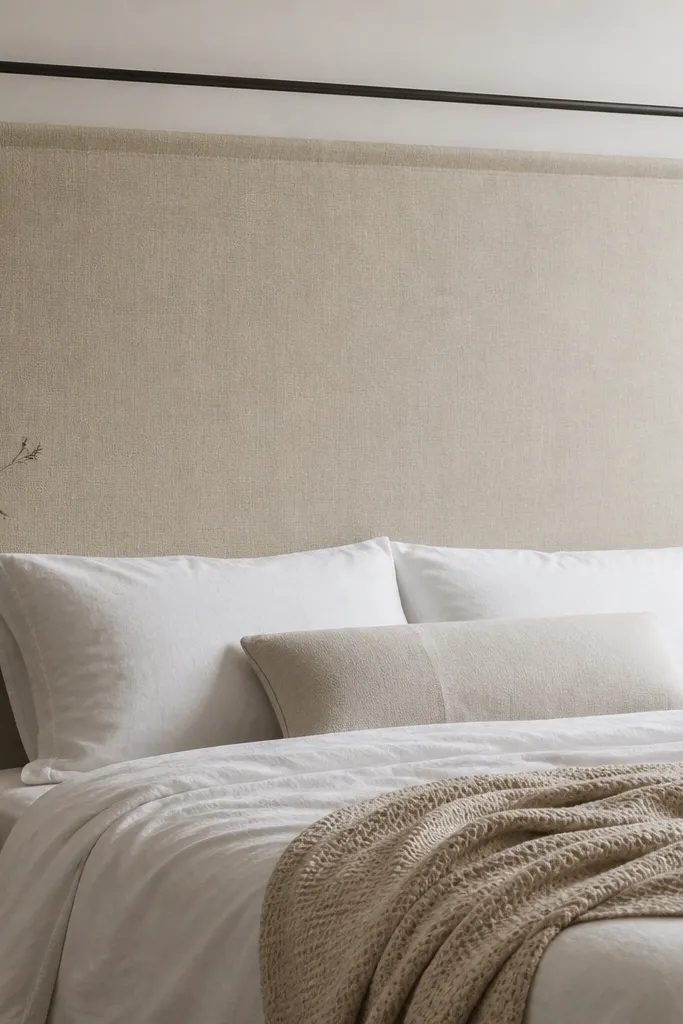
If you can’t drill, this setup still looks tailored because the fabric is pulled tight over a rigid frame. Heavy linen or cotton duck holds shape and doesn’t sag like thin sheets. The frame keeps the top edge straight, so the whole thing reads as intentional decor.
Buy a tension shelf frame with adjustable width, then cut a fabric panel to cover the frame with 2-3 inches extra on each side. Staple the fabric to the back of the frame at the edges, pulling tight in small increments. Add a 1x2 fabric-covered border strip along the perimeter if you want a thicker, finished edge.
Quick tipChoose fabric with a tight weave and weight; if you can see light through it easily, it will sag.
One warningDon’t use quilting cotton — it looks thin and will wrinkle fast once you sit against it.
3. Upholstered headboard with 1-inch foam and button-free channel look
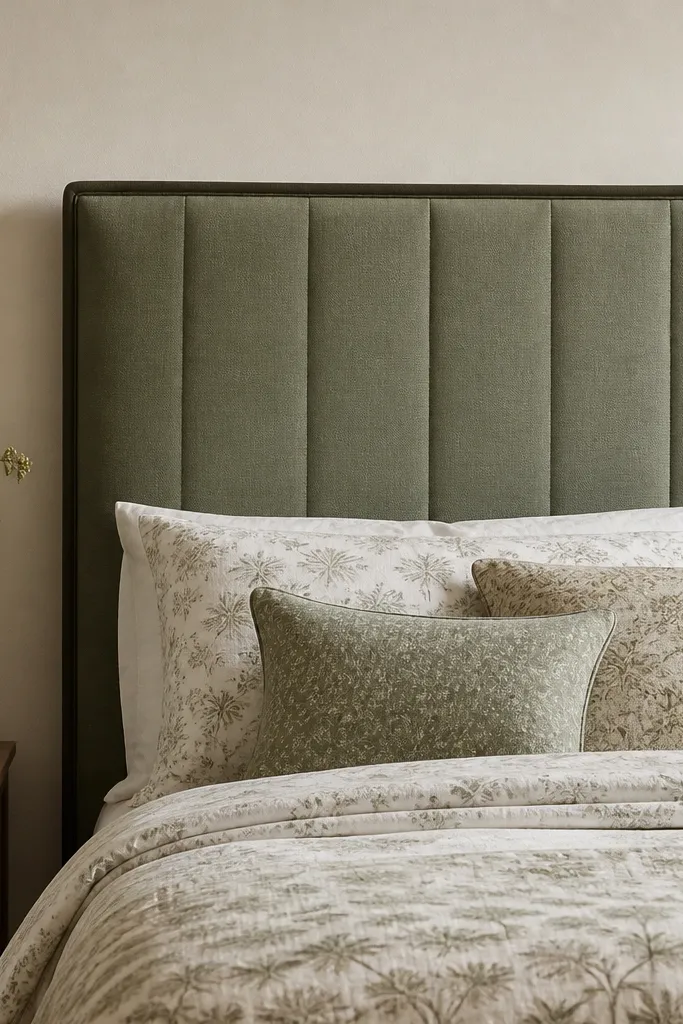
This gives you the “hotel” padded look without buttons. The 1-inch foam makes it comfortable for reading, and the vertical channels add structure so the fabric doesn’t slump. A darker edge trim makes the whole piece look finished even when materials are budget.
Start with a plywood backer cut to your bed width. Glue 1-inch foam on top, then cover with a layer of batting for smoothness. Add vertical channel lines using 2-inch fabric strips stitched down at regular intervals before wrapping and stapling the back.
Mark channel lines using chalk and a ruler, then test your stitch spacing on scrap first.
Don’t staple fabric directly onto foam edges — the staples will dent and show through the front.
4. Rattan-wrapped dowel slat headboard
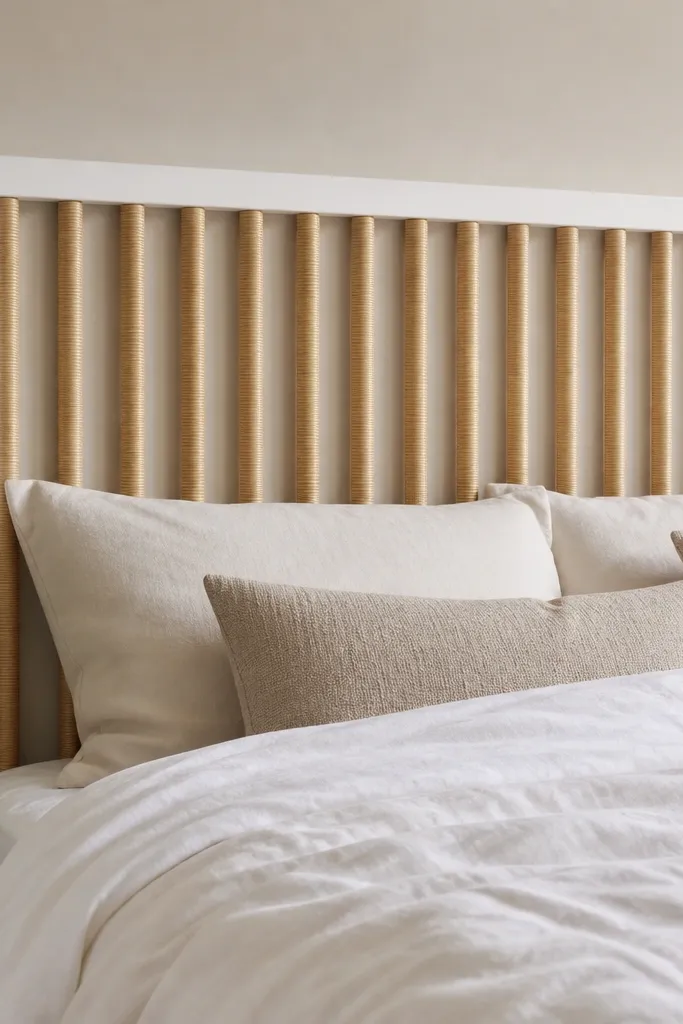
Rattan texture reads expensive even when the build is simple. Vertical spacing makes your bed look taller, and the light tan tone plays well with warm woods and neutral bedding. The frame keeps it straight so the slats don’t drift over time.
Use 1x2 pine for the outer frame and cut it to your bed width. For slats, buy dowels around 3/4 to 1 inch diameter, then wrap each with rattan reed strips and glue the ends. Hot glue or contact cement works for rattan, but clamp while it sets.
Quick tipStain or paint the frame before wrapping; it prevents glue mess on your final finish.
One warningDon’t wrap slats with loose tension — sloppy overlaps create bumps that catch light and look cheap.
5. Pallet wood board headboard with whitewash and clear coat
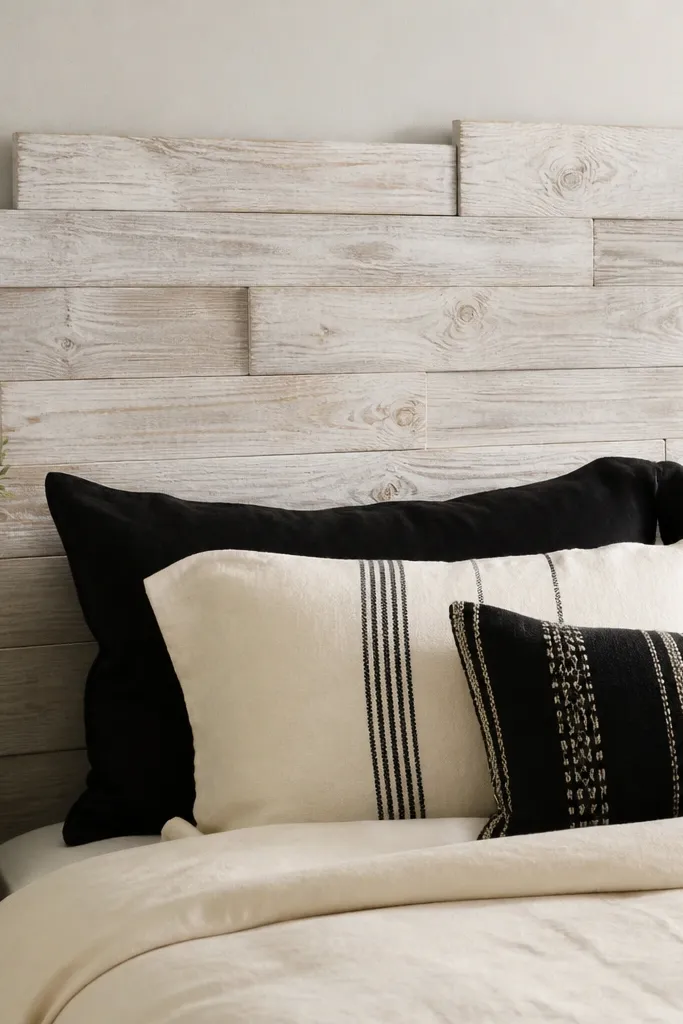
Pallet wood gives you character without buying new lumber. Whitewash keeps the grain visible, and a clear coat makes it feel more polished than raw salvage boards. The uneven plank rhythm adds visual interest, especially if your bedding is plain.
Disassemble pallets carefully and pick boards that are straight enough to align. Cut them to your headboard height, then lay them side-by-side on a backer strip system made from 1x3 rails. Sand to 120 grit, whitewash with a diluted interior paint wash, then seal with matte polyurethane.
Quick tipUse a 1x3 backer behind the seams so the boards don’t warp or separate after a few months.
One warningDon’t skip sealing — pallet wood soaks up grime and looks gray fast.
6. 2x4 frame headboard with removable fabric panels
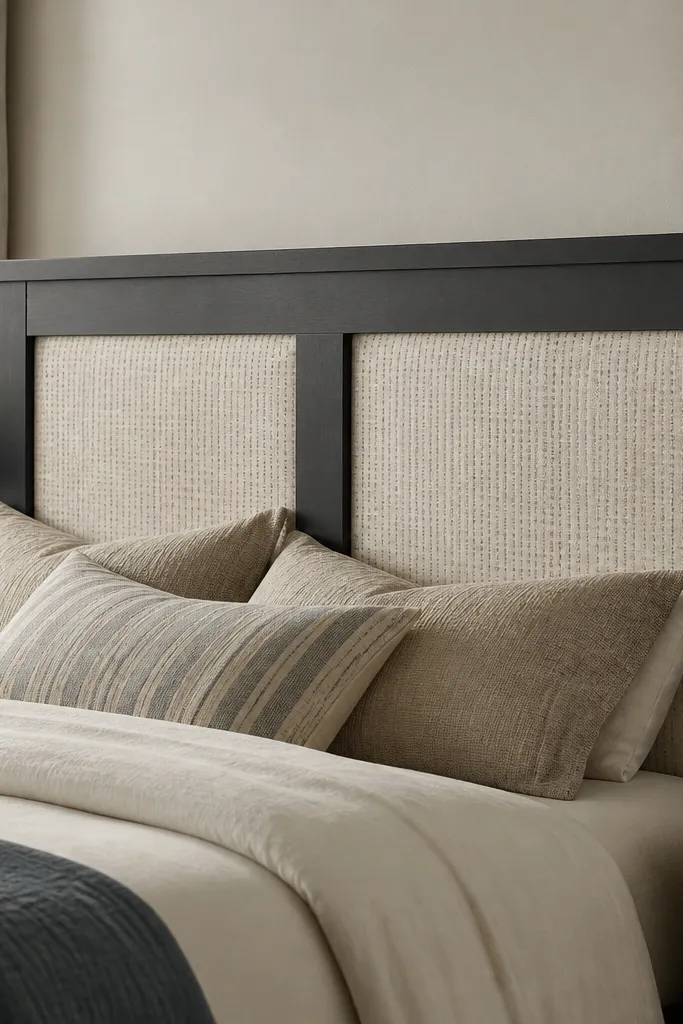
This one is practical because you can swap fabrics without rebuilding the whole headboard. The 2x4 frame is stable, and the removable panels keep your styling fresh for seasons. It looks graphic when the fabric contrasts with a dark frame.
Build a rectangular frame from 2x4s (or ripped down 2x3 for lighter weight) with internal supports every 16-20 inches. Cut plywood inserts to fit, cover with foam and fabric, and fasten with screws or magnets hidden under the lip. Add corner blocks so the frame stays square.
Use fabric with a heavier drape so it doesn’t sag between inserts.
Don’t rely on only staples for panel edges — reinforce with a thin border strip so it stays tight.
7. Thrifted door headboard with sanding and hardware facelift
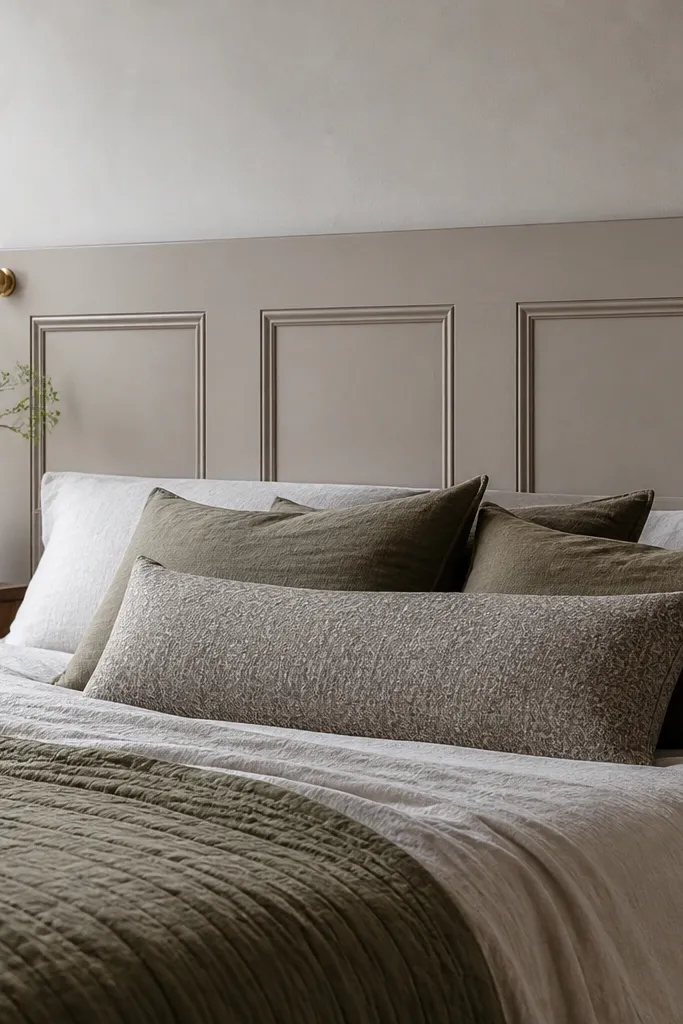
A solid door instantly gives you height and a finished surface, and it already has built-in structure. The raised panels create shadow lines that look expensive even with a simple paint job. Brass knobs add a focal point without adding much cost.
Find a door that’s close to bed width minus 2-3 inches. Sand thoroughly, fill dents, then prime and paint. Mount it to the wall with two sturdy brackets or attach cleats to the back so it doesn’t wobble when you lean back.
Keep one knob and remove the other if you want symmetry but not clutter.
Don’t paint over glossy varnish without sanding — it peels within months.
8. Vertical board headboard with whitewash and dark trim top rail
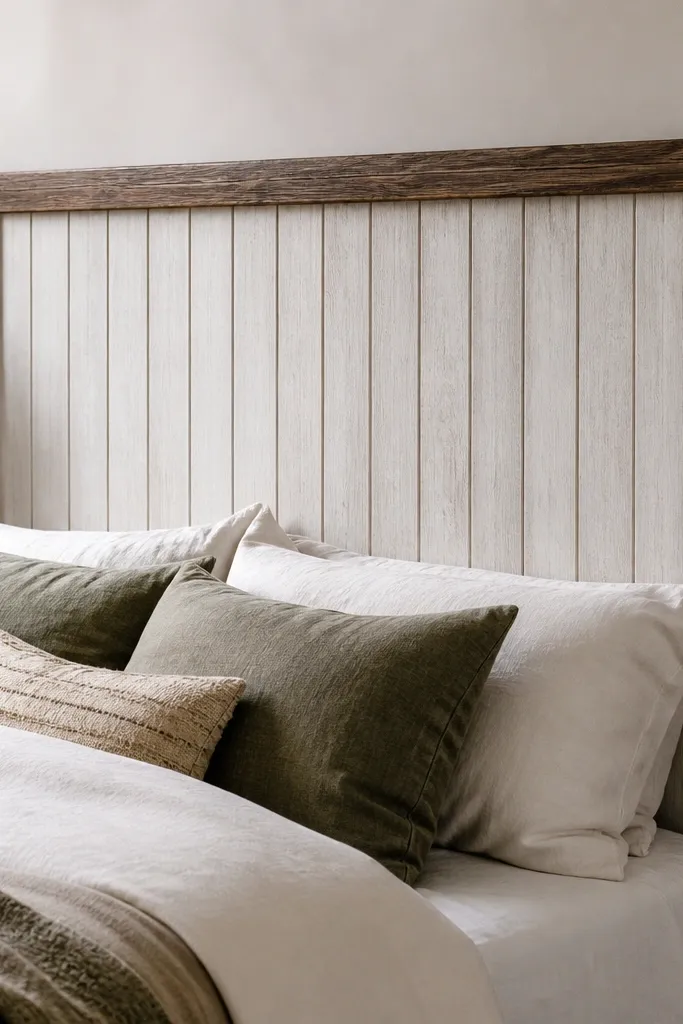
Vertical boards make your bed look taller and sharper than chunky planks. Whitewash keeps the look airy, and a darker top rail frames everything so it doesn’t feel flat. Narrow spacing makes the texture feel intentional rather than random.
Use 1x3 boards for vertical slats and a 1x4 top rail. Space slats with 1/4-inch spacers, then screw into a backer strip. Seal with clear matte for easy wipe-down.
Quick tipCut slats all to the same length and label them during assembly to keep spacing consistent.
One warningDon’t use wide gaps — they make the headboard look flimsy and unfinished.
9. Corded rope headboard using adhesive foam trim
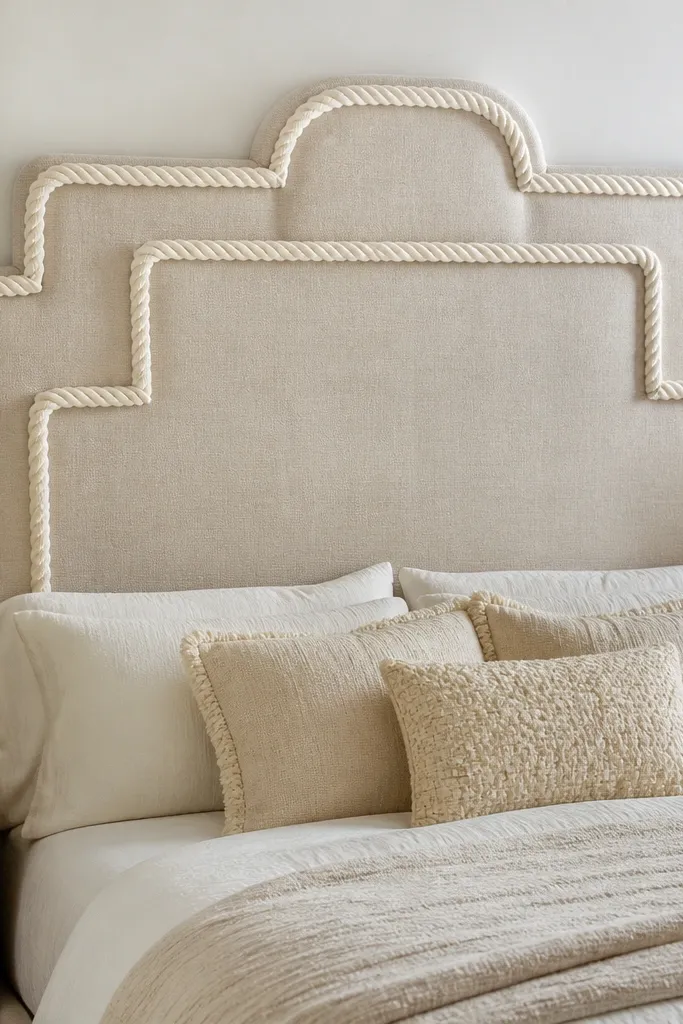
This is an easy way to fake “piping” without buying a full upholstery kit. The foam rope adds dimension, and a textured fabric keeps the whole piece from looking like craft foam. It’s bold in a good way because the shape lines are clear.
Cut foam sheets into a simple rectangle grid pattern, glue them to a plywood backer, then cover with fabric. Add adhesive foam trim around the outer edges and along the grid lines, then wrap with matching fabric strips or rope. Staple the fabric on the back side.
Quick tipUse a fabric glue that dries flexible so your lines don’t crack when you sit against it.
One warningDon’t rush the glue cure time — early handling leaves rope wrinkles.
10. Macrame-ish wall hanging headboard on a tension rod
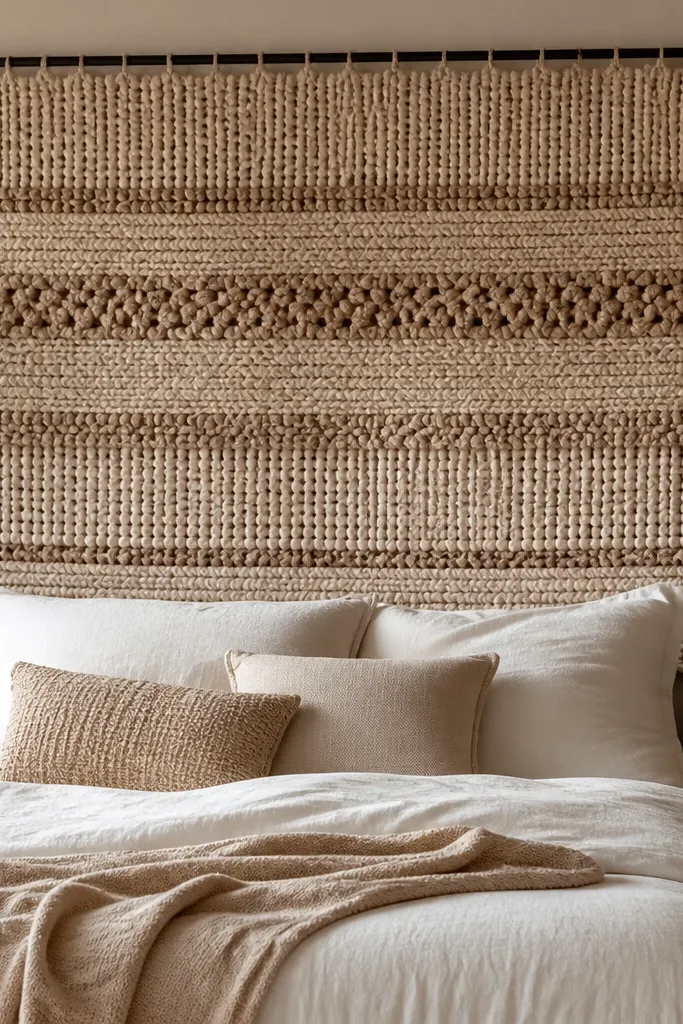
A woven textile is the cheapest way to get softness and pattern without building furniture. The tension rod keeps the top edge straight, and the texture makes the bed feel styled even with plain sheets. Natural tones work with almost any color palette.
Buy a tension rod sized to your wall width or use a small curtain rod with brackets. Sew or attach a fabric sleeve along the top of the hanging so it slides onto the rod. Hang it so the bottom edge sits around 6-10 inches above the mattress top for a balanced look.
Choose a hanging with a thick top edge so it doesn’t sag over time.
Don’t pick a super thin weave — it looks see-through and messy when backlit by daylight.
11. Budget faux shiplap headboard using MDF strips
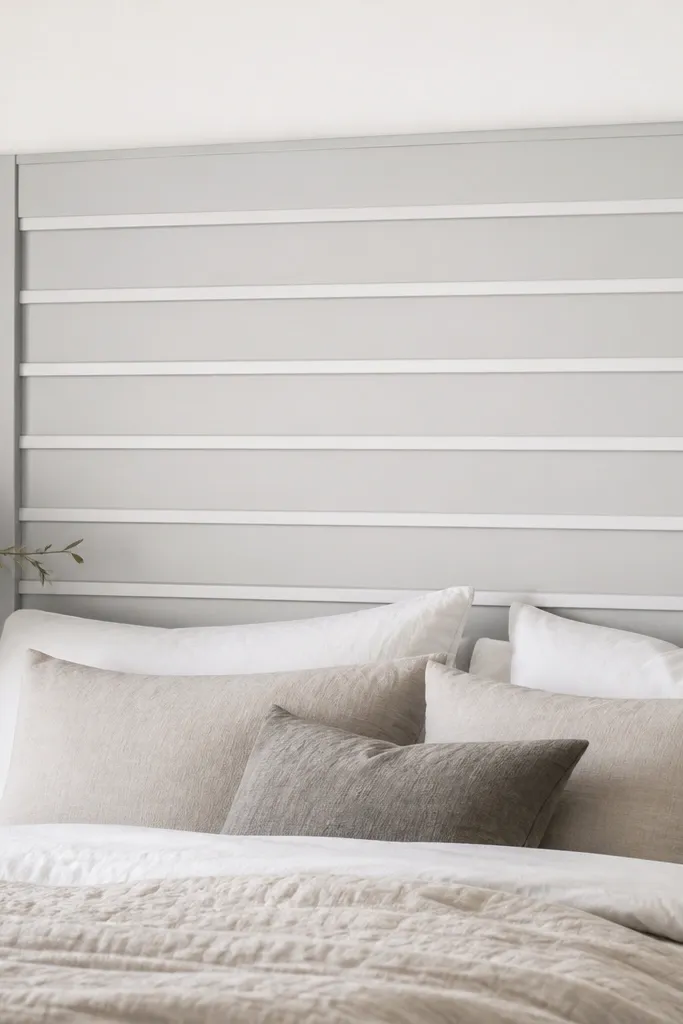
MDF strips make a sharp shiplap look without hunting real boards. Horizontal lines give a calmer, wider visual feel than vertical slats. Painting everything the same color keeps it modern and hides MDF imperfections.
Use a 1/2-inch MDF sheet as the backer. Cut thin strips (about 1.5-2 inches wide) and glue them on with construction adhesive in parallel lines. Add 1x2 trim around the perimeter, then fill seams with spackle and paint twice.
Quick tipSand between coats with 220 grit so the seam ridges don’t show under light.
One warningDon’t skip seam filling — MDF edges look rough if you only paint once.
12. Window shutter headboard with stain and distress
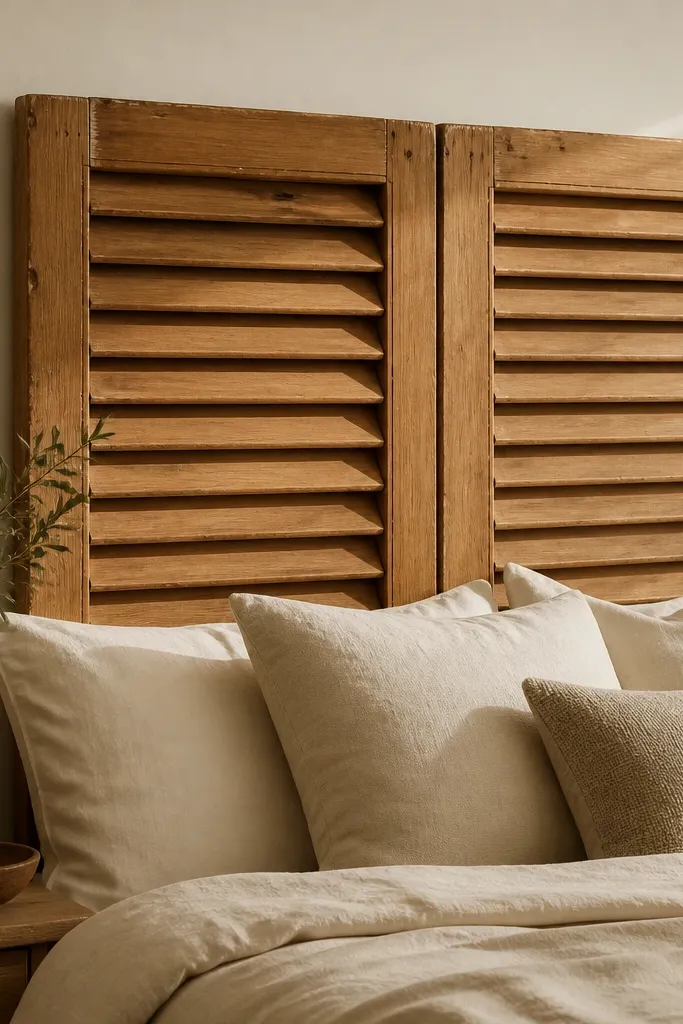
Shutters already have the repeating pattern, so you get visual interest without measuring a bunch of slats. Staining with light distress keeps it warm and not overly rustic. The louvers catch light and make the headboard look dimensional.
Find two shutters that together cover your bed width with a small overlap or gap. Mount each shutter to the wall with heavy-duty picture mounts or a cleat system. Sand edges, stain with a gel stain, then use a dark wax or lightly sand again on corners.
Quick tipSeal with a satin poly so the distress doesn’t rub onto bedding.
One warningDon’t mount without a level check — shutters swing visually when one side is even 1/2 inch off.
13. Leather-look vinyl headboard with foam and folded edges
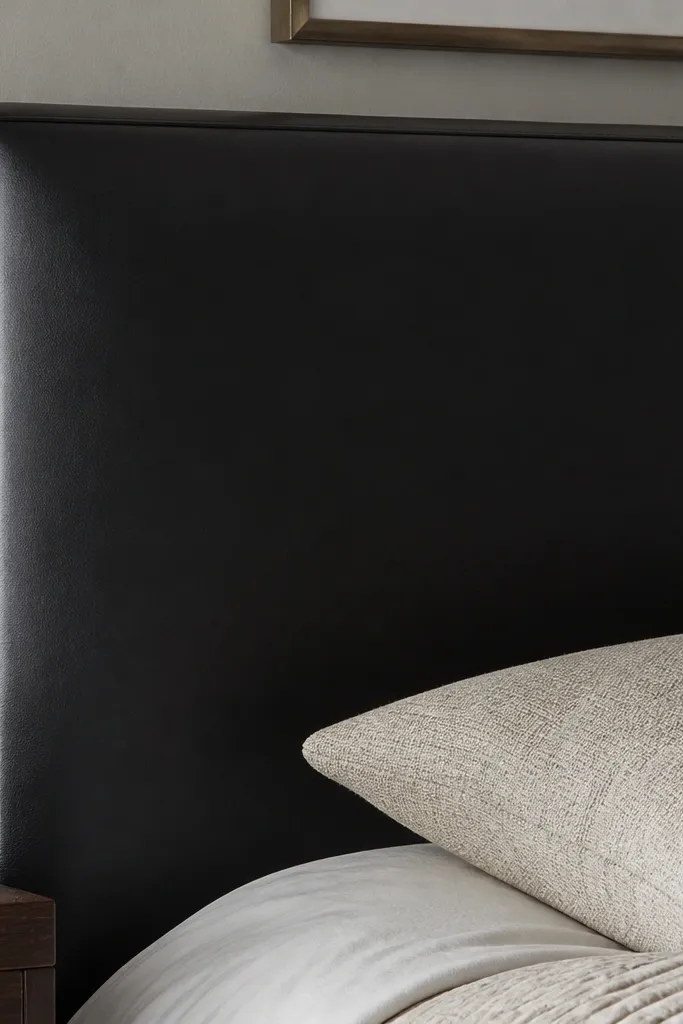
Vinyl is forgiving and wipes clean, which matters if you eat in bed or have kids. Foam gives it that firm, cushioned feel, and the folded edge technique looks sharp even when materials are cheap. Black vinyl also hides minor imperfections from DIY.
Cut plywood to size, glue 1-inch foam, then cover with batting. Wrap vinyl like a gift, pulling tight at the corners so it doesn’t bunch. Use a sharp utility blade for trim and staple the back edges evenly.
Warm the vinyl with a hair dryer before wrapping so it stretches without creasing.
Don’t use low-quality vinyl that cracks — it will split along folds.
14. Oversized linen tuft look using straight-line quilting
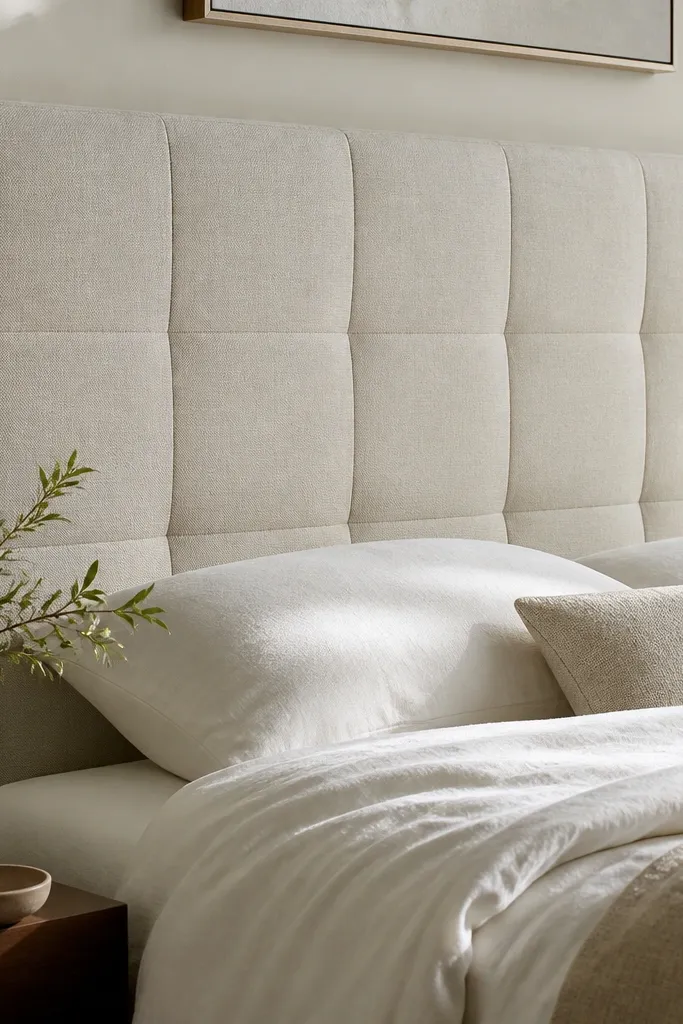
Tufted looks don’t have to mean buttons. Straight-line quilting creates a similar “pillow” effect and keeps the fabric from sagging. Linen makes it feel soft and airy, and the grid pattern adds structure.
Build a plywood backer, glue foam and batting, then mark a grid with chalk. Stitch through fabric and foam using a heavy-duty needle and strong thread, then staple the back once the top is stitched. Finish the edges with a simple fabric wrap border.
Use quilting thread and a walking foot if you have a sewing machine; it stops fabric creep.
Don’t stretch the fabric after stitching — it will distort the grid.
15. Painted pallet slat headboard with ladder-style legs
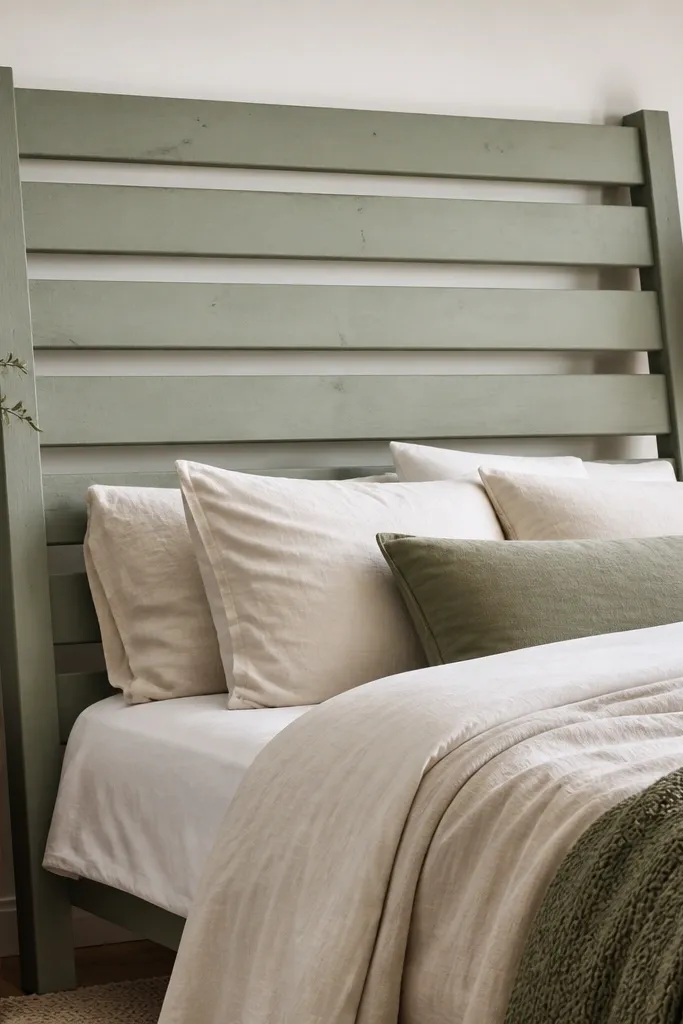
Freestanding ladder styles are great for renters because you can move the bed without leaving holes. The slats make it look light, and the sage paint makes it feel calm and modern. It also works if your wall is uneven since the legs take the load.
Build two side rails from 2x2 or reclaimed pallet beams, then attach slats across them with screws. Make the width match your bed and keep the top slats slightly thicker for a cleaner edge. Finish with paint plus a clear matte topcoat so it wipes clean.
Add rubber feet under the legs so it doesn’t slide when you adjust pillows.
Don’t skip cross-bracing — a tall ladder headboard wobbles if it’s only slats.
16. Shiplap-style picture frame headboard with thrifted art frames
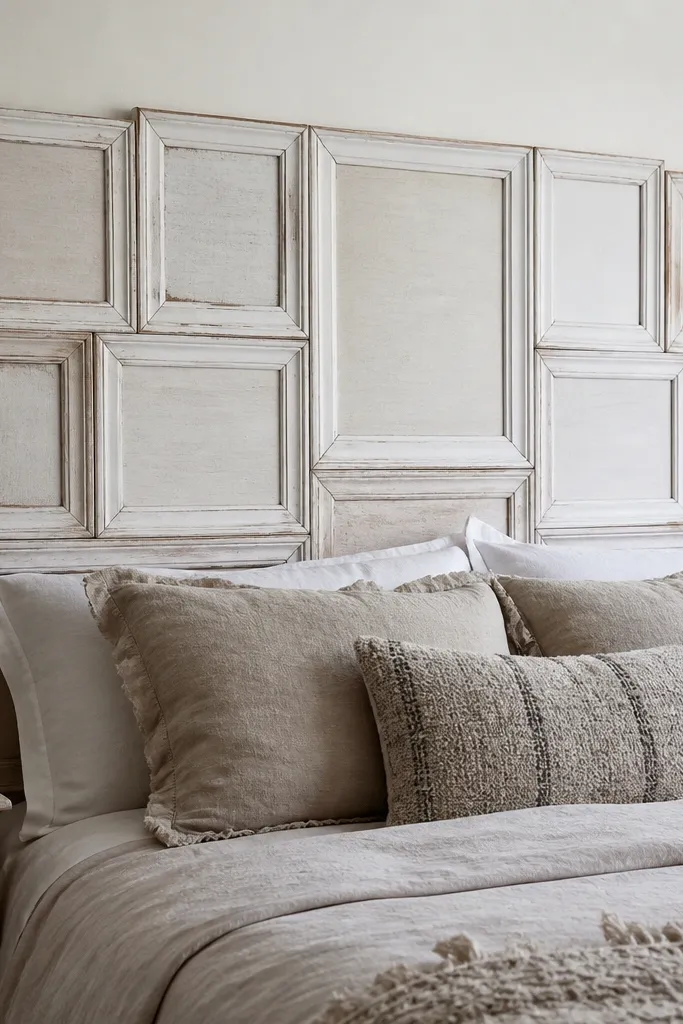
Frames give you built-in borders, so the headboard looks designed even when each piece is different. Painting them the same color hides the thrift-store mismatch and makes it cohesive. The layered borders create depth that reads expensive in photos.
Lay frames out on a flat surface, measure the combined width, then build a backer from plywood. Attach frames with screws through the backer, then fill the center gaps with painted wood panels or fabric. Add a top rail if the frames shift when you lean on them.
Quick tipUse a semi-gloss paint on the frames so the edges catch light.
One warningDon’t use frames with cracked corners — they’ll fail once you mount.
17. Fabric-covered foam blocks headboard with chunky seams
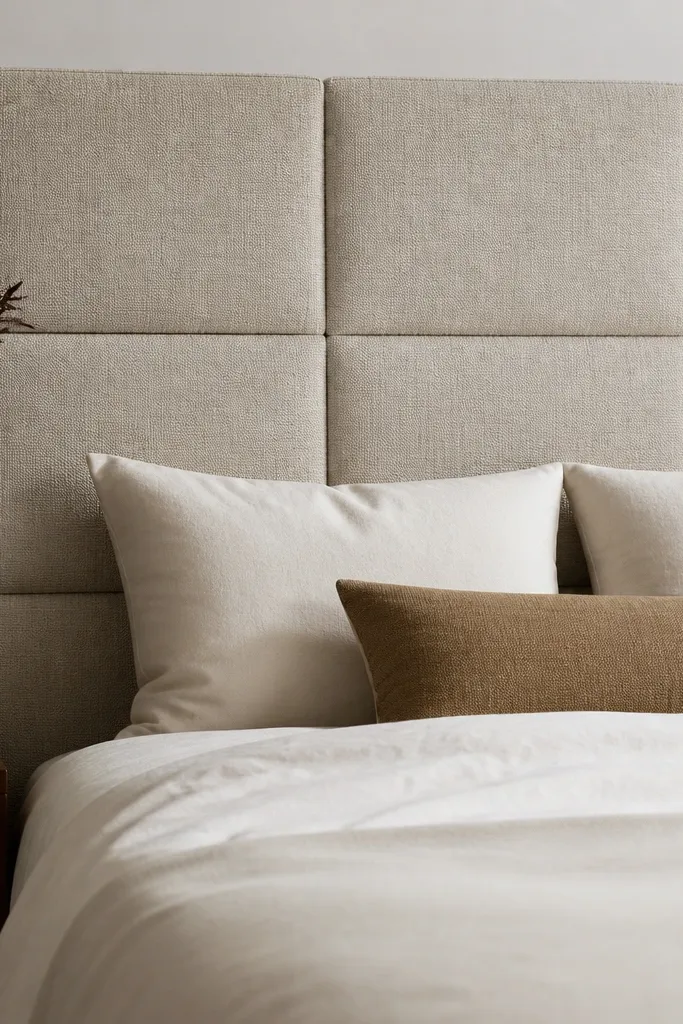
This looks high-end because the seams are intentional and the foam blocks create a sculpted surface. It’s also comfortable because the whole front is soft. A textured fabric keeps the seams from looking like cheap craft cuts.
Cut foam into blocks around 6-8 inches wide and 2-3 inches thick. Cover each block with fabric and glue the seams to a plywood backer. Leave a consistent seam width by using spacers or a strip of cardboard between blocks as you glue.
Quick tipPress the fabric seams flat with a warm iron on low through a pressing cloth.
One warningDon’t make blocks too thin — they collapse and the pattern loses shape.
18. Cordless LED backlit headboard using slat frame and diffuser fabric
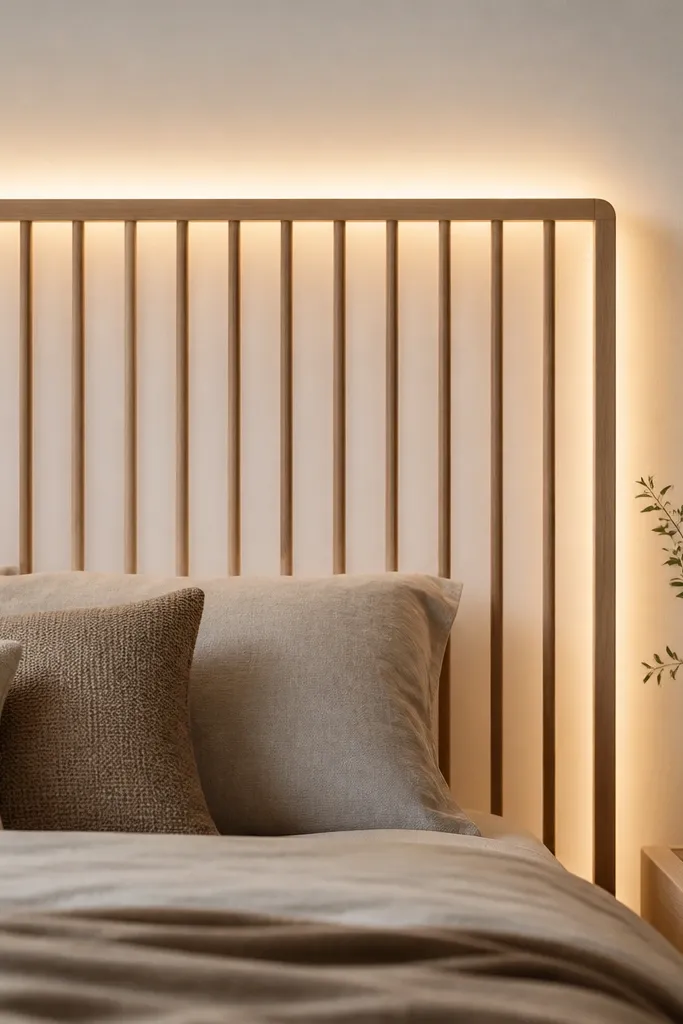
Backlighting makes a cheap headboard look intentional because it adds mood, not just decoration. The slat frame creates a striped glow, and the diffuser fabric smooths the light so you don’t see individual LED points. Warm white LEDs look best for bedrooms.
Build a slim slat frame from 1x2 rails and mount it behind the bed. Stretch a translucent white fabric or use an acrylic diffuser panel, then install LED strip lights on the inside rails. Use 3M adhesive mounts for small runs, and hide the battery pack behind the frame.
Set the LEDs to a steady warm white and aim them slightly away from the mattress so the glow hits the wall, not your eyes.
Don’t use bright cool-white LEDs — it makes the bed look like a workshop.
19. Macrame rope knots headboard panel with wooden dowel top
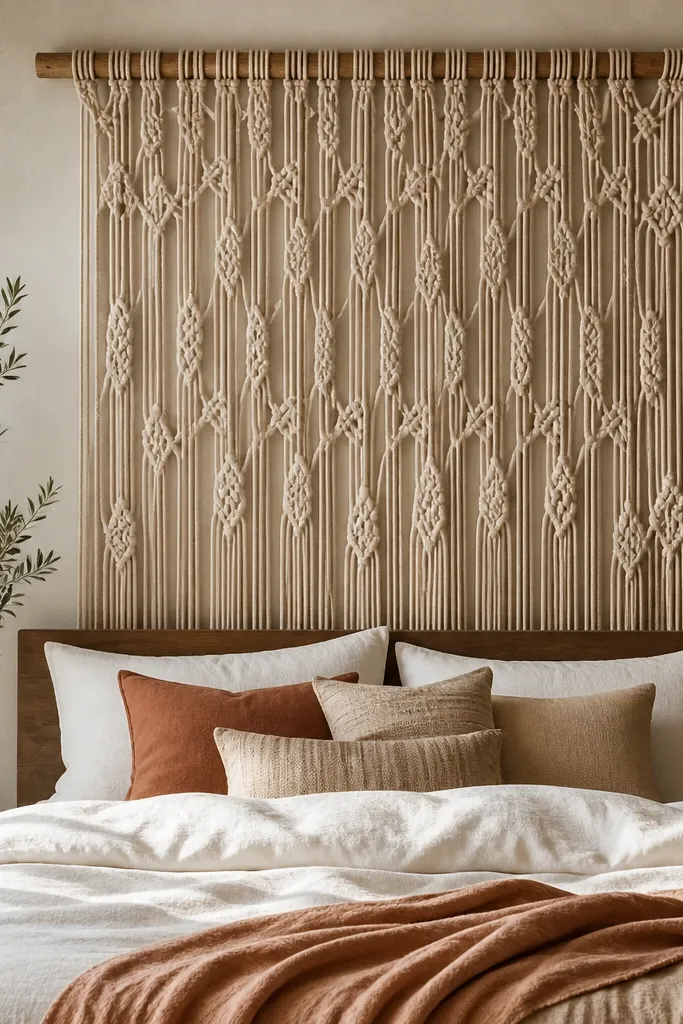
A rope panel adds warmth and texture without building furniture. The dowel makes the top edge perfectly straight, and the fringe gives movement when you adjust pillows. Natural rope looks great in bedrooms with light wood floors.
Mount the dowel to the wall or use two wall brackets. Either buy a ready-made macrame panel sized to your bed or build a panel from rope strands tied to a top rod. Make the panel height so the fringe ends around 10-12 inches above the mattress top.
Quick tipIf the rope feels stiff, mist it with water and let it dry hanging to relax the knots.
One warningDon’t hang it too low — fringe near the pillows looks messy fast.
20. Fabric panel headboard with French seam border and hidden zipper
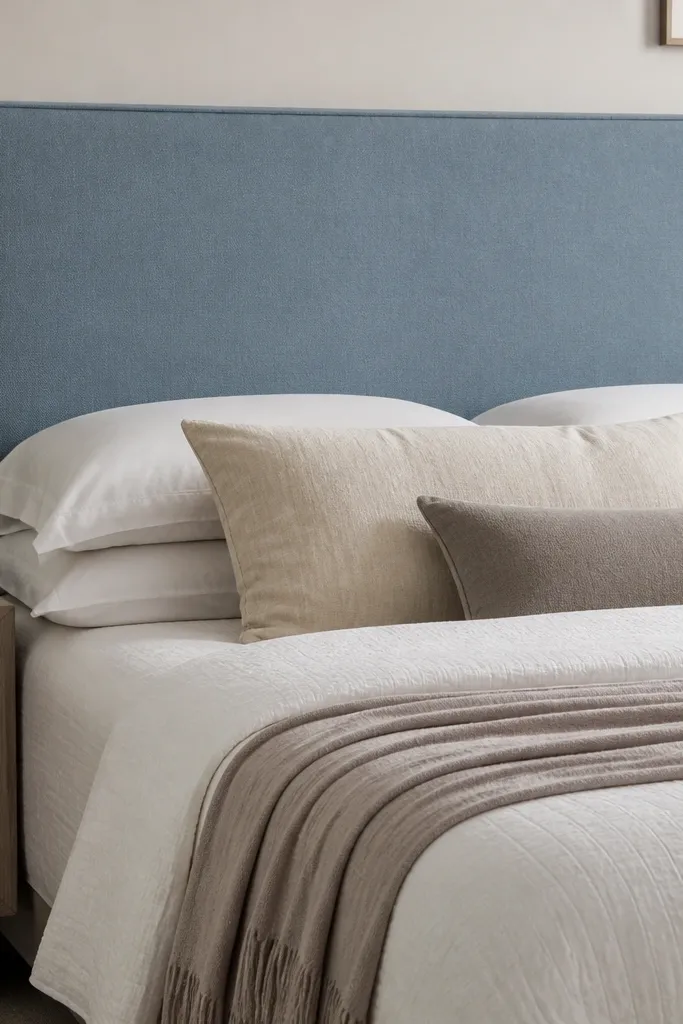
A tailored border makes even simple fabric panels look custom. French seams hide raw edges, and a hidden zipper means you can remove the cover for washing. Dusty blue reads calm and looks great with warm whites and natural wood.
Sew a cover for a foam-backed panel. Build the base from plywood and 1-inch foam with batting, then stitch a cover with French seams and insert the zipper on the back. Pull the cover tight over the foam, then tack the zipper area to the back so it stays aligned.
Quick tipUse a zipper foot and keep seam allowances consistent so the cover fits without bubbling.
One warningDon’t skip batting under the cover — foam texture will print through thin fabric.
21. Chunky reclaimed trim headboard with faux scalloped edge
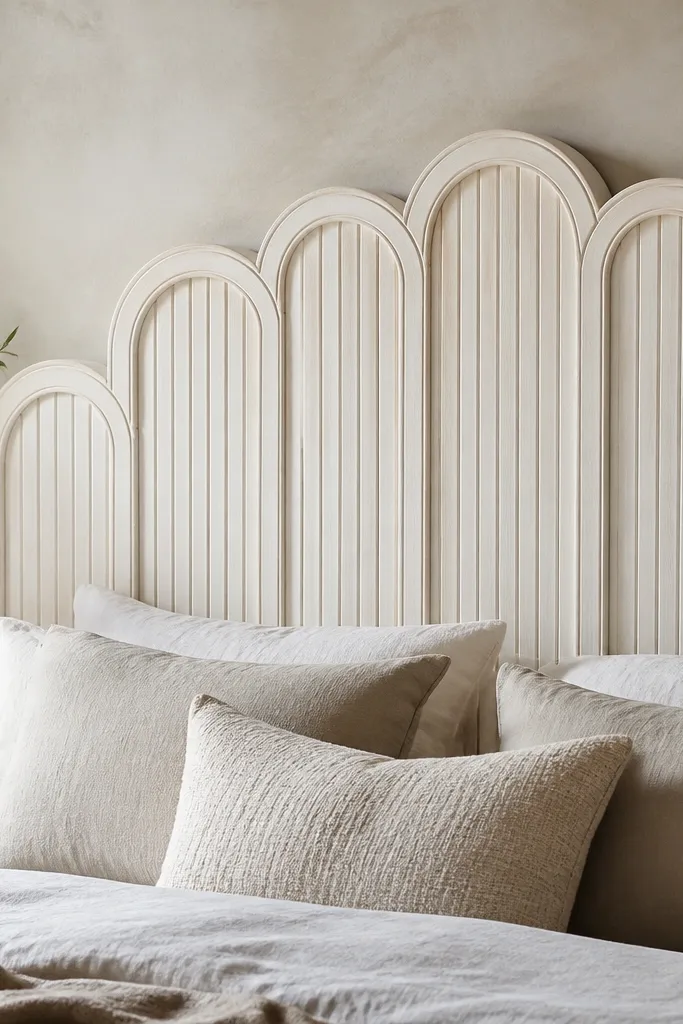
Chunky trim gives you instant dimension, and the faux scalloped top looks playful without needing expensive molding sets. A warm white paint wash keeps it vintage, and the thick materials make it feel sturdy when you lean back. This is one of those builds that looks like you bought it from a boutique furniture store.
Build a rectangular backer frame, then attach trim pieces vertically in a consistent width. For the scallop edge, cut rounded trim segments to match a template made from cardboard. Paint warm white, then lightly sand the high spots for a worn look.
Make a cardboard template for the scallop so every curve matches and the top edge stays even.
Don’t use thin trim for the scallops — they warp and the curve turns wavy.
22. Bamboo roller shade headboard panel
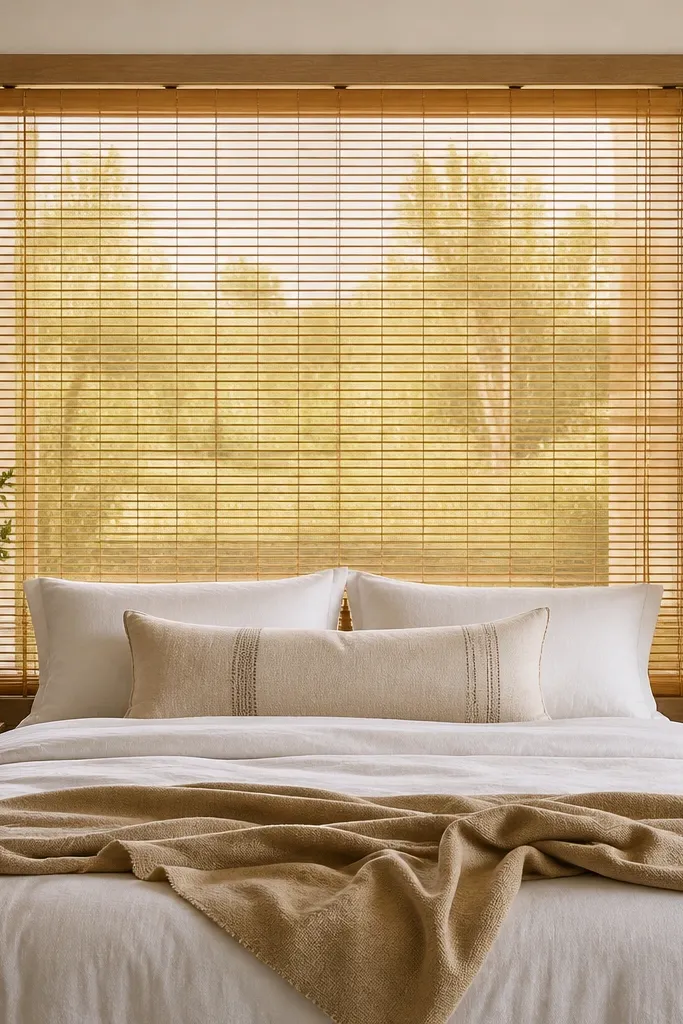
A roller shade gives you a ready-made layered pattern with a smooth top and bottom edge. Bamboo slats add texture without the mess of DIY slat spacing. It also works as a privacy and light-control feature if your bed faces a window.
Mount the roller shade using the manufacturer brackets or add two wall cleats to support the ends. Frame the sides with thin wood strips to cover mounting hardware. For height, pick a shade that covers the space behind your pillows, usually 45-52 inches.
Choose a shade with a tight slat spacing so the headboard reads solid, not patchy.
Don’t mount it too low — the slats will line up with your pillow seams and look awkward.
23. Rug remnant headboard with foam backing and grommet corners
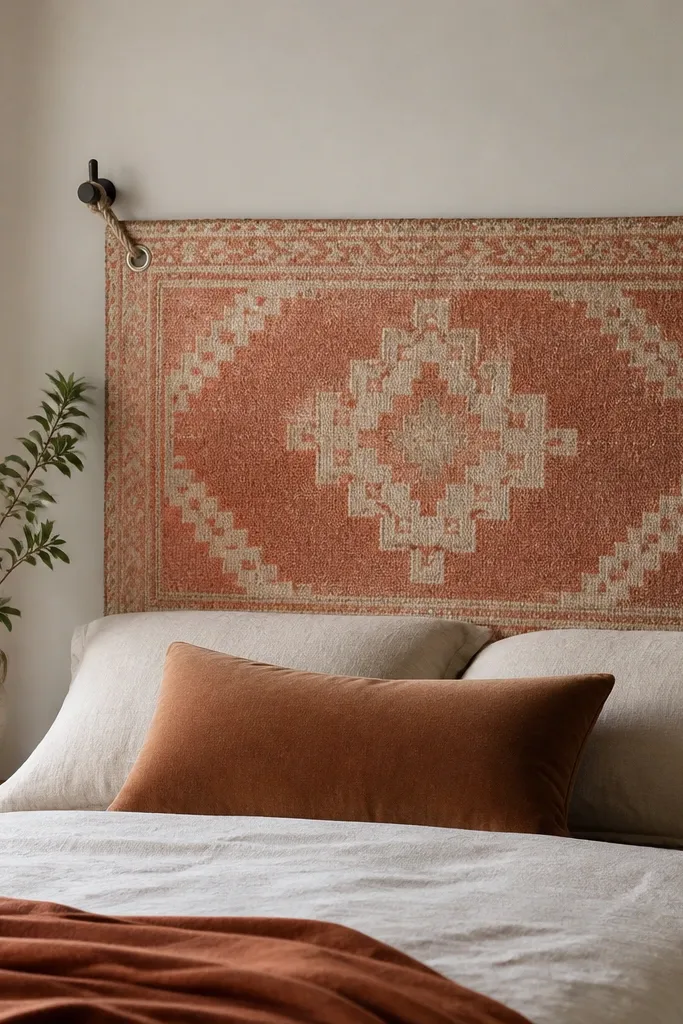
A rug remnant is the fastest way to get a bold pattern without painting or building slats. Foam backing makes it feel cushioned, and grommets let you tension it straight against the wall. The result looks like an intentional textile installation, not a temporary craft.
Cut rug remnant to headboard size with 1-2 inches extra on each side. Glue foam to the back, then add a fabric backing layer so the rug doesn’t shed. Install grommets at four corners and hang onto wall hooks or a small rail with cords.
Use a non-slip rug pad on the back so it doesn’t shift against the wall.
Don’t leave the rug edges raw — they fray and the headboard looks worn quickly.
24. Metal grid headboard with spray paint and wood shelf top
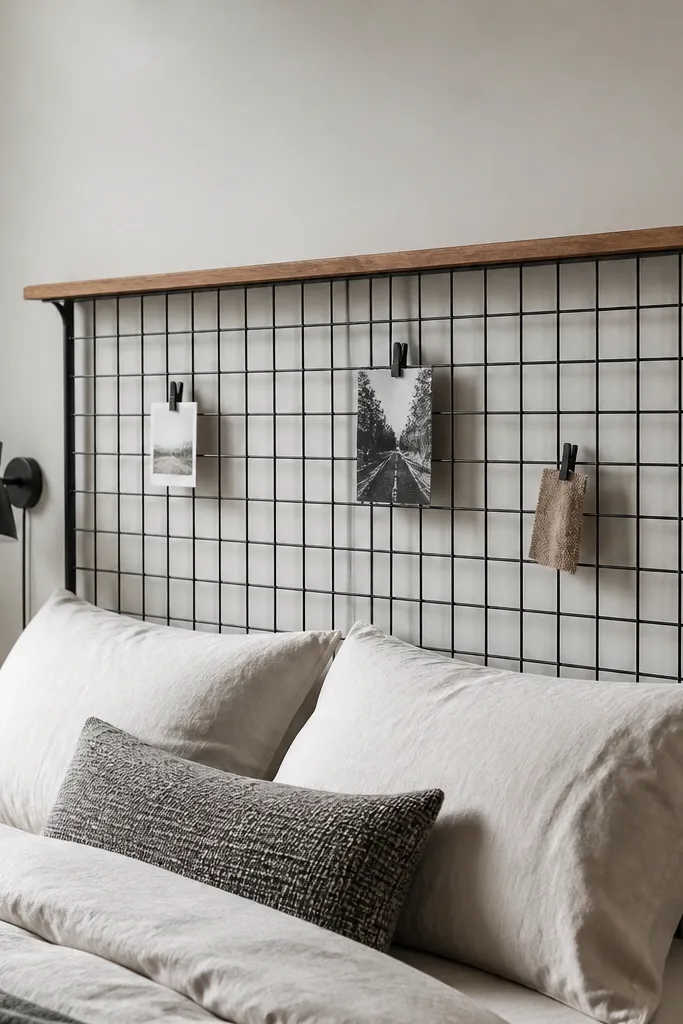
A metal grid is sturdy and cheap, and it looks modern fast with the right color. The shelf top gives you a practical place for a lamp and it frames the grid so it doesn’t feel like a craft panel. Paint it matte and it looks like intentional industrial decor.
Buy a metal mesh sheet cut to your bed width, or cut a larger sheet carefully with tin snips. Sand edges, then spray paint with a metal primer and matte topcoat. Mount using wall brackets or a cleat at the top and secure the bottom with two small anchors.
Quick tipIf you plan to lean on it, add a thin plywood backer behind the mesh for comfort.
One warningDon’t skip edge sanding — sharp metal corners chew through fabric and feel unsafe.
25. Faux leather tuft border using strip studs and soft panel
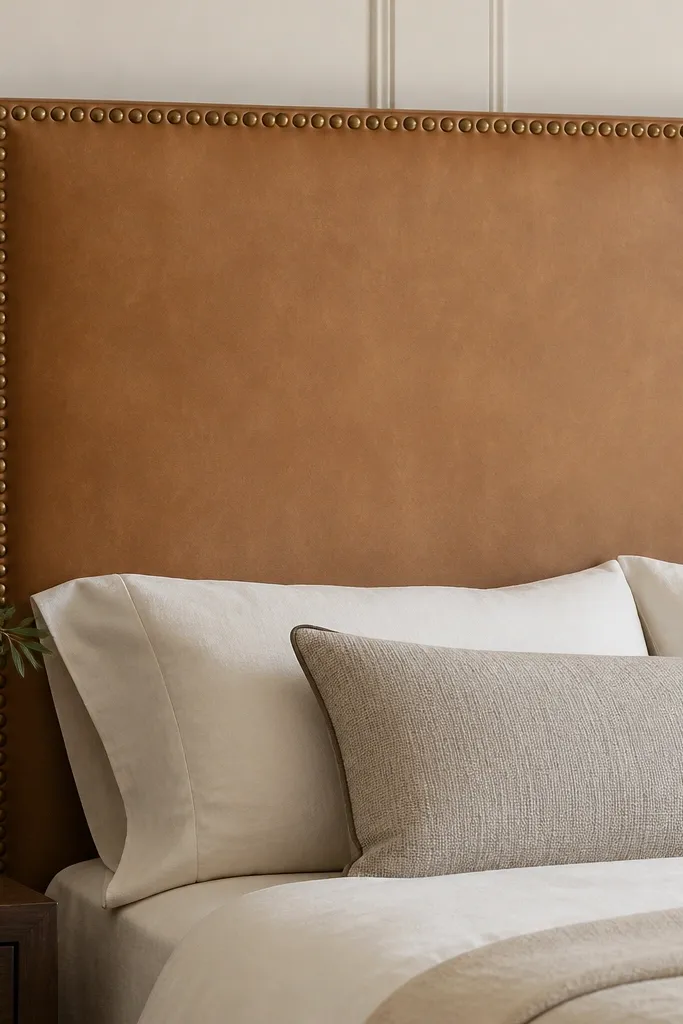
Stud borders make a headboard look finished instantly, even when the center is simple. Faux leather vinyl gives a smooth surface that wipes clean, and the stud line adds structure that hides minor DIY unevenness. It’s a great option if you want a classic look without deep tufting.
Use plywood plus 1-inch foam, then cover the front with vinyl. Wrap the back tightly and staple at the edges. Add a stud strip around the perimeter using a fabric stud kit or individual stud tacks spaced evenly.
Quick tipMark stud holes with a piece of chalk and a ruler before you punch — spacing is what makes it look store-bought.
One warningDon’t place studs too close together — it makes the border look crowded and uneven.



