
1. Scalloped Lace Wall Panel Behind the Bed
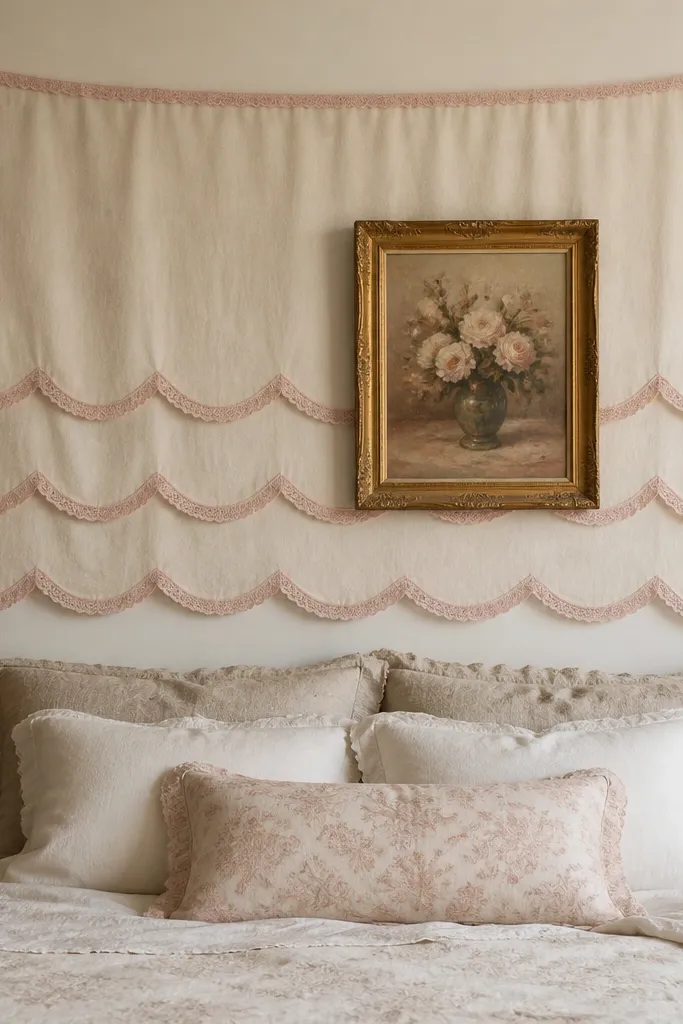
This works because scallops read coquette instantly — they create a soft, rhythmic edge that looks styled even when the rest of the room is simple. The cream base keeps it airy, while pale pink lace adds the romantic texture you normally see in boutique headboard backdrops. I like putting it behind the bed because it becomes the visual anchor every time you walk in.
Use a 1x2 inch wood frame or foam board backing cut to your panel size, then wrap with cream cotton or linen-look fabric. Add scalloped lace trim along the outer edge and pin or staple it on the back. Keep the panel centered and aim for it to cover at least the width of your headboard plus 6-10 inches on each side.
Quick tipSpray the backing fabric with a light mist of fabric stiffener before stretching so it stays smooth.
One warningDon’t use thin, see-through lace — it makes the panel look wrinkled and unfinished.
2. Bow-Tied Curtain Rope for a No-Drill Valance
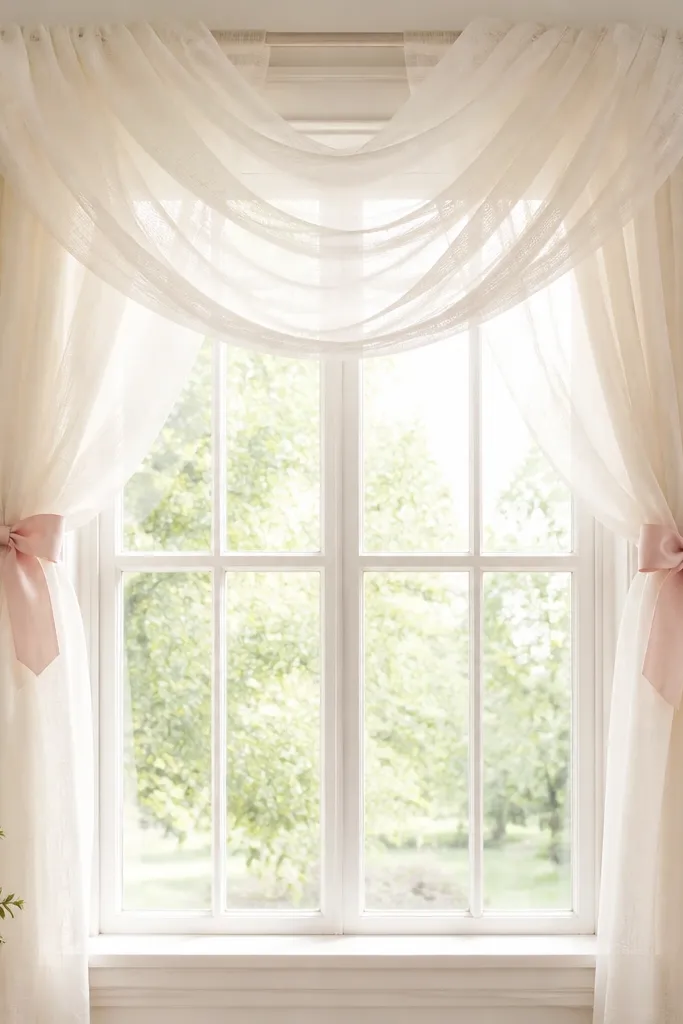
A bow-tied gather adds coquette charm without needing new hardware. The trick is controlling the volume: the ribbon should pull the fabric into gentle folds, not tight bunches. Cream sheers with dusty rose ribbon look clean and romantic, and the bow becomes an instant focal point even in a small room.
Cut two ribbon lengths at least 3 feet each so you can tie a full bow and still adjust. Use a curtain tieback rope or a thin elastic cord hidden behind the curtain, then tie the ribbon around it. Leave 2-4 inches of space between the bow and the curtain top so it doesn’t look crushed.
Quick tipUse satin ribbon for the bow and a grosgrain or cotton ribbon for the tie so the knot holds.
One warningSkip cheap organza ribbon that frays — it looks messy fast.
3. Mini Rosette Photo Corner on a Cream Wall
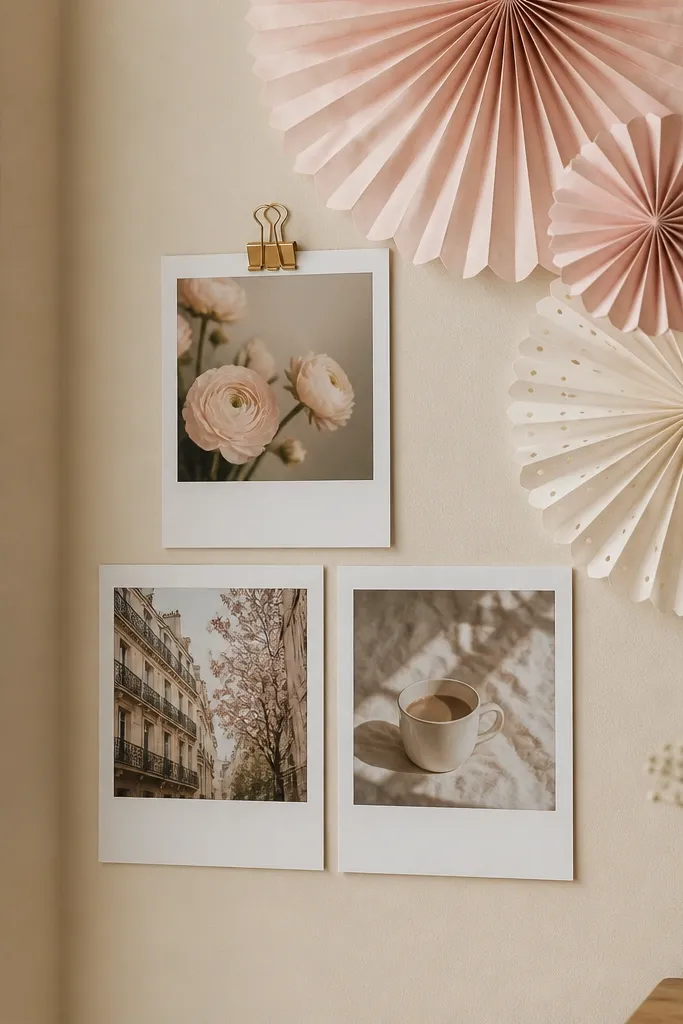
Rosettes add “party” energy in a controlled way. When you keep them small and group them near one photo cluster, the wall looks curated instead of crowded. I like using rosettes to frame a corner that feels blank, like next to a dresser or above a desk.
Make paper rosettes from 6-8 inch cardstock circles folded into fans, then glue the layers with a stacked center. Use a 3-photo cluster with matching frames in white or gold. Keep the rosettes on one side of the cluster so the arrangement has a clear direction.
Quick tipPrint photos with a cream border so they blend with the rosette colors.
One warningDon’t scatter rosettes across the wall — keep them in one tight corner.
4. Heart-Cutout Garland on a Curtain Rod
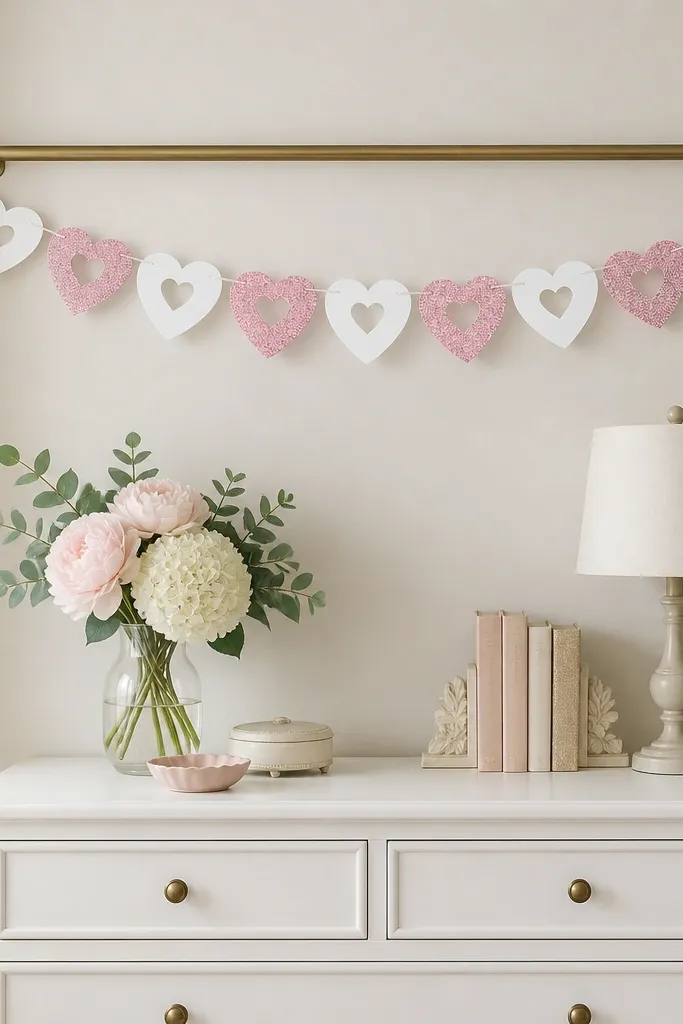
This is coquette without relying on lace. Heart shapes look sweet, and the garland format lets you change the vibe by swapping colors or adding small clips. Hanging it on the rod makes it feel intentional and easy to adjust.
Cut hearts from 65-80 lb cardstock and one set from glitter paper for sparkle. String them with thin clear fishing line through a hole near the top of each heart. Space hearts 2-3 inches apart, then attach the line to the rod with tiny binder clips.
Use a laser-cut heart outline or a printed heart template so all shapes match.
Don’t use thin printer paper — it curls and sags.
5. Satin Ribbon Drape Headboard Trim
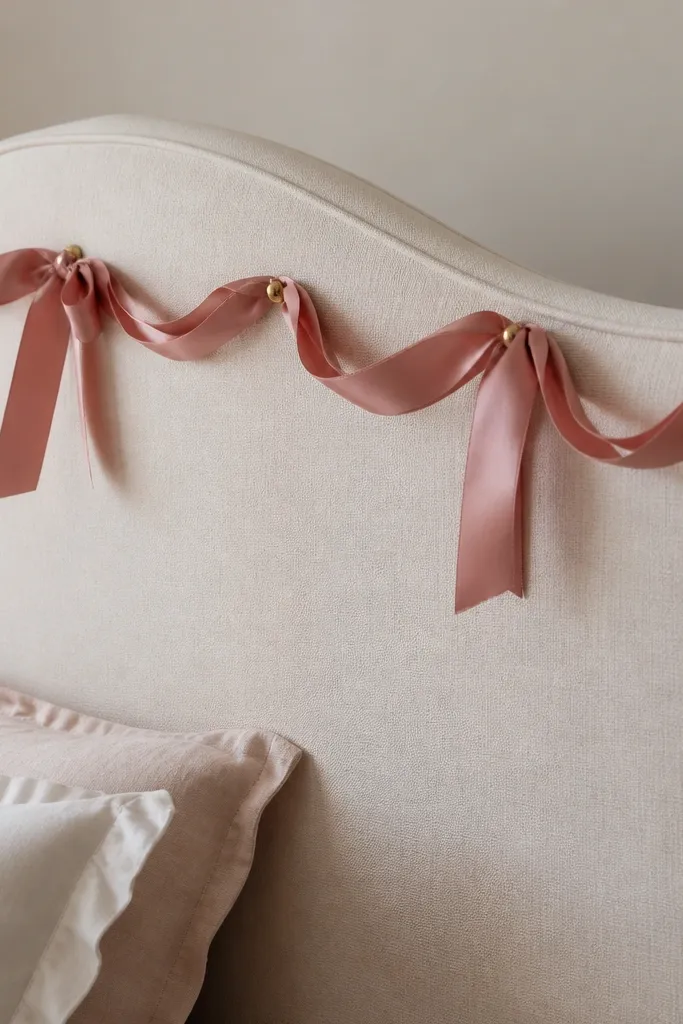
Ribbon draping makes a plain headboard look styled in minutes. The satin catches light differently from fabric, so it reads “luxury” even when the room is simple. I use this when I can’t or don’t want to sew a full duvet cover or replace upholstery.
Buy 1.5 inch satin ribbon in dusty rose. Pin it along the top edge of the headboard with upholstery tacks or push pins every 6-8 inches, then shape loops by tucking the ribbon under itself. Add a bow at the center where you want the focal point to land.
Quick tipPre-fold a small crease in the ribbon where you want the loop to sit so it holds the shape.
One warningDon’t stretch ribbon tight — it puckers and looks cheap.
6. Pearl Bead Curtain Tiebacks
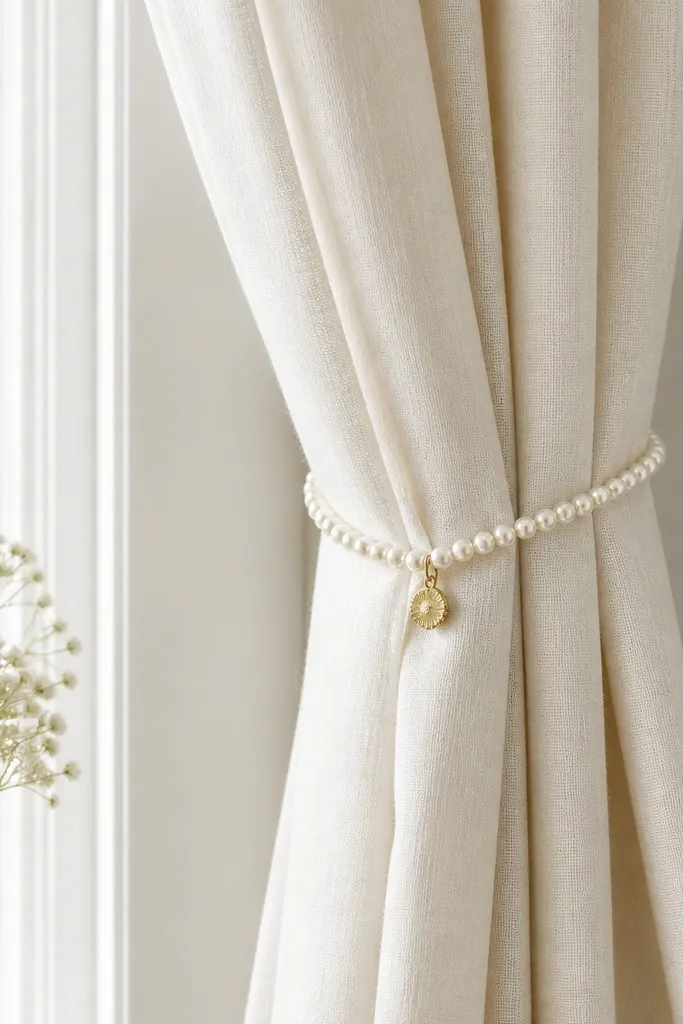
Pearls read coquette because they look like jewelry, not craft supplies. Using bead tiebacks gives your window an instant “dressed” look and adds shine without adding clutter. Tiebacks also let you control how much light enters the room.
String faux pearl beads (8-10mm) onto a strong elastic cord, then knot and secure with a small crimp bead. Attach a warm gold charm or mini heart charm at the end. Keep the tiebacks short enough that the curtain fold sits around mid-window height.
Match bead color to your hardware — warm gold + white pearls looks cohesive.
Skip overly large beads — they look costume-y next to soft coquette fabrics.
7. Coquette Shelf Styling with Ribbon-Label Jars
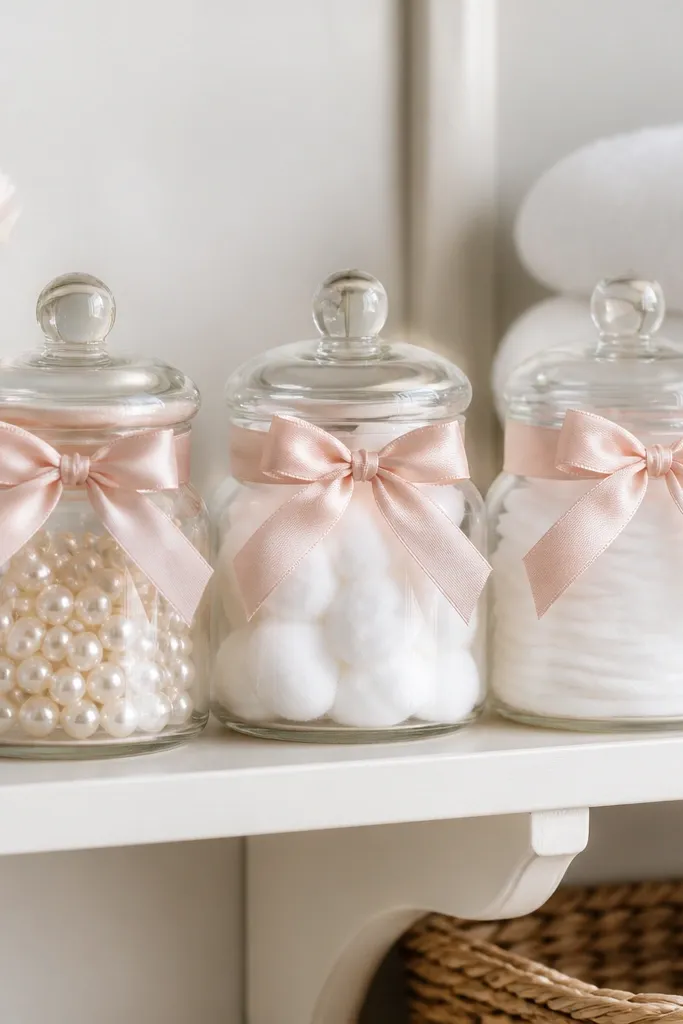
Shelf decor looks coquette when it’s tidy and repetitive. Ribbon-tied labels make everyday items look intentional, and clear jars keep things airy. I’ve used this on tiny shelves where you can’t fit big wall art.
Use 3-4 clear jars with similar lids. Cut label cards from cream cardstock, write or print in a simple serif font, then cover with a thin strip of clear tape. Tie pale pink ribbon around the jar neck and keep bow size consistent across jars.
Use the same ribbon width for every jar so the shelf looks designed.
Don’t mix lid finishes — chrome jars next to gold details look off.
8. Blush Ombre Throw Pillow Covers (No Sewing)
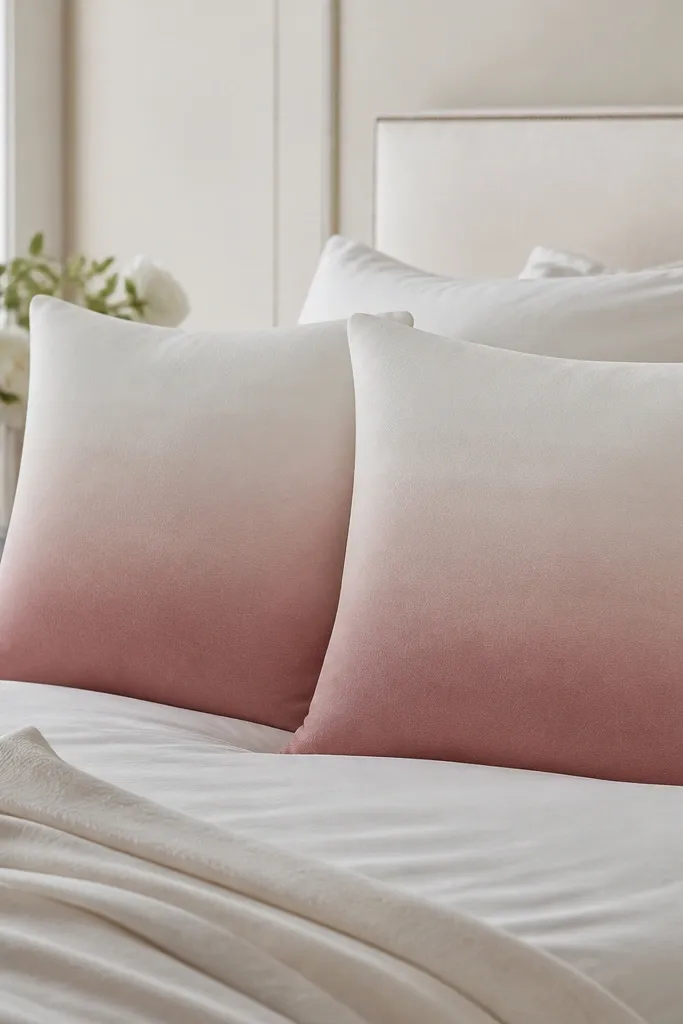
An ombre pillow cover gives you that “designer” softness without buying multiple pieces. The gradient feels romantic and makes the bed look layered. I like doing it with plain covers because it looks clean and intentional.
Buy white pillow covers in cotton or canvas. Use fabric dye or fabric paint in dusty rose and dip the bottom third, then blend upward with a damp sponge. Rinse and dry fully before inserting the pillow so it doesn’t bleed.
Test your dye strength on a scrap fabric first so you don’t end up too dark.
Don’t dye polyester unless the dye says it works — it turns patchy.
9. Warm Gold Frame + Pink Print Gallery Line
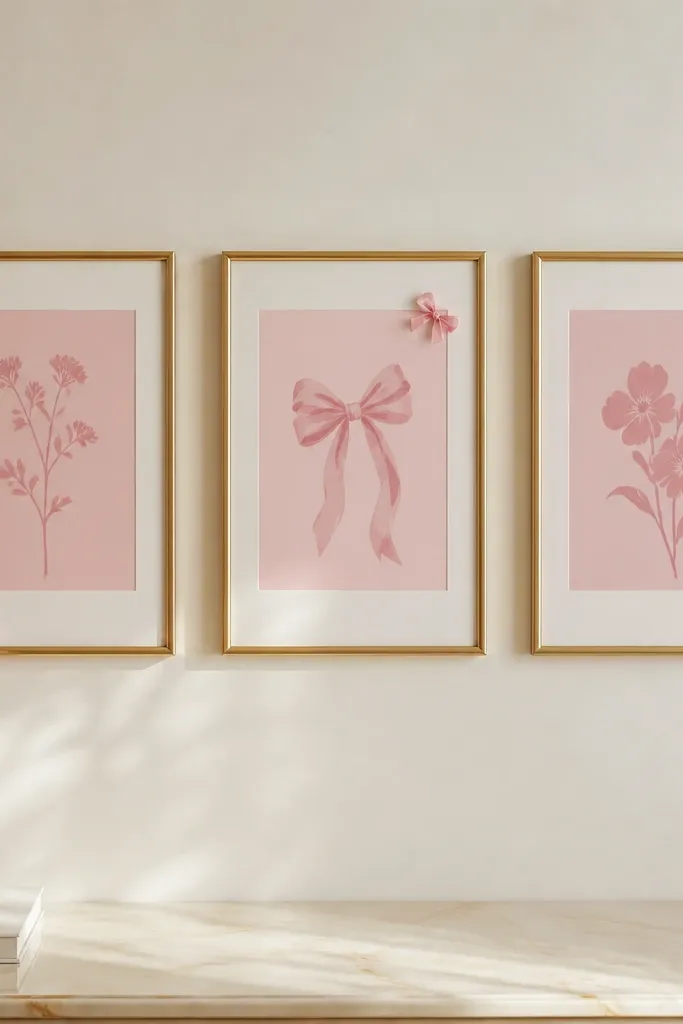
Gold frames make the whole room feel more polished because they catch light and add shape. Minimal pink prints keep it coquette without turning into cartoon decor. When frames line up at the same height, the wall looks calm and styled.
Use frames with matching mat colors, ideally off-white. Print simple art with blush tones — think small florals, tiny hearts, or soft gradients. Hang them with consistent spacing so the center frame sits at eye level.
Add a tiny bow sticker or paper bow near the bottom corner of one print to keep the theme playful.
Avoid mismatched frame widths — it makes the wall look accidental.
10. Tulle Skirt Bedside Table Pop
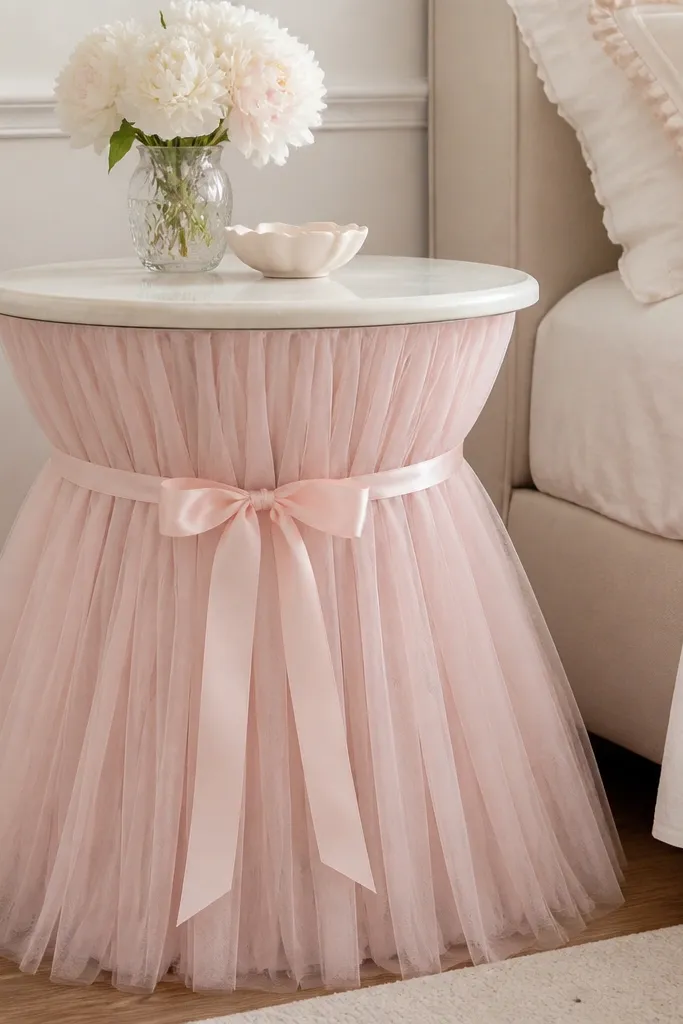
A tulle skirt under a lamp instantly makes a plain table look like a set. It’s coquette because it adds volume and softness without needing a big makeover. I use it for renters because it can wrap around existing furniture.
Measure the table skirt drop length, then cut tulle strips 2-3 times the circumference of the table edge. Sew or hand-tie the tulle to a thin elastic band that wraps around the table. Tie a pale ribbon bow at the center front and trim the tulle so it ends in a gentle uneven hem.
Layer two tulle shades: white under blush for a softer glow.
Don’t use one thick tulle layer — it looks stiff and bulky.
11. No-Sew Lace Runner for a Dresser Top
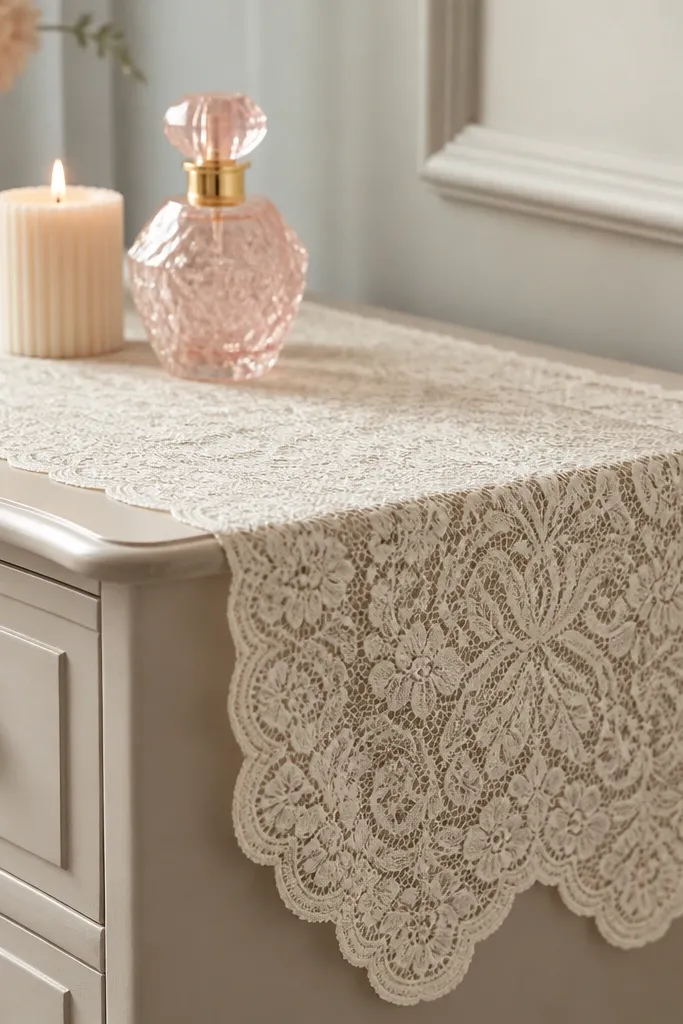
A lace runner creates a “styled surface” instantly. It makes the dresser look intentional and gives you a consistent texture backdrop for small items. In my rooms, this is the fastest way to make clutter look cute.
Buy lace trim or lace fabric in a width that matches your dresser depth. Hem the edges with fabric glue along the sides for a quick finish, then add a scalloped trim along the front edge. Keep the runner centered and leave 1-2 inches of space from the sides so it doesn’t look like a tablecloth.
Use a lint roller before placing it so the lace doesn’t show dust.
Don’t let it hang unevenly — one droopy side makes it look sloppy.
12. Crochet-Look Cover for a Floor Lamp Shade (Paint + Fabric)
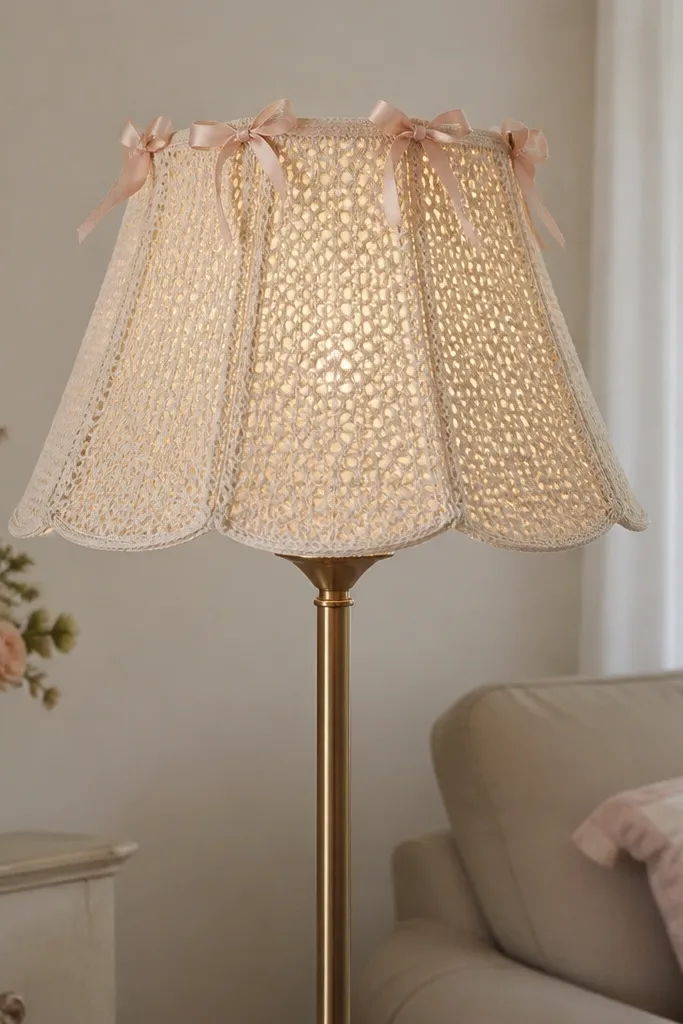
You can get a crochet vibe without finding real crochet yarn. The open texture makes light scatter gently, which is pure coquette at night. This is perfect if your lamp shade is plain and you want the room to feel warmer.
Wrap the lamp shade frame with thin cotton or a lace overlay fabric cut to the shade’s circumference and height. Use spray fabric adhesive lightly, then add small ribbon bows at the top rim every 6-8 inches. If you want more “handmade,” add a narrow strip of lace down the front center.
Test the adhesive on scrap fabric so it doesn’t discolor the lace.
Skip thick foam backing under the lace — it blocks the light.
13. Blush Marble Contact Paper Vanity Tray
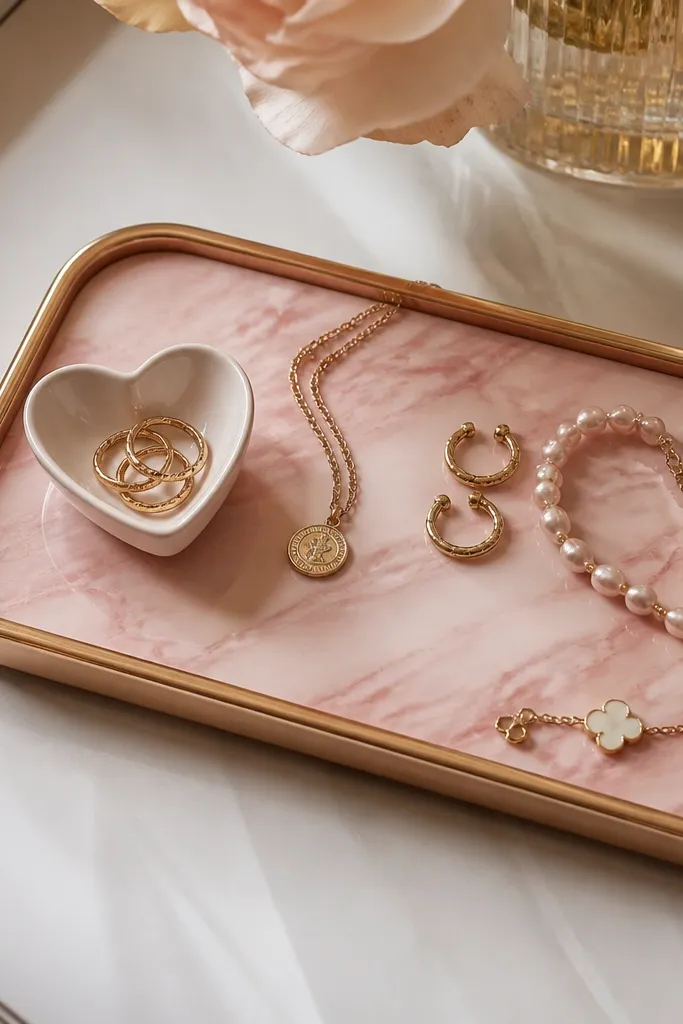
Contact paper is the cheat code for high-end-looking surfaces in DIY. Blush marble feels romantic, and the tray format keeps everything neat. I’ve used this to make a cheap plastic tray look like it belongs on an Instagram dresser.
Choose a blush marble contact paper with gold flecks if you can find it. Clean the tray with rubbing alcohol, then apply contact paper slowly from one edge, smoothing as you go. Wrap the corners with extra paper trimmed tight, then seal the edges with a thin clear adhesive or clear tape on the underside.
Use a craft knife with a fresh blade for clean corner cuts.
Don’t stretch contact paper — it wrinkles and shows bubbles.
14. Painted Picture Rail with Tiny Hanging Frames
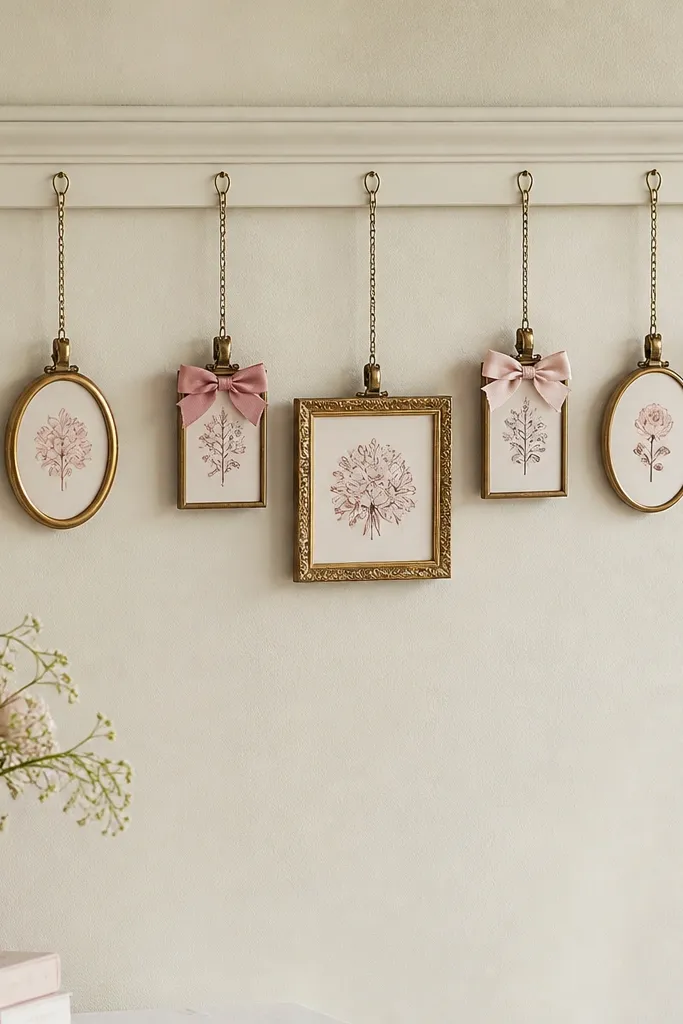
Picture rail decor makes coquette look layered without drilling a grid of holes. Tiny frames give you that “dressed wall” effect, and the rail makes it easy to swap pieces later. I love this for dorms and rentals because it’s adjustable.
Paint a simple picture rail molding cream, then attach it level with a stud or use appropriate anchors. Hang small frames with wire or small hooks, keeping the heaviest frame at the center. Add a mini bow clip to one frame so the theme is obvious.
Keep all frames the same height so the rail looks intentional.
Avoid mixing frame sizes too wildly — it makes the rail look chaotic.
15. Tulle + Ribbon Wall Hanging for a Blank Corner
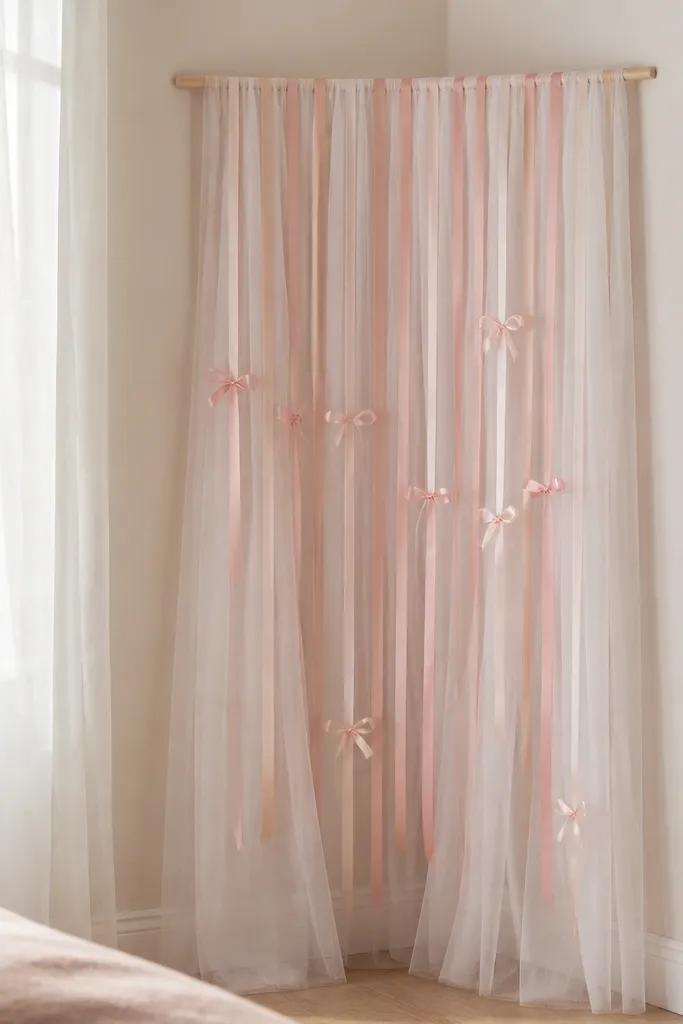
This gives movement to a corner, and movement is what makes rooms feel alive. Tulle strips look airy, while ribbon bows add the coquette punctuation. It’s also forgiving if your wall is awkward or you can’t mount big shelves.
Cut tulle strips 18-24 inches long, then fold over the top and tie to a dowel using fishing line or thin twine for a clean hold. Alternate white and blush tulle, then add 6-8 ribbon ends tied into bows at different lengths. Mount the dowel with two hooks so it stays level.
Quick tipTrim the bottom ends with a staggered pattern so it looks designed, not cut with scissors once.
One warningDon’t use only long strips — include a few shorter pieces so the hanging has shape.
16. Mini Heart Wall Planter with Faux Flowers
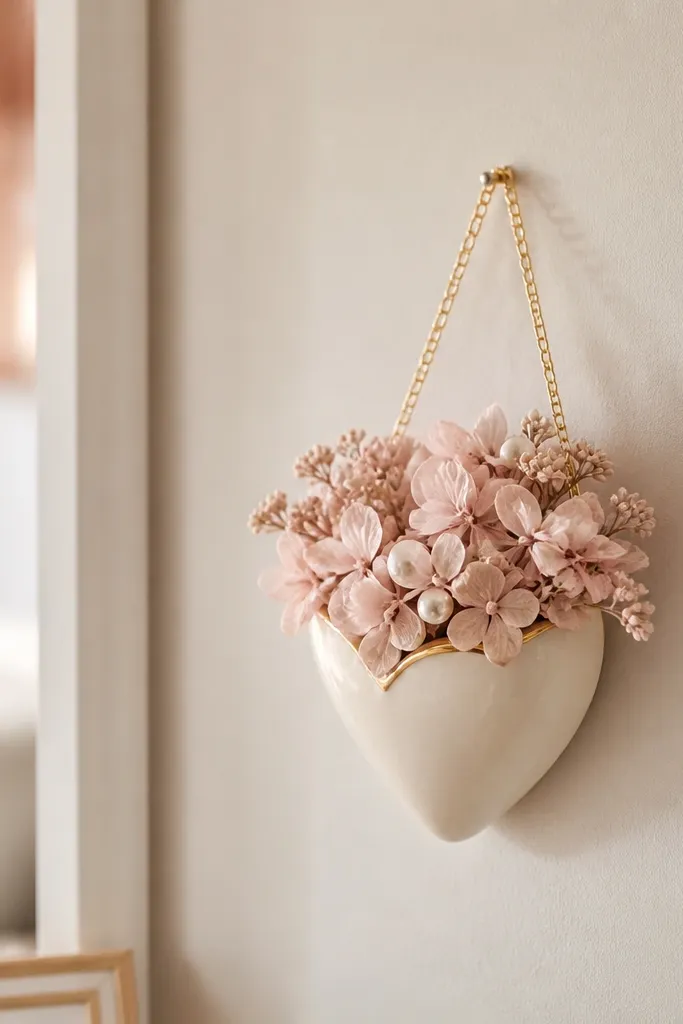
A heart planter makes the wall feel personal, and faux flowers keep it looking perfect without watering. The coquette look comes from the soft blush blooms and the heart shape, not from anything complicated. I use this near a desk or reading nook where you want a sweet focal point.
Use a small heart-shaped planter or wall pocket, then insert a foam block for faux stems. Add pearl bead picks sparingly so it doesn’t look like holiday decor. Hang at eye level, about 52-60 inches from the floor, depending on your furniture height.
Dust faux flowers with a makeup brush so they look fresh in daylight.
Avoid oversized planters — big hearts overpower small rooms.
17. Ruffle Throw Blanket Clips for a Tidy Bed Edge
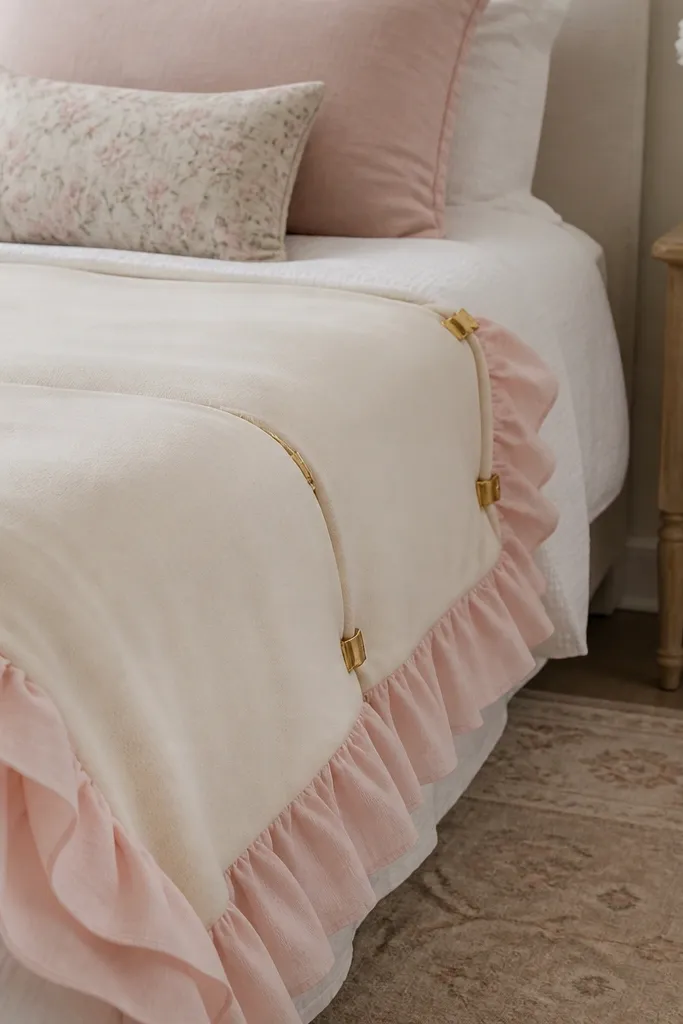
Coquette beds look styled partly because the blanket sits with intention. Ruffles add softness, and clips keep the drape from collapsing into a messy pile. This works even if you don’t want to sew — it’s all about controlling the fold.
Choose a throw with a ruffle edge or add ruffle trim to a plain throw using fabric glue. Use small binder clips or decorative alligator clips attached underneath the throw edge to anchor it to the bed frame or pillow. Keep the visible fold about 6-8 inches deep so it looks intentional from across the room.
Press the blanket fold with a warm iron on low through a cloth so it holds its shape.
Don’t let the ruffles bunch unevenly — smooth the ruffle edge before clipping.
18. Glitter-Free Blush Ombre Candle Labels
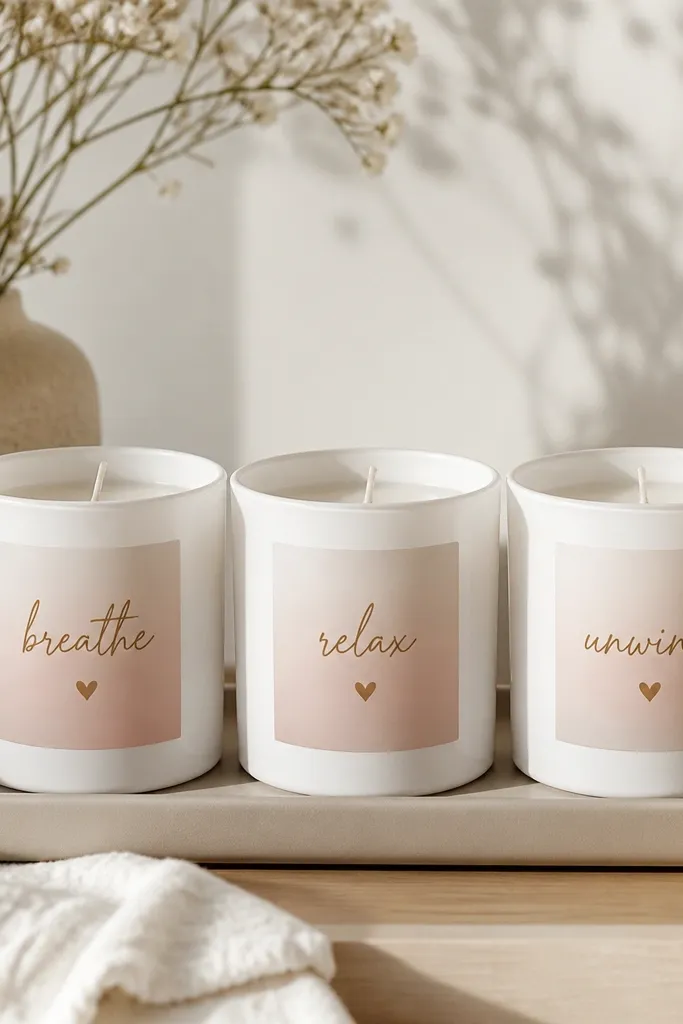
Labels are a small DIY move that makes candles look like part of a coordinated set. Blush ombre keeps it soft and coquette, and warm gold details add a gentle glow in photos. I’ve used this to upgrade plain candles without changing the candle itself.
Use white candle jars or plain cylinders with removable labels. Print or handwrite on cream paper, then create an ombre wash with diluted blush acrylic paint or fabric marker. Seal the label with a thin clear matte spray so it doesn’t smear when the jar warms.
Quick tipUse a small round hole punch to add a tiny gold ribbon loop through the label corner.
One warningAvoid glitter labels — they look cheap and shed.



