
1. Painted wood slat gallery with hidden nails
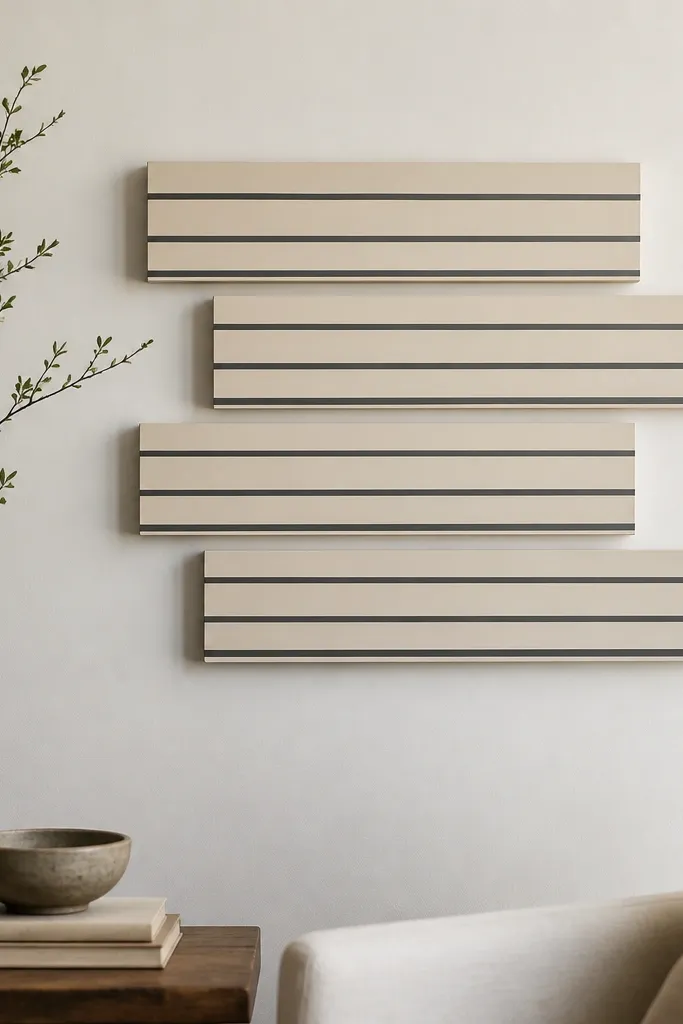
This is one of my favorite “looks custom” tricks because the slats create rhythm without needing busy patterns. I use matte wall-matching paint on sealed wood so it doesn’t look like craft boards. The charcoal lines are thin enough to read as design, not decoration. Since the mounting is hidden, you get that store-bought crispness without the store-bought price.
Cut 1x2 boards into 16-inch and 12-inch lengths, then sand to knock down splinters. Seal with a clear matte topcoat, paint cream, and add charcoal stripes with painter’s tape at 1/4-inch width. Use a French cleat rail behind the group or nail small picture hangers inside the top lip so nothing shows. Works best over a sofa or dresser where you’ll see it from standing height.
Quick tipLay the slats on the floor first and measure the gap you like (I use 3/4-inch between pieces) before you mount anything.
One warningDon’t skip sealing — raw wood drinks paint and looks blotchy after drying.
2. Fabric-wrapped foam board with frame lip (no bubble corners)
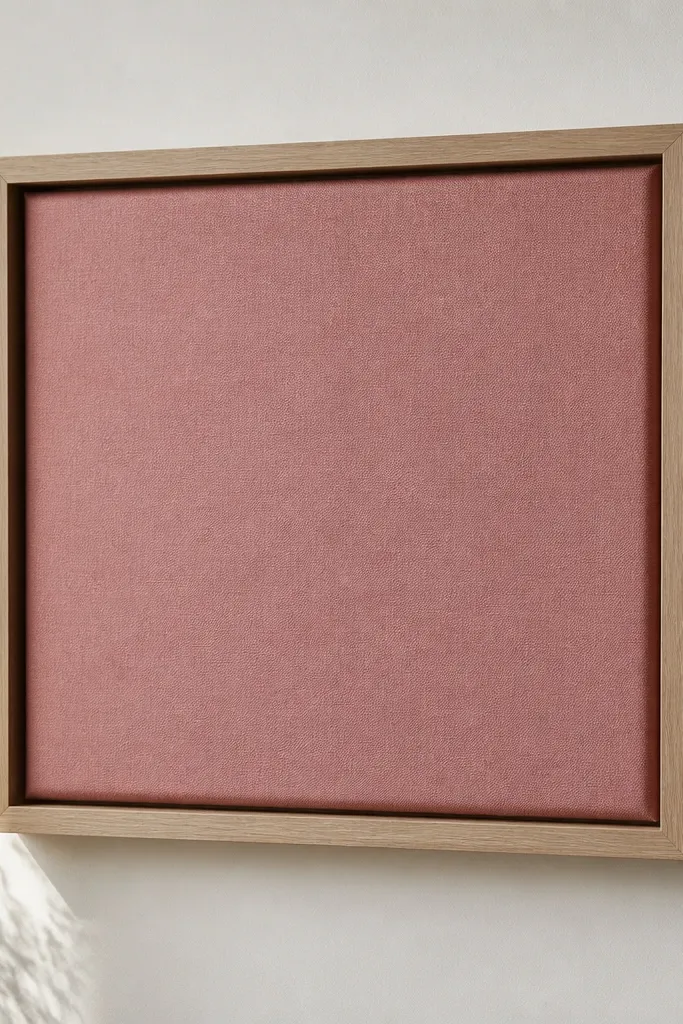
Fabric looks warmer than paper, and the frame lip makes it look intentional. I like dusty rose, olive, or slate blue because they read calm in daylight and don’t scream “handmade project.” The key is tension: when the fabric is pulled tight and the corners are folded cleanly, it looks like a high-end textile piece. It stays low maintenance because the front is framed and wipeable.
Use a 1/2-inch foam board cut to your frame inner size. Wrap fabric from the back, pull tight, and staple every 1 to 1.5 inches around the perimeter. Fold corners like gift-wrap so you get a neat triangle at the back, not bulk at the front. Add glass or acrylic if you want the easiest wipe-down.
Steam the fabric lightly before wrapping so the weave relaxes and you don’t get ripples later.
Avoid stretchy knits unless you’re experienced — they distort tension and show bubbles.
3. Vinyl stencil wall quote with a 3-color shadow line
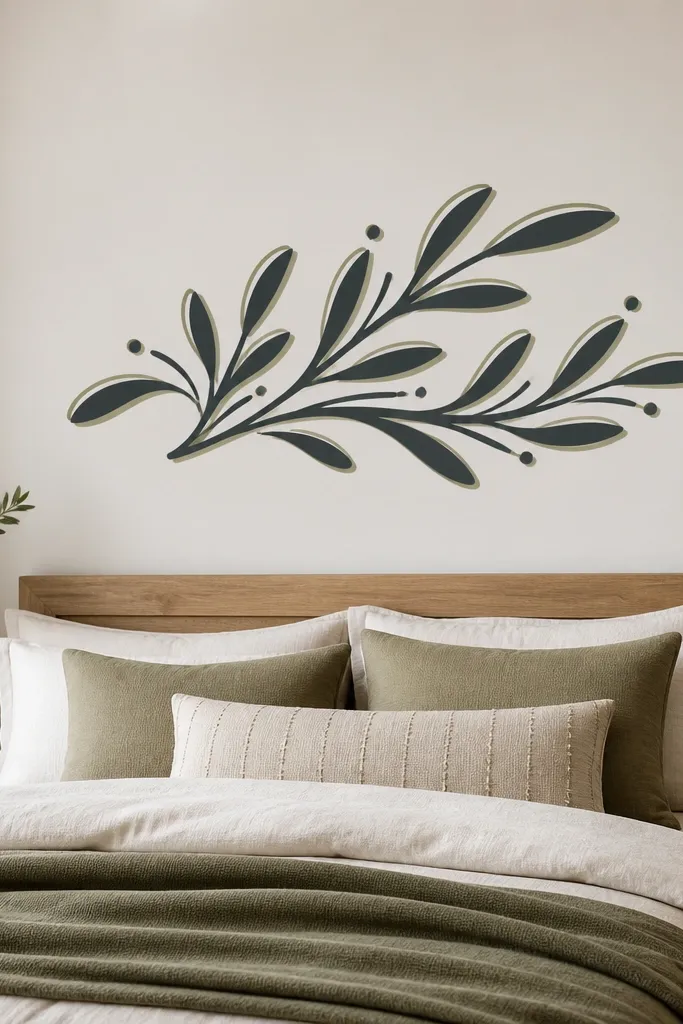
A stencil quote looks store-bought when the edges are sharp and the spacing is consistent. I do dark charcoal letters with a sage shadow line offset by about 1/8 inch — it gives depth without turning into a poster. Matte paint keeps it from looking glossy and cheap. You also get the best low maintenance option because it’s just painted wall, not fabric or paper collecting dust.
Use removable vinyl stencil material and burnish edges with a plastic squeegee. Spray or dab with a small foam roller, then remove stencil while paint is still slightly tacky so edges don’t tear. For the shadow line, make a second stencil layer or use a pre-cut offset stencil, then paint the sage line last. Tape the guide with a level so the quote sits straight above your furniture.
Quick tipDo a test on cardboard with the same paint and roller — it tells you how many coats you need for opacity.
One warningDon’t use thick brush strokes on stencil — the paint creeps under and the letters look fuzzy.
4. Framed pressed leaves under acrylic for a dust-free look
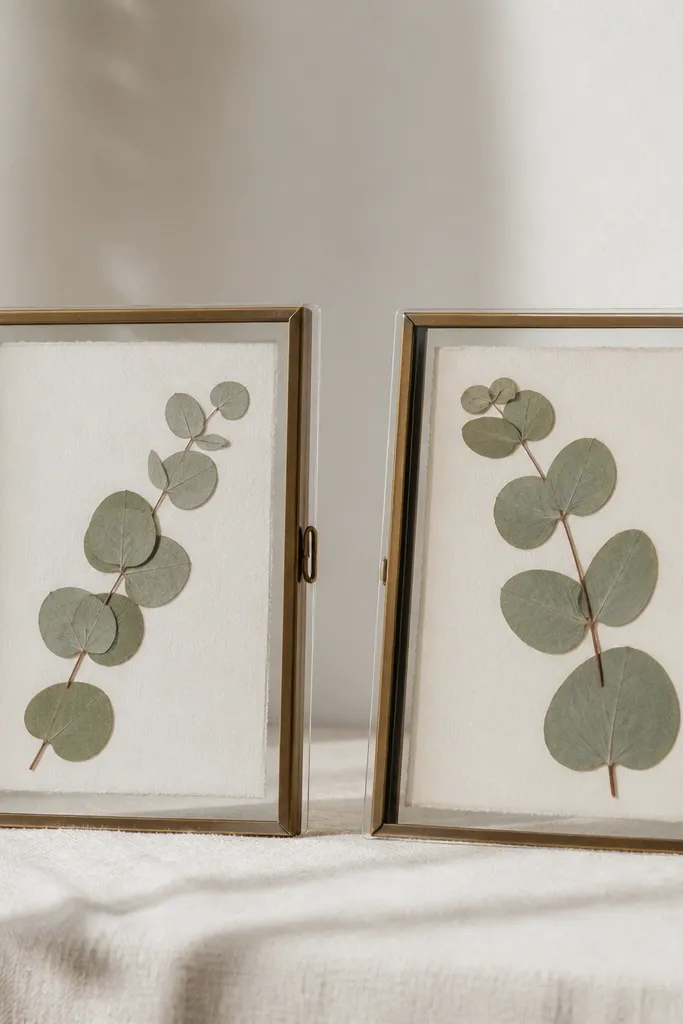
Pressed leaves look delicate, but framing them correctly makes them surprisingly low maintenance. Acrylic keeps the leaves protected from humidity swings that can warp paper. I use eucalyptus or small fern pieces because they flatten well and keep their shape. The off-white background keeps the greens from turning muddy.
Press leaves in a book with parchment between pages for 2 to 3 weeks. Mount on acid-free paper and seal with a very light clear spray made for paper — sparingly. Place behind acrylic with spacers so leaves don’t touch the front. Use frames that have a gasket or snug backing so dust stays out.
Pick leaves the same thickness so they dry flat; thin leaves curl if you rush the pressing.
Skip glossy craft paper — it reflects light and makes the leaves look uneven.
5. Paper-cut dimensional circles with a shadow gap
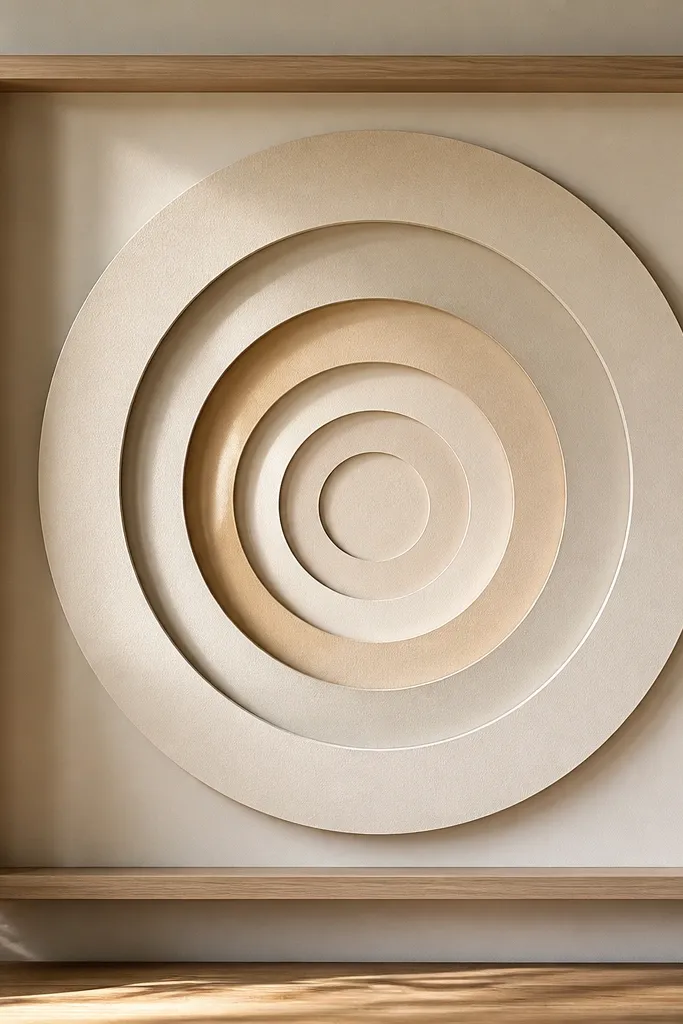
This is wall decor that reads “3D” without being heavy or fragile. The layered rings catch light as you move, so it looks alive even in plain rooms. I stick to warm neutrals and one muted accent tone so it doesn’t become busy. Because it sits behind glass/acrylic in a deep frame, cleaning is simple.
Cut rings from 120-160 gsm paper or cardstock and layer them with thin spacers (1/16 to 1/8 inch foam dots). Use a deep picture frame so the layers don’t smash against the front. Start with the biggest ring, then build inward with evenly spaced gaps. Arrange so the center is slightly above eye level, especially over a console.
Lightly sand cut edges if your paper fibers fuzz — the finished rings look cleaner.
Avoid super-thin paper for the top layer — it wrinkles and shows the cut line.
6. DIY corkboard map tiles with sealed edges
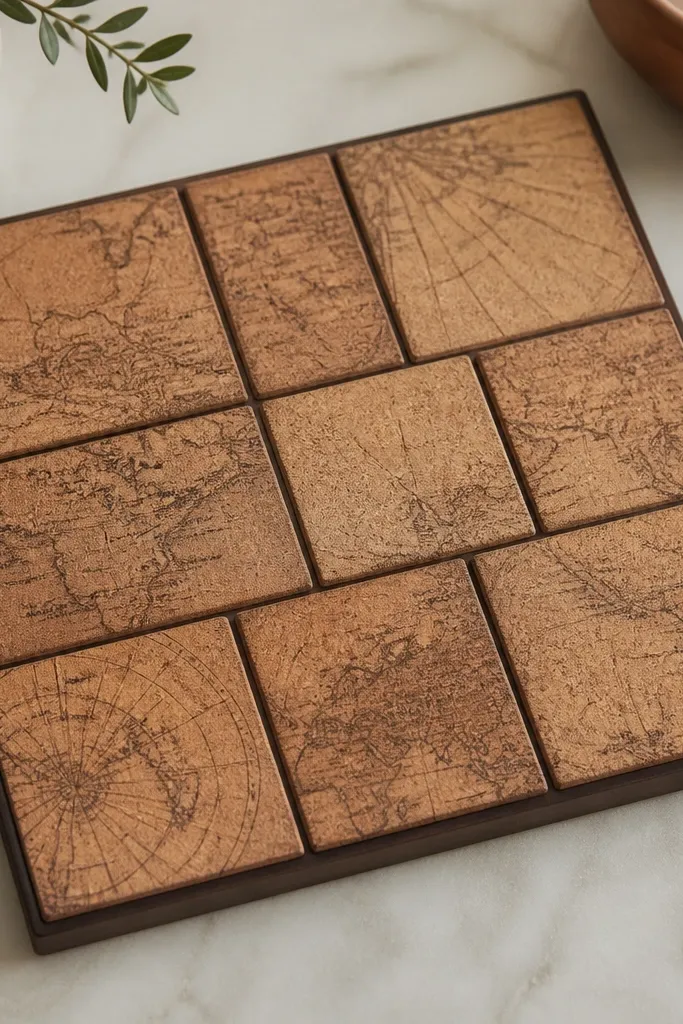
If you want low maintenance but still want personality, cork tiles are hard to beat. They don’t show fingerprints the way shiny prints do, and they handle minor wall imperfections. I use map prints because they add texture without looking like random posters. Sealing the edges stops cork from shedding and keeps the tile edges clean.
Cut cork sheets into 8x8 or 10x10 squares. Glue printed paper to the cork with decoupage medium, then seal over the top with a matte varnish. Paint the edges with a small brush and a dark brown craft paint. Mount with a grid using picture-hanging strips or screws through a thin frame trim.
Quick tipSpray test a sealed corner first — matte varnish can slightly darken the print, which you may love or hate.
One warningDon’t mount cork with thick foam directly on textured walls — it can bow and look uneven.
7. Macrame-ish wall braid with dowel and washable cord
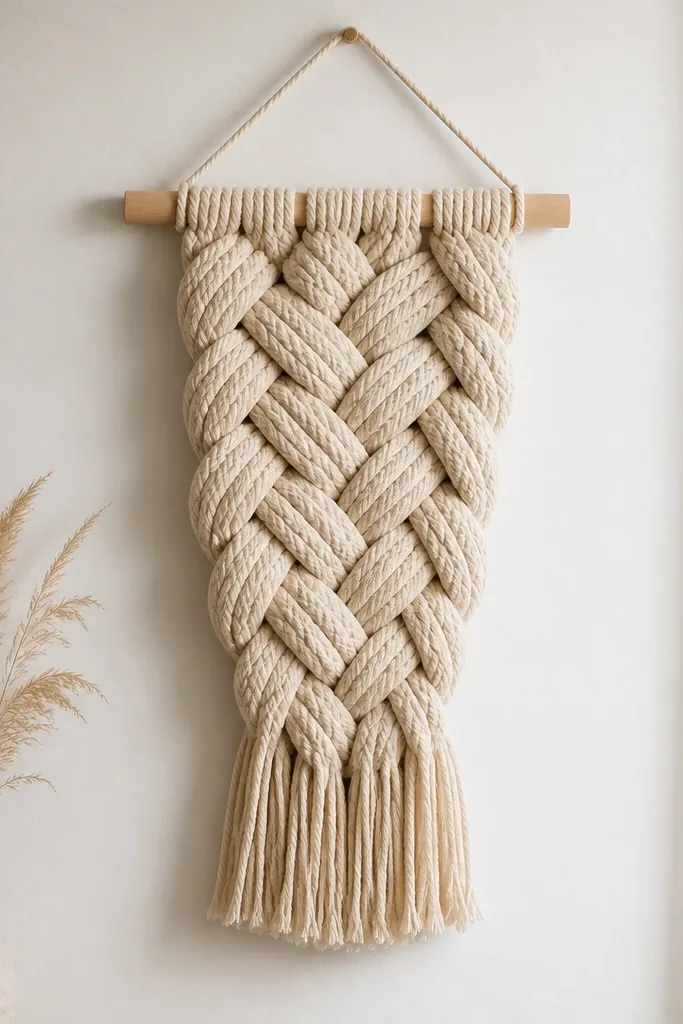
This gives you that cozy, soft look without turning into a dust trap like long fringe macrame. I keep it short and wide so it reads as a design element, not a curtain. Using washable cotton cord matters because you can actually clean it. The dowel at the top makes it feel intentional and straight.
Use a 3/4-inch dowel and attach cord lengths evenly across the top using a consistent knot. Braid by grouping 6 or 8 strands and keep tension even. Trim fringe ends to a single length, then tie them with a small thread wrap so they don’t flare. Hang with two sturdy hooks so the dowel stays level.
Quick tipWash a small cord sample first — if it shrinks a lot, pretreat the whole batch before building.
One warningAvoid super long fringe — it collects dust and looks messy after a few months.
8. Staggered shadowbox shelves for small wall plants
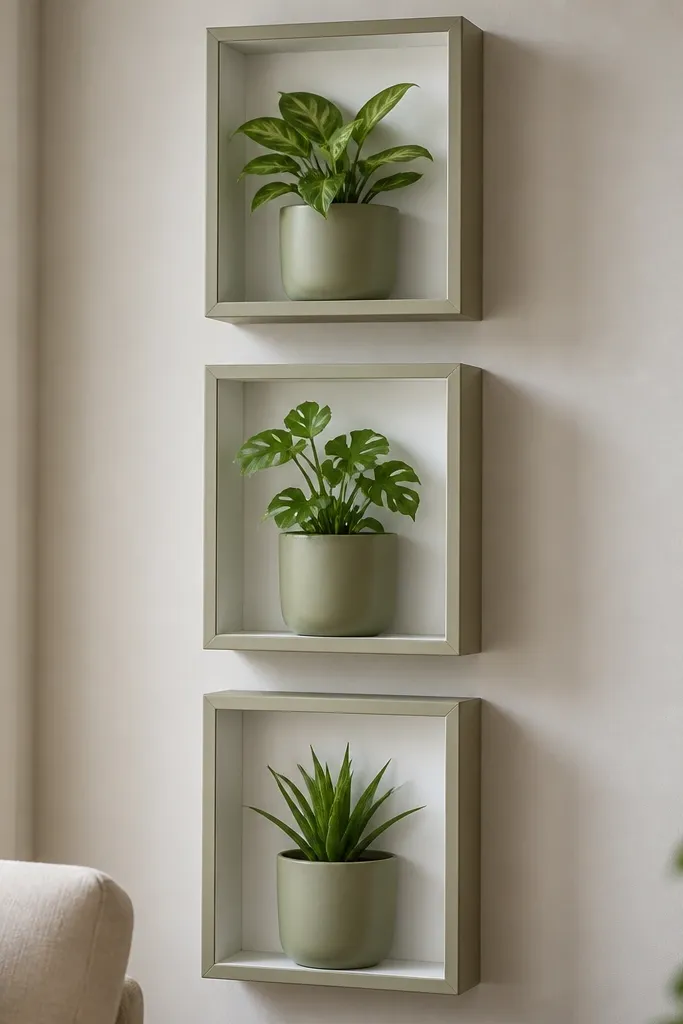
This one is practical decor. It adds life to the wall and also hides the messy parts of plant care like soil smudges because the shelf has a back and lip. I use faux plants when I’m busy and small glass planters when I want the real thing. The shadowbox shape makes it look store-bought, because the edges look finished.
Build three small boxes with 1x2 lumber or buy inexpensive shadowbox frames and add a shelf board inside. Paint the inside matte white or the room’s wall color. Add a 1-inch lip so water doesn’t run forward. Mount using a rail or two anchors per box for stability.
If you use real plants, add a plastic liner under the soil and keep the roots inside it — it prevents leaks on the shelf.
Skip open shelves with no back — plant soil stains the wall fast.
9. DIY 3D hexagon wall panels from foam + paint (lightweight)
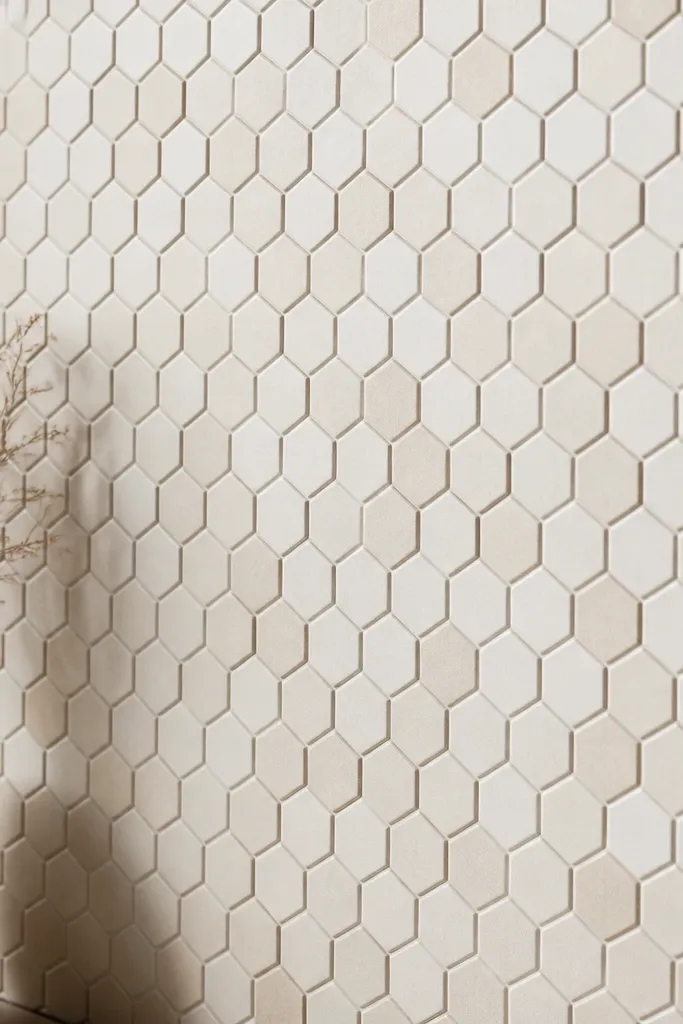
These hexagons make your wall look like it has texture even from across the room. I like off-white because it doesn’t fight your furniture, and the shadows from the raised texture add depth. Since the panels are lightweight, you don’t need heavy anchors. It’s low maintenance because it’s paint on foam with a matte finish — you wipe it like wall paint.
Cut craft foam into hexagons using a template and seal them with a thin layer of flexible primer. Paint with matte wall paint or craft acrylic paint mixed with a bit of matte medium. Arrange in a grid with 1/8-inch gaps so the pattern breathes. Mount with removable picture-hanging strips for small sections, or thin command-style velcro for bigger areas.
Quick tipUse a laser level or a phone level and tape a straight line first — hex patterns show every tilt.
One warningDon’t use glossy paint — glare makes the texture look cheap and uneven.
10. Stretched canvas dip-dyed band behind a curtain rod
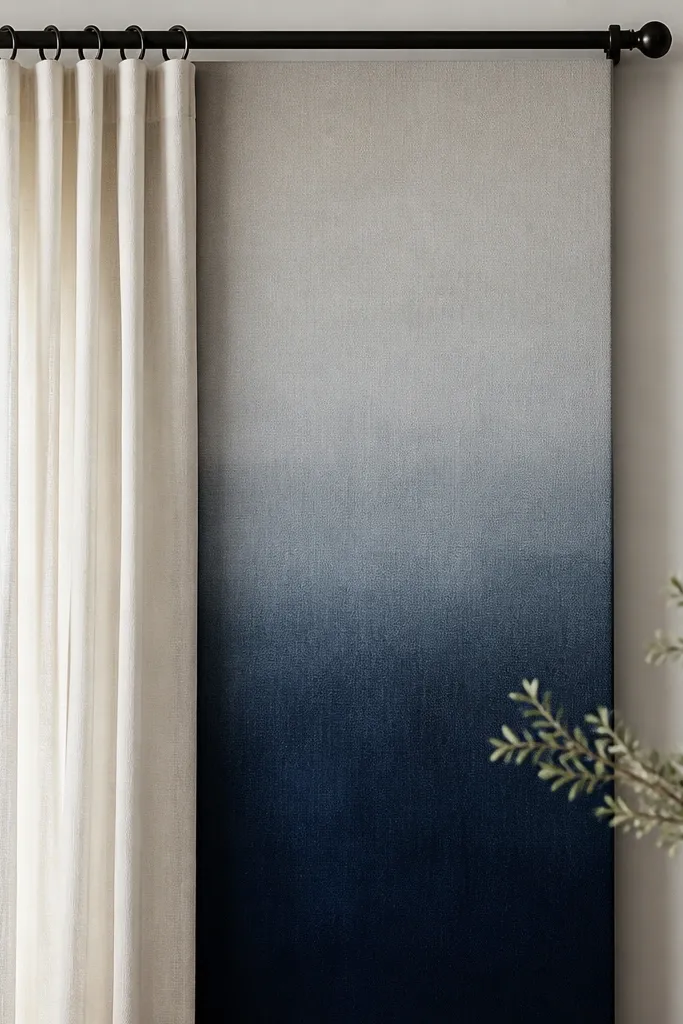
This is wall decor that also works like a background. The gradient reads calm, and the canvas strip stays protected behind the rod so it doesn’t get hit or dusty. I’ve used navy-to-gray in bedrooms and warm terracotta-to-cream in living rooms. You get a custom look without a big framed piece.
Stretch canvas over a simple frame or use an inexpensive canvas roll wrapped tight. Tape the top edge so dye only hits the bottom. Apply fabric dye diluted in water, dip carefully, and rinse according to the dye instructions. Hang using a rod so the top edge is hidden and the strip stays aligned.
Use painter’s tape to keep the dip line clean — uneven dye edges look amateur fast.
Avoid skipping fabric dye fixative — it can bleed later when it gets damp.
11. DIY faux tile wall art using peel-and-stick grout lines
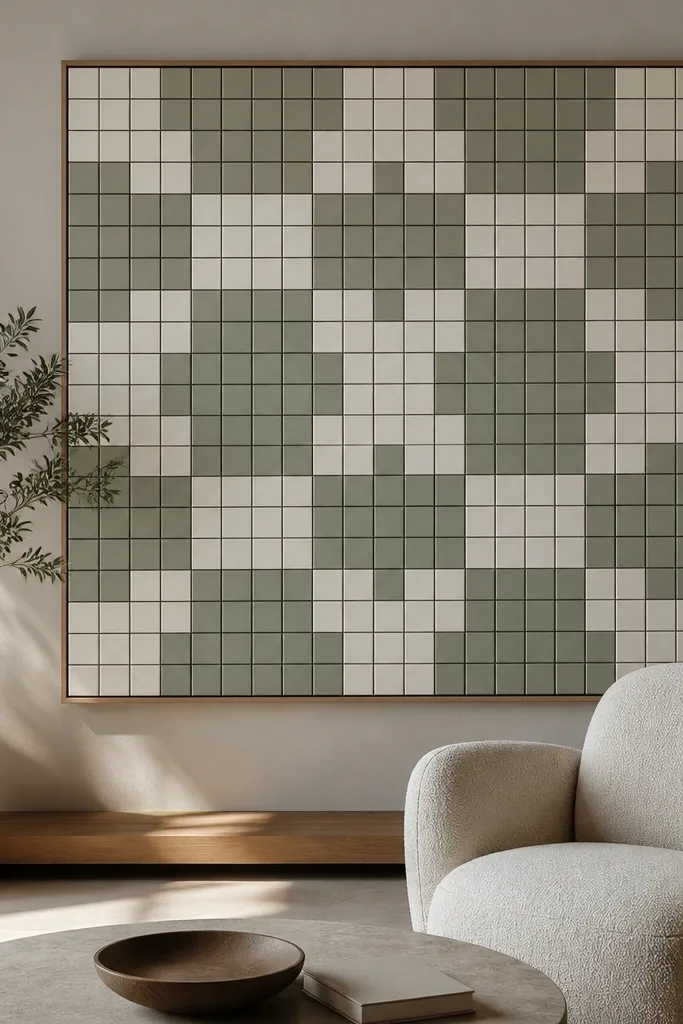
Tile art is a cheat code for making a wall look designed. The secret is grout-line realism, which peel-and-stick tape nails when you use straight edges and consistent spacing. I keep the palette to two colors so it doesn’t become a busy wallpaper panel. Mounted as one framed piece, it’s easy to wipe and low maintenance.
Pick a background sheet (matte cardstock or thin plywood) and apply peel-and-stick grout tape in a grid. Place colored vinyl or printed square “tile” stickers inside each grout cell. Seal the whole thing with a matte clear spray made for craft surfaces. Frame it in a standard poster frame with glass or acrylic.
Quick tipMeasure once, mark with a pencil grid, then lay the tape using a ruler so your grout lines stay parallel.
One warningDon’t use thick grout tape — it makes the pattern look chunky and off-scale.
12. Store-bought mirror in DIY matte frame wrap (low maintenance upgrade)
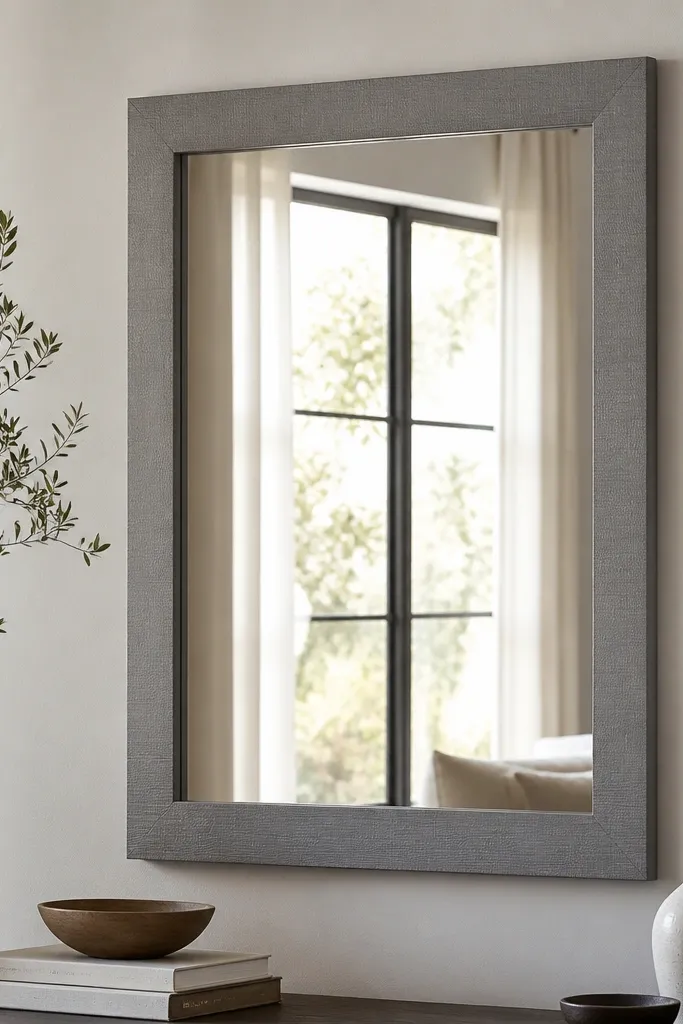
If you already plan to buy store-bought, you can still steer it toward low maintenance. Mirrors are easy to wipe, and a matte upgrade hides scuffs you would normally see on cheap frames. I’ve done frame wraps with matte contact paper or thin fabric backed with spray adhesive so it looks uniform. The result feels more expensive than the original frame.
Buy a basic mirror frame that’s slightly larger than your desired view. Clean the frame with rubbing alcohol, then apply matte wrap in one direction, smoothing with a plastic card. Trim corners with a sharp blade and seal the back edge with clear tape. Hang using the included hardware only if the frame is light; otherwise add wall anchors.
Quick tipUse a microfiber cloth and a vinegar-water mix for mirror cleaning — it leaves no streaks if you dry fast.
One warningAvoid glossy wraps — they show fingerprints and glare under warm bulbs.
13. DIY gallery wall with removable frames and numbered layout map
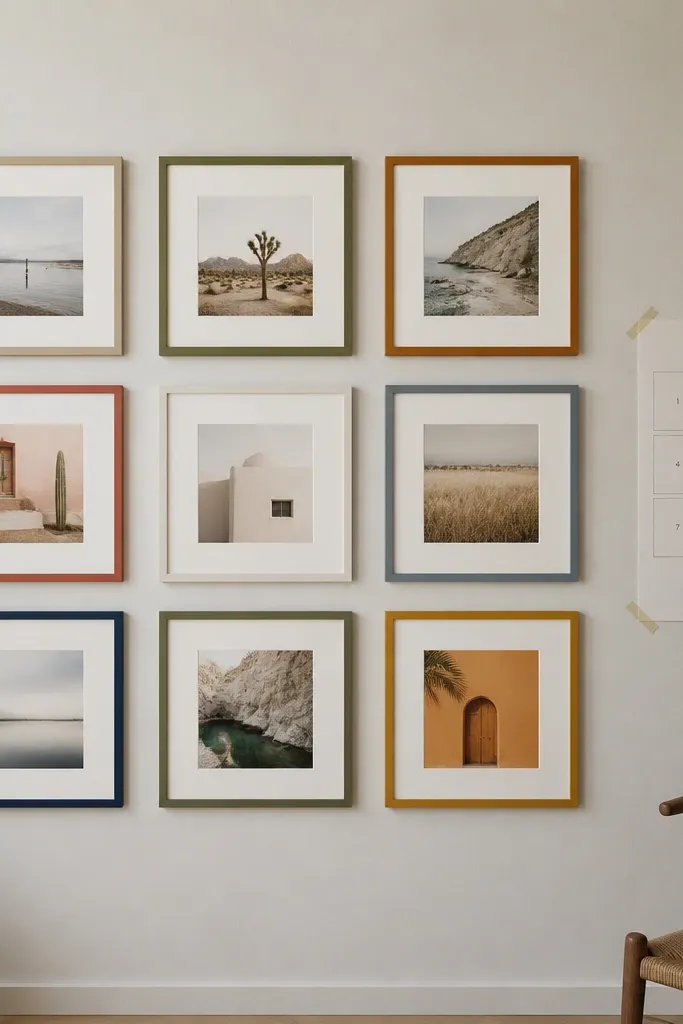
This is the “I want it straight and I want it changeable” option. Removable hardware keeps the wall from getting peppered with holes, and numbered placement prevents the awkward shifting that makes DIY gallery walls look messy. I use consistent frame sizes so the wall reads clean even with different prints. It’s low maintenance because you can swap prints without redoing the whole layout.
Print your art to match frame inner sizes, then assemble frames with backing secured. Before hanging, tape a paper grid on the wall and mark each frame location with a number that matches the back of the frame. Use hanging strips rated for the frame weight, or use small hooks if the frames are light. Step back after two frames — your eyes catch misalignment fast.
Keep all frame edges at the same height from the floor — aligning the top edge looks better than aligning the center.
Don’t eyeball the spacing — gallery walls punish guessing.
14. DIY wall pockets from picture frames for keys and small items
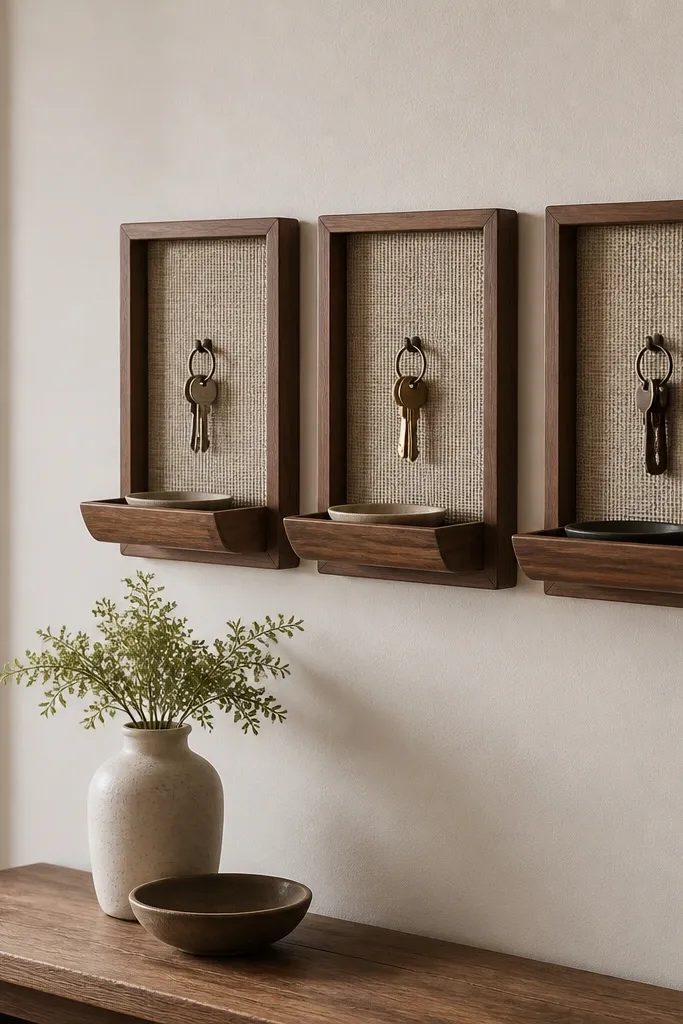
This is decor that also solves a daily problem. Wall pockets reduce clutter around entryways and it looks designed because the frames give structure. I use textured fabric like canvas or linen so it doesn’t show wear quickly. Low maintenance comes from the fact that it’s meant to get used — you wipe dust off fabric and empty the pockets in seconds.
Use shallow picture frames and remove the glass and backing. Cut fabric to fit and staple it to the back, then add a thin felt or plastic liner if you want less friction for keys. Mount with two screws per frame if heavy items will be stored. Paint or stain the frames to match your door trim.
Add a small label inside the pocket with a tiny strip of washi tape — it helps everyone put things back in the same spot.
Avoid open pockets with no liner — keys scratch the fabric and look worn fast.
15. Store-bought peel-and-stick 3D wall panels upgraded with edge sealing
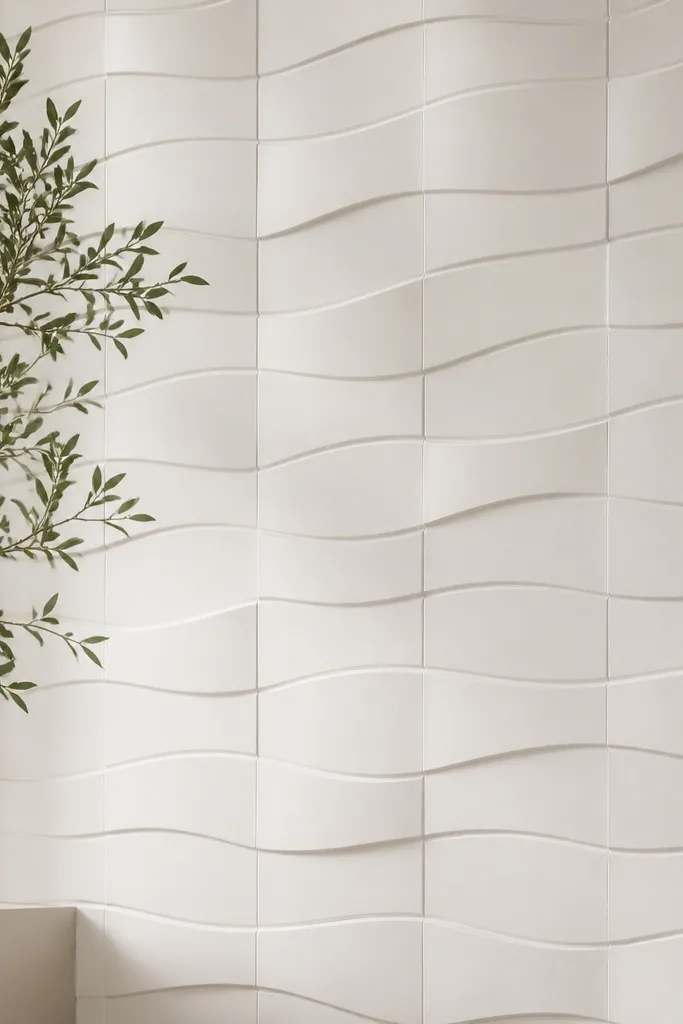
Store-bought 3D panels are quick, and the problem is the seams can lift or look unfinished. When I upgrade them, I seal the edges and corners so dust doesn’t creep into gaps. Matte white keeps it calm and works with almost every color scheme. The wall becomes textured without needing art hanging hardware.
Clean and dry the wall thoroughly before sticking. After installation, run a thin bead of paintable acrylic caulk along the seams, then smooth with a damp finger or small tool. Paint over seams with wall-matching matte paint. Let cure fully before touching the panels.
Quick tipDo a small test section first — some walls need a primer so the panel adhesive holds.
One warningDon’t install on dusty baseboards or near cooking steam — they lift and look patchy.



