
1. Yarn-Wrapped Corner Vase Shelf
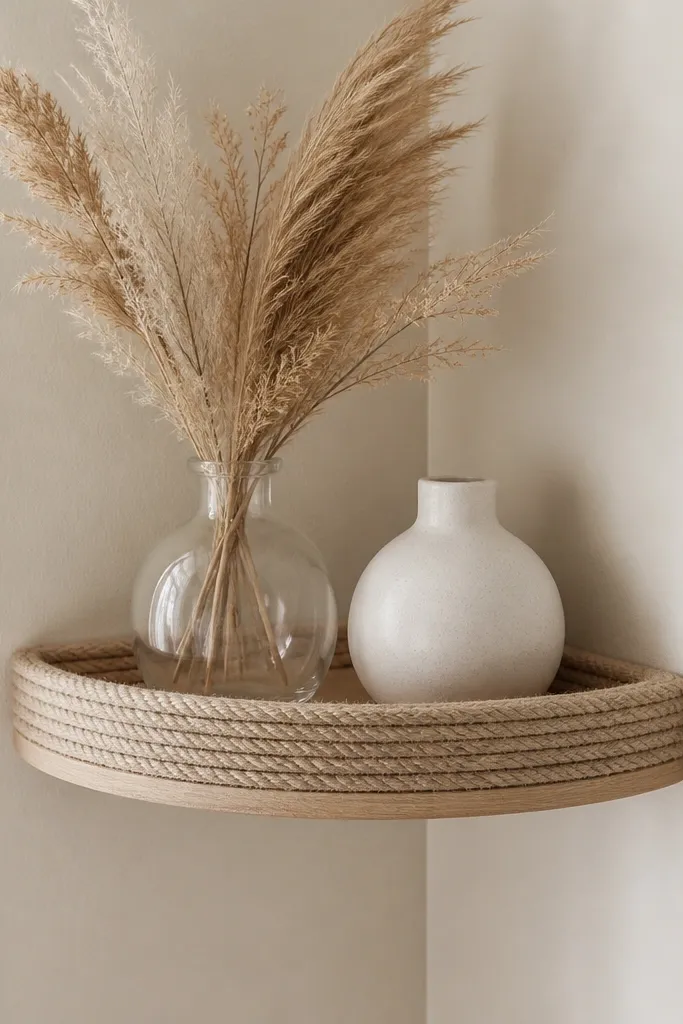
This turns an empty corner into a styled spot without stealing floor space. The yarn wrapping softens the look and hides any rough edges on the shelf. I like neutral yarn (cream, oatmeal, light gray) because it plays nicely with almost any bedding or curtains. The dried stems add movement, which makes the corner feel less empty even when the room is tidy.
Use a small corner shelf or a simple L-bracket shelf and attach a shallow tray (about 6-8 inches wide). Wrap the tray tightly with yarn using hot glue dots on the underside edge first, then around the sides. Fill the shelf with two small vessels and keep the stems short enough to stay below eye level.
Pull the yarn tight as you wrap so the surface stays smooth — loose wraps look messy from across the room.
Avoid glossy yarn or metallic threads if you want a calm look; they catch harsh light and make the shelf look cheap.
2. No-Sew Fabric Wall Banner on a Tension Rod
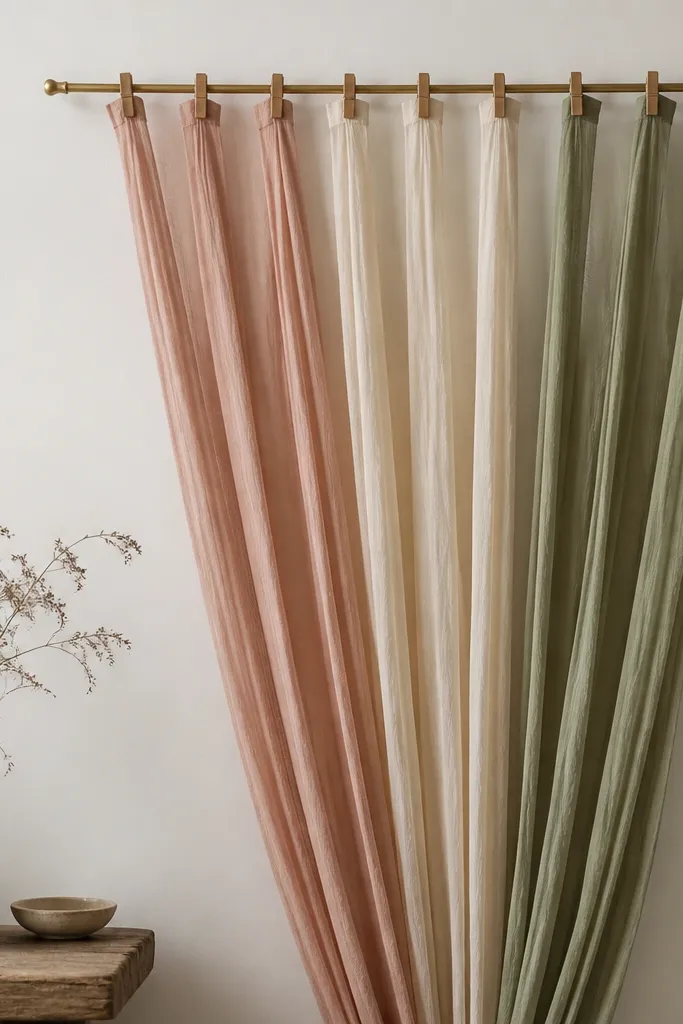
A fabric banner adds softness and hides awkward wall patches fast. The tension rod means no drilling into drywall studs if you use a lightweight setup, and it looks intentional because the strips hang from one clean line. Dusty rose and sage together make the room feel warmer without turning it into a rainbow. I also love that fabric bounces light and makes small rooms feel less boxy.
Quick tipUse two fabric widths only (like 3-inch and 5-inch strips) so the banner looks designed, not random.
Mount the tension rod near the ceiling. Cut fabric strips 18-24 inches long and 3-5 inches wide, then fold the top edge and clip or knot through a wooden clothespin. Mix sheer and cotton for contrast, but keep the color family consistent. Hang the longest strip in the center and shorten outward for a gentle slope.
One warningDon’t use thin satin-looking fabric — it shows wrinkles and makes the banner look like it fell off the laundry pile.
3. Pressed Flower Framed Book Page Art
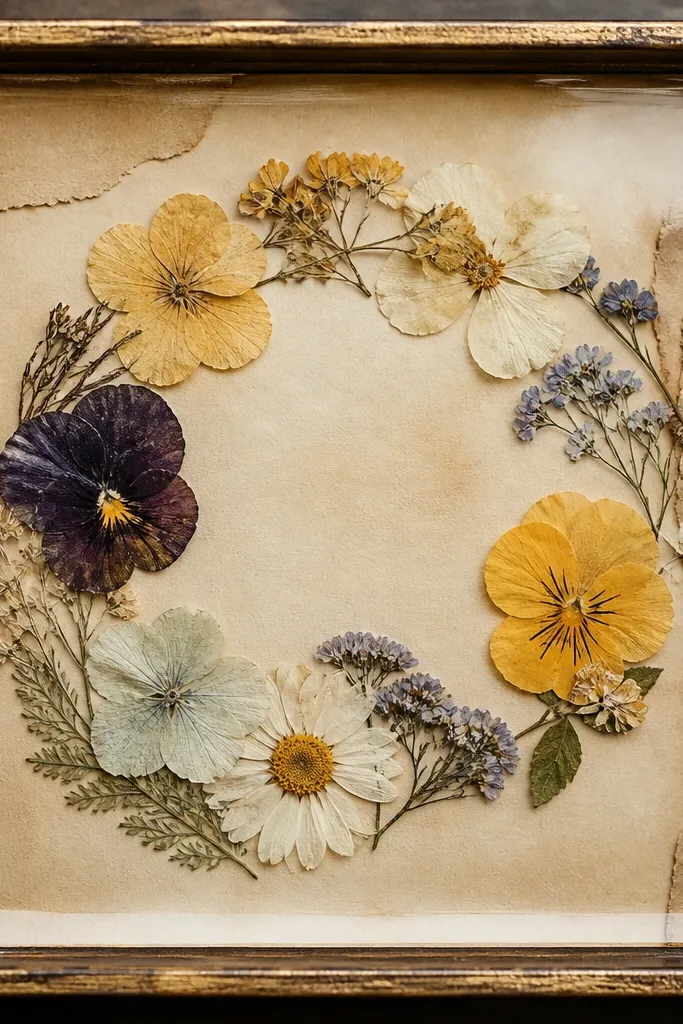
This is my go-to for renters because you get a real framed look without expensive prints. Book pages give a warm, vintage texture, and pressed flowers add color that looks like it belongs in a bedroom. The glossy sealant makes the petals look deeper and more dimensional, so it doesn’t read as flat crafts. It also works in small spaces because a single framed piece creates a focal point without cluttering shelves.
Quick tipPress flowers for at least a week under heavy books so they don’t puff and warp under glue.
Cut a book page to fit a 5x5 or 8x8 frame opening. Arrange pressed flowers on top and seal with a clear decoupage medium or Mod Podge Gloss using a soft foam brush. Let it dry flat, then place under glass or use a frame that seals the surface. Keep the flowers in one cluster so the design reads from a distance.
One warningAvoid over-brushing sealant — thick wet layers wrinkle the paper and cause bubbles.
4. Pegboard Planter Wall for Tiny Herbs
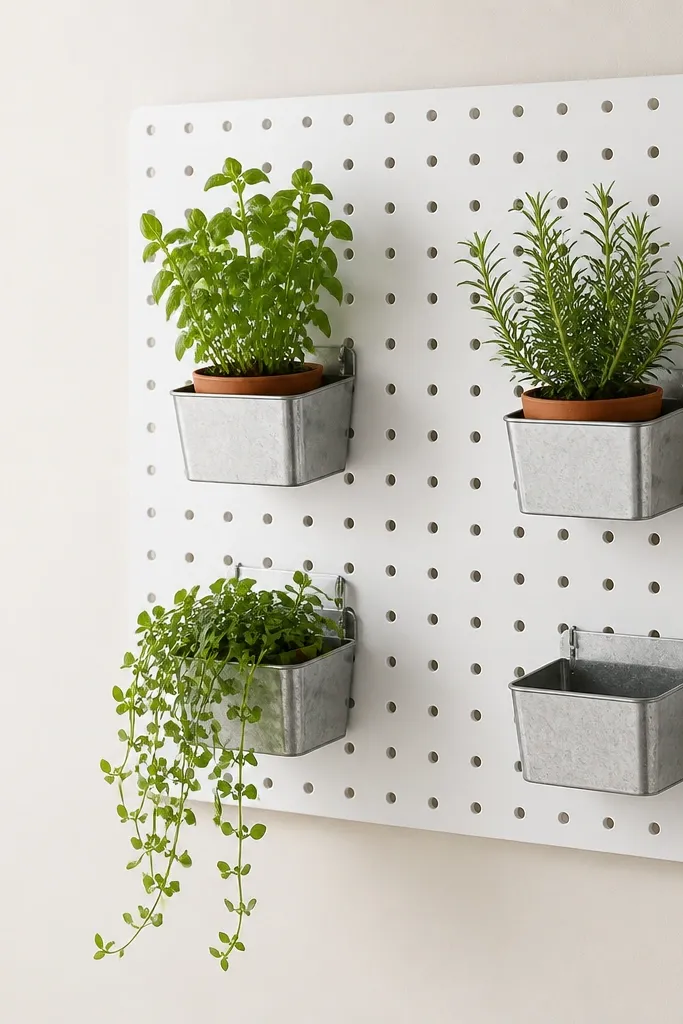
Pegboard makes small spaces feel organized because it turns “stuff” into a grid. Planters add vertical greenery without taking counter space. I like white pegboard because it keeps the wall clean and makes the green pop. The metal planters also look sharp compared to plastic pots, even when they’re small.
Quick tipStick with herbs or one trailing plant — too many different plants look chaotic on a pegboard.
Use a pre-cut pegboard sheet or a 12x16 section. Mount it high enough that plants don’t hit your head when you pass by. Clip or screw in small planter hooks, then place small pots inside or directly attach planter cups. Keep the plants low enough to avoid leaf droop onto the wall.
One warningSkip heavy watering on the wall; use a tray under each planter so you don’t stain the pegboard.
5. Cardboard Tube Curtain Tiebacks
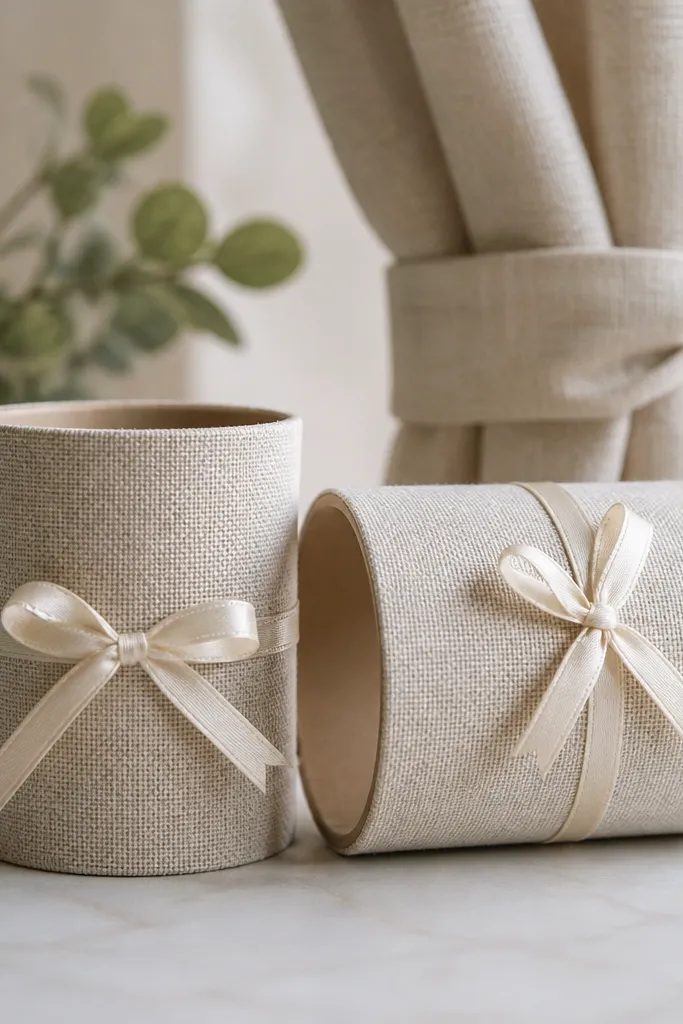
This makes your window look finished, and it’s a trick I’ve used when I wanted the curtains to look “designer” without replacing the rod. The wrapped tube gives shape and weight to the tieback, so the curtain gathers stay neat. Linen-look fabric ties in with most room styles, and the ribbon adds a small pop of detail. It also helps small rooms because neat curtains make the window feel taller.
Quick tipMatch the tieback fabric to your curtain color, not your wall color, so it looks intentional.
Roll cardboard into tight tubes sized to your curtain thickness (about 1.25 to 1.5 inches diameter). Cover with fabric using spray adhesive or hot glue along the seam underside. Add ribbon around the center and secure the ends behind the tieback. Attach tiebacks by using a small sewn loop on the fabric and a tack at the side of the window frame.
One warningDon’t leave the cardboard edges exposed — even a little fraying shows through in daylight.
6. Painted Wooden Matchbox Drawer Wall Organizer
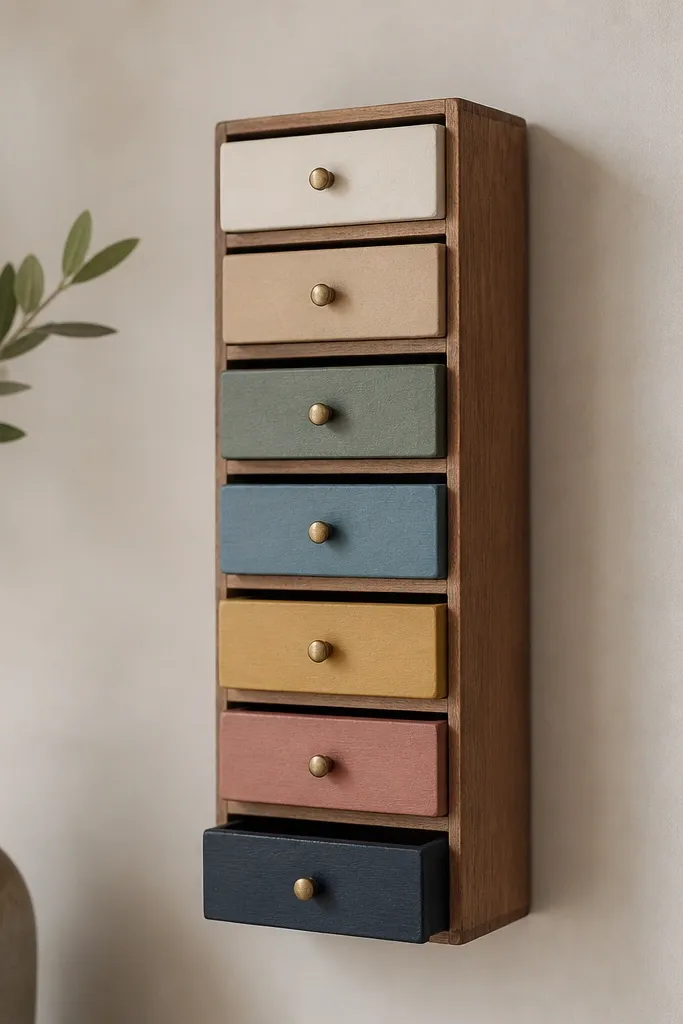
This gives you a place for small items like hair ties, pens, or charging cords without installing a big organizer. The drawers look cute because you can paint each front a slightly different tone while keeping the same color family. I like muted colors (sage, clay, cream) because they don’t scream “craft project.” The brass knobs make it look store-bought.
Use small wooden matchbox drawer kits or build tiny drawer fronts from thin wood. Paint with matte acrylic paint and seal with clear matte varnish. Mount the organizer on a board first so it stays straight, then attach to the wall with anchors rated for the weight. Install one drawer for small daily items and keep the rest empty for future storage.
Use painter’s tape to mask the drawer edges so the paint line stays crisp.
Skip glossy paint; it shows brush strokes and looks cheap under warm light.
7. Floating Photo Ledge with Painted Pegs
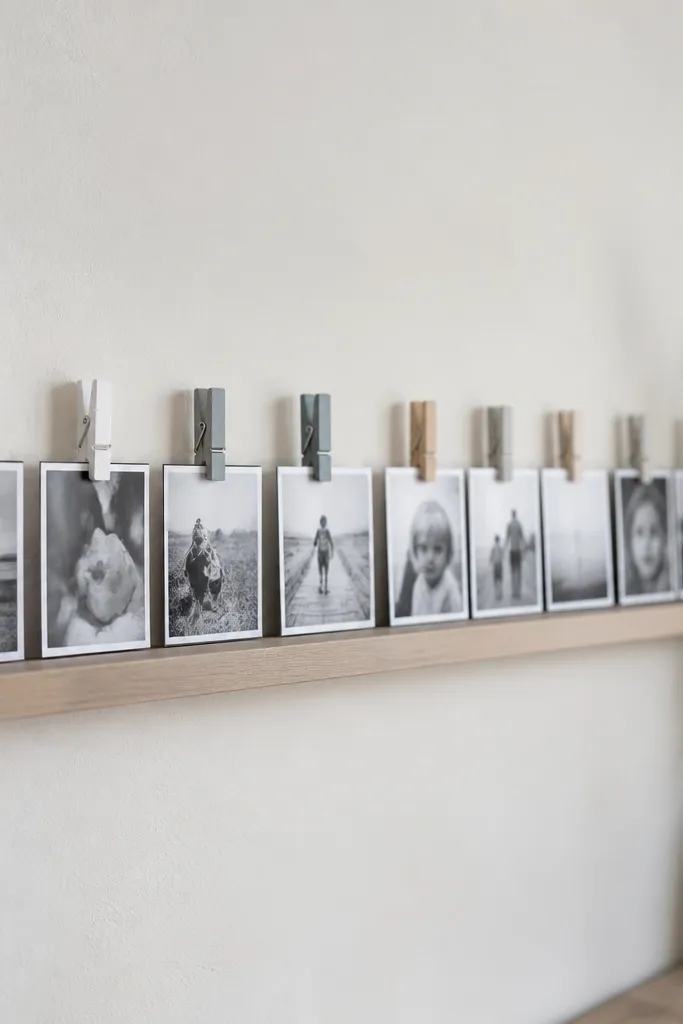
A photo ledge makes a wall feel personal without needing a grid of frames. The pegs let you swap photos easily, and the shelf keeps everything at eye level in a small room. I paint the pegs in one color (like black or deep espresso) so the photos stay the focus. Black and white prints also help when your room has lots of patterns — it calms the visual noise.
Quick tipStart with three photos, not five — a small ledge looks cleaner when it breathes.
Mount a narrow shelf 55-60 inches high. Paint wooden pegs with matte paint, then attach small binder clips or mini spring clips to the pegs. Print photos to a consistent size (like 4x6 cut down) and clip them evenly with a small gap. Use a thin line of washi tape on the back of each photo to keep it from curling.
One warningAvoid mismatched photo sizes; the uneven edges make the whole shelf look cluttered.
8. Paper Lantern Shade Over a Small Bedside Lamp

Changing the lamp shade is the fastest way to make a small room feel cozy. Paper lanterns spread light more gently than a hard fabric shade, and the glow hides uneven wall texture. I’ve done this with plain warm-white lanterns over a plug-in lamp, and it instantly makes the room feel calmer. It also works with almost any decor because the shade color is neutral.
Quick tipUse a bulb with a dimmer if you can; the lantern looks best when you’re not at full brightness.
Buy a paper lantern with a diameter that fits your lamp base. Remove the original shade if your lamp uses a standard harp or clip ring, then attach the lantern using a small adapter ring or a few zip ties inside the base. Use warm LED bulb (2700K) so the paper doesn’t look gray. Keep the lantern centered and straight so the light pattern stays even.
One warningDon’t use a hot bulb — paper lanterns need cool light to avoid browning.
9. Framed Fabric Scraps Grid for a Small Accent Wall
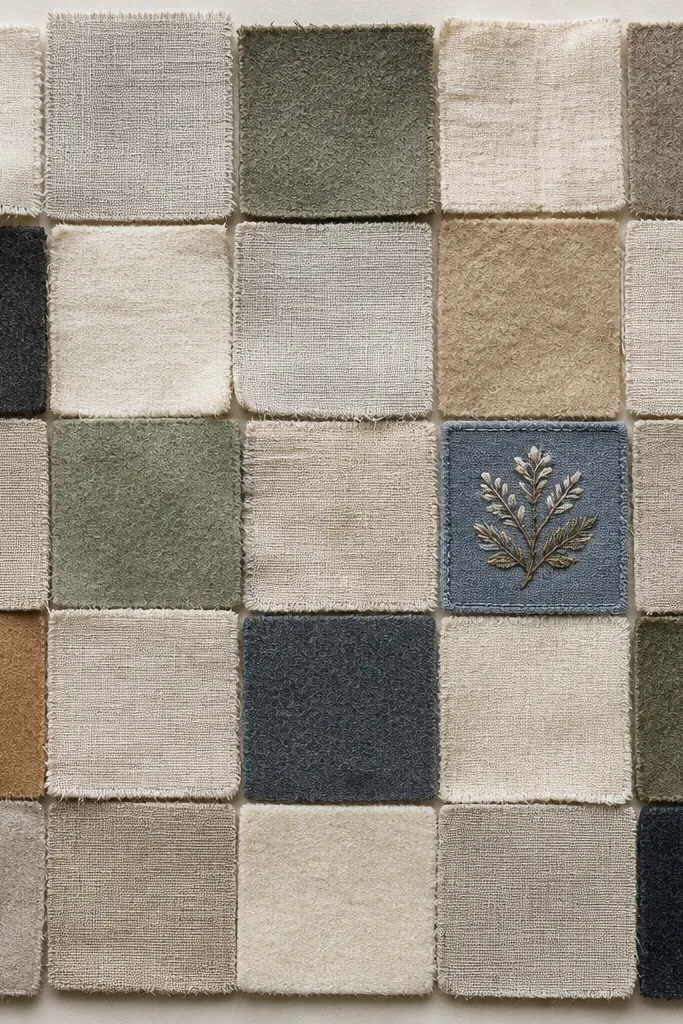
This is how you make your wall look styled when you don’t want a gallery wall. The grid gives structure, and the fabric scraps add color and texture without bulk. I like a single large frame because it keeps the room from feeling busy. The fabrics stay cohesive when you pick one base color (cream or gray) and vary only accents.
Quick tipPre-wash fabric so shrinkage doesn’t warp the surface later.
Choose a large frame with a deep backing, like 1-2 inches of depth. Cut fabric squares to fit a consistent grid spacing (like 2.5-inch squares). Glue the squares to the backing board with fabric glue or hot glue, then trim edges neatly. Add one small embroidered scrap as a focal point instead of scattering patterns everywhere.
One warningSkip super-thin paper-backed fabric; it wrinkles and shows glue bumps through the frame.
10. Floating Shelf with Rope Edge and Mini Plant Slots
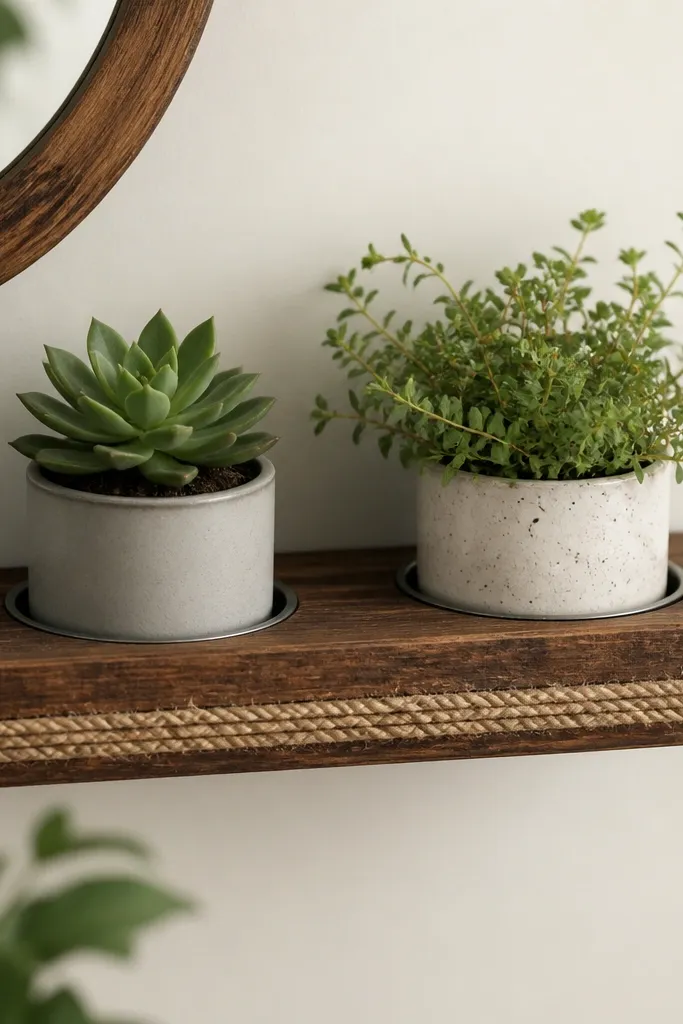
Rope edges look handmade and they hide small imperfections on the shelf front. The shelf gives you a place for plants and decor in a narrow room without taking floor space. I like stained wood (walnut tone) with natural jute rope because it warms up gray walls. The recessed mini plant slots also stop pots from sliding and make the arrangement look deliberate.
Quick tipSand the shelf edge before wrapping so rope lies flat and doesn’t snag.
Build a shelf from a 1x6 board cut to 12-18 inches long. Wrap jute rope on the front edge using hot glue in small sections so it doesn’t shift. Create two plant holders by cutting small circles from a thin board and attaching them, or use shallow paint-can lids as snug cups. Mount the shelf with two strong brackets so it holds the pot weight.
One warningDon’t wrap rope too loosely; gaps catch dust and make the shelf look unfinished.
11. Mirrored Tray Wall Organizer for Keys and Receipts
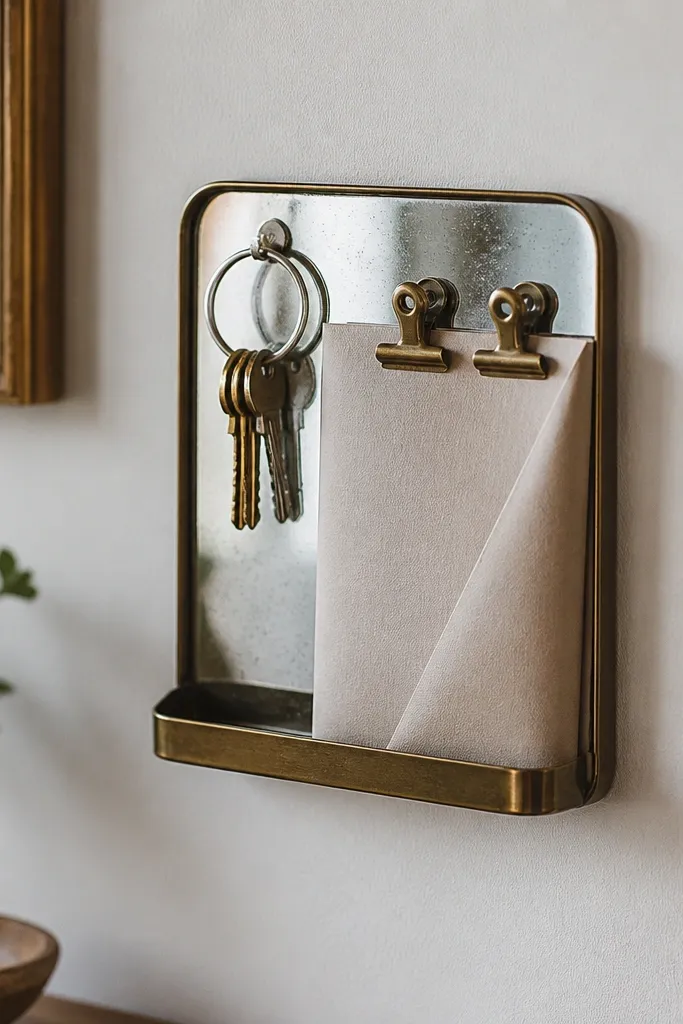
Mirrors make small rooms feel bigger, and a mirrored tray keeps the effect practical. This is the craft I use when entryways look bare but you don’t want a bulky table. The tray catches light and makes the wall feel intentional. I also like that it keeps keys and mail off counters, which instantly reduces visual clutter.
Use a thrifted shallow mirrored tray or buy a cheap mirrored tray and add mounting brackets on the back. Attach a small key hook or ring on the tray’s side. For receipts, glue two tiny binder clips to the back edge or add a slim acrylic holder. Mount at about 48-52 inches high so you can reach it easily.
Wipe the mirror with rubbing alcohol first so glue sticks and smudges don’t get trapped under hardware.
Avoid mounting too high; if you have to reach, you’ll stop using it and the clutter returns.
12. Linen-Loop Door Hanger with Pocket for Remote
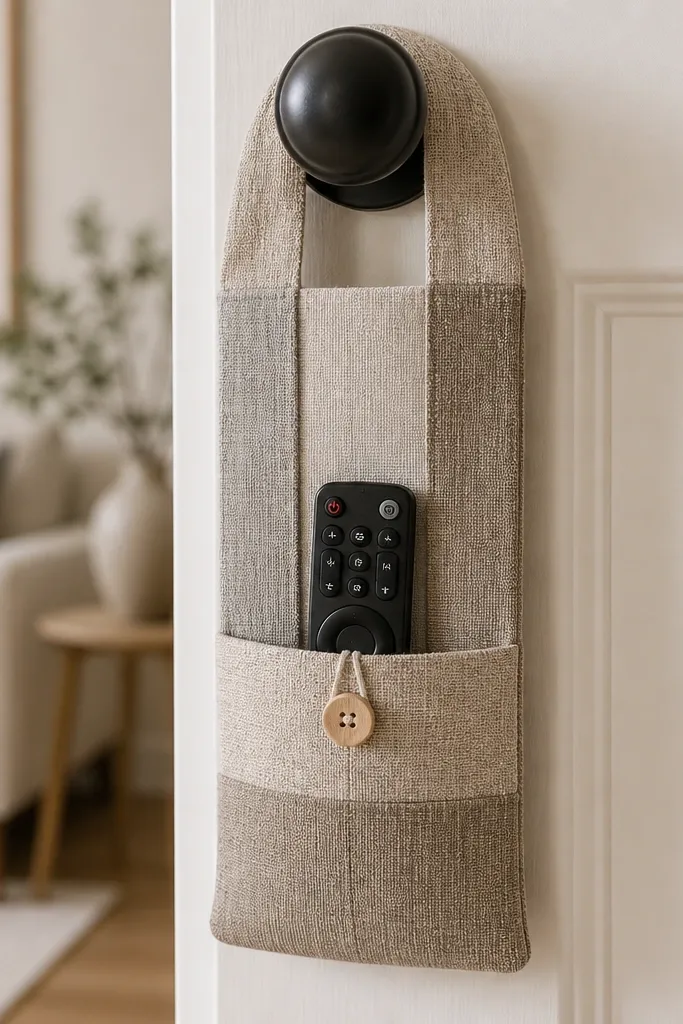
A door hanger solves the “where do I put the remote?” problem without adding furniture. The linen-look fabric hides wear marks and softens the look of a plain door. This also works for small bedrooms because it uses a vertical surface that already exists. I like adding one pocket and one closure button so it feels neat, not like a random bag.
Quick tipIron the fabric flat before attaching the pocket so the pocket edges look crisp.
Cut a rectangle of fabric for the pocket and sew or glue the sides to make a pocket about 7x9 inches. Create two loop straps from ribbon or fabric and stitch them to the top. Add a small button and loop closure so the pocket stays flat. Hang on the door with an over-the-door hook or tie the loops to a small command hook at the top.
One warningSkip slippery satin fabric; remotes slide and the pocket sags.
13. Washed Denim Wall Pockets for Cables
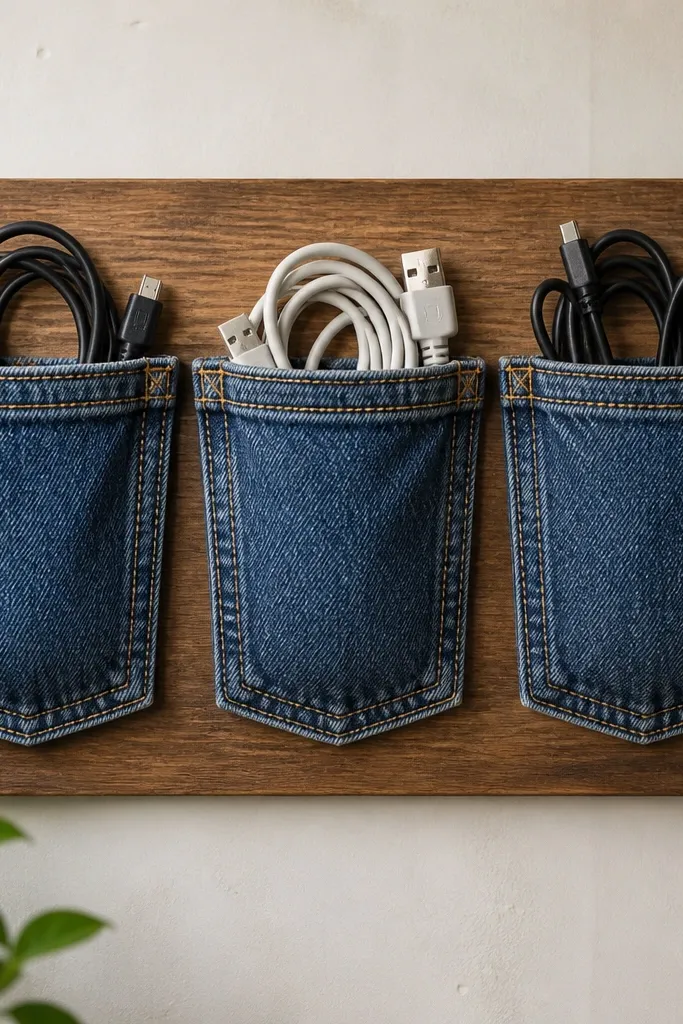
Denim pockets make cable storage look like decor instead of a tech mess. The thick fabric holds shape, so your cords don’t spill out and flop onto the floor. I’ve used this behind a desk and next to a nightstand, and it keeps charging areas clean. Wash and distress denim also adds texture that looks good in small spaces.
Quick tipBundle cords with Velcro strips before placing them in pockets so they stay tidy.
Cut three denim rectangles and hem the top edges with a double fold. Sew each pocket onto a backing board or directly onto a felt panel. Use small fabric labels or a tiny stitched line to separate “charger” from “headphones.” Mount near outlets and guide cables through a simple notch cut in the backing.
One warningDon’t use thin cotton scraps; they sag and your cords end up showing.
14. Mini Gallery Frame Cluster with Hinged Cards
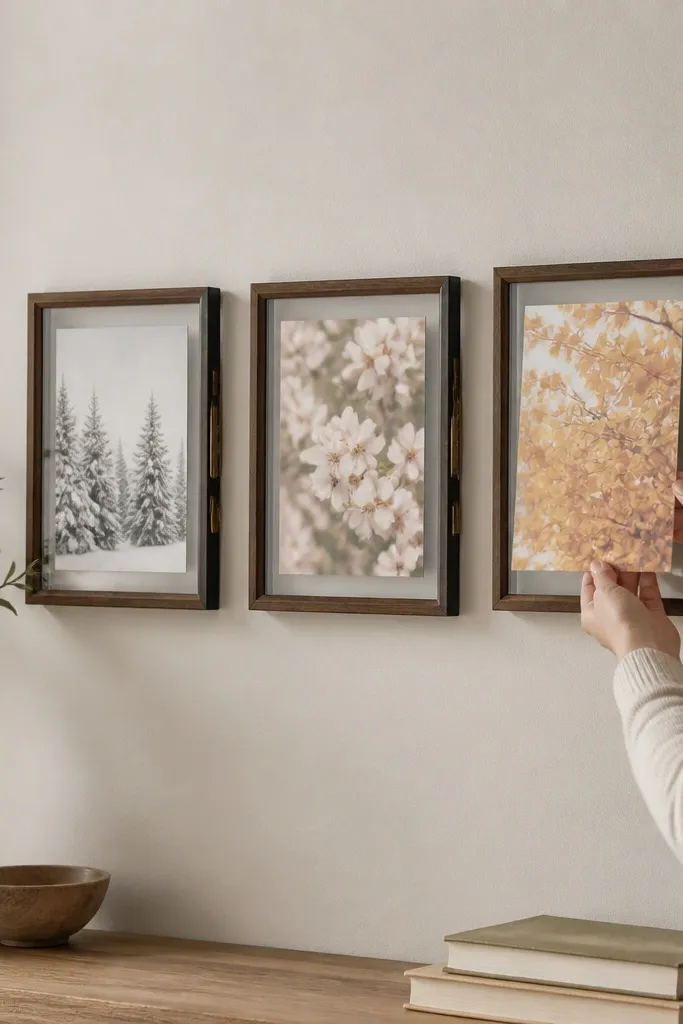
A frame cluster makes a wall feel finished fast, and hinged cards keep it flexible. In a small space, I prefer three pieces max because it stays focused. The hinged card trick means you can change prints for holidays or swap your own drawings without re-gluing anything. Choose frames in the same finish (black, white, or natural wood) and keep the mat color consistent.
Quick tipUse one print theme like botanical silhouettes or abstract shapes in one color family to keep the cluster calm.
Buy three small frames with removable backing. Cut cardstock to fit inside and attach a simple hinge using a thin strip of tape or cloth tape on one side. Place the hinge so the card opens upward behind the glass. Hang the frames in a slight triangle pattern with consistent spacing.
One warningAvoid mixing frame finishes; two different metallic tones read messy in tight rooms.
15. Paint-Chip Hexagon Coasters for Shelf Styling
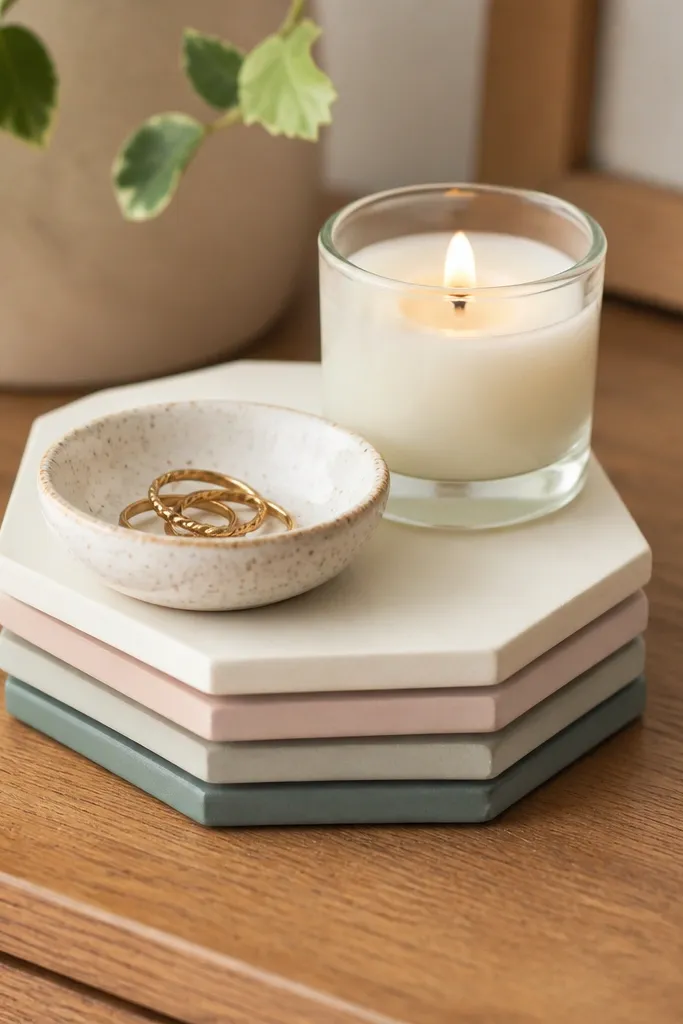
These are tiny, but they make shelves look styled because they add a deliberate base. Paint chips are already color-coordinated, and hexagon shapes look more modern than circles. I use them under small candles, incense holders, or a mini tray so the surface looks intentional. In a small room, these little touches add polish without taking up space.
Quick tipSeal with two thin coats instead of one thick coat to avoid bubbles.
Cut paint chips into hexagons using a template or a craft punch, then layer two pieces for thickness. Seal with clear craft varnish on both sides, and add felt pads if you’re placing them on furniture. Use three shades max so the set looks cohesive. Stack them when not in use so they don’t clutter.
One warningSkip unsealed paper; it turns wavy when exposed to heat or moisture.



